Introduction
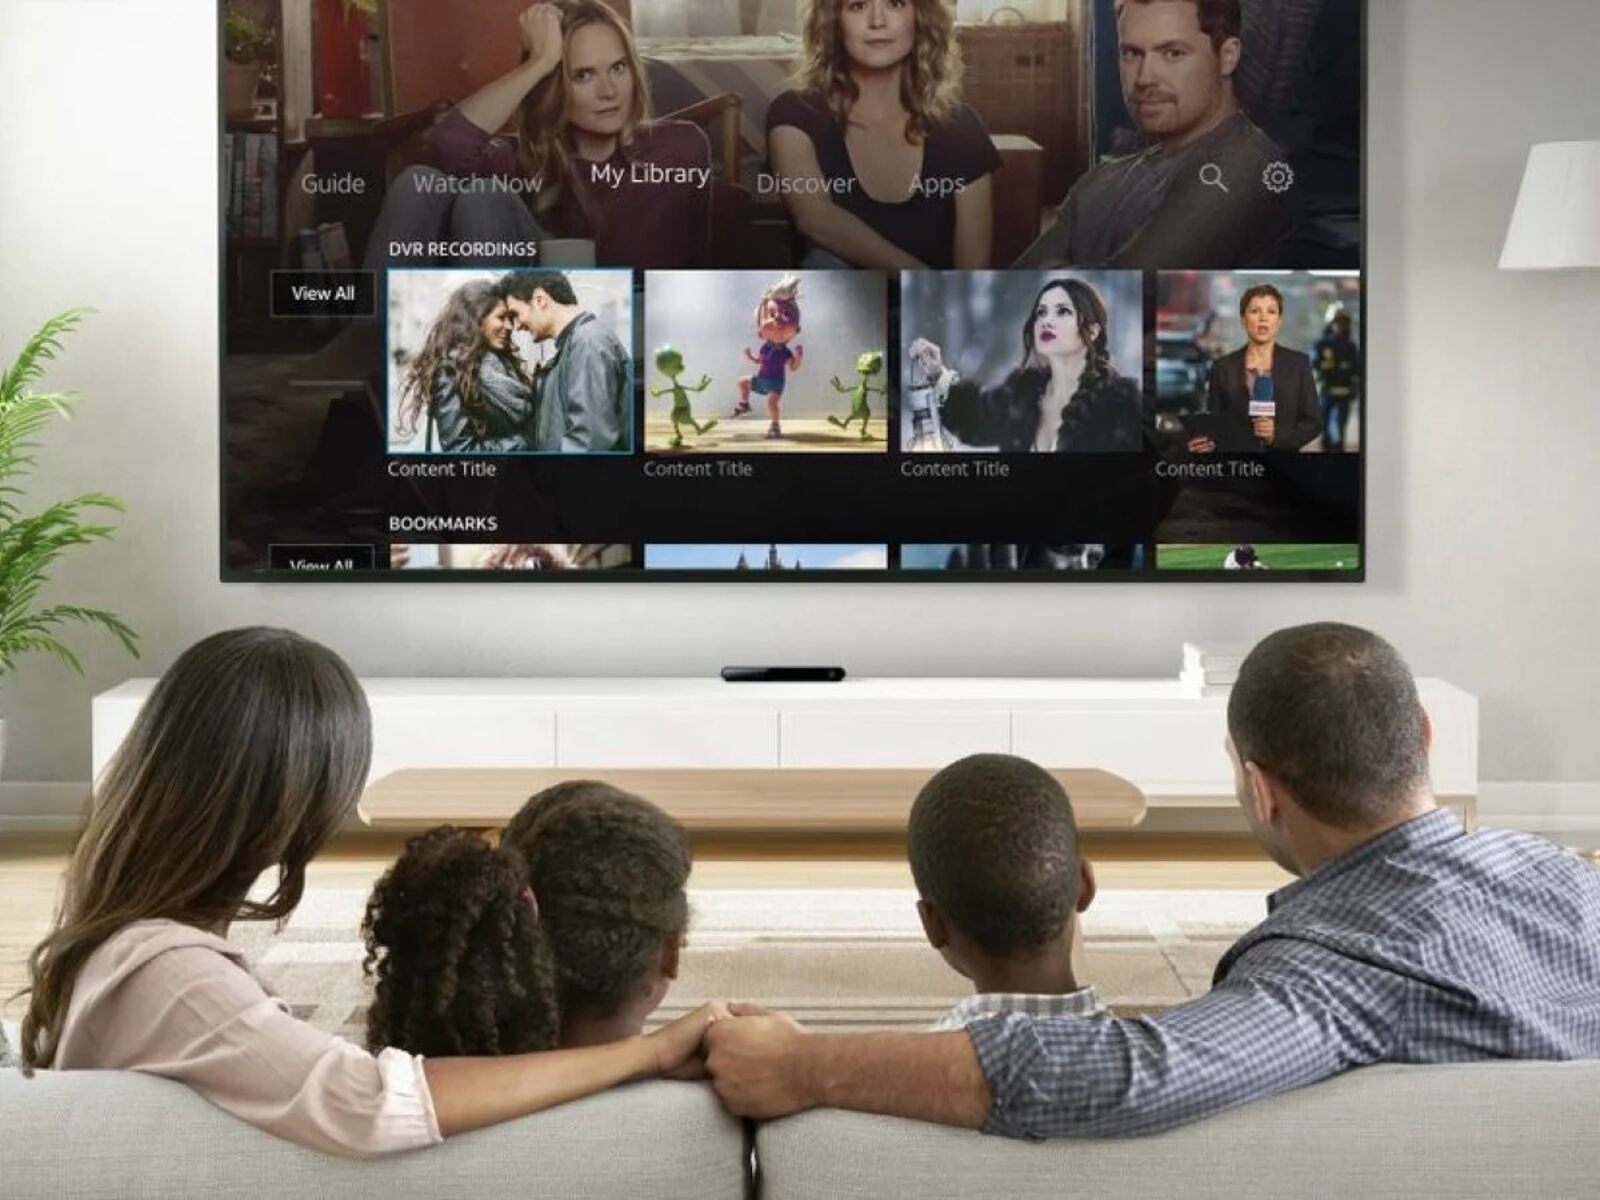
Welcome to the world of Samsung Smart TVs, where you can not only watch your favorite shows and movies, but also record them for later enjoyment. Recording on a Samsung Smart TV allows you to capture live TV or schedule recordings in advance, providing you with the flexibility to watch your preferred content at your convenience. Whether you want to record a sports event, a gripping drama series, or an educational documentary, Samsung Smart TVs have got you covered.
In this article, we will guide you through the process of recording on a Samsung Smart TV, from connecting a USB storage device to managing your recorded content. We will also address common troubleshooting issues that may arise during the recording process.
Before we dive into the details, it is important to note that not all Samsung Smart TVs support recording capabilities. Therefore, it is crucial to ensure that your specific model is equipped with this feature. You can refer to the user manual or visit Samsung’s official website to verify the recording functionality of your Smart TV.
To begin recording on your Samsung Smart TV, you will need a USB storage device such as a flash drive or an external hard drive. This device will serve as the storage medium for your recorded content. It is recommended to use a USB 3.0 drive with sufficient available space to accommodate your desired recordings.
Once you have all the necessary requirements in place, you can proceed with the setup process and start enjoying the convenience of recording on your Samsung Smart TV. In the next sections, we will walk you through the step-by-step instructions on connecting a USB storage device, navigating the recording menu, selecting recording preferences, scheduling recordings, managing recorded content, and troubleshooting common recording issues.
Let’s get started and unlock the full potential of your Samsung Smart TV by adding the ability to record your favorite shows and movies.
Connecting a USB Storage Device
Before you can start recording on your Samsung Smart TV, you need to connect a USB storage device to your TV. Follow these simple steps to get started:
- Locate the USB port on your Samsung Smart TV. It is usually located on the back or side of the TV.
- Take your USB storage device, such as a flash drive or an external hard drive, and insert it into the USB port on your TV. Ensure it is securely plugged in.
- Once you have connected the USB storage device, your Samsung Smart TV will detect it automatically.
- A notification will appear on your TV screen, indicating that the USB storage device has been successfully connected.
- You are now ready to use the USB storage device for recording on your Samsung Smart TV.
It is important to note that the compatibility of USB storage devices can vary depending on the model and specifications of your Samsung Smart TV. We recommend using a USB 3.0 drive for optimal performance and compatibility. Additionally, make sure that your USB storage device has sufficient available space to accommodate your desired recordings.
Once you have successfully connected the USB storage device, you can proceed to the next section to learn how to set up storage options on your Samsung Smart TV.
Setting Up Storage Options
Now that you have connected a USB storage device to your Samsung Smart TV, it’s time to set up the storage options to ensure smooth recording and playback. Follow these steps to configure the storage settings on your TV:
- Turn on your Samsung Smart TV and navigate to the home screen.
- Using the remote control, select the “Settings” option.
- In the settings menu, scroll through the options and select “Broadcasting” or “Recordings” (the name may vary depending on your TV model).
- Within the “Broadcasting” or “Recordings” menu, locate and select “Recording Options” or a similar option.
- From the available storage options, choose the connected USB storage device that you want to use for recording.
- Once you have selected the USB storage device, you may be prompted to format it. Formatting will erase all existing data on the device, so make sure to back up any important files before proceeding.
- Follow the on-screen prompts to format the USB storage device.
- After formatting is complete, your Samsung Smart TV is now set up to use the USB storage device for recording.
It is important to note that formatting the USB storage device for TV recording may make it incompatible with other devices, such as computers or cameras. Therefore, it is recommended to dedicate the USB storage device solely for recording purposes on your Samsung Smart TV.
Now that you have successfully set up the storage options, you can proceed to the next section to learn how to navigate the recording menu on your Samsung Smart TV.
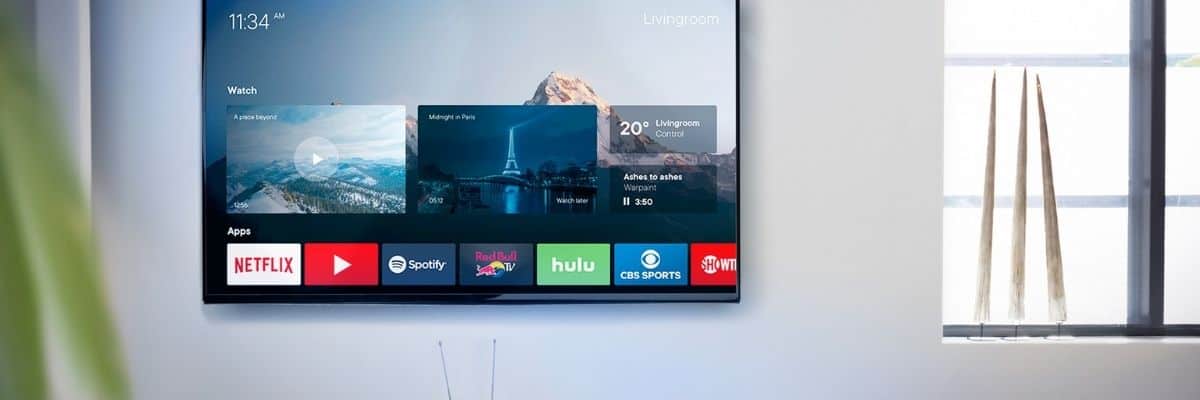
Navigating the Recording Menu
Once you have connected a USB storage device and set up the storage options on your Samsung Smart TV, you can now navigate the recording menu to start capturing your favorite shows and movies. The recording menu allows you to access various recording features and settings. Follow these steps to navigate the recording menu:
- Turn on your Samsung Smart TV and access the home screen.
- Using the remote control, navigate to the main menu or settings menu.
- Look for the “Recordings” or “Record” option, which may be located under the “Broadcasting” or “Channel” section.
- Select the “Recordings” or “Record” option to access the recording menu.
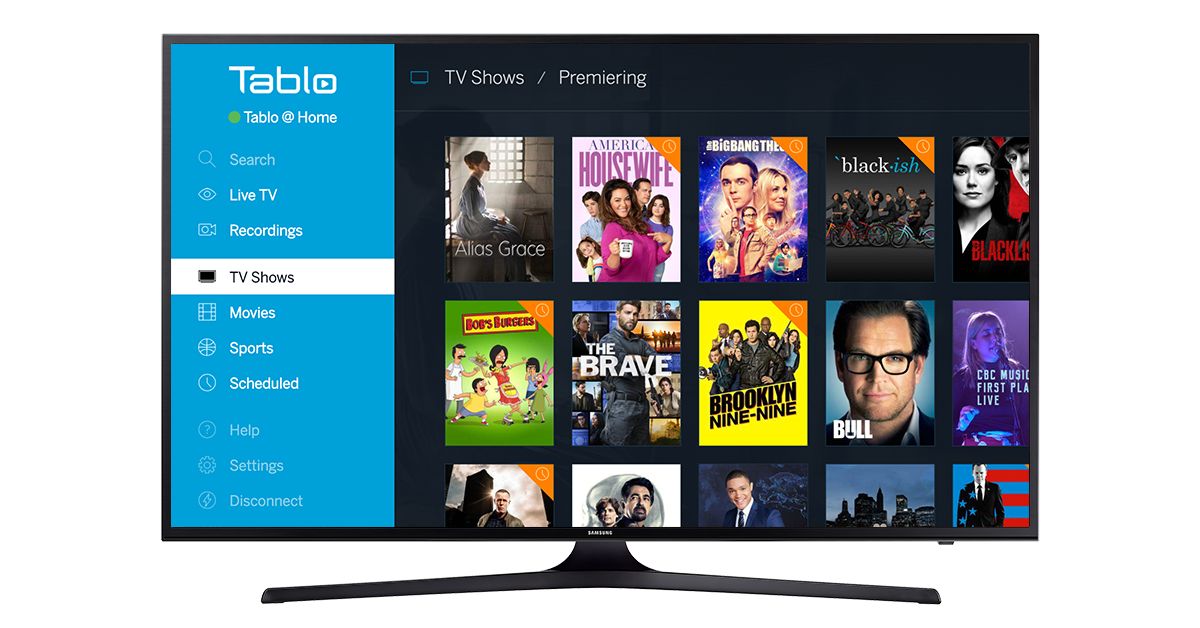
- Within the recording menu, you will find different options such as “Live TV”, “Scheduled Recordings”, and “Recorded Shows”.
- To record live TV, select the “Live TV” option and choose the channel you want to record.
- To view or manage your scheduled recordings, select the “Scheduled Recordings” option.
- To access and watch your recorded shows, select the “Recorded Shows” or “Recordings” option.
Within each section of the recording menu, you may find additional options to customize your recording preferences. These options can include setting the recording duration, choosing the recording quality, enabling automatic recording of new episodes, and more.
It’s worth noting that the navigation and menu options may vary slightly depending on the model and firmware version of your Samsung Smart TV. Refer to the user manual or online support resources for your specific TV model for detailed instructions.
Now that you know how to navigate the recording menu on your Samsung Smart TV, let’s move on to the next section to discover how to select your recording preferences.
Selecting Recording Preferences
When recording on your Samsung Smart TV, you have the option to customize various preferences to suit your needs and preferences. These recording preferences allow you to tailor the recording experience to your liking. Follow these steps to select your recording preferences:
- Access the recording menu on your Samsung Smart TV by following the steps mentioned in the previous section.
- Within the recording menu, locate the “Settings” or “Preferences” option.
- Select the “Settings” or “Preferences” option to access the recording preferences.
- Depending on your TV model and firmware version, you may find a range of options such as recording quality, recording duration, automatic recording of series, and more.
- Use the remote control to navigate through the available options and select your desired preferences.
- If available, adjust the recording quality to determine the resolution and file size of your recorded content.
- Select the recording duration, which allows you to set the length of time you want the TV to record.
- If you frequently watch series, enable the automatic recording of new episodes to ensure you never miss an episode.
By selecting your recording preferences, you can optimize the recording experience on your Samsung Smart TV and tailor it to your specific requirements. These preferences can be adjusted at any time, allowing you to experiment and find the settings that work best for you.
It’s important to note that the available recording preferences may vary depending on your TV model and firmware version. Refer to the user manual or online resources for your specific TV model to understand the full range of recording settings and options.
Now that you know how to select your recording preferences, let’s move on to the next section to learn how to schedule recordings on your Samsung Smart TV.
Scheduling a Recording
One of the convenient features of recording on a Samsung Smart TV is the ability to schedule recordings in advance. This allows you to automatically capture your favorite shows or events without having to be present in front of the TV. Follow these steps to schedule a recording on your Samsung Smart TV:
- Access the recording menu on your Samsung Smart TV by following the steps mentioned earlier.
- Within the recording menu, locate the “Scheduled Recordings” or “Schedule” option.
- Select the “Scheduled Recordings” or “Schedule” option to access the scheduling menu.
- Within the scheduling menu, you will find options to set the date, time, channel, and duration of the scheduled recording.
- Using the remote control, navigate to each option and select the desired values for your scheduled recording.
- Once you have set all the necessary details, confirm the scheduling of the recording.
- Your Samsung Smart TV will now automatically record the selected show or event at the scheduled time.
It’s important to note that the scheduling options may vary depending on your TV model and firmware version. Some models may offer additional features such as recurring recordings or the ability to specify the number of episodes to record.
By scheduling recordings on your Samsung Smart TV, you can ensure that you never miss your favorite shows or events, even if you are busy or away from the TV. It provides a convenient way to stay up to date with your preferred content.
Now that you know how to schedule a recording, let’s move on to the next section to learn how to manage your recorded content on your Samsung Smart TV.
Managing Recorded Content
Once you have recorded shows and movies on your Samsung Smart TV, you may want to manage and organize your recorded content for easy access and playback. Follow these steps to manage your recorded content:
- Access the recording menu on your Samsung Smart TV as mentioned in earlier sections.
- Within the recording menu, select the “Recorded Shows” or “Recordings” option.
- You will see a list of your recorded content, organized by date, time, or show title.
- Using the remote control, navigate through the recorded content and select the show or movie you want to watch.
- Within the playback menu, you may find options such as play, pause, fast-forward, rewind, and delete.
- To watch a recorded show or movie, select the “Play” option.
- To delete a recording, select the “Delete” or “Trash” option.
- You can also browse through your recorded content to find specific shows or movies using the search or filter options, if available.
Managing your recorded content allows you to free up space on your USB storage device and ensure that your favorite shows and movies are easily accessible. You can delete recordings that you have already watched or no longer need, making room for new recordings.
It’s important to note that the exact options and features for managing recorded content may vary depending on your Samsung Smart TV model and firmware version. Refer to the user manual or online resources for your specific TV model to understand all the available management options.
Now that you know how to manage your recorded content, let’s move on to the next section to explore common troubleshooting issues that you may encounter when recording on your Samsung Smart TV.
Troubleshooting Common Recording Issues
While recording on your Samsung Smart TV is generally a smooth and seamless experience, you may encounter some common issues along the way. Here are some troubleshooting tips to help you resolve common recording issues:
- Incompatible USB Storage Device: Ensure that the USB storage device you are using is compatible with your Samsung Smart TV. Refer to the user manual or Samsung’s official website for a list of supported devices.
- Insufficient Storage Space: If you are unable to record new shows or movies, check the available storage space on your USB storage device. Delete unnecessary recordings to free up space.
- USB Connection Issues: Make sure that the USB storage device is securely connected to the USB port on your Samsung Smart TV. Unplug and re-plug the device to establish a proper connection.
- Formatting Error: If your TV prompts you to format the USB storage device and encounters an error, try formatting the device on a computer and then reconnecting it to the TV.
- Recording Failure: Certain channels or content may have restrictions that prevent recording. Check if the channel or content you are trying to record allows recording.
- Software Update: Keep your Samsung Smart TV firmware up to date by checking for software updates regularly. Outdated firmware can sometimes cause compatibility issues with recording functionality.
- Resetting the TV: If you continue to experience issues with recording, try resetting your Samsung Smart TV to its factory settings. This can help resolve any software glitches or conflicts.
- Contact Support: If none of the troubleshooting steps resolve your recording issues, contact Samsung’s customer support for further assistance. They can provide specific guidance based on your TV model and the nature of the issue.
It’s important to remember that troubleshooting steps may vary depending on your specific TV model and firmware version. Refer to the user manual or contact Samsung’s customer support for model-specific troubleshooting guidance.
Now that you have some troubleshooting tips, you can effectively address common recording issues on your Samsung Smart TV and enjoy uninterrupted recording experiences.
Conclusion
Recording on your Samsung Smart TV opens up a world of convenience, allowing you to capture and watch your favorite shows and movies at your convenience. By following the steps outlined in this article, you can easily connect a USB storage device, set up storage options, navigate the recording menu, select recording preferences, schedule recordings, and manage your recorded content.
Remember to check your specific Samsung Smart TV model’s user manual or online resources for detailed instructions tailored to your TV’s features and functionality. Additionally, be sure to keep your TV firmware up to date to ensure optimal performance and compatibility.
Should you encounter any difficulties, the troubleshooting tips provided in this article can help you resolve common recording issues. If the issues persist, do not hesitate to reach out to Samsung’s customer support for further assistance.
Now that you have the knowledge and tools to record on your Samsung Smart TV, go ahead and explore the convenience and flexibility that recording brings to your entertainment experience. Sit back, relax, and enjoy your favorite shows on your own schedule.