Introduction
With the advent of technology, our televisions are no longer limited to just watching live broadcasts or streaming shows. Smart TVs have revolutionized the way we consume entertainment by offering a plethora of features and capabilities. One such feature that many people are not aware of is the ability to record content directly on a smart TV. Whether you want to catch up on your favorite show, save a live sports event, or simply create a collection of your favorite movies, recording on a smart TV can be a game-changer.
In this article, we will explore the various methods you can use to record on a smart TV and provide you with the necessary information and requirements to get started. We will cover built-in recording functionality, using HDMI and a capture device, utilizing a digital video recorder (DVR), and even recording with a streaming device.
By the end of this article, you will have a clear understanding of how to record on your smart TV and unleash the full potential of your entertainment experience.
Why Record on a Smart TV?
Recording on a smart TV offers a range of benefits and conveniences that can greatly enhance your entertainment experience. Here are a few reasons why you might consider recording on your smart TV:
- Convenience: Recording on a smart TV allows you to watch your favorite shows and movies at your own convenience. You no longer need to worry about missing out on live broadcasts or adjusting your schedule to catch a particular episode. Simply record the content and watch it whenever you have the time.
- Flexibility: Recording on a smart TV provides you with the flexibility to pause, rewind, and fast-forward through content. This means you can skip commercials, rewatch favorite scenes, or catch up on missed dialogue without any hassle. It puts you in control of your viewing experience.
- Building a Personal Library: With the ability to record on a smart TV, you can create your own personal library of shows, movies, and sporting events. This gives you the freedom to curate a collection that suits your interests and allows for easy access to content whenever you want.
- Offline Viewing: By recording content on your smart TV, you can enjoy offline viewing. This is particularly useful when you don’t have an internet connection or want to conserve your data. Whether you’re traveling or simply want to watch something without relying on streaming, having recorded content gives you the option to watch offline.
- Skipping Spoilers: Recording allows you to avoid spoilers for popular shows and sports events. If you can’t watch a live broadcast, recording it ensures that you can watch it at your own pace without having the outcome spoiled by social media or friends.
These are just a few examples of the advantages of recording on a smart TV. It adds a whole new level of convenience, flexibility, and control to your entertainment experience. So, don’t miss out on these benefits; learn how to record on your smart TV and unleash its full potential.
Requirements for Recording on a Smart TV
Before you can start recording on your smart TV, there are a few requirements that you need to fulfill. Here are the key things you will need:
- A Smart TV: The first requirement, as the name suggests, is a smart TV. Ensure that your television is equipped with the necessary features to support recording functionality. Most modern smart TVs come with built-in recording capabilities or the ability to connect external devices for recording purposes.
- External Storage Device: To store the recorded content, you will need an external storage device such as a USB flash drive or an external hard drive. Make sure the storage device is compatible with your smart TV and has enough storage capacity for your recording needs. Check the user manual or manufacturer’s website for compatible storage options.
- Internet Connectivity: While not always necessary, having an internet connection can enhance your recording experience. Some smart TVs allow you to access online guides, streaming services, and additional features related to recording. It’s recommended to have a stable internet connection if you want to access these features.
- HDMI Cable: If you plan on using the HDMI and capture device method for recording, you will need an HDMI cable to connect your smart TV to the capture device. Ensure that the cable is of good quality and has the appropriate length for your setup.
- Capture Device or Digital Video Recorder (DVR): Depending on the method you choose for recording, you may need a capture device or a digital video recorder (DVR). A capture device allows you to connect external devices like a set-top box or gaming console to your smart TV for recording purposes. Alternatively, a DVR can be used to record content directly from your cable or satellite provider. Make sure to select a capture device or DVR that is compatible with your smart TV and meets your recording needs.
It’s important to check the user manual or contact the manufacturer of your smart TV to ensure that you meet the specific requirements for recording. Each smart TV model may have slightly different specifications and compatibility options.
By having a smart TV, external storage device, internet connectivity (optional), HDMI cable (if necessary), and the appropriate capture device or DVR, you will have everything you need to start recording your favorite content on your smart TV. Now, let’s explore the different methods you can use to record on your smart TV.
Method 1: Built-in Recording Functionality
Many smart TVs come with built-in recording functionality, allowing you to easily record your favorite shows and movies directly onto a storage device. Here’s how you can use the built-in recording feature on your smart TV:
- Check Your TV’s User Manual: Start by referring to the user manual or documentation that came with your smart TV. Look for information on how to access and use the built-in recording feature. Different smart TV brands and models may have slightly different interfaces and options, so it’s important to familiarize yourself with the specific instructions for your device.
- Connect Your Storage Device: Most smart TVs support USB connections, so ensure that your storage device, such as a USB flash drive or external hard drive, is compatible with your TV. Connect the storage device to one of the available USB ports on your TV.
- Access the Recording Menu: Using your TV’s remote control, navigate to the settings or menu option on your smart TV. Look for a section related to recording or a dedicated “Record” button on your remote control.
- Select Recording Options: Once you’re in the recording menu, you can set various options such as the recording length, quality, and time schedules. Some smart TVs allow you to choose between recording a single episode or an entire series.
- Start Recording: Find the show or movie you want to record using the TV’s program guide or by browsing through the available channels. Select the content you wish to record and choose the storage device where you want to save the recording. Start the recording process and let your smart TV do the rest.
- Access Your Recordings: After the recording is complete, you can access your stored content through the recording menu or a dedicated “Recordings” section on your smart TV’s interface. From there, you can playback, manage, and delete your recorded shows and movies.
Remember to regularly check the available storage on your external device, as the capacity may be limited. Consider transferring the recorded content to a computer or another storage device to free up space if needed.
By utilizing the built-in recording functionality on your smart TV, you can easily record your favorite content without the need for additional devices or complicated setups.
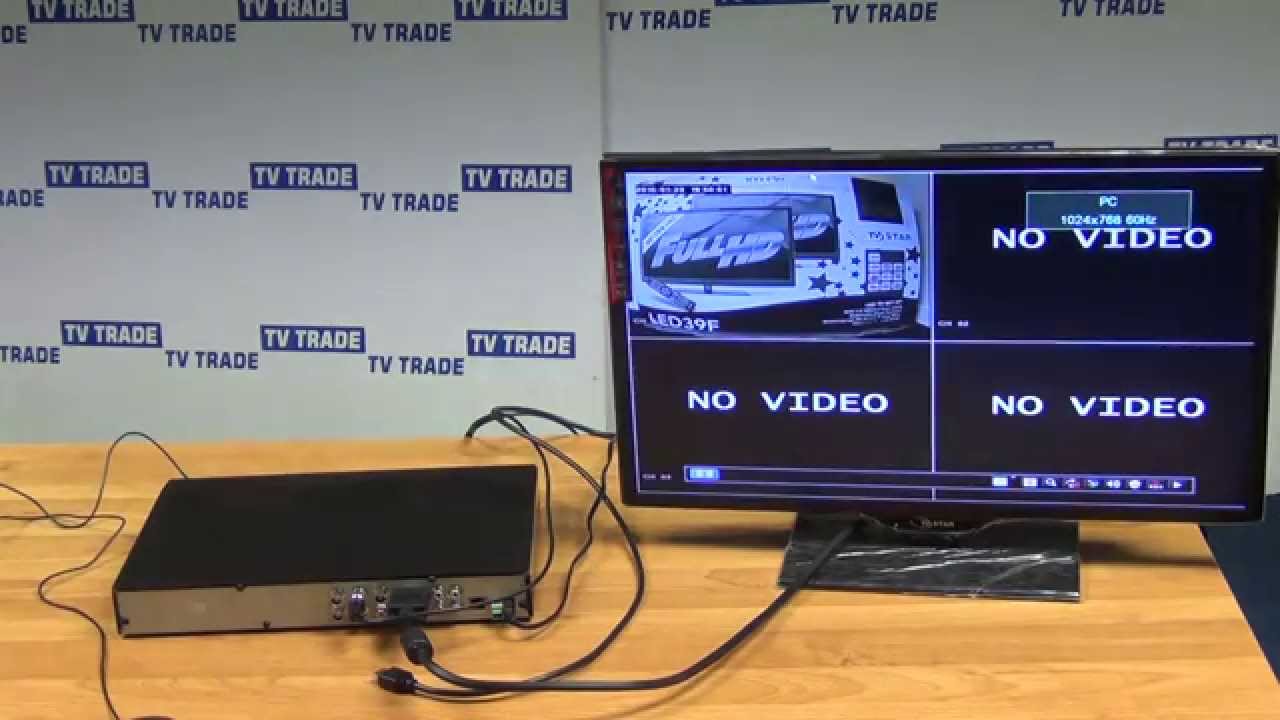
Method 2: Using HDMI and a Capture Device
If your smart TV does not have built-in recording functionality, another option is to use an HDMI connection along with a capture device. This method allows you to record content from external devices such as set-top boxes, gaming consoles, or Blu-ray players. Here’s how you can use HDMI and a capture device to record on your smart TV:
- Choose a Capture Device: Begin by selecting a capture device that is compatible with your smart TV. Look for a capture device with HDMI input/output capabilities. Popular capture devices include HD capture cards or USB video capture devices. Make sure to check the specifications and compatibility requirements.
- Connect the Capture Device: Connect the capture device to your smart TV using an HDMI cable. Plug one end of the HDMI cable into the output port of the external device (e.g., set-top box), and the other end into the input port of the capture device. Connect the capture device to your smart TV by plugging the output HDMI cable into one of the HDMI input ports on your TV.
- Configure the Capture Device: Follow the manufacturer’s instructions to set up and configure the capture device. This may involve installing drivers or software on your computer if using a USB capture device. Ensure that the settings on the capture device are adjusted for recording, such as resolution and file format.
- Start Recording: Turn on your smart TV and the external device you wish to record from (e.g., set-top box). Use the input or source selection on your TV’s remote control to choose the HDMI input channel where the capture device is connected. Start playback on the external device and begin recording using the capture device’s software or dedicated recording button.
- Stop Recording and Save: Once you have finished recording, stop the capture device’s recording process. The captured content will be saved on your computer (if using a USB capture device) or on the storage device connected to the capture card. Make sure to safely eject the storage device before accessing the recorded content.
- Access and Playback: Transfer the recorded content to your smart TV or a compatible media player to access and playback the recordings. If using a USB capture device, you can connect the storage device directly to your TV’s USB port. Alternatively, you can transfer the recordings to a computer or any other device that can read the file format.
This method allows you to record content from various external devices and expand the capabilities of your smart TV. Just make sure to choose a capture device that suits your needs and is compatible with your smart TV’s specifications.
Method 3: Using a Digital Video Recorder (DVR)
If you have a cable or satellite TV subscription, you can utilize a digital video recorder (DVR) to record content directly from your provider. This method allows you to access a wide range of channels and record multiple shows simultaneously. Here’s how you can use a DVR to record on your smart TV:
- Choose a Compatible DVR: Start by choosing a DVR that is compatible with your cable or satellite TV provider. Check whether your smart TV supports external DVR connections, or if you will need a separate device to connect the DVR to your TV.
- Connect the DVR: Follow the manufacturer’s instructions to connect the DVR to your smart TV. This may involve connecting an HDMI cable from the DVR to one of the HDMI input ports on your TV. Make sure all the necessary cables are securely connected.
- Set Up the DVR: Once the DVR is connected, follow the on-screen instructions provided by your cable or satellite TV provider to set up the DVR. This may involve activating the DVR through your subscription plan and configuring any additional settings.
- Select Shows to Record: Use the DVR’s user interface or remote control to browse through the available channels and select the shows or movies you want to record. Most DVRs have an electronic program guide (EPG) that allows you to easily find upcoming programs and set recording schedules.
- Configure Recording Settings: Customize the recording settings according to your preferences. This may include choosing the recording length, quality, and specifying whether to record a single episode or an entire series. You can also set the DVR to automatically record new episodes of your favorite shows.
- Manage Your Recordings: Once the DVR starts recording, you can manage your recordings through the DVR’s user interface. Access the recording library to view, organize, and delete recorded shows and movies. Most DVRs also offer the option to pause, rewind, or fast-forward through recorded content.
- Playback on Your Smart TV: To watch your recorded content, use the DVR’s playback option and select the show or movie you want to watch. The playback will be displayed on your smart TV’s screen.
Using a DVR is a convenient way to record content from your cable or satellite TV provider. It allows you to access a wide range of channels and enjoy the flexibility of recording multiple shows simultaneously.
Make sure to check with your cable or satellite TV provider for specific instructions on setting up and using their DVR service with your smart TV.
Method 4: Recording with a Streaming Device
If you primarily use streaming services for your entertainment, you can still record content on your smart TV using a streaming device with recording capabilities. Here’s how you can record with a streaming device:
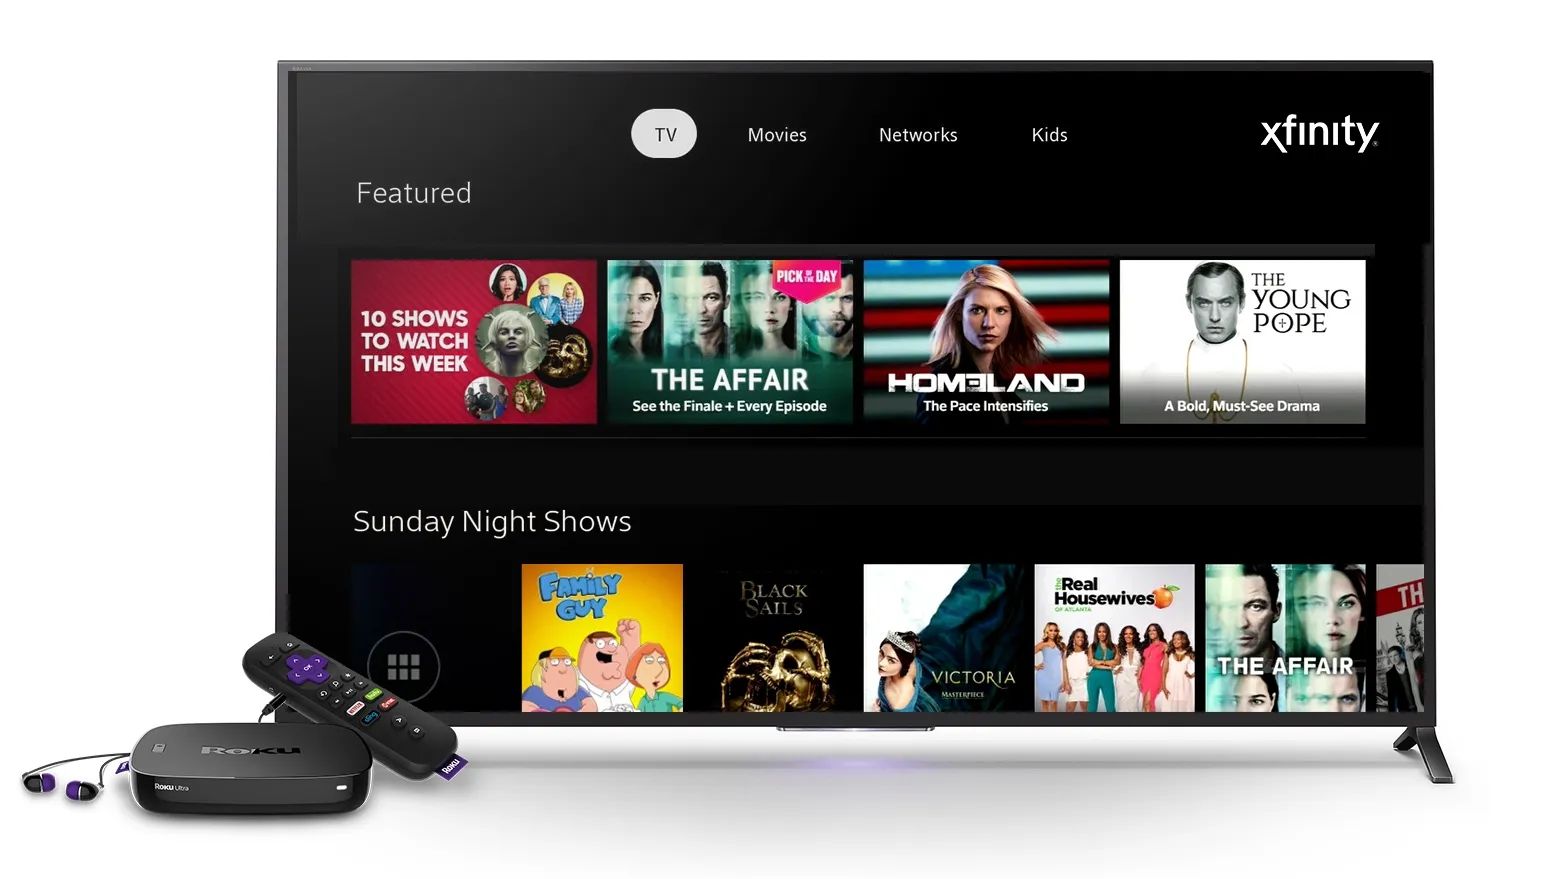
- Select a Streaming Device with Recording Functionality: Look for a streaming device that offers recording capabilities. Some popular options include Roku with the Roku Channel and select models of Amazon Fire TV with their built-in DVR feature. Ensure that the streaming device is compatible with your smart TV and streaming services.
- Connect the Streaming Device: Connect the streaming device to your smart TV using an HDMI cable. Plug one end of the HDMI cable into the streaming device and the other end into an available HDMI input port on your TV. Follow the manufacturer’s instructions to set up and configure the streaming device.
- Access the Recording Function: Once the streaming device is set up, navigate to the streaming app or channel that supports recording. This may vary depending on the streaming device and the apps you have installed. Look for the recording icon or options within the app’s interface.
- Select and Customize Recordings: Using the streaming device’s remote control or on-screen interface, select the show or movie you want to record. Customize the recording settings such as the duration, quality, and whether you want to record a single episode or an entire series.
- Start and Manage Recordings: Start the recording process and let the streaming device handle the rest. You can manage your recorded content through the streaming app’s recording library, where you can view, organize, and delete your recordings as needed.
- Playback on Your Smart TV: Access the recording library on your streaming app to select and play back your recorded content. The playback will be displayed on your smart TV, allowing you to enjoy your favorite shows and movies at your convenience.
Recording with a streaming device provides a convenient way to capture content from popular streaming services. It gives you the flexibility to watch recorded shows and movies on your smart TV, even if the streaming service doesn’t offer built-in recording capabilities.
Remember to check the streaming device’s user manual or the manufacturer’s website for specific instructions related to recording on their platform.
Tips for Recording on Smart TVs
Recording on smart TVs can enhance your entertainment experience by allowing you to capture and enjoy your favorite content at your convenience. To make the most out of your recording capabilities, consider the following tips:
- Check Storage Capacity: Keep an eye on the available storage capacity on your external storage device. Regularly delete unwanted recordings or transfer them to another storage device to free up space for new recordings. This ensures that you can continue recording without running out of storage.
- Set Recording Quality: Adjust the recording quality to strike a balance between file size and video/audio clarity. Higher quality settings result in larger file sizes, which may reduce the available recording time. Experiment with different settings to find the optimal balance for your preferences and storage capacity.
- Consider Scheduling: Take advantage of scheduling features to automatically record your favorite shows or series. This way, you won’t have to manually start and stop recordings, ensuring you never miss an episode. Check the recording options in your smart TV’s settings or the specific app or device you’re using.
- Utilize Series Recording: If you want to record an entire series, enable the series recording option if available. This ensures that every episode of the series is recorded automatically, saving you from the hassle of setting up individual recordings for each episode.
- Manage Recordings: Regularly review and manage your recorded content to keep your library organized and clutter-free. Delete recordings you no longer need or have already watched to free up space for new recordings. Sort recordings by date or category for easy navigation.
- Pause and Resume: Take advantage of the pause and resume feature during live recordings. If you need to take a break or answer a phone call, simply pause the recording and resume it when you’re ready. This allows you to watch the recorded content without missing any part of the live broadcast.
- Consider Network Limitations: When using streaming services for recording, keep in mind that some streaming platforms may have restrictions or limitations on recording certain content. Check the terms and conditions of the streaming service to ensure compliance and to avoid any legal issues.
- Stay Updated: Keep your smart TV’s firmware and apps updated regularly. Manufacturers often release updates that improve performance, fix bugs, and introduce new features. By staying updated, you ensure that you have access to the latest recording capabilities and improvements.
By following these tips, you can make the most out of your smart TV’s recording functionality and ensure a seamless recording experience. Experiment with different settings and features to personalize your recording setup and enjoy your favorite content whenever and wherever you want.
Conclusion
Recording on a smart TV opens up a world of possibilities for enhancing your entertainment experience. Whether you want to capture your favorite shows, save live sports events, or create a personal library of movies, smart TVs offer various methods for recording content.
In this article, we explored four different methods for recording on a smart TV. We discussed the built-in recording functionality, HDMI and capture devices, digital video recorders (DVRs), and recording with streaming devices. Each method has its own advantages and requirements, allowing you to choose the one that suits your needs and preferences.
When recording on a smart TV, it’s important to consider factors such as storage capacity, recording quality, scheduling options, and managing your recordings. Regularly review and manage your recorded content to keep your library organized and make space for new recordings. Take advantage of features like pausing and resuming during live recordings and utilizing series recording to automate the process.
Remember to check the user manual or documentation for your specific smart TV model and any additional devices you’re using for recording. This ensures that you’re aware of any specific requirements or limitations.
By following the tips and methods outlined in this article, you can make the most out of your smart TV’s recording capabilities and enjoy the flexibility and convenience of capturing and watching your favorite content at your leisure.