Why Removing External Hard Drives Safely is Important
External hard drives have become the go-to solution for storing and transferring large amounts of data. They offer convenience, portability, and ample storage capacity. However, it’s crucial to understand the importance of safely removing these drives from your computer.
When you disconnect an external hard drive without following proper procedures, you risk damaging the drive and losing valuable data. Abruptly unplugging the drive can cause data corruption, file system errors, or even physical damage to the drive itself. This could lead to data loss, which can be a frustrating and costly experience.
Safely removing external hard drives ensures that all active processes and files associated with the drive are properly closed before disconnecting. By closing programs and files, you avoid interruptions or conflicts that could potentially result in data corruption or loss.
Another key reason for safely removing external hard drives is to adhere to the file system protocols. When you eject the drive using your computer’s eject option, it triggers the operating system to finalize any pending write operations and flush the disk cache. This process ensures that all data has been properly written and ensures the integrity of the files stored on the drive.
Furthermore, physically disconnecting the external hard drive after ejecting it helps protect against accidental removal while the drive is still in use. This extra step prevents potential damage that could occur to the drive’s connectors if forcefully disconnected, ensuring the longevity of the device.
Properly storing the external hard drive is also a vital aspect of safely removing it. Placing the drive in a safe and dust-free location when not in use minimizes the risk of physical damage, such as scratches or falls, that could compromise its functionality.
In summary, safely removing external hard drives is crucial to preserving the integrity of your data and the longevity of the device. By following the correct procedures, you reduce the risk of data loss, ensure the proper completion of write operations, and protect against physical damage. Taking the extra time to remove external hard drives safely is well worth it to maintain the reliability and longevity of your valuable data storage solution.
Step 1: Close All Programs and Files Using the External Hard Drive
Before safely removing your external hard drive, it’s essential to ensure that all programs and files associated with the drive are closed. This step ensures that there are no active or running processes that could cause conflicts or data corruption when disconnecting the drive.
Start by saving any open files that are stored on the external hard drive. This includes documents, images, videos, or any other data you might have accessed or modified. Check for applications that may be actively using the drive, such as backup software or file-syncing programs, and make sure to close them before proceeding.
One effective way to close all programs and files using the external hard drive is to use the task manager or activity monitor on your computer. These tools allow you to view and close running applications and processes easily. Look for any processes related to the external hard drive and terminate them to ensure a smooth disconnection.
Alternatively, you can manually close individual programs and files by navigating to the open applications or file explorer windows and closing them one by one. Make sure to save any unsaved changes before closing files to avoid data loss.
By closing all programs and files associated with the external hard drive, you minimize the risk of data corruption or loss during the disconnection process. This step allows the operating system to properly finalize any pending write operations and ensure that all data is securely stored on the drive before removal.
Remember, taking the time to close all programs and files using the external hard drive is a crucial part of safely removing it. By doing so, you can ensure the integrity of your data and minimize the potential for conflicts or errors when disconnecting the device.
Step 2: Eject the External Hard Drive Using Your Computer’s Eject Option
Once you have closed all programs and files associated with the external hard drive, the next step to safely remove it is to eject the drive using your computer’s eject option. This step allows the operating system to complete any pending write operations and ensures the integrity of the files stored on the drive.
To eject the external hard drive, locate the drive icon on your computer. On Windows, it is typically displayed in the system tray or File Explorer. On macOS, you can find it on the desktop or in the Finder sidebar.
Right-click on the drive icon (or Ctrl-click on macOS) to display the context menu. Look for the option to eject or safely remove the external hard drive and select it. Alternatively, you can also drag the drive icon to the trash or use the eject button in certain applications or software.
After initiating the eject command, the operating system will notify you once it is safe to remove the external hard drive. It may display a message stating that it is safe to disconnect the device or that the drive has been successfully ejected.
It is important to wait for the confirmation from the operating system before physically disconnecting the external hard drive. This ensures that all write operations have been finalized, and the drive cache has been properly flushed, minimizing the risk of data loss or corruption.
It is worth noting that abruptly unplugging the external hard drive without properly ejecting it can result in data corruption or damage to the drive. This is because there may still be active write operations or cached data that needs to be safely written and stored on the drive before removal.
By following the proper eject procedure, you ensure that all data has been securely written and that the file system has been updated accordingly. This step plays a vital role in maintaining the integrity of your data and prolonging the lifespan of the external hard drive.
Remember, always take the time to eject the external hard drive using your computer’s eject option before physically disconnecting it. This simple step will protect your data and ensure the smooth operation of your storage device.
Step 3: Physically Disconnect the External Hard Drive from Your Computer
After safely ejecting the external hard drive using your computer’s eject option, the next step is to physically disconnect the drive from your computer. This step ensures that the drive is properly disconnected without causing any damage or data loss.
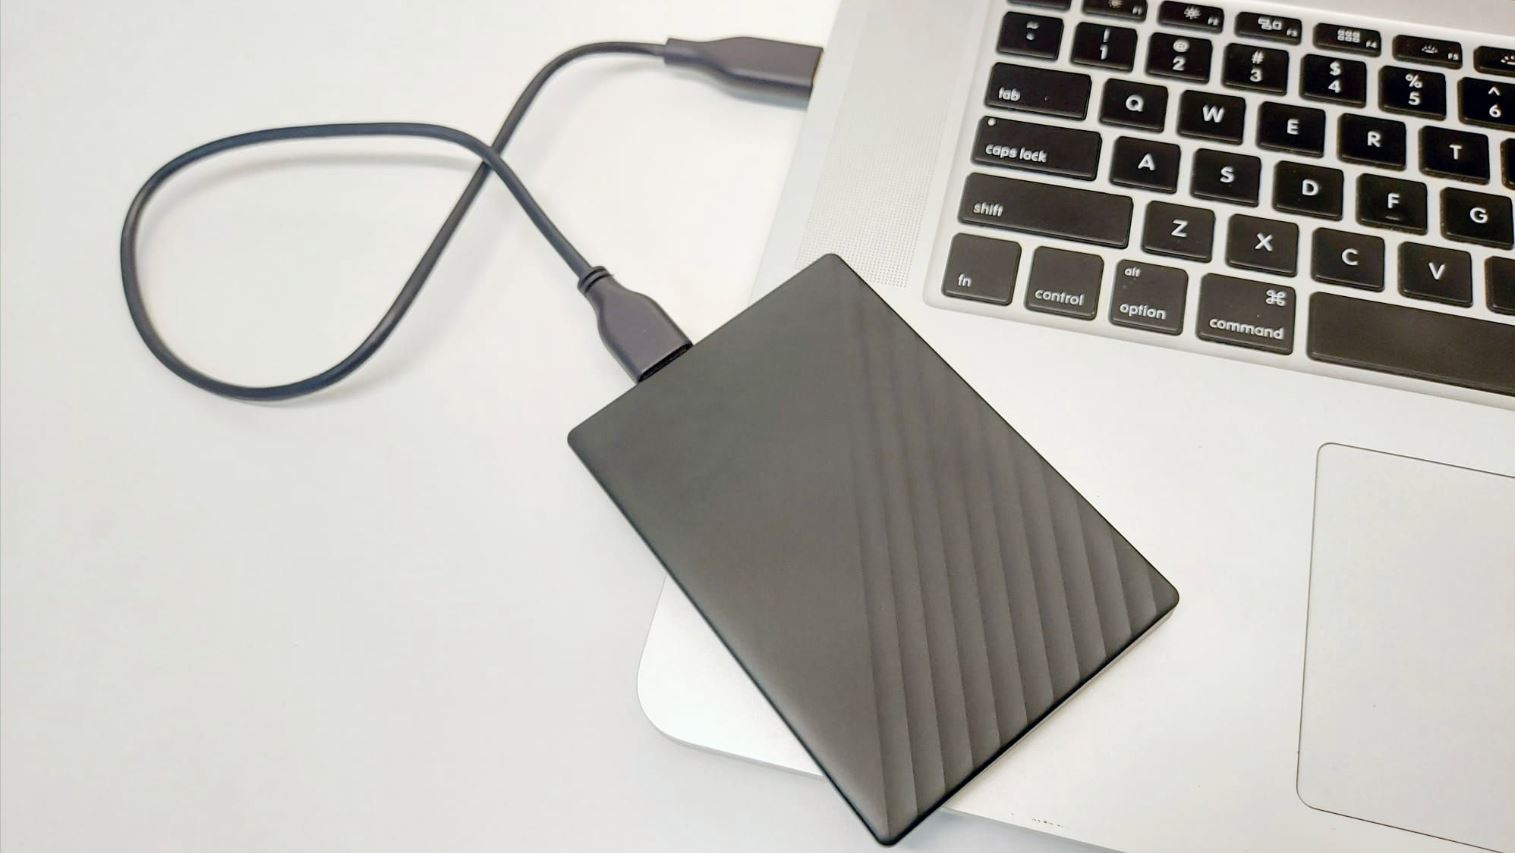
Start by locating the cable connecting the external hard drive to your computer. This is typically a USB, Thunderbolt, or eSATA cable. Carefully grasp the connector or plug and gently pull it out of the corresponding port on your computer.
It is important to avoid yanking or pulling the cable forcefully, as this can damage both the cable and the port. Instead, apply a steady and gentle tug to remove the connector from the port. If the cable is firmly attached and difficult to remove, wiggle it back and forth while applying slight pressure until it detaches.
Ensure that you are pulling the correct cable and not accidentally disconnecting other peripherals or devices connected to your computer. Double-check the cable and verify that you are removing the cable specifically connected to the external hard drive.
Once the cable is disconnected, carefully set it aside or coil it up for storage. Avoid bending or twisting the cable excessively, as this can cause damage over time, affecting its functionality or longevity.
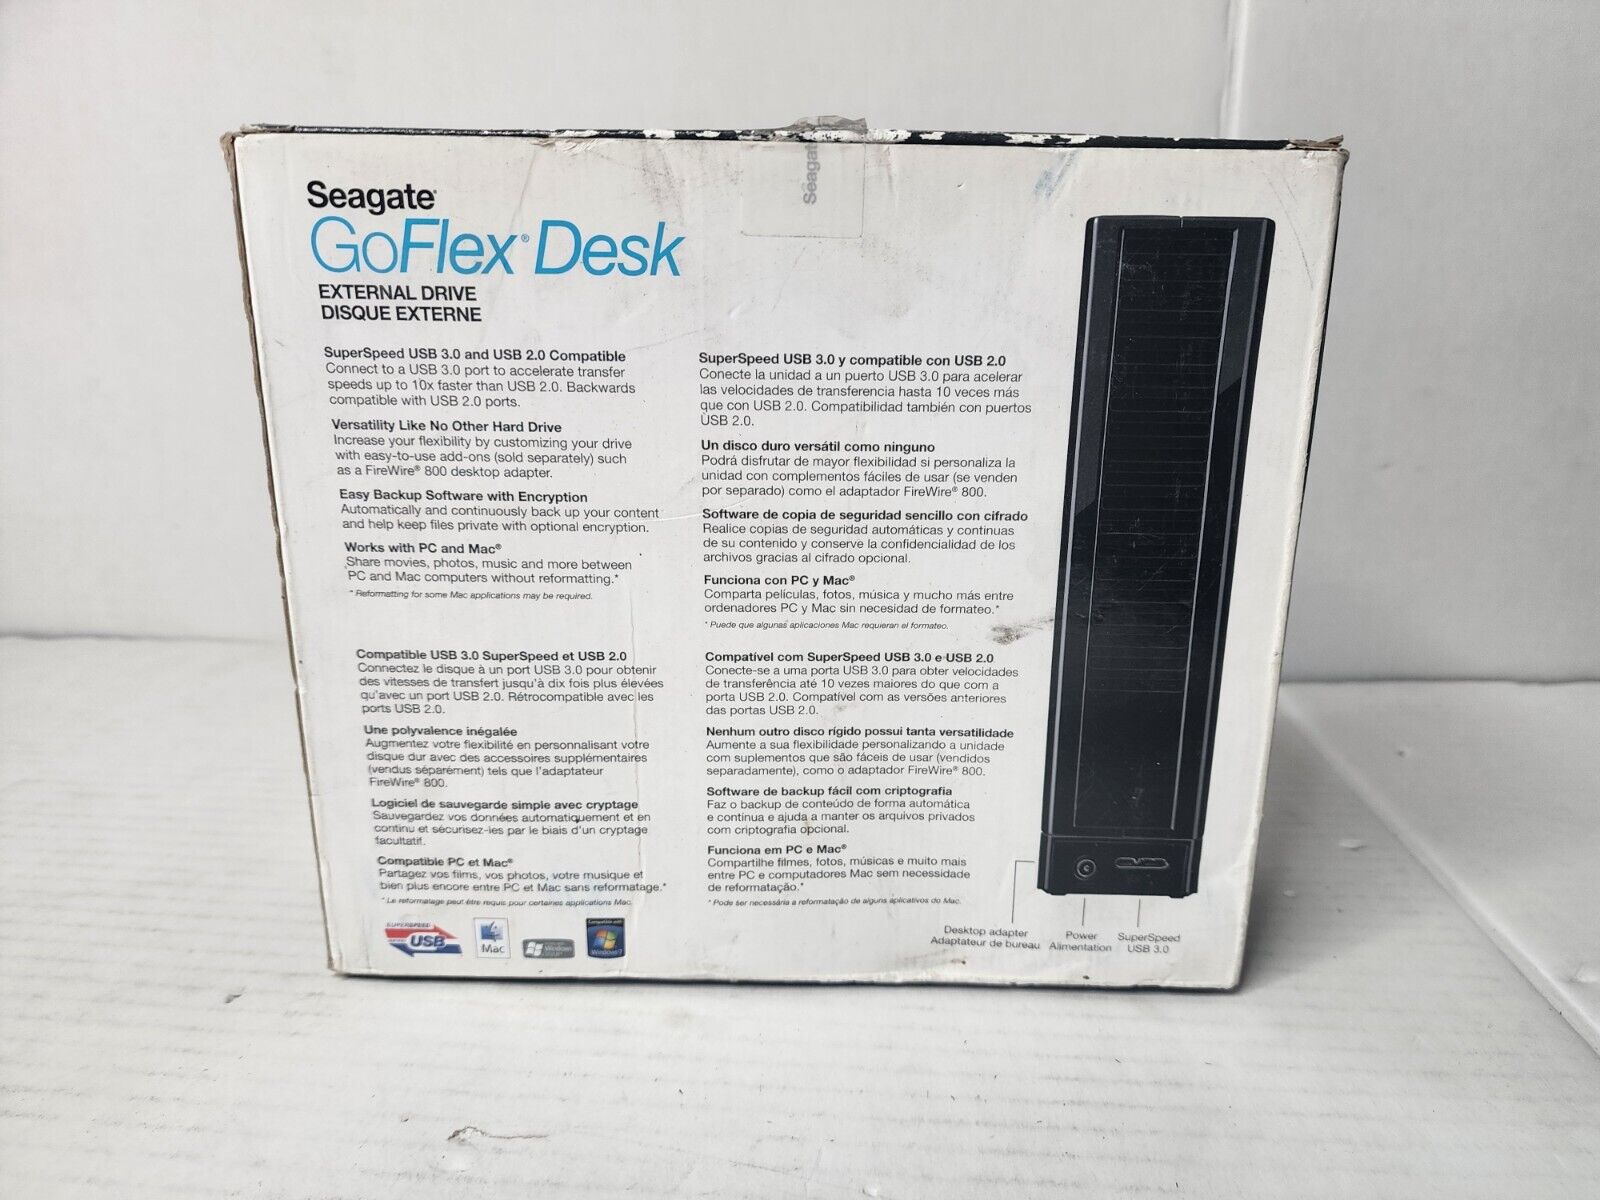
In some cases, the external hard drive may have a dedicated power cable or power switch. If so, make sure to also power down the drive and disconnect any power cables according to the manufacturer’s instructions. This extra step protects the drive from sudden power surges or accidental power-on situations.
By carefully and correctly disconnecting the external hard drive from your computer, you preserve the device’s connectors and reduce the risk of damage. This step ensures that the drive remains in good condition and ready for future use.
Remember, always handle the external hard drive and its cables with care when physically disconnecting them from your computer. By practicing proper disconnecting techniques, you keep both your computer and the external hard drive safe from harm and maintain optimal functionality.
Step 4: Store the External Hard Drive in a Safe and Dust-Free Location
Once you have safely disconnected the external hard drive from your computer, it is important to store the device properly. Proper storage helps protect the drive from physical damage, dust, and other environmental factors that can affect its functionality and lifespan.
Choose a safe and secure location to store the external hard drive. Ideally, this should be a dust-free environment away from direct sunlight, excessive heat, moisture, and magnetic sources. These factors can potentially damage the drive or interfere with its performance.
If your external hard drive came with a protective case or sleeve, use it to provide an additional layer of protection. These cases are often designed specifically for the drive, offering proper cushioning and shielding against scratches, bumps, and minor impacts.
When storing the external hard drive, avoid placing heavy objects on top of it or subjecting it to unnecessary pressure or vibrations. These can cause physical damage to the drive or its internal components.
Consider storing the external hard drive in an upright position, if possible, to minimize the chance of it being accidentally knocked over. This helps maintain the proper alignment of the drive’s internal components and can prevent damage from sudden jolts or falls.
Label the external hard drive or its storage case with its name or a brief description. This makes it easier to identify among other storage devices, especially if you have multiple drives. It also helps you quickly locate the specific drive you need when connecting it to your computer.
Regularly inspect the external hard drive for any signs of physical damage, such as scratches, dents, or loose connections. If you notice any issues, handle them with care and, if necessary, consider contacting the manufacturer for further assistance.
By storing the external hard drive in a safe and dust-free location, you ensure its longevity and maintain its optimal performance. Taking this extra step of proper storage can go a long way in preserving the integrity of your data and extending the lifespan of the drive.
Frequently Asked Questions (FAQs) about Safely Removing External Hard Drives
Q: Do I really need to safely remove the external hard drive, or can I just unplug it?
A: Safely removing the external hard drive is essential to prevent data corruption, file system errors, or physical damage to the drive. Abruptly unplugging the drive can result in data loss and potentially harm the drive itself.
Q: What happens if I forget to eject the external hard drive before unplugging it?
A: Forgetting to eject the external hard drive can lead to data corruption or loss. It is important to properly eject the drive to ensure that all data has been securely written and the file system has been updated before removal.
Q: Can I safely remove the external hard drive while it is still transferring files?
A: It is best practice to wait for file transfers to complete before removing the external hard drive. If you disconnect the drive during a transfer, it may result in incomplete or corrupted files.
Q: Can I safely remove the external hard drive without closing all programs using it?
A: It is highly recommended to close all programs and files using the external hard drive before safely removing it. This ensures that all write operations are completed and reduces the risk of data corruption or loss.
Q: Is it necessary to eject the external hard drive even if I haven’t made any changes to the files?
A: Yes, it is important to eject the external hard drive even if you haven’t made any changes. Ejecting the drive allows the operating system to finalize any pending write operations and ensure the integrity of the files.
Q: Can I just turn off my computer instead of safely removing the external hard drive?
A: While turning off your computer without safely removing the external hard drive effectively cuts power to the drive, it is still recommended to follow the proper eject procedure. This ensures that all data has been securely written and reduces the risk of potential issues upon reconnecting the drive.
Q: Is there any risk of damaging the computer or the external hard drive while disconnecting it?
A: When following the correct procedures, there is minimal risk of damaging either the computer or the external hard drive. However, it is crucial to handle the drive and its cables carefully to avoid yanking or forcing them out of the ports.
Q: Can I reconnect the external hard drive immediately after disconnecting it?
A: Yes, once you have safely removed and disconnected the external hard drive, you can reconnect it whenever needed. Just make sure to go through the proper steps of closing programs, ejecting, and physically disconnecting the drive again if you wish to remove it.
Q: What should I do if my external hard drive is not ejecting or showing errors?
A: If you encounter issues with ejecting the external hard drive or if you receive error messages, try restarting your computer and attempting to eject the drive again. If the problem persists, consult the device’s documentation, contact the manufacturer’s support, or seek assistance from an IT professional.
Final Thoughts on Safely Removing External Hard Drives
Safely removing external hard drives may seem like a simple task, but it is a crucial step in maintaining the integrity of your data and preserving the lifespan of the device. By following the proper procedures, such as closing all programs and files, ejecting the drive using your computer’s option, and physically disconnecting the drive, you minimize the risk of data corruption, file system errors, and physical damage.
When you abruptly unplug an external hard drive without safely removing it, you run the risk of losing valuable data and compromising the functionality of the drive. These consequences can be time-consuming and costly to rectify, making it worthwhile to take the extra few moments to safely remove the drive.
Properly closing all programs and files associated with the external hard drive before ejecting it ensures that all active processes are completed, reducing the possibility of conflicts or data corruption. Ejecting the drive using your computer’s option finalizes any pending write operations and ensures that all data is securely written and stored on the drive.
Physically disconnecting the external hard drive allows for the proper removal of the device without causing any damage. By handling the drive and its cables with care, you can avoid yanking or forcing them out of the ports, which can lead to physical damage or wear over time.
Storing the external hard drive in a safe and dust-free location when not in use further protects the device from potential physical damage, ensuring its longevity. Avoiding direct sunlight, excess heat, moisture, and magnetic sources helps preserve the functionality of the drive and prevents environmental factors from impacting its performance.
By taking these steps to safely remove and store external hard drives, you can enhance the reliability and longevity of your valuable data storage solutions. Investing a few extra moments in the proper removal and storage of your external hard drive is a small price to pay for the security and peace of mind it provides.
Remember, when it comes to safely removing external hard drives, patience and attention to detail are key. By incorporating these practices into your routine, you can protect your data and ensure the smooth operation of your external storage devices for years to come.