Introduction
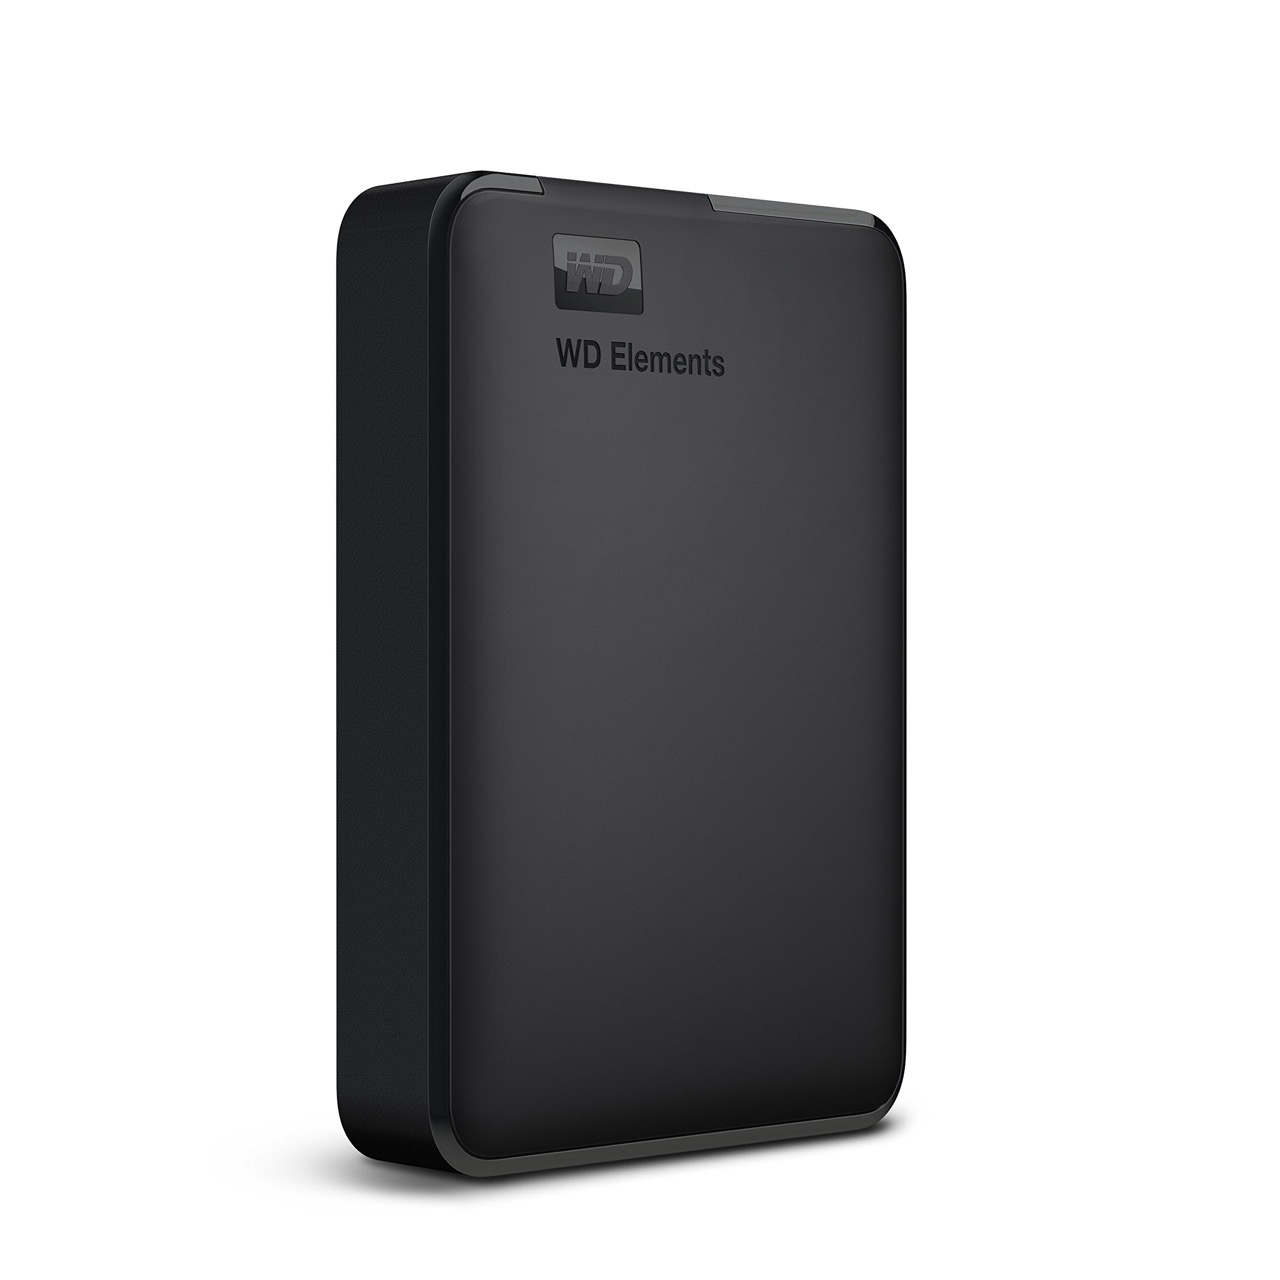
Welcome to our guide on how to open a WD My Book external hard drive. The WD My Book series is a popular choice for those needing extra storage space for their valuable data. However, there might come a time when you need to access the internals of the drive, whether it’s for troubleshooting, upgrading, or retrieving data. Opening the WD My Book external hard drive may seem intimidating, but with the right tools and precautions, it can be a straightforward process.
In this step-by-step tutorial, we will walk you through the process of opening a WD My Book external hard drive safely and effectively. We will cover the necessary tools you will need, essential safety precautions to take, and guide you through each step of the process. By following this guide, you’ll be able to gain access to the internal components of your WD My Book external hard drive like a pro.
Please keep in mind that opening your WD My Book external hard drive may void its warranty. If your drive is still under warranty, it’s best to contact the manufacturer or a certified technician for assistance. Opening the drive should only be done if you are confident in your technical skills and are aware of the potential risks involved. With that being said, let’s get started on opening your WD My Book external hard drive and exploring its inner workings.
Step 1: Gathering the necessary tools
Before you begin the process of opening your WD My Book external hard drive, it’s important to have the right tools on hand. Having the proper tools will make the process smoother and minimize the risk of damage. Here are the essential tools you will need:
- Screwdriver set: Make sure you have a set of screwdrivers with various sizes and types, including both Phillips and flathead screwdrivers. The size of the screws on your WD My Book external hard drive may vary, so having a range of screwdriver sizes is essential.
- Anti-static wrist strap: It’s highly recommended to use an anti-static wrist strap to protect the internal components of your hard drive from electrostatic discharge (ESD) damage. ESD can cause irreparable harm to delicate electronic components, so grounding yourself with an anti-static wrist strap is crucial.
- Plastic spudger or opening tool: A plastic spudger or opening tool will come in handy when prying open the external casing of your WD My Book hard drive. These tools are designed to prevent damage to the casing, making it easier to remove without leaving any marks or scratches.
- Clean workspace: Prepare a clean and static-free workspace with adequate lighting. This will help you keep track of the small screws and components as you work and reduce the chances of losing any important pieces.
Having these tools ready before starting the process will save you time and frustration. It’s always better to be prepared to ensure a smooth and successful opening of your WD My Book external hard drive. Once you have gathered all the necessary tools, you can move on to the next steps of the process.
Step 2: Safety precautions before opening the WD My Book external hard drive
Before you proceed with opening your WD My Book external hard drive, it’s important to take some safety precautions to protect both yourself and the internal components of the drive. Here are some vital safety measures to keep in mind:
- Power off and disconnect: Make sure to power off your WD My Book external hard drive and disconnect it from any power source before starting. This will eliminate the risk of electric shock and prevent any accidental data loss or damage to the drive.
- Ground yourself: Before handling the drive or any internal components, take steps to ground yourself to avoid electrostatic discharge (ESD). This can be done by wearing an anti-static wrist strap or by touching a grounded metal object, such as a doorknob, to discharge any static electricity from your body.
- Work in a clean area: Find a clean and dust-free area to perform the opening procedure. Dust particles can cause damage to the internal components of your hard drive, so it’s crucial to work in a controlled environment.
- Handle with care: While handling the external casing and internal components, be gentle and avoid applying excessive force or pressure. Delicate components and connections can be easily damaged if mishandled.
- Keep track of screws: As you remove screws from the external casing, keep them organized and labeled to ensure you can reassemble the drive correctly later on. Using a magnetic mat or a similar tool can help keep the screws in place and prevent them from getting lost.
- Take notes and photos: Throughout the process, take notes and photos of the steps you’re taking. This will help you remember the correct order and placement of components during reassembly.
By following these safety precautions, you can minimize the risk of accidents, protect the internal components of your WD My Book external hard drive, and ensure a smooth and successful opening process. Once you have taken these necessary safety measures, you’re ready to move on to the next steps of opening your WD My Book external hard drive.
Step 3: Removing the outer casing
Now that you have taken the necessary safety precautions, you can proceed to remove the outer casing of your WD My Book external hard drive. Follow these steps to successfully remove the casing:
- Place your WD My Book external hard drive on a soft and static-free surface, with the ports facing up.
- Identify the screws: Most external hard drives have screws hidden beneath rubber feet or stickers. Carefully peel back the rubber feet or remove the stickers to expose the screws.
- Use the appropriate screwdriver: Choose the correct size and type of screwdriver (usually a Phillips or flathead) to remove the screws. It’s important to apply even pressure and avoid stripping the screws.
- Remove the screws: Use the screwdriver to unscrew and remove all the screws from the casing. Place the screws in a secure location, such as a small container or on a magnetic mat, to avoid losing them.
- Prying open the casing: Once all the screws are removed, you will need to use a plastic spudger or opening tool to gently pry open the casing. Insert the tool into the seam where the two halves of the casing meet, and carefully apply pressure to separate them.
- Work your way around: Slowly and carefully work your way around the edge of the casing, using the plastic spudger or opening tool to release the clips that hold the casing together. Be patient and take your time to avoid damaging the clips or the casing itself.
- Separate the casing: Once all the clips are released, you should be able to separate the two halves of the casing easily. Set aside the outer casing and keep it in a safe place.
Congratulations! You have successfully removed the outer casing of your WD My Book external hard drive. Take a moment to familiarize yourself with the internal components before proceeding to the next steps. Remember to handle the drive with care and keep the screws and outer casing in a secure location to ensure a smooth reassembly process in the future.
Step 4: Disconnecting the internal components
With the outer casing removed, you can now focus on disconnecting the internal components of your WD My Book external hard drive. Follow these steps to safely disconnect the internal connections:
- Identify the connections: Take a close look at the internal components and locate the various connections that need to be disconnected. These connections may include data cables, power cables, and possibly additional cables or ribbons, depending on the model.
- Take note and photos: Before you disconnect any cables, it’s a good idea to take notes and photos of their placement and orientation. This will help you during the reassembly process.
- Disconnect the cables: Using gentle and steady pressure, carefully disconnect the cables from their respective ports. Avoid pulling on the cables directly; instead, hold onto the connector or plastic housing and wiggle it slightly as you remove it.
- Handle ribbon cables carefully: If your WD My Book external hard drive has ribbon cables, exercise extra caution when disconnecting them. These cables are fragile and can be easily damaged. Gently lift the clips or slide the tabs holding the ribbon cables in place and carefully remove the cables.
- Keep cables organized: As you remove each cable, keep them organized and separate from each other to avoid confusion or tangling. You can use small labels or a system of notation to remember which cable goes where.
- Inspect for additional connections: Some WD My Book models may have additional connections, such as screws or brackets holding components in place. Take note of any additional connections and remove them if necessary.
By following these steps, you can safely disconnect the internal components of your WD My Book external hard drive. Remember to handle the cables and connectors with care to prevent any damage. As you disconnect each component, keep them organized and take note of their placement for an easier reassembly process later on. With the internal components disconnected, you are now ready to proceed to the next step of opening your WD My Book external hard drive.
Step 5: Opening the hard drive enclosure
Now that you have safely disconnected the internal components, it’s time to open the hard drive enclosure itself to access the hard drive. Follow these steps to open the hard drive enclosure:
- Locate the screws: Examine the internal frame or brackets of your WD My Book external hard drive to identify the screws that hold the hard drive enclosure in place. These screws are usually small and may be located on the sides or bottom of the enclosure.
- Use the appropriate screwdriver: Select the correct size and type of screwdriver (usually a Phillips or Torx) to remove the screws. Take your time to ensure you have a firm grip on the screwdriver and avoid stripping the screws.
- Remove the screws: Carefully unscrew and remove the screws that secure the hard drive enclosure. Keep the screws in a safe place to prevent loss or confusion during the reassembly process.
- Open the hard drive enclosure: Once the screws are removed, you should be able to separate the hard drive enclosure from the rest of the internal components. Gently lift the enclosure, making sure not to put any pressure on the exposed hard drive itself.
- Note the hard drive orientation: Take note of the orientation of the hard drive within the enclosure. This will be important when reconnecting the hard drive later on.
- Set aside the enclosure: Place the hard drive enclosure in a safe and clean location, away from any potential damage or static electricity. Take care to protect the exposed circuitry from accidental contact or debris.
By following these steps, you have successfully opened the hard drive enclosure of your WD My Book external hard drive. Take a moment to observe the internal components and familiarize yourself with the hard drive’s placement and orientation. Remember to handle the enclosure and hard drive with care to avoid any damage. With the hard drive enclosure open, you can now move on to the next step of accessing the hard drive itself.
Step 6: Accessing the hard drive itself
Now that you have opened the hard drive enclosure, you can proceed to access the hard drive itself. Follow these steps to safely access the hard drive:
- Handle with caution: Before proceeding, it’s important to note that the hard drive is a delicate component. Avoid touching the exposed circuitry or any other sensitive parts to prevent damage from static electricity or physical contact.
- Remove any brackets or connectors: Depending on the specific model of your WD My Book external hard drive, there may be additional brackets or connectors securing the hard drive. Remove them carefully, taking note of their placement for reassembly.
- Slide out the hard drive: Once any additional components are removed, gently slide out the hard drive from its slot within the enclosure. Be cautious not to apply too much force or tilt the hard drive excessively.
- Place the hard drive on an anti-static surface: After removing the hard drive, place it on an anti-static surface, such as an anti-static mat or a piece of anti-static foam. This will help protect it from electrostatic discharge and potential damage.
- Take note of the drive’s orientation: Before disconnecting any cables or further disassembling the hard drive, take note of its orientation. This will be important when reconnecting the hard drive later on.
- Disconnect the necessary cables: If there are any cables connected to the hard drive, such as SATA or power cables, gently disconnect them. Be mindful of any latches or clips that may be securing the cables in place.
With the hard drive accessed, you can now proceed to work on it as needed. Whether you are troubleshooting, upgrading, or retrieving data, handle the hard drive with extreme care to avoid any damage. Keep the hard drive on an anti-static surface and take note of its orientation to ensure a smooth reassembly process in the future. With the hard drive safely accessed, you’re ready to move on to the next steps in opening your WD My Book external hard drive.
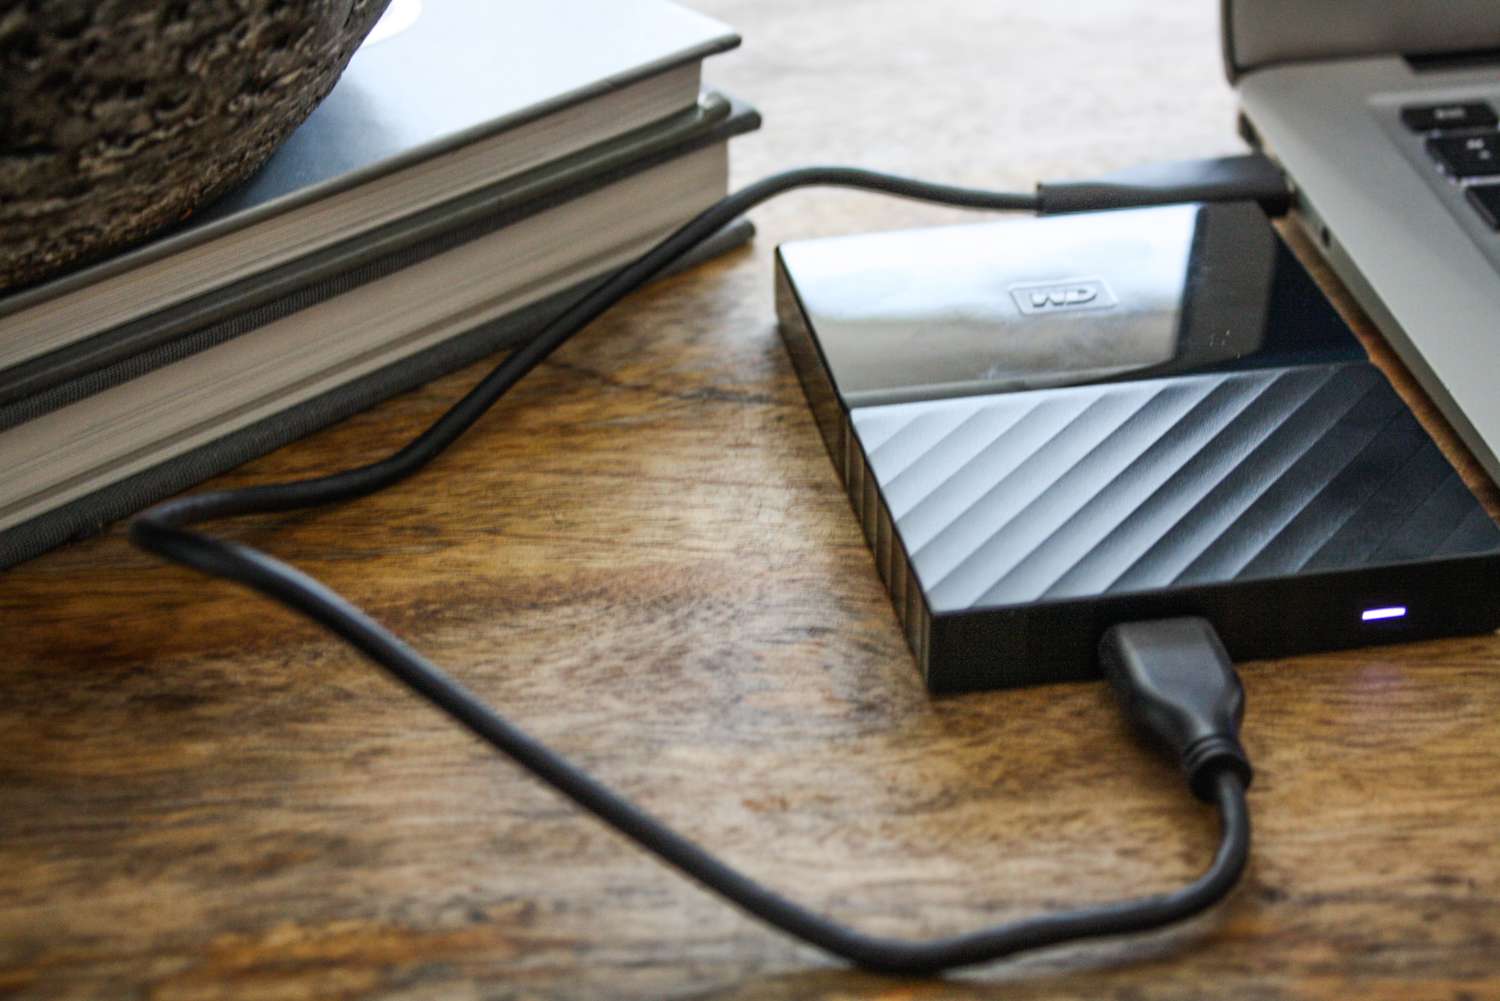
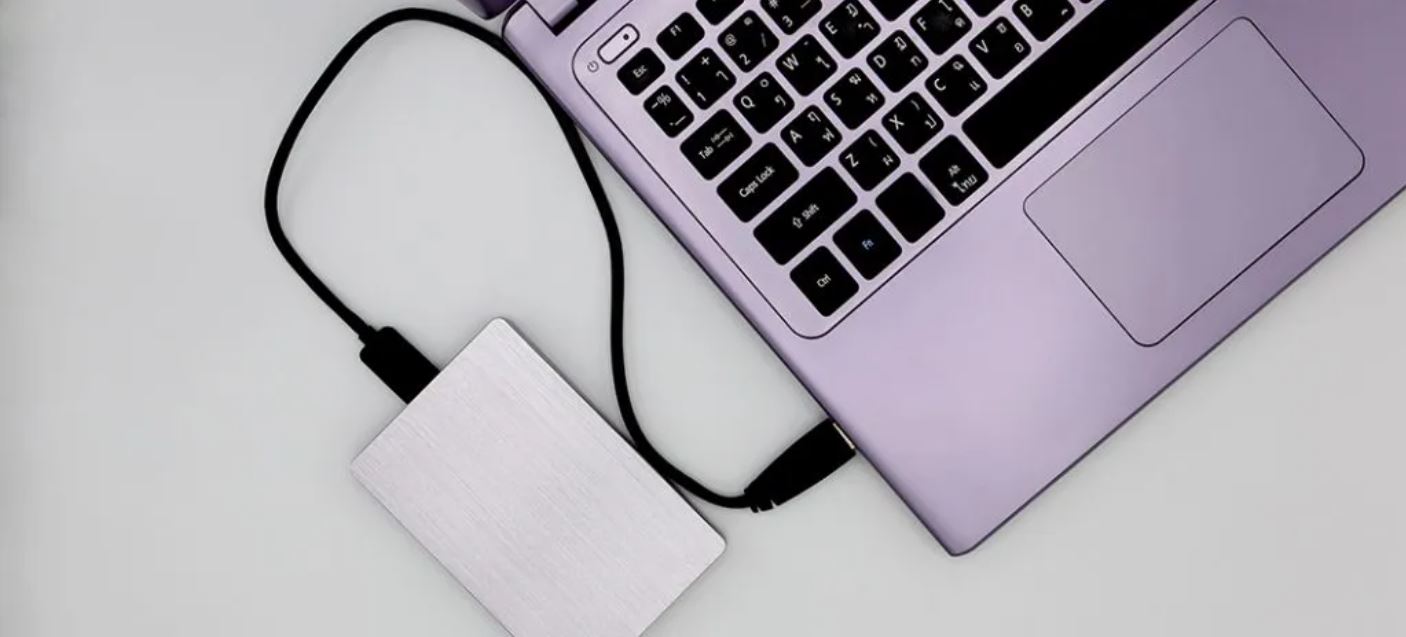
Step 7: Connecting the hard drive to a computer
After accessing and working on the hard drive, you may need to connect it to a computer for various purposes, such as data transfer or troubleshooting. Follow these steps to connect the hard drive to a computer:
- Prepare the necessary cables: Depending on the type of hard drive and computer you have, you may need different cables for the connection. The most common options are SATA to USB or SATA to eSATA cables.
- Ensure proper power source: If your WD My Book hard drive requires external power, make sure to connect it to a reliable power source. This can be an AC power adapter or a powered USB hub.
- Connect the data cable: If using a SATA to USB cable, connect one end of the cable to the hard drive’s SATA port and the other end to an available USB port on your computer.
- Power on the hard drive: If your hard drive has a dedicated power switch, turn it on. Otherwise, once the data cable is connected, the hard drive should receive power from your computer.
- Ensure proper detection: Wait for your computer to recognize the connected hard drive. If necessary, install any required drivers or software for the proper functioning of the hard drive.
- Access the hard drive: Once your computer detects the connected hard drive, you can access it through the file explorer or disk management utility, depending on your operating system.
By following these steps, you can successfully connect your WD My Book external hard drive to a computer. Ensure that you have the correct cables and power source for a reliable connection. Be patient while your computer detects the hard drive, and once it is recognized, you can access it to perform any necessary tasks, whether it’s transferring data or troubleshooting issues. With the hard drive connected, you can continue working with it as desired.
Step 8: Troubleshooting common issues
In the process of opening and accessing your WD My Book external hard drive, you may come across certain issues or errors. Here are some common problems you might encounter and troubleshooting tips to help resolve them:
- Connection issues: If your computer fails to detect the connected hard drive, double-check the cable connections and ensure that both the data cable and power source are properly connected. Try using a different USB port or a different cable if available.
- Data corruption or inaccessibility: If you encounter issues with accessing your data or if the data appears to be corrupt, it could be a sign of a failing hard drive. In such cases, it’s recommended to seek professional assistance from a data recovery specialist to avoid further damage.
- Strange noises or clicking sounds: Unusual noises, such as clicking or grinding sounds, coming from the hard drive may indicate a mechanical issue. Immediately power off the drive and seek professional help to prevent irreversible data loss or complete drive failure.
- Overheating: If your hard drive becomes excessively hot during operation, it could be a sign of poor ventilation or a failing cooling system. Ensure that the drive is placed in a well-ventilated area and consider using a cooling pad or external fan to prevent overheating.
- Firmware or software issues: Occasionally, firmware or software issues can cause problems with the hard drive’s performance or compatibility. Visit the manufacturer’s website and check for any available updates or patches that can address these issues.
Remember, if you encounter any issues during the troubleshooting process that you are unable to resolve, it is always recommended to seek professional assistance. Data recovery specialists or technicians with expertise in hard drive repair can provide the necessary expertise to diagnose and fix complex issues.
With these troubleshooting tips in mind, you can confidently address common issues that may arise when working with your WD My Book external hard drive. By taking the appropriate steps and seeking professional help when needed, you can ensure the optimal functioning and longevity of your hard drive.
Conclusion
Opening a WD My Book external hard drive may seem like a daunting task, but with the right tools, precautions, and step-by-step guidance, it can be a manageable process. Remember to always prioritize safety and take the necessary precautions to protect yourself as well as the delicate internal components of the hard drive. Keep in mind that opening your WD My Book external hard drive may void its warranty, so proceed with caution and consider seeking professional help if your drive is still under warranty or if you are unsure about your technical skills.
By following the steps outlined in this guide, you can safely open your WD My Book external hard drive, access its internal components, and even troubleshoot common issues that may arise. Remember to gather the necessary tools, take safety precautions, disconnect the internal components carefully, open the hard drive enclosure, access the hard drive itself, connect it to a computer, and troubleshoot any problems you encounter.
Opening your WD My Book external hard drive can give you the opportunity to troubleshoot, upgrade, or recover important data from your drive. However, it’s important to handle the internal components with care and make note of their placement for smooth reassembly. If you encounter any difficulties during the process, don’t hesitate to seek professional assistance to prevent further damage to your drive.
With the knowledge and understanding gained from this guide, you are now equipped to confidently open your WD My Book external hard drive and explore its inner workings. Take control of your hard drive’s maintenance and troubleshooting, and make the most out of your valuable data storage device.