Introduction
Backing up your computer is essential to ensure the safety and security of your valuable data. Whether it’s important documents, treasured photos, or crucial work files, losing them due to a computer crash, theft, or accidental deletion can be devastating.
In today’s digital age, we heavily rely on our computers for various aspects of our lives, making it even more crucial to have a backup plan in place. Fortunately, there are several methods available to back up your computer, and one of the most reliable and convenient options is to use an external hard drive.
An external hard drive acts as a separate storage device that you can connect to your computer, enabling you to store copies of your files and data remotely. This safeguard ensures that even if disaster strikes, you can quickly recover your important information without any hassle.
Throughout this article, we will explore the various reasons why backing up your computer is crucial, discuss the different types of external hard drives available, and provide step-by-step instructions on how to back up your computer effectively.
Whether you’re a Windows or macOS user, we have you covered with easy-to-follow methods using native backup utilities. Additionally, we will also provide tips on maintaining the integrity of your backup and how to restore files when needed.
By the end of this article, you’ll be equipped with the knowledge and tools to safeguard your data and have peace of mind knowing that your important files are protected.
Reasons for Backing Up Your Computer
Backing up your computer is not just a good practice; it is an essential step to protect your valuable data. Here are some compelling reasons why you should make regular backups:
- Protection against hardware failure: Computers, like any other electronic device, can experience hardware failure. Whether it’s a malfunctioning hard drive, power surge, or other hardware issues, these failures can result in data loss. By having backups, you can easily recover your files and ensure that your important data remains intact.
- Protection against accidental deletion: We’ve all experienced that sinking feeling when we accidentally delete an important file or folder. Whether it’s due to human error or a technical glitch, without proper backups, recovering deleted files can be extremely challenging. Regular backups act as a safety net, allowing you to restore accidentally deleted files with ease.
- Protection against malware and ransomware: The threat of malware and ransomware attacks is increasing day by day. These malicious programs can encrypt your files, making them inaccessible unless you pay a ransom. By having backups, you can restore your files without giving in to the demands of cybercriminals, keeping your data safe and secure.
- Seamless system recovery: If your computer crashes or experiences a major software failure, restoring your system to its previous state can be a time-consuming and complex process. However, with a recent backup, you can restore your entire system quickly, saving you from the hassle of reinstalling applications, configuring settings, and transferring files.
- Data migration and system upgrades: When upgrading to a new computer or performing a system upgrade, having a backup simplifies the process of transferring your files, settings, and applications to the new system. This ensures that you can seamlessly transition to the new device without losing any important data or spending hours manually transferring files.
By regularly backing up your computer, you minimize the risk of data loss and ensure that your important files are protected. Whether you encounter hardware issues, accidental deletions, malicious attacks, or system failures, having a reliable backup allows you to quickly recover and resume your work without any significant setbacks.
Choosing the Right External Hard Drive
When it comes to choosing an external hard drive for backing up your computer, there are a few key factors to consider. Here are some important considerations to help you select the right external hard drive:
- Storage capacity: The first thing to consider is the storage capacity of the external hard drive. Assess your storage needs by determining the size of the data you want to back up and any future storage requirements. External hard drives typically come in a range of capacities, from a few hundred gigabytes to several terabytes. It’s recommended to choose a drive with more storage than you currently need to accommodate future data growth.
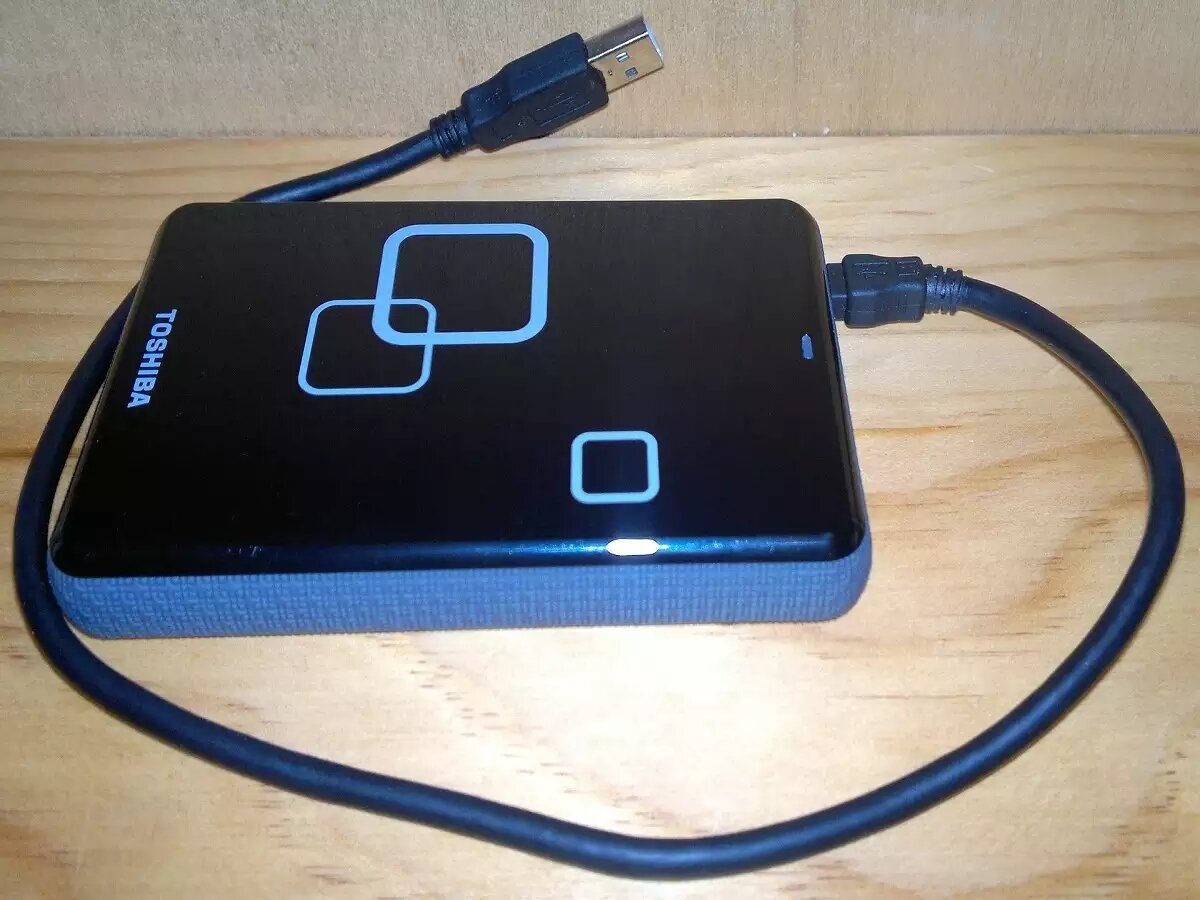
- Interface and compatibility: Check the interface and compatibility of the external hard drive with your computer. Common interfaces include USB, USB-C, Thunderbolt, and eSATA. Ensure that the drive you choose is compatible with your computer’s interface ports. Additionally, consider the compatibility with the operating system you are using, whether it’s Windows, macOS, or another system.
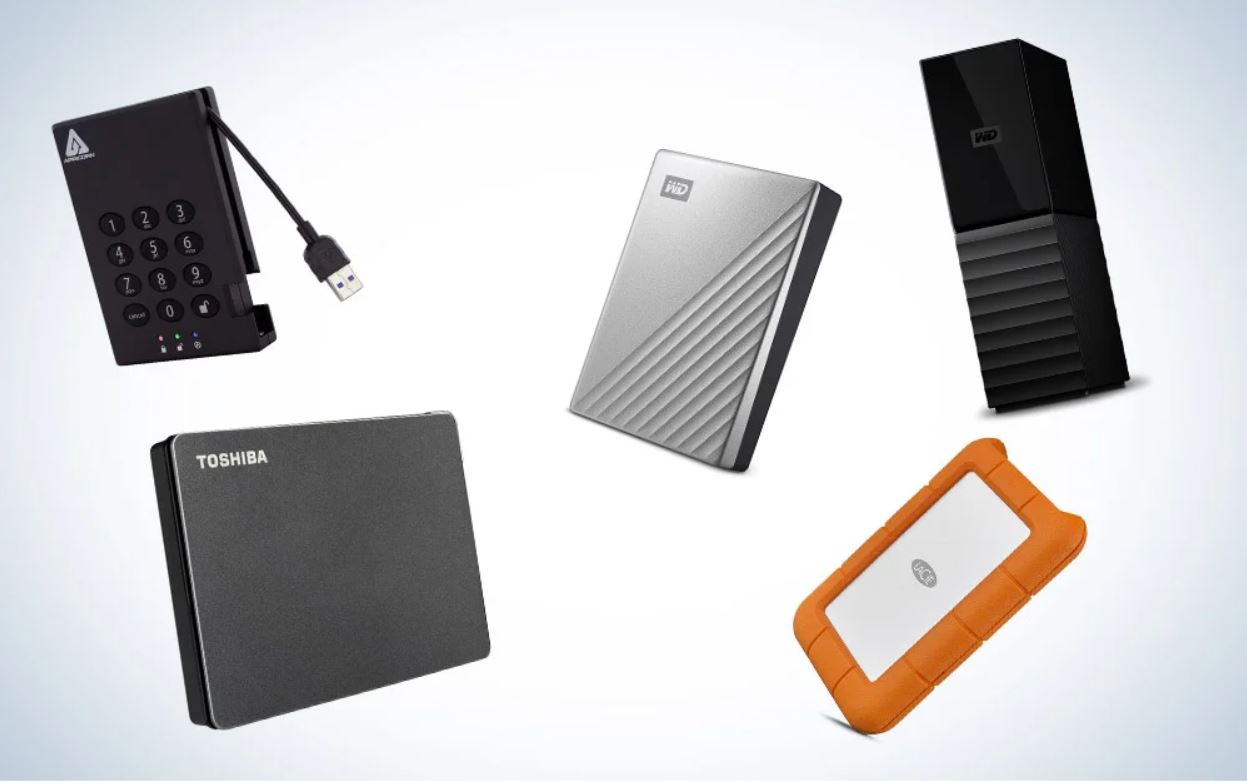
- Portability: If you plan to carry your external hard drive frequently or travel with it, portability becomes a crucial factor. Look for compact, lightweight drives that are easy to carry in a bag or pocket. Some drives even come with shockproof or rugged features to protect against accidental drops or bumps, making them ideal for on-the-go users.
- Speed: Consider the speed at which the external hard drive can transfer data. Faster transfer speeds ensure quicker backup and restore processes. Look for drives with USB 3.0 or USB-C interfaces, as these offer faster data transfer rates compared to older USB 2.0 models.
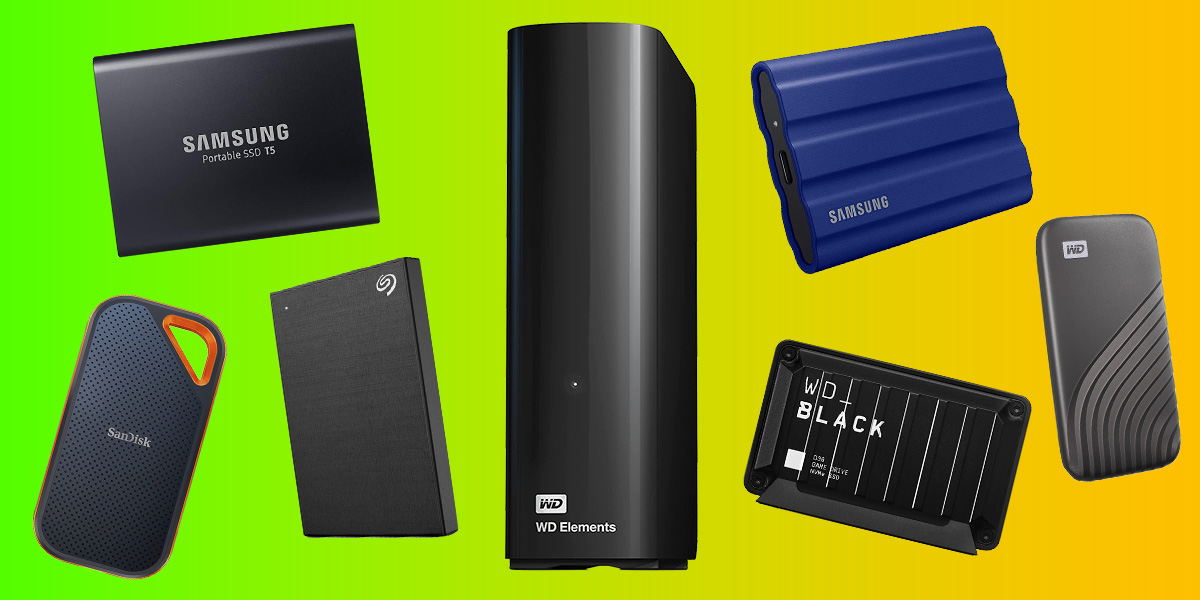
- Reliability and durability: Data integrity is crucial when it comes to backups, so choose a reliable and durable external hard drive. Look for reputable brands known for producing high-quality drives with reliable performance. Additionally, consider features such as built-in data encryption or software utilities that provide additional security for your backups.
- Budget: Finally, consider your budget when selecting an external hard drive. Prices can vary based on storage capacity, brand, features, and performance. Assess your needs and allocate a reasonable budget to get the best balance between storage capacity and other features that are essential to you.
By carefully considering these factors, you can choose an external hard drive that best suits your requirements and provides a reliable and convenient backup solution for your computer. Remember to read reviews, compare different models, and prioritize features that are most important to you to make an informed decision.
Step-by-Step Guide for Backing Up Your Computer
Backing up your computer may seem like a daunting task, but with the right approach, it can be a straightforward and hassle-free process. Here is a step-by-step guide to help you back up your computer using different methods:
Method 1: Using Windows Backup
- Connect your external hard drive to your computer via the appropriate interface.
- On your Windows computer, go to the Start menu and search for “Backup settings” in the search bar.
- Click on “Backup settings” to open the Backup settings menu.
- In the Backup settings menu, click on “Add a drive” and select your connected external hard drive as the backup destination.
- Choose the files and folders you want to back up by clicking on “More options” and selecting the specific items you need.
- Configure the backup frequency and other settings according to your preferences.
- Click on “Back up now” to initiate the backup process. Allow the backup to complete, which may take some time depending on the size of your data.
Method 2: Using macOS Time Machine
- Connect your external hard drive to your Mac using the appropriate interface.
- On your Mac, go to System Preferences and click on the Time Machine icon.
- In the Time Machine settings, click on “Select Backup Disk” and choose your connected external hard drive as the backup destination.
- Toggle the Time Machine switch to “On” to enable automatic backups.
- By default, Time Machine will start backing up your entire system. If you wish to exclude certain files or folders, click on “Options” and add them to the exclusion list.
- Time Machine will start backing up your data automatically, creating incremental backups over time.
Method 3: Manual File Transfer
- Connect your external hard drive to your computer using the appropriate interface.
- Open the file explorer on your computer and navigate to the files and folders you want to back up.
- Select the files and folders you want to back up, right-click, and choose the option to copy or cut.
- Open the external hard drive in the file explorer and create a new folder for your backup.
- Paste the copied files and folders into the newly created folder on the external hard drive.
- Allow the file transfer to complete, which may take some time depending on the size of your data.
By following these step-by-step instructions, you can successfully back up your computer using different methods. Choose the method that suits your needs and preferences, and make it a habit to regularly update your backups to ensure the safety and security of your data.
Method 1: Using Windows Backup
Windows operating systems offer a built-in backup utility that simplifies the process of backing up your computer. By using Windows Backup, you can easily create and manage backups of your important files and folders. Here is a step-by-step guide to help you use Windows Backup:
- Connect your external hard drive: Start by connecting your external hard drive to your computer using a compatible interface such as USB.
- Open Backup settings: Click on the Start menu and search for “Backup settings” in the search bar. Select “Backup settings” from the search results to open the Backup settings menu.
- Select your backup destination: In the Backup settings menu, click on “Add a drive” to choose your connected external hard drive as the backup destination. Windows will detect the drive and prepare it for backups.
- Choose files and folders: Click on “More options” to specify the files and folders you want to back up. You can select specific libraries, folders, or even individual files. If you want to include everything on your computer, leave the default selection as “Let Windows choose.”
- Configure backup settings: Customize your backup settings according to your preferences. You can choose the backup frequency, specify how long to keep backups, and enable or disable file history for different file types. Adjust these settings based on your storage capacity and the importance of the files being backed up.
- Initiate the backup: Once you have configured the settings, click on the “Back up now” button to initiate the backup process. Windows will start creating a backup of the selected files and folders and save it to your external hard drive.
- Monitor backup progress: Windows will display the progress of the backup process in the Backup settings menu. You can check the time remaining, the number of files being backed up, and the overall progress. If needed, you can pause or cancel the backup process at any time.
It’s important to note that the backup process may take some time, depending on the size of the selected data and the speed of your computer and external hard drive. It’s recommended to let the backup process complete uninterrupted to ensure the integrity and completeness of the backup.
By following these steps, you can utilize Windows Backup to create regular backups of your important files and folders. Remember to review and update your backup settings periodically to accommodate any changes in your storage needs and to stay protected against potential data loss.
Method 2: Using macOS Time Machine
If you are a macOS user, you have access to a powerful and user-friendly backup tool called Time Machine. Time Machine makes it easy to back up your Mac and restore files at a later point. Here is a step-by-step guide to help you use Time Machine:
- Connect your external hard drive: Start by connecting your external hard drive to your Mac using a compatible interface such as USB or Thunderbolt.
- Open Time Machine preferences: Go to Apple menu and select “System Preferences.” Then, click on the Time Machine icon to open the Time Machine preferences.
- Choose your backup disk: In the Time Machine preferences, click on “Select Backup Disk.” Time Machine will detect your connected external hard drive and display it in the list of available disks. Select the external hard drive as your backup disk.
- Enable automatic backups: Toggle the Time Machine switch to “On” to enable the automatic backup feature. Time Machine will start backing up your files at regular intervals, ensuring that your data is continuously protected.
- Exclude files and folders (if desired): By default, Time Machine backs up the entire system. If you wish to exclude specific files or folders, click on “Options” in the Time Machine preferences. Here, you can add exclusions for files or directories that you don’t want to include in the backups.
- Monitor backup progress: Time Machine will automatically backup your data in the background and display the progress in the Time Machine preferences. You can check the status of the backup, the size of the backup, and the time of the last backup.
- Restore files: If you ever need to retrieve specific files or restore your entire system, click on the Time Machine menu bar icon and choose “Enter Time Machine.” This will open a visual timeline interface where you can browse through your backups and locate the files you want to restore.
It is important to keep your external hard drive connected to your Mac for regular backups. Time Machine will automatically manage older backups and make room for new ones as needed. However, ensure that the external hard drive has sufficient storage capacity to accommodate your data.
Using Time Machine makes it effortless to back up your Mac and restore files when needed. It provides you with peace of mind, knowing that your important data is continuously backed up and easily recoverable in case of any unforeseen events.
Method 3: Manual File Transfer
If you prefer a more hands-on approach to backing up your computer, you can opt for manual file transfer. While it requires more effort compared to automated backup methods, manual file transfer gives you full control over the files you want to back up. Here’s a step-by-step guide to help you manually transfer your files to an external hard drive:
- Connect your external hard drive: Start by connecting your external hard drive to your computer using a compatible interface, such as USB or Thunderbolt.
- Open the file explorer or finder: Open the file explorer on Windows or the Finder on macOS to navigate through your files and folders.
- Select the files and folders: Identify the files and folders you want to back up. You can select individual files, specific folders, or even entire drives depending on your preference.
- Copy or cut the selected files: Right-click on the selected files and choose “Copy” or “Cut” from the menu options. Alternatively, you can use the keyboard shortcuts Ctrl+C (Windows) or Command+C (macOS) for copying and Ctrl+X (Windows) or Command+X (macOS) for cutting.
- Open the external hard drive: Open the external hard drive in the file explorer or Finder. Create a new folder to hold your backup files if desired.
- Paste the copied files: Right-click inside the destination folder on the external hard drive and choose “Paste” from the menu options. Alternatively, you can use the keyboard shortcuts Ctrl+V (Windows) or Command+V (macOS) to paste the copied files.
- Monitor file transfer progress: Depending on the size of the files being transferred, the process may take some time. Monitor the progress in the file explorer or Finder’s status bar to ensure the transfer completes successfully.
It’s important to note that manual file transfer requires diligent organization and regular file updates. You will need to manually identify the changes in your files and repeat the transfer process to keep your backup up to date.
Additionally, manual file transfer provides an opportunity to declutter and remove unnecessary files from your primary storage. Review your files periodically and exclude any unwanted files to save space on both your computer and external hard drive.
By following these steps, you can manually transfer your files to an external hard drive, providing you with a customized and hands-on approach to backing up your computer. While it may require more time and effort, it grants you full control over your backup process and allows you to prioritize specific files and folders.
Ensuring the Integrity of Your Backup
Ensuring the integrity of your backup is crucial to guarantee that your important files and data are secure and retrievable when needed. Here are some key practices to help maintain the integrity of your backup:
- Verify backup completeness: After each backup, take the time to verify that all of the files you intended to back up are present on the external hard drive. Double-check folders and subfolders to ensure nothing was missed or skipped during the backup process.
- Create multiple backup copies: Consider creating multiple backup copies and storing them in different locations. This provides an extra layer of protection in case of physical damage or loss of one backup drive.
- Regularly update your backup: Make it a habit to update your backup on a regular basis. Set a schedule that works for you, whether it’s daily, weekly, or monthly, and stick to it. This ensures that your backup contains the most recent versions of your files.
- Test your backup: Periodically test the integrity of your backup by restoring a few files or folders to ensure they are recoverable. This helps you identify any potential issues with the backup process and provides peace of mind knowing that your data can be successfully restored if needed.
- Protect against data loss: Consider implementing additional protective measures, such as using file compression or encryption software, to safeguard your backup from unauthorized access or potential data loss.
- Keep your backup drive in a safe location: Store your external hard drive in a secure and controlled environment to minimize the risk of physical damage, theft, or accidental loss. Consider using a fireproof and waterproof safe or an off-site storage location for an extra layer of protection.
- Monitor drive health: Regularly check the health status of your external hard drive to detect any potential issues early on. Use diagnostic tools provided by the drive manufacturer or third-party software to scan for errors, assess drive health, and ensure optimal performance.
Remember that a backup is only as effective as its ability to restore your data. Regularly reviewing and updating your backup strategies and taking steps to maintain the integrity of your backup will ensure that your files and data remain safe and accessible, providing you with peace of mind.
Restoring Files from Your External Hard Drive
Accidents happen, files get deleted, or computers malfunction. That’s why having a reliable backup on your external hard drive is crucial. Here’s a step-by-step guide on how to restore files from your external hard drive:
- Connect your external hard drive: Start by connecting your external hard drive to your computer using the appropriate interface.
- Open the file explorer or Finder: Launch the file explorer on Windows or Finder on macOS to navigate through your files.
- Locate the backup files: Navigate to the location where your files are stored on the external hard drive. If you have multiple backups, locate the specific backup version or folder that contains the files you want to restore.
- Select the files to restore: Identify the files or folders you want to restore from the backup. You can select individual files or use the Shift or Command key (Windows) or Option key (macOS) to select multiple files or folders.
- Copy or move the files: Once you have selected the files, right-click and choose either “Copy” or “Cut” to initiate the restoration process. Choose the destination folder on your computer where you want to restore the files.
- Paste the copied files: Open the destination folder on your computer, right-click inside the folder, and choose “Paste” to restore the files from the backup. Alternatively, you can use the keyboard shortcuts Ctrl+V (Windows) or Command+V (macOS) to paste the files.
- Verify the restored files: After the files have been copied or moved, double-check their integrity and confirm that the restored files are complete and accessible. Open a few files to ensure they open without any issues.
It’s important to note that the process of restoring files from your external hard drive may vary slightly depending on your operating system, file explorer, or Finder. However, the general steps outlined above should guide you through the restoration process on both Windows and macOS.
By following these steps, you can easily restore your files from your external hard drive, ensuring that your important data is recovered and accessible whenever you need it. Regularly practice restoring files to test the integrity of your backups and become familiar with the process, giving you peace of mind knowing that your data is safe and recoverable.
Additional Tips for a Successful Backup
Backing up your computer is essential for data protection, but there are additional tips and considerations to ensure a successful backup process. Take note of the following tips to enhance your backup strategy:
- Automate your backups: To ensure regular and consistent backups, consider using automated backup software or built-in backup utilities. This way, you don’t have to rely on manual backups and reduce the risk of forgetting to back up your data.
- Use versioning and incremental backups: Employ backup methods that support versioning and incremental backups. This allows you to store multiple versions of files and only back up new or modified files, saving both time and storage space.
- Consider off-site backups: In addition to backing up to an external hard drive, consider creating off-site backups. This could involve using cloud storage services, online backup solutions, or physical backups stored in a separate location to protect against local disasters such as fire or theft.
- Encrypt and secure your backups: If you’re concerned about the security of your backup data, consider encrypting your backups using encryption software or built-in encryption features provided by backup utilities. This adds an extra layer of protection to your sensitive files.
- Document your backup strategy: Keep a record of your backup strategy, including the frequency, destinations, and specific files or folders being backed up. This documentation helps you stay organized and ensures that you’re consistently following your backup plan.
- Regularly test your restore process: Don’t wait for an emergency to test your restore process. Periodically restore a file or two to ensure that your backups are working correctly and your files can be retrieved when needed. This practice helps you identify and address any potential issues proactively.
- Monitor your backup storage capacity: Regularly check the available storage capacity on your backup devices. Ensure that there’s enough space to accommodate your backup needs. If necessary, consider expanding your storage or deleting unnecessary backups to make room for new ones.
- Review and update your backup plan: Review your backup plan periodically, especially if your data storage needs change. Assess which files or folders are essential to back up, and determine if you need to adjust backup schedules or destinations accordingly.
By implementing these additional tips, you can enhance the effectiveness and reliability of your backup process. Remember that data loss can occur at any time, so it’s essential to be proactive and consistent with your backup strategy to safeguard your important files and data.
Conclusion
Backing up your computer is crucial to protect your valuable files and data from various risks such as hardware failure, accidental deletion, malware attacks, and system crashes. By utilizing an external hard drive and following the appropriate backup methods, you can ensure the safety and recoverability of your important information.
In this article, we discussed the importance of backing up your computer and explored different methods to achieve this. We covered using Windows Backup, macOS Time Machine, and manual file transfer as viable options to create backups. Each method has its own advantages and considerations, allowing you to choose the one that best suits your needs and preferences.
We also provided additional tips to help you maintain the integrity of your backup, including verifying backup completeness, creating multiple backup copies, regularly updating your backups, testing your backup’s effectiveness, protecting against data loss, and storing your backup devices in a safe location.
Remember, a successful backup strategy involves regular backups, storing backups in multiple locations, and occasionally testing the restore process to ensure everything is working correctly. With these practices in place, you can have peace of mind knowing that your files are protected and recoverable in the event of unforeseen circumstances.
Take the time to choose the right external hard drive for your needs, create a backup plan that aligns with your preferences, and stay consistent with your backup routine. By doing so, you will safeguard your valuable files, avoid potential data loss, and ensure the continuity of your digital life.