Introduction
Welcome to the world of data preservation and backup! In today’s digital age, our computers and laptops store a wealth of important files, cherished memories, and valuable documents. With the risk of computer crashes, hardware failures, or accidental file deletions, it’s crucial to have a reliable backup of your hard drive.
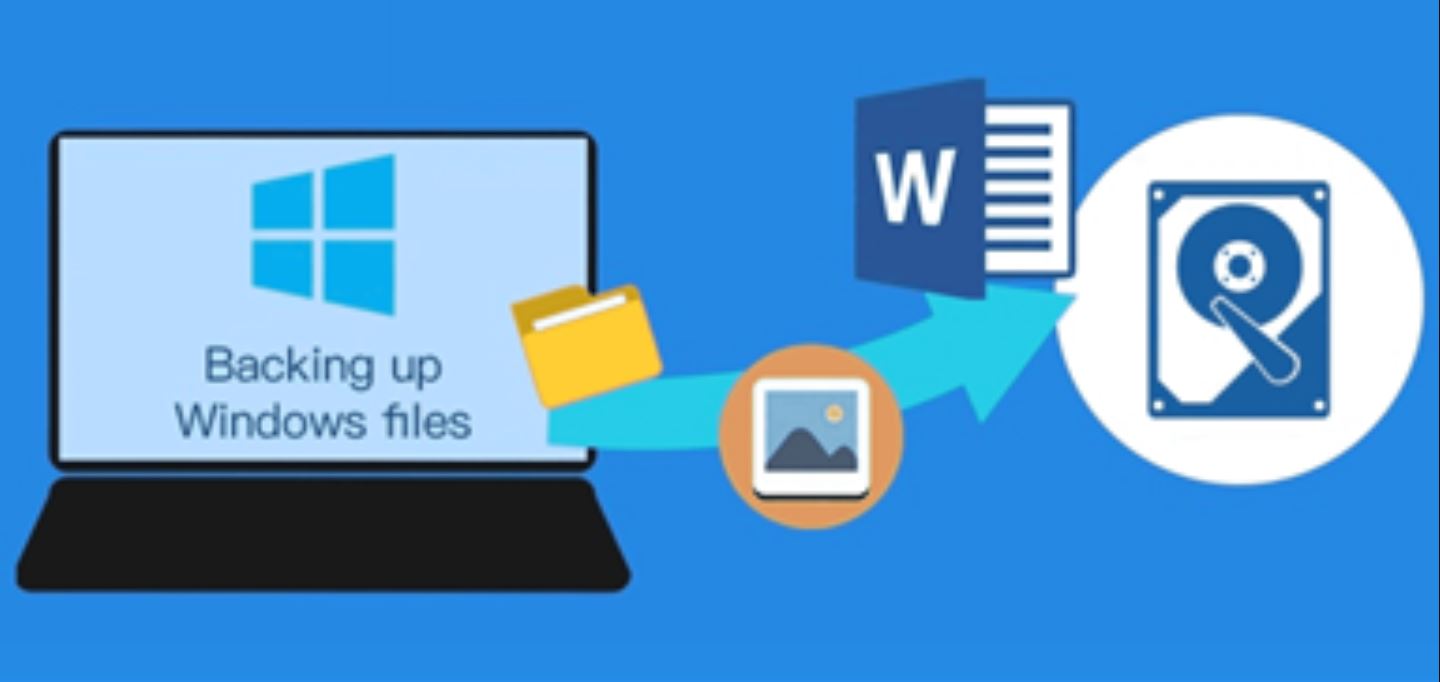
One of the most effective methods to ensure the safety of your data is to copy your hard drive to an external hard drive. This process creates an exact copy of your existing drive, allowing you to easily restore your files in case of any mishap. Whether you’re upgrading your computer or safeguarding your data, copying your hard drive to an external hard drive is a smart and proactive technique.
In this article, we will guide you on how to copy your hard drive to an external hard drive, step by step. From connecting the external hard drive to customizing your backup settings, we’ll cover everything you need to know to successfully safeguard your valuable data.
But before we jump into the details, let’s explore the benefits of this method and why it’s essential to embrace it.
Why should you copy your hard drive to an external hard drive?
Backing up your hard drive to an external hard drive is not just a recommended practice; it is essential for anyone who values their data. Let’s explore some compelling reasons why you should consider copying your hard drive to an external hard drive:
- Data Protection: Your hard drive contains important files, documents, photos, and videos that may be irreplaceable. Unfortunately, computers can experience unexpected crashes or failures, leading to permanent data loss. By creating a copy of your hard drive on an external device, you can ensure the safety of your data and minimize the risk of losing it forever.
- Disaster Recovery: Natural disasters, such as floods, fires, or earthquakes, can occur unexpectedly and destroy your computer along with all your important files. Having a backup on an external hard drive enables you to quickly recover your data if such a disaster occurs. It provides peace of mind knowing that your digital assets are protected from unforeseen events.
- Hardware Upgrades: When upgrading your computer or replacing your hard drive, copying your existing data to an external hard drive allows for a seamless transition. You can easily transfer all your files, settings, and applications to the new hardware without the hassle of reinstalling everything. This saves time and ensures that none of your valuable data is left behind.
- Flexibility and Portability: An external hard drive gives you the freedom to access your data from multiple devices. Whether you’re working from home, traveling, or need to share files with colleagues, you can simply connect the external hard drive and access your files wherever you go. It offers a convenient and portable way to carry your important data with you.
- Version Control: Accidental file deletions or modifications are not uncommon. By having a backup on an external hard drive, you can easily revert to a previous version of a file or restore a deleted file. This version control capability provides an added layer of protection for your data, ensuring that you can recover previous versions if needed.
Considering these benefits, it’s evident why copying your hard drive to an external hard drive is a wise decision. It not only safeguards your data from potential disasters and failures but also provides flexibility, portability, and peace of mind.
Things you will need
Before you embark on the journey of copying your hard drive to an external hard drive, there are a few essential items you will need. Gathering these items beforehand ensures a smooth and successful backup process. Here’s what you’ll require:
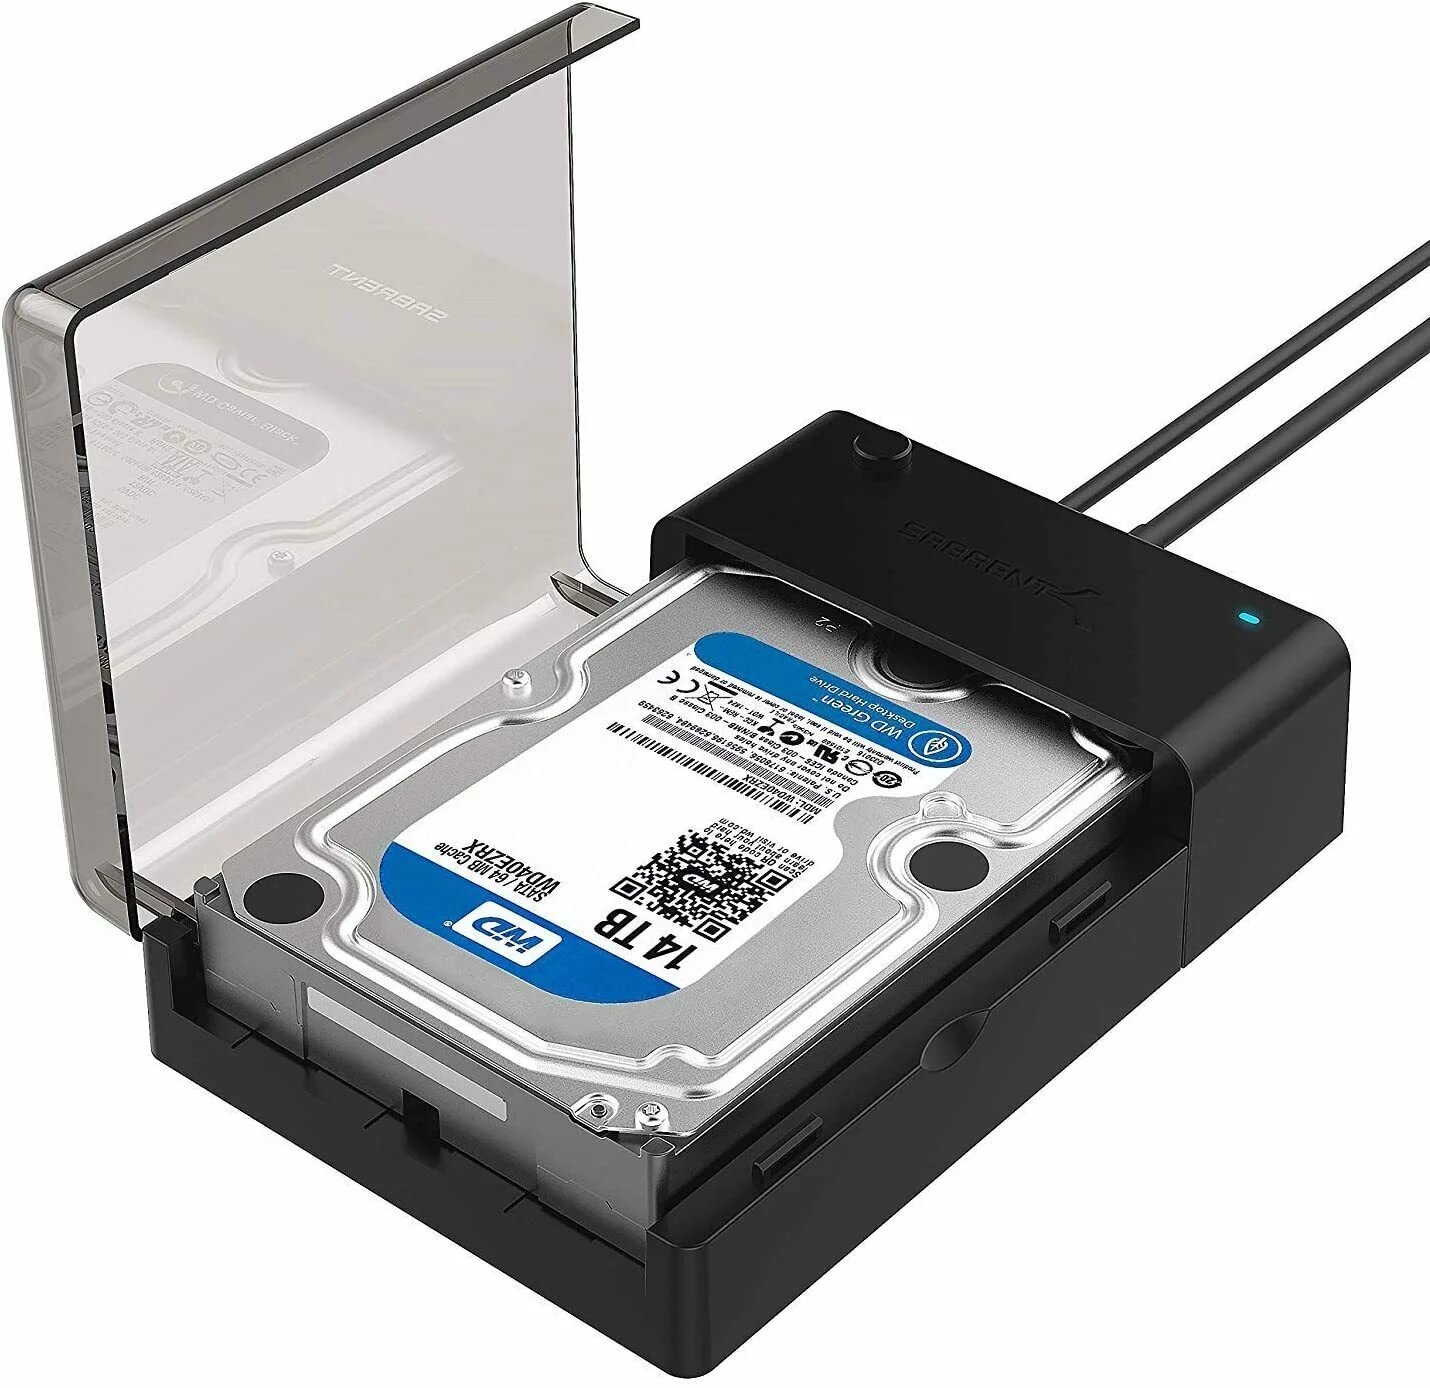
- External Hard Drive: You’ll need an external hard drive with sufficient storage capacity to accommodate the data from your existing hard drive. Make sure to choose a reputable brand and consider the size and type of the external hard drive based on your specific needs.
- Computer: Naturally, you’ll need a computer or laptop to initiate the backup process. Ensure that your computer is in good working condition and has enough free disk space to store the backup files temporarily during the copying process.
- Backup Software: To effectively copy your hard drive to an external hard drive, you’ll need backup software. There are numerous options available, both free and paid, with varying features and capabilities. Research and choose a reliable backup software that suits your requirements and operating system.
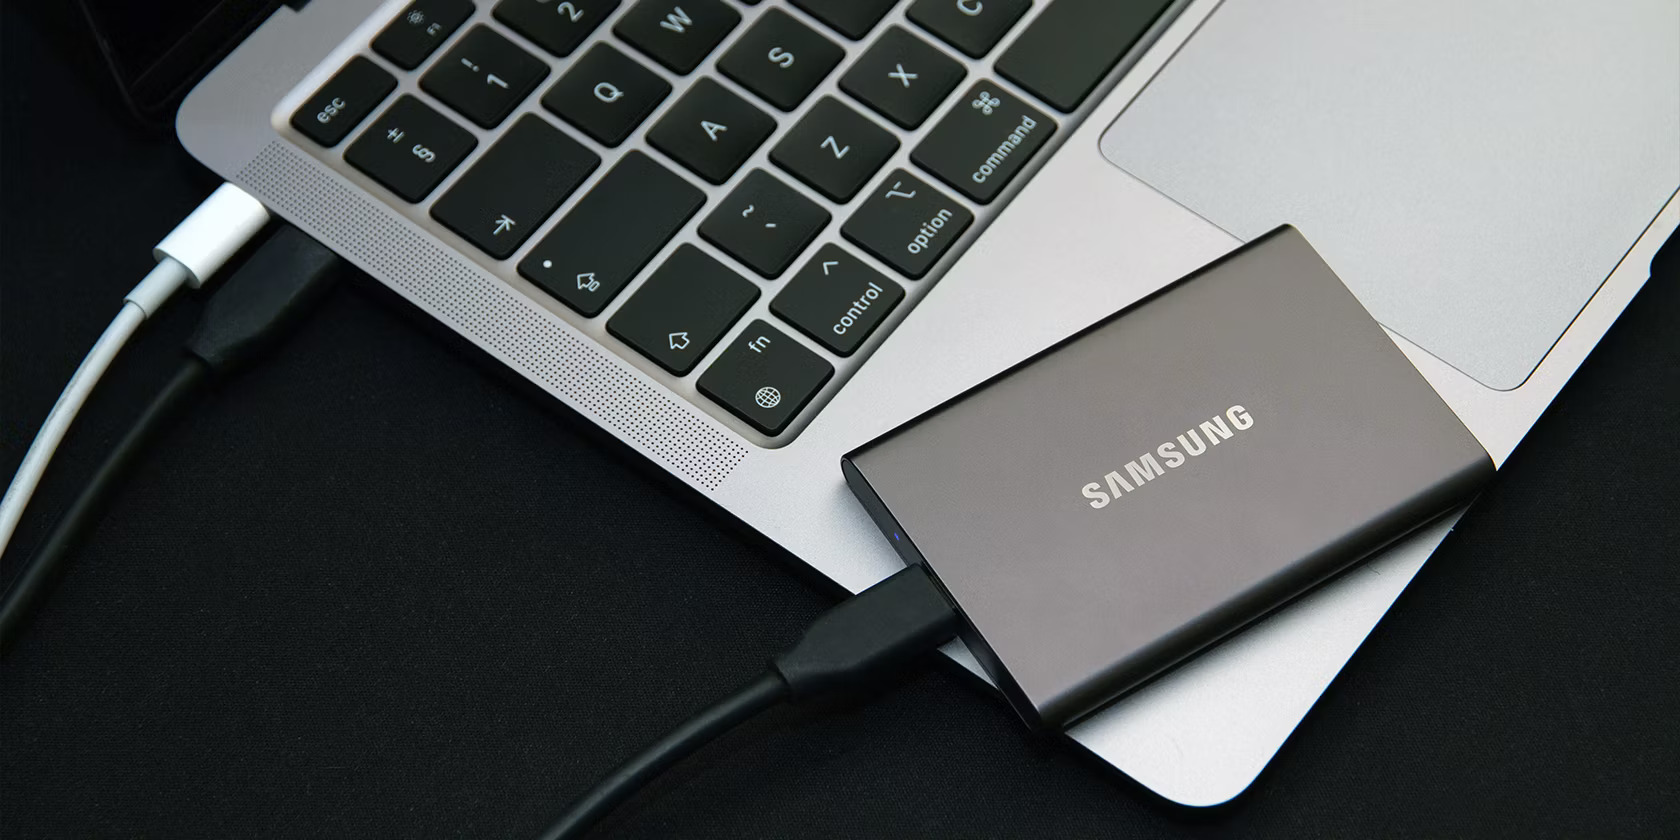
- USB Cable or Docking Station: Your external hard drive will need to connect to your computer. Depending on the type of external hard drive you have, you will need either a compatible USB cable or a docking station to establish a physical connection between the two devices.
- Power Supply: Some external hard drives require a separate power supply to function. Ensure that you have the necessary power supply or adapters to connect and power up your external hard drive if it’s not powered through the USB connection alone.
- Internet Connection: While not mandatory, having an internet connection can be beneficial during the backup process. It allows you to download and install any necessary software updates for your backup software, ensuring that you have the latest features and bug fixes.
- Time and Patience: Depending on the size of your hard drive and the speed of your computer and external hard drive, the copying process could take a significant amount of time. Therefore, be prepared to dedicate sufficient time, and exercise patience while the backup is in progress.
By ensuring you have these items ready, you’ll be well-prepared to embark on the process of copying your hard drive to an external hard drive. Remember to double-check compatibility and system requirements to avoid any unnecessary complications during the backup process.
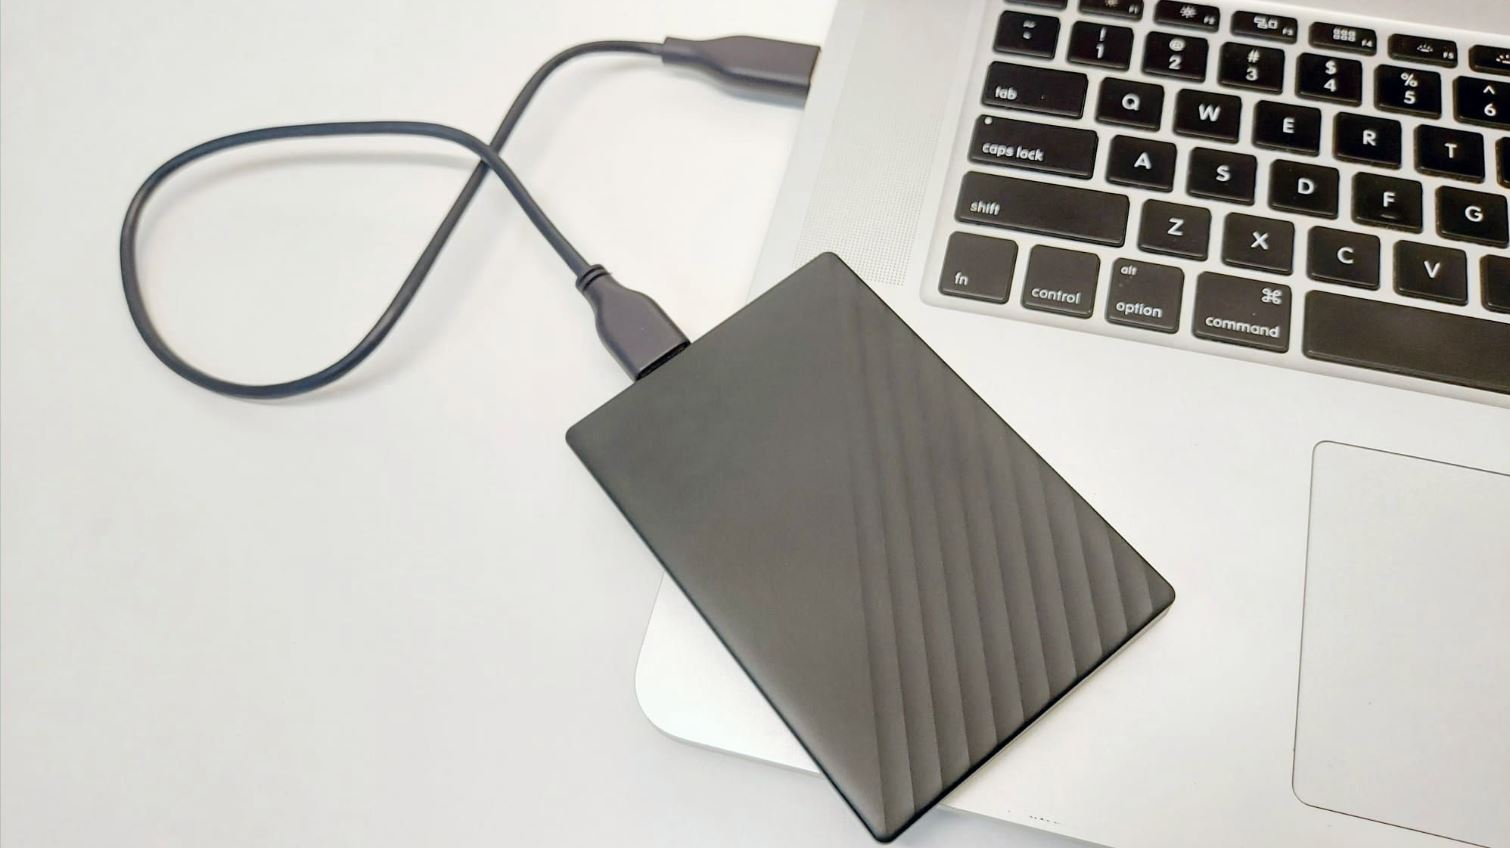
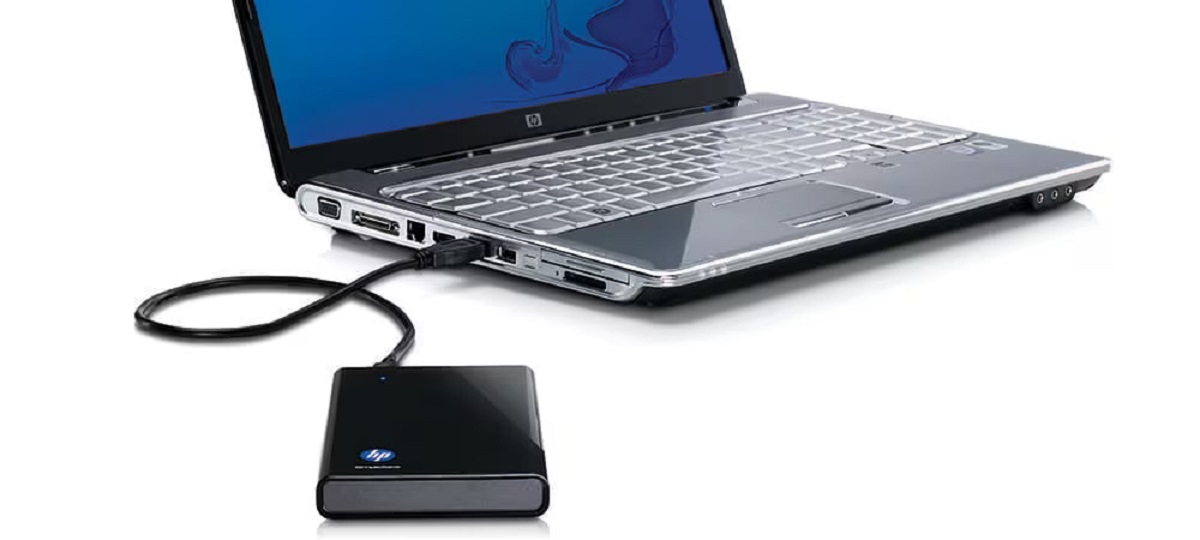
Step 1: Connect the external hard drive
The first step in copying your hard drive to an external hard drive is to establish a physical connection between the two devices. Follow these simple steps to connect your external hard drive:
- Power off your computer: Before connecting the external hard drive, it’s important to power off your computer. This ensures a safe connection and prevents any potential data loss or damage to the devices.
- Identify the USB port: Identify an available USB port on your computer. Most computers have multiple USB ports located on the front, back, or sides of the device. Choose a USB port that is easily accessible and doesn’t cause any strain on the USB cable.
- Plug in the USB cable: Take one end of the USB cable and insert it into the USB port on your computer. Ensure that the connection is secure and snug.
- Connect the other end to the external hard drive: Take the other end of the USB cable and connect it to the USB port on your external hard drive. Again, ensure that the connection is firm.
- Power up the external hard drive: Some external hard drives require a separate power source. If this is the case for your external hard drive, connect the power supply or adapter to the appropriate port on the external hard drive and plug it into a power outlet.
- Switch on the external hard drive: If your external hard drive has a power switch, turn it on. The device should power up, and you may hear a sound indicating a successful connection.
- Wait for your computer to detect the external hard drive: Once the external hard drive is connected and powered on, your computer will recognize it. Give it a few moments to detect and configure the new device. You may see a notification or an icon indicating the presence of the external hard drive.
That’s it! Your external hard drive is now successfully connected to your computer. In the next step, we’ll explore how to locate and launch backup software to initiate the copying process.
Step 2: Locate and launch backup software
Once you have connected your external hard drive to your computer, the next step is to locate and launch backup software. Depending on the specific software you are using, the steps may vary slightly. Follow these general guidelines to find and launch your backup software:
- Open the Start menu or Applications folder: Click on the Start menu button (Windows) or navigate to the Applications folder (Mac) to access the list of programs installed on your computer. You can typically find the Start menu icon in the bottom left corner of your desktop screen on Windows, or click on the Finder icon in the Dock on Mac.
- Search for the backup software: In the search bar, type the name of the backup software you are using. As you start typing, the search results should dynamically update, displaying relevant applications.
- Click on the backup software: Once you locate the backup software, click on its icon or name to launch the program. The software may take a few seconds to start up, depending on your computer’s speed and the complexity of the application.
- Double-click on the desktop shortcut (if available): In some cases, backup software creates a desktop shortcut during installation. If you see a shortcut on your desktop, simply double-click on it to launch the program directly.
- Check the system tray (Windows) or menu bar (Mac): Some backup software may run in the background and display an icon in the system tray on Windows or the menu bar on Mac. If you see the icon, click on it to open the software.
- Look for the software in the Applications folder (Mac): If you cannot find the backup software in the Start menu or by searching, open the Applications folder on your Mac. Scroll through the list of installed applications until you find the backup software, then double-click on it to launch the program.
Once you have launched the backup software, you are ready to proceed to the next step: selecting the source drive from which you want to copy the data.
Step 3: Select the source drive
Now that your backup software is launched, it’s time to select the source drive from which you want to copy the data. The source drive is the internal hard drive of your computer or laptop. Follow these steps to choose the appropriate source drive:
- Open the backup software: Ensure that the backup software is open and running on your computer. You should see the program’s interface or main window displayed on your screen.
- Navigate to the backup or copy section: Most backup software organizes its features into different sections or tabs. Look for a section or tab specifically related to backups, copying, or cloning. It may be named something like “Backup,” “Clone,” or “Copy.”
- Locate the source drive option: Within the backup or copy section, there should be an option to select the source drive. The source drive refers to the internal hard drive of your computer or laptop, which contains the data you want to copy to the external hard drive.
- Select the source drive: Click on the drop-down menu or button associated with the source drive option. A list of available drives should appear, displaying the names or labels of the internal drives connected to your computer.
- Choose the correct source drive: Identify the internal hard drive from which you want to copy the data. It is usually labeled with the name of the manufacturer or the model of your computer. Select the appropriate drive from the list.
- Confirm the selection: After selecting the source drive, double-check that you have chosen the correct drive. You don’t want to accidentally copy data from the wrong drive, leading to potential data loss. Ensure that the chosen drive matches your intentions.
- Proceed to the next step: Once you have selected the source drive, you are ready to move on to the next step, which involves selecting the destination drive, i.e., your external hard drive, where the data will be copied.
By correctly choosing the source drive, you ensure that the backup software knows which data to copy from within your computer. This step sets the foundation for a successful backup process.
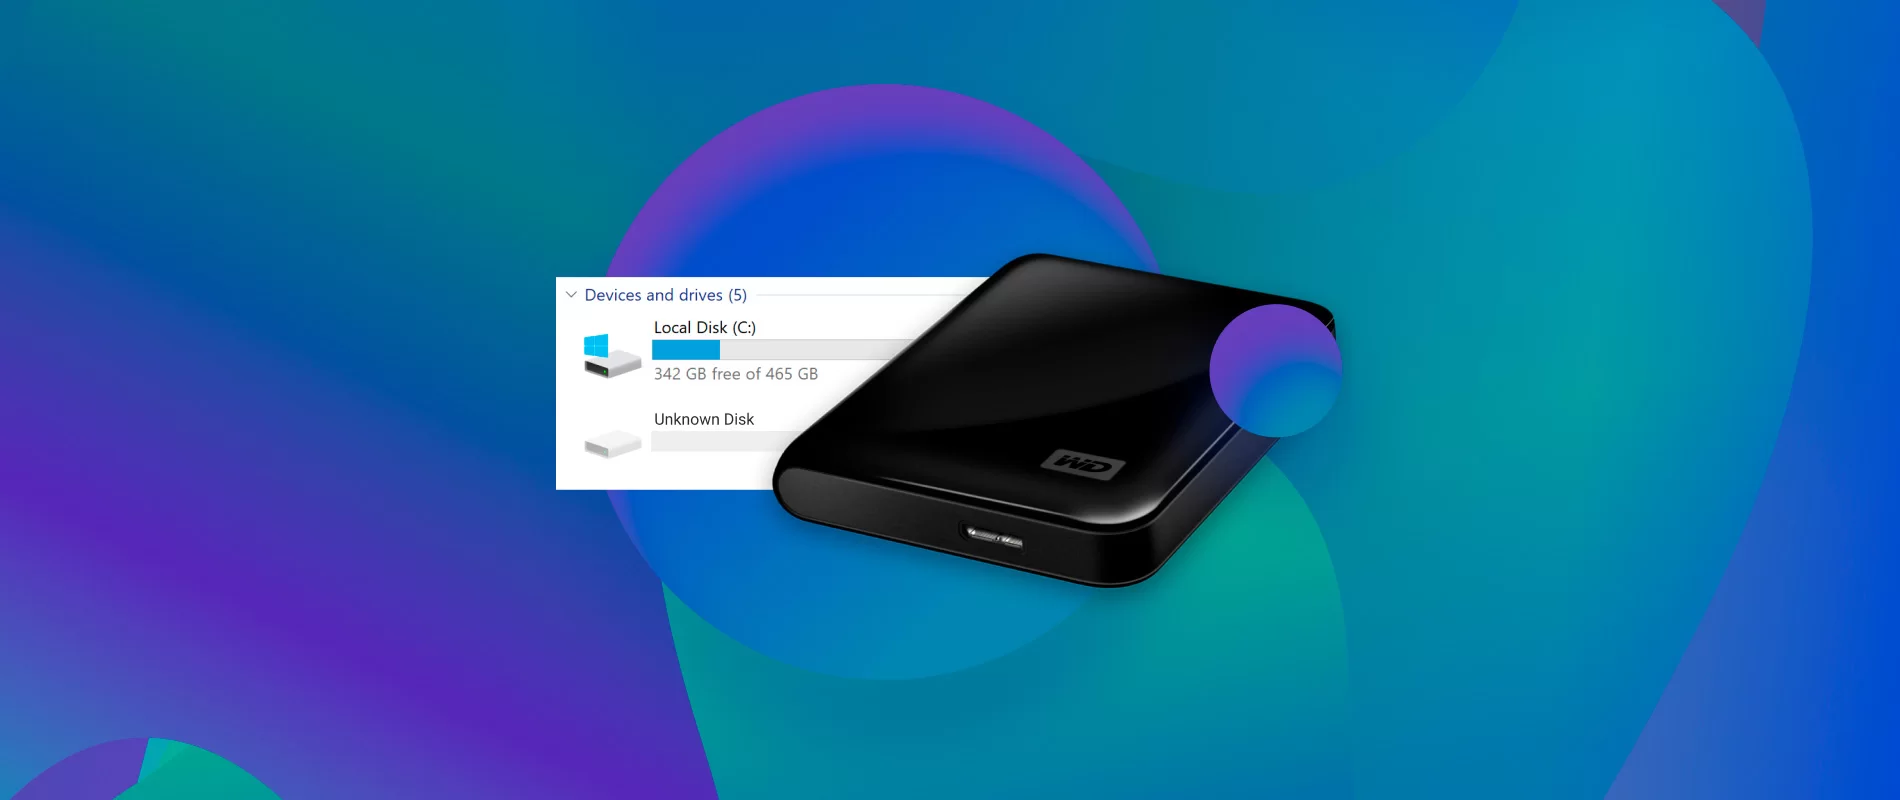
Step 4: Select the destination drive
Now that you have selected the source drive, it’s time to choose the destination drive – your external hard drive – where the data will be copied. Follow these steps to select the appropriate destination drive:
- Locate the destination drive option: In the backup software’s interface or main window, navigate to the section or tab that deals with destination or target drives. This section is where you can specify where you want the data to be copied.
- Connect and detect the external hard drive: Ensure that your external hard drive is connected and detected by your computer. Make sure it is properly powered on and connected via the USB cable you previously connected in Step 1. Your computer should recognize the external hard drive and display a notification or an icon indicating its presence.
- Select the destination drive: In the destination drive section of the backup software, you should see a drop-down menu or button that allows you to choose the destination drive. Click on it to reveal a list of available drives.
- Choose the external hard drive: Locate and select your external hard drive from the list. It may be labeled with the manufacturer’s name or a custom label you assigned to the drive. Double-check and ensure that you have selected the correct drive for the backup process.
- Confirm the destination drive: Take a moment to review your selection and verify that the chosen destination drive matches your intentions. This is important to prevent any accidental data loss by copying the data to the wrong drive.
- Proceed to the next step: Once you have successfully selected the destination drive, you are ready to move on to the next step and customize your backup settings according to your preferences.
By selecting the appropriate destination drive, you ensure that your data will be copied to the external hard drive, securing it and creating a reliable backup. This step is crucial in ensuring the success of the copying process and preserving your valuable data.
Step 5: Customize your backup settings
Now that you have selected both the source and destination drives, it’s time to customize your backup settings according to your specific preferences. Follow these steps to tailor the backup process to meet your needs:
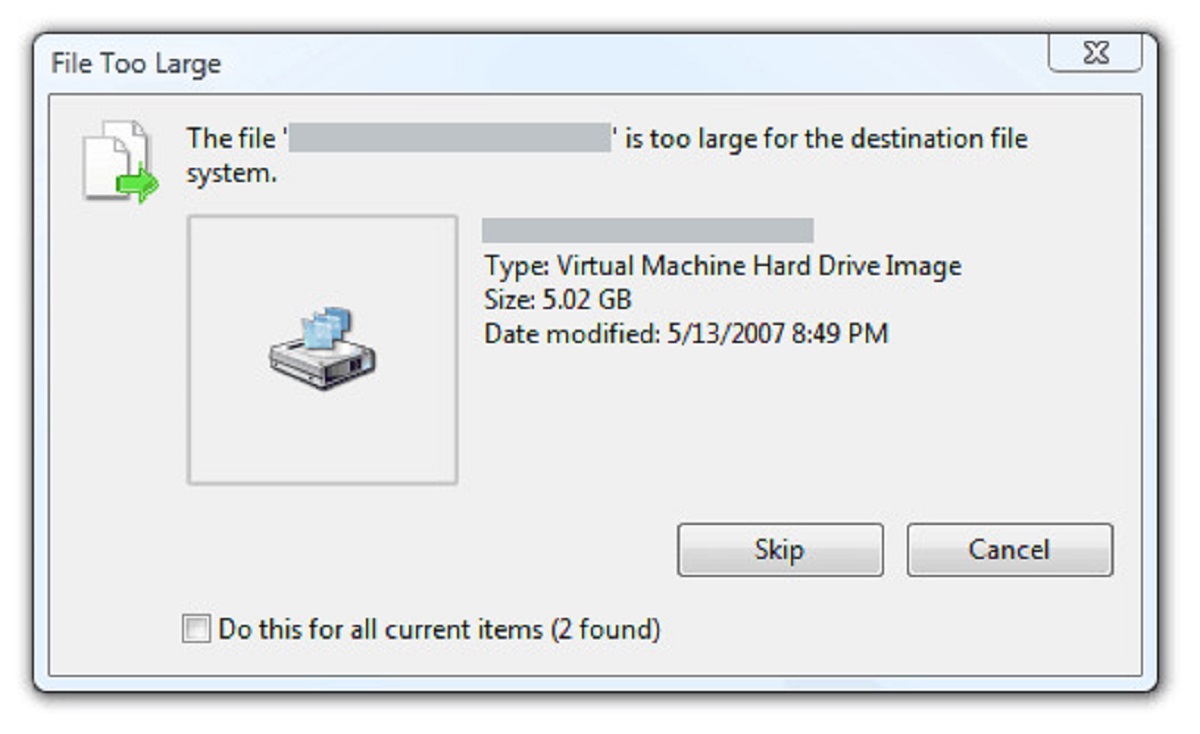
- Select the backup type: Depending on the backup software you are using, there may be different backup types available, such as full backup, incremental backup, or differential backup. Choose the backup type that suits your requirements. A full backup creates a complete copy of all selected data, while incremental and differential backups only copy the changes since the last backup.
- Select the files or folders: Most backup software allows you to choose specific files or folders you want to include in the backup process. Review your data and select the files and folders that are important to you. Consider including documents, photos, videos, and any other files you want to safeguard.
- Set up a backup schedule: If your backup software supports scheduling, you can decide on the frequency of backups. Determine how often you want the software to automatically create backups and specify the preferred days and times for these backups. This ensures that your data is continuously protected without manual intervention.
- Configure additional settings: Explore other available settings and options in the backup software. This may include encryption for added security, compression to save storage space, or email notifications to keep you informed about the backup process. Customize these additional settings based on your preferences.
- Preview and confirm the backup settings: Before initiating the backup process, carefully review the selected settings and ensure they align with your requirements. Double-check the files and folders selected, backup type chosen, and any other customized options. This step ensures that the backup will proceed exactly as you intend.
- Save or apply the settings: Once you are satisfied with your customized backup settings, save or apply them within the backup software. Look for a “Save,” “Apply,” or “Start Backup” button to initiate the backup process with your defined settings.
By customizing your backup settings, you have control over which files and folders are included in the backup, how often backups occur, and other important parameters. These settings ensure that the backup process aligns with your preferences and provides the necessary protection for your data.
Step 6: Start the backup process
After customizing your backup settings, it’s time to initiate the backup process and start copying your data from the source drive to the destination drive. Follow these steps to get the backup process underway:
- Confirm backup settings: Double-check your backup settings to ensure everything is as desired. Verify the source and destination drives, backup type, files/folders selected, and any other customized options. This step is crucial to ensure that the backup process proceeds as intended.
- Initiate the backup: Look for a button or option in your backup software that allows you to start the backup process. It might be labeled as “Start Backup,” “Begin,” or a similar term. Click on it to initiate the backup.
- Monitor the progress: The backup software will display the progress of the copying process. You may see a progress bar, percentage completion, or estimated time remaining. Keep an eye on the progress and ensure that it proceeds steadily without any errors or interruptions.
- Avoid interrupting the process: It is important to avoid interrupting the backup process once it has started. Let the software work without interference. Avoid shutting down or restarting your computer, disconnecting the external hard drive, or closing the backup software until the process is complete.
- Be patient: Depending on the size of your data and the speed of your computer and external hard drive, the backup process may take some time. Exercise patience and allow the software to complete the copying process at its own pace. Avoid rushing or interrupting the process prematurely.
- Note any errors or issues: If you encounter any errors or issues during the backup process, take note of them. Error messages, warnings, or unexpected behavior should be documented for troubleshooting purposes. This information can help you resolve any issues or seek assistance if needed.
- Wait for the backup to finish: Once the backup process is complete, you will receive a notification or see an indication that the copying has finished successfully. At this point, your data is safely backed up on the external hard drive, providing you with an additional layer of protection.
By following these steps and starting the backup process, you are on your way to securing your important data and creating a reliable backup on your external hard drive. Proceed to the next step to verify the backup and ensure its integrity.
Step 7: Monitor the progress
As the backup process is underway, it’s essential to monitor the progress to ensure the smooth and successful copying of your data. Follow these steps to keep an eye on the backup process:
- Stay attentive: Once you have initiated the backup process, give it your attention. Keep an eye on your computer screen and the backup software window to monitor the progress.
- Observe the progress indicator: Most backup software includes a progress indicator that shows the current status of the backup. This may be displayed as a progress bar, a percentage completion, or an estimated time remaining. Watch this indicator to track the progress of the backup.
- Ensure the process is running smoothly: Verify that the backup process is operating smoothly without any errors, warnings, or interruptions. Check for any error messages or notifications that may indicate issues with the backup. If any issues arise, take note of them for troubleshooting purposes.
- Avoid interrupting the process: It is important not to interrupt the backup process once it has started. Avoid shutting down or restarting your computer, closing the backup software, or disconnecting the external hard drive until the backup is complete. Interruptions can lead to incomplete or corrupted backups.
- Be patient with large data: Depending on the size of your data and the speed of your computer and external hard drive, the backup process may take a considerable amount of time. Exercise patience and allow the software to complete the copying process without rushing it.
- Keep an eye on any error messages: If any error messages or warnings appear during the backup process, pay attention to them. Note down the details of the error messages to help troubleshoot any issues you may encounter.
- Do not overwhelm your system: While the backup is in progress, refrain from multitasking heavily or running resource-intensive applications on your computer. This can slow down the backup process and potentially cause errors or delays.
- Ensure your computer stays powered on: It is essential to keep your computer powered on and connected to a reliable power source throughout the backup process. Sudden power outages or unexpected shutdowns can disrupt the backup and lead to incomplete backups.
By actively monitoring the progress of the backup process, you can ensure that it runs smoothly and successfully. Paying attention to any error messages and taking necessary precautions will help ensure the integrity of your backup on the external hard drive.
Step 8: Verify the backup
Now that the backup process is complete, it’s crucial to verify the backup to ensure that your data has been successfully copied to the external hard drive. Follow these steps to verify the integrity of your backup:
- Eject or disconnect the external hard drive: Before proceeding with the verification process, properly eject or disconnect the external hard drive from your computer. This ensures that the backup files are not actively in use and prevents any accidental data loss during the verification.
- Reconnect the external hard drive: Once the external hard drive has been safely disconnected, reconnect it to your computer using the USB cable. Ensure that the connection is secure and make sure the drive is recognized by your computer.
- Access the files on the external hard drive: Open the file explorer or Finder on your computer and navigate to the external hard drive. Explore the drive’s contents and verify that the backed-up files and folders are present. Check different directories or folders to ensure that all the necessary data has been successfully copied.
- Spot-check individual files: Select a few random files from different folders on the external hard drive and open them to confirm their integrity. Ensure that the files can be accessed and opened without any issues. Pay attention to any errors or inconsistencies that may have occurred during the backup process.
- Compare file sizes and properties: Compare the file sizes and properties of a few files between the original source drive and the backup on the external hard drive. Ensure that the file sizes match or are very similar. Check properties such as creation dates, modification dates, and file permissions to confirm the accuracy of the backup.
- Perform a data restore test: To further verify the backup, consider performing a data restore test. Select a small folder or a few files and restore them from the external hard drive back to your computer. Validate that the restored files are identical to the original copies you had on your source drive.
- Document any issues: If you encounter any issues or inconsistencies during the verification process, make note of them. Document the specific files, errors, or any other relevant details. This information will help troubleshoot and resolve any potential problems in the future.
- Repeat the verification periodically: Regularly verify your backups to ensure the ongoing integrity and accuracy of your data. Schedule regular checks, especially after making significant changes to your source drive or backup settings. This helps maintain confidence in the reliability of your backups.
By thoroughly verifying your backup, you can have peace of mind knowing that your data has been successfully and accurately copied to the external hard drive. Taking the time to validate the backup ensures that you can rely on it when needed, providing a safeguard against potential data loss.
Step 9: Safely disconnect the external hard drive
After verifying the success of your backup, it is important to safely disconnect the external hard drive from your computer. Follow these steps to ensure the safe removal of the external hard drive:
- Save and close any open files: Before disconnecting the external hard drive, save any files that you were working on and close any open applications or windows that are accessing the drive. This ensures that all data transfer has completed and prevents any potential data loss or corruption.
- Eject the external hard drive: Locate the icon or notification for the external hard drive on your computer’s taskbar or menu bar and right-click or control-click on it. From the menu that appears, select the “Eject” or “Safely Remove” option for the external hard drive.
- Wait for the confirmation: After selecting the eject option, wait for the system to confirm that it is safe to disconnect the external hard drive. You may receive a notification or see an indicator that it is now safe to remove the drive.
- Physically disconnect the drive: Once you have received the confirmation, gently unplug the USB cable from the external hard drive port on your computer. Ensure that you do this properly and avoid yanking or forcing the cable to prevent any damage.
- Store the external hard drive safely: After disconnecting the drive, properly store it in a safe and dry location. Avoid exposing it to extreme temperatures, moisture, or any potential physical damage that could impact the integrity of the backup data.
- Label the external hard drive: To easily identify your backup, consider labeling the external hard drive with a meaningful name or a brief description. This will help you quickly locate and connect the correct drive when you need to access or update your backup.
- Regularly connect and update the backup: It is important to periodically connect the external hard drive to your computer and update the backup. Schedule regular backup maintenance to ensure that your data stays current and protected against any changes or data loss on your source drive.
By safely disconnecting the external hard drive, you ensure the integrity of your backup and protect it from any potential data corruption or loss. Following these steps will help you maintain the reliability of your backup and provide peace of mind knowing that your data is safely stored on the external hard drive.
Conclusion
Congratulations! By following the step-by-step guide outlined in this article, you have successfully learned how to copy your hard drive to an external hard drive. By creating a backup of your data on an external device, you have taken a crucial step in protecting your valuable files, documents, photos, and videos from potential data loss.
Copying your hard drive to an external hard drive provides a reliable and convenient solution for disaster recovery, hardware upgrades, and version control. It safeguards against computer crashes, hardware failures, accidental file deletions, and natural disasters. With the backup process complete, you can rest easy knowing that your data is securely stored on a separate device.
Remember to periodically verify and update your backup to ensure its integrity. Regularly reconnect the external hard drive to your computer and validate that the backed-up files are accurate and accessible. This ongoing maintenance will help maintain the reliability and effectiveness of your backup solution.
As technology and data continue to play increasingly important roles in our lives, having a reliable backup plan is essential. Take the time to invest in the safety and security of your data by following the steps outlined in this article. By copying your hard drive to an external hard drive, you are taking proactive measures to preserve your digital assets and protect your important information.
Now that you have learned how to copy your hard drive to an external hard drive, you are empowered with the knowledge and skills to safeguard your data. Embrace this practice as a routine part of your digital life, and enjoy the peace of mind that comes with knowing that your files are securely backed up and protected.