Introduction
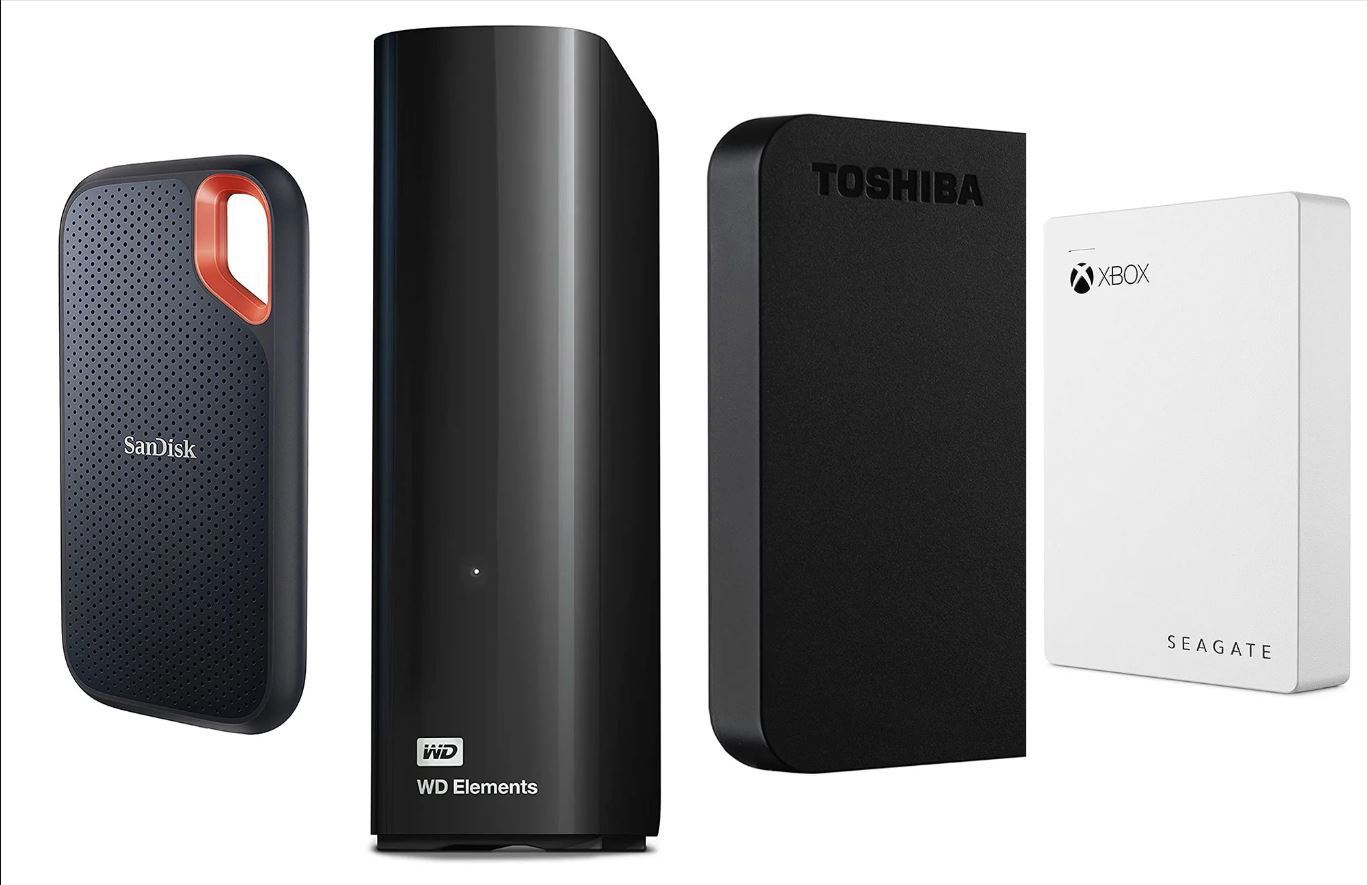
External hard drives are a convenient and efficient way to expand the storage capacity of your computer. Whether you need to store large files, back up important data, or simply free up space on your internal drive, having an external hard drive can greatly benefit you. Windows 11, the latest operating system by Microsoft, offers various methods to find and access your external hard drive seamlessly.
In this article, we will explore the different methods you can use to locate your external hard drive on Windows 11. These methods will enable you to easily access, manage, and utilize your external storage device for your specific needs. Whether you are a beginner or an advanced user, you will find a suitable method that suits your preferences and technical proficiency.
By knowing where to find your external hard drive, you can easily transfer files, create backups, or organize your data more efficiently. This knowledge can save you time and frustration, especially if you often switch between multiple external drives or need to perform regular backups of your important files.
Throughout this article, we will guide you through five different methods to locate your external hard drive on Windows 11. Each method offers a unique approach, allowing you to choose the one that best suits your workflow and familiarity with the operating system. So, without further ado, let’s dive into the various methods and find out how to locate your external hard drive on Windows 11.
Method 1: File Explorer
One of the easiest ways to find your external hard drive on Windows 11 is by using the File Explorer. The File Explorer is a built-in tool that allows you to navigate and manage your files and folders on your computer.
To access your external hard drive using the File Explorer, follow these steps:
- Open the File Explorer by clicking on the folder icon in the taskbar or by pressing the Windows key + E on your keyboard.
- In the left-hand navigation pane, you will see a list of shortcuts. Look for “This PC” or “My Computer” and click on it.
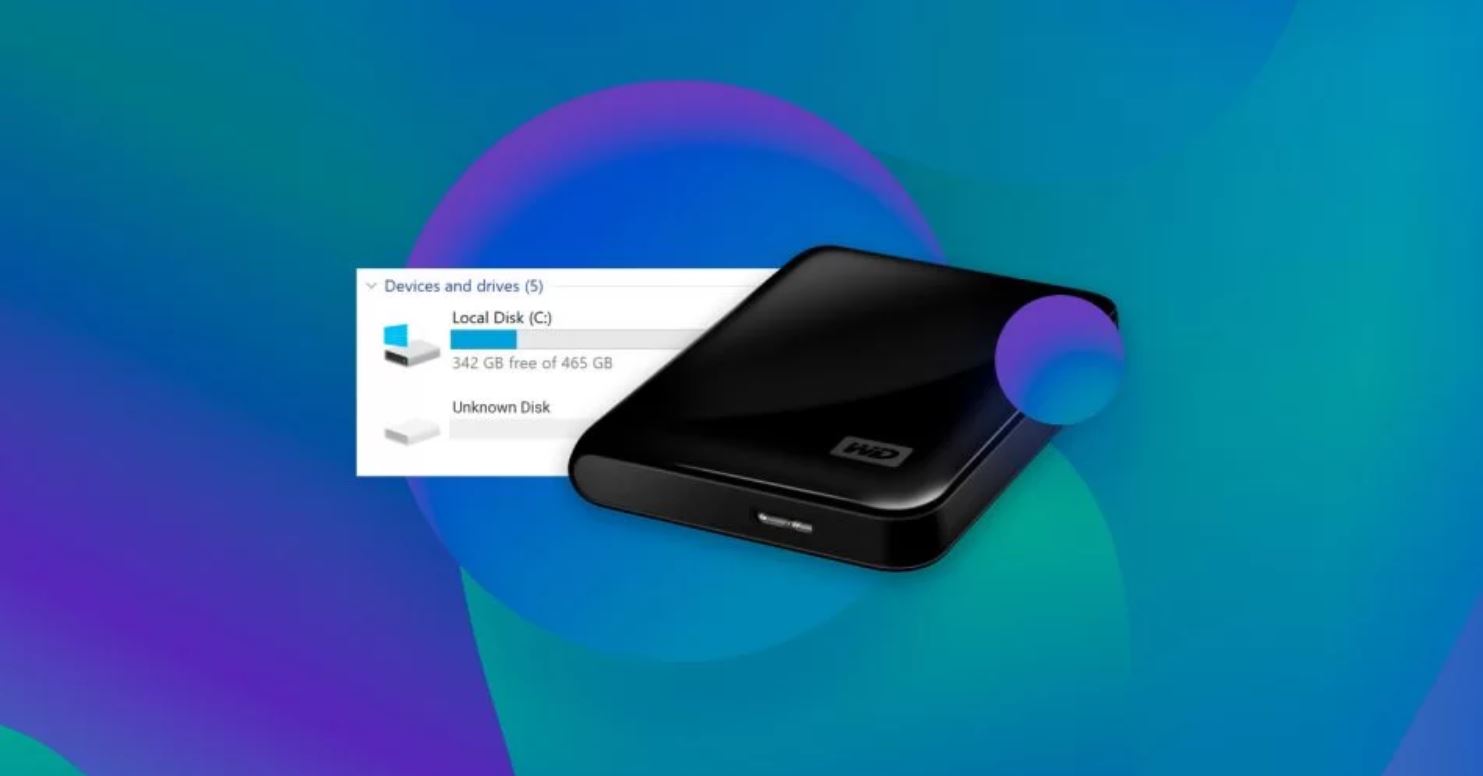
- Within the “This PC” or “My Computer” view, you will see a list of all the storage devices connected to your computer, including your external hard drive. Look for the section labeled “Devices and drives.”
- Your external hard drive will be listed under the “Devices and drives” section. It will typically be labeled with a drive letter (such as “D:”, “E:”, etc.) and a name that you assigned to it (e.g., “My Passport,” “Seagate Backup Plus,” etc.).
- To open your external hard drive, double-click on its icon. This will display the contents of your external hard drive, allowing you to view and manage your files and folders.
Using the File Explorer method, you can easily locate and access your external hard drive on Windows 11. This method is particularly useful if you have multiple storage devices connected to your computer, as it provides a clear overview of all your drives in one place.
Furthermore, the File Explorer allows you to perform various actions on your external hard drive, such as copying, moving, deleting, and renaming files and folders. It also enables you to create new folders, organize your files hierarchically, and search for specific items within your external hard drive.
In summary, the File Explorer method provides a straightforward and convenient way to find and access your external hard drive on Windows 11. It offers a familiar interface and a range of functionalities that allow you to efficiently manage your files and folders on your external storage device.
Method 2: Disk Management
If you want to have more control over your external hard drive and its partitions, you can use the Disk Management tool on Windows 11. Disk Management provides a comprehensive view of all the storage devices connected to your computer, allowing you to manage their partitions, formats, and drive letters.
To access your external hard drive using Disk Management, follow these steps:
- Open the Start menu and search for “Disk Management.” Click on the “Create and format hard disk partitions” option that appears in the search results.
- Once Disk Management is open, you will see a list of all the storage devices connected to your computer, including your external hard drive.
- Locate your external hard drive in the list. It will typically be labeled with a drive letter and a name that you assigned to it.
- Right-click on the external hard drive and select the desired action. For example, you can assign a different drive letter, change the volume label, format the drive, or resize and delete partitions.
The Disk Management tool provides a more advanced way to manage your external hard drive compared to the File Explorer method. It allows you to perform operations such as resizing partitions, creating new partitions, and changing the file system format.
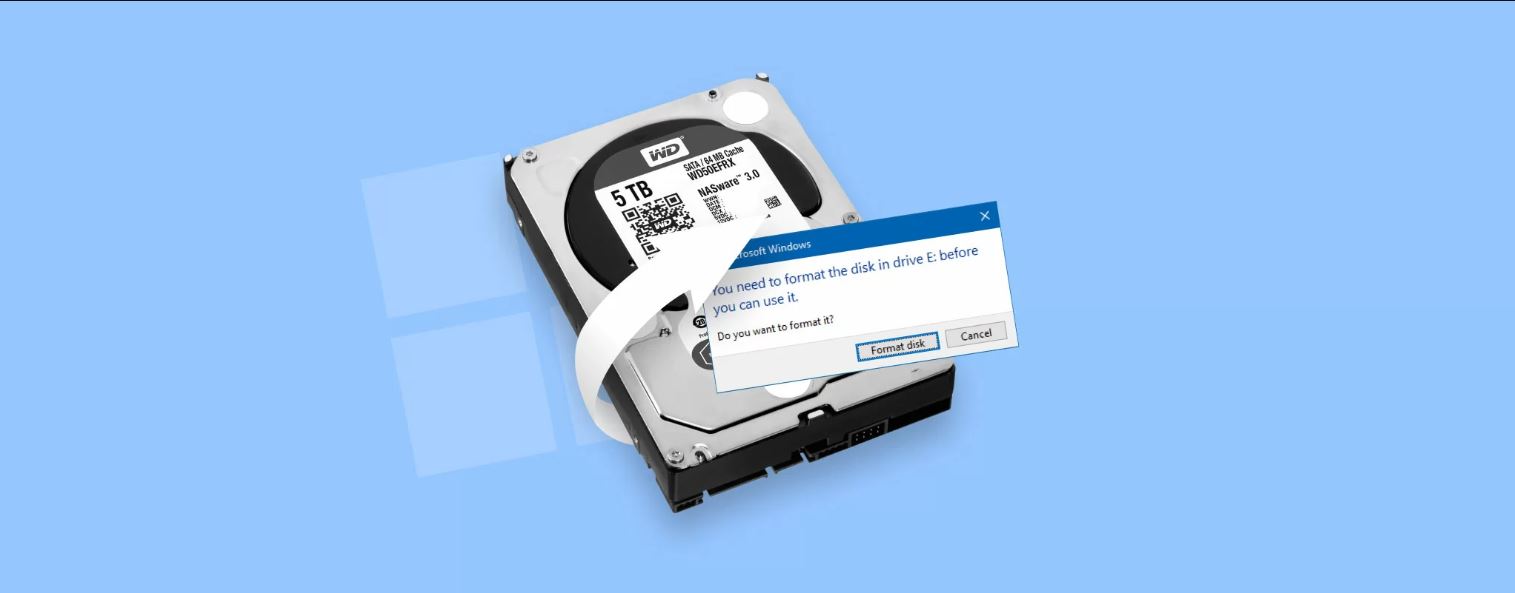
However, exercise caution when using Disk Management, as certain actions can potentially lead to data loss or formatting of the drive. Make sure to back up your important files before making any changes to the partitions or formatting the drive.
In summary, Disk Management offers a powerful and versatile way to manage the partitions and settings of your external hard drive on Windows 11. It provides advanced options for customization and optimization, allowing you to tailor your external storage device to your specific needs.
Method 3: Device Manager
If you’re encountering issues with your external hard drive or want to update its drivers, you can use the Device Manager on Windows 11. The Device Manager is a central tool that allows you to manage and troubleshoot all the hardware devices connected to your computer.
To access your external hard drive using the Device Manager, follow these steps:
- Open the Start menu and search for “Device Manager.” Click on the “Device Manager” option that appears in the search results.
- Once Device Manager is open, you will see a list of all the hardware devices connected to your computer.
- Expand the “Disk drives” category by clicking on the arrow next to it.
- Your external hard drive should be listed as one of the devices under the “Disk drives” category. It will typically display its manufacturer and model name.
- To access the properties of your external hard drive or update its drivers, right-click on the device and select the desired action from the context menu.
Using the Device Manager method, you can not only locate your external hard drive but also manage its drivers and troubleshoot any related issues. If you suspect that your external hard drive is not working properly, updating the drivers can often resolve the problem.
Furthermore, the Device Manager provides detailed information about the hardware properties of your external hard drive, including its status, driver version, and other technical details. You can also use the Device Manager to enable or disable specific functions related to your external hard drive.
In summary, the Device Manager is a useful tool for locating, managing, and troubleshooting your external hard drive on Windows 11. Whether you need to update drivers or diagnose issues, the Device Manager provides a comprehensive view of your hardware devices and offers various options to ensure the smooth operation of your external storage device.
Method 4: Windows PowerShell
For more advanced users who prefer command-line interfaces, Windows PowerShell provides a powerful way to locate and manage your external hard drive on Windows 11. PowerShell is a task automation and configuration management framework that allows you to execute commands and scripts to control various aspects of your operating system.
To use Windows PowerShell to find your external hard drive, follow these steps:
- Open the Start menu and search for “Windows PowerShell.” Click on the “Windows PowerShell” app that appears in the search results.
- Once PowerShell is open, you can use various commands to interact with your external hard drive.
- To list all the storage drives connected to your computer, type the command:
Get-Diskand press Enter. - You will see a list of disks, including your external hard drive. Each disk will have a number assigned to it.
- To view detailed information about your external hard drive, type the command:
Get-Disk <disk number> | Format-List *and press Enter. Replace <disk number> with the actual number of your external hard drive.
Using Windows PowerShell, you can not only locate your external hard drive but also perform various operations on it. You can format the drive, change its partition style, assign a drive letter, create new partitions, and much more, all through the command-line interface.
It’s important to note that Windows PowerShell can be a complex tool, especially for those who are not familiar with command-line interfaces. It’s advisable to have a basic understanding of PowerShell commands and their syntax before using this method.
In summary, Windows PowerShell offers a robust and flexible approach to locating and managing your external hard drive on Windows 11. With its extensive capabilities, PowerShell allows advanced users to perform advanced operations on their external storage device quickly and efficiently.
Method 5: Control Panel
The Control Panel in Windows 11 provides another method to locate and manage your external hard drive. The Control Panel is a centralized hub that allows you to access various system settings and configurations, including those related to your storage devices.
To access your external hard drive using the Control Panel, follow these steps:
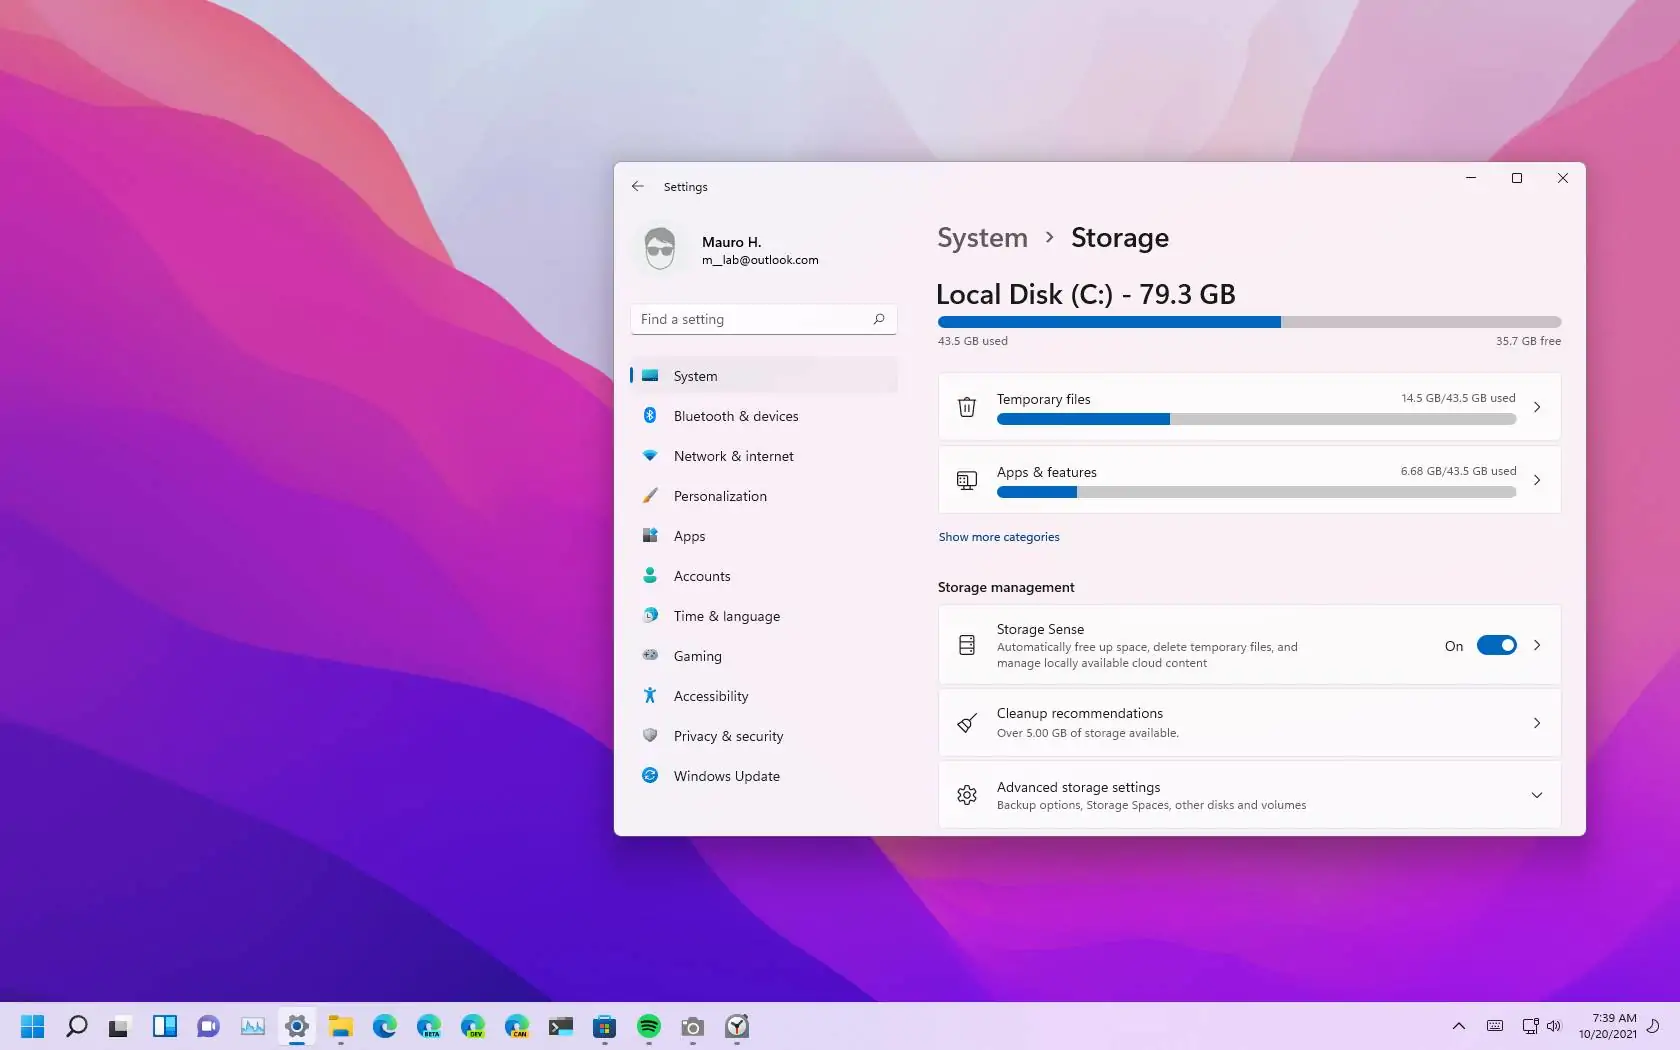
- Open the Start menu and click on the “Settings” gear icon to open the Settings app.
- In the Settings app, click on the “System” category.
- In the left-hand navigation pane, click on the “Storage” option.
- Under the “More storage settings” section, click on the “Manage Disks and Volumes” link.
- The Control Panel will open, displaying the Disk Management interface. Here, you will see a list of all the disks and volumes, including your external hard drive.
- Locate your external hard drive in the list. It will typically be labeled with a drive letter and a name that you assigned to it.
Using the Control Panel method, you can view the properties of your external hard drive, change its drive letter, format the drive, or create new partitions.
Additionally, the Control Panel allows you to customize various settings related to your external hard drive, such as enabling or disabling write caching, optimizing for performance or quick removal, and configuring automatic backups.
The Control Panel method offers a more user-friendly approach compared to some of the other methods mentioned earlier. It provides an intuitive interface and presents relevant options in a clear and organized manner, making it easier for users to locate and manage their external hard drive.
In summary, the Control Panel method in Windows 11 offers a convenient and accessible way to locate and configure your external hard drive. It provides various options for customization and optimization, allowing you to tailor your external storage device to your specific needs and preferences.
Conclusion
Locating and accessing your external hard drive on Windows 11 is essential for efficiently managing your files, creating backups, and expanding your storage capacity. In this article, we explored five different methods you can use to find your external hard drive on Windows 11: File Explorer, Disk Management, Device Manager, Windows PowerShell, and Control Panel.
The File Explorer method offers a straightforward and familiar approach, allowing you to easily navigate and manage your files and folders on your external hard drive. Disk Management provides more advanced options for managing partitions, formats, and drive letters, giving you greater control over your external storage device’s settings. Device Manager helps you locate, update drivers, and troubleshoot issues related to your external hard drive.
If you’re comfortable with command-line interfaces, Windows PowerShell offers a powerful way to locate and perform advanced operations on your external hard drive. Lastly, the Control Panel provides a user-friendly interface for managing and customizing your external storage device’s settings, making it easier for users of all levels of experience.
By knowing these different methods, you can choose the one that best suits your preferences and technical proficiency. Whether you prefer a visual interface or command-line interaction, Windows 11 offers flexible options to locate and manage your external hard drive efficiently.
Remember to exercise caution when making changes to your external hard drive’s settings, such as formatting or resizing partitions. Always back up your important files before performing any actions that may result in data loss.
Now that you are familiar with these methods, you can confidently navigate and utilize your external hard drive on Windows 11, taking full advantage of its storage capacity and convenience.