Introduction
Have you been using Amazon Photos to store and organize your precious memories but find yourself running out of storage space? Don’t worry! Transferring your photos from Amazon Photos to an external hard drive is a simple and efficient solution. Not only will it free up space on your Amazon account, but it will also provide an additional backup for your cherished photos.
In this guide, we will walk you through the step-by-step process of transferring photos from Amazon Photos to an external hard drive. Whether you’re a beginner or tech-savvy, this tutorial will help you complete the task with ease.
Please note that the instructions in this guide are specific to transferring photos from Amazon Photos to an external hard drive on a computer. The process may vary slightly if you are using a different device or operating system.
Before we get started, make sure you have the following prerequisites:
- A computer with internet access
- An external hard drive with sufficient storage capacity
- An active Amazon Photos account
Once you have these requirements ready, you can begin the process of transferring your photos from Amazon Photos to an external hard drive. So, without further ado, let’s dive into the step-by-step instructions.
Step 1: Connect the External Hard Drive to your Computer
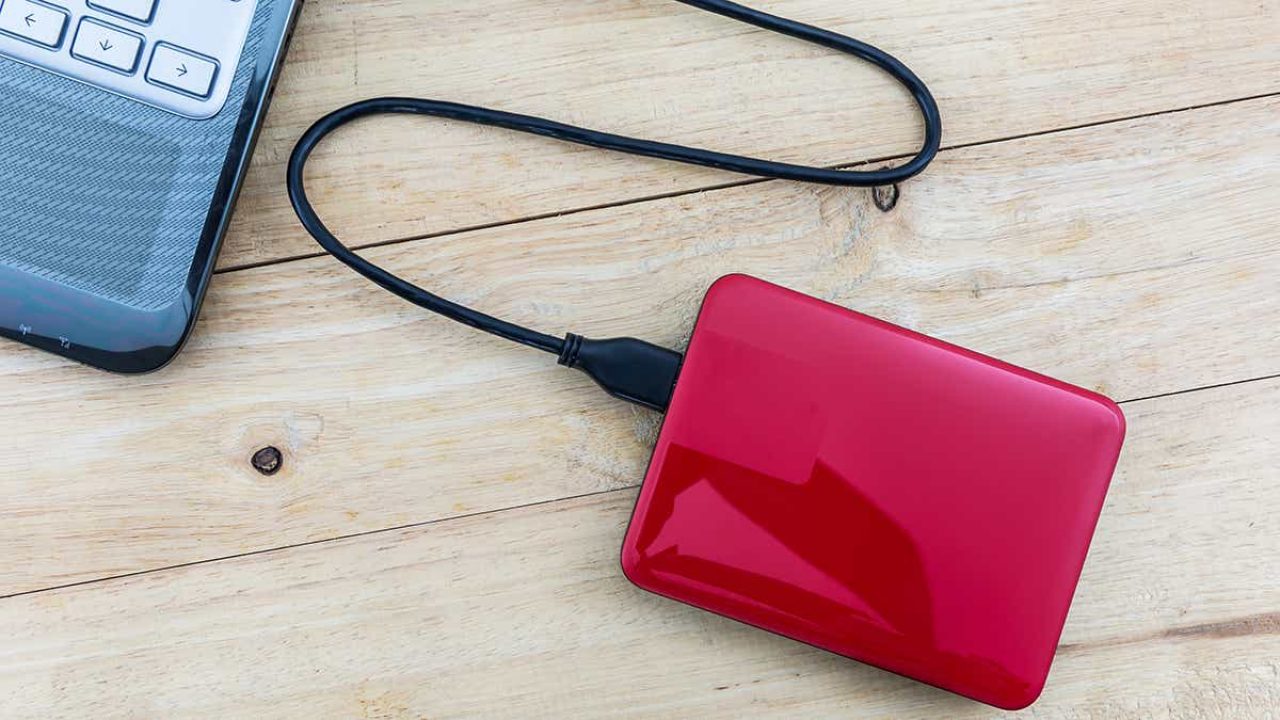
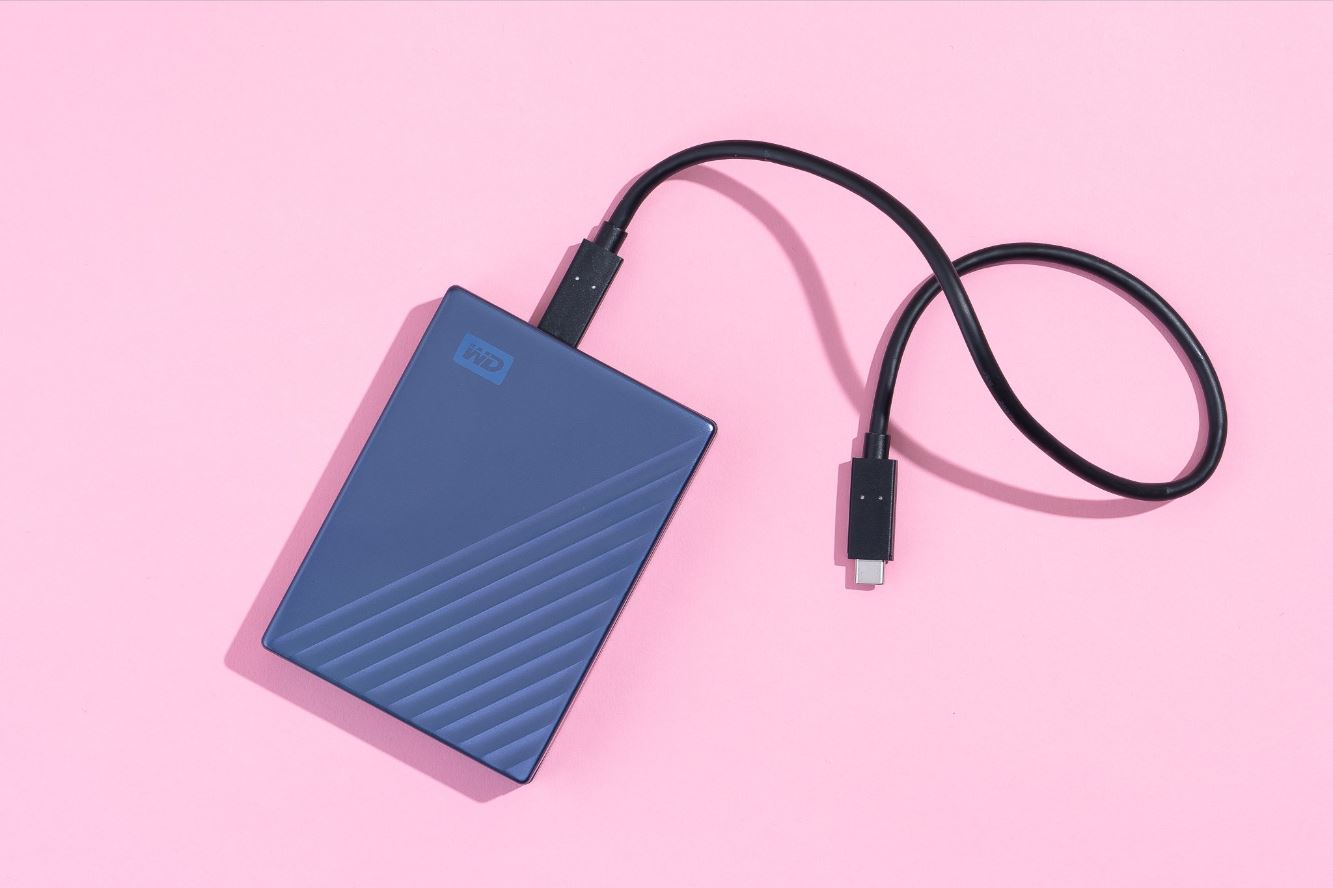
The first step in transferring your photos from Amazon Photos to an external hard drive is to connect the external hard drive to your computer. Locate the appropriate ports on your computer and connect one end of the USB cable to the external hard drive and the other end to an available USB port on your computer.
Once connected, you may need to wait a few seconds for your computer to recognize the external hard drive. In most cases, your computer will automatically detect the device and install any necessary drivers.
If your external hard drive requires external power, make sure it is plugged into a power source and turned on. This is typically the case for desktop external hard drives that do not draw power from the computer’s USB port.
It’s important to ensure that your computer and external hard drive are properly connected before proceeding to the next steps. Once the external hard drive is successfully connected to your computer, you are ready to move on to the next step.
Pro tip: If you are using a Mac computer, you may need to format your external hard drive to be compatible with the macOS file system. This can be done by opening the Disk Utility application, selecting your external hard drive, and choosing the appropriate format option. However, be aware that formatting will erase all existing data on the drive, so make sure to back up any important files before proceeding with the format.
Step 2: Open Amazon Photos
Now that your external hard drive is connected to your computer, it’s time to open Amazon Photos and access your photo library. Launch your preferred web browser and visit the Amazon Photos website.
Sign in to your Amazon account using your username and password. If you don’t have an Amazon account, you will need to create one before proceeding.
After signing in, you will be redirected to the Amazon Photos homepage. Here, you will find all your uploaded photos and albums organized in a user-friendly interface.
Take a moment to familiarize yourself with the Amazon Photos interface. You will see various tabs and features, such as “Photos,” “Albums,” “Shared,” and more. These options allow you to navigate and manage your photo library effectively.
If you have a large collection of photos, you may want to use the search bar or filters to quickly locate specific photos or albums. This can save you time and effort, especially if you have a specific set of photos you wish to transfer to the external hard drive.
Remember to ensure a stable internet connection throughout the process, as transferring photos from Amazon Photos requires a reliable connection for smooth data transfer.
Once you are comfortable navigating the Amazon Photos interface, you are ready to proceed to the next step and begin selecting and downloading the photos you wish to transfer to the external hard drive.
Step 3: Select and Download the Photos
With Amazon Photos open and your photo library at your fingertips, it’s time to select and download the photos you want to transfer to the external hard drive. Follow these steps to complete this process:
- Navigate to the location of the photos you want to transfer. You can do this by using the “Photos” or “Albums” tab, or by using the search bar or filters to narrow down your selection.
- Select the photos you wish to download. You can do this by clicking on individual photos or by using the “Select” option to choose multiple photos at once. Selected photos will typically be highlighted or marked in some way to indicate they are chosen.
- Once you have selected the desired photos, look for the “Download” option. This can usually be found in the top or side menu bar of the Amazon Photos interface. Click on the “Download” button to initiate the download process.
Depending on the number and size of the photos you are downloading, it may take some time for the download to complete. You will typically see a progress indicator or notification to let you know the download status.
It’s important to note that when you download photos from Amazon Photos, they will be downloaded in their original resolution and quality. This ensures that you maintain the best possible version of your photos on the external hard drive.
As the download progresses, you may want to create a dedicated folder on your computer to temporarily store the downloaded photos. This can make it easier to organize the files before transferring them to the external hard drive in the next step.
Once the download is complete and the photos are safely stored on your computer, you are ready to move on to the next step and prepare the external hard drive for the transfer.
Step 4: Create a New Folder on the External Hard Drive
Before transferring the downloaded photos from your computer to the external hard drive, it’s important to create a dedicated folder on the external hard drive to store them. This will help keep your files organized and easily accessible.
Follow these steps to create a new folder on your external hard drive:
- Open the File Explorer (Windows) or Finder (Mac) application on your computer. These applications allow you to browse and manage your files and folders.
- In the File Explorer or Finder, locate and select the external hard drive. It is usually listed under “My Computer” or “This PC” on Windows or the sidebar on Mac.
- Right-click on the external hard drive and choose the “New Folder” option from the context menu. Alternatively, you can use the “File” menu at the top of the screen and select the “New Folder” option.
- Give the new folder a descriptive name. You can choose a name that reflects the content of the photos or simply use something generic like “Amazon Photos Transfer.”
- Press Enter or click outside the folder name box to create the new folder.
Once the folder is created, you will see it appear on the external hard drive. This folder will serve as the destination for transferring the downloaded photos.
Now that you have a dedicated folder ready, you are all set to proceed to the next step and transfer the downloaded photos from your computer to the external hard drive.
Step 5: Transfer the Downloaded Photos to the External Hard Drive
With the downloaded photos safely stored on your computer and a dedicated folder created on the external hard drive, it’s time to transfer the photos from your computer to the external hard drive. Follow these steps to complete the transfer:
- Open the File Explorer (Windows) or Finder (Mac) application on your computer.
- Navigate to the location where you saved the downloaded photos. This is typically in the “Downloads” folder or the folder you created in the previous step.
- Select the downloaded photos you want to transfer. You can do this by clicking and dragging to select multiple photos at once or holding down the Ctrl key (Windows) or Command key (Mac) while clicking on individual photos.
- Once the desired photos are selected, right-click on one of the selected photos and choose the “Copy” option from the context menu. Alternatively, you can use the “Edit” menu at the top of the screen and select the “Copy” option.
- Go back to the File Explorer or Finder and locate the external hard drive. Double-click on the external hard drive to open it.
- Right-click inside the external hard drive folder and choose the “Paste” option from the context menu. Alternatively, you can use the “Edit” menu at the top of the screen and select the “Paste” option.
The selected photos will now be transferred from your computer to the external hard drive. The transfer time will depend on the size of the photos and the speed of your USB connection.
It’s important to ensure that the transfer process is completed successfully before disconnecting the external hard drive. You can monitor the progress of the transfer by keeping an eye on the file copy dialog box or progress bar that appears during the transfer.
Once the transfer is complete and all the photos are successfully transferred to the external hard drive, you can safely proceed to the next step and prepare to eject the external hard drive from your computer.
Step 6: Safely Eject the External Hard Drive
After transferring the photos to the external hard drive, it is essential to safely eject the device from your computer to prevent data loss or damage to the files. Follow these steps to safely eject the external hard drive:
- Make sure all file transfer processes involving the external hard drive are complete. Check that there are no active file transfers or writing processes occurring.
- On Windows, locate the “Safely Remove Hardware” icon on the taskbar. It is usually represented by a small USB or hardware icon. On Mac, locate the external hard drive icon on the desktop or sidebar of the Finder window.
- Click on the “Safely Remove Hardware” icon or right-click on the external hard drive icon and select the “Eject” option.
- Wait for the operating system to notify you that it is safe to remove the external hard drive. On Windows, you will see a notification confirming the safe removal. On Mac, the external hard drive icon will disappear from the desktop or Finder sidebar.
- Gently disconnect the USB cable or power cable, depending on the type of external hard drive you have. Make sure to handle the external hard drive with care and avoid pulling or forcefully removing the cables.
By safely ejecting the external hard drive, you reduce the risk of data corruption or damage to the files stored on the device. It is an essential step in the photo transfer process and helps maintain the integrity of your files.
Remember to store your external hard drive in a safe and secure location, away from extreme temperatures, moisture, and potential physical damage. This will further ensure the longevity and protection of your transferred photos.
Congratulations! You have successfully transferred your photos from Amazon Photos to an external hard drive. Now you can enjoy the additional storage space on your Amazon account while having a backup of your precious memories on the external hard drive.
Conclusion
Transferring your photos from Amazon Photos to an external hard drive is a simple and effective way to free up space on your Amazon account and create an additional backup for your memories. By following the step-by-step guide provided in this article, you can easily complete the process and ensure the safety of your cherished photos.
We began by connecting the external hard drive to your computer and opening Amazon Photos to access your photo library. Then, we selected and downloaded the desired photos onto your computer, creating a dedicated folder to organize them.
We continued by transferring the downloaded photos from your computer to the external hard drive, allowing you to have a secure copy of your photos on a physical device. Finally, we emphasized the importance of safely ejecting the external hard drive from your computer before disconnecting it.
Remember, always double-check that the transfer process is complete and confirm the safe removal of the external hard drive to avoid potential data loss or damage to your files.
By transferring your photos to an external hard drive, you not only gain additional storage space on Amazon Photos but also gain peace of mind knowing that your memories are securely stored in multiple locations. This backup solution ensures that your photos are protected from accidental deletion, account limitation, or any other unforeseen circumstances.
Now that you have successfully transferred your photos, you can take advantage of the additional benefits offered by Amazon Photos, such as organizing your photo library, creating albums, and syncing your photos across devices.
We hope this guide has helped you navigate the process of transferring photos from Amazon Photos to an external hard drive. Enjoy the extra storage space, backup your memories, and continue capturing new moments knowing that your photos are protected.