Introduction
Are you running out of storage space on your computer due to the large iMovie library? Do you want to free up some space and have the convenience of accessing your iMovie projects from an external hard drive? Look no further! In this article, we will guide you through the step-by-step process of saving your iMovie library to an external hard drive.
iMovie is a popular video editing software developed by Apple. It allows users to create, edit, and share high-quality videos. However, as you continue to work on various projects, your iMovie library can quickly accumulate a significant amount of data, occupying a substantial portion of your computer’s storage. Transferring your iMovie library to an external hard drive is a simple and effective solution to preserve your work while creating more space on your computer.
By saving your iMovie library to an external hard drive, you can easily access your projects on different computers or free up storage space on your main computer. Additionally, this will reduce the risk of losing your projects in case of system failures or computer crashes. So, let’s dive into the steps required to save your iMovie library to an external hard drive.
Step 1: Connect the external hard drive to your computer
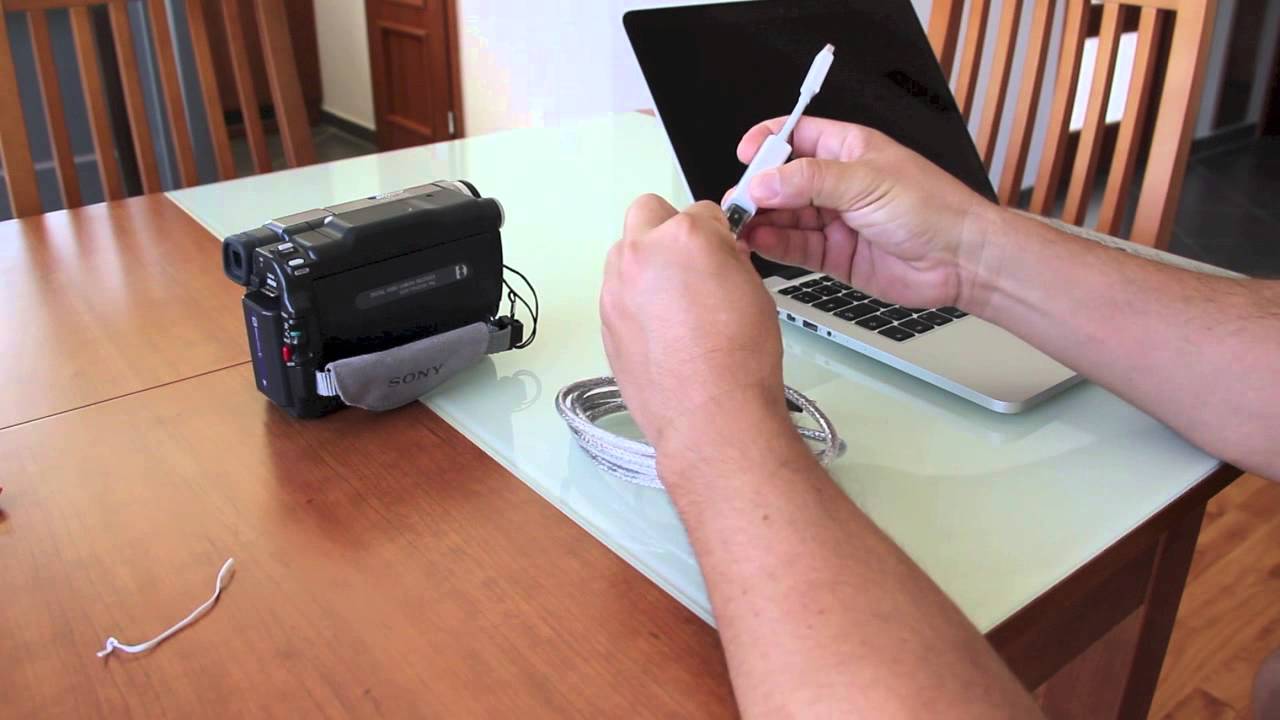
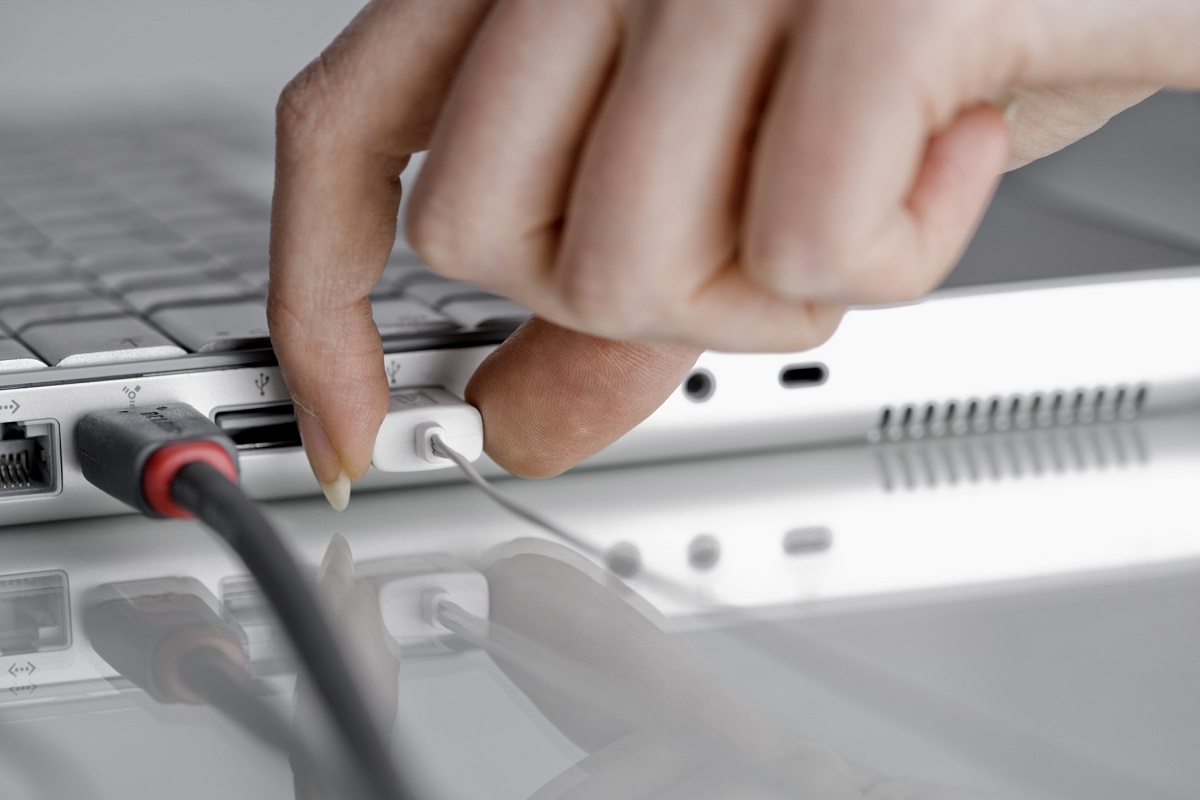
The first step in saving your iMovie library to an external hard drive is to connect the drive to your computer. Ensure that you have a compatible USB or Thunderbolt cable to establish the connection. Once you have the cable ready, follow these simple steps:
- Locate an available USB or Thunderbolt port on your computer.
- Insert one end of the cable into the port.
- Connect the other end of the cable to the external hard drive.
- Turn on the external hard drive and wait for it to be recognized by your computer.
After connecting the external hard drive, your computer should detect it and assign it a drive letter or name. This will allow you to access the hard drive just like any other storage device on your computer.
It is important to note that the specific steps may vary depending on the type and brand of your external hard drive. Refer to the manufacturer’s instructions if you encounter any difficulties during the connection process.
Once the external hard drive is successfully connected and recognized by your computer, you are now ready to proceed to the next step of saving your iMovie library.
Step 2: Open iMovie and locate your library
Now that you have connected the external hard drive, it’s time to open iMovie and locate your iMovie library. Follow these steps to find your library:
- Launch iMovie on your computer. It can usually be found in the Applications folder or on your Dock.
- In the iMovie interface, click on the “File” menu at the top-left corner of the screen.
- Select “Open Library” from the drop-down menu.
- A window will appear, displaying a list of available iMovie libraries on your computer.
- Identify your iMovie library from the list. It will typically have a recognizable name that you assigned to it.
- Click on your iMovie library to select it, and then click “OK” to open it.
By following these steps, you can easily locate and open your iMovie library within the iMovie application. It is essential to find the correct iMovie library before proceeding to the next steps to ensure that you transfer the right library to the external hard drive.
If you have multiple iMovie libraries and are unsure which one to select, you can check the size and date of the libraries to identify the one containing your projects. Additionally, you can open different libraries to verify their contents and confirm the correct library for the transfer process.
Now that you have successfully located your iMovie library, you are ready to consolidate it and prepare it for transfer to the external hard drive.
Step 3: Consolidate your iMovie library
Before transferring your iMovie library to the external hard drive, it is important to consolidate the library to ensure that all project files and media are included. Consolidating your iMovie library gathers all the necessary files into a single location, making it easier to transfer and access your projects. Follow these steps to consolidate your iMovie library:
- In the iMovie application, click on the “File” menu at the top-left corner of the screen.
- Select “Library” from the drop-down menu.
- Click on the “Organize” option.
- A dialog box will appear, providing you with several options for organizing your iMovie library.
- Tick the box next to “Consolidate media” to ensure that all project files and associated media are included.
- Choose whether you want to copy all media or just the media used in the projects.
- Click “OK” to start the consolidation process.
Depending on the size of your iMovie library and the amount of media involved, the consolidation process may take some time to complete. It is advisable not to interrupt the process and let it finish to ensure that all files are properly consolidated.
By consolidating your iMovie library, you ensure that all the necessary files and media are gathered in one place, ready for the transfer to the external hard drive. This step helps avoid any missing files or broken links when accessing or working on your projects in the future.
Now that your iMovie library is consolidated, we can move on to the next step of selecting the external hard drive as the destination for your library transfer.
Step 4: Select the external hard drive as the destination
With your iMovie library consolidated, it’s time to choose the external hard drive as the destination for the transfer. Follow these steps to select the external hard drive:
- In the iMovie application, go to the “File” menu at the top-left corner of the screen.
- Select “Library” from the drop-down menu.
- Click on the “Move Library” option.
- A dialog box will appear, showing a list of available locations to move your iMovie library.
- From the list of locations, select your external hard drive. It will typically be identified by its name or drive letter.
- Click “Move” or “OK” to initiate the transfer process.
By selecting the external hard drive as the destination, you are indicating that you want to move your consolidated iMovie library to this specific location. It’s important to double-check that you have chosen the correct external hard drive to avoid any accidental transfers to the wrong location.
It’s worth noting that the transfer process may take some time depending on the size of your iMovie library and the speed of your computer and external hard drive. It is recommended to have a stable power source and avoid any interruptions during the transfer to ensure a successful process.
Now that you have selected the external hard drive as the destination for your iMovie library, we can move on to the actual transfer process in the next step.
Step 5: Begin the transfer process
It’s time to start transferring your consolidated iMovie library to the external hard drive. Follow these steps to initiate the transfer process:
- In the iMovie application, click on the “File” menu at the top-left corner of the screen.
- Select “Library” from the drop-down menu.
- Click on the “Move Library” option.
- A progress bar will appear, indicating the status of the transfer process.
- Wait patiently as iMovie copies all the necessary files and media from your consolidated library to the external hard drive.
- Once the transfer process is complete, you will receive a notification or confirmation message.
During the transfer process, it’s important to avoid any interruptions or unplugging of the external hard drive. This ensures that all files are successfully and accurately transferred, minimizing the risk of any data loss or corruption.
The length of the transfer process will depend on various factors, such as the size of your iMovie library, the speed of your computer and external hard drive, and the amount of data being transferred. Larger libraries with numerous media files may take longer to complete the transfer.
After the transfer is complete, you can safely disconnect the external hard drive from your computer. Your consolidated iMovie library is now successfully transferred and ready to be accessed from the external hard drive whenever you need to work on your projects.
With the transfer process completed, we can move on to the final step of verifying the success of the transfer and ensuring the integrity of your iMovie library on the external hard drive.
Step 6: Verify the transfer was successful
After transferring your iMovie library to the external hard drive, it’s crucial to verify the success of the transfer to ensure that all your projects and media are intact. Follow these steps to verify the transfer:
- Eject the external hard drive from your computer. This ensures that all files are closed properly and ready for the next step.
- Physically disconnect the external hard drive from your computer, if necessary.
- Reconnect the external hard drive to your computer.
- Open iMovie on your computer.
- Click on the “File” menu and select “Open Library”.
- In the window that appears, select the external hard drive as the location for your iMovie library.
- Click “OK” to open the iMovie library from the external hard drive.
- Ensure that all your projects and media are present and accessible in the iMovie library.
- Preview your projects to confirm that they open without any issues and that all media files are linked correctly.
By following these steps, you can verify that the transfer of your iMovie library to the external hard drive was successful. It’s essential to check the integrity of your projects and files to ensure that nothing was lost or corrupted during the transfer process.
If you notice any missing projects, media files, or any issues with the transferred iMovie library, you may need to perform the transfer process again or seek assistance to resolve any technical difficulties you encounter.
Congratulations! Once you have verified the successful transfer of your iMovie library to the external hard drive, you can confidently free up space on your computer while still having easy access to your projects whenever you need them.
Now that you have completed all the steps, you can enjoy the convenience and peace of mind that comes with having your iMovie library safely stored on an external hard drive. Happy editing!
Conclusion
Saving your iMovie library to an external hard drive is a practical solution for managing storage space and ensuring the safety of your projects. By following the step-by-step process outlined in this article, you can easily transfer your iMovie library to an external hard drive and enjoy the benefits of accessibility and additional storage capacity.
Through the process, we covered the essential steps, including connecting the external hard drive to your computer, locating your iMovie library, consolidating the library, selecting the external hard drive as the destination, initiating the transfer process, and verifying the success of the transfer. Each step plays a vital role in ensuring a seamless and successful transfer.
By saving your iMovie library to an external hard drive, you can free up valuable space on your computer, collaborate with others by easily sharing the external hard drive, and safeguard your projects by having them stored in a separate location from your computer’s internal storage. Additionally, an external hard drive provides flexibility in accessing your iMovie library on different computers.
Remember to keep your external hard drive connected and accessible whenever you need to work on your iMovie projects. Regularly back up your external hard drive to ensure that your projects remain safe in case of any unexpected contingencies.
Transferring your iMovie library to an external hard drive is a straightforward process that allows you to continue creating and editing videos without worrying about storage limitations. So, don’t let a full computer slow you down – take advantage of the extra storage capacity offered by an external hard drive and enjoy uninterrupted video editing with iMovie.