Introduction
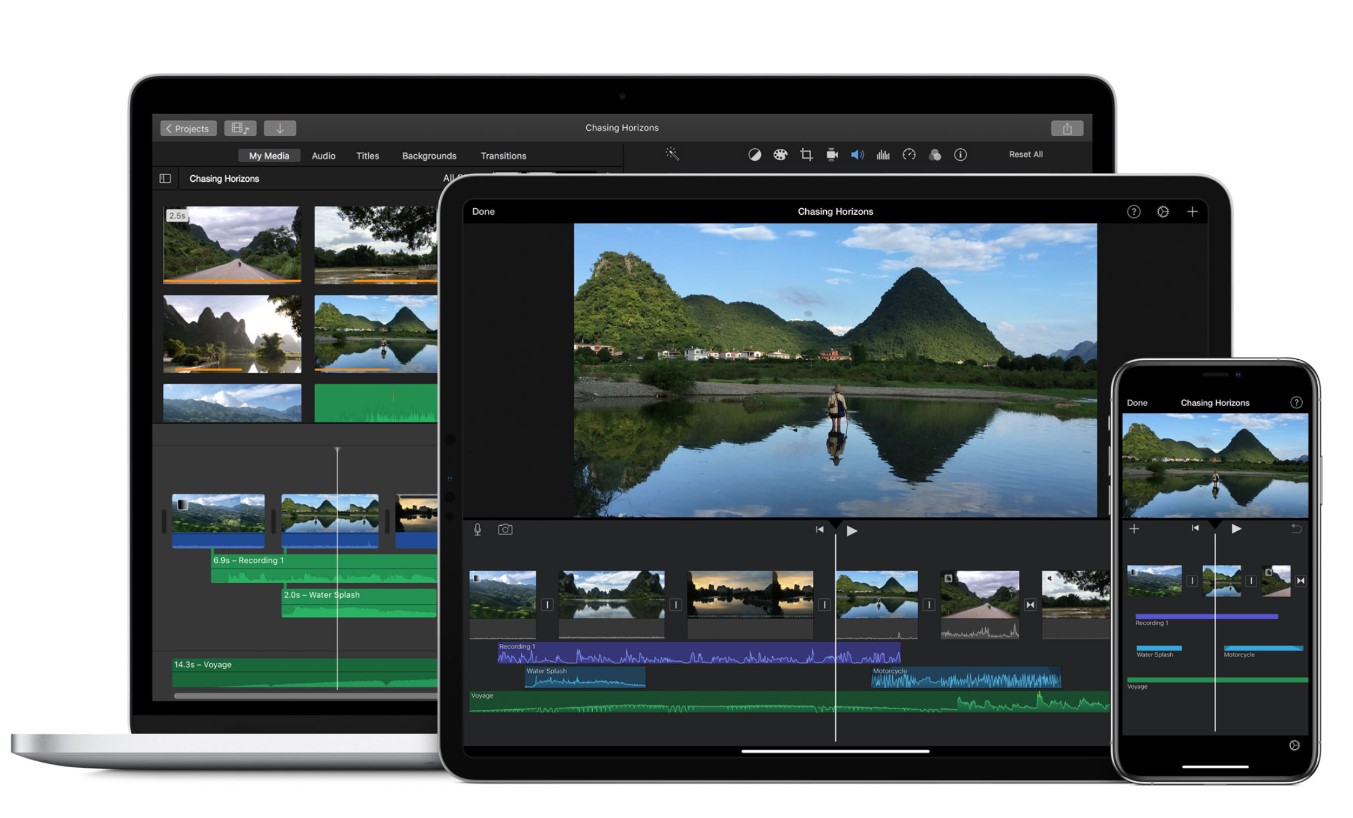
In today’s digital age, videos have become an integral part of our lives. Whether it’s a funny clip, a tutorial, or a memorable moment, videos allow us to capture and relive special moments. iMovie, a popular video editing software developed by Apple, provides users with a wide range of features to create and edit stunning videos. However, sometimes you may come across a video created in iMovie that you want to download and save for offline viewing. In this article, we will guide you through the process of downloading a video from iMovie so that you can enjoy it whenever you want, even without an internet connection.
iMovie offers a simple and straightforward way to export and save your videos to your local storage. By using the share function within iMovie, you can easily choose the video quality and format that best suits your needs. Whether you want to download a video in high definition or a lower resolution, iMovie gives you the flexibility to select the desired settings. Additionally, you can choose the destination folder where you want to save the video, making it easy to locate and access later.
In this step-by-step guide, we will walk you through the process of downloading a video from iMovie. By following these instructions, you will be able to save your favorite iMovie creations and watch them offline, whether it’s on your computer, smartphone, or any other compatible device.
Step 1: Open iMovie
To begin the process of downloading a video from iMovie, you first need to open the iMovie application on your device. If you are using a Mac, you can find the iMovie icon in your Applications folder or on the dock. On an iOS device, such as an iPhone or iPad, you can locate the iMovie app on your home screen. Simply tap on the iMovie icon to launch the application.
Once iMovie is open, you will be greeted with the project library screen. This screen displays all the projects you have created or imported into iMovie. If you have recently been working on a project, it may be displayed prominently in the project library. Otherwise, you will see a blank screen with the option to create a new project.
If you already have the video you want to download open in iMovie, you can proceed to the next step. However, if you need to import a video into iMovie, you can do so by clicking on the “Import Media” button or using the drag and drop feature to add the video to your project library.
Once you have opened iMovie and have the desired video in your project library, you are ready to move on to the next step of downloading the video.
Step 2: Select the video you want to download
After opening iMovie and accessing the project library, you need to select the specific video that you want to download. If you have multiple videos in your project library, you can browse through the list to find the one you want. Simply click on the video thumbnail to select it.
If you have only one video in your project library, it will already be selected by default. You can easily identify the selected video as it will have a border or highlight around its thumbnail. Make sure you have chosen the correct video before proceeding to the next steps.
In case you have made any edits or modifications to the video within iMovie, such as adding transitions or text overlays, you can preview the final version before downloading it. Simply click on the video thumbnail and play it within iMovie to ensure it is the exact video you want to download.
It is worth mentioning that iMovie allows you to create different versions or cuts of a video within a single project. If you have multiple versions of your video and only want to download one specific version, ensure that the correct version is selected before moving forward.
Pro tip: If you cannot find the video you want in the project library, double-check if you have imported it correctly. Additionally, make sure you are in the correct project or library view to locate the desired video. If you still cannot find it, you may need to import the video again or check if it is located in a different project within iMovie.
Step 3: Click on the share button
Once you have selected the video you want to download from iMovie, the next step is to click on the share button. The share button in iMovie allows you to export and save your video in different formats and quality settings, making it easy to choose the best option for your needs.
To find the share button in iMovie, look for the arrow pointing upwards or the share icon, which is typically located in the toolbar at the top of the iMovie interface. It may also be found in the Share menu at the top of your screen on a Mac. Clicking on the share button will open a dropdown menu with various sharing options.
In the share menu, you will see different options to share your video, such as sharing directly to social media platforms or sending it via email. However, for the purpose of downloading the video, you need to select the option to save the video to a file. This option may be labeled as “File” or “Export” in the menu.
Clicking on the “File” or “Export” option will open a dialog box where you can specify additional settings for the video, such as the quality, resolution, and format. Some common video formats you may encounter include MOV, MP4, and M4V.
Depending on your preferences and the device you intend to use to view the video, you can choose the appropriate settings. Remember that higher quality and resolution will result in larger file sizes, so make sure you have sufficient storage space on your device.
Once you have selected the desired sharing option and specified the video settings, you are ready to proceed to the next step of choosing the destination to save the video.
Step 4: Choose the video quality and format
After clicking on the share button in iMovie and selecting the option to save the video as a file, you will be presented with the opportunity to choose the video quality and format. This step allows you to customize the video according to your preferences and requirements.
In the dialog box that appears after selecting the sharing option, you will see a section dedicated to video settings. Here, you can choose the desired resolution and quality settings for your video. iMovie typically offers a range of options, including high-definition (HD) and standard definition (SD) settings.
If you want to download the video in high quality, such as 1080p or 4K resolution, make sure to select the corresponding settings. Higher resolution videos offer a more immersive viewing experience but might result in larger file sizes. On the other hand, if you prioritize smaller file sizes over video quality, you can opt for a lower resolution setting.
Additionally, you will have the option to choose the video format for the downloaded file. iMovie supports various file formats, including MOV, MP4, and M4V. These formats are widely compatible with different devices and media players. Consider the device or media player you plan to use for playback and select a format that is compatible with it.
Pro tip: If you are unsure about which quality and format settings to choose, you can refer to the device specifications or the recommended settings for the specific platform or application where you intend to play the video. This will help ensure optimal compatibility and viewing experience.
Take your time to explore the available options and select the video quality and format that best suits your needs. Once you have made your selections, proceed to the next step to select the destination folder to save the video.
Step 5: Select the destination to save the video
After choosing the video quality and format in iMovie, the next step is to select the destination where you want to save the downloaded video. This step allows you to specify the location on your computer or device’s storage where the video file will be stored.
When you click on the “Next” or “Save” button in the dialog box after selecting the video settings, a new window will appear, prompting you to choose the destination folder. This window will display your computer’s file system, allowing you to navigate through folders and select the desired location to save the video.
By default, iMovie may suggest a location to save the video, such as the “Movies” or “Videos” folder on your computer. However, you have the option to choose a different folder if you prefer. You can browse through the folders on your computer and select a location that is easily accessible and convenient for you.
Consider selecting a destination folder that is organized and easily recognizable. This will make it easier for you to locate the video file at a later time. In addition, ensure that you have enough disk space available in the chosen location to accommodate the video file’s size.
It’s important to note that the process of selecting a destination to save the video may vary depending on the operating system you are using. On a Mac, you can navigate through folders using the Finder interface, while on a Windows computer, you would use the File Explorer. iOS devices typically have a dedicated file manager app that allows you to choose the destination folder.
Once you have selected the desired folder or location to save the video, click on the “Save” or “Export” button to initiate the download process. iMovie will now start exporting the video with the specified settings and save it to the selected location.
Now that you have chosen the destination folder, you are ready for the final step of starting the download process and obtaining your video from iMovie.
Step 6: Start the download process
Once you have selected the destination folder to save the video in iMovie, you are ready to start the download process. This final step involves initiating the export and saving the video file to your chosen location.
In the window where you selected the destination folder, you will typically find a button labeled “Save” or “Export” to begin the download process. Clicking this button will initiate the export process, and iMovie will start creating the video file with the specified settings.
Depending on the length and complexity of the video, the export process may take some time. iMovie will display a progress indicator, keeping you informed about the status of the export. It’s important to be patient and let iMovie complete the export process without interrupting it.
Once the export is complete, iMovie will notify you that the video has been successfully saved to the destination folder you selected. You can now close iMovie and navigate to the specified folder to locate the downloaded video file.
Pro tip: It is recommended to take note of the file name and location where you saved the video. This will help you to easily locate and access the video file in the future. Additionally, you can consider creating a dedicated folder for iMovie exports to keep your downloaded videos organized.
You can now enjoy your downloaded video from iMovie. Whether you want to watch it on your computer, share it with others, or transfer it to a portable device, you have full control over how and when you access your video.
With the simple and user-friendly process outlined in this guide, you can confidently download and save videos created in iMovie so that you can enjoy them offline, anytime and anywhere you want.
Conclusion
Downloading a video from iMovie is a straightforward process that allows you to save and enjoy your creations offline. By following the step-by-step guide outlined in this article, you will be able to effortlessly download the desired video with the preferred quality and format.
First, make sure to open iMovie and select the specific video you want to download. Then, click on the share button and choose the option to save the video as a file. From there, you can customize the video quality and format according to your preferences and device compatibility. After selecting the desired settings, specify the destination folder where you want to save the video file.
Finally, start the download process by clicking on the save or export button, allowing iMovie to process and save the video to the chosen location. Once the export is complete, you can access the downloaded video and enjoy it on your device, even without an internet connection.
iMovie provides a convenient and user-friendly interface for editing and creating videos, and the ability to download videos adds further convenience and flexibility to your video projects. Whether you want to showcase your work, share it with others, or simply keep it for personal viewing, downloading a video from iMovie allows you to have complete control over your video content.
Now that you have learned how to download videos from iMovie, you can unleash your creativity and share your videos in various ways. Whether you are a professional videographer, a content creator, or someone who simply enjoys making videos, iMovie offers a range of features and tools to craft visually stunning and engaging videos.
So, go ahead and explore the possibilities of iMovie. Create, edit, and download videos that capture your memories, tell your stories, and leave a lasting impression. With iMovie, you have the power to unlock your creativity and share your vision with the world.