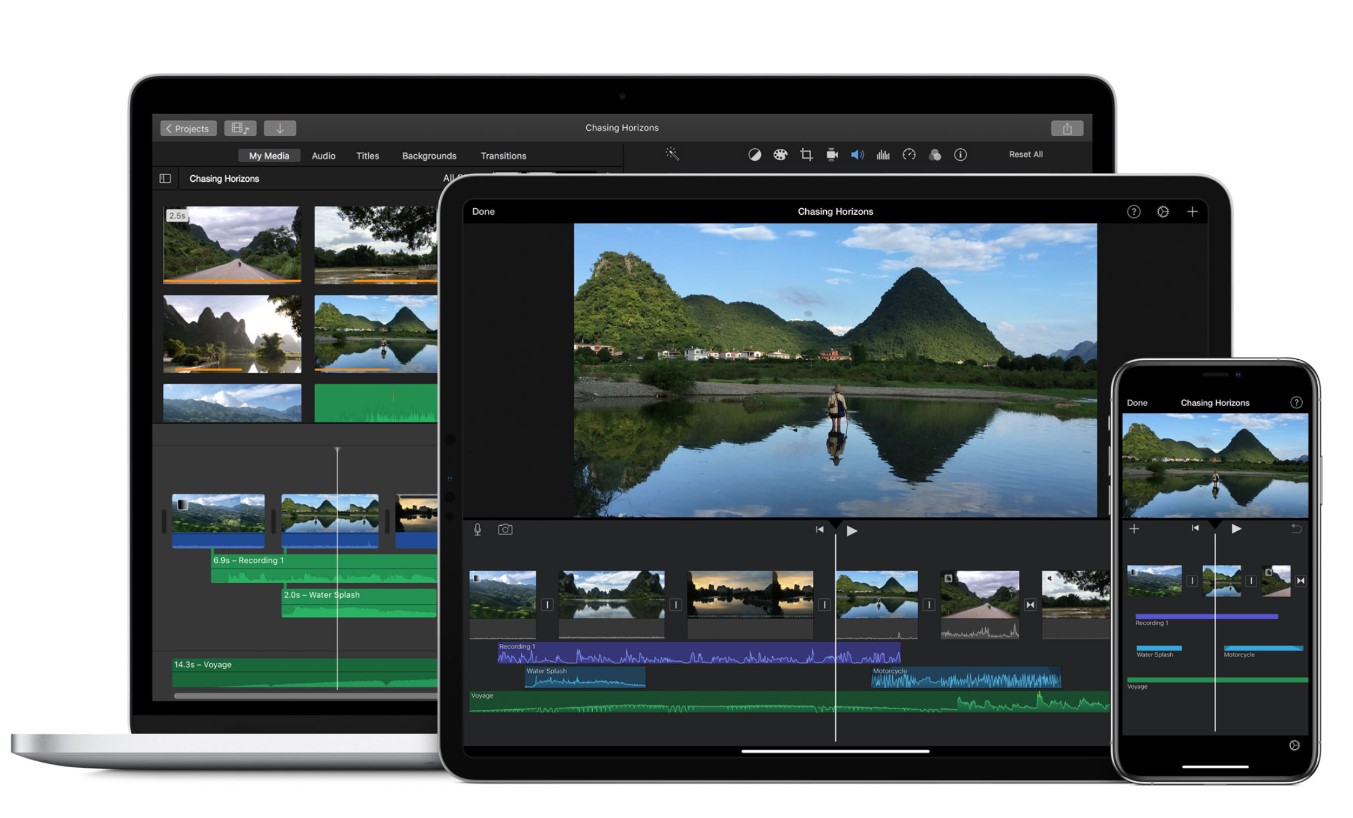
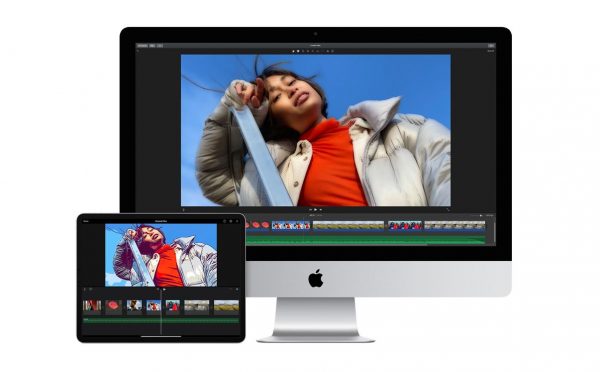
iMovie is a great video editing software to use for beginners and pros alike. It’s free and exploring its features is a lot of fun! While it’s more popularly used on iPhones, it can also be used just as easily on Mac laptops and desktops. This guide will teach you how to use iMovie on a Mac and maximize every feature.
Inside This Article:
- What Is iMovie?
- How to Use iMovie on Mac
- Enhance Your Movie: Adding Music to Your Video
- Saving Your Movie Projects and Videos
- Sharing Your iMovie Video
- Why Use iMovie?
- Final Word
What Is iMovie?
iMovie is Apple’s default video editor. It comes preinstalled on your Apple devices so all you have to do is launch it from your device to use it. The great thing about iMovie is you can create stunning videos using only photos but you can add videos to them as well. You can even add special effects and music to make them more impressive. You can create trailers, showcase your travel memories, and other precious moments in your life, and share them with your friends.
How to Use iMovie on Mac
It’s convenient to use iMovie because it is very intuitive. Most of the time, you can drag and drop items to add to your movie or video. It has all the essentials in a video editing app, but there are still a lot of features that most people aren’t aware of. Below are each of those features and extremely useful tips on how you can make the most of them.
Downloading and Installing iMovie on Your MacBook
As mentioned, iMovie comes preinstalled on your iPhones and Macbooks. But in case you have accidentally deleted it or for some reason, it’s not installed, here’s how you can download and install iMovie on your MacBook. This applies to both Mac laptops and desktop computers.
- From your App Launcher or Shortcuts, launch the App Store by clicking on the blue A logo.
- You can either go to the Create category and scroll down to Edit Photos and Videos to look for iMovie or just type it on the search bar.
- If you used to have iMovie installed on your Mac, you will see a cloud icon—which means you can download it without entering your Apple ID and Password.
- If it’s your first time installing the software, click on Get. The App Store may prompt you to log in with your Apple credentials.
- You will now find the iMovie application on your applications list.
Creating a New iMovie Project
- To get started, launch iMovie by clicking on the purple star icon from your App Launcher.
- Click on OK when you see the prompt asking you to allow iMovie access to your photos. Then click on Continue.
- If it’s your first time using the app, you may see a window with a brief tutorial. Click Get Started.
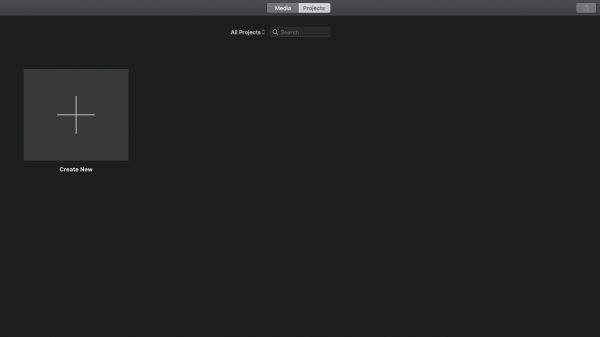
- You will see all your previous projects if you have created some before. Click on the plus(+) icon that says Create New under it. You will see a dropdown with two options: iMovie and Trailer.
- A trailer lets you create movie trailers using a template. For this iMovie tutorial, we will be using iMovie. Click on iMovie.
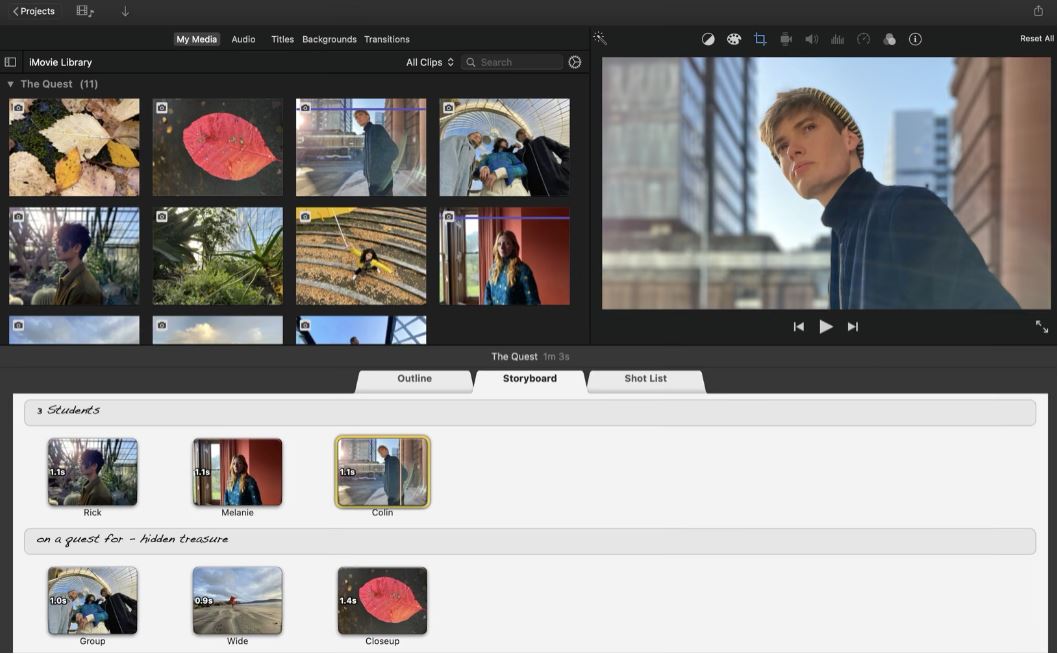
- You will now see your dashboard where you can import media, combine clips, add music, and edit them.
Importing Photos and Videos
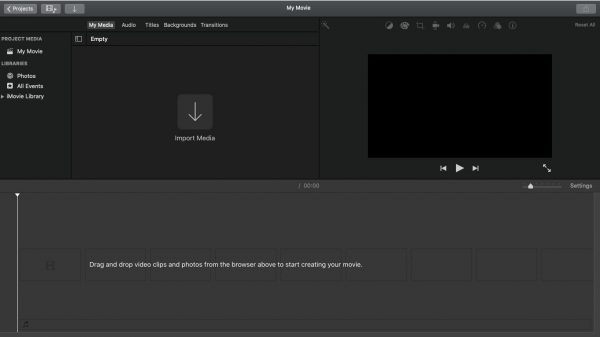
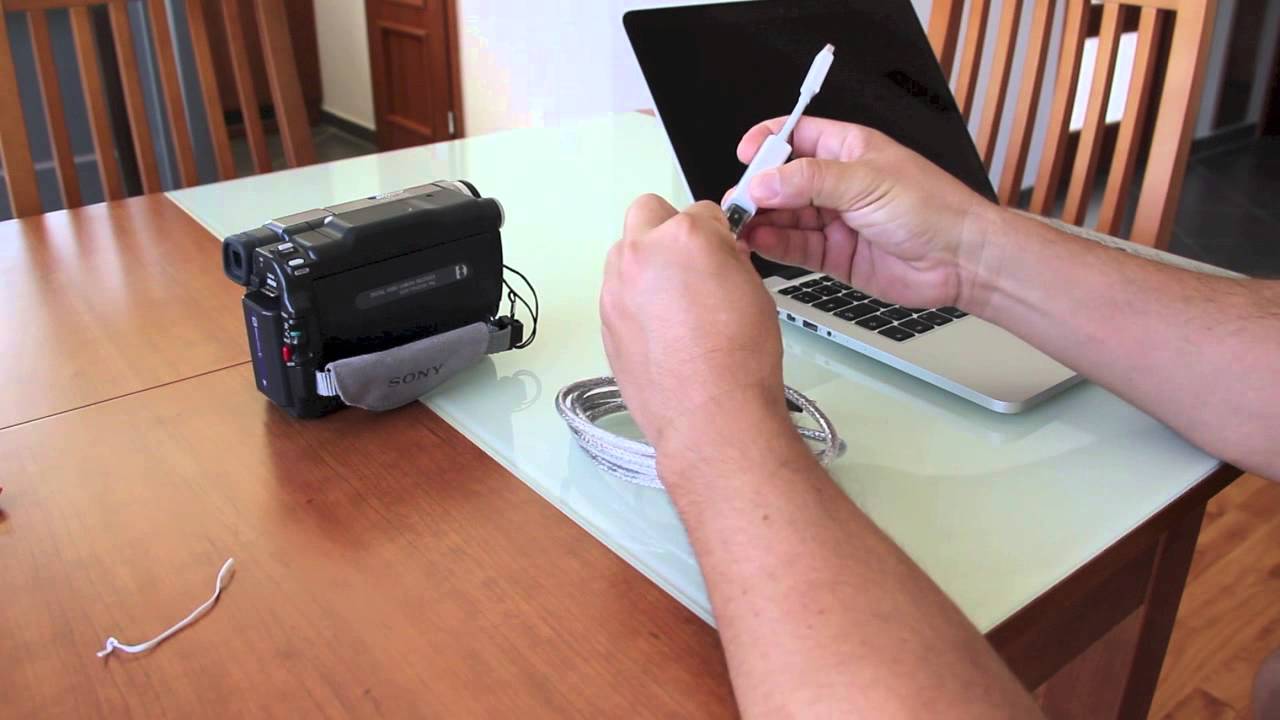
There are several ways to add media to your iMovie. You can pull from your default Photos application, any media library from your Mac, or you can import them from external storage. On the left menu is your Project Media panel that gives you access to your media libraries and on the center pane, you can see Import Media that lets you get photos and videos from different folders. You can also transfer photos from your iPhone to your computer.
If you import from your Photos Library, you can choose from your albums or you can go to All Photos so you can easily access the most recent ones. You will also see categories. Drag and drop the photos and video clips you want to include in the storyboard below. The storyboard is also called the Timeline.
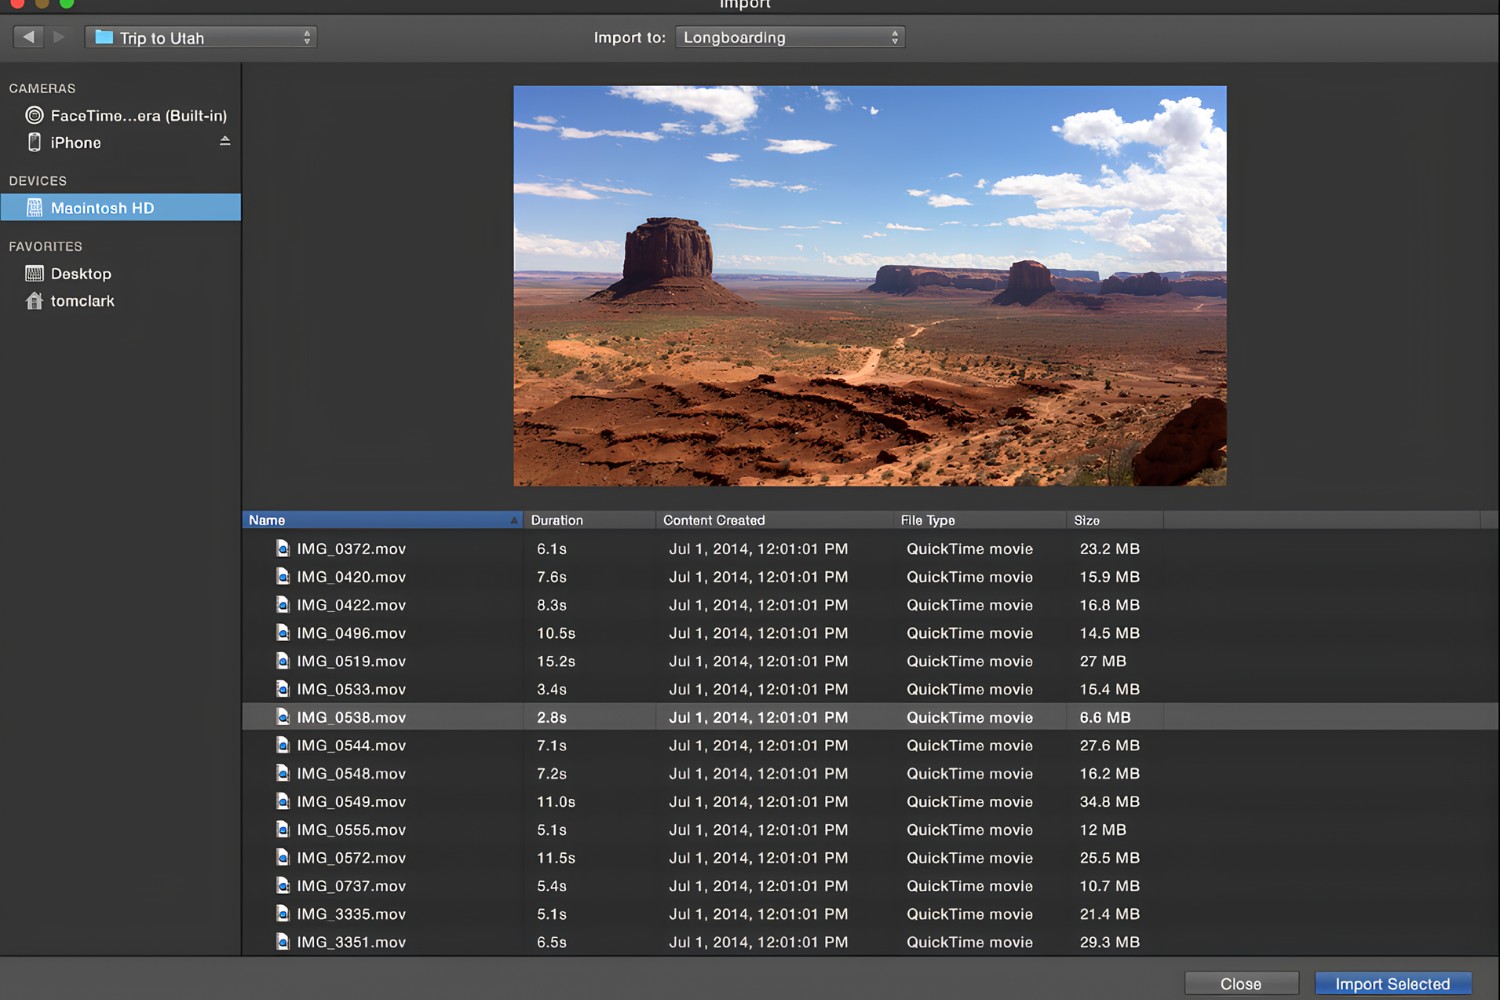
If you choose to import from a folder, you have to give permission for iMovie to access files from your Desktop. You will then see all the folders on your Mac. This is also where you can access your external drives. Open the folder from the popup window and select your media then click Import.
By default, these photos and clips will be in the order in which they were imported. You can drag and drop each of them to arrange their location on the board.
If you don’t want to use your own media or don’t have any to use, you can use the free background images from the app to create your video. You can access them from the right pane. Click on Backgrounds from the menu beside Titles, after Audio and My Media.
Using the Ken Burns Feature
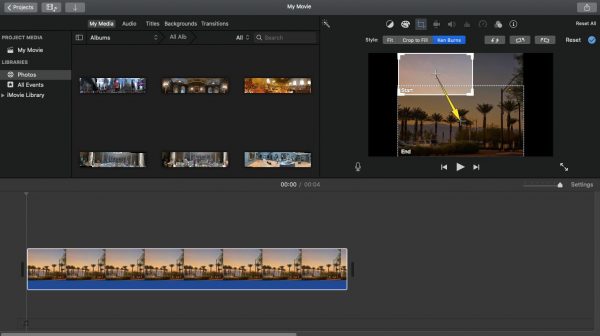
The Ken Burns feature is what makes iMovie unique from all other video editing apps. It allows you to add an effect to your photos such that they move from one direction to the next. You can also zoom in and out of photos. Take note that this feature only works for still photos. So how do you use Ken Burns for iMovie on a Mac?
- Click on a photo on the board. This can also be referred to as a “slide” or a clip.
- The top-right pane is where you can add effects. Your photo will show up there.
- If the Ken Burns effect is not automatically selected, click on the Crop icon then select Ken Burns under Style.
- You will see two boxes on that pane. One is the start, and the other is the end.
- Choose a starting point on the photo—this is the part of this particular photo that appears when the movie shows that slide.
- You can zoom in or out to show certain areas of the photo. You can also drag the box toward different areas of the photo.
- Choose which part of the photo you want to be shown last by dragging and resizing the End box.
 Pro Tip
For enhanced effect, show a small part of the photo from either the left or right corner then show the full photo at the end.
- Preview the slide by clicking on the Play icon so you can see if you like the effect.
- Do the same for other photos that you want to use the Ken Burns feature for.
Media Trimming and Splitting
You can trim and split a particular photo or video for enhanced effects. When is splitting useful? For example, you want to add subtitles on different parts of that particular media. You can split it so that the texts show separately. Trimming, on the other hand, can be useful if you want to time that particular slide with the music. You can use the trim tool to either prolong or extend the exposure of a photo or shorten it. Extending a video using the trim feature would loop it back to the beginning of the video is short.
This is how you can use the split and trim features for iMovie on Mac. For both steps, make sure that on the right pane, you are in Cropping mode.
Trimming
- Click on the photo or video that you want to trim.
- Hover your mouse pointer to the end of that slide until the line indicator appears. You will also see a left and right arrow.
- Drag the end of that slide left to shorten it and right to extend it.
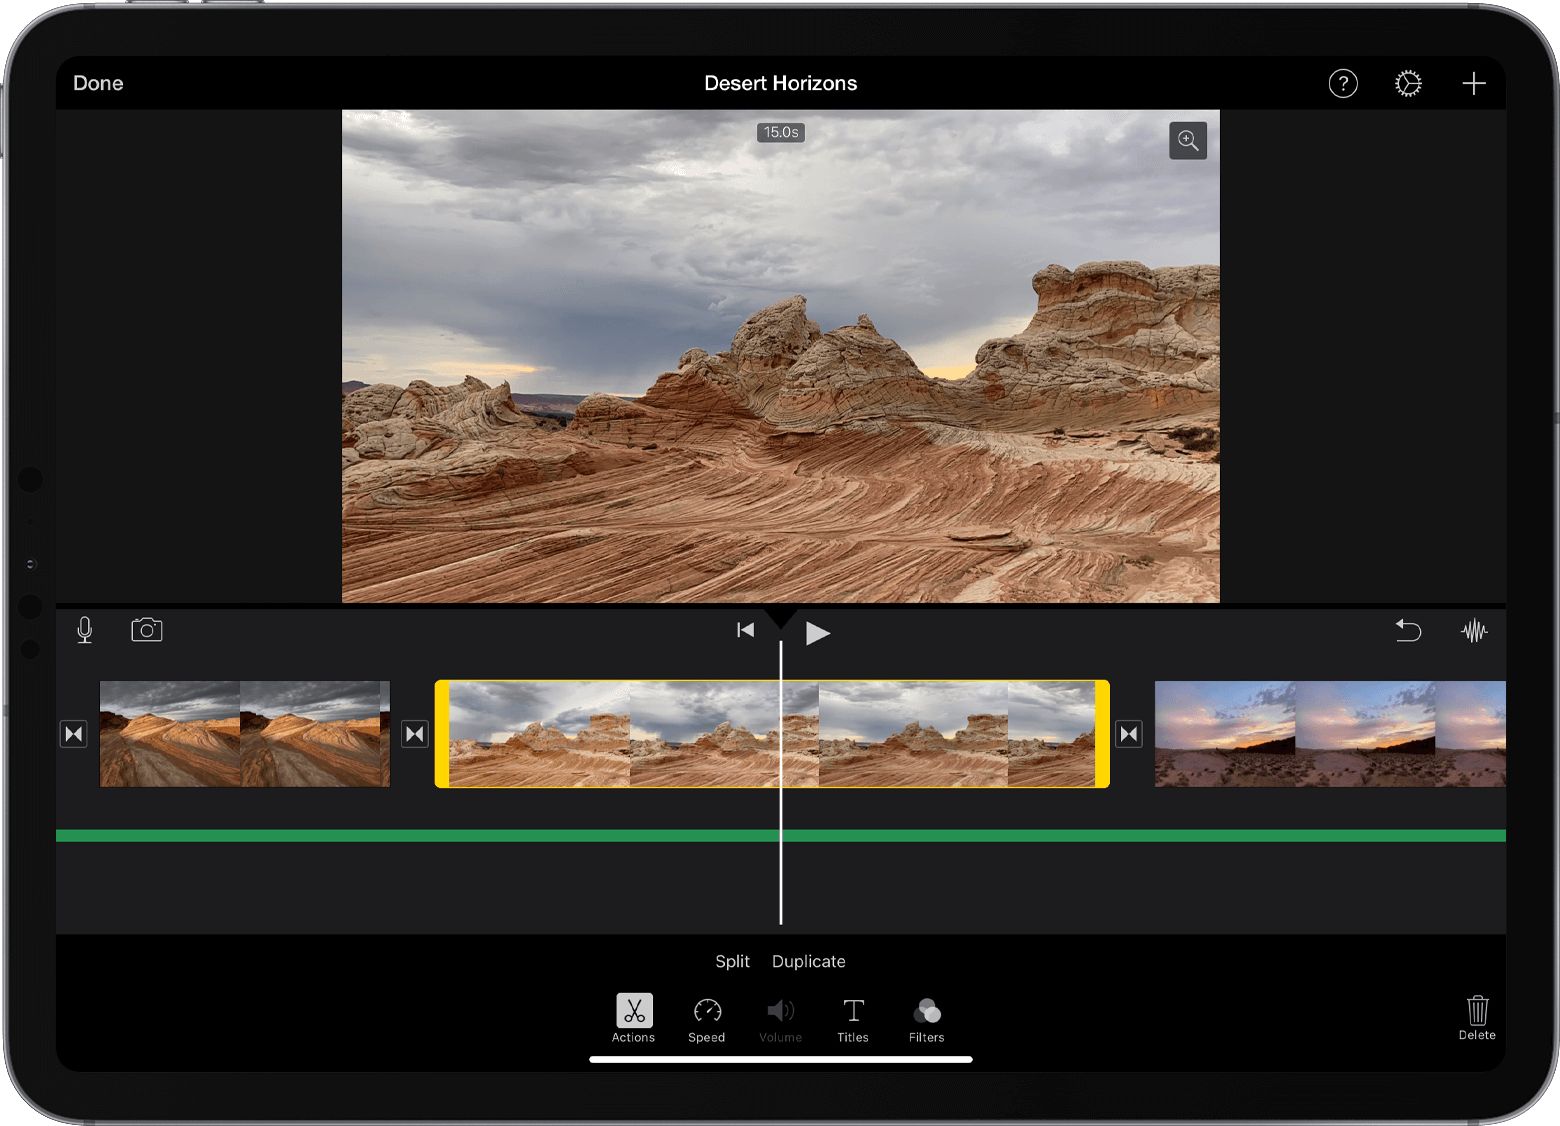
Splitting
- Select the photo or video that you want to split.
- Hover your mouse pointer to the part of the photo or video where you want it to part and click on it.
- Right-click on the location or if you are using the trackpad, tap it with two fingers and select Split Clip.
- You will now see two separate photos or videos on the storyboard.
- Take note that whatever effects you applied to the original clip will not be applied to the additional clip you just created.
Combining Clips
Combining clips on iMovie does not mean that two photos or videos will become one. This is simply the process of putting two media next to each other in such a way that they appear connected. Or to make them display continuously.
Drag and drop the clips you want to combine. To make it appear that two or more clips are one clip, you can remove any transitions between them.
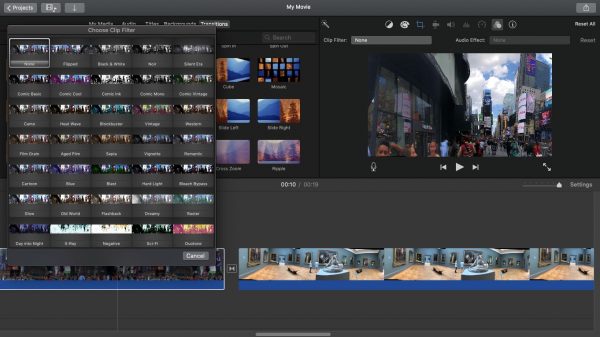
Adding Transition Effects

iMovie’s transition effects are incredibly superior compared to other video editing apps. There are about 24 different transition effects available on iMovie on Mac, and they are so versatile. You can edit the duration of each transition and choose different types of transitions in between clips. The process of adding transitions on a Mac greatly differs from an iPhone. Here is how you can use transition effects on iMovie on Mac.
- Select the clip and navigate toward the end of that particular clip. You will see a short black horizontal line that indicates the transition to the next clip.
- You can either double-click on the line or right-click on it and select Add Cross-Dissolve. This is the basic transition effect but you will see many more by doing the next step.
- From the top menu, click on Window then Content Library from the dropdown, and select Transitions.
- You can now select from the wide array of transition effects to apply in between clips.
Adding Filters
You can add filters to both photos and videos. You can add it to an individual clip, the entire video, and to the background music as well.
- Click on the photo or video that you want to add a filter to.
- On the top-right pane, make sure that the Filters option is selected. This is the icon that looks like a three-circle Venn diagram.
- To add a filter to the clip, click beside the Filter Clip, which by default says None.
- A popup will appear with all the available filters that you can use.
- You can click on Sound Filter to add a filter to the sound for that particular clip only. You will learn more about adding sounds in the latter part of this iMovie tutorial.
Not only can you apply a pre-set filter on your photos and videos, but you can also do some minor edits on them. On the same top-right pane, you can make use of the White Balance and Color Balance tools to make your photos and videos appear crisp and vibrant.
Inputting Texts or Subtitles to Clips
Adding text to your videos creates an amazing effect. Your videos can look like professional trailers, and it’s a great way to tell stories. You can choose from several text fonts and layouts. Take note that texts or subtitles added to clips on iMovie only last for a few seconds. They will not stay on the screen for the whole duration of the clip but you can choose which location they start appearing.
You can add subtitles for individual clips. This is how you can use the Subtitle feature on iMovie on a Mac.
- Select the clip where you want to add your text.
- From the same left pane where you choose filters, click on Subtitles.
- If you’ve lost this window, you can go back to it by clicking Window on the top menu then Content Library.
- Select the subtitle style that you want and double-click on the text field on the clip to start typing.
- You can choose the font and color of the text from the right pane—the same place where you access the Crop and Ken Burns features.
- You will see the text layer on top of the clips where you’ve added them. Drag and drop this layer to the location of the image or video where you want the subtitles to appear.
Adding Fade to Black
For added effect, you may want your video or movie to fade in or fade out to black. It’s best to add this effect once you’re done editing your clips because you have to navigate out of editing mode to add it.
- Save your iMovie project then click on My Projects. Click on the movie you’ve just edited and select themes. You will learn more about the themes below.
- Select on any theme and if you don’t want to use any of its music or other effects, simply toggle them off.
- Toggle on the Fade In or Fade Out to Black option.
Enhance Your Movie: Adding Music to Your Video
You can add music either to individual clips or the entire movie. This part can be a little tricky because as you know, Apple makes it complicated to add your own music files to your device unless you’ve purchased them from iTunes. You may also want to be careful because if you use music from popular artists and you post your iMovie video on social media, it may be flagged for copyright infringement. Below are the best ways to add music to your videos.
Muting Original Video Sounds
If you’ve added video clips as part of your iMovie project, you may not want the original audio to be audible, especially if you’re adding music to it.
- To mute the original sound, click on the individual video clip.
- From the right pane where you access the Crop and Ken Burns features as discussed above, click on the sound icon.
- From the dropdown, tick Mute Original Audio.
Default Theme Soundtracks
We’ve mentioned earlier that iMovie has themes that you can choose from. These are not to be confused with templates. iMovie only offers templates to Trailers. There are a few iMovie themes that you can use, like the News Theme for example. Using this will apply breaking news-like music and transitions to your video. If you want to use that particular music, you can select that Theme and toggle on Theme Music. The music will automatically be applied.
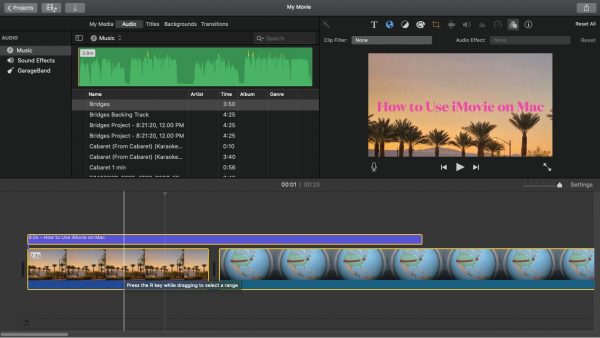
From Your iTunes Library and Garageband
You can import music to iMovie that you have saved to your iTunes Library as well as from Garageband—if you have it installed. Garageband is Apple’s sound editing software.
- On the top-left pane, click on Audio beside My Media—where you access your photos as discussed above.
- The first option on the left menu is Music. This will list all the music you have saved in your iTunes Library.
Pro Tip
You can add music to your iTunes from an external drive or USB, or any folder on your Mac by importing them to iTunes.
- Click on the track you want to use and drag and drop it to the timeline or storyboard.
- Drag it left or right to where you want the music to start playing.
- Do the same for importing music from Garageband, accessible from the same left-hand menu.
- You can trim, split, and extend music using the same techniques in trimming and splitting media.
From the Free Soundtrack Library
iMovie offers plenty of free soundtracks that you can use for your videos. You will not be flagged for copyright infringement even if you post them on social. Here is how you can use the free soundtrack library on iMovie on a Mac.
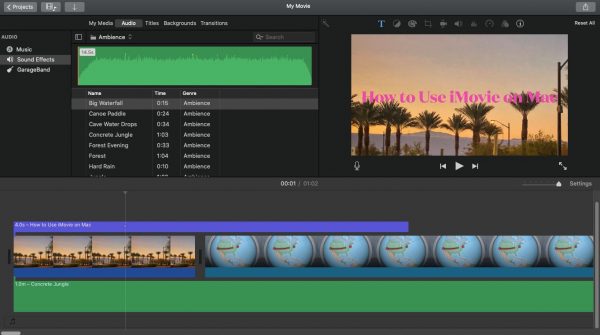
- From the same left menu discussed above, click on Sound Effects.
- You will see a wide range of categories to choose from; from transportation sounds, ambient sounds to sci-fi sound effects, and more.
- Click on the sound you like and drag and drop it to the timeline.
- If the sound is shorter than your video, it will keep looping back to the beginning.
Saving Your Movie Projects and Videos
Once you are happy with your movie, you can now save your project and your video. Saving your iMovie project does not automatically convert it to a video file. It only means that it will be saved so you can edit it later if you want. You have to export your video for it to be available in your libraries and folders.
First, save your project by clicking on My Projects, which is the first option on the top menu. You will see a popup where you can enter a filename for your iMovie project. Once you click OK, your project will be saved and you will be redirected to the screen where you will see all your iMovie projects.
Saving Your Video
There are different ways to save or export your iMovie to a video format.
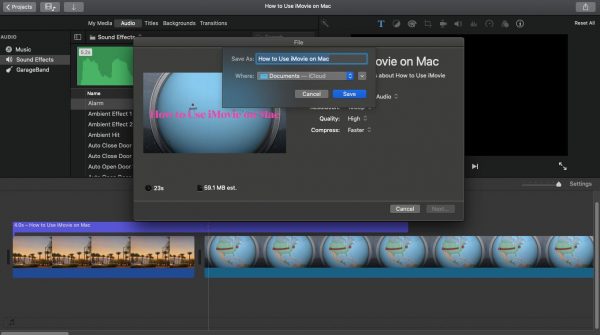
- While your iMovie project is open, click on File then select Share from the dropdown.
- Click on File again under the next dropdown. A popup will appear which will show you the file size and the duration of the video you’ve just created.
- Select the resolution.
- Click on Next and enter a filename for your video.
- Select the folder where you want your video to be saved and click on Save.
Knowing the Video Format
When you export your iMovie project into video format, it will be saved as mp4. You can choose the quality or resolution of the video from 1080p, and below but you need to do this before saving it.
Where to Find Your New Video
We’ve mentioned in the steps above that you can choose the folder where you want your video to be saved. But some might be confused because on iPhones, exporting a video from iMovie directly saves it to your Photos Library. This is not the case when you use iMovie on a Mac. On a MacBook, your video will only be initially saved on the folder you’ve selected upon saving it.
How to Save It to Your Photos Library
So what if you want it on your Photos Library? Unfortunately, you can’t export it directly from your Mac. The best thing you can do is:
- Save it to a folder that is synced with your iCloud account, go to your iPhone and navigate to that folder.
- From there, open the video file. It may take some time to download it from iCloud.
- Tap on the Share button from the bottom left.
- Scroll down and tap on Save Video.
- Your iMovie video will now be available in your Photos Library both on your iPhone and your Mac.
Sharing Your iMovie Video
Now that you’ve learned how to use iMovie on a Mac and have created a wonderful video, you can share it with your friends! You can share your video directly from your MacBook or you can follow the steps above and save it on your Photos Library then share it from your iPhone.
To share from your Mac, you have to navigate to the folder where you’ve saved it and upload it directly to the social media site where you want to post it.
Why Use iMovie?
Using iMovie to create and edit videos makes telling stories a lot more fun and easier. It’s a great tool for artists and business owners to create marketing materials to showcase their products or works. If you have written a book, for example, you can create beautiful book trailers using iMovie.
If you are starting a podcast, you can create a teaser for your podcast to encourage people to listen to you. You can use it for presentations at work or company events. You can also use it simply to share memories with friends and family.
Final Word
iMovie truly takes your video editing skills to the next level. You don’t need to be a professional to create stunning videos. It’s easy to use and best of all, it’s free! So master using iMovie on your Mac using the tips above and tell captivating stories now.