Introduction
Welcome to the world of iMovie! If you are looking for a user-friendly and powerful video editing software for your Mac, iMovie is the perfect choice. Whether you want to create stunning home movies, professional-quality trailers, or even edit your footage for a YouTube channel, iMovie has got you covered.
In this article, we will take you through a step-by-step guide on how to download iMovie on your Mac. We will walk you through the process of checking the system requirements, accessing the Mac App Store, searching for iMovie, downloading and installing the application, and finally, launching it to start your video editing journey.
Before we dive into the detailed instructions, let’s take a moment to understand what makes iMovie a go-to video editing tool. Developed by Apple, iMovie offers a wide range of features that allow users to unleash their creativity and transform ordinary videos into masterpieces. With its intuitive interface and seamless integration with other Apple devices and software, iMovie provides a smooth and enjoyable editing experience.
Whether you are a beginner or an experienced editor, iMovie offers a variety of tools to enhance your videos. From basic cropping and trimming to adding effects, transitions, and background music, iMovie gives you the flexibility to customize your videos according to your preferences. Additionally, iMovie also supports green screen effects, video stabilization, and audio editing, making it a comprehensive editing software with professional-grade capabilities.
In the next sections, we will guide you through the process of downloading and installing iMovie on your Mac, so you can start bringing your video ideas to life. Let’s get started!
Part 1: Checking System Requirements
Before downloading iMovie on your Mac, it is important to ensure that your system meets the necessary requirements. By checking the system requirements, you can guarantee a smooth installation and optimal performance of the software.
iMovie is compatible with Mac computers running macOS 10.15.6 or later. To check your current macOS version, click on the Apple menu in the top-left corner of your screen, select “About This Mac,” and you will see the version number displayed.
In addition to the operating system, iMovie also requires a minimum of 4GB of RAM, and Apple recommends having at least 8GB or more for optimal performance. You can check your Mac’s RAM by clicking on the Apple menu, selecting “About This Mac,” and then navigating to the “Memory” tab.
Furthermore, iMovie utilizes the graphics processing unit (GPU) on your Mac to accelerate video processing. Therefore, it is crucial to have a compatible GPU to ensure smooth video editing. For Apple computers, this should not be an issue, as most Mac models come with integrated GPUs that meet the requirements.
Lastly, iMovie requires a minimum screen resolution of 1280 x 800 pixels. This is to provide an optimal viewing and editing experience. You can check the resolution of your Mac’s display by clicking on the Apple menu, selecting “System Preferences,” and then clicking on “Displays.”
By ensuring that your Mac meets these system requirements, you can proceed with confidence to download and install iMovie without encountering any compatibility issues or performance lags. In the next section, we will guide you through accessing the Mac App Store to begin the download process. Let’s move on to Part 2!
Part 2: Accessing the Mac App Store
The Mac App Store is the official platform where you can download and install various applications, including iMovie. To access the Mac App Store, follow the steps below:
- Ensure that you are connected to the internet. A stable internet connection is necessary to access the Mac App Store and download iMovie.
- Click on the “Finder” icon in the Dock to open a Finder window.
- In the menu bar at the top of the screen, click on “Go” and then select “Applications” from the dropdown menu. Alternatively, you can press “Command + Shift + A” on your keyboard to directly access the Applications folder.
- Scroll through the list of applications and locate the “App Store” icon. It resembles a blue circle with a white letter “A” in the middle.
- Double-click on the “App Store” icon to launch the Mac App Store.
- If prompted, sign in with your Apple ID and password. If you don’t have an Apple ID, click on “Create Apple ID” and follow the instructions to create a new account.
Once you have successfully accessed the Mac App Store and signed in, you are now ready to search for and download iMovie. In the next section, we will guide you through the process of searching for iMovie within the Mac App Store. Let’s move on to Part 3!
Part 3: Searching for iMovie
Now that you have accessed the Mac App Store, it’s time to search for iMovie and locate it for download. Follow the steps below:
- In the top-right corner of the Mac App Store, you will find a search bar. Click on it and type “iMovie” into the search bar.
- As you type, the Mac App Store will display a list of search results that match your query. Look for the listing that says “iMovie” and click on it.
- You will now be taken to the iMovie page, where you can find more information about the application, including its features, compatibility, and customer reviews.
- Take a moment to review the information provided on the iMovie page to ensure that it meets your requirements and expectations.
If you have trouble finding iMovie in the search results, you can also try using the “Featured,” “Top Charts,” or “Categories” tabs at the top of the Mac App Store to browse through different sections and locate iMovie.
Once you have located the iMovie listing and reviewed the information, you are now ready to proceed with the download. In the next section, we will guide you through the process of downloading iMovie onto your Mac. Let’s move on to Part 4!
Part 4: Downloading iMovie
Now that you have found iMovie in the Mac App Store, it’s time to start the download process. Follow the steps below to download iMovie onto your Mac:
- On the iMovie page in the Mac App Store, you will find a button that says “Get” or “Download.” Click on this button.
- Once you click on the “Get” or “Download” button, the button will change to “Installing.” This indicates that the download process has begun.
- Depending on your internet speed and the size of the iMovie application, the download may take some time. You can monitor the progress by locating the “Updates” tab in the Mac App Store and checking the progress bar next to iMovie.
- While the download is in progress, ensure that your Mac remains connected to a stable internet connection. Interrupting the download or disconnecting from the internet may result in an incomplete installation.
- Once the download is complete, the “Installing” status will change to “Open.” This means that iMovie is now installed on your Mac.
Congratulations! You have successfully downloaded iMovie onto your Mac. In the next section, we will guide you through the process of installing iMovie. Let’s move on to Part 5!
Part 5: Installing iMovie
Now that you have downloaded iMovie onto your Mac, it’s time to proceed with the installation process. Follow the steps below to install iMovie:
- Locate the iMovie application in your Applications folder. You can access the Applications folder by clicking on the “Finder” icon in the Dock, selecting “Go” in the menu bar, and then choosing “Applications.”
- Double-click on the iMovie application icon to start the installation process.
- A pop-up window will appear, asking for your permission to install iMovie. Click on the “Install” button to proceed.
- During the installation process, your Mac may prompt you to enter your administrator password. Enter the password and click “OK” to continue.
- The installation process may take a few minutes. You can monitor the progress by either checking the progress bar or the status displayed on the screen.
- Once the installation is complete, you will see a notification indicating that iMovie has been successfully installed.
With iMovie now installed on your Mac, you are just one step away from starting your video editing journey. In the next section, we will guide you through launching iMovie. Let’s move on to Part 6!
Part 6: Launching iMovie
Now that you have successfully installed iMovie on your Mac, it’s time to launch the application and get ready to start editing your videos. Follow the steps below to launch iMovie:
- Locate the iMovie application on your Mac. You can find it in the Applications folder or use the Spotlight Search feature by pressing “Command + Space” and typing “iMovie” into the search bar.
- Double-click on the iMovie application icon to launch the software.
- After launching iMovie, you will be greeted with the welcome screen. Here, you have the option to start a new project, open an existing project, or view video tutorials for beginners.
- To start a new project, click on the “Create New” button. You will then be prompted to choose a project type, such as movie or trailer.
- Once you have selected the project type, give your project a name and choose a location on your Mac to save it.
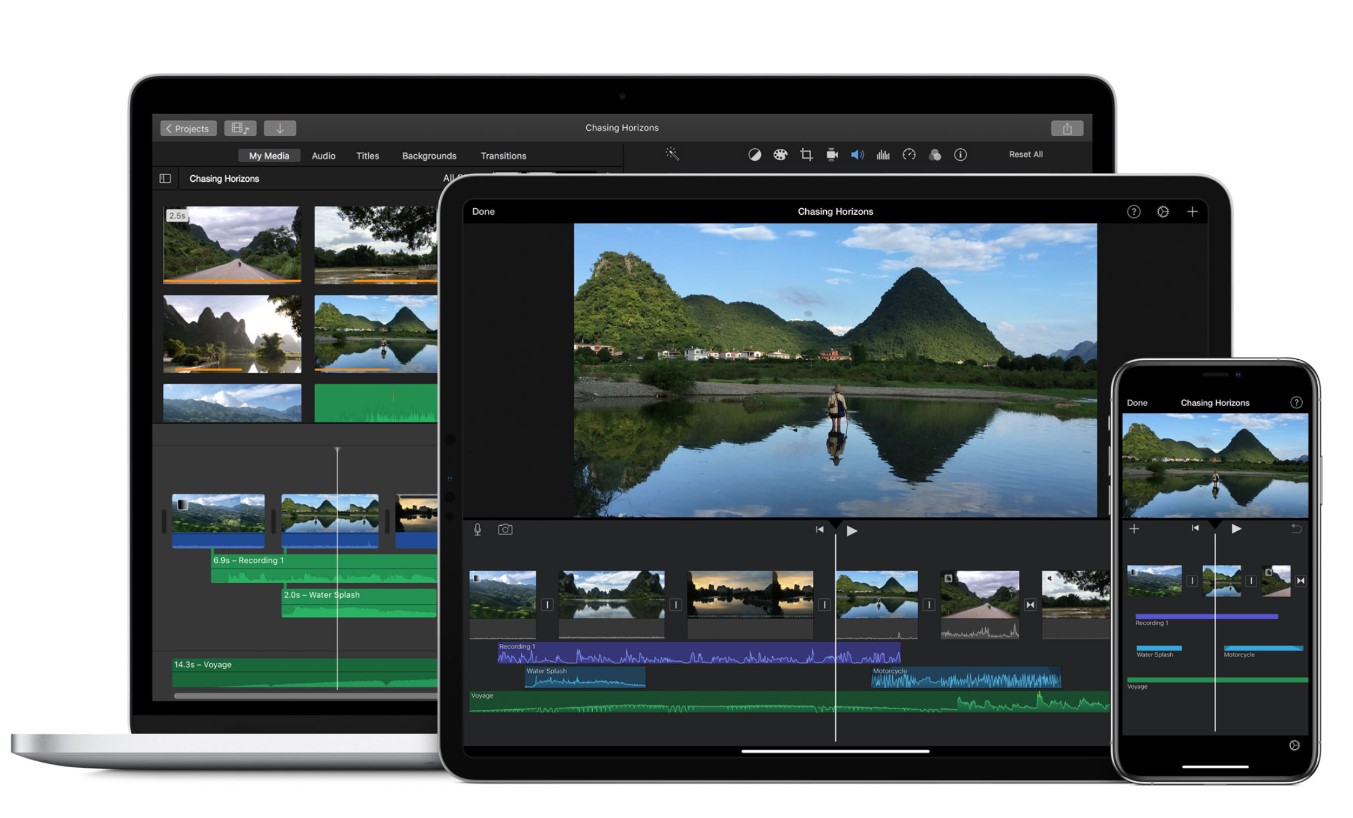
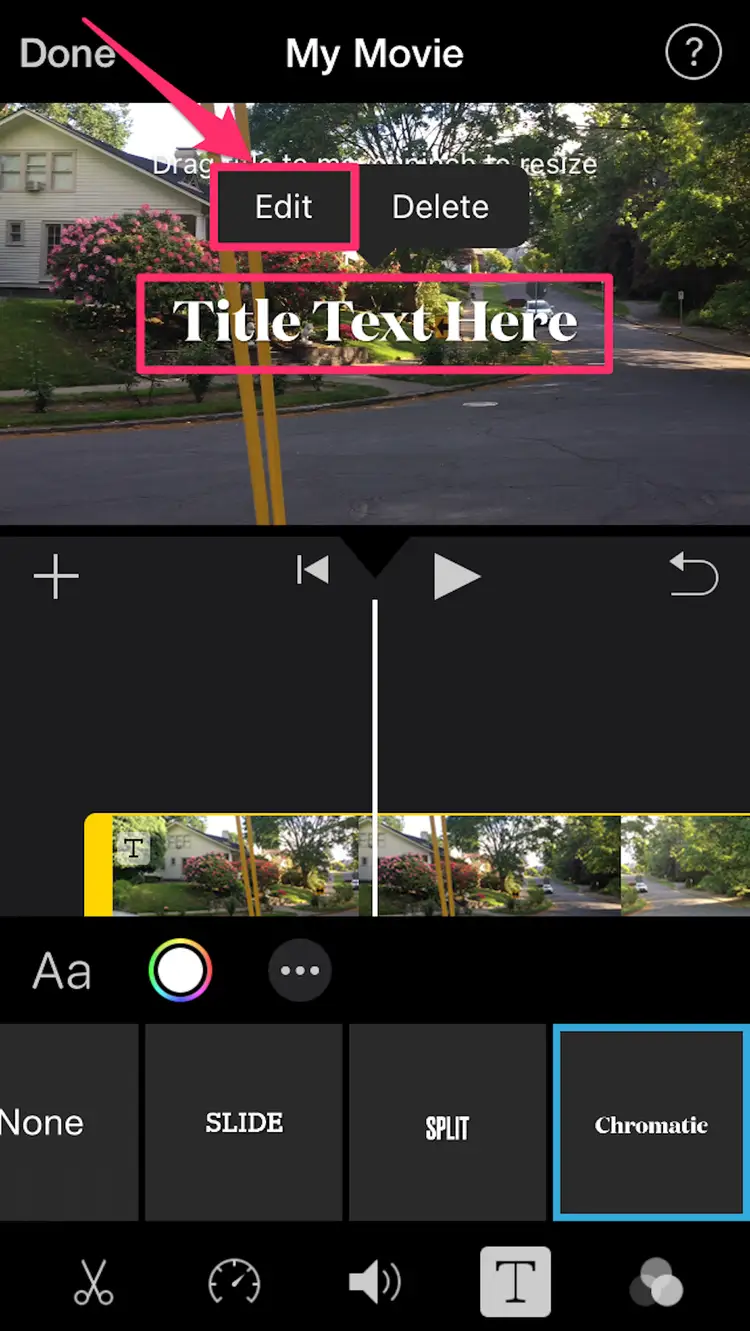
- After creating a new project, you will be taken to the iMovie interface, where you can begin importing your video files, adding titles, applying effects, and editing your footage.
Congratulations! You have successfully launched iMovie and are now ready to unleash your creativity. Explore the various tools and features available in iMovie to bring your video ideas to life.
Remember, iMovie offers a user-friendly interface and a wide range of editing capabilities, allowing you to create professional-looking videos with ease. Take advantage of the built-in templates, effects, and transitions to enhance your videos and make them visually appealing.
Now that you know how to launch iMovie, it’s time to start editing and creating amazing videos on your Mac. Enjoy the process and let your creativity shine!
Conclusion
Congratulations on successfully downloading, installing, and launching iMovie on your Mac! You are now equipped with a powerful and user-friendly video editing tool that will help you bring your creative ideas to life.
In this guide, we covered the step-by-step process of downloading iMovie from the Mac App Store, checking system requirements, installing the application, and launching iMovie on your Mac. By following these instructions, you have gained the necessary knowledge to start editing your videos with confidence.
iMovie offers a wide range of features and tools to enhance your videos, whether you’re a beginner or an experienced editor. From basic editing functions like trimming and cropping to advanced features such as green screen effects and video stabilization, iMovie empowers you to create visually stunning and professional-quality videos.
Remember to explore the different options available within iMovie, including the vast library of pre-built templates, effects, and transitions. These can add a touch of flair and creativity to your videos, making them more engaging and visually appealing to your audience.
Whether you want to edit family videos, create captivating travel vlogs, or even produce content for your YouTube channel, iMovie has everything you need to make your videos stand out. Don’t be afraid to experiment and make use of the various tools and features within iMovie to unleash your full creative potential.
We hope this guide has been helpful in assisting you in downloading, installing, and launching iMovie on your Mac. Now it’s time to explore the application, start editing your videos, and share your creations with the world!
Happy editing!