Introduction
Welcome to the world of video production with your Mac! Importing video from your camcorder to your Mac is an essential skill for anyone looking to edit, store, or share their video content. Whether you're a budding filmmaker, a vlogger, or simply capturing precious moments, knowing how to transfer your video footage is crucial.
In this guide, we'll walk you through the various methods for importing video from your camcorder to your Mac. You'll learn how to connect your camcorder to your Mac and utilize popular software such as iMovie, Final Cut Pro, and QuickTime Player to transfer your video files seamlessly. Additionally, we'll provide troubleshooting tips to address common issues that may arise during the import process.
By the end of this guide, you'll have the knowledge and confidence to effortlessly import video from your camcorder to your Mac, empowering you to unleash your creativity and share your stories through the power of video.
Let's dive in and explore the exciting possibilities of importing video from your camcorder to your Mac!
Connecting the Camcorder to the Mac
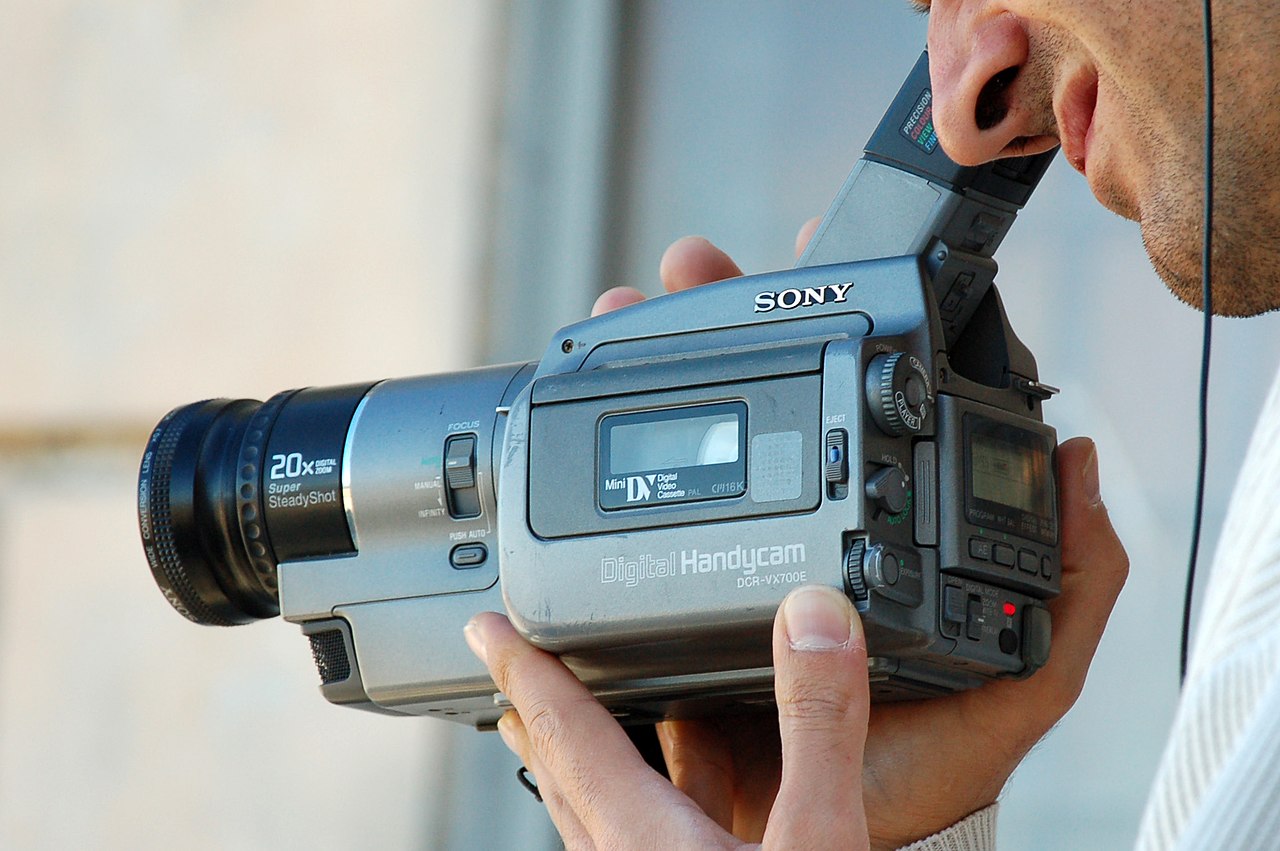
Before you can begin importing video from your camcorder to your Mac, you need to establish a physical connection between the two devices. The method of connection may vary depending on the type of camcorder you have and the ports available on your Mac.
Here are the general steps to connect your camcorder to your Mac:
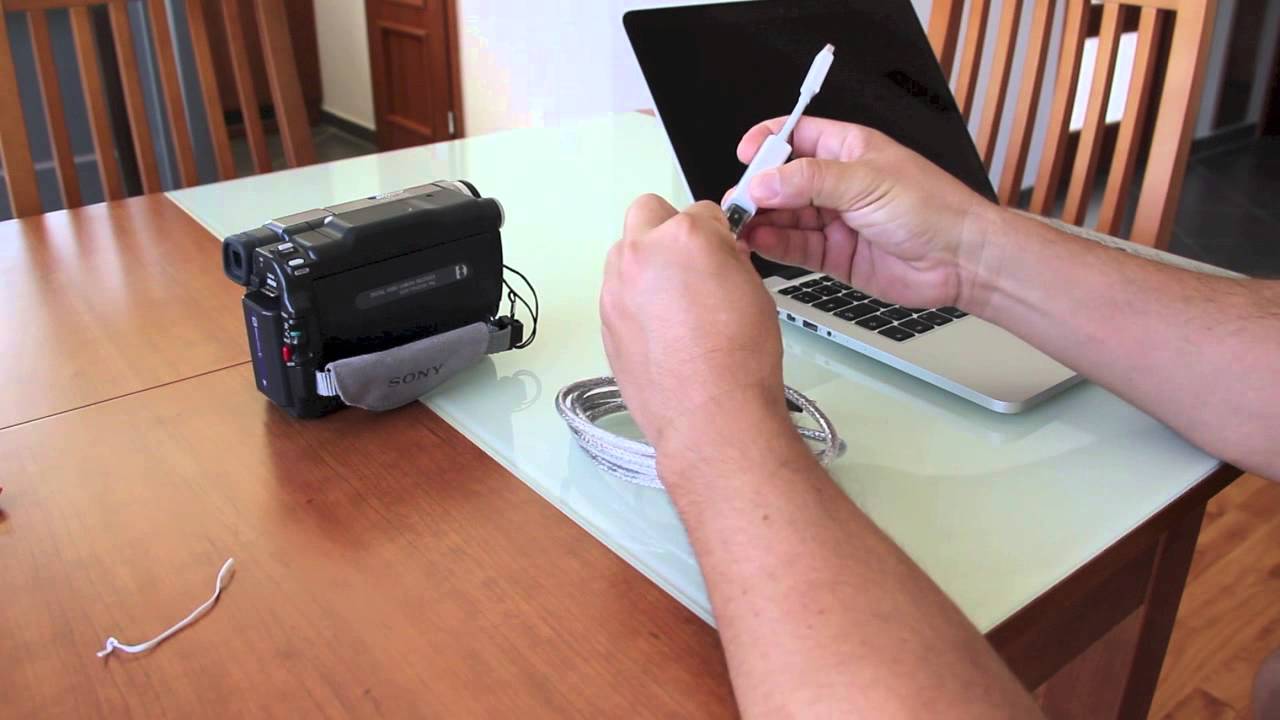
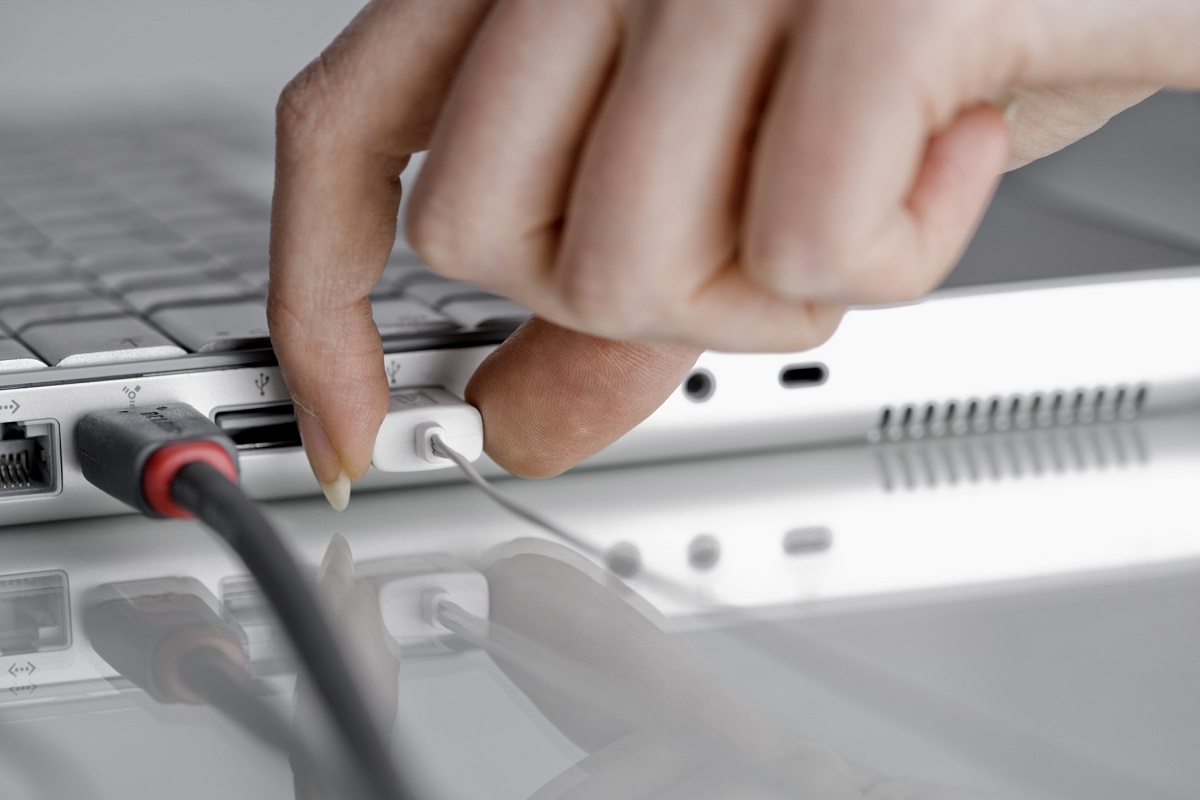
- USB Connection: If your camcorder has a USB port, you can connect it directly to your Mac using a USB cable. Once connected, your Mac should detect the camcorder as an external device, allowing you to access its files.
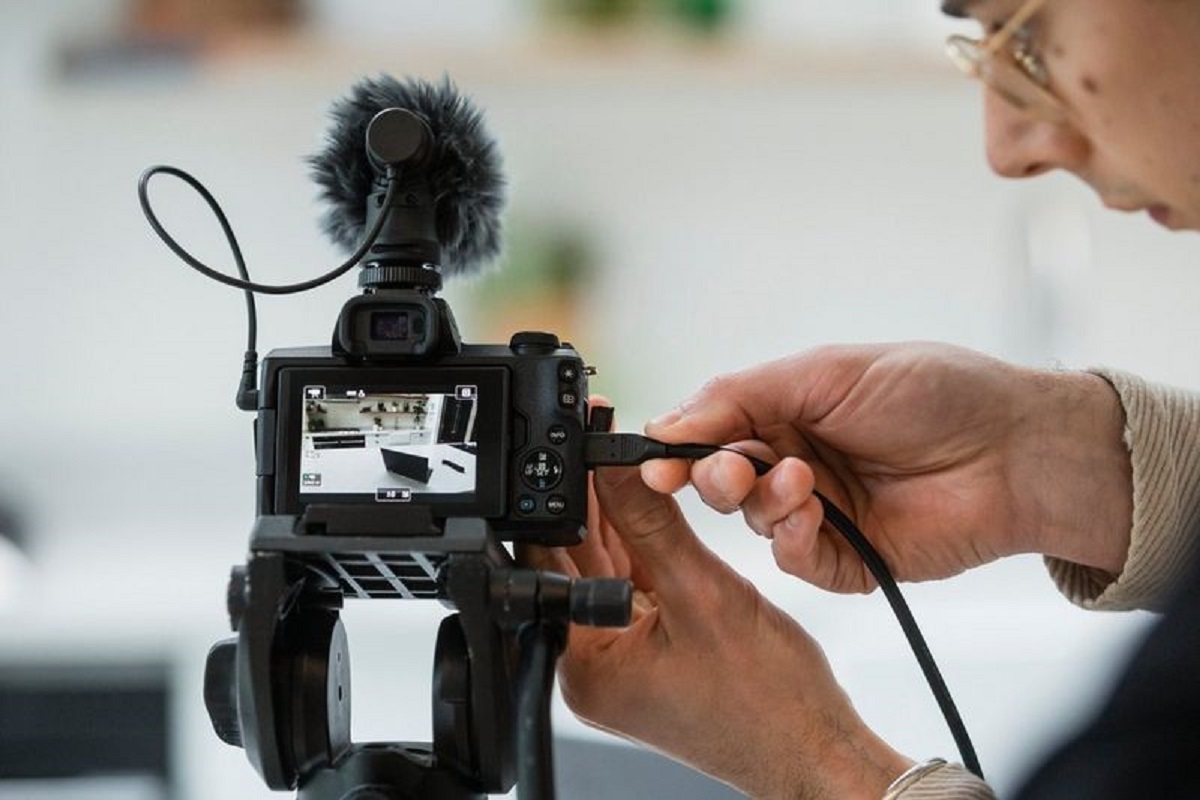
- HDMI or FireWire Connection: Some camcorders may have HDMI or FireWire ports. In this case, you can use the respective cables to connect the camcorder to your Mac. HDMI connections are commonly used for high-definition video transfer, while FireWire connections are prevalent in older camcorder models.
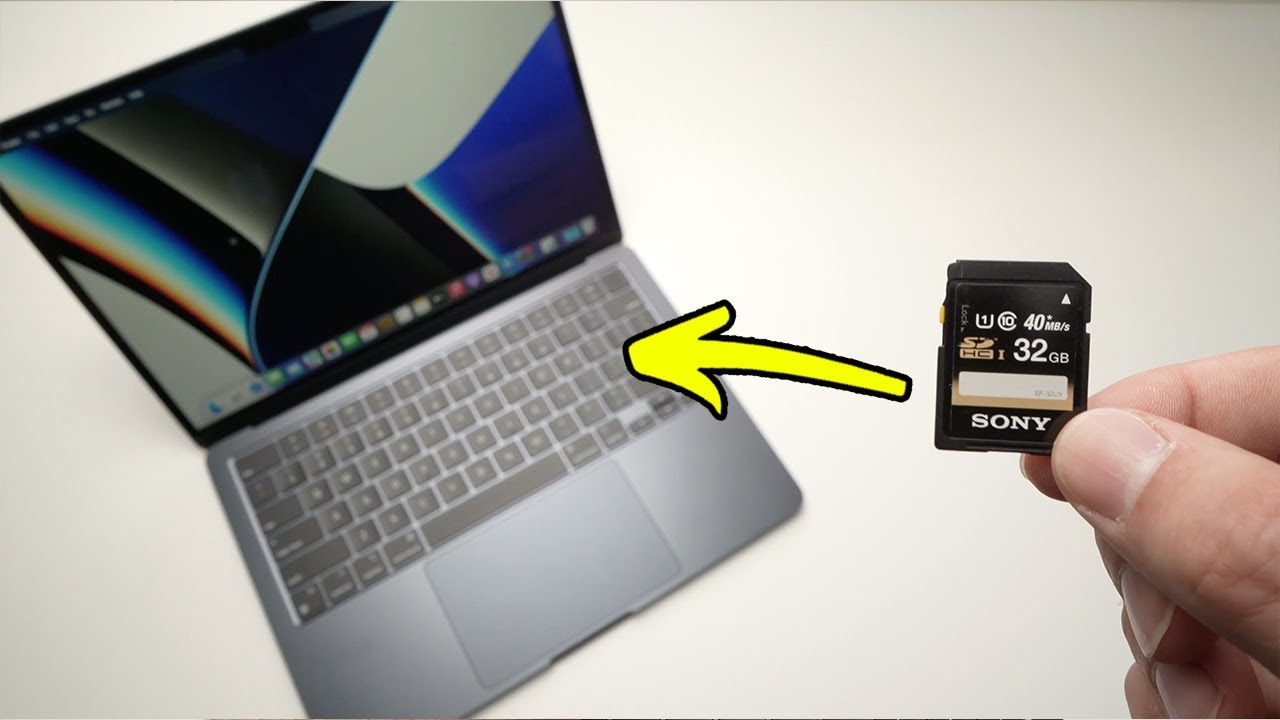
- Memory Card Reader: If your camcorder uses a memory card to store video files, you can remove the memory card and insert it into a compatible card reader connected to your Mac. This method allows for direct access to the video files stored on the memory card.
Once the physical connection is established, your Mac should recognize the camcorder or its storage media as an external device, enabling you to access the video files for import.
It’s important to refer to your camcorder’s user manual or documentation to determine the specific connection methods supported by your device. Additionally, ensure that your Mac has the necessary ports or adapters to facilitate the connection.
With the camcorder successfully connected to your Mac, you’re now ready to explore the various methods for importing video using popular software applications.
Importing Video Using iMovie
iMovie, a user-friendly video editing application developed by Apple, offers a seamless process for importing video from your camcorder to your Mac. Follow these steps to import your video footage using iMovie:
- Open iMovie: Launch the iMovie application on your Mac. If you don’t have iMovie installed, you can download it from the Mac App Store.
- Create a New Project: Click on the “Create New” button to start a new project in iMovie. Give your project a name and select the appropriate aspect ratio and frame rate for your video footage.
- Connect Your Camcorder: Ensure that your camcorder is connected to your Mac using the appropriate method, such as a USB cable or memory card reader.
- Import Footage: In iMovie, click on the “Import Media” button to access the video files on your camcorder or connected storage media. Select the video clips you wish to import and click “Import Selected” to transfer them to your project library.
- Organize and Edit: Once the video clips are imported, you can arrange them in the desired sequence and begin editing your project using iMovie’s intuitive tools and features.
iMovie simplifies the import process by providing a user-friendly interface and seamless integration with Mac hardware. The application supports a wide range of video formats, making it versatile for importing footage from various camcorder models.
After importing your video footage into iMovie, you can explore creative editing options, add transitions, incorporate music and sound effects, and enhance your project with titles and visual effects. iMovie’s timeline-based editing interface allows for precise control over your video content, empowering you to craft professional-looking videos with ease.
By leveraging iMovie’s capabilities, you can transform your raw video footage into polished, engaging content that captivates your audience. Whether you’re creating a personal vlog, a promotional video, or a cinematic masterpiece, iMovie provides the tools you need to bring your vision to life.
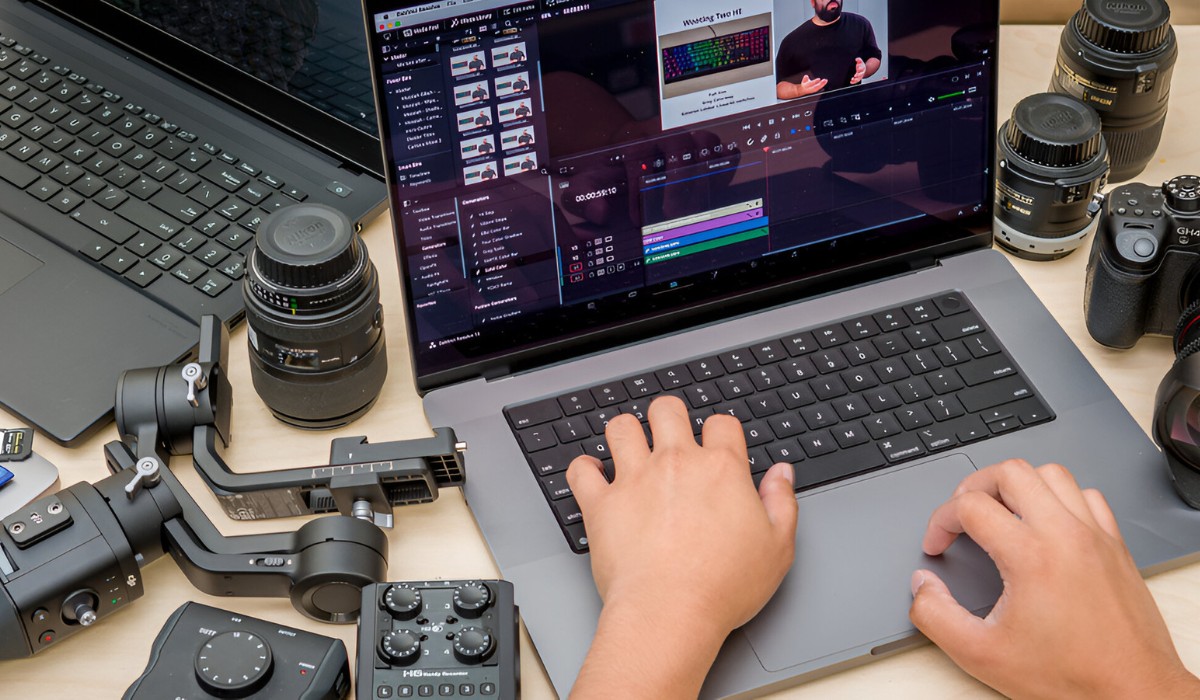
Importing Video Using Final Cut Pro
Final Cut Pro, a professional video editing software designed for Mac, offers advanced capabilities for importing and editing video from your camcorder. Follow these steps to import your video footage using Final Cut Pro:
- Launch Final Cut Pro: Open the Final Cut Pro application on your Mac. If you don’t have Final Cut Pro installed, you can download it from the Mac App Store.
- Create a New Project: Start by creating a new project in Final Cut Pro. Specify the project settings, including the resolution, frame rate, and other relevant parameters based on your video footage.
- Connect Your Camcorder: Ensure that your camcorder is connected to your Mac using the appropriate method, such as a USB cable, FireWire, or memory card reader.
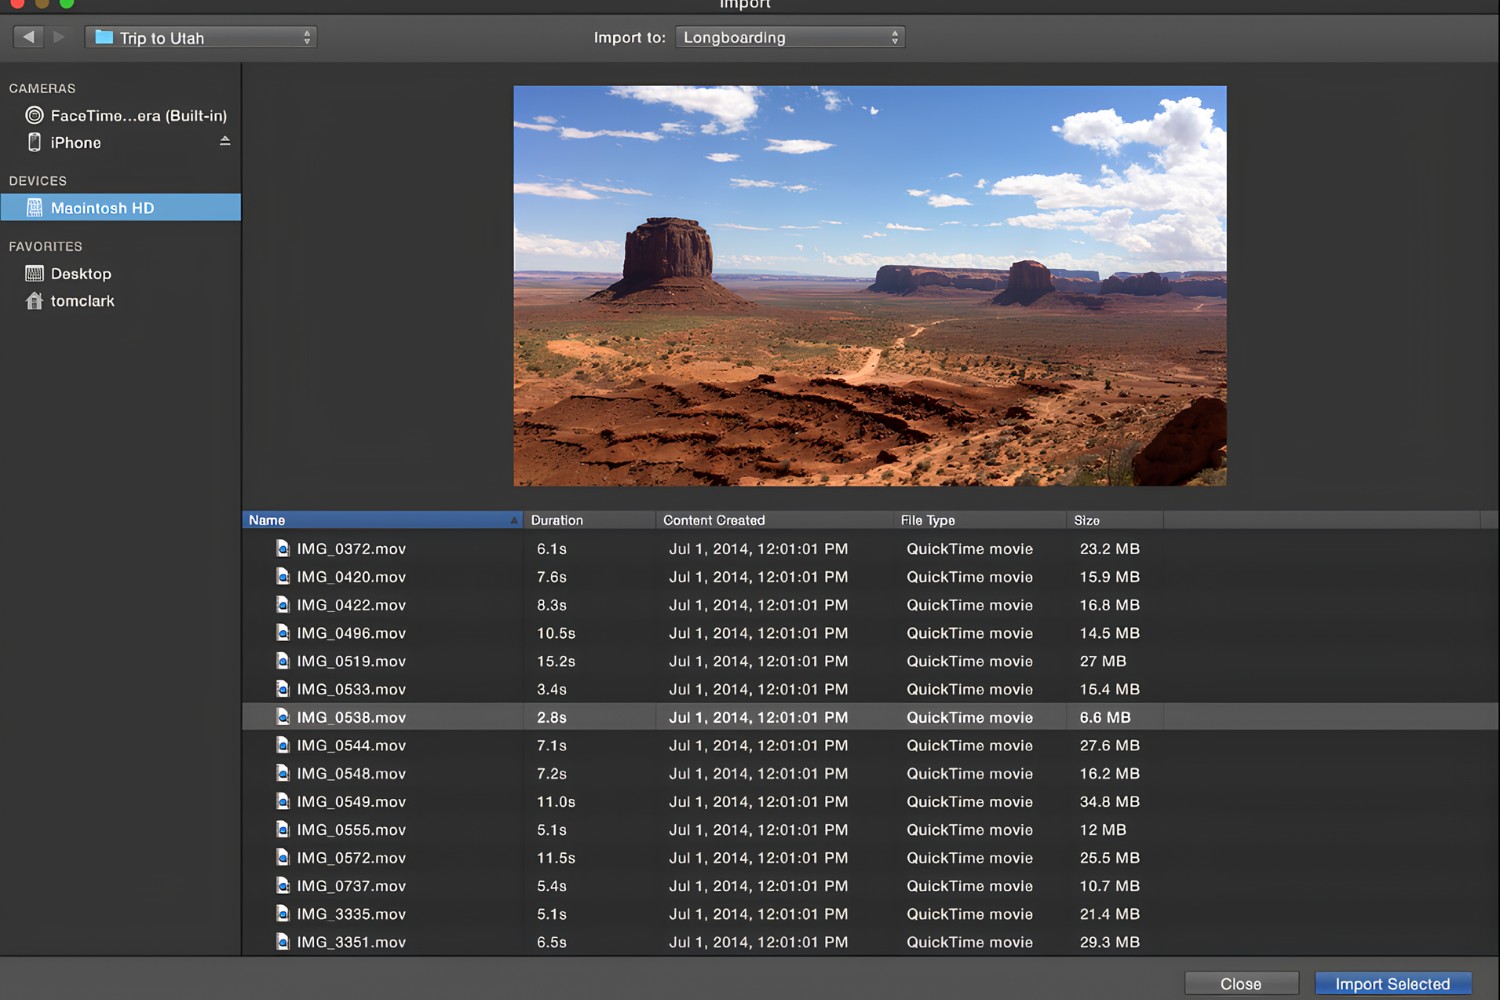
- Import Media: In Final Cut Pro, navigate to the “File” menu and select “Import” to access the video files on your camcorder or connected storage media. Choose the video clips you want to import and specify the import settings as needed.
- Organize and Edit: Once the video clips are imported, you can organize them in the event browser and begin editing your project using Final Cut Pro’s powerful editing tools and timeline interface.
Final Cut Pro provides professional-grade features for importing and editing video, making it a preferred choice for filmmakers, video producers, and professional content creators. The software offers robust support for a wide range of video formats and resolutions, ensuring compatibility with various camcorder models and recording settings.
After importing your video footage into Final Cut Pro, you can leverage its advanced editing tools to refine your content, apply color correction, add visual effects, and integrate high-quality audio to enhance the overall production value of your project. Final Cut Pro’s precision editing capabilities and comprehensive feature set empower you to create stunning, cinematic videos with meticulous attention to detail.
Whether you’re producing a documentary, a commercial project, or a feature film, Final Cut Pro equips you with the tools and flexibility to bring your creative vision to fruition. With its seamless integration with Mac hardware and powerful editing capabilities, Final Cut Pro stands as a premier choice for importing and editing video content from your camcorder.
Importing Video Using QuickTime Player
QuickTime Player, a versatile multimedia player and framework developed by Apple, provides a straightforward method for importing video from your camcorder to your Mac. While QuickTime Player is primarily known for playing media files, it also offers basic import capabilities for video footage. Follow these steps to import your video using QuickTime Player:
- Open QuickTime Player: Launch the QuickTime Player application on your Mac. QuickTime Player is a pre-installed application and is commonly used for playing videos and audio files.
- Connect Your Camcorder: Ensure that your camcorder is connected to your Mac using the appropriate method, such as a USB cable, FireWire, or memory card reader.
- Access Camera Import Window: In QuickTime Player, navigate to the “File” menu and select “New Movie Recording.” This action opens a new window that allows you to access the video feed from your connected camcorder.
- Start Recording: Once the camera import window is open, you can initiate the recording process to capture the video footage from your camcorder. Click the record button to begin importing the video into QuickTime Player.
- Save the Recording: After capturing the video footage, you can save the recording as a new file on your Mac. QuickTime Player provides options to specify the file format, resolution, and storage location for the imported video.
QuickTime Player’s camera import feature offers a convenient way to capture video directly from your camcorder without the need for additional software or complex setup. While QuickTime Player’s import capabilities are more basic compared to dedicated video editing applications, it serves as a quick and accessible solution for transferring video footage to your Mac.
After importing your video using QuickTime Player, you can further enhance and edit the footage using other video editing software or multimedia applications. QuickTime Player’s seamless integration with Mac systems and its user-friendly interface make it an accessible option for users who prefer a straightforward method for importing video content.
Whether you’re capturing spontaneous moments, conducting video interviews, or simply transferring video clips for basic playback, QuickTime Player provides a convenient platform for importing video from your camcorder to your Mac, adding flexibility to your multimedia workflow.
Troubleshooting Tips
While importing video from your camcorder to your Mac, you may encounter occasional challenges or technical issues that hinder the seamless transfer of video footage. Here are some troubleshooting tips to address common problems and ensure a smooth import process:
- Check Connection Cables: Ensure that the cables used to connect your camcorder to your Mac are in good condition and securely plugged into the respective ports. Loose or damaged cables can result in connectivity issues and unreliable data transfer.
- Verify Camcorder Compatibility: Confirm that your camcorder is compatible with your Mac’s operating system and hardware. Some older camcorder models may require specific drivers or software updates to establish a stable connection with your Mac.
- Restart Your Devices: If you encounter connectivity issues or unrecognized devices, try restarting both your camcorder and your Mac. Rebooting the devices can resolve temporary glitches and refresh the connection.
- Update Software and Drivers: Ensure that your Mac’s operating system, video editing software, and camcorder drivers are up to date. Software updates often include bug fixes and compatibility improvements that can address import-related issues.
- Check Storage Space: Verify that your Mac has sufficient available storage space to accommodate the imported video files. Insufficient storage can lead to import errors or incomplete transfers.
- Test Alternate Ports or Adapters: If you’re experiencing connectivity issues, try using different USB, FireWire, or HDMI ports on your Mac, or utilize compatible adapters to establish a reliable connection with your camcorder.
- Scan for Malware or Corruption: Perform a thorough scan of your camcorder’s memory card or storage media to check for any signs of malware, file corruption, or damaged video files that may impede the import process.
- Seek Manufacturer Support: If persistent issues arise, consult the support resources provided by your camcorder’s manufacturer or the official support channels for your Mac and video editing software. They can offer specific guidance tailored to your devices and software environment.
By applying these troubleshooting tips, you can effectively address common challenges encountered during the import of video from your camcorder to your Mac. These proactive measures help ensure a reliable and efficient import process, allowing you to focus on creating and editing captivating video content without unnecessary technical obstacles.
Conclusion
Importing video from your camcorder to your Mac opens up a world of creative possibilities, enabling you to edit, enhance, and share your video content with ease. Whether you’re a hobbyist capturing cherished memories or a professional filmmaker producing compelling narratives, the ability to transfer video footage seamlessly is essential to your creative workflow.
Throughout this guide, we’ve explored various methods for importing video from your camcorder to your Mac, leveraging popular software applications such as iMovie, Final Cut Pro, and QuickTime Player. Each of these tools offers unique features and capabilities, catering to different user preferences and project requirements.
By connecting your camcorder to your Mac and utilizing the appropriate software, you can effortlessly transfer your video footage, organize your content, and embark on the journey of video editing and storytelling. Whether you prefer the intuitive interface of iMovie, the professional-grade editing tools of Final Cut Pro, or the simplicity of QuickTime Player for basic imports, there’s a solution that aligns with your creative vision and technical proficiency.
Furthermore, the troubleshooting tips provided in this guide equip you with the knowledge to address common challenges that may arise during the import process, ensuring a smooth and reliable transfer of video files from your camcorder to your Mac.
As you embark on your video editing endeavors, remember that importing video is just the beginning of your storytelling journey. The true magic unfolds as you weave together your footage, apply creative edits, and share your unique perspective with the world. Embrace the art of visual storytelling, and let your creativity flourish as you bring your video projects to life on your Mac.
With the knowledge and tools at your disposal, you’re well-equipped to embark on a captivating video editing journey, transforming raw footage into compelling narratives, immersive experiences, and captivating visual content. Embrace the power of video production on your Mac, and let your creativity soar.