Introduction
Are you eager to turn your raw footage from a camcorder into a captivating movie using iMovie? Importing videos from a camcorder to iMovie is a seamless process that allows you to unleash your creativity and bring your vision to life. Whether you're a seasoned videographer or a novice filmmaker, iMovie offers a user-friendly platform for editing and enhancing your videos.
In this guide, we'll walk you through the step-by-step process of importing videos to iMovie from your camcorder via HDMI. By following these simple instructions, you'll be well on your way to creating stunning cinematic masterpieces.
Stay tuned as we delve into the intricacies of connecting your camcorder to your Mac, opening iMovie, importing the video, and editing it to perfection. With iMovie's intuitive interface and powerful editing tools, you can transform ordinary footage into extraordinary visual stories.
Let's embark on this exciting journey of transforming your raw video clips into polished, professional-looking movies with iMovie. Whether you're documenting cherished memories, creating educational content, or producing engaging videos for your audience, iMovie is your gateway to seamless video editing and storytelling. So, grab your camcorder, fire up your Mac, and let's dive into the world of iMovie editing prowess.
Step 1: Connect your camcorder to your Mac
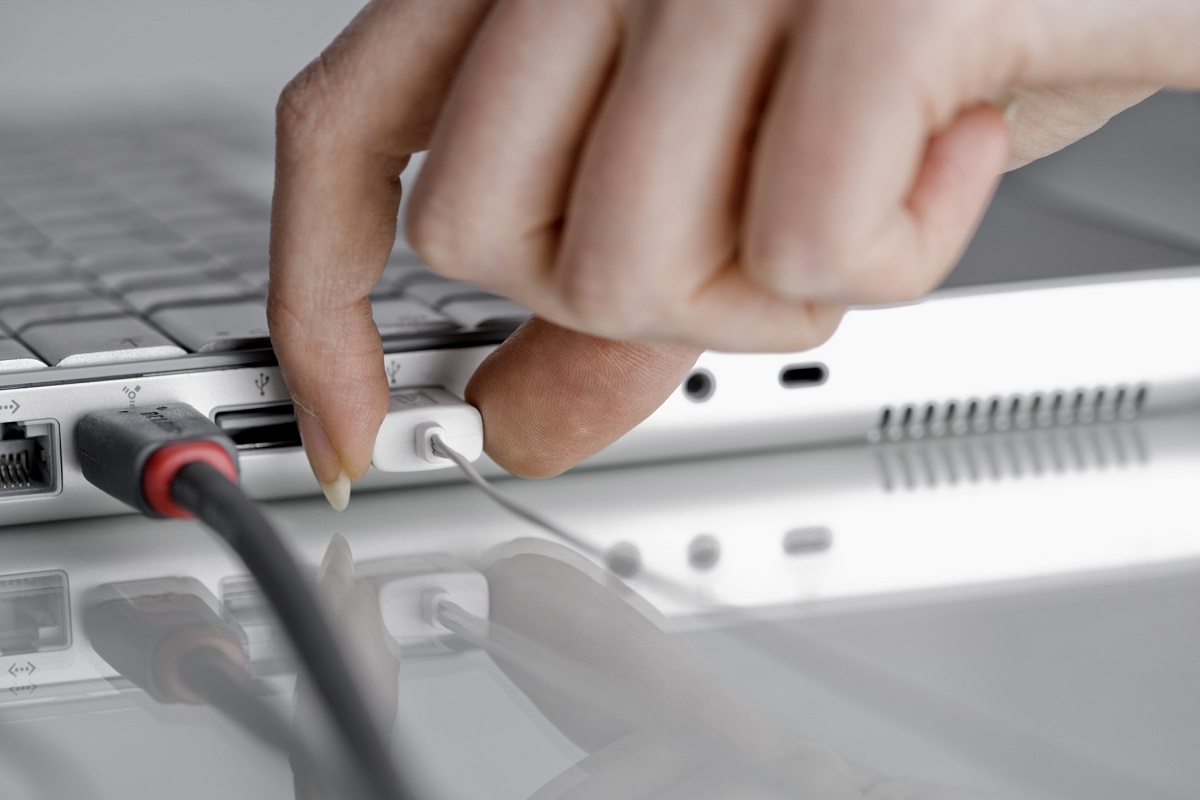
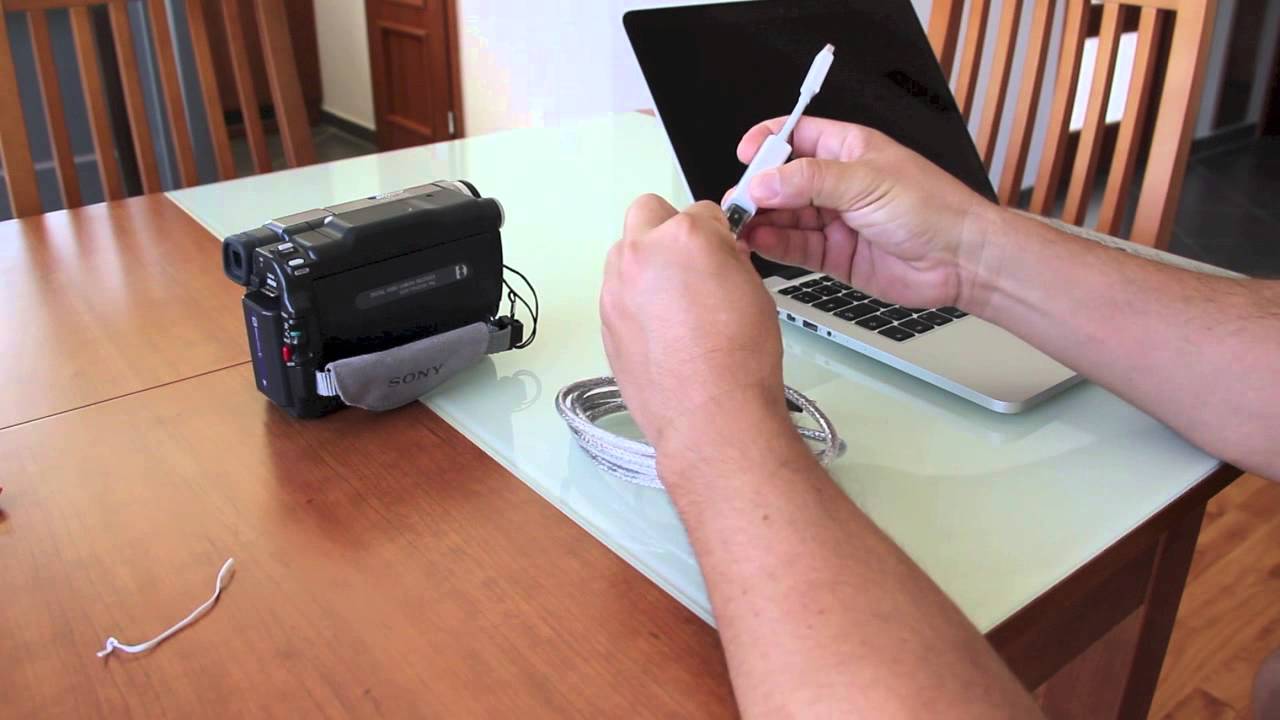
Before you can import videos from your camcorder to iMovie, you need to establish a physical connection between your camcorder and your Mac. To do this, you’ll need an HDMI cable to transmit the video signal from your camcorder to your computer. Here’s how to get started:
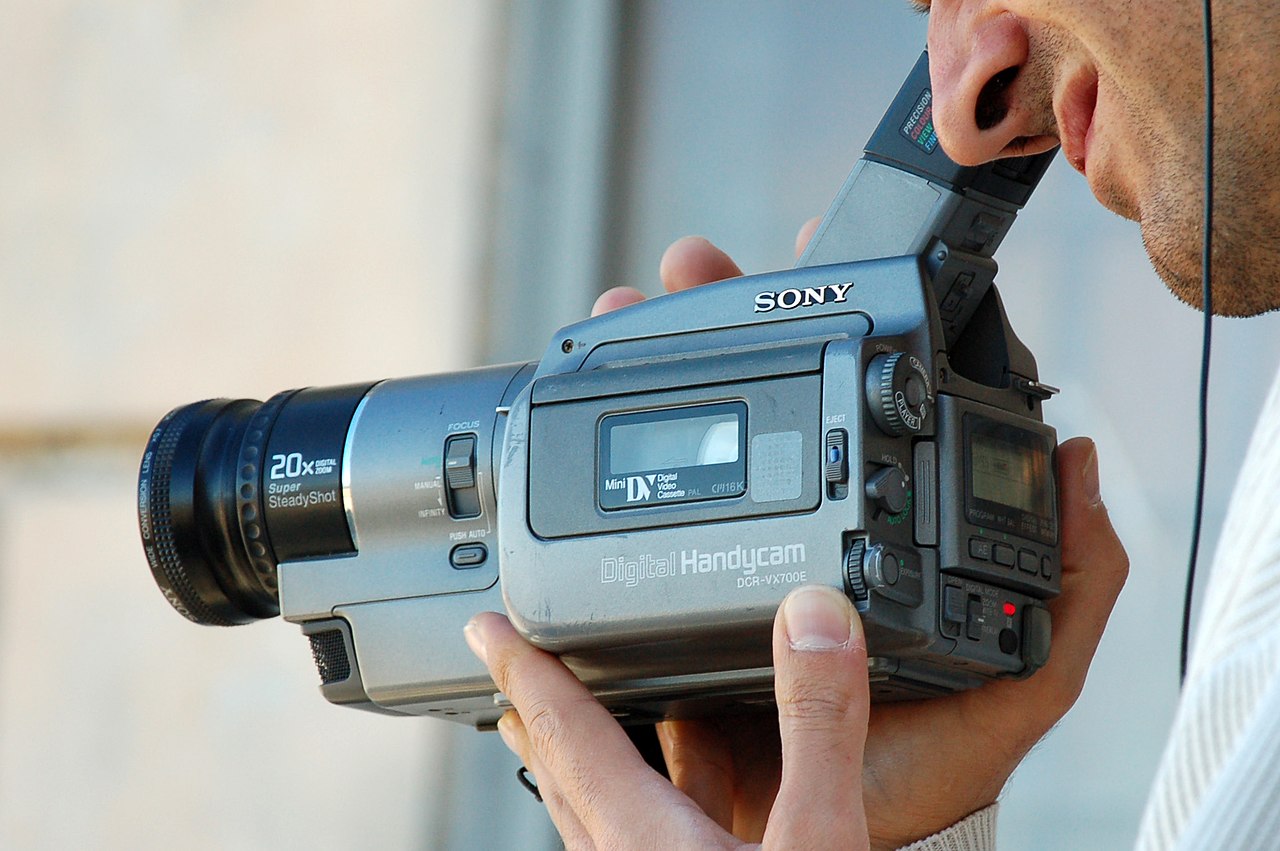
- Check your camcorder: Ensure that your camcorder has an HDMI output port. Most modern camcorders are equipped with an HDMI port, which allows for high-quality video transfer to your Mac.
- Connect the HDMI cable: Take one end of the HDMI cable and plug it into the HDMI output port on your camcorder. Ensure that the cable is securely connected to avoid any signal interruptions during the transfer process.
- Connect the other end to your Mac: Locate the HDMI input port on your Mac. Depending on the model of your Mac, you may need an adapter to connect the HDMI cable to your computer. Once you’ve identified the HDMI input port, plug the other end of the cable into the port, establishing a direct connection between your camcorder and your Mac.
Once the physical connection is established, you’re ready to move on to the next step in the process of importing your videos to iMovie. This initial step sets the stage for seamless video transfer and paves the way for you to start working on your video editing masterpiece in iMovie.
Step 2: Open iMovie
With your camcorder connected to your Mac via the HDMI cable, the next step is to launch iMovie, Apple’s intuitive and feature-rich video editing software. Opening iMovie sets the stage for importing the video footage from your camcorder and gives you access to a wide array of editing tools and effects to enhance your videos. Here’s how to get started:
- Locate iMovie on your Mac: If iMovie is not already pinned to your dock, you can easily find it by clicking on the magnifying glass icon in the top-right corner of your screen and typing “iMovie” into the search bar. Once located, click on the iMovie icon to launch the application.
- Wait for iMovie to open: Depending on your Mac’s processing speed, iMovie may take a few moments to open. Once the application is launched, you’ll be greeted by the welcoming interface, ready to embark on your video editing journey.
- Create a new project (if necessary): If you’re starting a new video editing project, you can create a new project in iMovie by clicking on the “Create New” button and selecting the appropriate settings for your video, such as aspect ratio and resolution.
Opening iMovie is the pivotal next step in the process of importing videos from your camcorder. Once iMovie is up and running, you’re poised to import your video footage and begin the exciting process of crafting your cinematic masterpiece.
Step 3: Import the video from your camcorder
Now that iMovie is open and ready for action, it’s time to import the video footage from your camcorder. iMovie provides a straightforward process for importing videos, allowing you to seamlessly transfer your raw footage into the software for editing and enhancement. Follow these steps to import your video from the camcorder to iMovie:
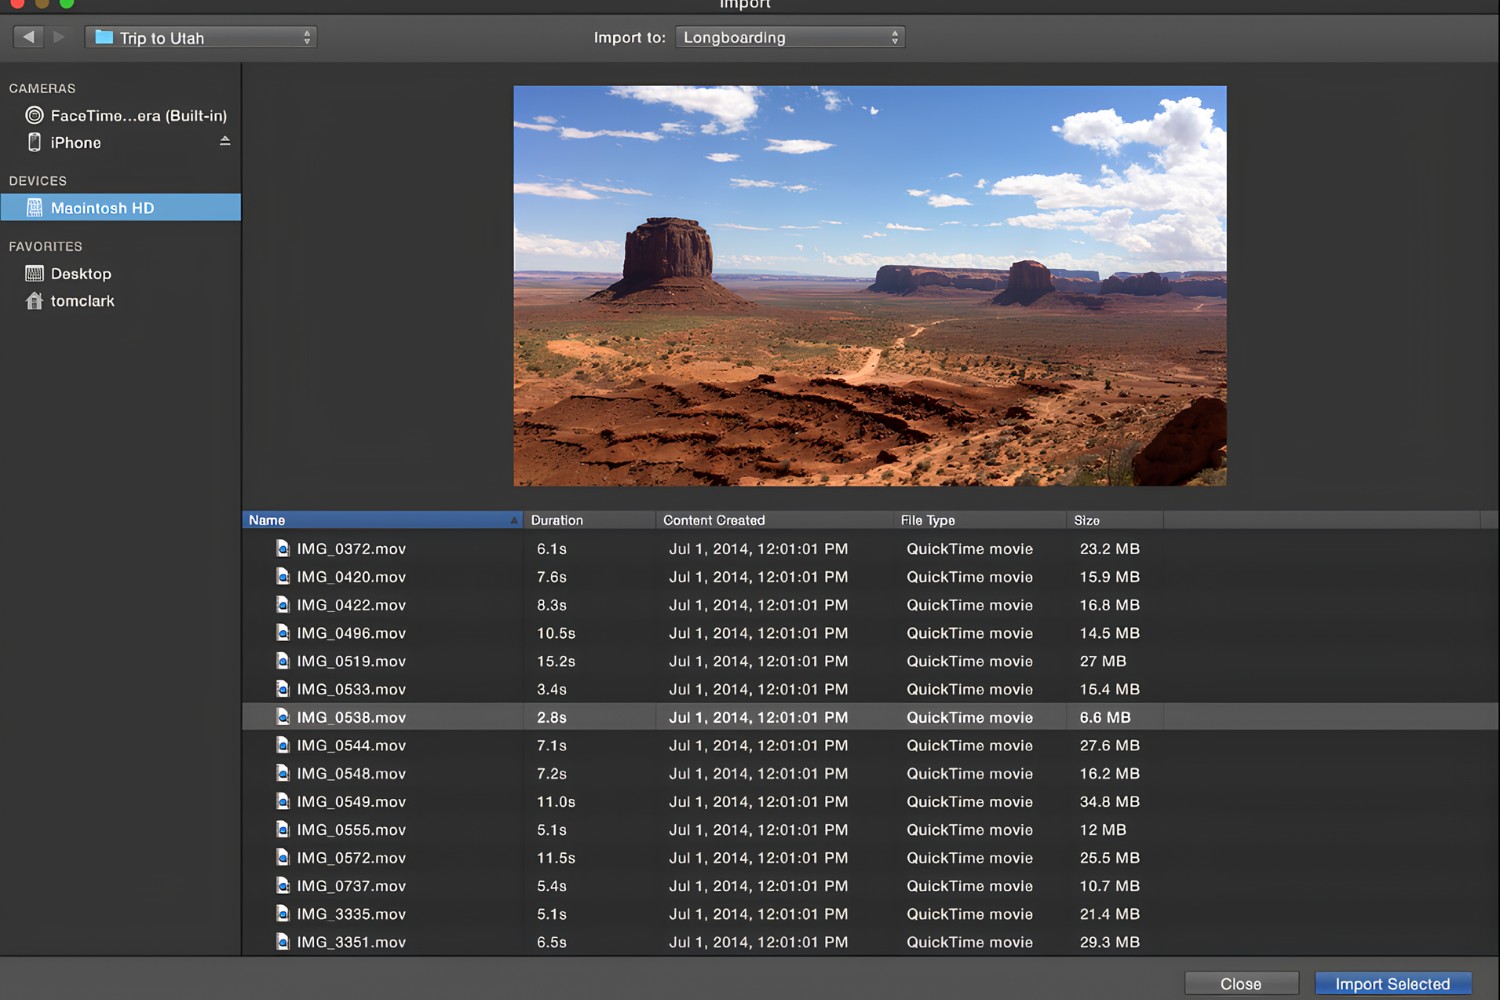
- Access the import feature: In iMovie, look for the “Import” button or option, usually located in the top menu or toolbar. Click on this option to initiate the video import process.
- Select your camcorder as the source: When prompted, choose the connected camcorder as the source from which you want to import the video. iMovie should detect the camcorder connected via HDMI and display it as an available source for importing.
- Preview and select the footage: Once the camcorder is recognized, you’ll be presented with a preview of the video footage available for import. Browse through the clips and select the ones you want to import into iMovie by checking the corresponding checkboxes.
- Initiate the import: After choosing the desired footage, proceed to initiate the import process. iMovie will begin transferring the selected video clips from your camcorder to the software, making them accessible for editing and post-production.
By following these simple steps, you’ll successfully import your video from the camcorder to iMovie, setting the stage for the creative editing process that lies ahead. With your footage securely transferred into iMovie, you’re ready to unleash your creativity and transform your raw video clips into compelling visual narratives.
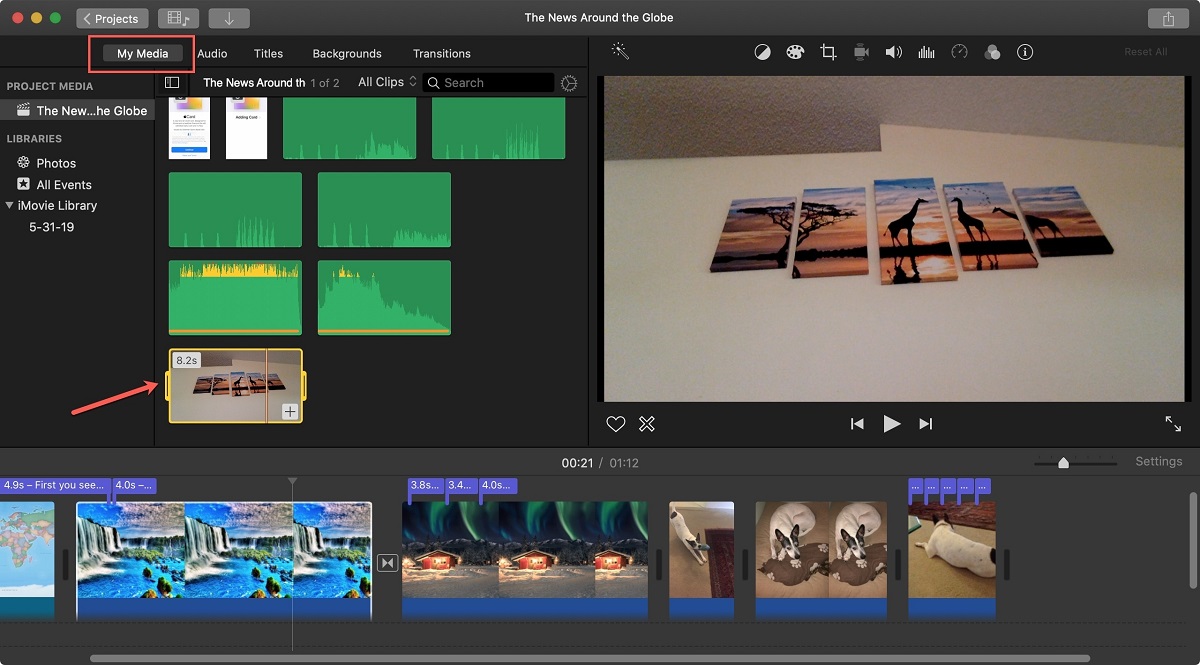
Step 4: Edit your video in iMovie
With your video footage successfully imported into iMovie, it’s time to dive into the exciting world of video editing. iMovie offers a plethora of powerful tools and features that empower you to enhance, trim, and polish your videos to perfection. Here’s how to get started with editing your video in iMovie:
- Review your imported footage: Once your video clips are imported, take some time to review the footage in iMovie’s interface. Familiarize yourself with the content and identify the segments you’d like to include in your final video.
- Trim and arrange your clips: Use iMovie’s intuitive editing tools to trim the video clips, remove unwanted sections, and arrange the remaining segments in the desired sequence. This allows you to craft a cohesive and engaging visual story.
- Add transitions and effects: Enhance the visual appeal of your video by incorporating smooth transitions between clips and applying effects such as filters, color adjustments, and visual enhancements to elevate the overall quality of your footage.
- Include audio elements: iMovie enables you to integrate background music, sound effects, and voiceovers to complement your video. Experiment with different audio elements to create a captivating auditory experience for your audience.
- Utilize text and titles: Enhance the storytelling aspect of your video by adding text overlays, titles, and captions. These elements can provide context, convey information, and engage viewers throughout the video.
- Preview and fine-tune: After applying edits, transitions, and enhancements, preview your video to ensure everything flows seamlessly. Make any necessary adjustments to perfect the pacing, visual appeal, and overall impact of your edited video.
As you immerse yourself in the editing process, iMovie’s user-friendly interface and comprehensive editing features empower you to transform your raw video footage into a polished, professional-looking production. By leveraging iMovie’s capabilities, you can unleash your creativity and bring your unique vision to life through captivating video storytelling.
Conclusion
Congratulations! You’ve successfully navigated the process of importing videos to iMovie from your camcorder via HDMI, setting the stage for an immersive and rewarding video editing experience. By following the seamless steps outlined in this guide, you’ve harnessed the power of iMovie to transform your raw video footage into captivating visual narratives.
As you embark on your video editing journey with iMovie, remember that the software offers a wealth of creative tools and features to elevate your videos to new heights. Whether you’re crafting personal vlogs, educational content, or professional projects, iMovie’s intuitive interface and robust editing capabilities empower you to unleash your storytelling prowess.
From connecting your camcorder to your Mac and opening iMovie to importing your video footage and delving into the art of editing, each step in the process contributes to the seamless creation of visually stunning videos. With iMovie as your creative companion, you have the power to craft cinematic masterpieces that resonate with your audience and bring your unique vision to life.
Embrace the editing process as an opportunity to infuse your videos with your personal flair, experiment with visual and auditory elements, and ultimately create compelling narratives that captivate and inspire. Whether you’re a seasoned video editor or a novice filmmaker, iMovie provides a welcoming and empowering environment for unleashing your creativity.
Now that you’ve mastered the art of importing and editing videos in iMovie, the possibilities are endless. So, grab your camcorder, fire up iMovie, and embark on a journey of visual storytelling that promises to captivate and leave a lasting impression on your audience.