Introduction
Welcome to the world of immersive audio and stunning visuals! Setting up an AV receiver can seem daunting, but with the right guidance, you'll be on your way to creating a captivating home theater experience in no time. An AV receiver serves as the heart of your entertainment system, seamlessly integrating various audio and video sources to deliver a cinematic experience within the comfort of your home.
Whether you're a movie enthusiast, a music lover, or a gaming aficionado, the AV receiver plays a pivotal role in bringing your media to life. From decoding surround sound formats to upscaling video resolutions, this versatile device is designed to elevate your audiovisual encounters to new heights. In this guide, we'll walk you through the essential steps of setting up your AV receiver, from selecting the right model to optimizing its settings for optimal performance.
As you embark on this journey, keep in mind that the setup process is not just about connecting cables and adjusting settings; it's about curating an environment where every sound and image resonates with clarity and impact. With a blend of technical know-how and a touch of creativity, you'll transform your living space into a captivating entertainment hub that caters to all your sensory cravings.
So, let's dive into the world of AV receivers and unlock the potential of your home entertainment system. Whether you're a seasoned audiophile or a newcomer to the realm of home theater setups, this guide will equip you with the knowledge and confidence to embark on this exciting endeavor. Get ready to embark on a journey that will redefine the way you experience audio and visual content in your own home.
Choosing the Right AV Receiver
Before delving into the setup process, it’s crucial to select an AV receiver that aligns with your specific audio and video preferences. With a myriad of options available, making an informed choice will ensure that your home entertainment system meets your expectations and fulfills your desires for immersive experiences.
When considering an AV receiver, several key factors come into play:
- Power and Channels: Assess the power output and the number of channels offered by the receiver. This determines the system’s capability to drive your speakers and deliver multi-channel audio, such as 5.1 or 7.1 surround sound.
- Audio and Video Support: Look for compatibility with the latest audio and video formats, including Dolby Atmos, DTS:X, HDR, and 4K Ultra HD. This ensures that your receiver can handle high-resolution content and immersive audio experiences.
- Connectivity: Evaluate the available ports and wireless connectivity options. Consider the number of HDMI inputs, USB ports, Bluetooth, and Wi-Fi capabilities to accommodate your various media sources and streaming devices.
- Room Calibration: Some receivers offer advanced room calibration technologies that optimize audio performance based on your room’s acoustics. Features like Audyssey, MCACC, or YPAO can enhance the overall listening experience.
- User Interface and Control: A user-friendly interface and comprehensive remote control or app support can significantly enhance the usability of the receiver, making it easier to navigate settings and switch between audio/video sources.
Additionally, consider your future expansion needs. If you plan to add more speakers, integrate a turntable, or connect to a smart home ecosystem, ensure that the receiver has the necessary inputs and compatibility for these enhancements.
Furthermore, reading reviews and seeking recommendations from audio-visual enthusiasts can provide valuable insights into the performance and reliability of different receiver models. Whether you prioritize raw power, cutting-edge features, or seamless integration with your existing devices, finding the right balance that suits your preferences is essential.
By carefully evaluating these aspects, you can narrow down the options and choose an AV receiver that not only meets your current needs but also accommodates future upgrades and technological advancements. Once you’ve selected the perfect match for your home entertainment aspirations, you’re ready to embark on the exhilarating journey of setting up your AV receiver.
Unboxing and Setup
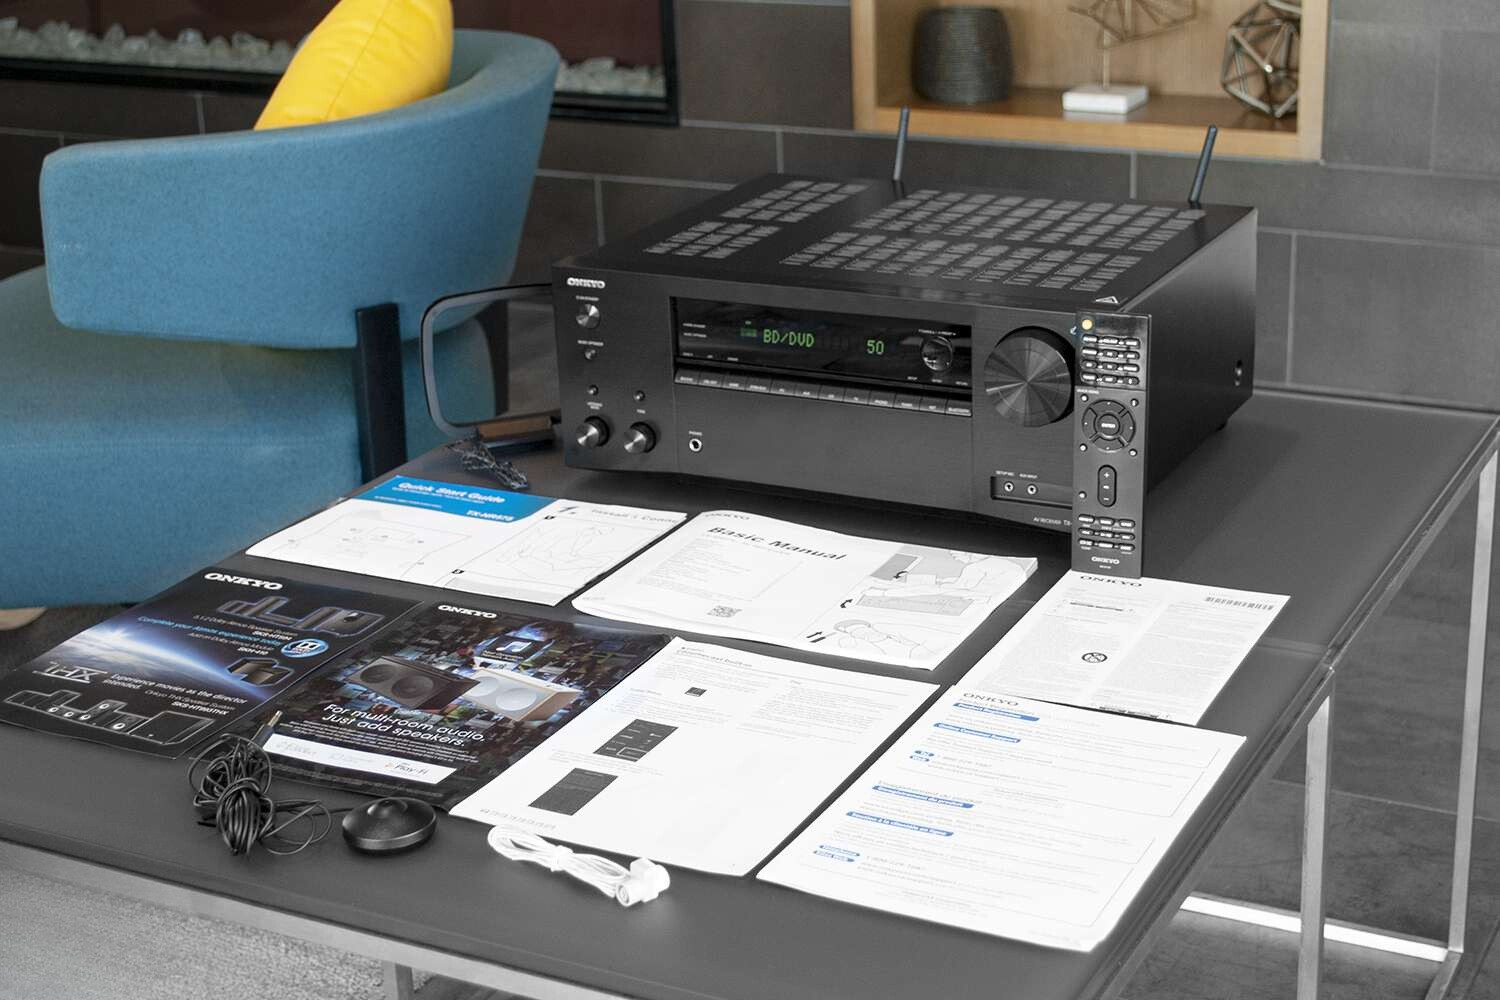
As you unbox your new AV receiver, you’re one step closer to transforming your living space into a captivating entertainment zone. The initial setup process lays the foundation for an immersive audiovisual experience, so let’s dive into the essential steps to get you up and running.
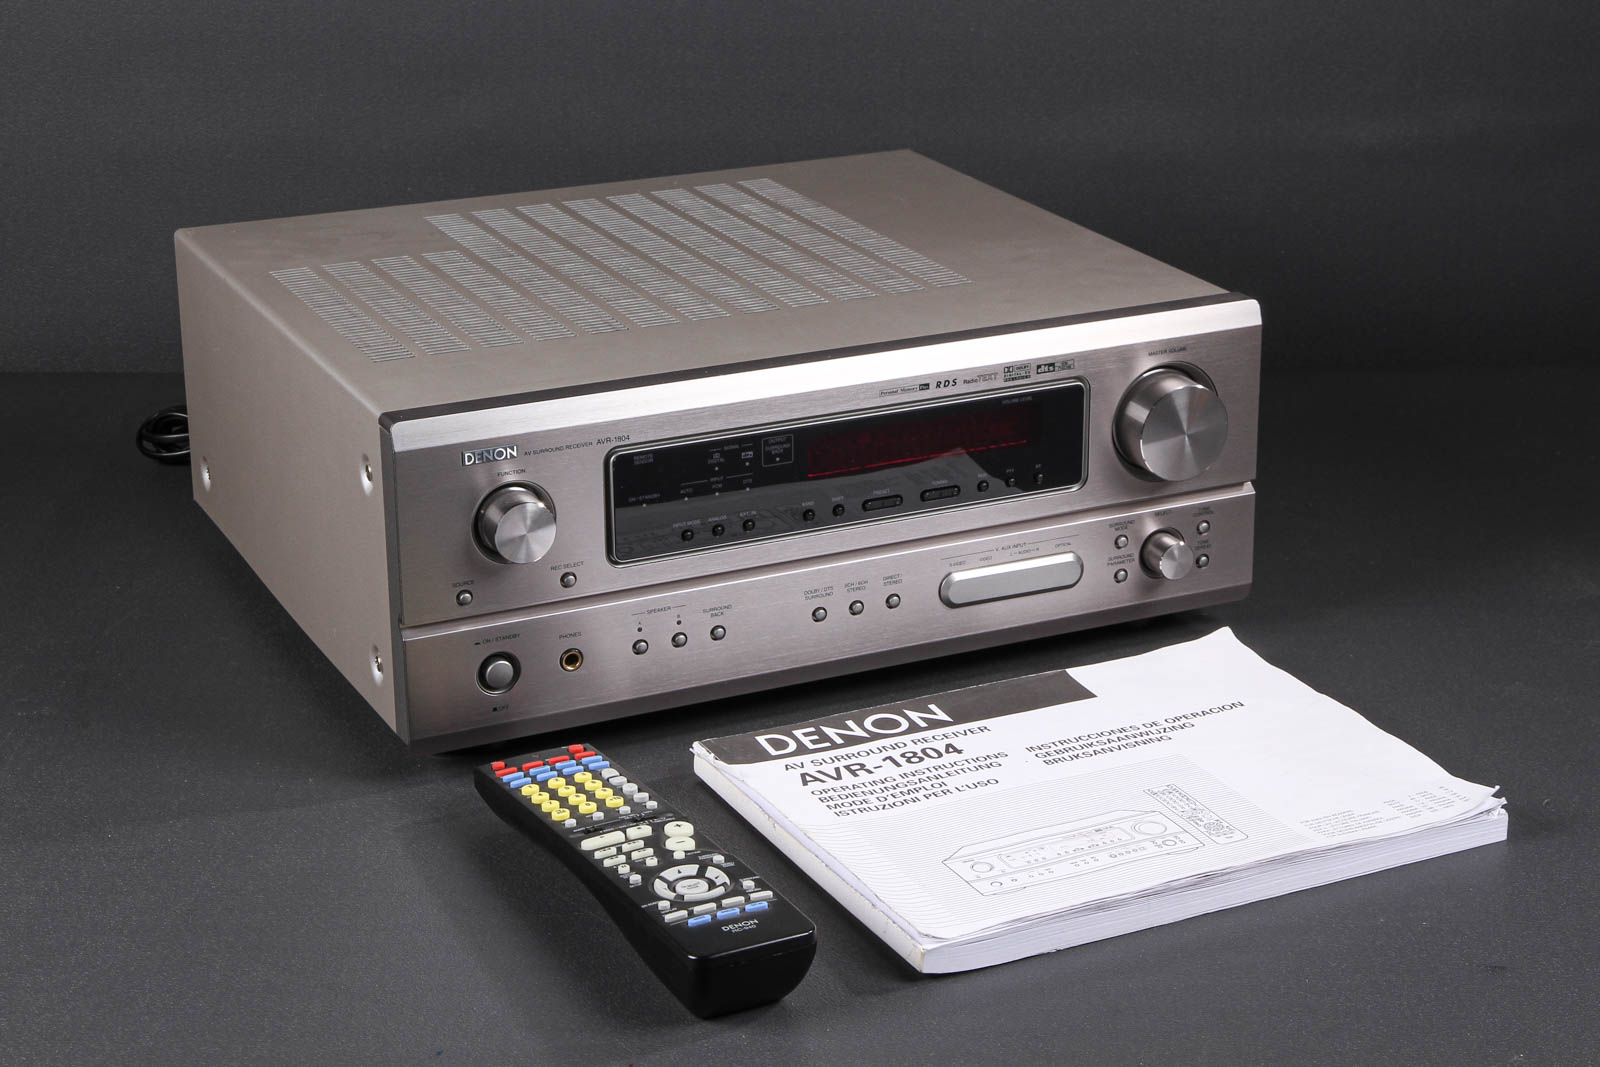
1. Unboxing: Carefully unpack the AV receiver and its accessories, ensuring that all components are present and undamaged. Place the receiver in a well-ventilated area with ample clearance for airflow, as AV receivers can generate heat during operation.
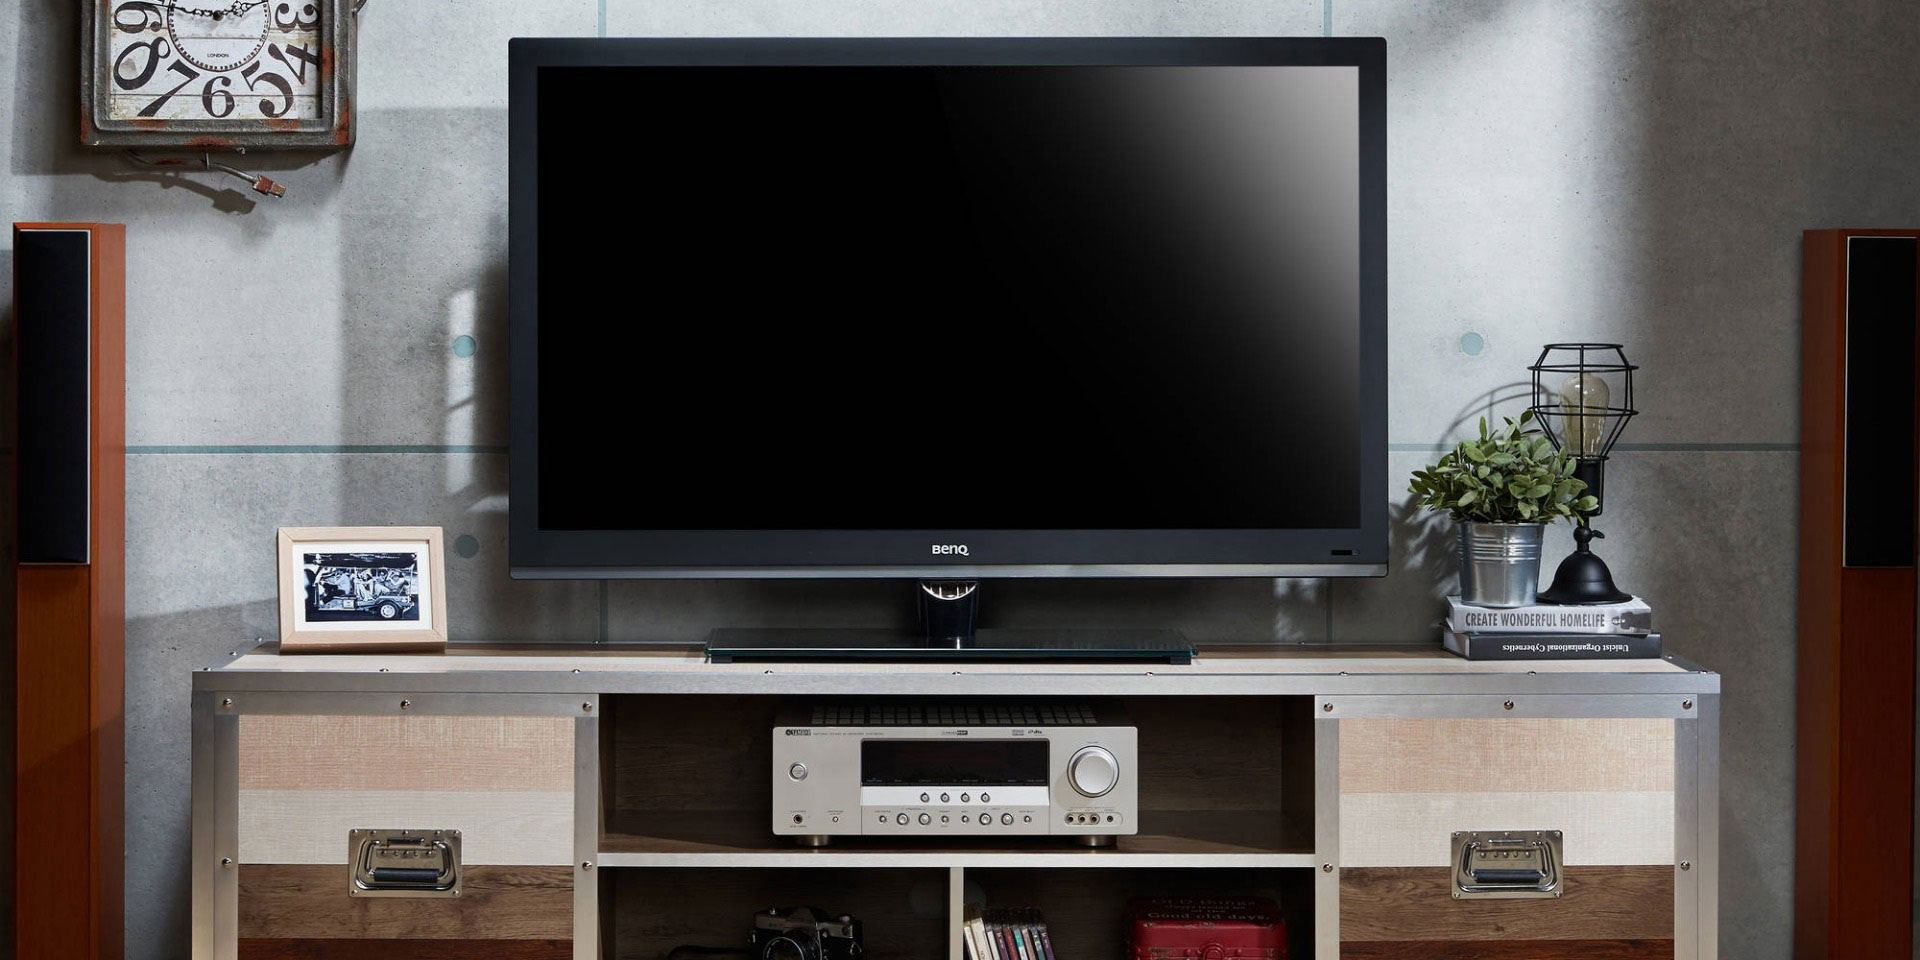
2. Positioning: Select a sturdy and well-ventilated location for the receiver, preferably near your TV or projector and accessible to your media sources and speakers. Avoid placing the receiver in enclosed cabinets or shelves that restrict airflow, as this can lead to overheating.
3. Speaker Placement: If you haven’t already positioned your speakers, take this opportunity to arrange them according to your room layout and the recommended speaker placement guidelines. Ensure that the speakers are securely mounted or placed on stable surfaces to prevent vibrations and ensure optimal sound reproduction.
4. Connection Preparation: Organize your audio and video sources, such as your TV, Blu-ray player, gaming console, and media streaming devices, along with the necessary cables and connectors. Labeling the cables can simplify the setup process and minimize confusion during connections.
5. Cable Connections: Using high-quality HDMI, optical, or coaxial cables, connect your media sources to the corresponding input ports on the AV receiver. Ensure a snug fit for each connection to guarantee reliable signal transmission and minimize signal loss.
6. Power and Initial Setup: Connect the power cord to the receiver and plug it into a surge-protected power outlet. Power on the receiver and follow the on-screen prompts or the setup guide provided with the receiver to configure basic settings such as language, display preferences, and network connectivity.
7. Firmware Update: Check for firmware updates for your AV receiver and, if available, initiate the update process. Keeping the receiver’s firmware up to date ensures compatibility with the latest audio and video formats and may address any performance or compatibility issues.
8. Speaker Connection: Connect your speakers to the corresponding terminals on the receiver, ensuring that the polarity (+/-) of each speaker wire aligns with the terminals to maintain phase coherence and optimal sound reproduction.
By meticulously following these steps, you’ll establish the groundwork for a seamless and efficient setup of your AV receiver. With the physical connections in place and the receiver powered up, you’re now ready to delve into the next phase of the setup process: configuring the audio and video settings to unlock the full potential of your home entertainment system.
Connecting Speakers and Subwoofer
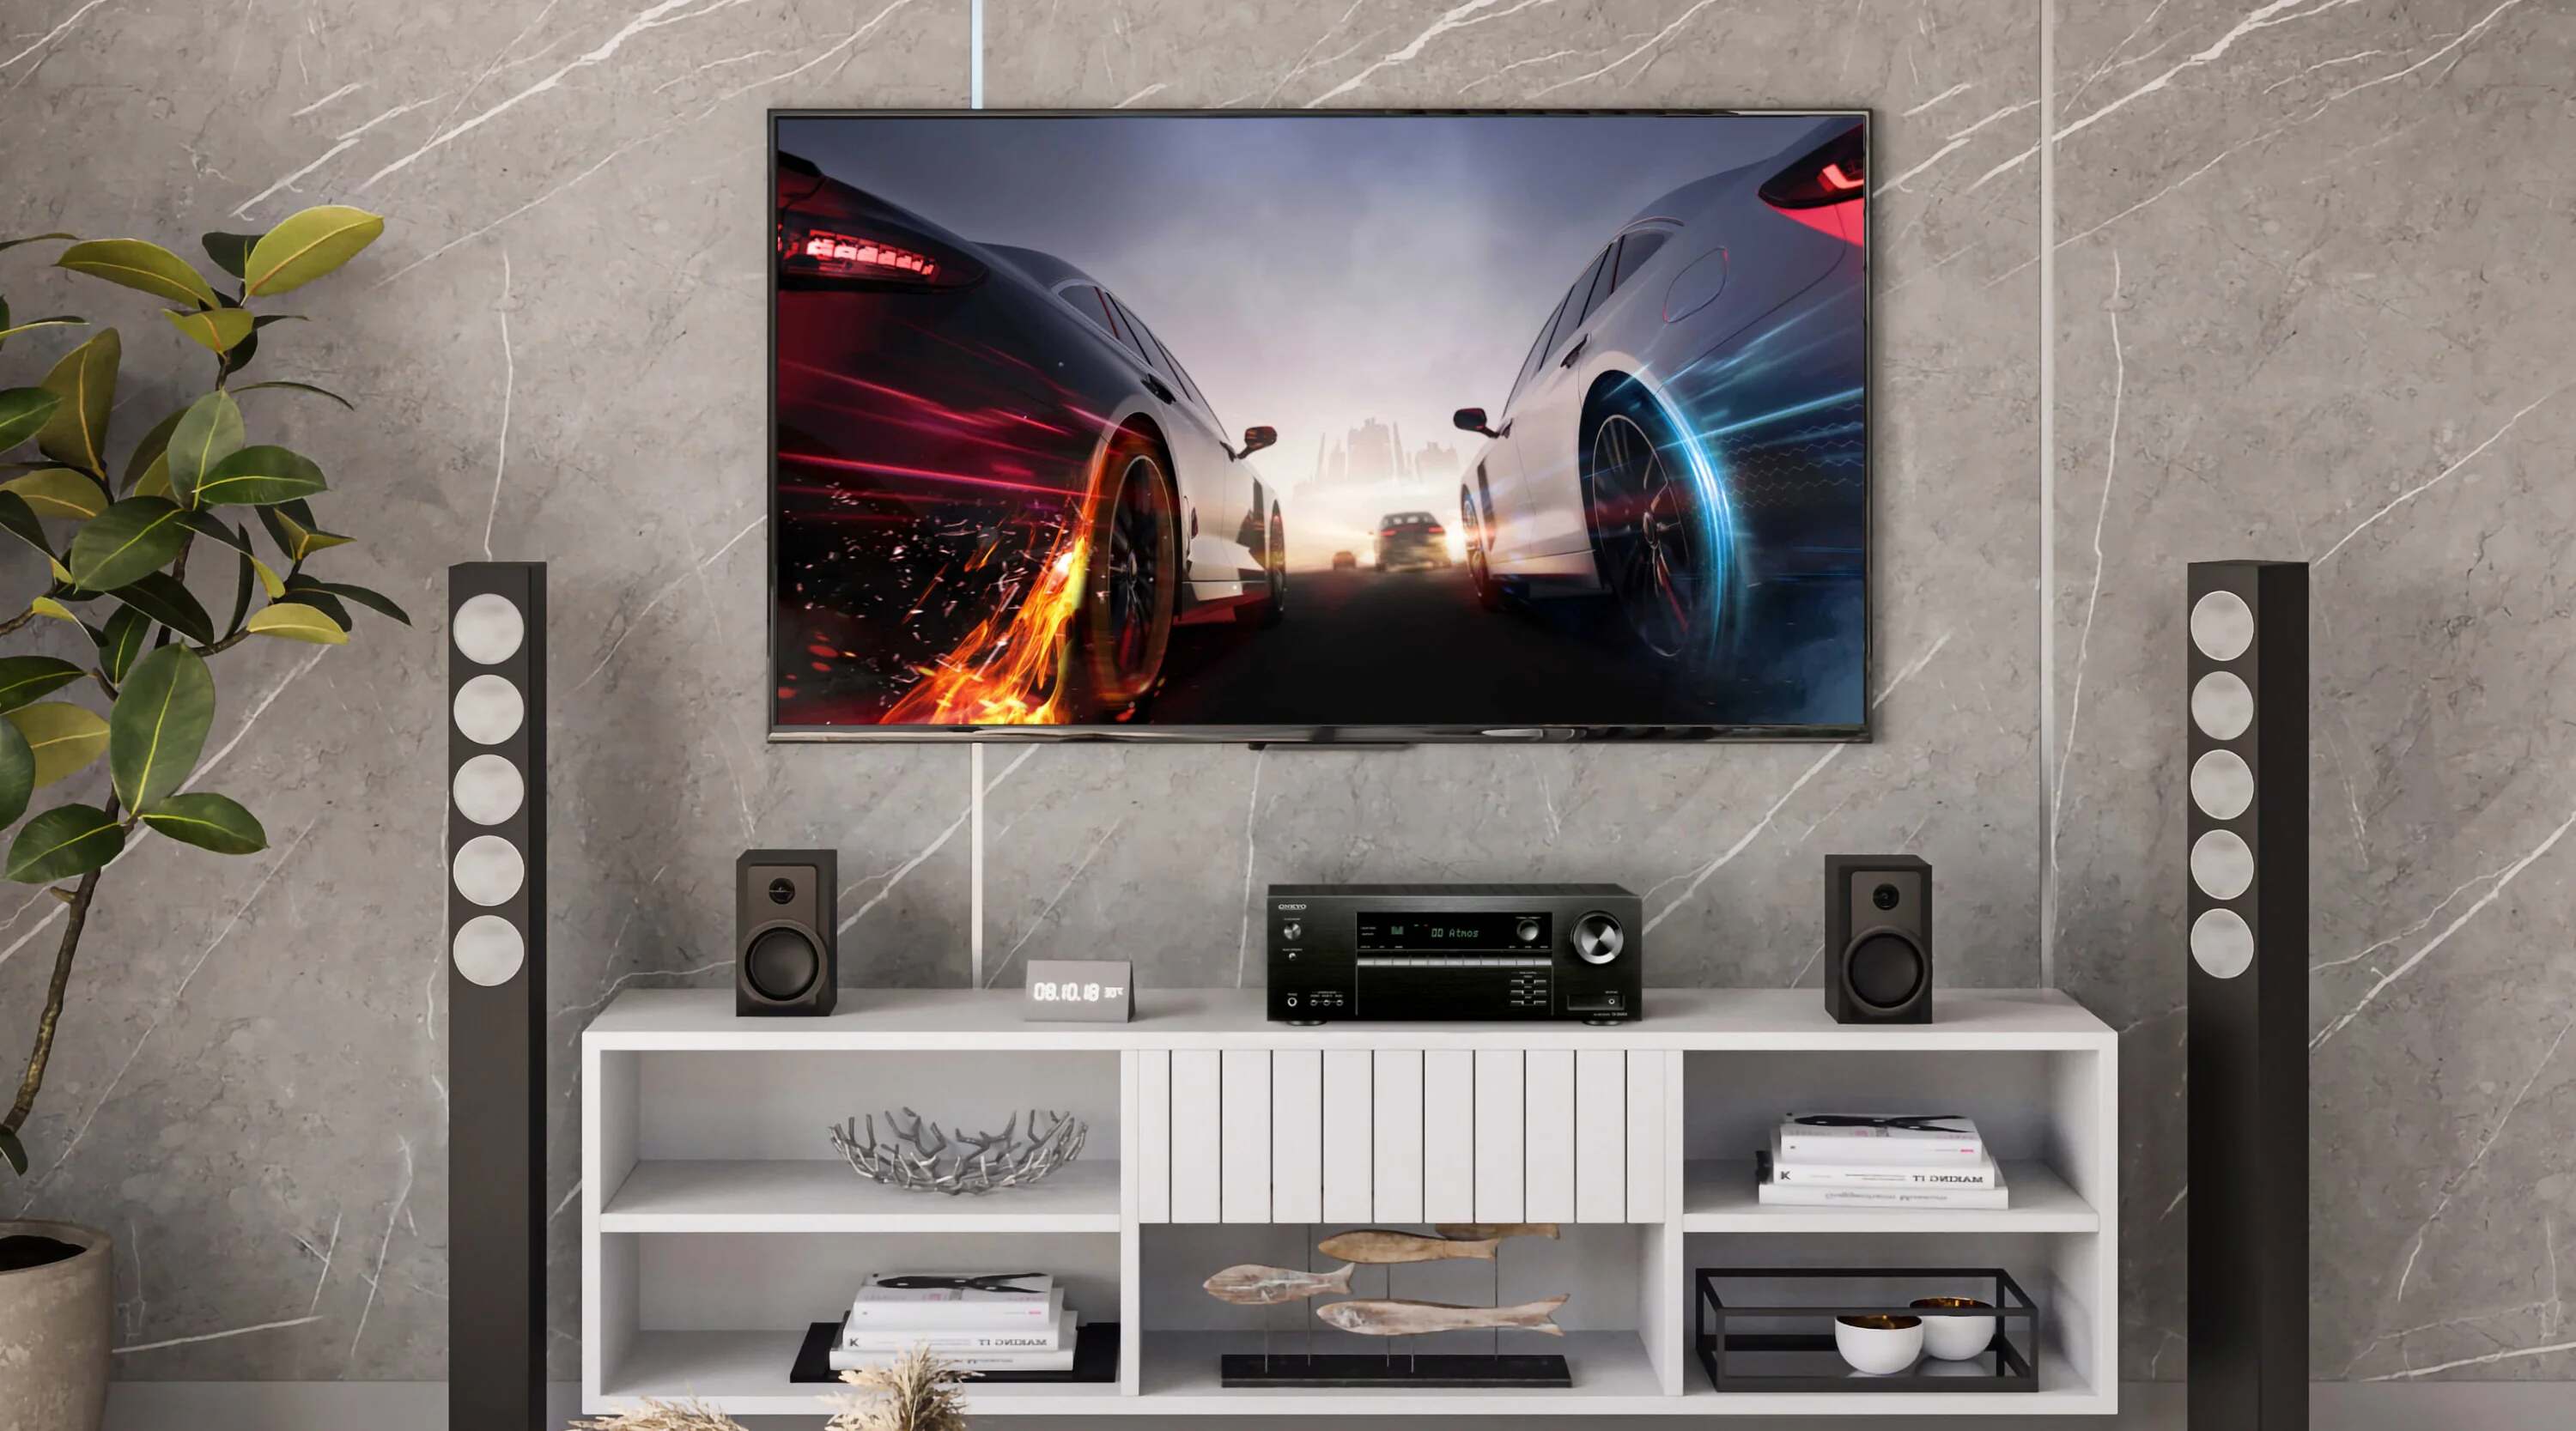
As you venture further into setting up your AV receiver, the proper connection of speakers and a subwoofer is pivotal in achieving a captivating audio experience that complements your visual display. The spatial distribution of sound and the integration of a subwoofer for low-frequency effects contribute to the immersive nature of your home theater. Let’s explore the essential steps for connecting your speakers and subwoofer to the AV receiver.
1. Speaker Placement: Before making any connections, ensure that your speakers are strategically positioned according to the layout of your room and the recommended speaker placement guidelines. This includes front, center, surround, and height speakers for a comprehensive multi-channel audio setup.
2. Speaker Wire Preparation: If your speakers utilize traditional speaker wire connections, strip the insulation from the wire ends to expose the bare conductors. Ensure that the wire length is sufficient to reach the receiver without tension or excessive slack.
3. Identifying Speaker Terminals: On the back of the AV receiver, locate the speaker terminals labeled for each channel, such as front left, front right, center, surround left, surround right, and height channels if applicable. The subwoofer pre-out port is also identified for connecting the subwoofer.
4. Speaker Wire Connection: For each speaker, match the polarity of the speaker wire with the corresponding terminals on the receiver. Typically, the red terminal signifies the positive (+) connection, while the black or white terminal represents the negative (-) connection. Ensure a secure and proper connection for each speaker wire to prevent signal loss or distortion.
5. Subwoofer Connection: If your subwoofer features a dedicated subwoofer pre-out connection on the receiver, use a shielded subwoofer cable to connect the receiver’s subwoofer pre-out to the input on the subwoofer. Ensure a snug and secure connection to minimize interference and maintain a clean signal path for low-frequency effects.
6. Subwoofer Placement: Position the subwoofer within your room to optimize bass response and integrate it seamlessly with your other speakers. Experiment with subwoofer placement to achieve balanced and impactful low-frequency reproduction, considering factors such as room acoustics and furniture placement.
7. Subwoofer Settings: Access the receiver’s setup menu to configure the subwoofer settings, including crossover frequency, phase adjustment, and volume level. These settings allow you to tailor the subwoofer’s output to complement the rest of your speaker system and achieve a cohesive audio presentation.
By meticulously following these steps, you’ll establish a cohesive and harmonious connection between your speakers and subwoofer, laying the groundwork for a rich and enveloping audio experience. With the physical connections in place, you’re now poised to explore the next phase of the setup process: configuring the audio and video settings to unleash the full potential of your home entertainment system.
Connecting Sources (TV, Blu-ray player, gaming console)
With the speakers and subwoofer in place, the next crucial step in setting up your AV receiver is connecting your various media sources, such as your TV, Blu-ray player, gaming console, and media streaming devices. The seamless integration of these sources ensures that your receiver becomes the central hub for all your audiovisual needs. Let’s explore the essential steps for connecting your media sources to the AV receiver.
1. HDMI Connections: Utilize high-speed HDMI cables to connect your media sources to the HDMI inputs on the AV receiver. HDMI offers both high-definition video and multi-channel audio transmission through a single cable, simplifying the setup and ensuring pristine signal quality.
2. Video Sources: Connect your Blu-ray player, gaming console, and other video sources to the HDMI inputs on the receiver. Ensure that each source is labeled appropriately in the receiver’s input settings to facilitate easy source selection during operation.
3. TV Connection: Use a high-speed HDMI cable to connect the HDMI output of the AV receiver to an available HDMI input on your TV. This establishes the video connection between the receiver and your display, allowing for seamless video pass-through and on-screen display of the receiver’s settings and menus.
4. Audio Sources: For audio-only sources, such as media players or audio streaming devices, connect them to the analog or digital audio inputs on the receiver. This allows you to enjoy high-quality audio playback through your speaker system, enhancing your music listening experience.
5. Network and Streaming: If your AV receiver supports network connectivity and streaming services, configure the network settings and connect the receiver to your home network. This enables access to online music services, firmware updates, and streaming content, expanding your entertainment options.
6. Gaming Console Configuration: If you’ve connected a gaming console, navigate to the console’s audio and video settings to ensure that the output resolution and audio format align with your display and receiver capabilities. This optimizes the gaming experience for immersive sound and stunning visuals.
7. Source Labeling and Customization: Access the receiver’s setup menu to customize and label each input source according to your preferences. This simplifies the user experience, allowing for intuitive source selection and seamless switching between different media sources.
By meticulously following these steps, you’ll establish a cohesive and efficient connection between your media sources and the AV receiver, consolidating your entertainment setup into a centralized and versatile system. With the physical connections in place, you’re now ready to delve into the next phase of the setup process: configuring the audio and video settings to unlock the full potential of your home entertainment system.
Setting Up the Audio and Video Settings
Configuring the audio and video settings of your AV receiver is a pivotal phase in optimizing your home theater experience. From fine-tuning audio parameters to calibrating video output, these settings allow you to tailor the performance of your system to suit your preferences and the characteristics of your viewing environment. Let’s explore the essential steps for setting up the audio and video settings of your AV receiver.
1. Audio Decoding and Processing: Access the receiver’s audio settings to configure the decoding and processing modes. Select the appropriate surround sound format, such as Dolby Atmos, DTS:X, or Auro-3D, based on your speaker configuration and the audio format of your media content. Additionally, adjust settings for dialogue enhancement, dynamic range control, and channel levels to achieve balanced and immersive audio reproduction.
2. Speaker Configuration: Verify and adjust the speaker configuration settings to match the layout and characteristics of your speaker system. Specify the size, crossover frequency, and distance of each speaker to ensure accurate sound localization and seamless integration of the speakers with the subwoofer.
3. Room Correction and EQ: If your receiver features room correction and equalization capabilities, engage these functions to optimize the audio performance based on the acoustics of your room. Automated room calibration systems analyze the acoustic properties of your listening environment and apply corrective measures to enhance audio fidelity and imaging.
4. Video Output Resolution: Navigate to the video settings to specify the desired output resolution that matches the capabilities of your display device. Ensure that the receiver’s video output aligns with the native resolution and refresh rate supported by your TV or projector for optimal video quality.
5. HDR and Color Space: If your media sources and display support high dynamic range (HDR) and wide color gamut, configure the receiver’s video settings to enable HDR pass-through and select the appropriate color space, such as BT.2020, for accurate color reproduction.
6. Video Processing and Enhancement: Explore the receiver’s video processing options, including upscaling, noise reduction, and motion enhancement features. Tailor these settings to enhance the visual clarity and smoothness of video content, especially for lower-resolution sources.
7. Network and Streaming Settings: If your receiver supports network audio and video streaming, configure the network settings and access streaming service accounts to enable seamless playback of online content and access to streaming platforms.
By meticulously configuring these audio and video settings, you’ll unleash the full potential of your AV receiver, ensuring that it delivers captivating audio immersion and stunning visual fidelity. With the settings optimized to suit your preferences and the characteristics of your viewing environment, you’re now poised to experience a home theater setup that transcends conventional entertainment experiences.
Calibrating the System
Calibrating your AV receiver system is a critical step in ensuring that it delivers optimal audio and visual performance tailored to your specific room environment and personal preferences. Through meticulous calibration, you can fine-tune the system to achieve balanced audio reproduction, accurate speaker localization, and seamless integration with your display. Let’s explore the essential steps for calibrating your AV receiver system.
1. Automated Room Calibration: Many modern AV receivers feature automated room calibration systems, such as Audyssey, MCACC, or YPAO, designed to analyze the acoustic characteristics of your room and optimize the audio performance accordingly. Initiate the calibration process by following the on-screen prompts or the instructions provided in the receiver’s manual.
2. Microphone Placement: During the automated calibration process, position the calibration microphone at the primary listening position in your room. Ensure that the microphone is at ear level and free from obstructions to capture accurate acoustic measurements that reflect your listening experience.
3. Acoustic Analysis: The calibration system emits test tones and measures the acoustic response of each speaker, identifying characteristics such as frequency response, phase coherence, and room reflections. Based on these measurements, the system applies corrective filters and adjustments to optimize the audio output for your room’s acoustics.
4. Speaker Level and Distance Calibration: The calibration system determines the relative levels and distances of each speaker and adjusts them to achieve balanced sound distribution and accurate spatial imaging. This ensures that sound from each speaker arrives at the listener’s position at the appropriate time and volume level, enhancing the overall coherence of the audio presentation.
5. Subwoofer Integration: The calibration process also addresses the integration of the subwoofer with the rest of the speaker system, optimizing the crossover frequency, phase alignment, and volume level to achieve seamless bass reproduction that complements the main speakers without overpowering or muddying the sound.
6. Manual Fine-Tuning: After the automated calibration, you may have the option to manually fine-tune specific audio parameters, such as equalization settings, crossover frequencies, and individual speaker levels, to further tailor the audio performance to your preferences and room characteristics.
7. Video Calibration: While primarily focused on audio optimization, some receivers offer basic video calibration tools for adjusting parameters such as brightness, contrast, and color balance to achieve accurate and pleasing visual presentation on your display.
By meticulously calibrating your AV receiver system, you’ll unlock its full potential, ensuring that it delivers a captivating and immersive audiovisual experience that resonates with the nuances of your room environment and personal preferences. With the system finely tuned, you’re now poised to embark on a journey of sensory indulgence, experiencing the full impact of your meticulously crafted home entertainment setup.
Troubleshooting and Tips
While setting up and calibrating your AV receiver can be a rewarding experience, encountering technical challenges or seeking ways to optimize your system’s performance is not uncommon. Here are some troubleshooting tips and valuable insights to ensure a seamless and gratifying home entertainment journey.
1. Audio Dropouts or Distortion: If you experience intermittent audio dropouts or distortion, check the speaker wire connections for any loose or frayed wires. Additionally, verify that the speaker impedance settings on the receiver match the specifications of your speakers to prevent potential overload or distortion issues.
2. Network Connectivity: When configuring network and streaming features, ensure that the receiver is connected to a stable and reliable network. If experiencing connectivity issues, consider optimizing your network setup or consulting the receiver’s support resources for troubleshooting guidance.
3. Firmware Updates: Periodically check for firmware updates for your AV receiver to access the latest features, performance enhancements, and compatibility improvements. Keeping the receiver’s firmware up to date can address potential issues and ensure seamless integration with evolving audio and video technologies.
4. Speaker Placement and Acoustics: Experiment with speaker placement and room acoustics to optimize the audio performance. Minor adjustments to speaker positioning or the addition of acoustic treatments can significantly enhance sound quality and imaging, especially in challenging room environments.
5. Heat Management: Ensure that the receiver’s ventilation is unobstructed and that it operates within a well-ventilated space. Adequate airflow prevents overheating and ensures the long-term reliability of the receiver, particularly during extended periods of high-volume playback or demanding audio processing.
6. Source Compatibility: When encountering compatibility issues with specific media sources, verify that the source’s output settings align with the receiver’s input requirements. This includes resolution, audio format, and signal type to ensure seamless integration and optimal playback quality.
7. Auditory Preferences: Take the time to explore the receiver’s audio settings and customization options to tailor the sound to your personal preferences. Experiment with equalization settings, surround sound modes, and dialogue enhancement features to achieve a sonic presentation that resonates with your auditory preferences.
8. Professional Calibration: Consider engaging the services of a professional audiovisual calibrator to optimize your system’s performance. Professional calibration can address complex room acoustics and fine-tune the system to achieve reference-quality audio and video reproduction, elevating your home theater experience to unparalleled levels.
By leveraging these troubleshooting tips and insights, you’ll navigate the intricacies of AV receiver setup and optimization with confidence and finesse. Embrace the process of fine-tuning your system, and revel in the transformative power of a meticulously calibrated home entertainment setup that captivates your senses and enriches your audiovisual encounters.