Introduction
Connecting your AV receiver to Alexa can significantly enhance your home entertainment experience. By integrating these two powerful devices, you can seamlessly control your audio-visual setup using voice commands. This not only adds a layer of convenience but also opens up a world of possibilities for customizing your home theater system to suit your preferences.
Whether you're a tech enthusiast or someone who simply appreciates the ease of hands-free control, integrating your AV receiver with Alexa is a worthwhile endeavor. In this guide, we'll walk through the steps to set up and connect your AV receiver to Alexa, as well as how to effectively control it using voice commands.
As smart home technology continues to evolve, the integration of voice assistants like Alexa into various devices has become increasingly prevalent. This has revolutionized the way we interact with our home appliances, making tasks more efficient and enjoyable. By extending this functionality to your AV receiver, you can elevate your entertainment setup to a new level of sophistication.
With the groundwork laid, let's delve into the process of connecting your AV receiver to Alexa, exploring the seamless integration that will transform the way you interact with your home entertainment system.
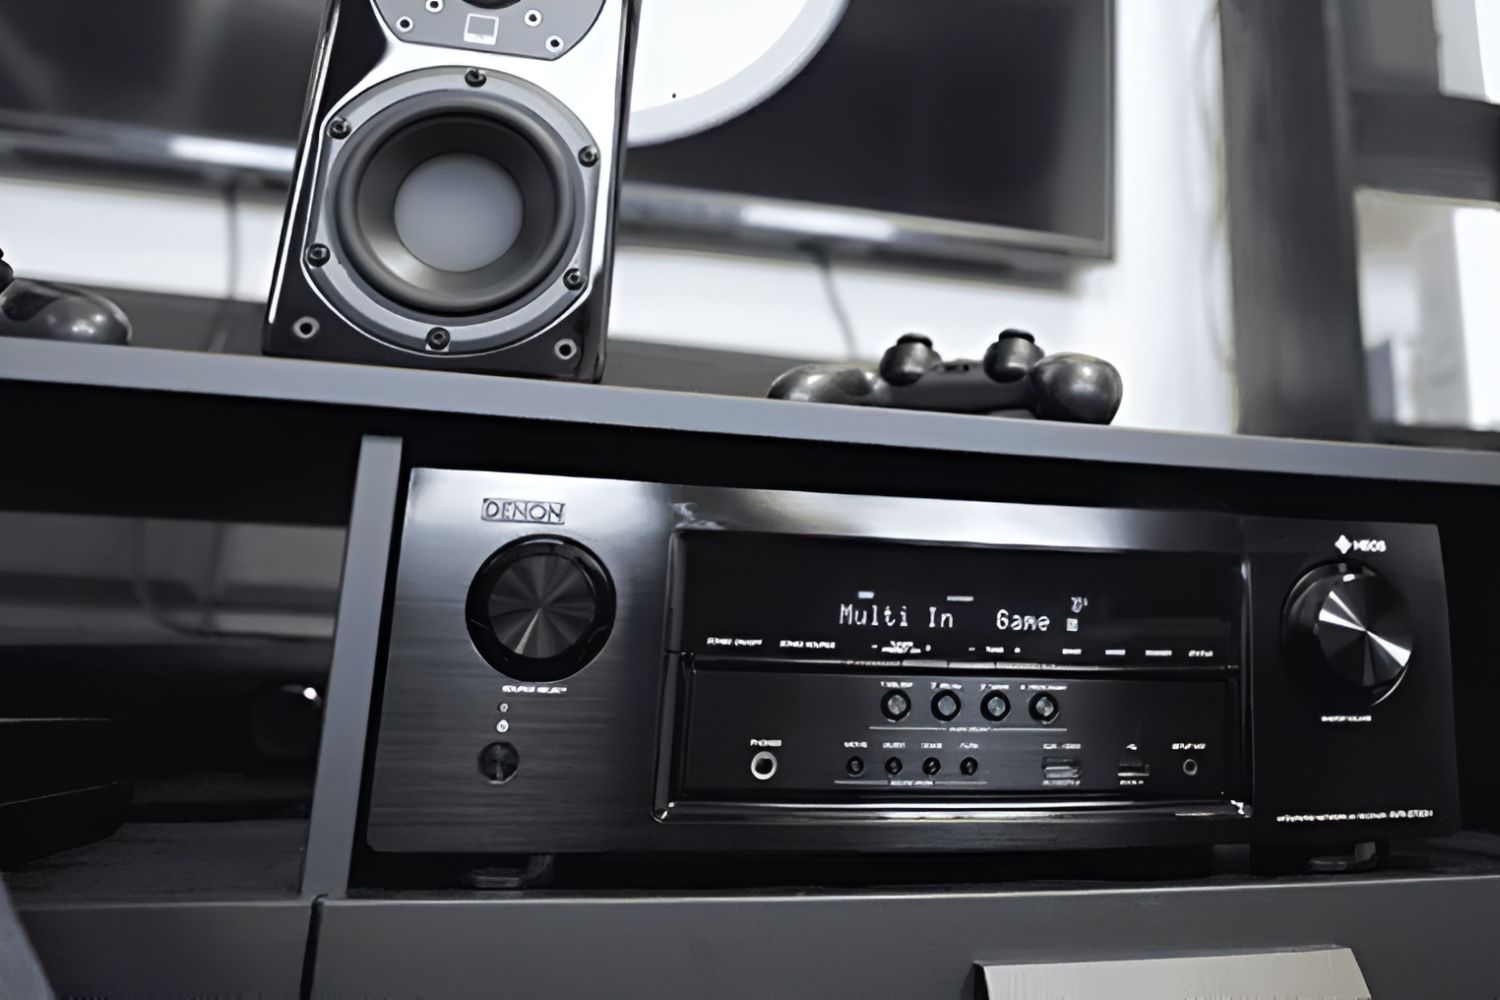
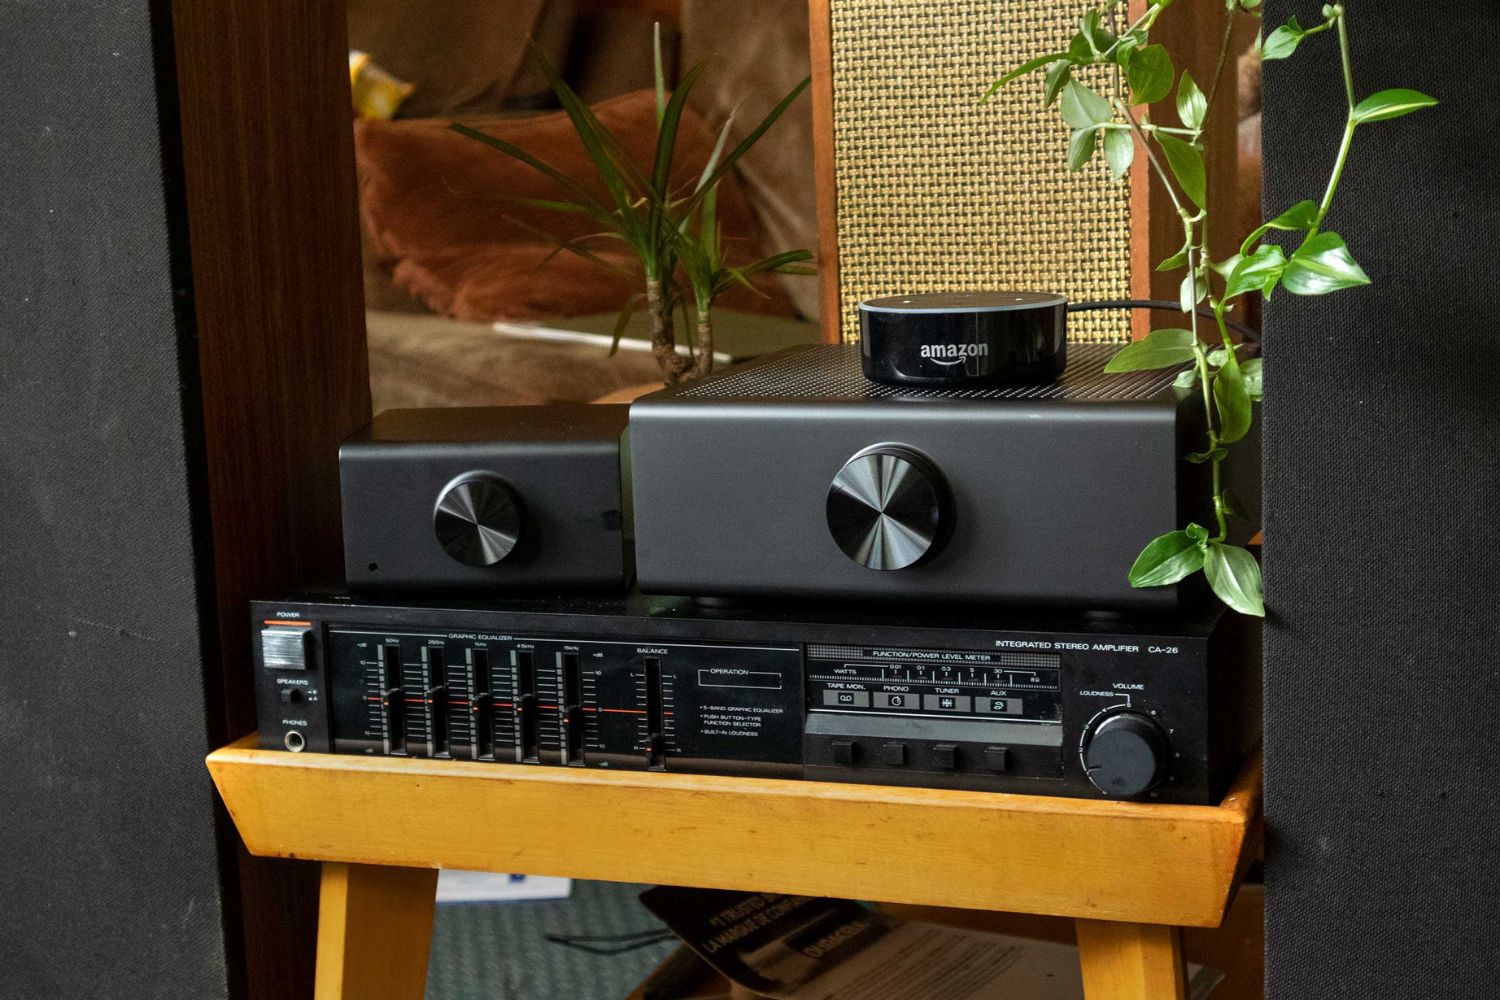
Step 1: Setting up Your AV Receiver
Before you can connect your AV receiver to Alexa, it’s essential to ensure that your receiver is properly set up and ready to integrate with your smart home ecosystem. Here’s a step-by-step guide to help you get started:
- Unboxing and Placement: Begin by unboxing your AV receiver and placing it in a well-ventilated area near your audio-visual setup. Ensure that there is ample space around the receiver for ventilation and cable management.
- Connecting Speakers and Display Devices: Carefully connect your speakers and display devices to the appropriate ports on the AV receiver. Take note of the input and output labels to ensure the correct connections.
- Power and Network Connectivity: Connect the receiver to a power source and ensure that it is connected to your home network, either via Ethernet or Wi-Fi, depending on the capabilities of your specific model.
- Initial Setup: Power on the AV receiver and follow the on-screen prompts to complete the initial setup process. This may involve configuring audio settings, network connectivity, and other preferences.
- Software Updates: Check for and install any available firmware or software updates for your AV receiver. Keeping the device’s software up to date is crucial for ensuring compatibility and optimal performance.
By meticulously following these steps, you can establish a solid foundation for integrating your AV receiver with Alexa, setting the stage for a seamless and immersive home entertainment experience.
Step 2: Connecting Your AV Receiver to Alexa
Once your AV receiver is set up, the next step is to establish a connection with Alexa, enabling you to control your audio-visual system using voice commands. Here’s a straightforward guide to help you seamlessly link your AV receiver to Alexa:
- Download and Install Alexa App: Begin by downloading and installing the Alexa app on your smartphone or tablet. This app serves as the central hub for managing Alexa-enabled devices and their interactions.
- Enable AV Receiver Skill: Within the Alexa app, navigate to the “Skills & Games” section and search for the specific skill related to your AV receiver brand or model. Enable the skill to allow Alexa to communicate with your receiver.
- Device Discovery: Initiate the device discovery process within the Alexa app, allowing it to search for and recognize your AV receiver on the same network. Once discovered, your receiver will appear as an available device within the app.
- Linking Accounts: If required by your AV receiver manufacturer, link your receiver account with your Alexa account to establish a secure and seamless connection between the two devices.
- Voice Command Testing: Test the connection by using voice commands to instruct Alexa to control your AV receiver. You can start with simple commands like adjusting the volume, changing inputs, or powering the system on or off.
By following these steps, you can effectively bridge the gap between your AV receiver and Alexa, unlocking the potential for intuitive and hands-free control over your home entertainment setup.
Step 3: Controlling Your AV Receiver with Alexa
Now that your AV receiver is successfully connected to Alexa, you can harness the power of voice commands to seamlessly control various aspects of your audio-visual system. Here’s a guide to help you effectively manage your AV receiver using Alexa:
- Basic Controls: Start by familiarizing yourself with basic voice commands such as adjusting the volume, muting the sound, or switching between different audio modes on your AV receiver using Alexa.
- Input Selection: Utilize Alexa to effortlessly switch between different input sources on your AV receiver, allowing you to seamlessly transition between various connected devices such as gaming consoles, Blu-ray players, or streaming devices.
- Playback Control: Take advantage of Alexa’s capabilities to play, pause, and skip audio content on your AV receiver, providing a hands-free playback experience without the need to physically interact with the receiver or remote control.
- Custom Commands: Explore the option to create custom voice commands or routines within the Alexa app, enabling personalized control over specific functions or settings on your AV receiver, tailored to your preferences.
- Integration with Smart Home Devices: Consider integrating your AV receiver with other smart home devices compatible with Alexa, allowing for seamless automation and synchronization of your home entertainment experience with other connected systems.
By leveraging these capabilities, you can elevate your home entertainment setup to a new level of convenience and sophistication, all through the intuitive control offered by Alexa.
Conclusion
Integrating your AV receiver with Alexa opens up a world of possibilities, offering a seamless and intuitive way to control your home entertainment system. By following the steps outlined in this guide, you’ve laid the foundation for a harmonious connection between your AV receiver and Alexa, allowing for effortless control and customization.
With the setup complete, you now have the power to command your AV receiver using simple voice prompts, eliminating the need for manual adjustments and remote controls. Whether you’re adjusting audio settings, switching inputs, or initiating playback, Alexa provides a convenient interface to interact with your audio-visual setup.
Furthermore, the integration of your AV receiver with Alexa sets the stage for potential expansions and integrations within your smart home ecosystem. By leveraging the capabilities of Alexa and exploring custom commands and routines, you can tailor your home entertainment experience to suit your preferences and lifestyle.
As smart home technology continues to evolve, the seamless integration of devices like AV receivers with voice assistants represents a significant leap forward in user convenience and accessibility. By embracing this integration, you’re not only enhancing the functionality of your AV receiver but also embracing the future of home entertainment control.
In conclusion, the fusion of your AV receiver with Alexa empowers you to interact with your home entertainment system in a more natural and effortless manner, bringing a new level of convenience and personalization to your audio-visual experience.