Introduction
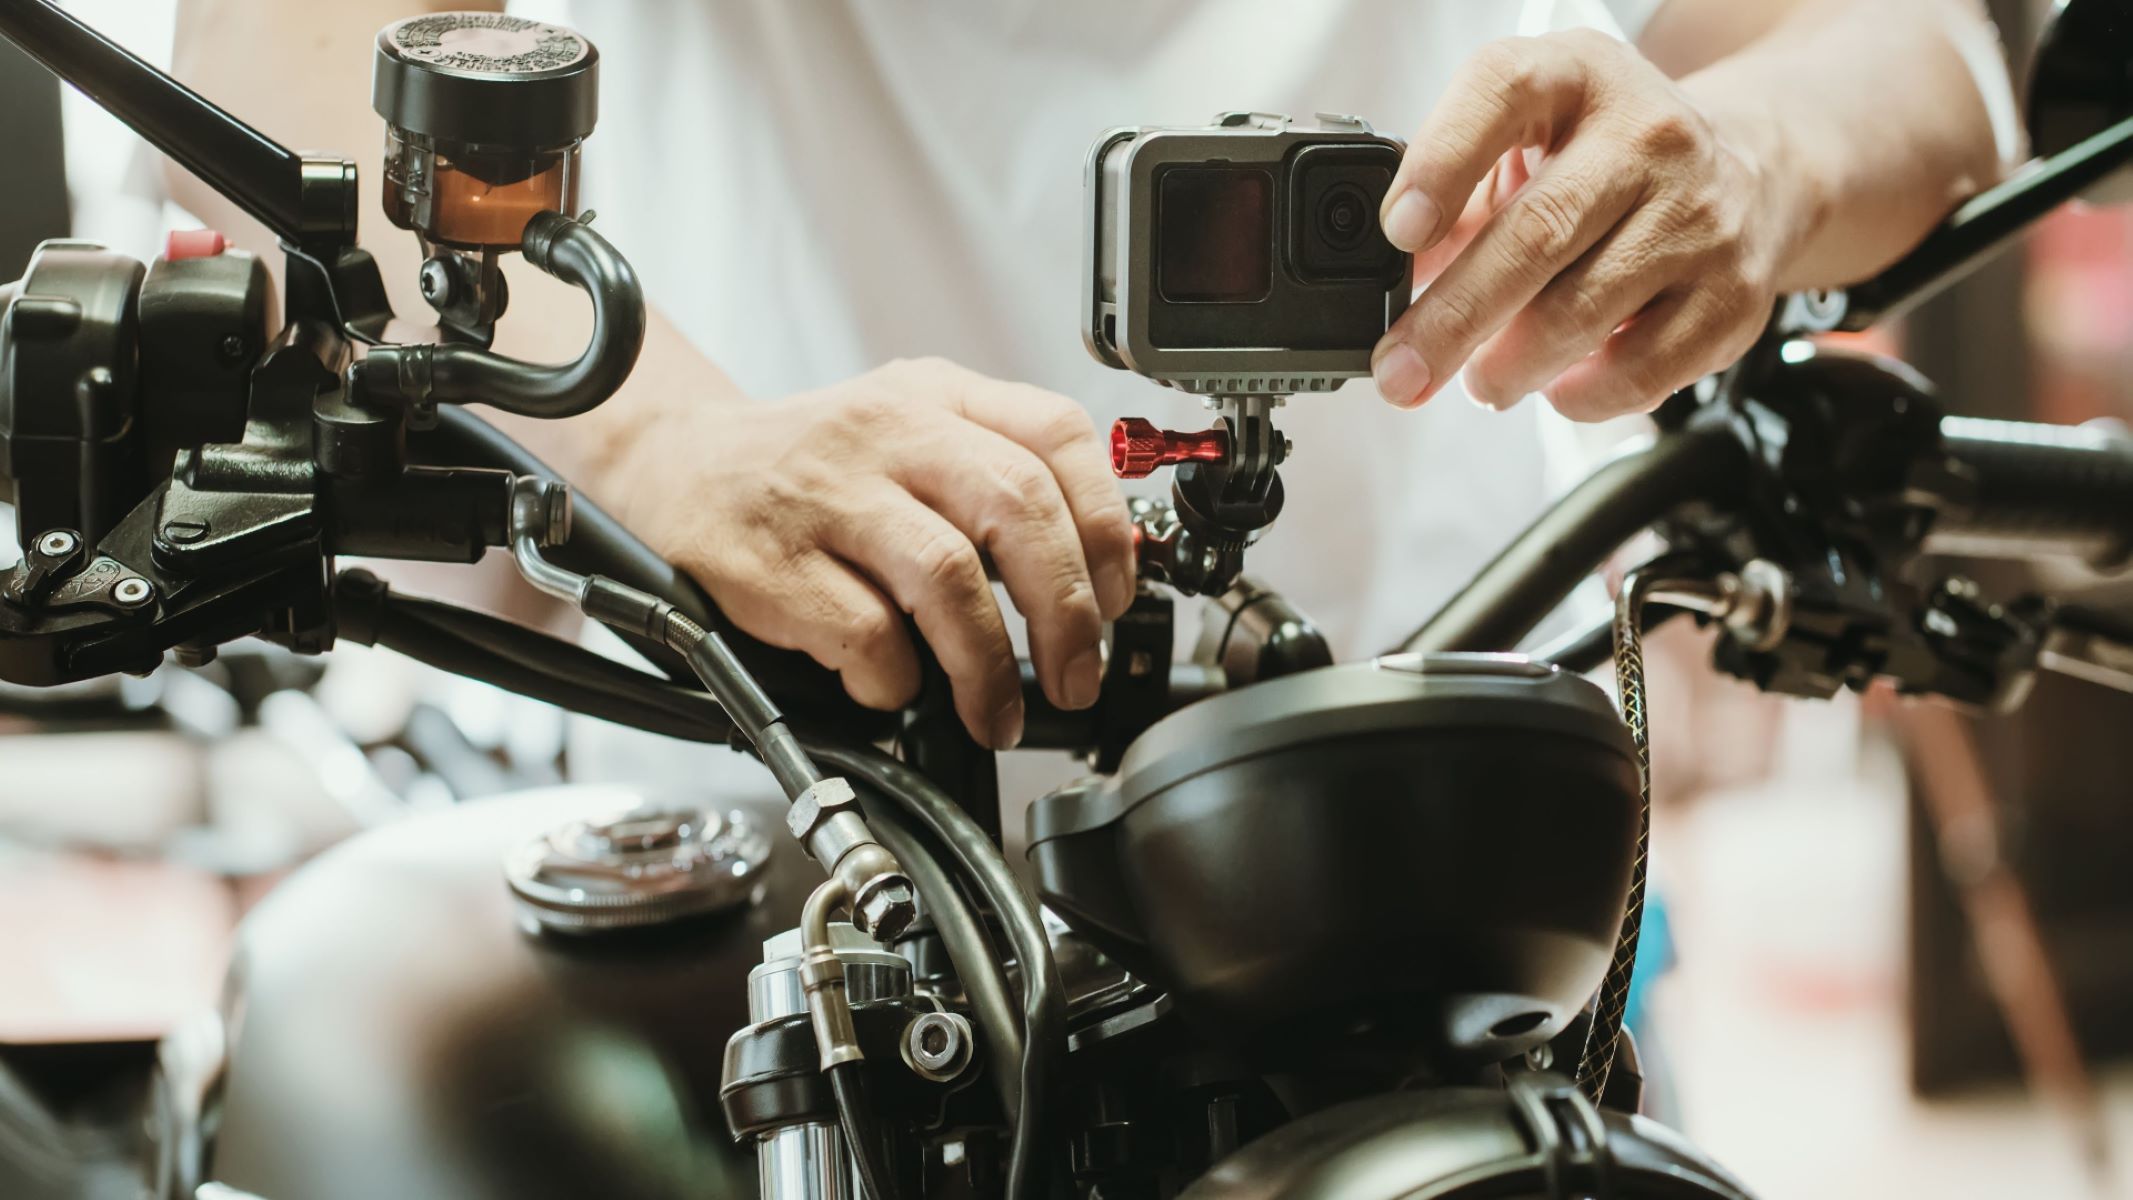
When it comes to capturing exhilarating motorcycle rides, attaching an action camera to your helmet can provide a unique and immersive perspective. This hands-free approach allows you to record the thrill of the open road without the need to handle a camera while riding. However, achieving optimal results requires careful consideration of mounting options, camera positioning, and safety precautions.
Riding a motorcycle offers a sense of freedom and adventure that is hard to replicate in any other setting. Whether you're cruising along scenic routes or navigating challenging terrain, documenting these experiences can be incredibly rewarding. With the right action camera and mounting techniques, you can share your journeys with friends, family, and fellow enthusiasts, or simply relive the excitement at a later time.
In this guide, we will explore the various aspects of attaching an action camera to a motorcycle helmet. From selecting the ideal mounting location to securing the camera in place, we'll cover the essential steps to help you capture stunning footage while ensuring your safety on the road. Whether you're a seasoned rider or new to the world of motorcycling, this guide will equip you with the knowledge and techniques needed to make the most of your action camera.
By understanding the nuances of mounting an action camera to your helmet, you can unleash your creativity and document your rides with confidence. Let's delve into the process of choosing the right mounting location, explore the options for different helmet types, and learn how to securely attach the camera before hitting the road. With these insights, you'll be ready to capture every twist, turn, and breathtaking view during your motorcycle adventures.
Choosing the Right Mounting Location
Before attaching your action camera to your motorcycle helmet, it’s crucial to identify the most suitable mounting location. The chosen spot should offer a clear view of the road ahead while minimizing wind resistance and maintaining the helmet’s balance. Additionally, it’s essential to ensure that the camera’s placement does not obstruct your vision or compromise the helmet’s structural integrity.
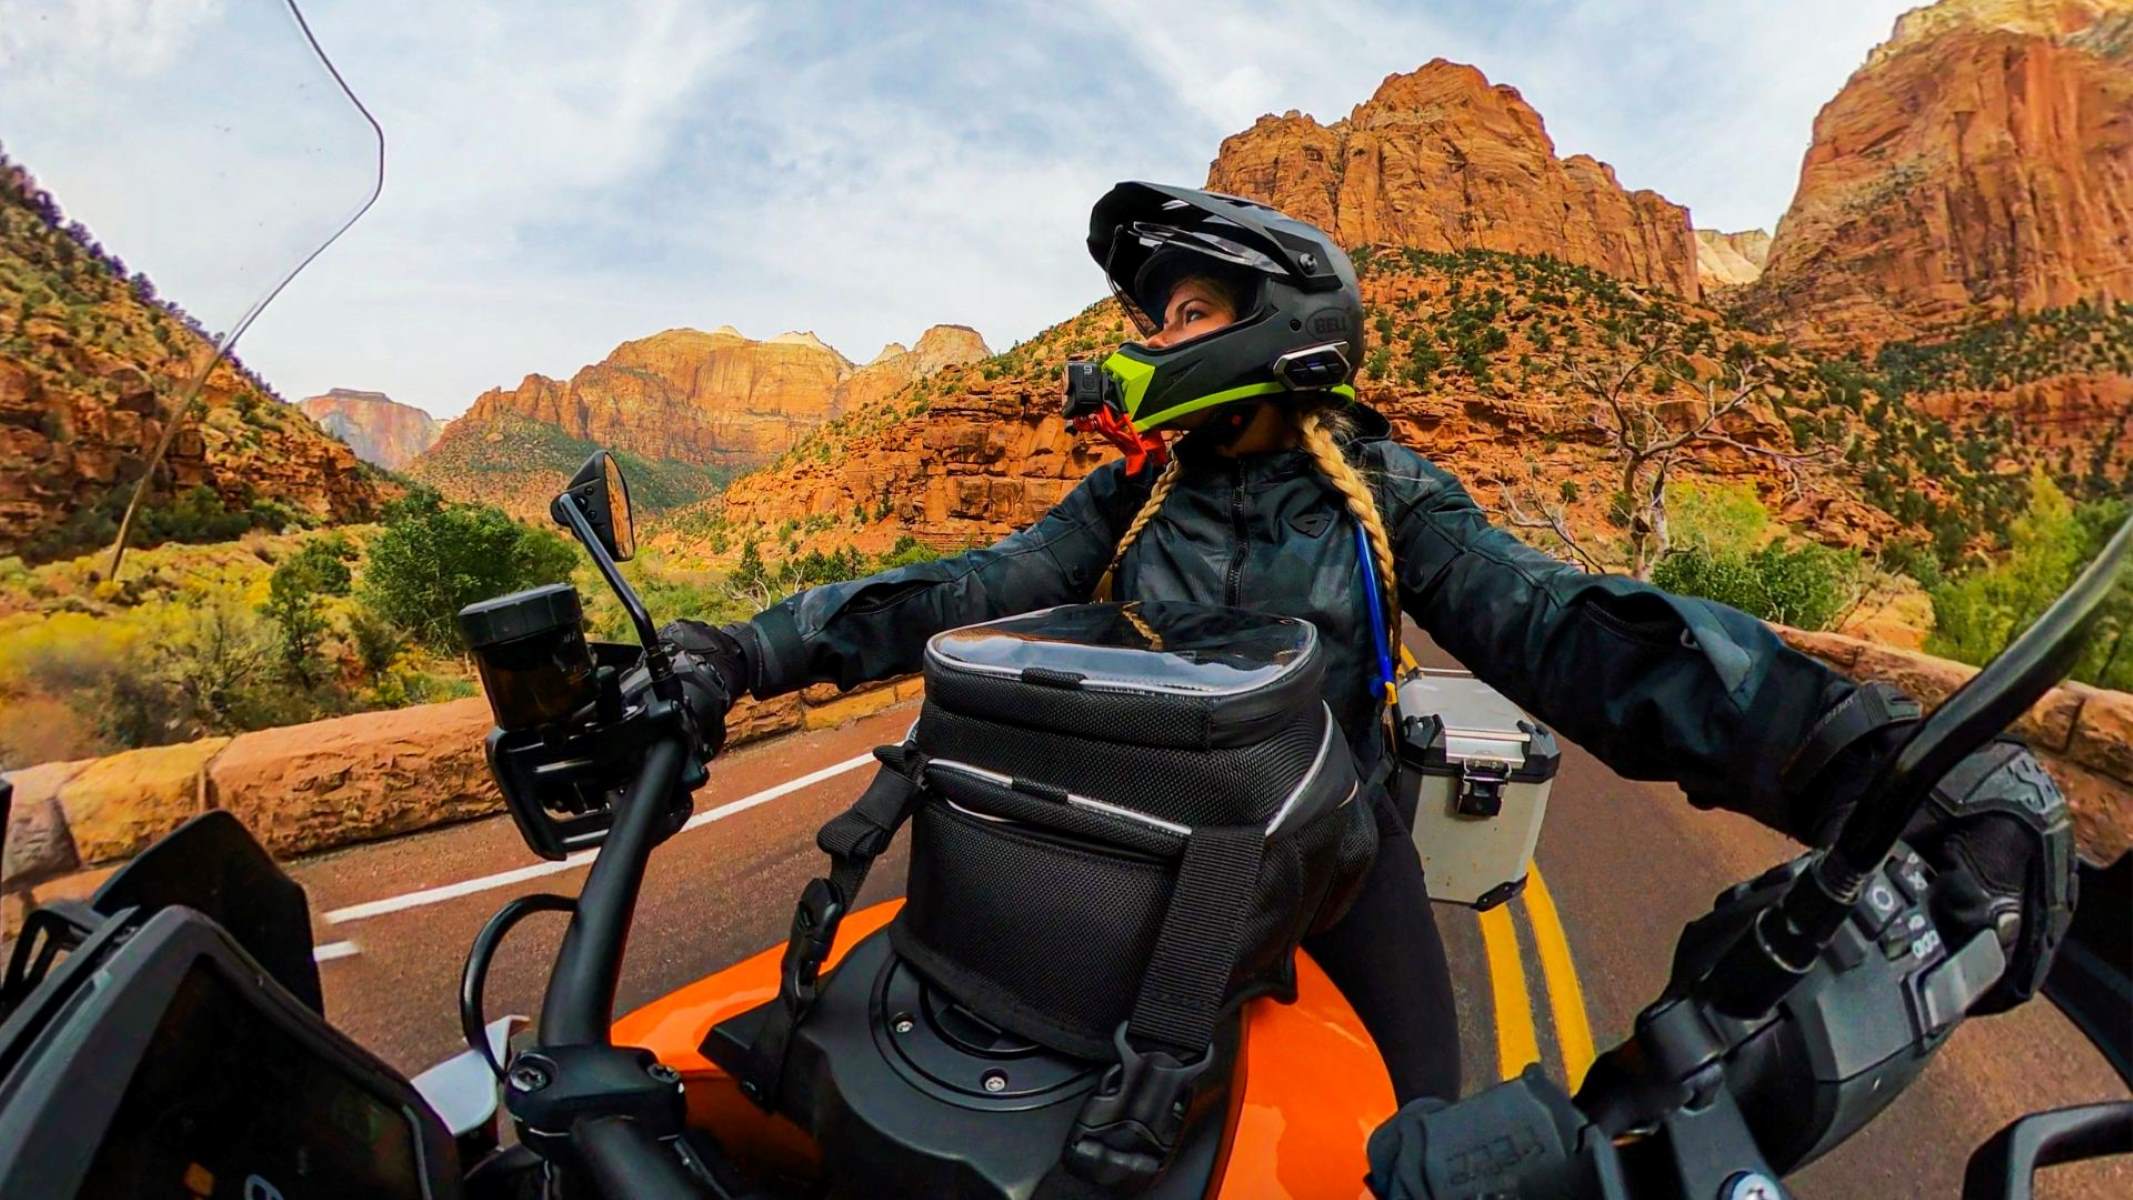
One of the most popular mounting locations is on the top or front section of the helmet. This position provides an unobstructed view and captures the rider’s perspective effectively. When opting for this location, it’s important to use a low-profile mount to minimize drag and maintain aerodynamics. Another advantage of this placement is the ability to adjust the camera’s angle for different shooting scenarios, such as capturing the road ahead or filming the rider’s face during interactions.
For riders who prefer a more discreet setup, mounting the camera on the side of the helmet is a viable option. This location offers a unique angle that captures the surroundings while adding a dynamic element to the footage. However, it’s essential to ensure that the camera’s profile remains compact to prevent interference with side mirrors or other objects. Additionally, riders should verify that the mounted camera does not protrude excessively, potentially posing a risk of impact during falls or collisions.
When considering the rear-facing mounting location, riders can capture compelling footage of their own actions and interactions with fellow riders. This position is particularly popular for group rides, as it allows for seamless documentation of the entire convoy. However, it’s crucial to exercise caution when mounting the camera at the rear, as it may increase the risk of snagging on objects or branches in off-road environments.
Ultimately, the ideal mounting location for your action camera depends on your personal preferences, the type of footage you aim to capture, and the specific features of your helmet. By carefully evaluating the advantages and considerations of each position, you can select the optimal spot that aligns with your filming goals and ensures a safe and comfortable riding experience.
Mounting Options for Different Helmet Types
When it comes to attaching an action camera to a motorcycle helmet, the diverse range of helmet types necessitates adaptable mounting solutions. Each helmet design presents unique challenges and opportunities for securing the camera effectively while maintaining rider comfort and safety.
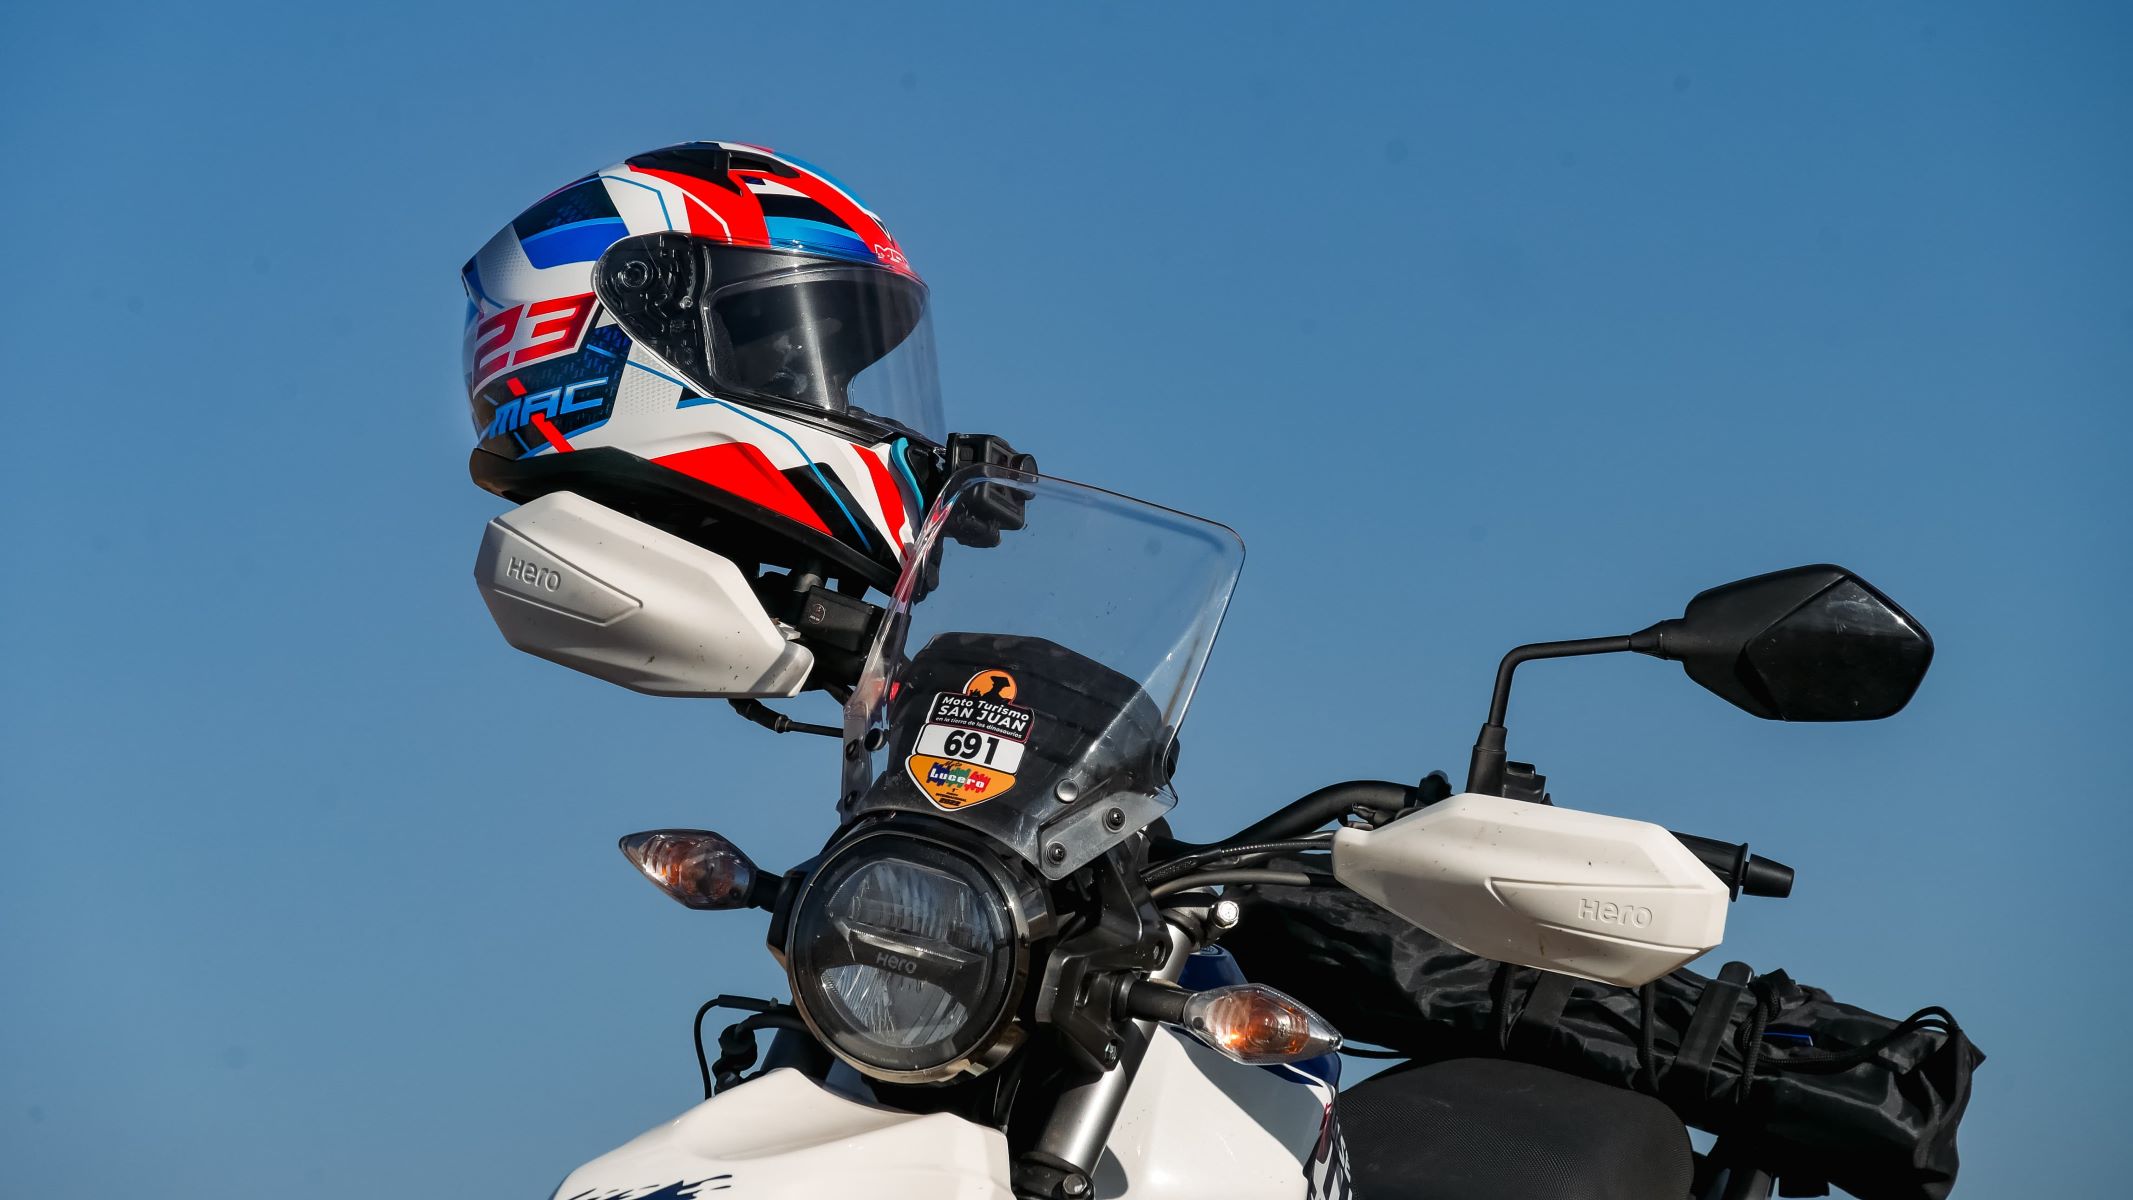
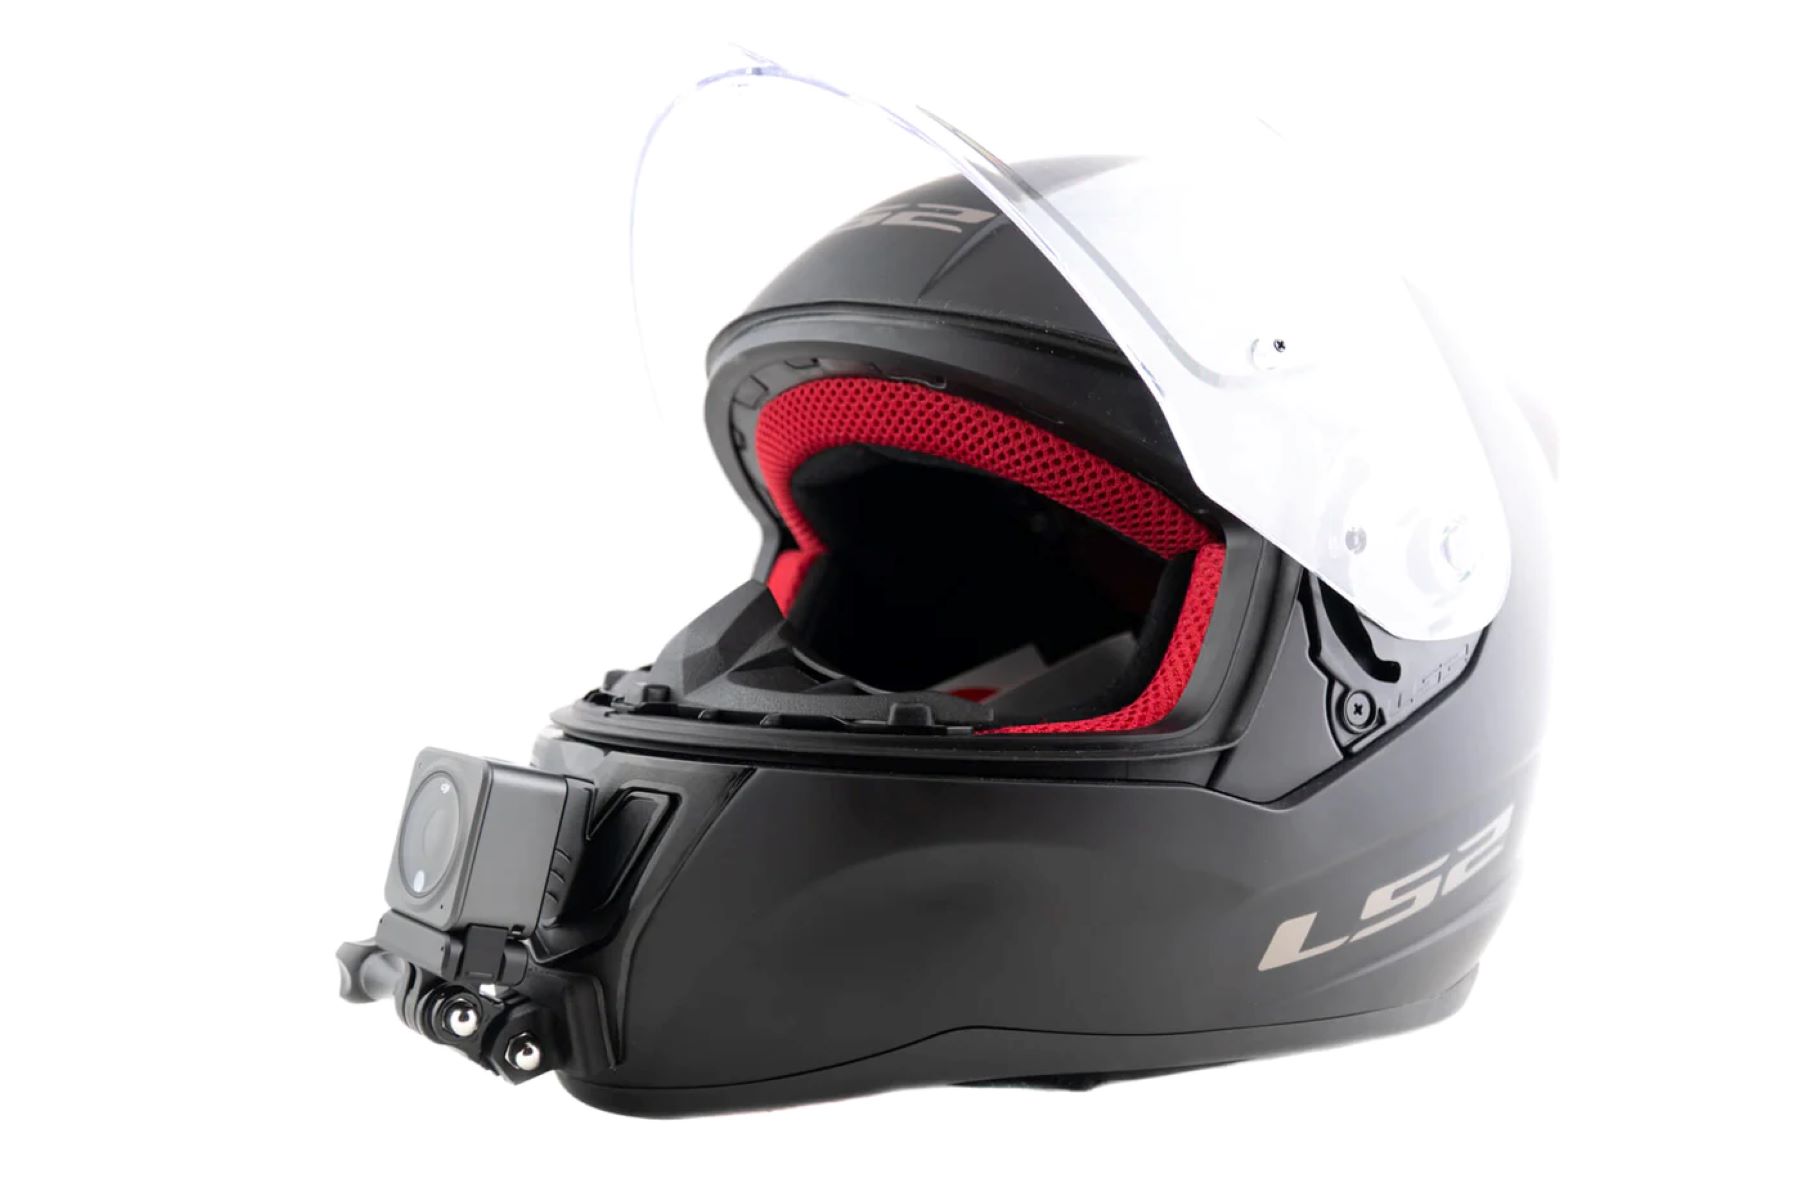
Full-face helmets, known for their comprehensive coverage and aerodynamic shape, offer versatile mounting possibilities. The front section of a full-face helmet provides a flat and stable surface for mounting the camera, allowing riders to capture unobstructed footage of the road ahead. Additionally, the streamlined design of full-face helmets minimizes wind resistance, ensuring that the mounted camera remains secure during high-speed rides.
Open-face helmets, characterized by their open design and enhanced ventilation, require specialized mounting considerations. When attaching an action camera to an open-face helmet, riders should prioritize mounts that offer secure attachment without compromising the helmet’s structural integrity. Side mounts are particularly popular for open-face helmets, as they provide an unobtrusive setup while capturing the rider’s perspective and the surrounding scenery.
Modular helmets, featuring a versatile flip-up design, present mounting opportunities that cater to both full-face and open-face configurations. Riders can take advantage of the modular helmet’s adaptability by selecting mounting positions that align with their preferred riding style and filming objectives. Whether capturing the thrill of high-speed rides or documenting interactions with fellow riders, the modular helmet’s flexibility allows for customized camera placement.
Off-road helmets, designed for rugged terrain and off-highway adventures, demand robust mounting solutions that can withstand the rigors of intense riding conditions. When attaching an action camera to an off-road helmet, riders should prioritize mounts that offer secure attachment and impact resistance. Top mounts are popular for off-road helmets, as they provide an elevated perspective while minimizing the risk of interference with protective goggles or visors.
By understanding the unique characteristics of different helmet types, riders can select mounting options that complement their specific helmet design and riding preferences. Whether seeking unobstructed views, dynamic angles, or enhanced stability, the diverse range of mounting solutions ensures that riders can capture stunning footage while enjoying the unparalleled thrill of motorcycle adventures.
Securing the Camera to the Helmet
Once you’ve identified the optimal mounting location for your action camera, securing it to your motorcycle helmet is a critical step in ensuring stable and reliable footage capture. The secure attachment of the camera not only enhances the quality of the recorded content but also minimizes the risk of the camera becoming dislodged during rides, which could pose safety hazards to the rider and other road users.
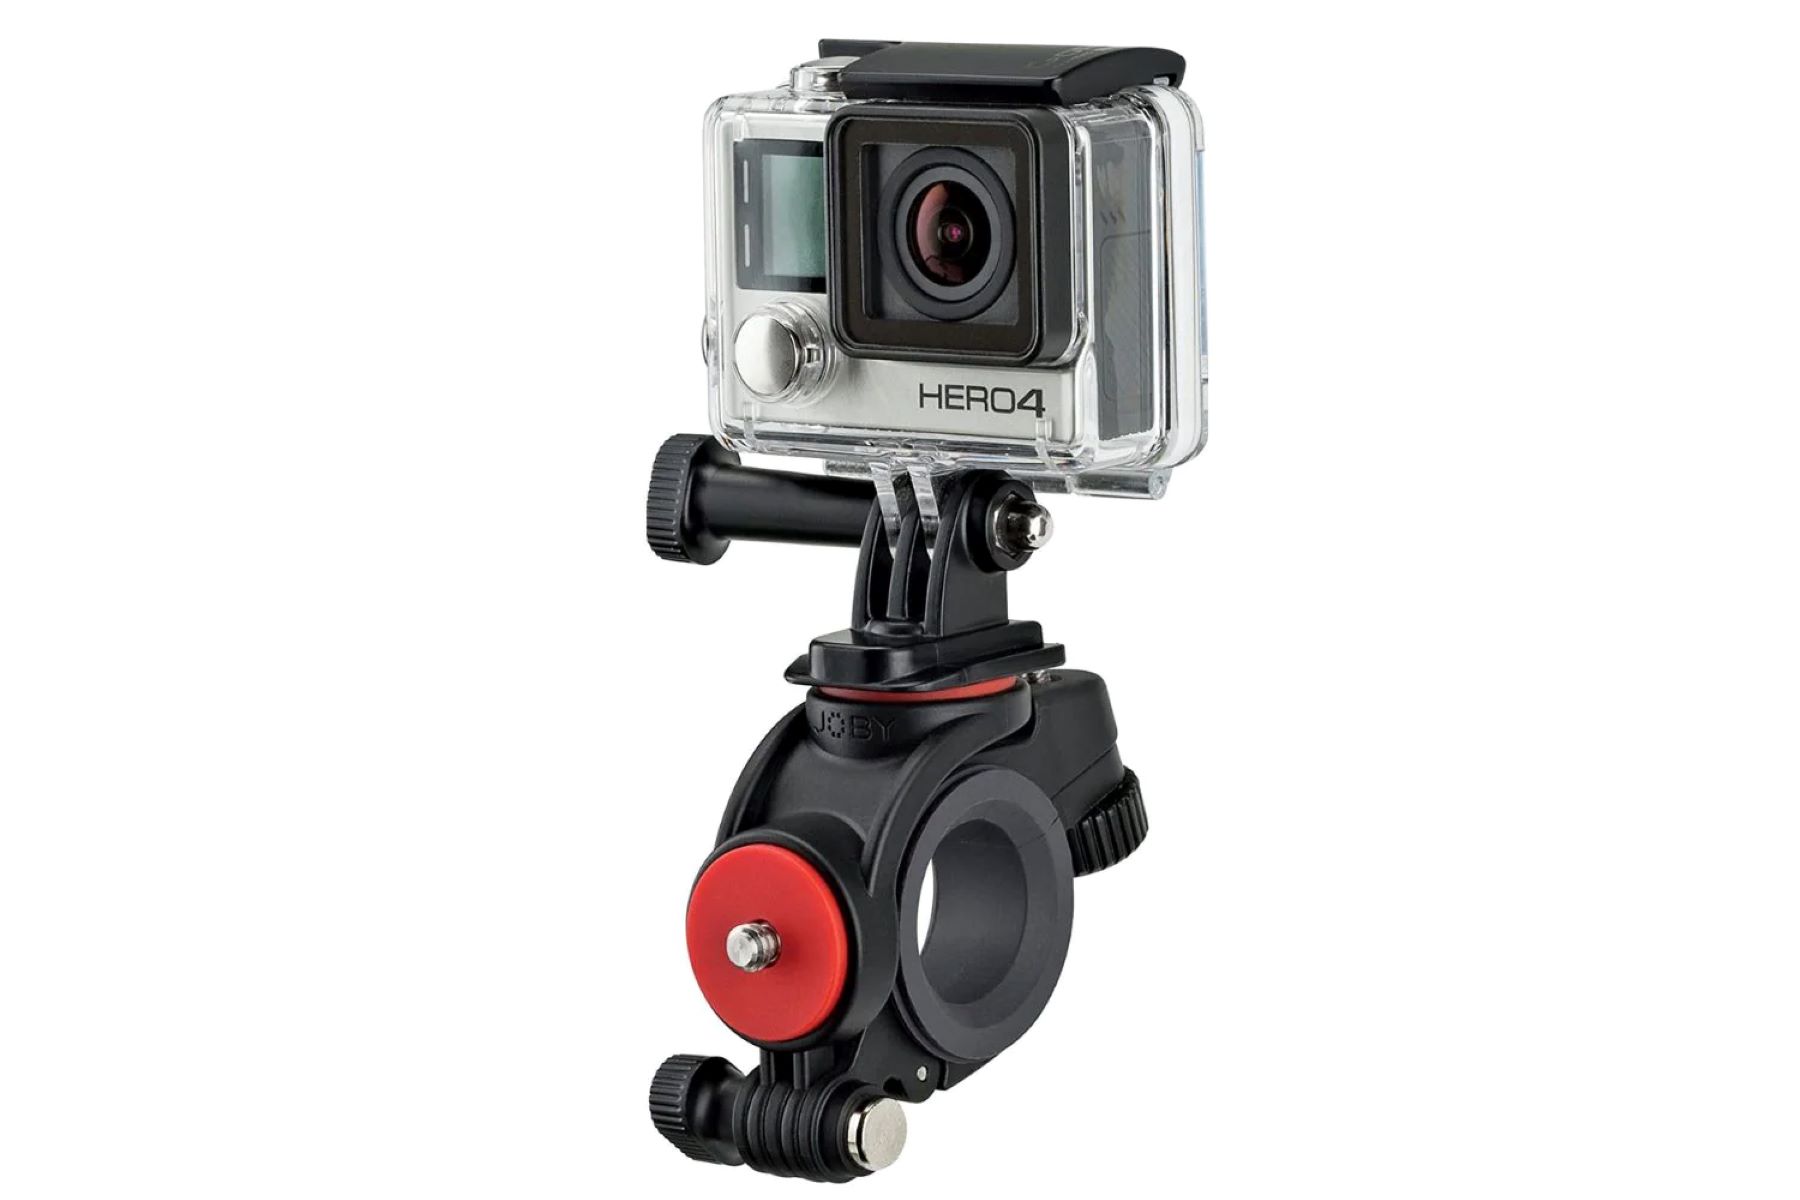
When securing the camera to the helmet, it’s essential to use high-quality mounts and adhesives specifically designed for action cameras. These mounts should provide a strong and durable attachment while being compatible with the surface material of the helmet. Additionally, riders should carefully follow the manufacturer’s guidelines for mounting the camera to ensure a secure and reliable connection.
Before affixing the camera mount to the helmet, it’s advisable to clean the mounting area thoroughly to remove any dirt, dust, or residue that may compromise the adhesive’s effectiveness. Once the mounting surface is clean and dry, apply the mount firmly and hold it in place for the recommended duration to allow the adhesive to set properly. This meticulous approach helps to establish a strong bond between the camera mount and the helmet’s surface.
After the mount is securely in place, it’s time to attach the action camera to the mount using the designated locking mechanism or fastening system. Ensure that the camera is firmly seated in the mount and verify that all locking mechanisms are engaged to prevent any potential movement or detachment during rides. It’s recommended to perform a gentle tug test to confirm that the camera is securely attached and does not exhibit any signs of instability.
For added security, riders can utilize safety tethers or lanyards that provide an extra layer of protection against accidental detachment. These tethers are designed to anchor the camera to the helmet, offering peace of mind in the event of unexpected jolts or impacts. When using safety tethers, it’s important to verify that they do not interfere with the camera’s field of view or create discomfort for the rider.
By meticulously securing the action camera to the helmet using reliable mounts, adhesives, and optional safety tethers, riders can confidently capture stunning footage while enjoying worry-free rides. This careful approach not only safeguards the camera against unexpected dislodgment but also prioritizes rider safety and the uninterrupted flow of captivating motorcycle adventures.
Testing and Adjusting the Camera Position
After securing the action camera to your motorcycle helmet, thorough testing and adjustment of the camera’s position are essential to ensure optimal footage capture and rider comfort. By conducting comprehensive tests and making necessary adjustments, riders can fine-tune the camera’s angle, stability, and field of view, ultimately enhancing the quality and impact of the recorded content.
Before embarking on a ride, it’s advisable to conduct a stationary test to evaluate the camera’s positioning and alignment. This involves activating the camera and assessing the framing of the footage to verify that the desired perspective is achieved. Pay close attention to the camera’s angle and orientation, ensuring that it captures the intended view without obstructing the rider’s vision or creating distractions.
During the stationary test, riders can also assess the stability of the camera mount and the overall balance of the helmet. Gently tilt and rotate your head to simulate the movements experienced during rides, observing how the camera responds to these motions. If any excessive vibrations or shifts in the camera’s position are detected, adjustments may be necessary to enhance stability and minimize unwanted movements in the footage.
Once the stationary test is completed, it’s beneficial to conduct a short test ride in a controlled environment to evaluate the camera’s performance during actual motion. This allows riders to assess the impact of wind resistance, road vibrations, and head movements on the camera’s stability and the quality of the recorded footage. Pay attention to potential sources of interference or discomfort, such as excessive wind noise or unintended shifts in the camera’s position.
Based on the findings from the stationary and test ride evaluations, riders can make incremental adjustments to the camera’s position, angle, and mounting tightness. Fine-tuning the camera’s orientation and stability can significantly enhance the quality of the footage while ensuring a comfortable and distraction-free riding experience. It’s important to strike a balance between capturing dynamic perspectives and maintaining the helmet’s aerodynamics and balance.
By iteratively testing and adjusting the camera position, riders can optimize the visual impact of their recorded content while prioritizing safety and comfort. This meticulous approach ensures that the action camera seamlessly integrates with the helmet, allowing riders to capture breathtaking footage without compromising their riding experience. With precise adjustments and thorough testing, every motorcycle adventure can be documented from the perfect vantage point, enriching the storytelling and immersive qualities of the recorded footage.