Introduction
Mounting an action camera to your motorcycle can provide an exhilarating perspective of your rides, capturing stunning footage of your adventures. Whether you want to record your scenic route, document your off-road escapades, or simply enhance your riding experience, a well-mounted action camera can offer a thrilling visual narrative.
By securing your action camera to your motorcycle, you can relive your journeys, share your experiences with fellow enthusiasts, and even analyze your riding techniques for improvement. With a plethora of mounting options available, it's essential to choose the right location and method to ensure stability, safety, and optimal footage quality.
In this comprehensive guide, we will explore the various mounting locations and methods, including handlebar mounts, helmet mounts, suction cup mounts, and roll bar mounts. Additionally, we will delve into the crucial steps of securing the camera and testing the mount to guarantee a secure and reliable setup.
Whether you're a seasoned rider seeking to capture your adrenaline-fueled escapades or a casual enthusiast wanting to document your leisurely cruises, this guide will equip you with the knowledge and techniques to mount your action camera to your motorcycle effectively. Let's dive into the exciting world of action camera mounting and unleash the potential for awe-inspiring footage.
Choosing the Right Mounting Location
Before embarking on the mounting process, it’s crucial to carefully select the ideal location on your motorcycle to ensure optimal footage and safety. The chosen mounting spot should offer a captivating perspective while prioritizing stability and minimizing potential hazards.
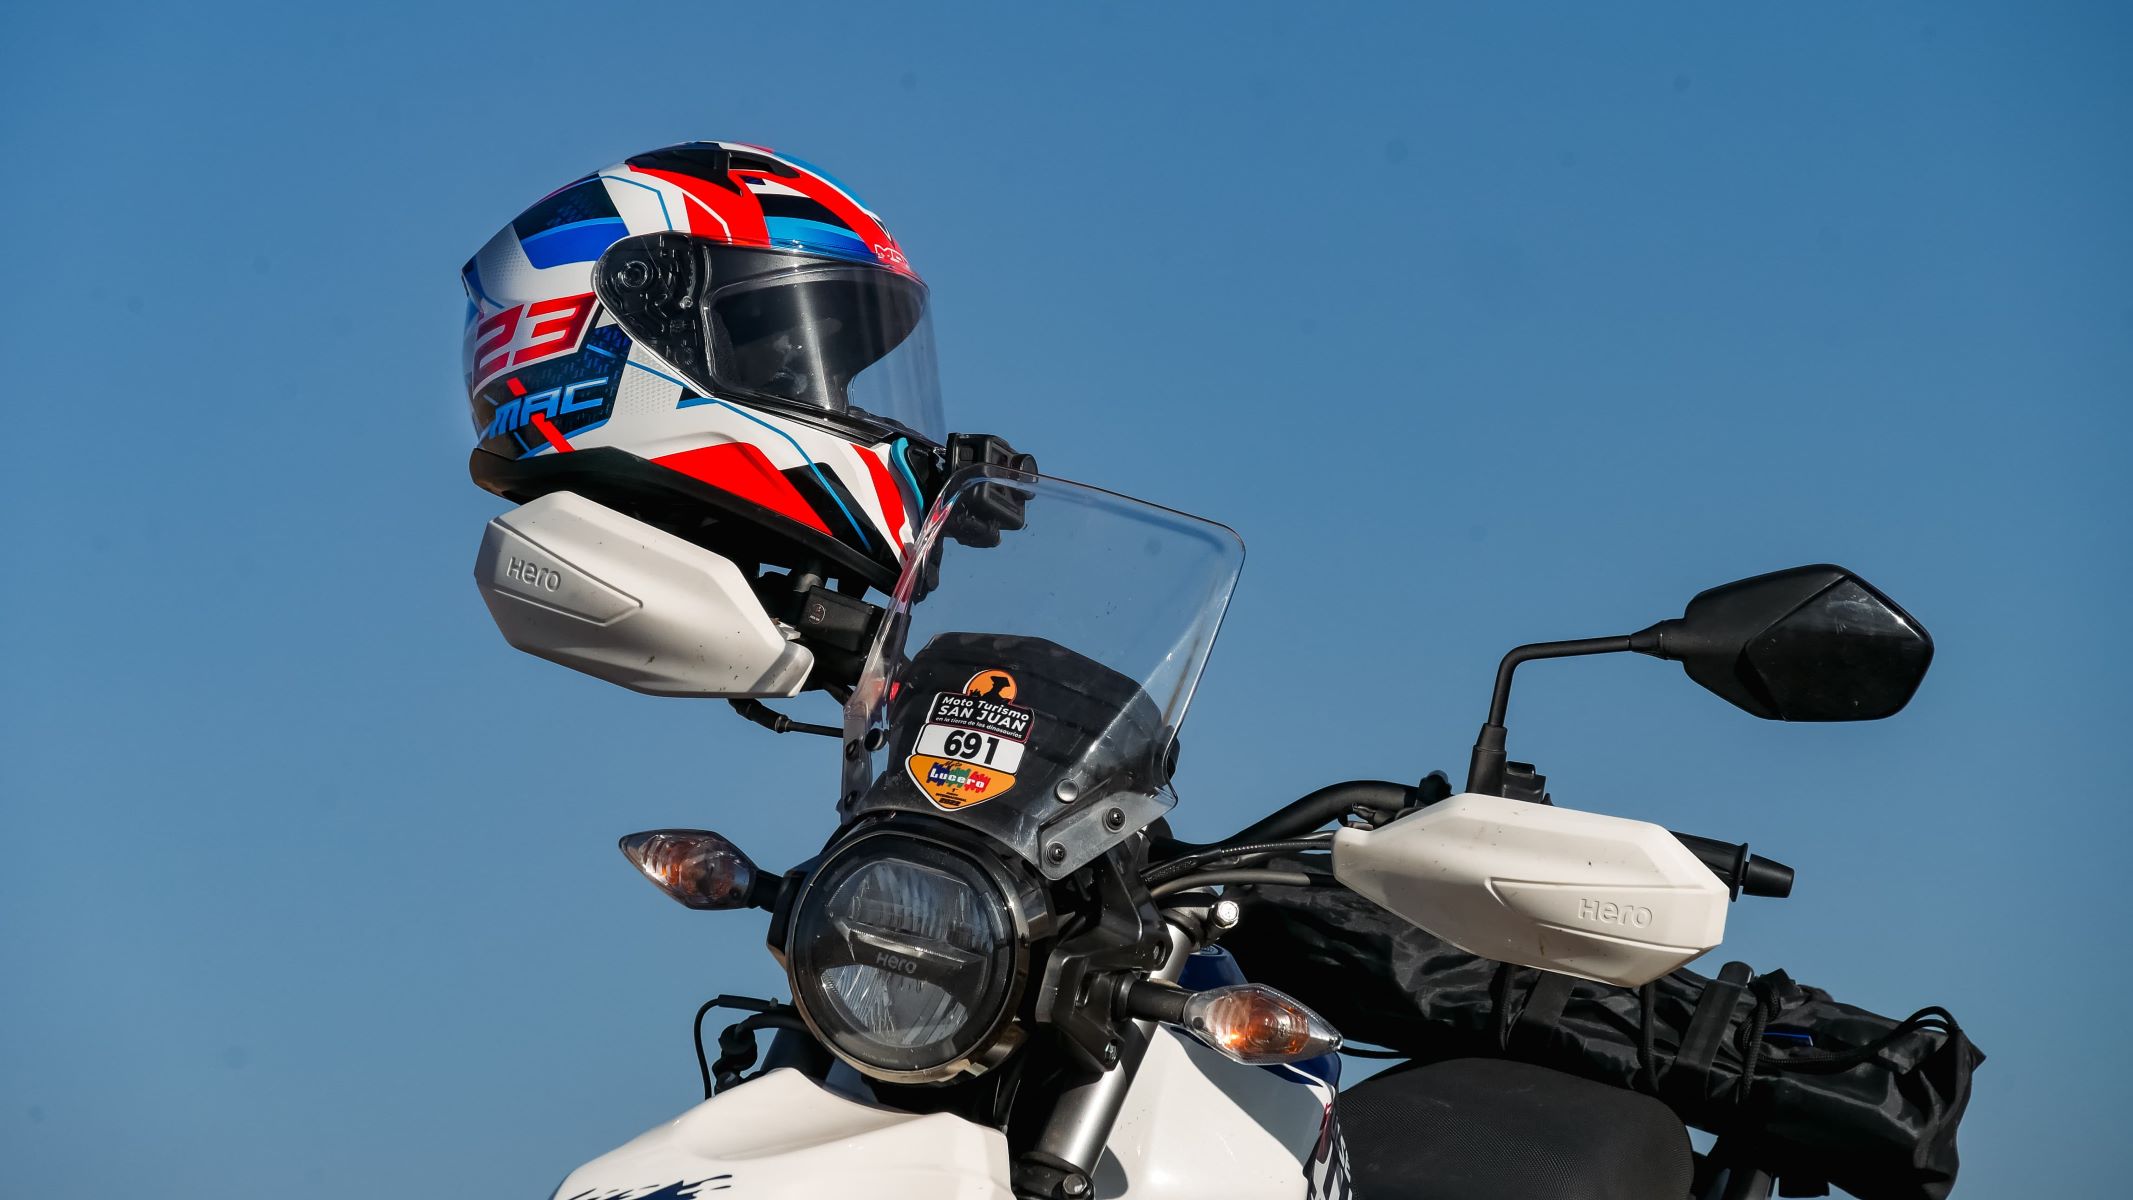
When considering the mounting location, take into account the field of view you wish to capture. If you prefer a rider-centric viewpoint, a helmet mount would be suitable, providing a dynamic footage that follows your head movements. On the other hand, if you aim to capture the scenic surroundings and the motorcycle’s controls, handlebar or suction cup mounts may be more appropriate.
Another vital factor in choosing the mounting location is stability. The selected spot should minimize vibrations and movements that could compromise the video quality. Additionally, ensure that the mount does not obstruct your field of vision or impede your control of the motorcycle.
Furthermore, consider the legal regulations regarding camera mounting in your region. Some areas have specific laws governing the placement of accessories on helmets or motorcycles, so it’s essential to adhere to these guidelines for a safe and compliant setup.
Ultimately, the right mounting location should offer a captivating perspective, ensure stability, comply with legal regulations, and prioritize safety. By carefully evaluating these factors, you can confidently proceed to select the most suitable mounting method for your action camera.
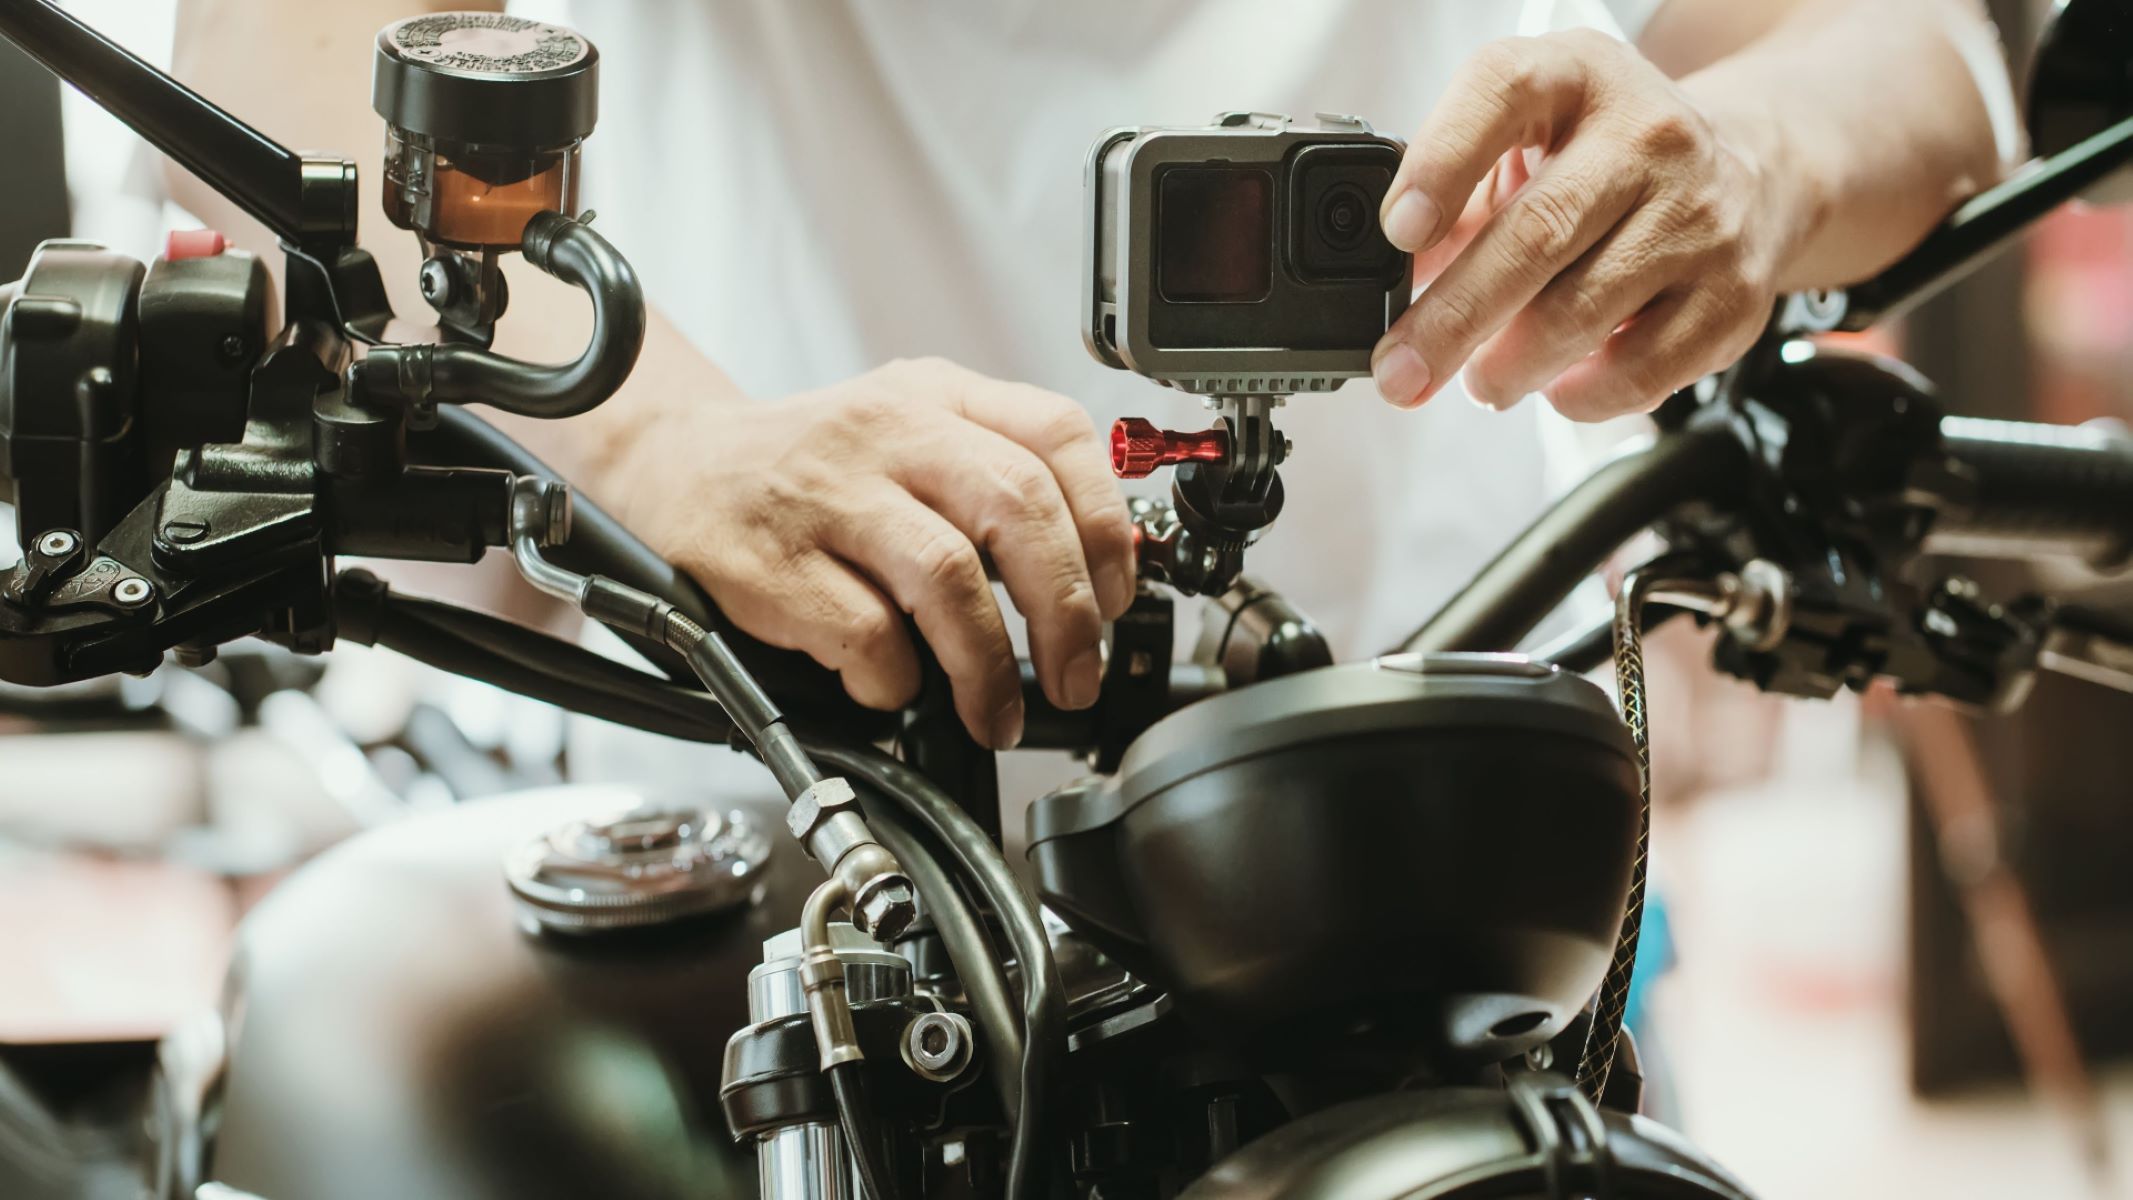
Using Handlebar Mounts
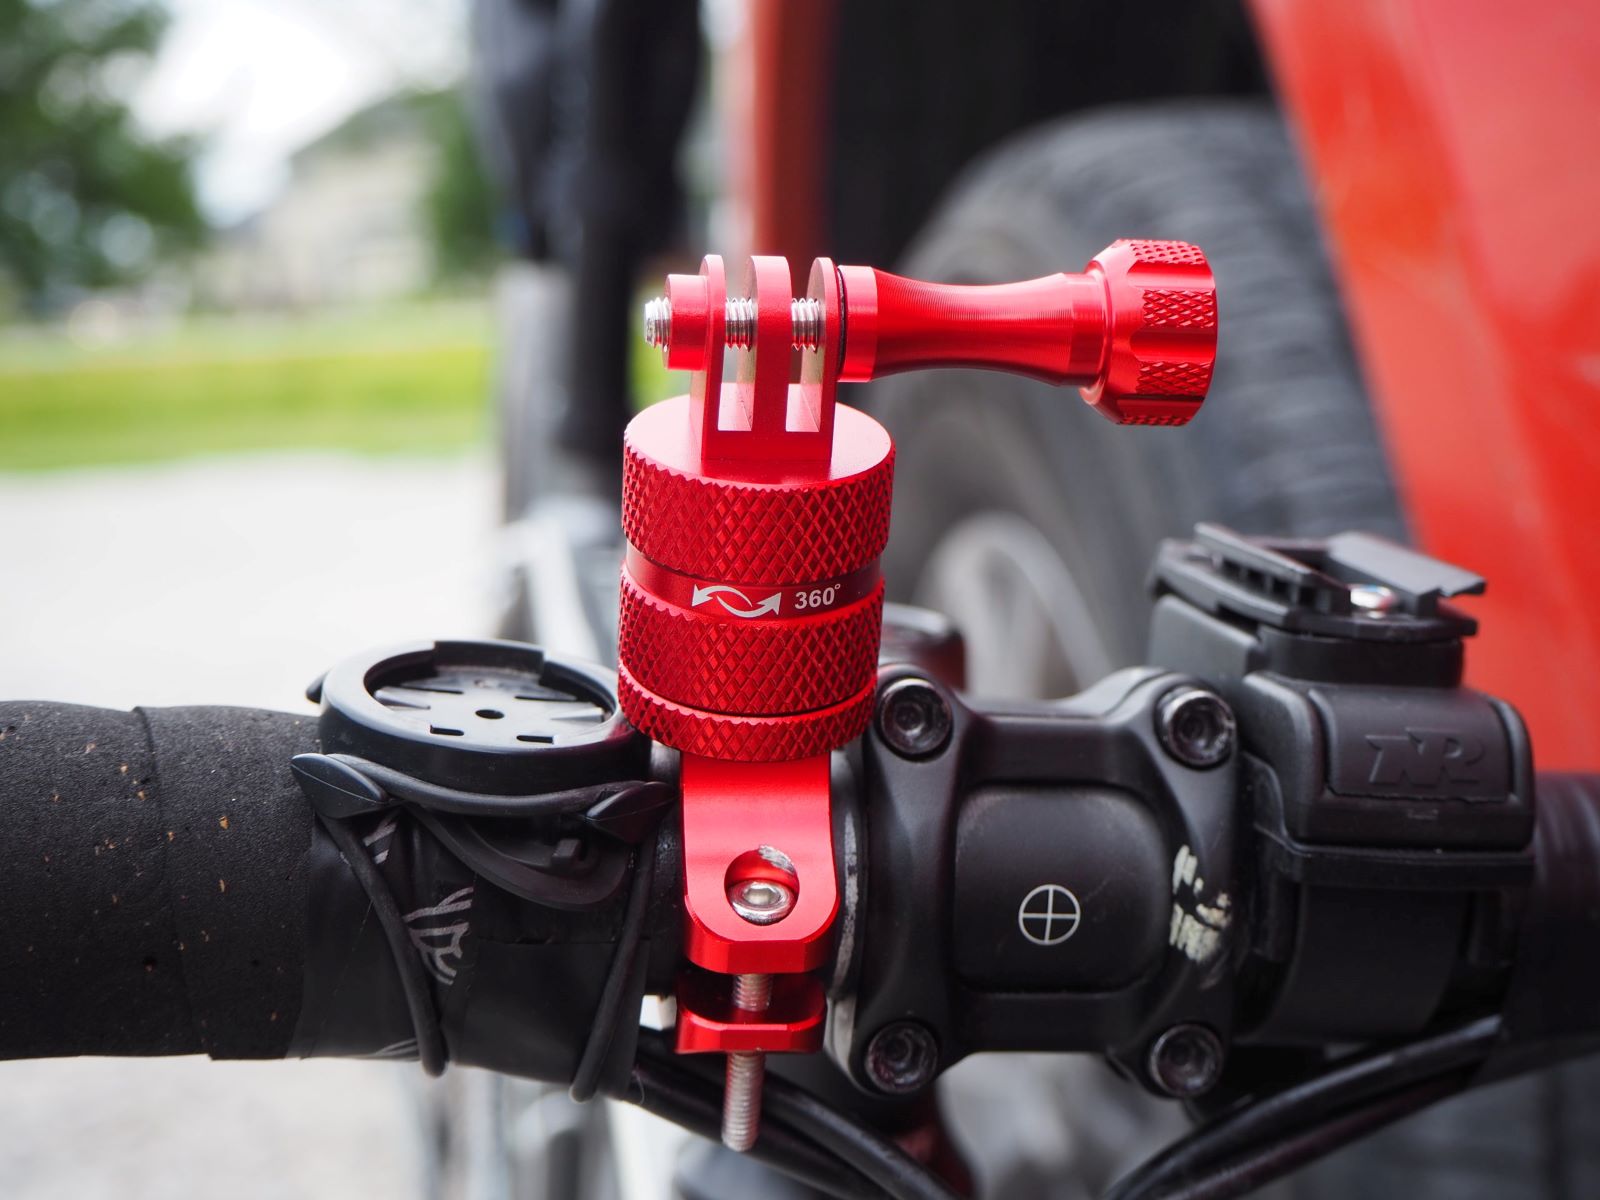
Handlebar mounts provide a versatile and popular option for mounting an action camera to a motorcycle. They offer a stable platform for capturing the rider’s perspective, the scenic route, and the motorcycle’s controls. When selecting a handlebar mount, ensure that it is compatible with the diameter of your motorcycle’s handlebars and that it provides a secure attachment for the camera.
To install a handlebar mount, begin by identifying the optimal position on the handlebars. Choose a location that offers an unobstructed view and does not interfere with the motorcycle’s operation. Once the ideal spot is determined, securely fasten the mount using the appropriate hardware and ensure that it is firmly attached to the handlebars.
After mounting the camera, adjust the angle and orientation to achieve the desired field of view. It’s essential to test the stability of the mount by simulating riding conditions and checking for any unwanted vibrations or movements. Additionally, consider the impact of wind resistance on the camera’s positioning and make necessary adjustments to minimize its effects.
Handlebar mounts are particularly advantageous for capturing the rider’s perspective and interactions with the motorcycle’s controls. They provide a dynamic view of the road ahead and the surrounding scenery, making them a popular choice for riders who want to document their journeys comprehensively.
When using handlebar mounts, it’s crucial to prioritize safety and comply with local regulations. Ensure that the mounted camera does not obstruct the rider’s view or pose any safety hazards. By selecting a suitable handlebar mount and following proper installation procedures, riders can capture stunning footage while enjoying a secure and unobtrusive camera setup.
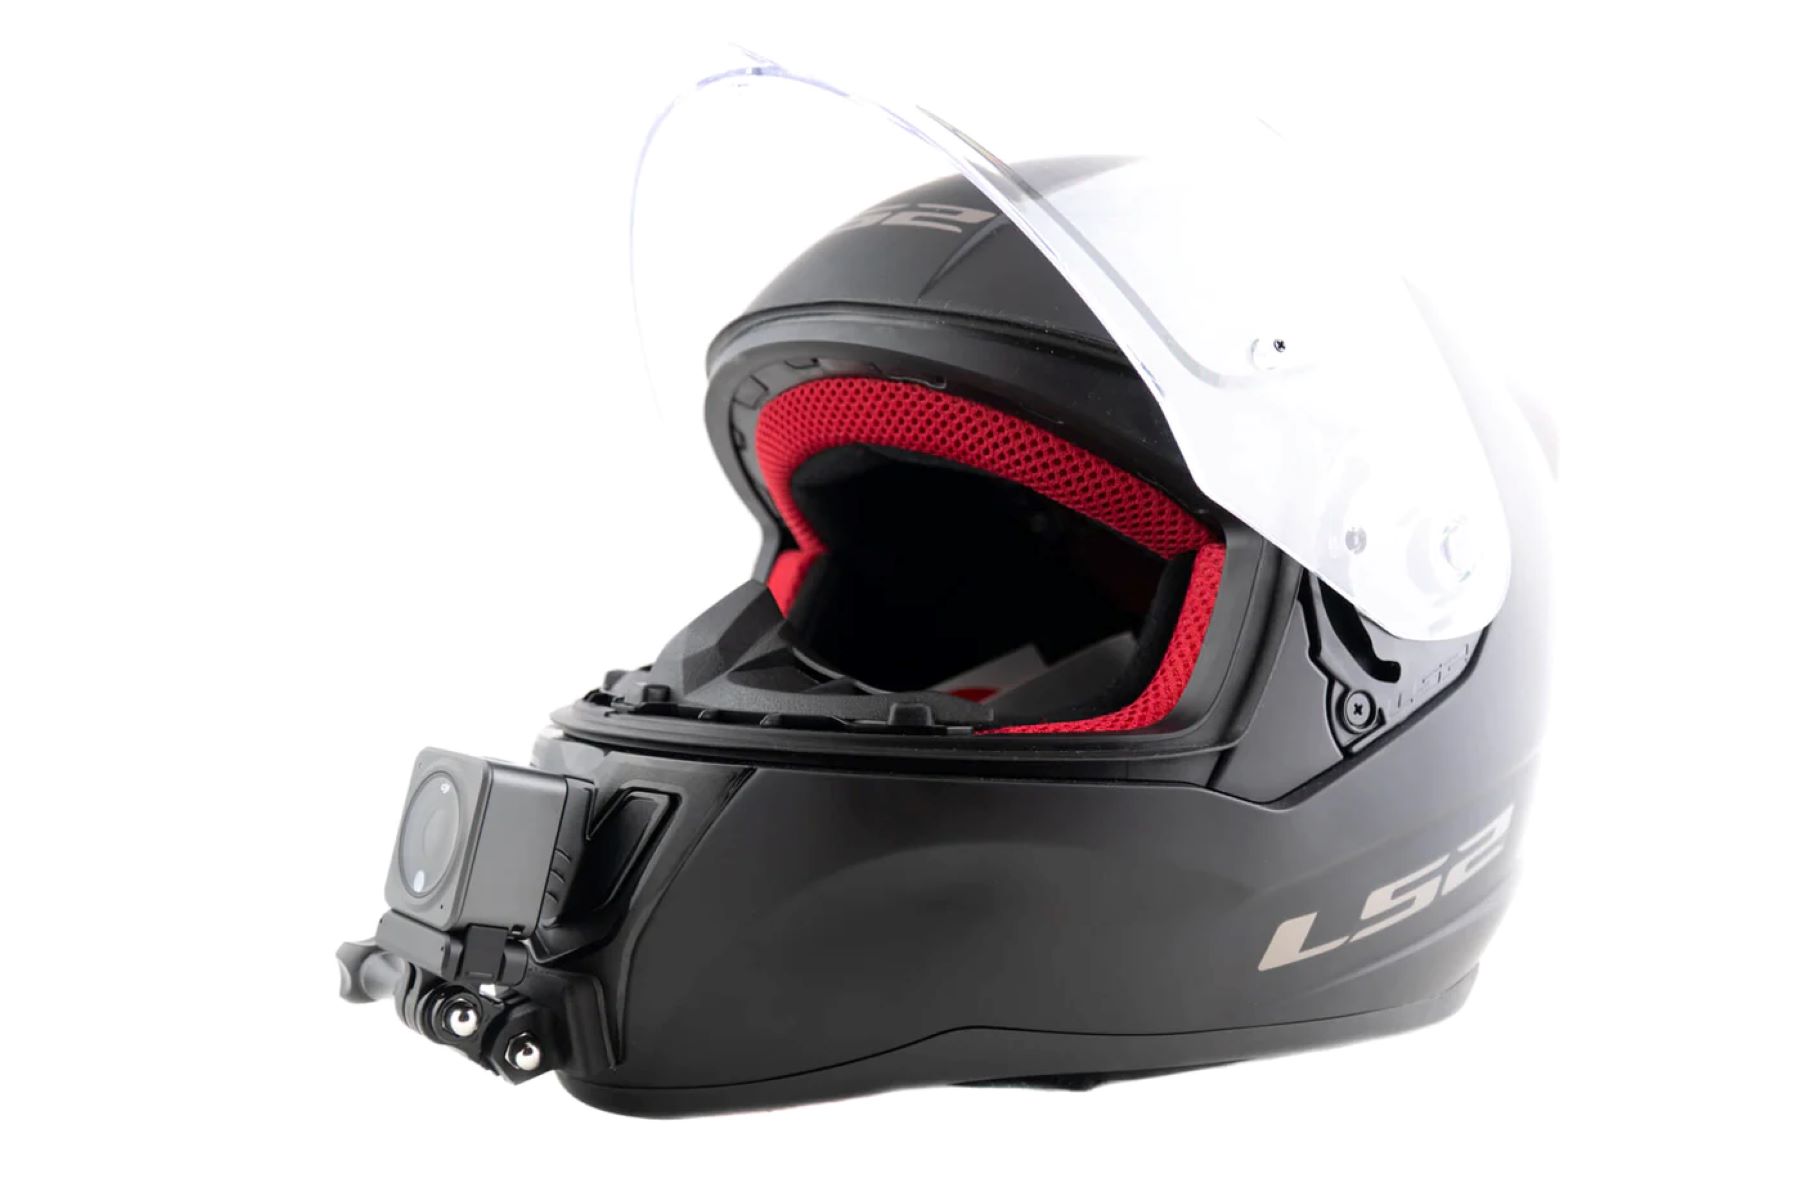
Using Helmet Mounts
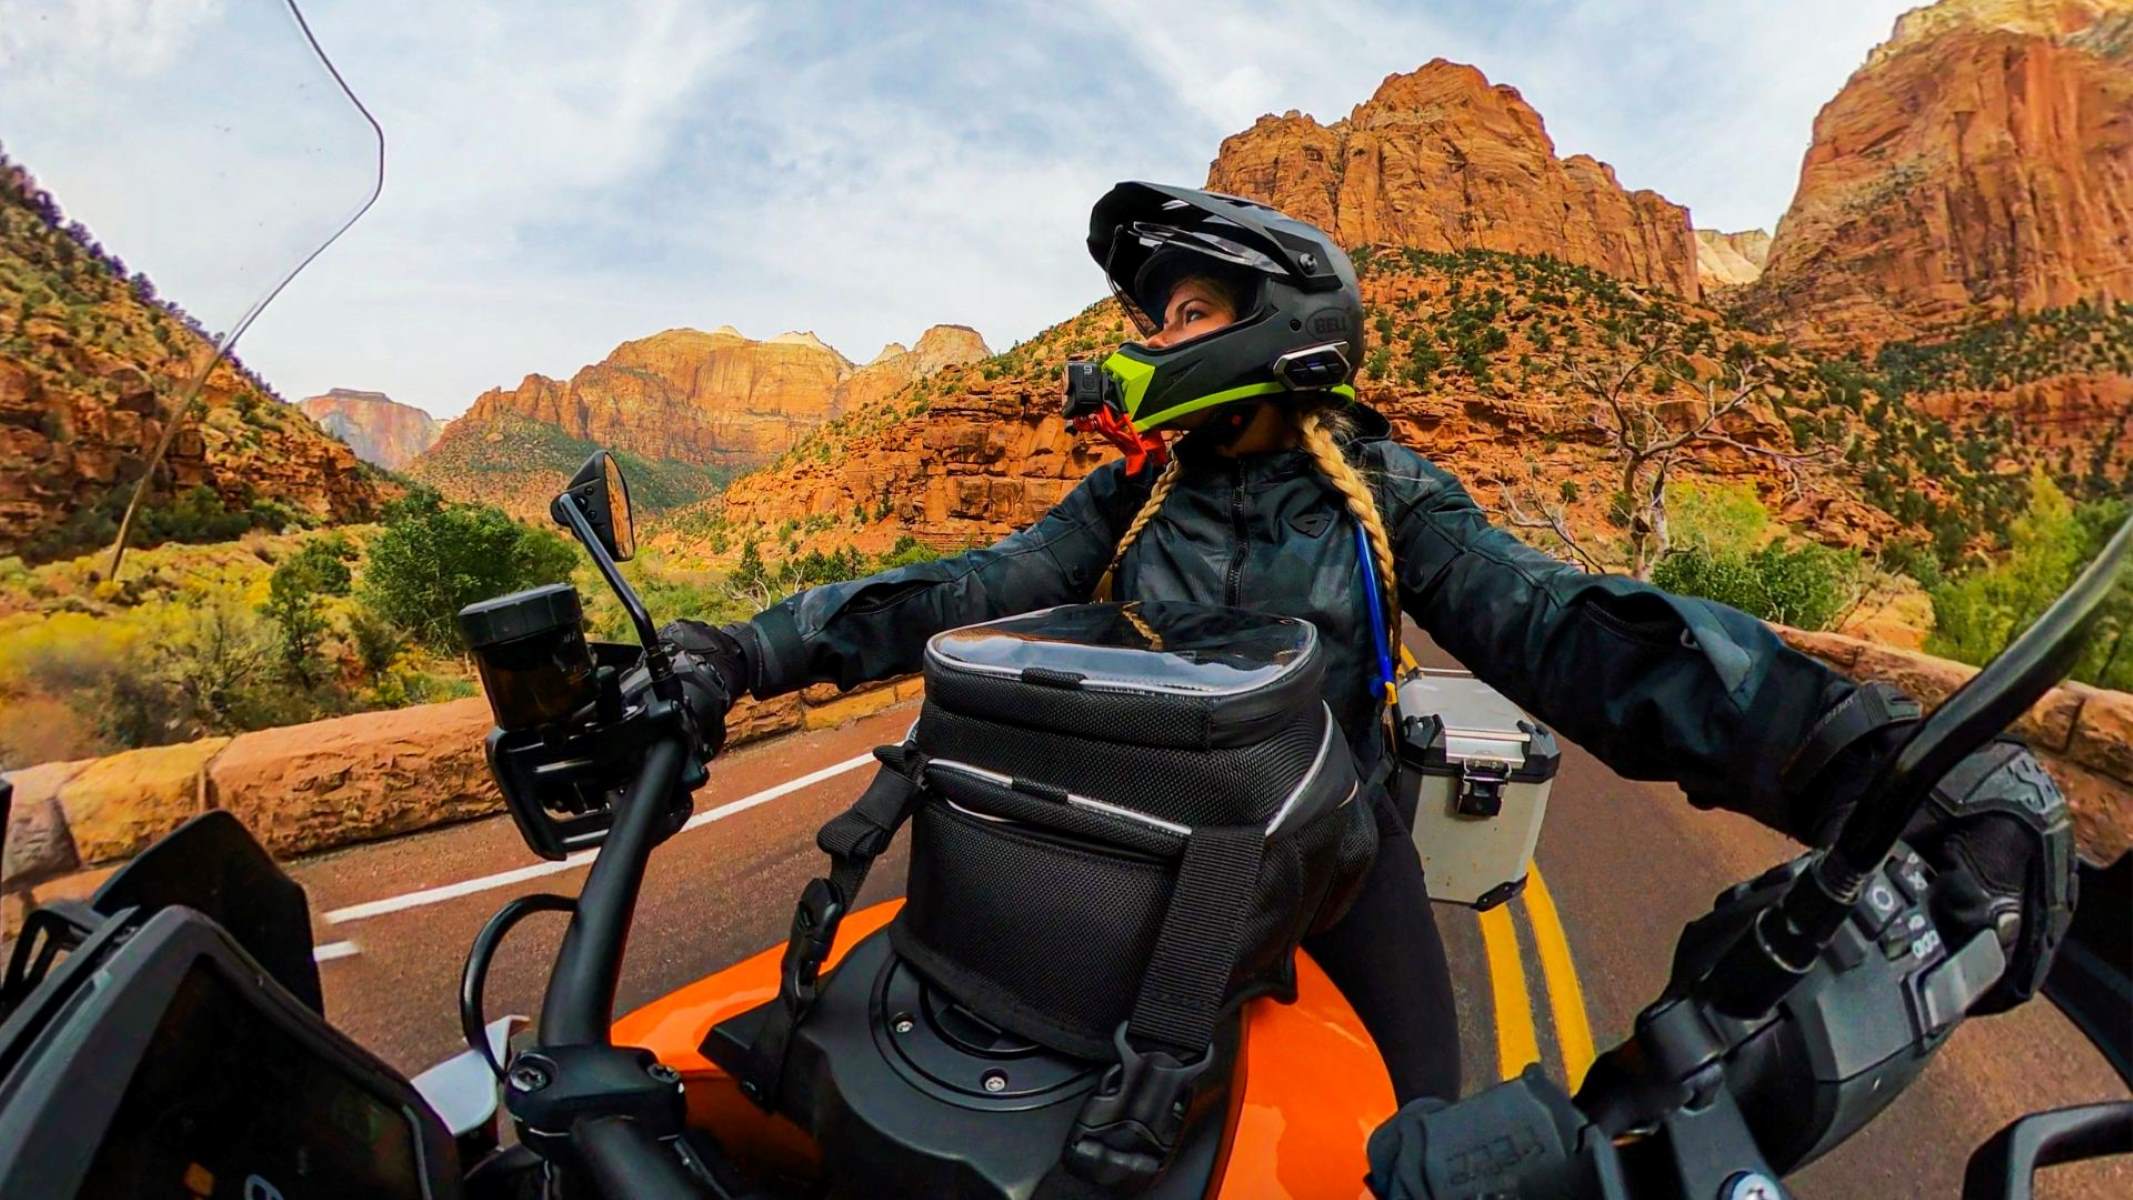
Helmet mounts offer a compelling perspective for capturing motorcycle rides, providing a dynamic and immersive view that follows the rider’s head movements. When utilizing a helmet mount for an action camera, it’s essential to prioritize safety, comfort, and stability.
Before attaching the mount to the helmet, carefully assess the helmet’s design and structure to determine the most suitable mounting location. Opt for a flat and smooth surface area that allows for secure attachment without compromising the helmet’s integrity. Additionally, consider the weight and aerodynamics of the mounted camera to minimize any potential imbalance or discomfort.
Once the mounting location is identified, securely affix the mount to the helmet according to the manufacturer’s instructions. Ensure that the mount is firmly attached and does not impede the helmet’s functionality or obstruct the rider’s field of vision. It’s crucial to prioritize stability and minimize any protruding elements that could pose a risk of entanglement or impact during a ride.
After attaching the camera to the helmet mount, carefully adjust the angle and orientation to achieve the desired field of view. Test the stability of the setup by simulating head movements and riding conditions to ensure that the camera remains secure and steady. Additionally, consider the potential impact of wind resistance on the mounted camera and make necessary adjustments to minimize its effects on the footage.
Helmet mounts are particularly popular for capturing a first-person perspective of motorcycle rides, offering viewers an immersive experience that closely mirrors the rider’s point of view. They allow for the seamless integration of head movements and provide a captivating portrayal of the journey from the rider’s vantage point.
When using helmet mounts, it’s crucial to prioritize safety and comfort, ensuring that the mounted camera does not compromise the helmet’s integrity or impede the rider’s movements. By selecting a suitable helmet mount and adhering to proper installation guidelines, riders can capture exhilarating footage while maintaining a secure and unobtrusive camera setup.
Using Suction Cup Mounts
Suction cup mounts offer a versatile and portable solution for mounting an action camera to a motorcycle, providing the flexibility to capture various perspectives and angles. When utilizing a suction cup mount, it’s crucial to prioritize stability, adhesion strength, and the compatibility of the mounting surface.
Before attaching the suction cup mount, ensure that the selected mounting surface on the motorcycle is clean, flat, and free of any debris or irregularities that could compromise the suction seal. Additionally, consider the aerodynamics and potential wind resistance to minimize any impact on the mounted camera during rides.
When affixing the suction cup mount to the motorcycle, carefully follow the manufacturer’s instructions to create a secure and reliable attachment. Test the adhesion strength of the mount by applying firm pressure and verifying that it is firmly secured to the mounting surface. It’s essential to periodically inspect the suction cup’s grip during rides to prevent any potential detachment or loss of adhesion.
After mounting the camera, adjust the angle and orientation to achieve the desired field of view. Test the stability of the setup by simulating riding conditions and checking for any unwanted vibrations or movements. Additionally, consider the impact of road vibrations and potential jolts on the mounted camera, making necessary adjustments to ensure a stable and steady footage capture.
Suction cup mounts offer the advantage of versatility, allowing riders to capture a wide range of perspectives, including side views, rear views, and even unconventional angles. They are particularly useful for riders who seek the flexibility to reposition the camera to capture different aspects of their journey without the need for permanent fixtures on the motorcycle.
When using suction cup mounts, it’s essential to prioritize stability and regularly inspect the adhesion strength to prevent any potential detachment. By selecting a suitable suction cup mount and adhering to proper installation procedures, riders can capture diverse and captivating footage while maintaining a secure and adaptable camera setup.
Using Roll Bar Mounts
Roll bar mounts provide a secure and stable option for mounting an action camera to a motorcycle, particularly for capturing footage from unique angles and perspectives. When utilizing a roll bar mount, it’s essential to consider the diameter and structure of the motorcycle’s roll bar to ensure compatibility and a reliable attachment.
Prior to installing the roll bar mount, identify the most suitable location on the motorcycle’s roll bar that offers an unobstructed view and allows for secure attachment. Ensure that the mount’s design aligns with the diameter of the roll bar and provides a sturdy platform for mounting the camera. Additionally, consider the impact of wind resistance and potential vibrations on the mounted camera’s positioning.
When affixing the mount to the roll bar, follow the manufacturer’s guidelines to securely fasten the mount and ensure that it is firmly attached. Test the stability of the setup by simulating riding conditions and checking for any unwanted movements or vibrations. It’s essential to prioritize the secure attachment of the mount to prevent any potential dislodgment during rides.
After mounting the camera, adjust the angle and orientation to achieve the desired field of view. Test the stability of the setup by simulating riding conditions and inspecting for any unintended movements. Additionally, consider the potential impact of road vibrations and jolts on the mounted camera and make necessary adjustments to ensure a stable and steady footage capture.
Roll bar mounts offer the advantage of capturing unique perspectives and angles, providing viewers with a dynamic portrayal of the motorcycle’s performance and the surrounding environment. They are particularly suitable for riders who seek to document their rides from unconventional viewpoints, adding an engaging dimension to their footage.
When using roll bar mounts, it’s crucial to prioritize stability and regularly inspect the attachment to prevent any potential dislodgment. By selecting a suitable roll bar mount and adhering to proper installation procedures, riders can capture captivating and diverse footage while maintaining a secure and reliable camera setup.
Securing the Camera and Testing the Mount
After selecting the appropriate mounting method for your action camera, the next crucial step is to securely attach the camera to the mount and rigorously test the setup to ensure stability and reliability during rides.
When securing the camera to the mount, carefully follow the manufacturer’s guidelines to ensure a firm and stable attachment. Double-check the mounting mechanism to verify that the camera is securely fastened and that there is no risk of dislodgment during rides. It’s essential to prioritize the safety and stability of the camera attachment to prevent any potential hazards or loss of the device.
Once the camera is securely mounted, thoroughly test the stability of the setup by simulating riding conditions and inspecting for any unintended movements, vibrations, or shifts in the camera’s positioning. Consider the impact of road conditions, including bumps, vibrations, and accelerations, on the mounted camera, and make necessary adjustments to minimize any destabilizing effects.
Furthermore, assess the impact of wind resistance on the camera’s positioning and make adjustments to minimize its influence on the footage quality. Pay close attention to the camera’s field of view, ensuring that it accurately captures the desired perspective without any obstructions or limitations.
It’s also advisable to conduct test rides in various conditions to evaluate the performance of the camera mount, including smooth roads, rough terrains, and varying speeds. This comprehensive testing approach allows you to identify and address any potential issues or instabilities in the camera setup before embarking on actual rides.
Regularly inspect the mount and camera attachment to ensure that they remain secure and stable over time. Periodically check the fastenings, connections, and adhesion strength to prevent any potential detachment or compromise in stability.
By meticulously securing the camera to the mount and rigorously testing the setup under simulated riding conditions, riders can ensure a reliable and stable camera attachment that captures high-quality footage without compromising safety or performance.
Conclusion
Mounting an action camera to a motorcycle opens up a world of possibilities for capturing thrilling and immersive footage of your rides. Whether you prefer a rider-centric perspective, a scenic portrayal of the journey, or dynamic angles that showcase the motorcycle’s performance, the right mounting method can elevate your video recordings to new heights.
Choosing the appropriate mounting location is paramount, as it directly influences the quality and impact of the captured footage. Consider the field of view, stability, legal regulations, and safety implications when selecting the ideal mounting spot for your action camera. Each mounting method—handlebar mounts, helmet mounts, suction cup mounts, and roll bar mounts—offers unique advantages and perspectives, catering to different preferences and storytelling styles.
When mounting the camera, prioritizing stability, adhesion strength, and proper orientation is essential to ensure that the footage remains steady and captivating. Rigorous testing under simulated riding conditions allows you to identify and address any potential instabilities or limitations in the camera setup, ensuring a reliable and secure attachment for your action camera.
By meticulously selecting the mounting location, securely attaching the camera, and rigorously testing the setup, riders can capture stunning and dynamic footage that encapsulates the thrill and beauty of their motorcycle journeys. Whether it’s reliving exhilarating rides, sharing the adventure with fellow enthusiasts, or analyzing riding techniques for improvement, a well-mounted action camera can transform your riding experiences into compelling visual narratives.
Embrace the world of action camera mounting and unleash the potential to document your motorcycle adventures with breathtaking footage that captures the essence of the ride, the scenic landscapes, and the exhilarating spirit of motorcycling.