Introduction
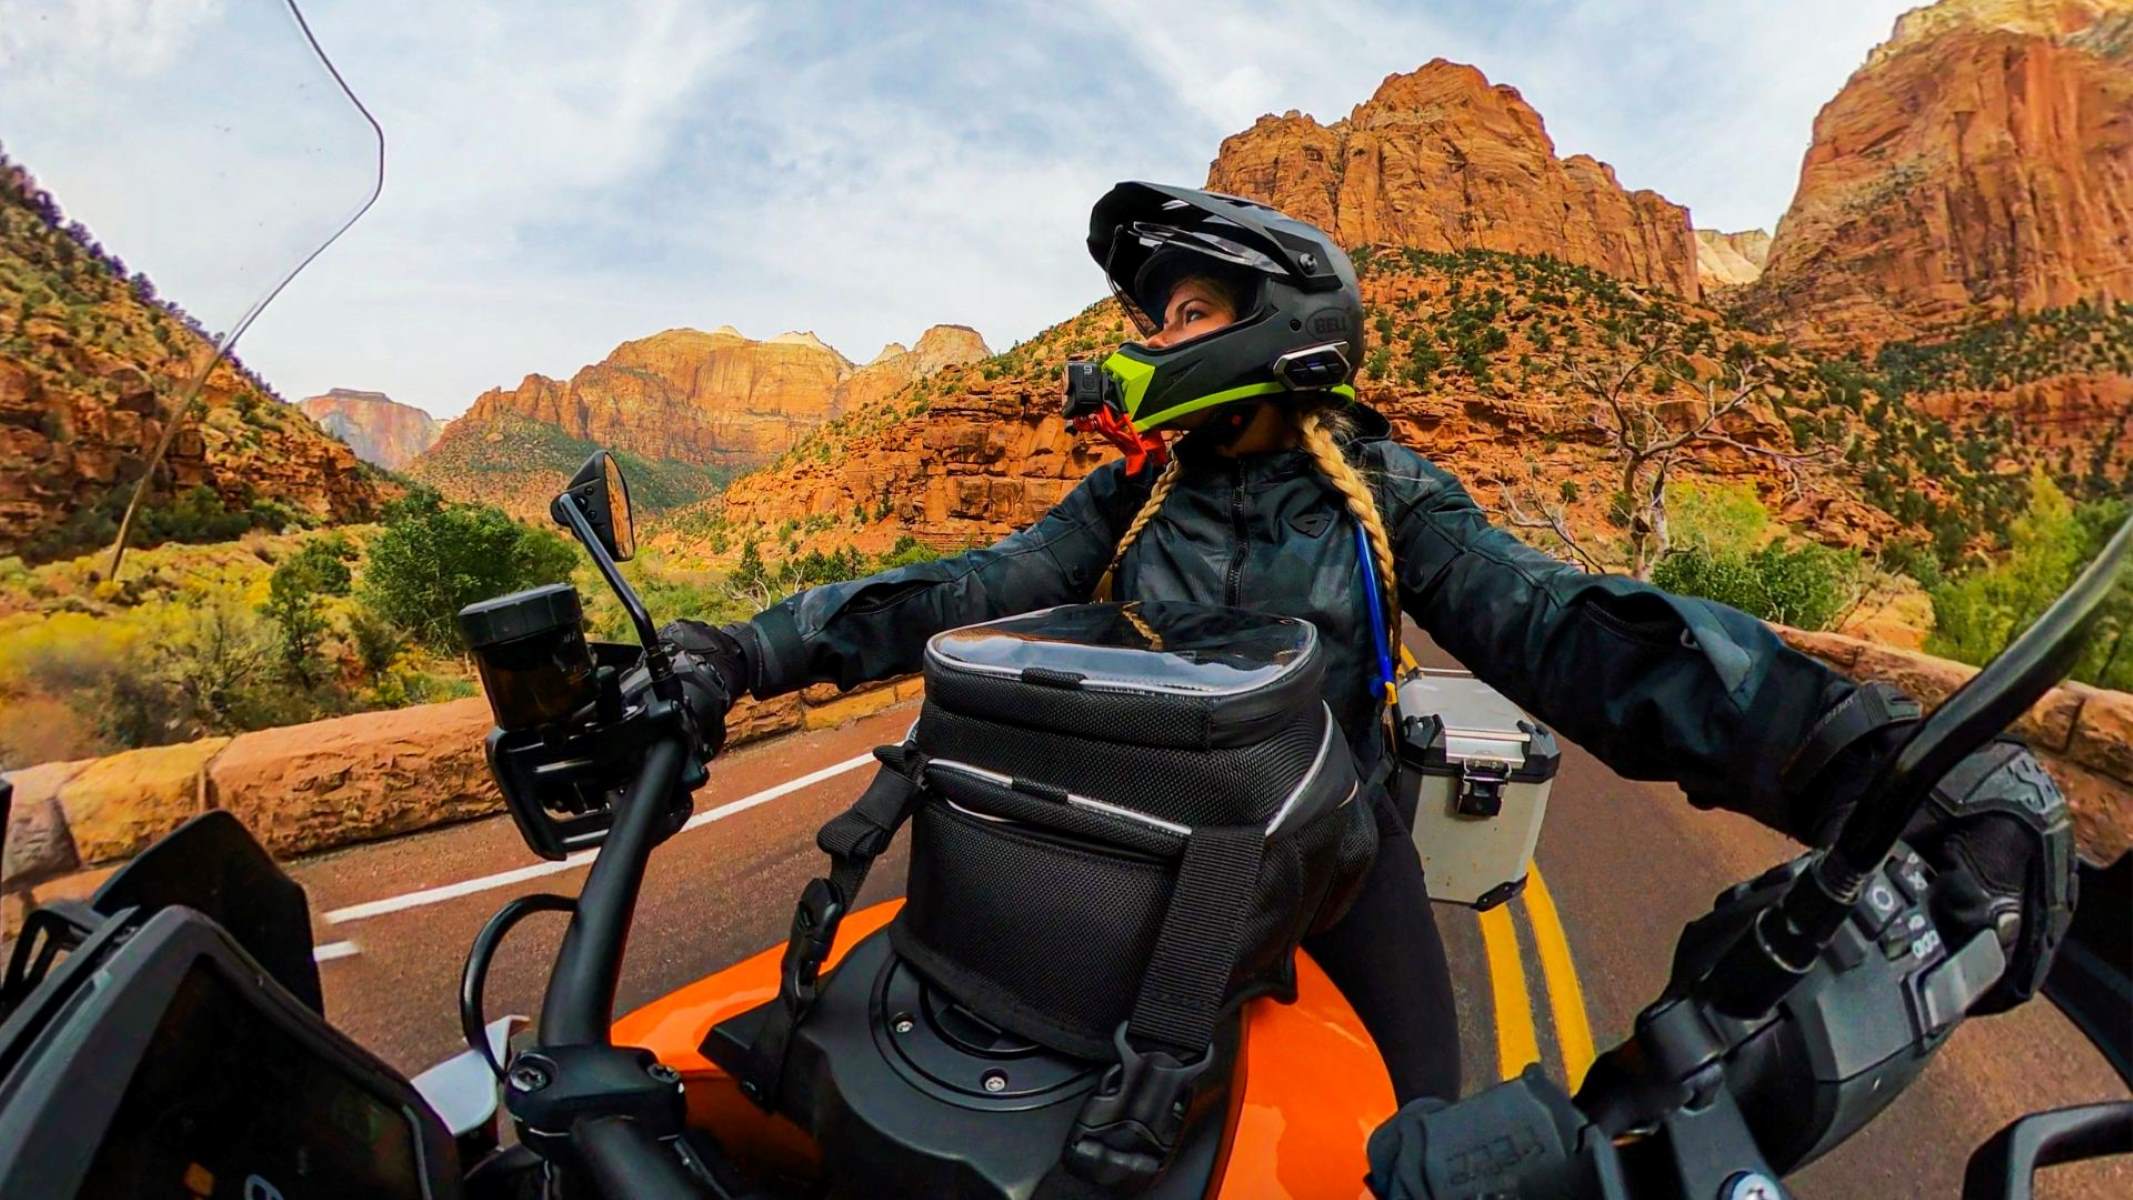
If you're an outdoor enthusiast who loves capturing thrilling moments during your adventures, mounting an action camera under your handlebars can provide exhilarating footage of your cycling, motorcycling, or mountain biking experiences. This unique vantage point offers dynamic perspectives, immersing viewers in the heart of the action. Whether you're navigating rugged terrains or cruising along scenic routes, the footage captured from this position can elevate the visual storytelling of your escapades.
By mounting your action camera under the handlebars, you can capture the thrill of the ride while maintaining an unobstructed view of the path ahead. This positioning also minimizes the vibrations and jolts typically experienced during high-speed or off-road excursions, resulting in smoother and more visually appealing footage.
In this guide, we'll explore the process of mounting an action camera under your handlebars, from selecting the right mount to securing the camera in place. With the right tools and techniques, you can embark on your next adventure knowing that your action camera is perfectly positioned to document every twist, turn, and adrenaline-pumping moment along the way. Let's dive into the exciting world of action camera mounting and unleash the full potential of your outdoor escapades.
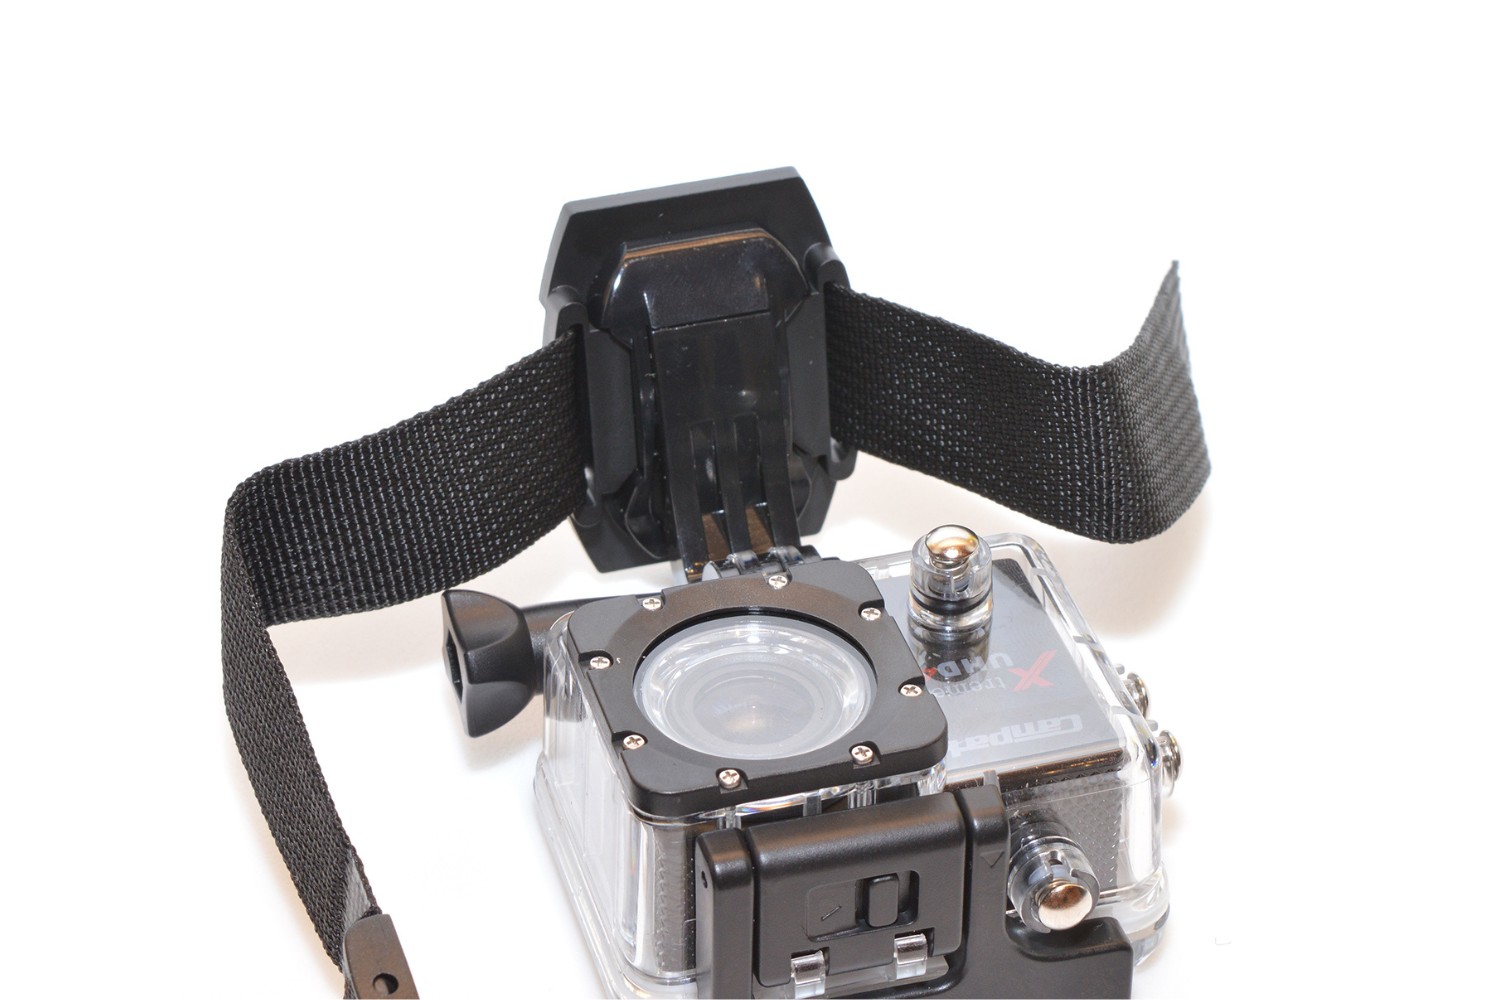
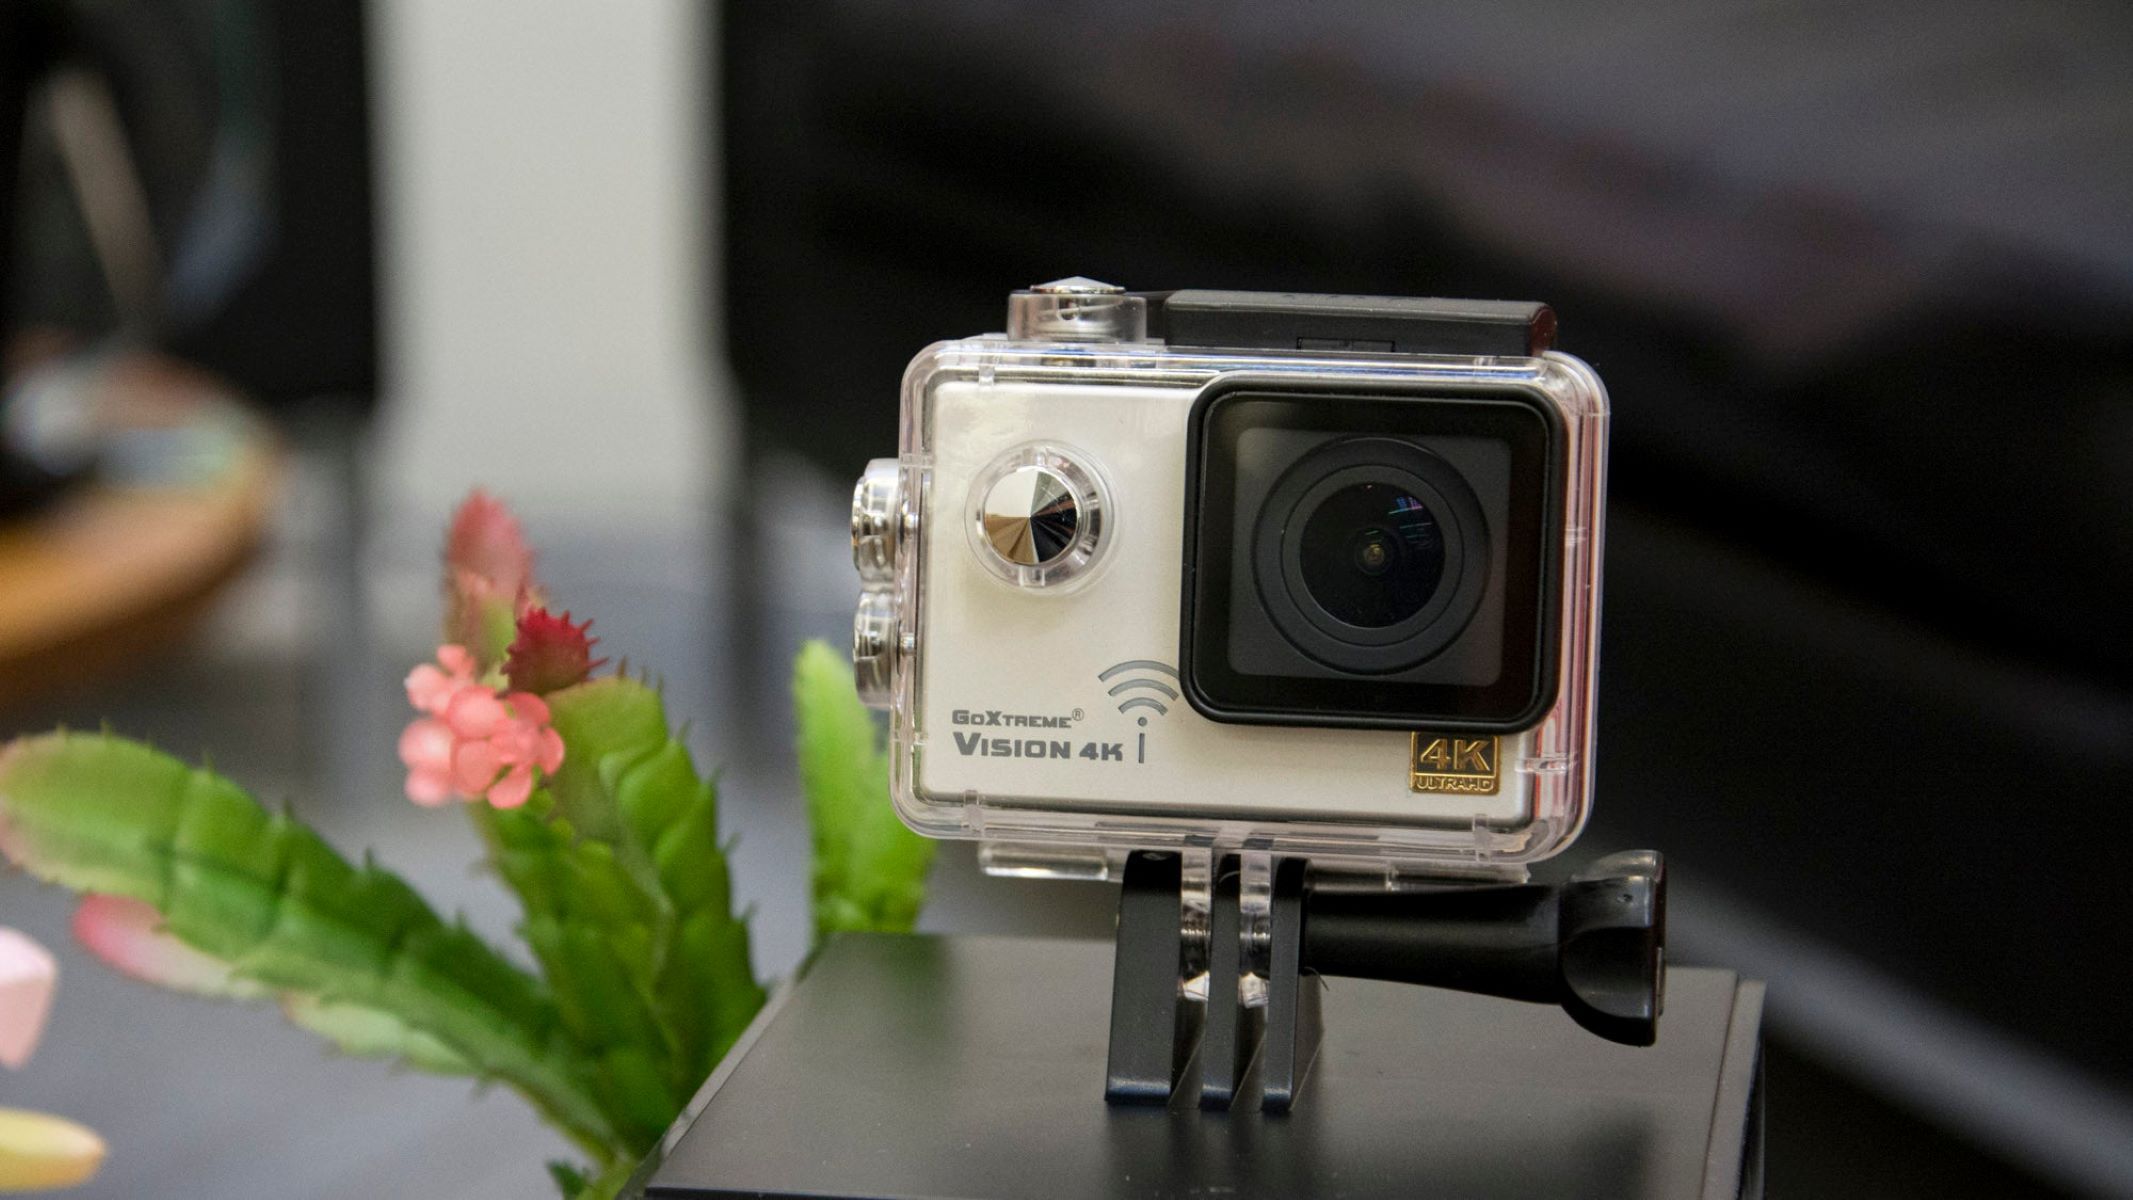
Choosing the Right Mount
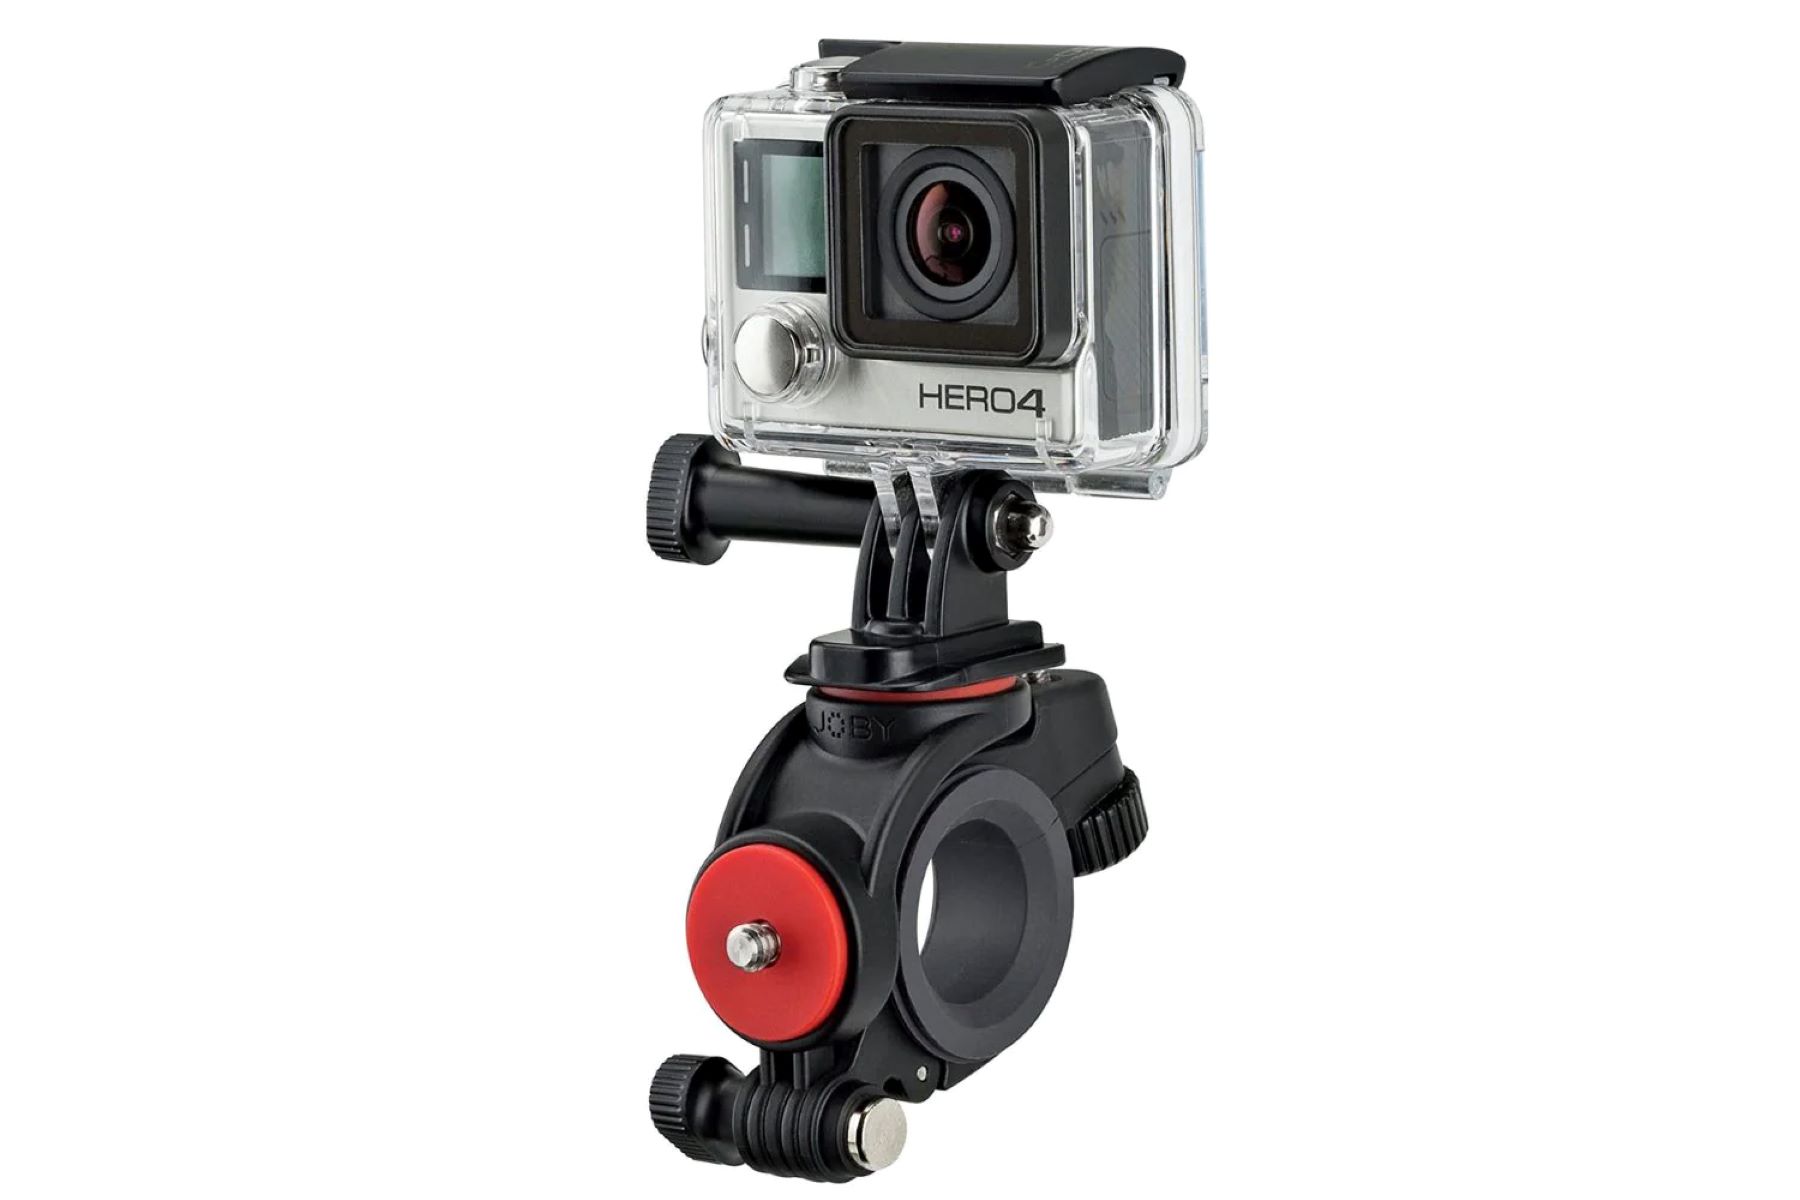
When it comes to mounting your action camera under the handlebars, selecting the appropriate mount is crucial for achieving stable and captivating footage. The market offers a variety of mounts designed to accommodate different handlebar sizes and camera models, each with its own unique features and advantages. Consider the following factors to ensure you choose the right mount for your specific needs:
- Compatibility: Begin by ensuring that the mount is compatible with your action camera model. Some mounts are designed for specific camera brands or models, while others offer universal compatibility. Check the specifications provided by the mount’s manufacturer to verify its suitability for your camera.
- Adjustability: Look for a mount that provides ample adjustability to achieve the desired camera angle and orientation. A versatile mount allows you to customize the positioning of your action camera to capture the perfect perspective, whether you prefer a forward-facing view for immersive footage or a rear-facing angle to document your reactions during the adventure.
- Stability and Shock Absorption: Opt for a mount equipped with features that minimize vibrations and shocks, such as rubberized grips or integrated shock absorbers. These elements help stabilize the camera and reduce the impact of rough terrain or rapid movements, resulting in smoother and clearer footage.
- Handlebar Compatibility: Consider the diameter and shape of your handlebars when choosing a mount. Ensure that the mount is designed to securely attach to your specific handlebar dimensions, whether they are standard, oversized, or uniquely shaped. A secure and snug fit is essential to prevent unwanted movement or rotation during your adventures.
By carefully evaluating these factors, you can select a mount that not only securely attaches your action camera under the handlebars but also enhances the quality and stability of the footage you capture. Once you’ve chosen the ideal mount, you’re one step closer to elevating your action camera adventures with breathtaking and immersive visuals.
Preparing the Handlebars
Before attaching the mount and action camera to your handlebars, it’s essential to prepare the surface to ensure a secure and stable installation. Follow these steps to properly prepare the handlebars for mounting:
- Clean the Handlebars: Start by thoroughly cleaning the section of the handlebars where the mount will be attached. Use a mild cleaning solution and a clean cloth to remove any dirt, grease, or residue that may affect the adhesion or grip of the mount. A clean surface promotes a secure and reliable attachment.
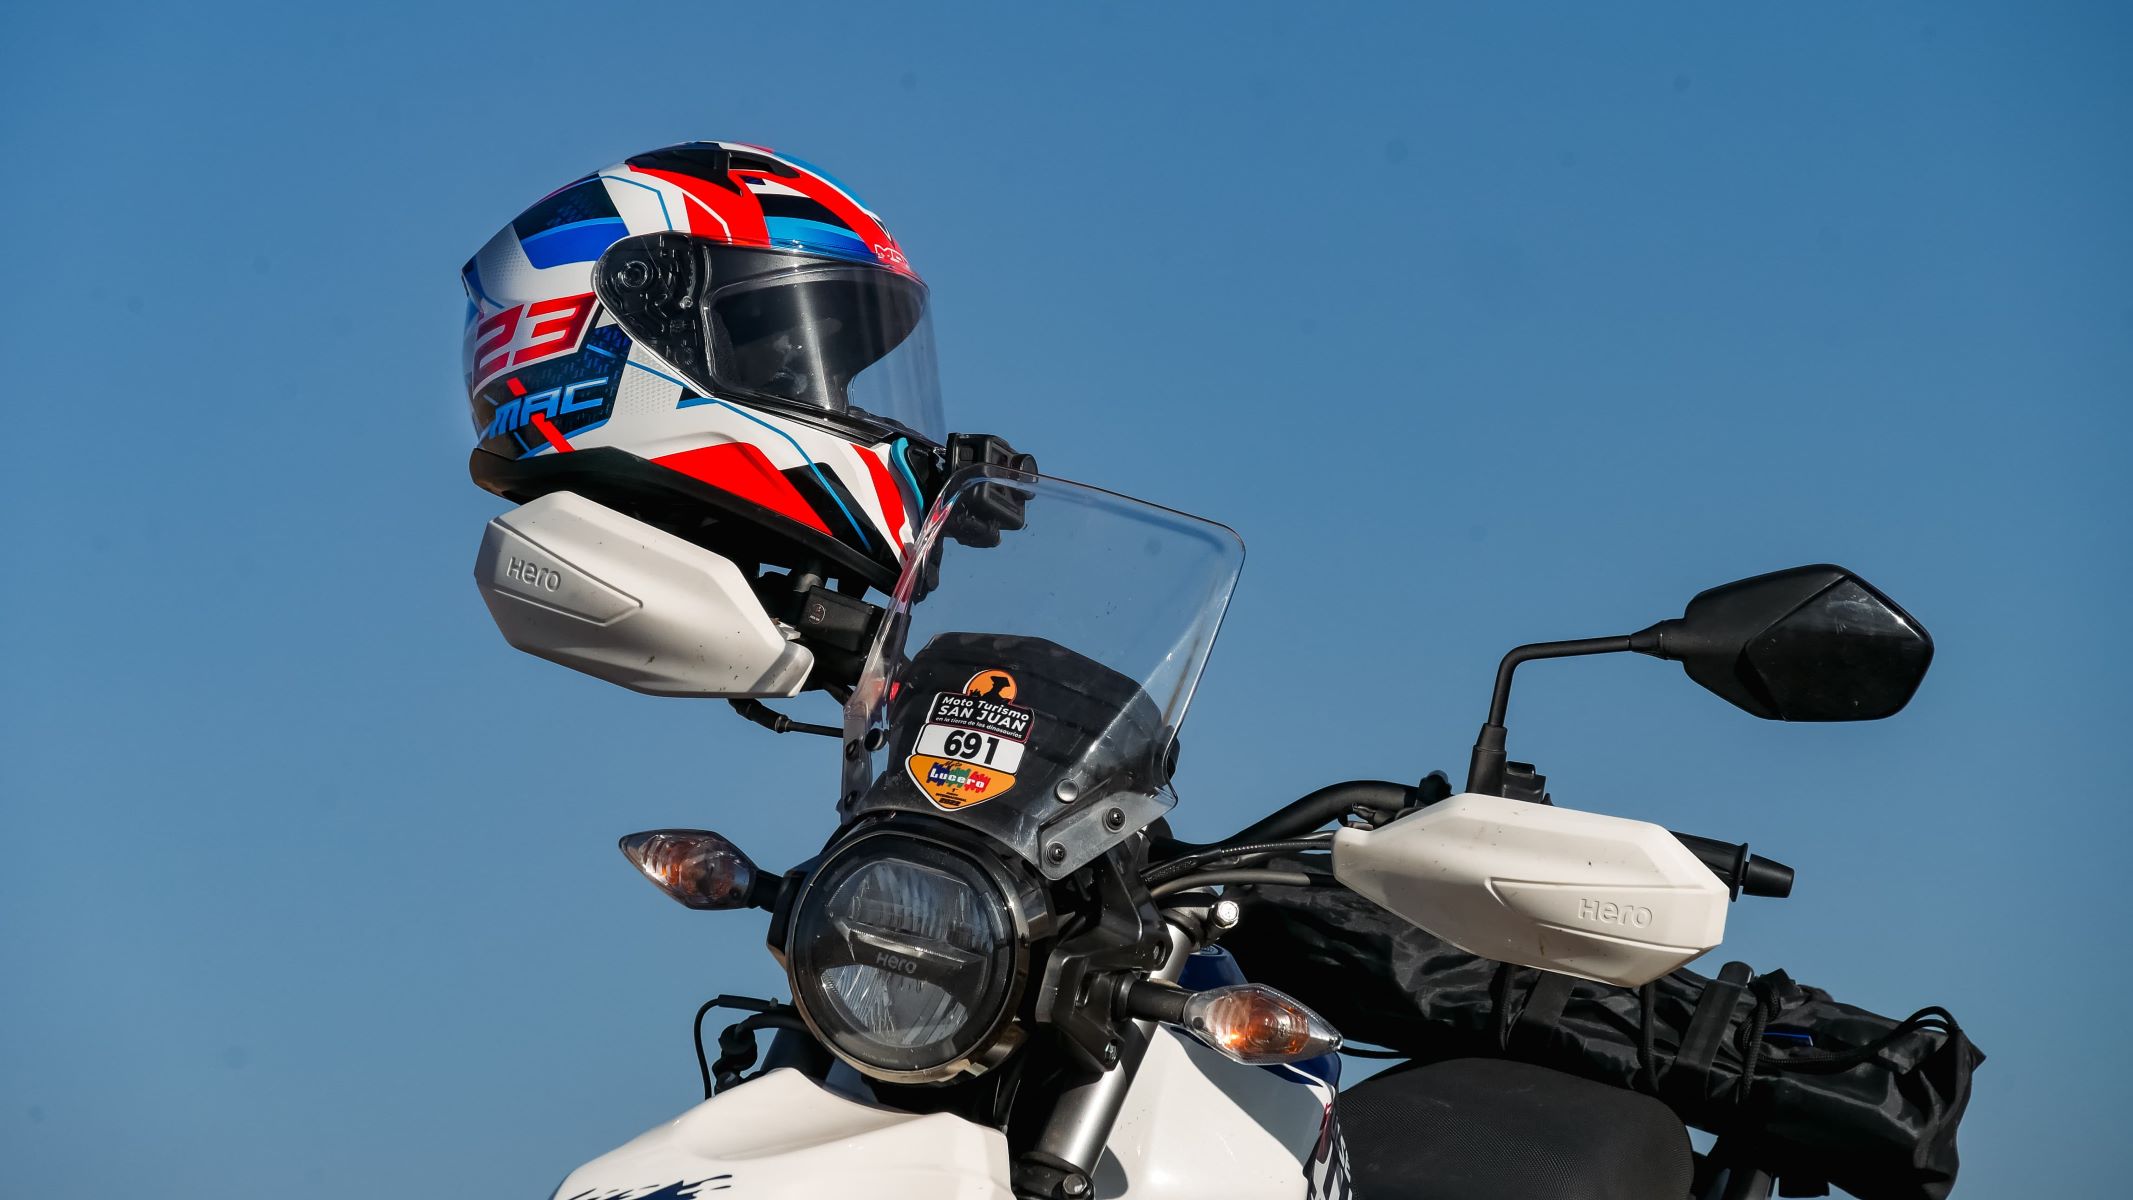
- Assess the Mounting Location: Carefully choose the optimal location on the handlebars for mounting the action camera. Consider factors such as the desired field of view, accessibility of camera controls, and clearance from other accessories or cables. Select a position that provides an unobstructed view while minimizing interference with your riding posture and hand movements.
- Positioning for Balance: If you plan to mount the camera off-center to capture specific angles or perspectives, ensure that the chosen location maintains the overall balance and stability of the handlebars. Imbalanced mounting may lead to handling issues or uneven weight distribution, affecting your control and comfort during the ride.
- Mark the Mounting Point: Once you’ve determined the optimal mounting location, use a non-permanent marker or tape to mark the precise points where the mount will be attached. This step helps ensure accuracy and alignment during the installation process, preventing the need for adjustments or repositioning later on.
By meticulously preparing the handlebars, you lay the foundation for a successful and hassle-free mounting experience. The attention to detail in this phase contributes to the overall stability, balance, and functionality of the action camera mount, setting the stage for seamless integration and exceptional footage capture during your adventures.
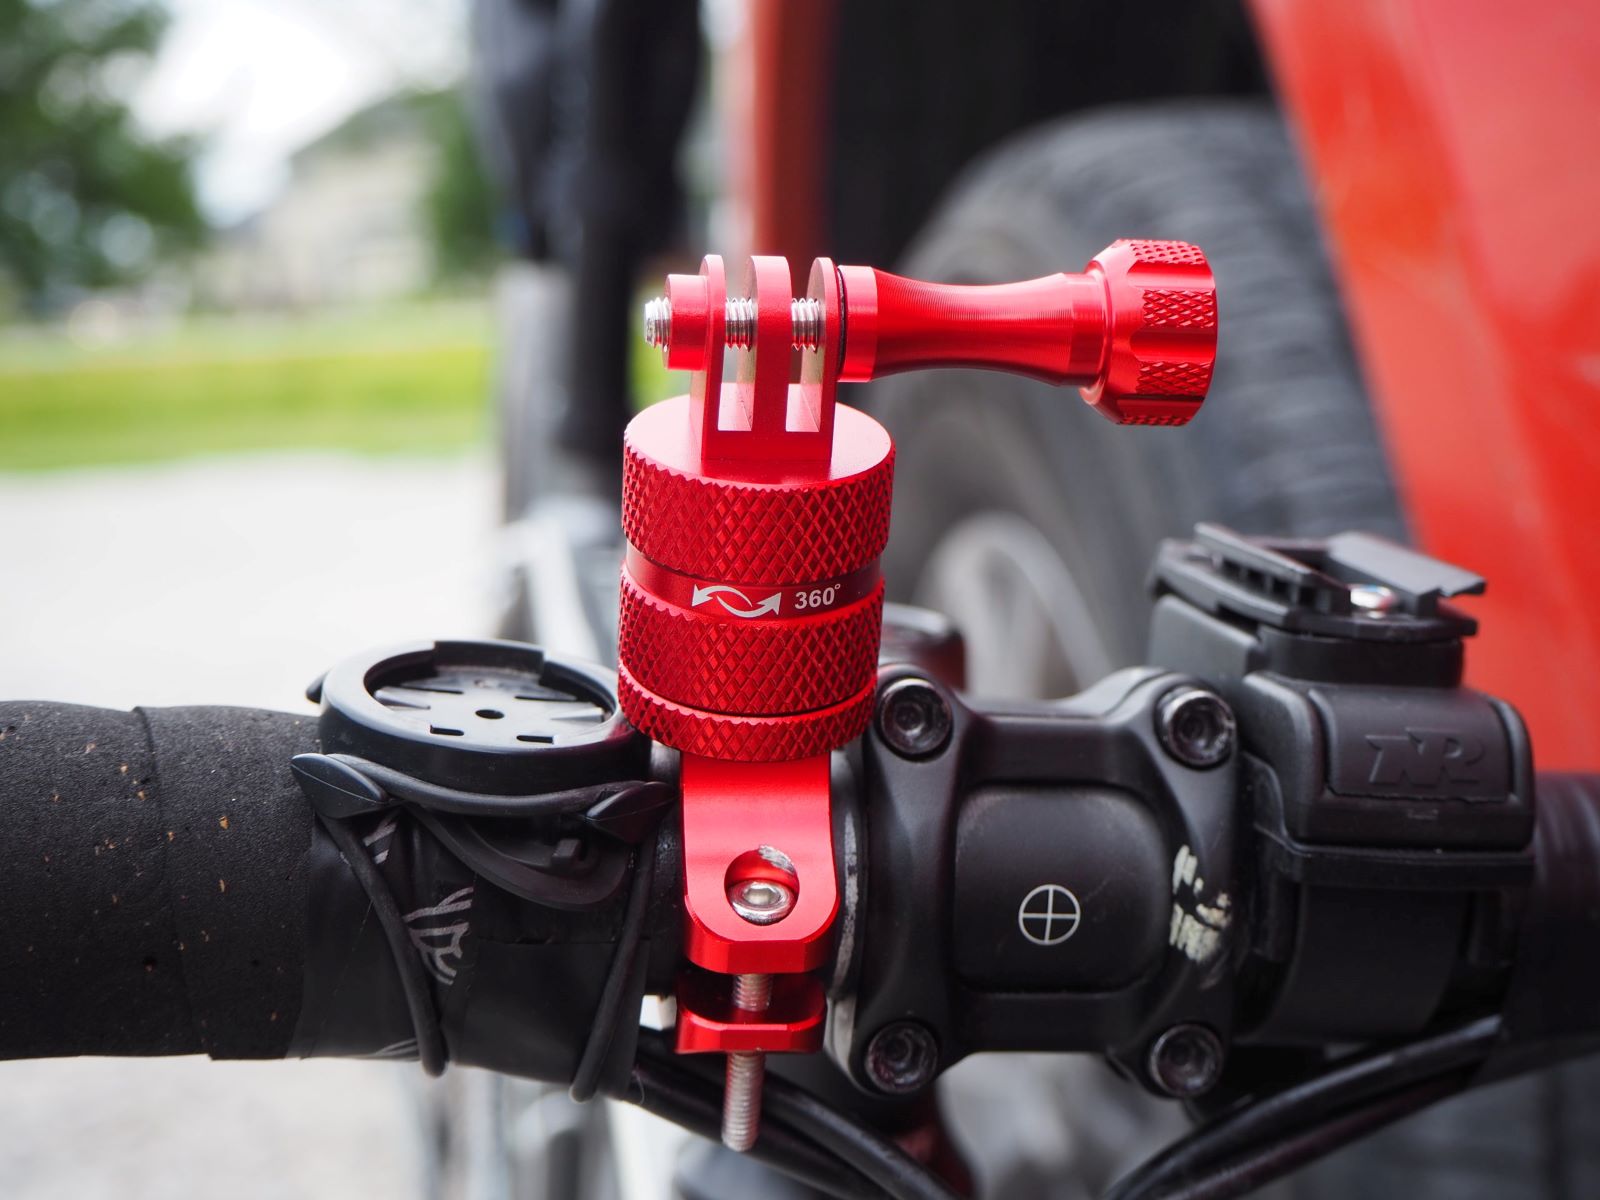
Attaching the Mount
With the handlebars prepared, it’s time to proceed with attaching the mount that will securely hold your action camera in place. Follow these steps to ensure a reliable and stable attachment of the mount:
- Align the Mount: Position the mount on the marked location, ensuring that it is aligned with the handlebars and any designated orientation indicators. Double-check the alignment to guarantee that the camera will be level and properly oriented once attached.
- Secure the Mounting Straps or Clamps: If the mount utilizes straps or clamps for attachment, carefully fasten them around the handlebars according to the manufacturer’s instructions. Ensure a snug fit without over-tightening, as this can distort the mount or compromise the integrity of the handlebars.
- Adjust for Clearance: Verify that the mounted position allows sufficient clearance for the camera and any associated accessories, such as cables or power sources. Confirm that the camera’s field of view remains unobstructed and that the mount does not interfere with your hand movements or operational controls.
- Test the Stability: Apply gentle pressure to the mounted assembly to assess its stability and resistance to movement. Check for any shifting or wobbling of the mount, and make necessary adjustments to enhance its stability before proceeding to attach the action camera.
By meticulously following these steps, you can ensure that the mount is securely and accurately attached to the handlebars, laying the groundwork for a dependable and robust foundation to support your action camera. With the mount in place, you’re ready to proceed to the final step of securing the action camera under the handlebars and unleashing its filming potential during your exhilarating adventures.
Securing the Action Camera
Once the mount is securely attached to the handlebars, it’s time to affix the action camera onto the mount, ensuring a stable and reliable setup for capturing your adventures. Follow these steps to securely mount the action camera under the handlebars:
- Positioning and Alignment: Place the action camera onto the mount, ensuring that it is properly aligned with the desired orientation and angle. Double-check the positioning to guarantee that the camera’s lens is directed towards the intended field of view, whether it’s capturing the path ahead or documenting your interactions during the ride.
- Secure the Mounting Mechanism: Depending on the type of mount, follow the manufacturer’s instructions to securely fasten the action camera in place. This may involve tightening screws, engaging locking mechanisms, or securing latches to prevent the camera from shifting or detaching during the ride.
- Test for Stability: Gently apply pressure to the mounted camera to assess its stability and resistance to movement. Verify that the camera remains firmly in place and does not shift or rotate under normal handling or vibrations. Address any instability by adjusting the mounting mechanism or repositioning the camera as needed.
- Connectivity and Power: If your action camera requires connectivity to external devices or power sources, ensure that the necessary cables and connections are secured and routed appropriately to prevent interference with the handlebars or other components. Confirm that the camera’s power source, if applicable, is securely attached and accessible for charging or operation.
By meticulously securing the action camera onto the mount, you establish a dependable and robust setup that can withstand the rigors of your outdoor pursuits. With the camera firmly in place, you’re ready to embark on your adventures, knowing that every thrilling moment and breathtaking scenery will be expertly captured from the unique perspective beneath your handlebars.