Introduction
Introduction
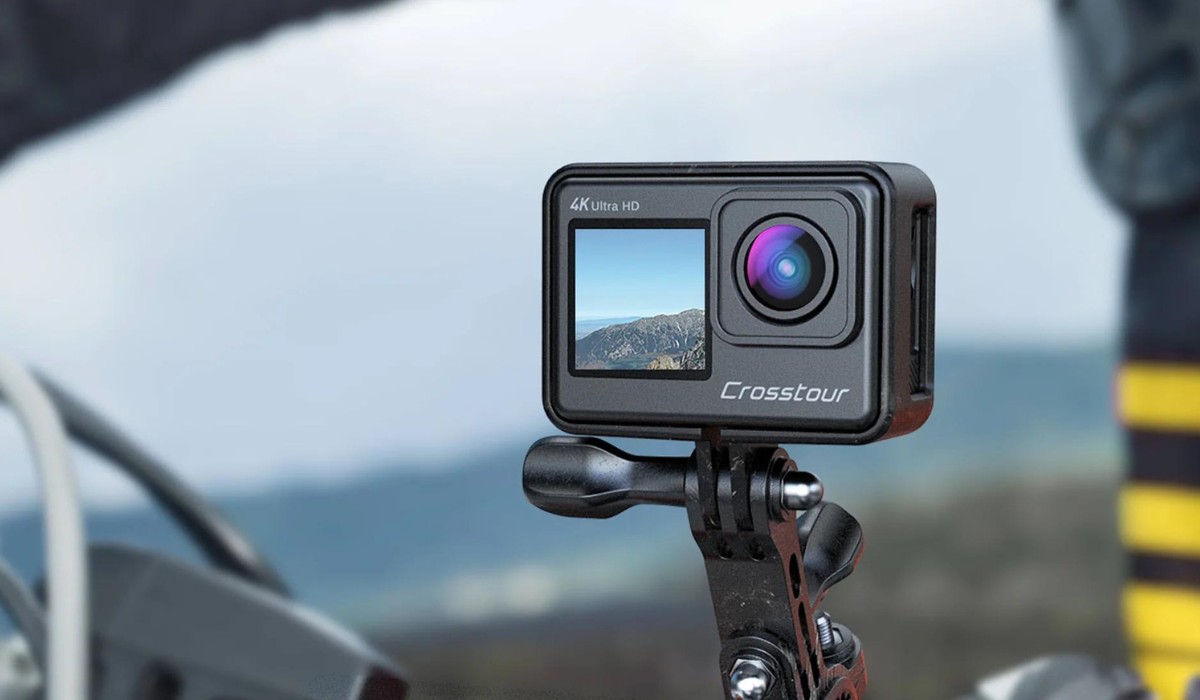
Welcome to the exciting world of action photography and videography with your new Crosstour action camera! Whether you are an adrenaline junkie capturing your extreme sports adventures, a travel enthusiast documenting your explorations, or simply someone who loves to capture life's precious moments, the Crosstour action camera is your perfect companion.
This comprehensive guide will walk you through the essential steps to maximize the potential of your Crosstour action camera. From setting up and mounting your camera to capturing breathtaking footage and sharing your creations with the world, you will learn everything you need to unleash your creativity and capture stunning visuals.
With its compact design, robust build, and impressive features, the Crosstour action camera is designed to accompany you on all your escapades, ensuring that every thrilling moment is immortalized in high-definition clarity. Whether you're diving into the depths of the ocean, conquering rugged mountain trails, or simply enjoying a leisurely bike ride, your Crosstour action camera will be there to capture every exhilarating second.
Get ready to embark on a visual journey like never before as we delve into the exciting world of action photography and videography with your Crosstour action camera. Let's dive in and discover the endless possibilities that await you with this remarkable piece of technology.
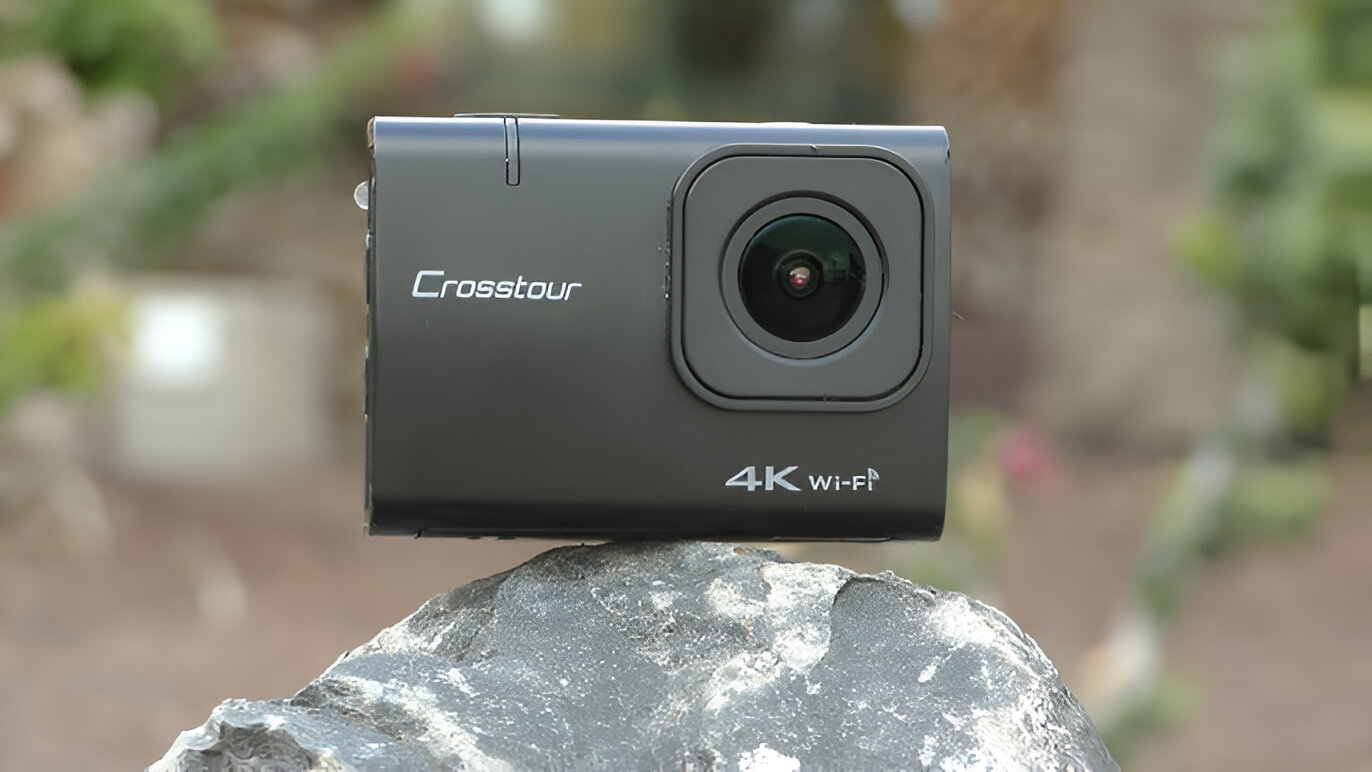
Getting Started with Your Crosstour Action Camera
Before embarking on your adventures, it’s essential to familiarize yourself with the basic operations of your Crosstour action camera. Unboxing your camera reveals a compact and rugged device that is designed to withstand the rigors of any environment. The following steps will guide you through the initial setup and preparation for capturing stunning footage.
1. Unboxing and Inspection:
Upon unboxing your Crosstour action camera, carefully inspect the contents of the package. Ensure that all accessories, including mounts, batteries, and cables, are present and in good condition. Familiarize yourself with the various components of the camera, including the power button, mode selector, and navigation buttons.
2. Charging the Battery:
Prior to your first use, it is crucial to charge the camera’s battery fully. Connect the provided USB cable to the camera and a power source, such as a computer or a USB wall adapter. The LED indicator will illuminate during the charging process and turn off once the battery is fully charged, ensuring that you are ready to capture your adventures without interruption.
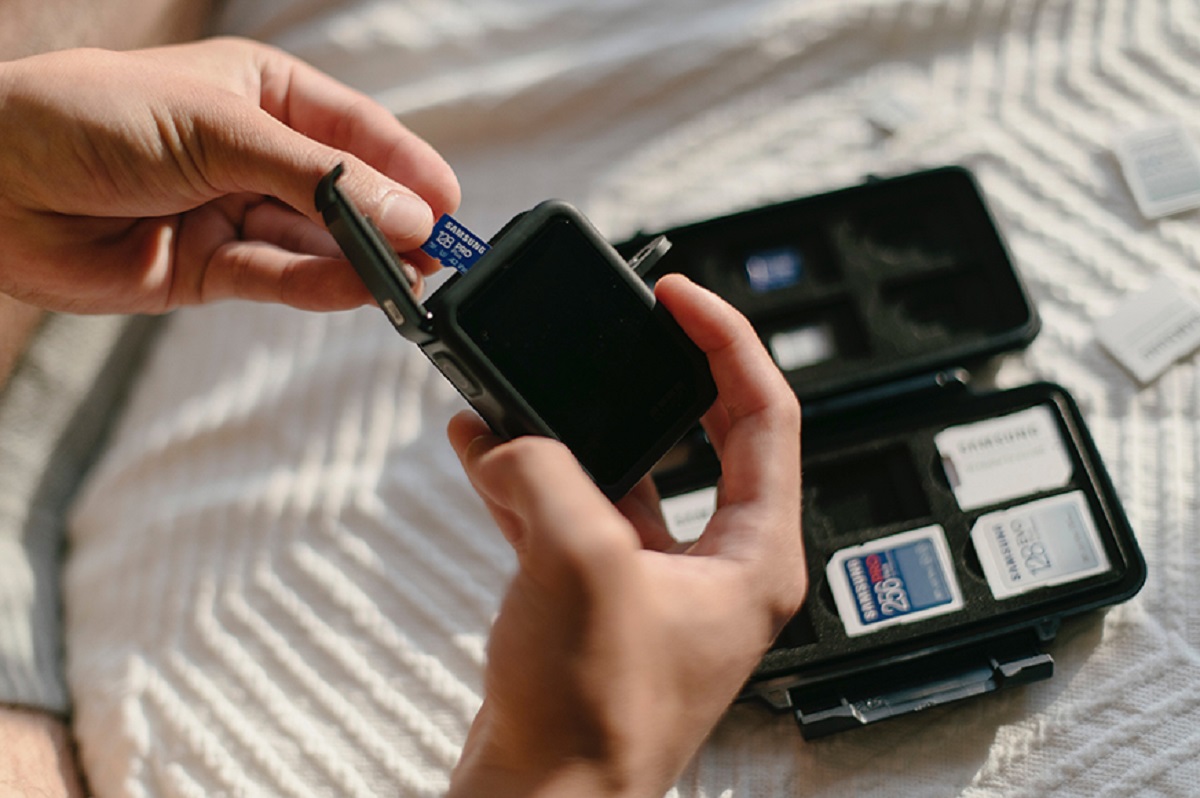
3. Inserting the Memory Card:
Insert a compatible microSD card into the designated slot on the camera. Ensure that the memory card is formatted correctly to avoid any potential issues during recording. The camera supports various capacities, so choose a memory card that suits your recording needs and preferences.
4. Powering On the Camera:
Press and hold the power button to turn on your Crosstour action camera. Familiarize yourself with the camera’s interface and settings by navigating through the intuitive menus. Take this opportunity to customize the date, time, and other essential settings to ensure that your footage is accurately timestamped.
By following these initial steps, you are now ready to unleash the full potential of your Crosstour action camera. With the basics in place, you can confidently move on to mounting your camera and capturing breathtaking footage that will preserve your most exhilarating moments for years to come.
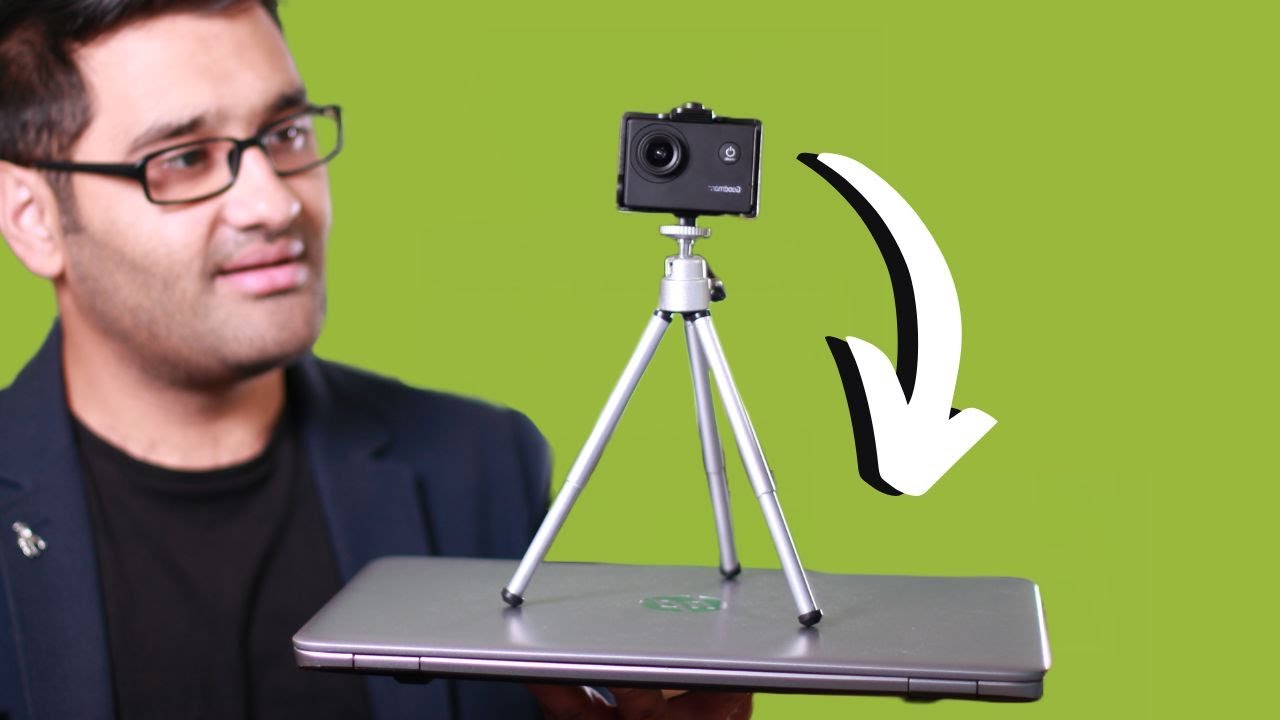
Mounting Your Crosstour Action Camera
Mounting your Crosstour action camera correctly is crucial for capturing stable and immersive footage. Whether you’re engaging in high-octane activities or simply looking to document your experiences hands-free, the right mounting setup can make all the difference. Here’s how to ensure that your camera is securely and strategically mounted for optimal recording:
1. Selecting the Appropriate Mount:
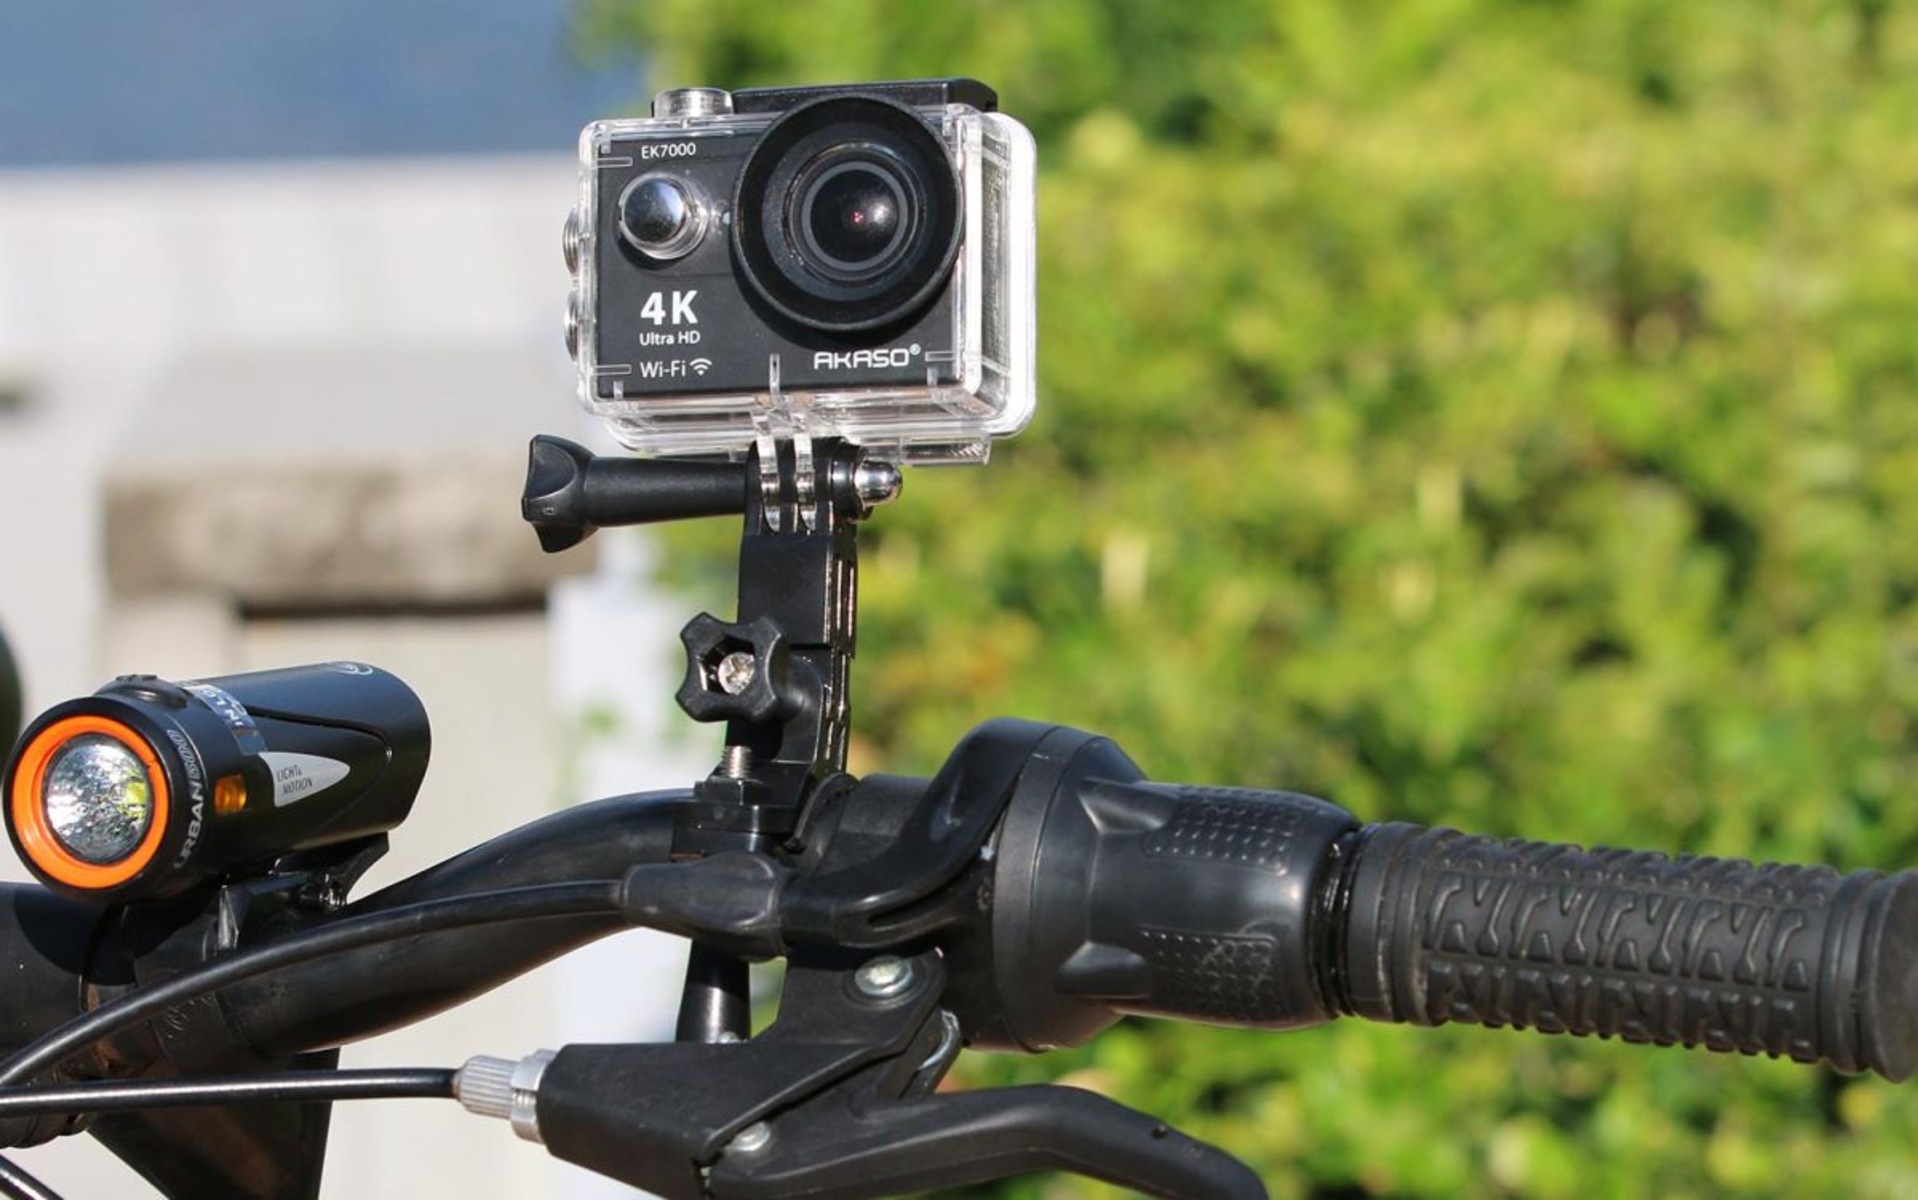
Depending on your activity, choose a suitable mount for your Crosstour action camera. The camera is compatible with a variety of mounts, including adhesive mounts, handlebar mounts, and helmet mounts. Ensure that the mount provides a stable and secure attachment to prevent any unwanted movement during recording.
2. Positioning the Camera:
Consider the perspective you want to achieve in your footage and position the camera accordingly. For example, if you’re cycling, a handlebar mount can provide a dynamic view of the terrain ahead, while a helmet mount offers a first-person perspective, capturing your reactions and surroundings. Experiment with different mounting positions to find the angle that best encapsulates the essence of your activity.
3. Securing the Mount:
Once you have positioned the camera, ensure that the mount is securely fastened to prevent any potential slippage or detachment. Check the tightness of the mounting mechanism and perform a test to verify its stability before commencing your activity. This step is crucial for safeguarding your camera and ensuring that it remains intact throughout your adventures.
4. Adjusting the Camera Angle:
Fine-tune the camera angle to achieve the desired framing and composition. The Crosstour action camera allows for flexible adjustment, enabling you to capture the perfect field of view for your footage. Whether you prefer a wide-angle perspective to showcase expansive landscapes or a narrow angle to focus on specific details, the camera’s adjustable settings cater to your creative vision.
By mastering the art of mounting your Crosstour action camera, you can elevate your footage to new heights, providing viewers with a captivating visual experience that immerses them in your adventures. With a secure and strategic mounting setup, you are now ready to embark on your activities with the confidence that every thrilling moment will be expertly captured.
Setting Up Your Crosstour Action Camera
Configuring your Crosstour action camera to suit your specific preferences and shooting conditions is essential for capturing exceptional footage. The camera offers a range of settings and features that can be customized to enhance the quality and style of your recordings. Here’s how to set up your Crosstour action camera for optimal performance:
1. Selecting the Appropriate Mode:
The Crosstour action camera offers various shooting modes, including video, photo, burst photo, and time-lapse. Depending on your intended content, choose the mode that best complements your activity. For instance, select the video mode for continuous recording, the photo mode for capturing still images, and the time-lapse mode for creating captivating time-lapse sequences.
2. Adjusting Video and Photo Settings:
Customize the resolution, frame rate, and other video settings to achieve the desired visual quality. Higher resolutions and frame rates are ideal for capturing fast-paced action, while lower settings can conserve storage space and battery life. Similarly, adjust the photo settings, such as resolution and exposure, to ensure that your images are tailored to your preferences.
3. Utilizing Advanced Features:
Explore the advanced features of your Crosstour action camera, such as image stabilization, adjustable field of view, and exposure control. These features can significantly enhance the quality of your footage, especially in challenging environments or dynamic activities. Familiarize yourself with these functions to leverage the full potential of your camera.
4. Configuring Wireless Connectivity:
If your Crosstour action camera is equipped with wireless capabilities, such as Wi-Fi or Bluetooth, configure the connectivity settings to facilitate remote control and wireless file transfers. This feature enables you to operate the camera from a distance and seamlessly transfer your footage to compatible devices for convenient editing and sharing.
5. Optimizing Power Management:
Maximize the battery life of your Crosstour action camera by adjusting the power management settings. Activate power-saving modes and auto-off timers to conserve energy when the camera is not in use, ensuring that you can capture your adventures without interruptions due to battery depletion.
By customizing the settings and features of your Crosstour action camera, you can tailor the device to suit your unique shooting style and preferences. Whether you’re capturing high-speed action sequences or serene landscapes, the camera’s versatile settings empower you to create compelling and visually stunning content that reflects your creative vision.
Capturing Amazing Footage with Your Crosstour Action Camera
With your Crosstour action camera primed and ready, it’s time to embark on your adventures and capture breathtaking footage that encapsulates the essence of your experiences. Whether you’re exploring scenic landscapes, participating in adrenaline-pumping activities, or simply enjoying memorable moments with loved ones, the following tips will help you make the most of your camera and create compelling visual content:
1. Embrace Diverse Perspectives:
Experiment with various camera angles and perspectives to add depth and dynamism to your footage. Capture wide-angle shots to showcase expansive vistas, close-up details to highlight intricate elements, and first-person perspectives to immerse viewers in the heart of the action. Diverse perspectives enrich your storytelling and offer a comprehensive portrayal of your experiences.
2. Leverage Slow Motion and Time-Lapse:
Utilize the slow-motion and time-lapse features of your Crosstour action camera to add a creative flair to your footage. Slow-motion sequences accentuate the nuances of fast-paced activities, emphasizing every intricate movement, while time-lapse recordings condense extended periods into captivating, condensed visuals, offering a unique perspective on the passage of time.
3. Emphasize Stability and Smoothness:
Maintaining stable and smooth footage is essential for professional-looking recordings. Whether you’re traversing rugged terrain or engaging in dynamic activities, prioritize stability by utilizing the camera’s stabilization features, mounting accessories, and steady movements. Smooth footage enhances the viewing experience and conveys a sense of professionalism.
4. Capture Authentic Moments:
Focus on capturing genuine and unscripted moments that authentically reflect your experiences. Whether it’s the elation of reaching a summit, the camaraderie of shared adventures, or the tranquility of nature, genuine moments resonate deeply with audiences, evoking emotions and fostering a connection through your visual storytelling.
5. Pay Attention to Lighting and Composition:
Be mindful of lighting conditions and composition to elevate the visual impact of your footage. Leverage natural light for outdoor settings, adjust exposure settings to accommodate challenging lighting scenarios, and consider the rule of thirds and leading lines to compose visually engaging frames that draw viewers into the scene.
By implementing these strategies and techniques, you can harness the full potential of your Crosstour action camera to capture compelling and visually stunning footage that encapsulates the spirit of your adventures. Each recording becomes a testament to your experiences, enabling you to share the beauty and excitement of your journeys with the world.
Editing and Sharing Your Footage from Your Crosstour Action Camera
Once you’ve captured an array of captivating footage with your Crosstour action camera, the next step is to refine and share your visual creations. Whether you’re looking to compile a thrilling montage of your adventures or share individual moments with friends and family, the editing and sharing process is where your footage truly comes to life. Here’s how to seamlessly edit and share your footage to showcase the best of your experiences:
1. Selecting an Editing Platform:
Choose a suitable editing platform or software that aligns with your editing proficiency and creative vision. Whether you opt for user-friendly mobile apps for on-the-go editing or robust desktop software for advanced post-production, select a platform that empowers you to enhance and refine your footage effectively.
2. Refining Your Footage:
Review your footage and select the most compelling clips that encapsulate the essence of your experiences. Trim unnecessary segments, apply color correction and enhancements, and add transitions and effects to elevate the visual appeal of your footage. Refining your footage ensures that each moment is meticulously curated to engage and captivate your audience.
3. Crafting a Narrative:
Seamlessly weave your footage into a cohesive narrative that chronicles your adventures. Arrange your clips to convey a compelling story, incorporating diverse perspectives, key moments, and thematic sequences that resonate with viewers. A well-crafted narrative transforms your footage into a captivating visual journey that immerses audiences in your experiences.
4. Adding Audio Enhancements:
Enhance the emotional impact of your footage by incorporating suitable music, sound effects, and narration. Select audio elements that complement the mood and tone of your footage, adding depth and resonance to your visual storytelling. Thoughtfully integrated audio elevates the viewing experience and fosters a deeper connection with your audience.
5. Sharing Your Creations:
Once your footage is refined and polished, it’s time to share your creations with the world. Utilize online platforms, such as social media, video-sharing websites, and personal blogs, to showcase your footage to a global audience. Leverage the power of storytelling to engage and inspire viewers, inviting them to embark on a visual journey through your experiences.
By embracing the editing and sharing process, you can transform your raw footage into compelling visual stories that resonate with audiences far and wide. Each edit becomes an opportunity to share the beauty, excitement, and emotion of your adventures, fostering a sense of connection and inspiration among viewers who are eager to embark on their own escapades.