To set up karaoke with an AV receiver, you must add a karaoke mixer between your microphones and the receiver, because most AV receivers lack the dedicated mic inputs needed for singing. This guide shows you the safe, correct workflow to avoid damaging your equipment and get great vocal sound.
Why you can't just plug a mic into an AV receiver
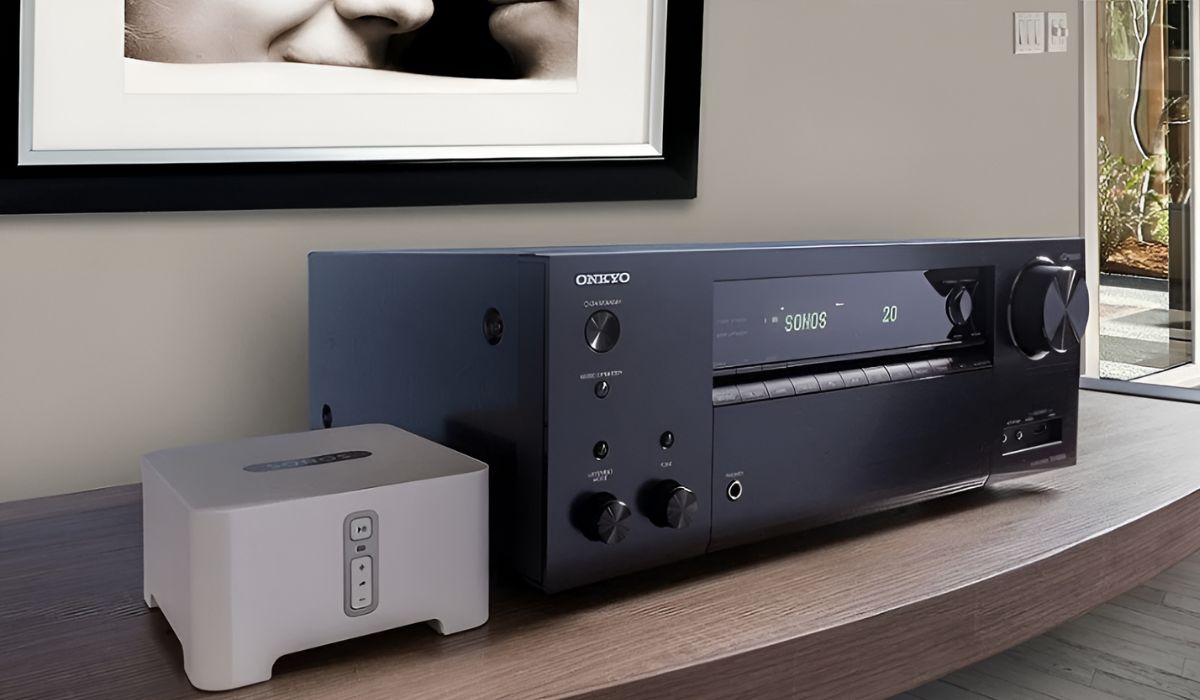
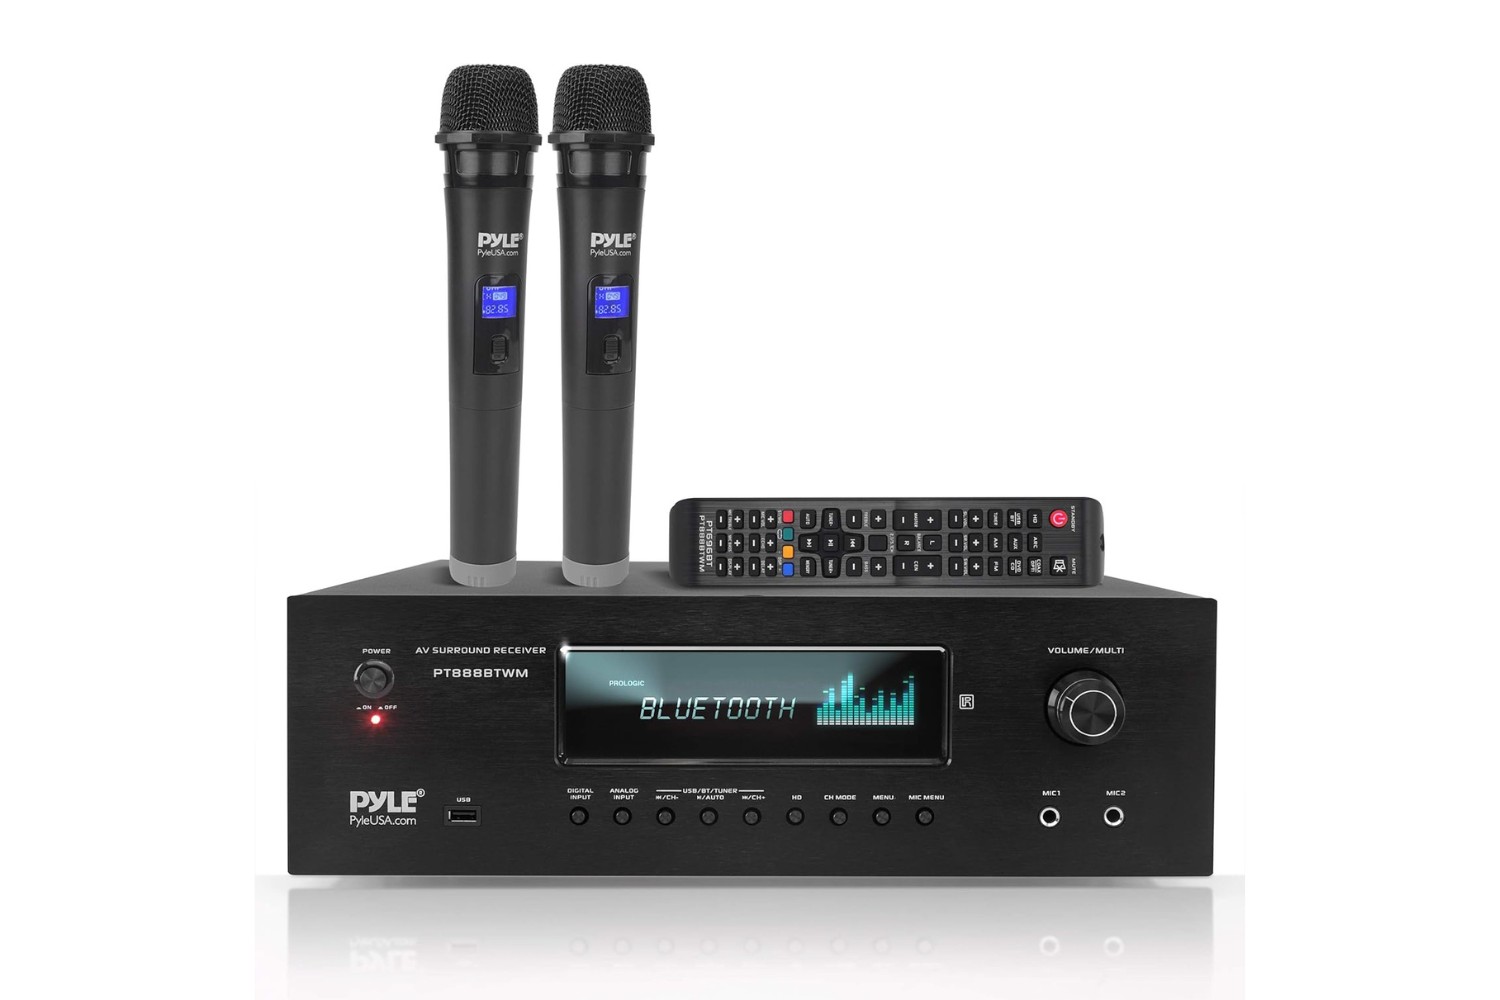
Most AV receivers do not have dedicated microphone inputs for karaoke, and attempting to connect a microphone directly to them can damage the amplifier due to excessively high input levels. The "setup mic" input found on many receivers is specifically for room calibration and should never be used for live singing or karaoke. AV receivers are generally not designed to mix multiple audio sources simultaneously; they process one selected input at a time, which is why a direct mic connection is both technically impossible and potentially destructive.
The essential missing piece: a karaoke mixer
A dedicated karaoke mixer is the required device that lets you connect microphones, mix vocals with music, and output a safe line-level signal to your AV receiver. This device solves the fundamental problem of the receiver's lack of mic inputs by handling all microphone preamplification, EQ, and effects processing before the audio ever reaches your amplifier. With a karaoke mixer, you gain individual volume controls for each mic, echo and reverb effects, and the ability to blend background music with vocals, all at safe signal levels that protect your receiver.
How to set up karaoke with an AV receiver in 5 steps
This complete, safe workflow involves connecting your microphones and music source to the karaoke mixer, then sending the mixed output to your AV receiver's analog input. The process requires just a few standard cables and takes about 15 minutes from start to finish. Below are the five steps that will have you singing in no time, with each stage broken down for clarity and safety.
Step 1: Connect your microphones to the karaoke mixer
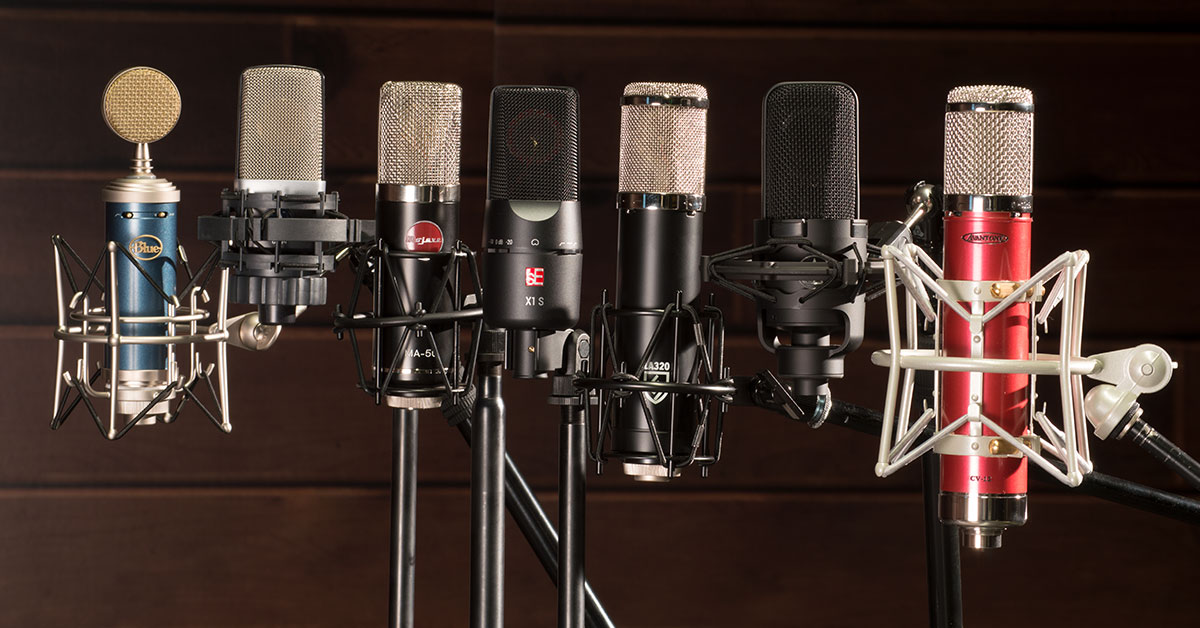
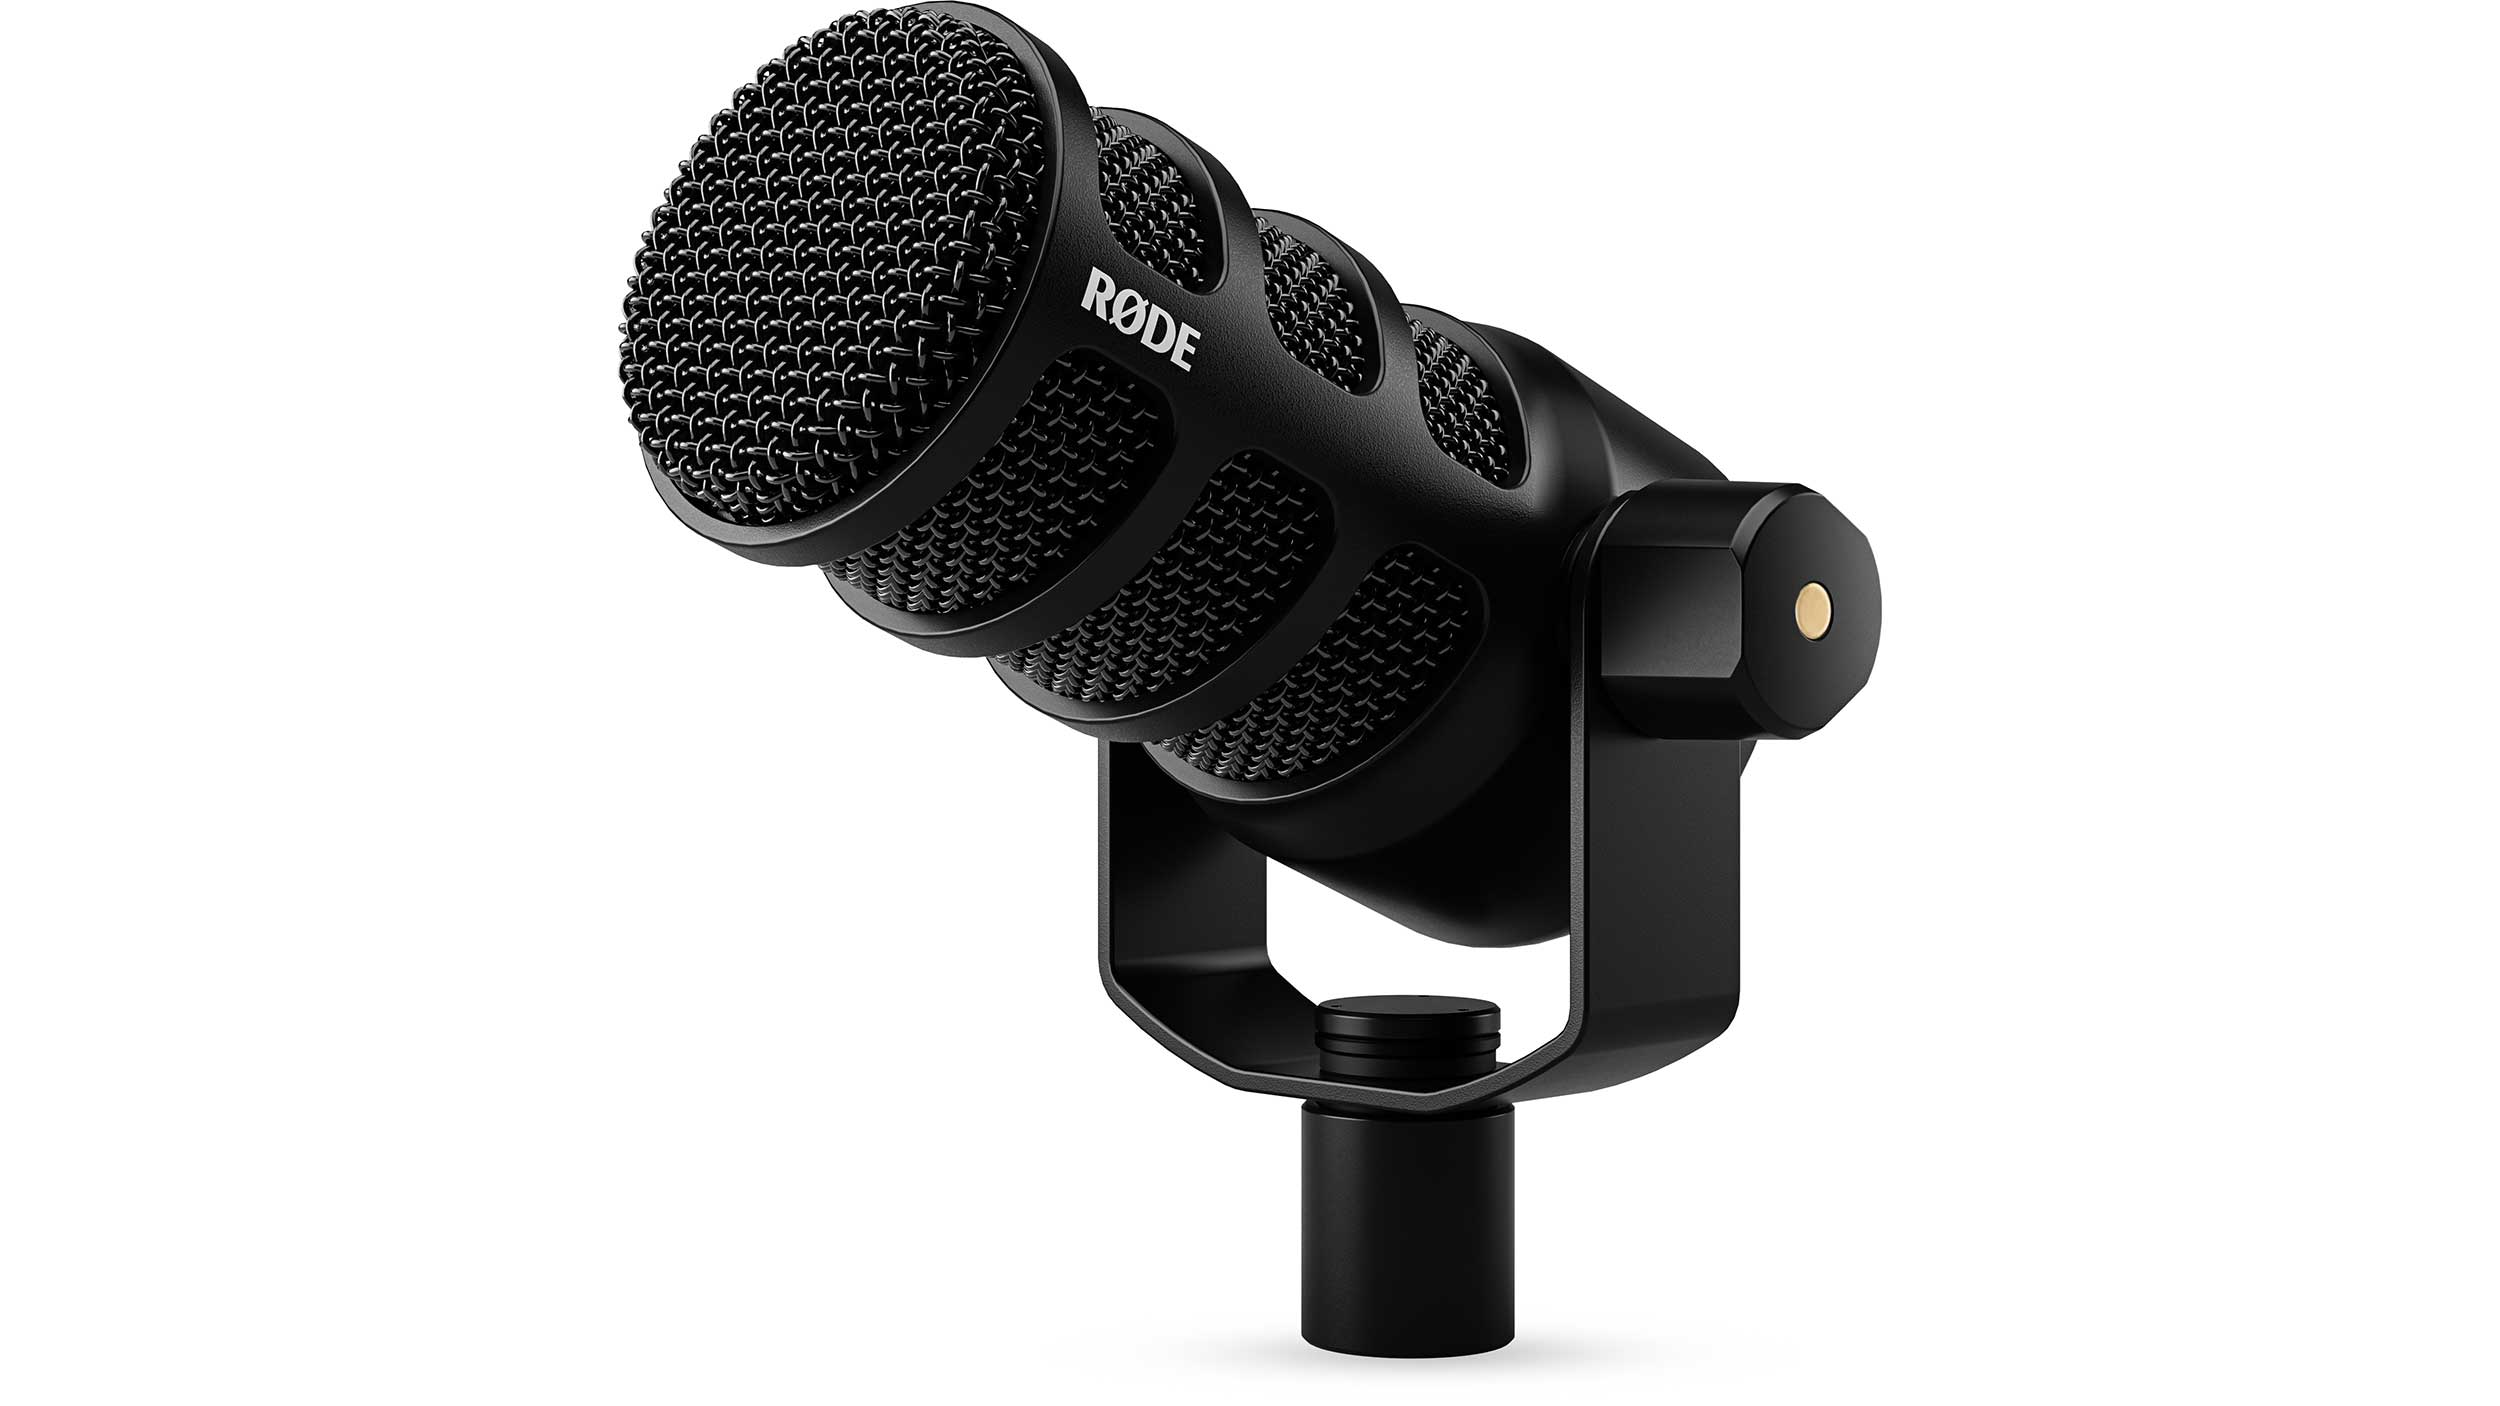
Connect your dynamic microphones to the karaoke mixer's mic inputs using standard XLR or 1/4-inch cables, plugging each mic into its own channel. For dynamic mics, no additional power is needed, but condenser microphones require phantom power (typically 48V), which is usually supplied by the mixer or a dedicated microphone preamp. Start with all channel volume knobs at zero before plugging in cables, then gradually increase levels during testing to avoid sudden loud feedback.
Step 2: Connect your music source to the karaoke mixer
Connect your smart TV, streaming device, or karaoke app to the mixer's audio input using one of three methods depending on your TV's outputs. If your TV has RCA audio output ports (red and white), use RCA cables to connect the TV's audio output to the mixer's audio input. If your TV only has an optical audio output, you will need a digital-to-analog converter (DAC) to convert the TV's digital audio signal to an analog signal (RCA) before connecting it to a mixer that accepts analog inputs. If your TV and karaoke mixer both support HDMI ARC (Audio Return Channel), connect an HDMI cable from the TV's HDMI ARC port to the HDMI ARC input on the karaoke mixer, then ensure your TV's audio output settings are configured to send audio via HDMI ARC.
Step 3: Connect the karaoke mixer to your AV receiver
Connect the mixed audio output from the karaoke mixer to an available analog input (such as RCA "Audio In" or "CD/DVD Audio In") on your AV receiver using a standard RCA cable. This line-level connection is safe and correct, but avoid connecting speaker-level outputs from any karaoke device directly into the line-level inputs of your AV receiver, as this can cause damage.
Step 4: Connect your AV receiver to your TV and speakers
Connect an HDMI cable from the HDMI output port on your AV receiver to an HDMI input port on your TV to transmit video, lyrics, and visual effects. Then connect your main and surround speakers to the corresponding speaker output terminals on your AV receiver using high-quality speaker cables with proper gauge. Position the main speakers in front of the performance area, elevated to ear level, and use the receiver's speaker calibration feature if available to optimize audio output for your room's acoustics.
Step 5: Power on, select input, and adjust settings
Power on all components, then select the corresponding input source on your AV receiver to hear the mixed karaoke audio through your speakers, use the INPUT SELECTOR knob or the input buttons on the remote. Navigate to the HOME MENU if needed and select the correct analog input (like CD or AUX) that you connected the mixer to. Adjust microphone volume, echo, and other vocal effects using the controls provided on the karaoke mixer, and set your TV's audio output to send sound to the receiver (not the TV's internal speakers) for proper audio processing.
Test your karaoke setup
Play a selection of music tracks through the karaoke setup to evaluate audio quality and balance, adjusting the receiver's audio settings as needed for the desired sound. Have individuals perform vocal tests using the connected microphones to assess clarity and amplification, verifying each mic input captures vocals accurately and adjusting levels for a balanced mix. Check for feedback or howling by keeping microphones away from speakers and lowering mic volume if necessary, and ensure lyrics display correctly on the TV through your HDMI connection. Make adjustments based on performer preferences, fine-tuning the mix until vocals sit perfectly above the music and the entire system delivers an exceptional karaoke experience.