Introduction
Are you eager to transfer your cherished video memories from your camcorder to your Mac but feeling overwhelmed by the process? Fret not, as this comprehensive guide will walk you through the seamless steps to effortlessly transfer your videos and relive those precious moments on your Mac.
Whether you are a novice or a tech-savvy individual, this article will equip you with the knowledge and confidence to navigate the transfer process with ease. By following these step-by-step instructions, you will be able to transfer your videos from your camcorder to your Mac in no time.
From connecting your camcorder to your Mac to importing videos using various software and hardware options, this guide covers all the essential methods to ensure a smooth and hassle-free transfer process. Furthermore, you will also discover how to efficiently edit and organize your videos on your Mac, allowing you to unleash your creativity and preserve your memories in a personalized and meaningful way.
So, grab your camcorder and let's embark on this exciting journey to seamlessly transfer and preserve your priceless video memories on your Mac!
Step 1: Connect the Camcorder to Your Mac
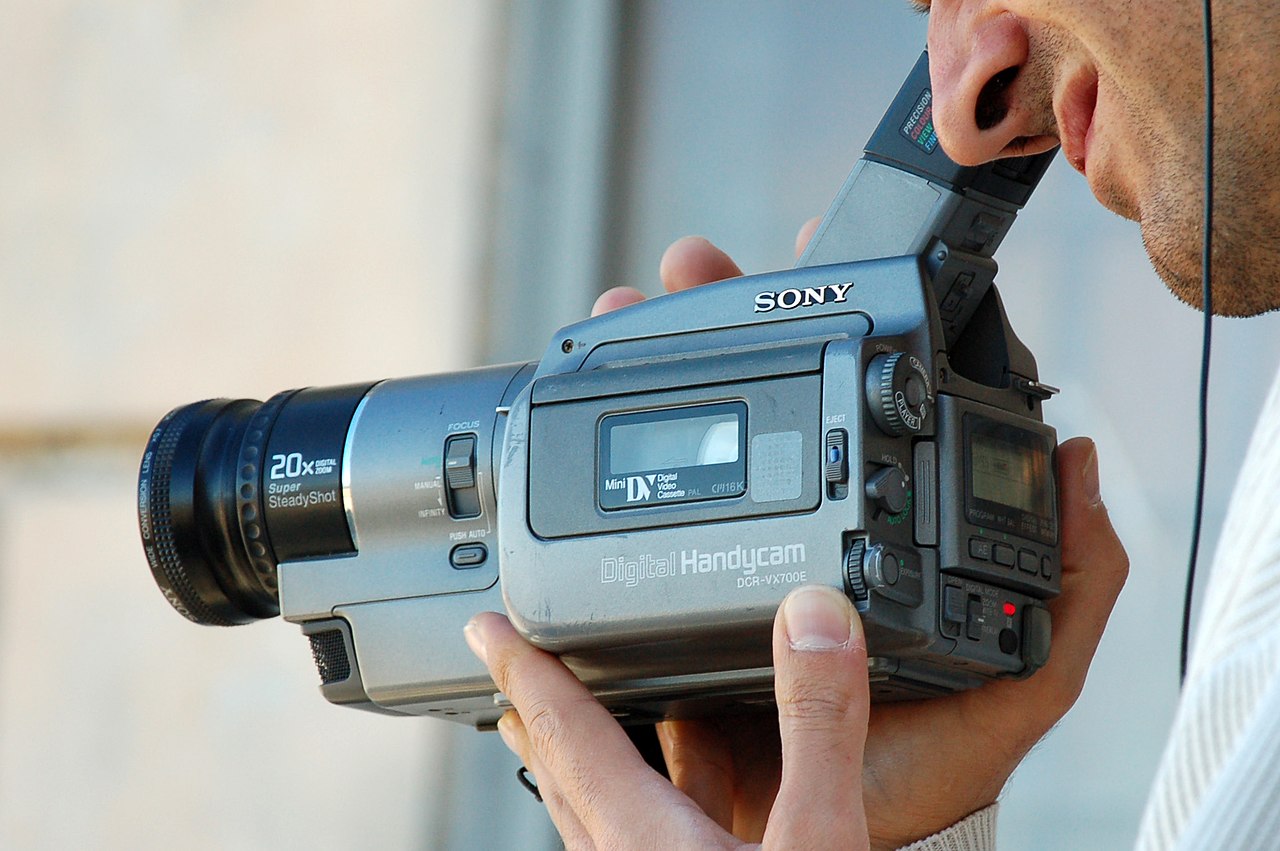
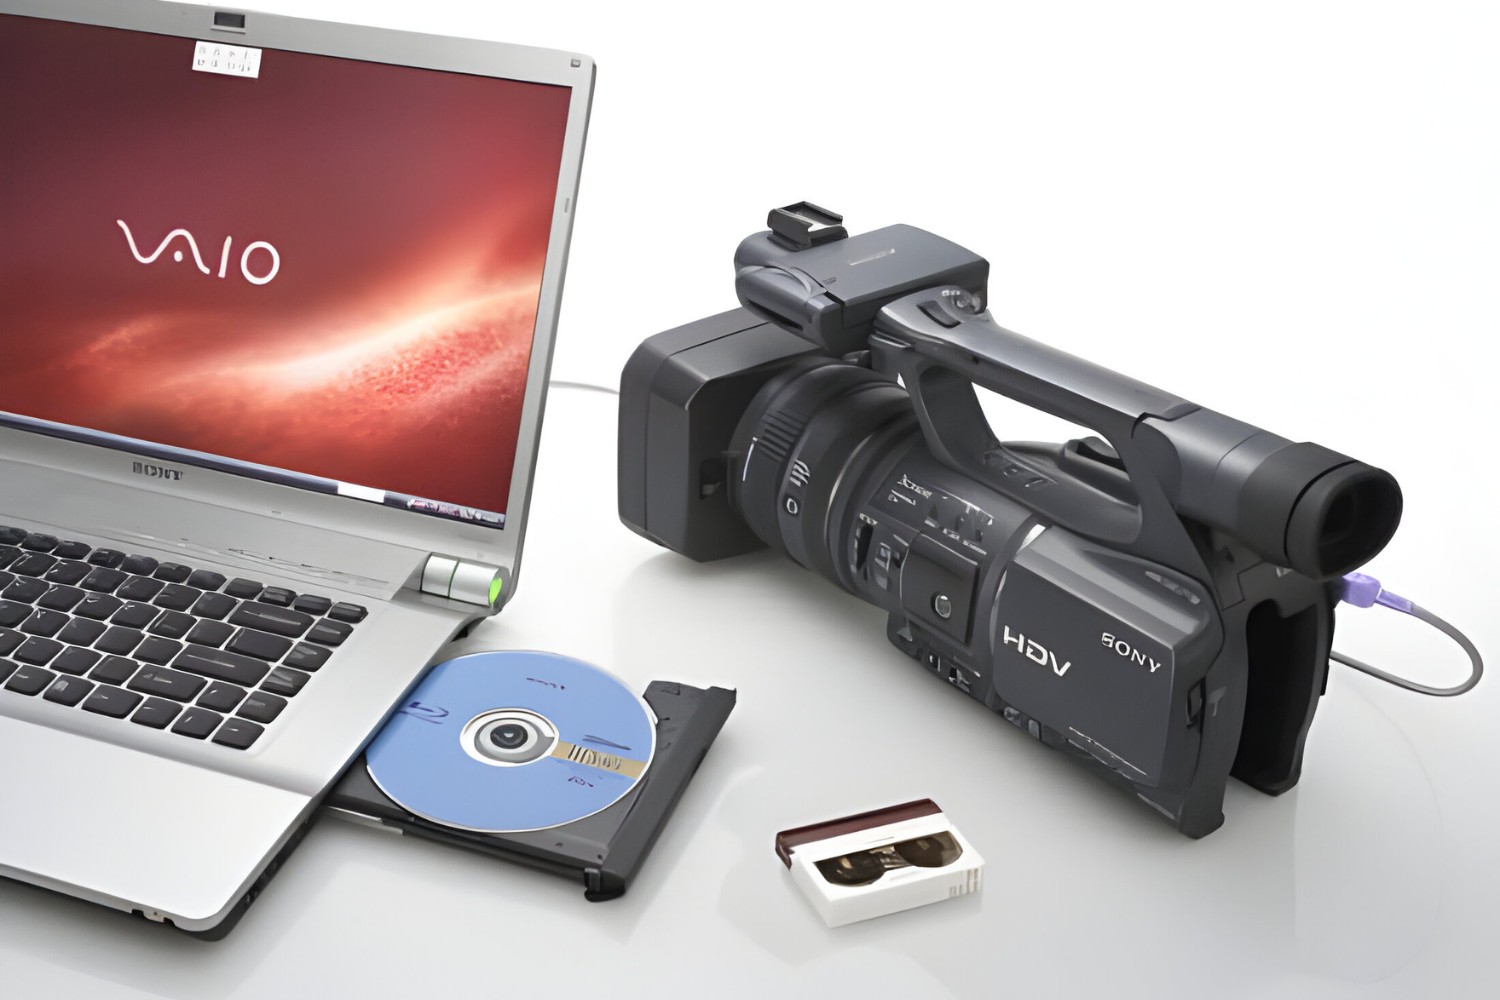
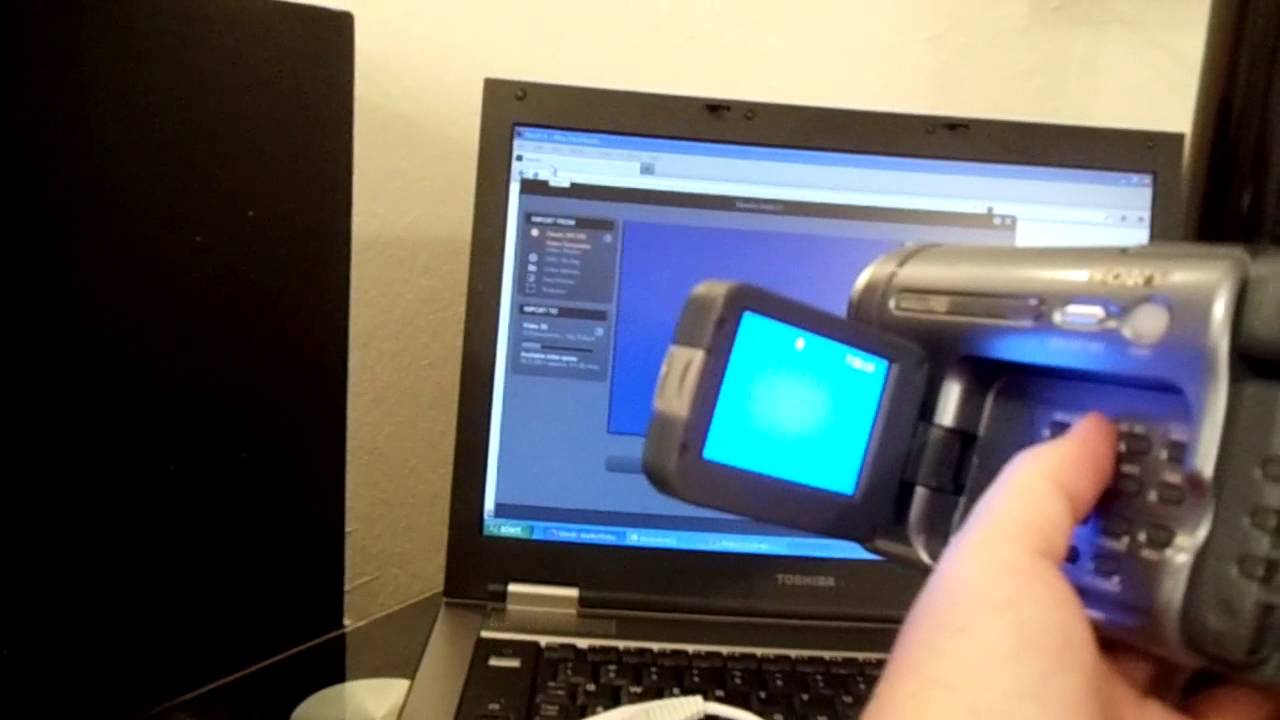
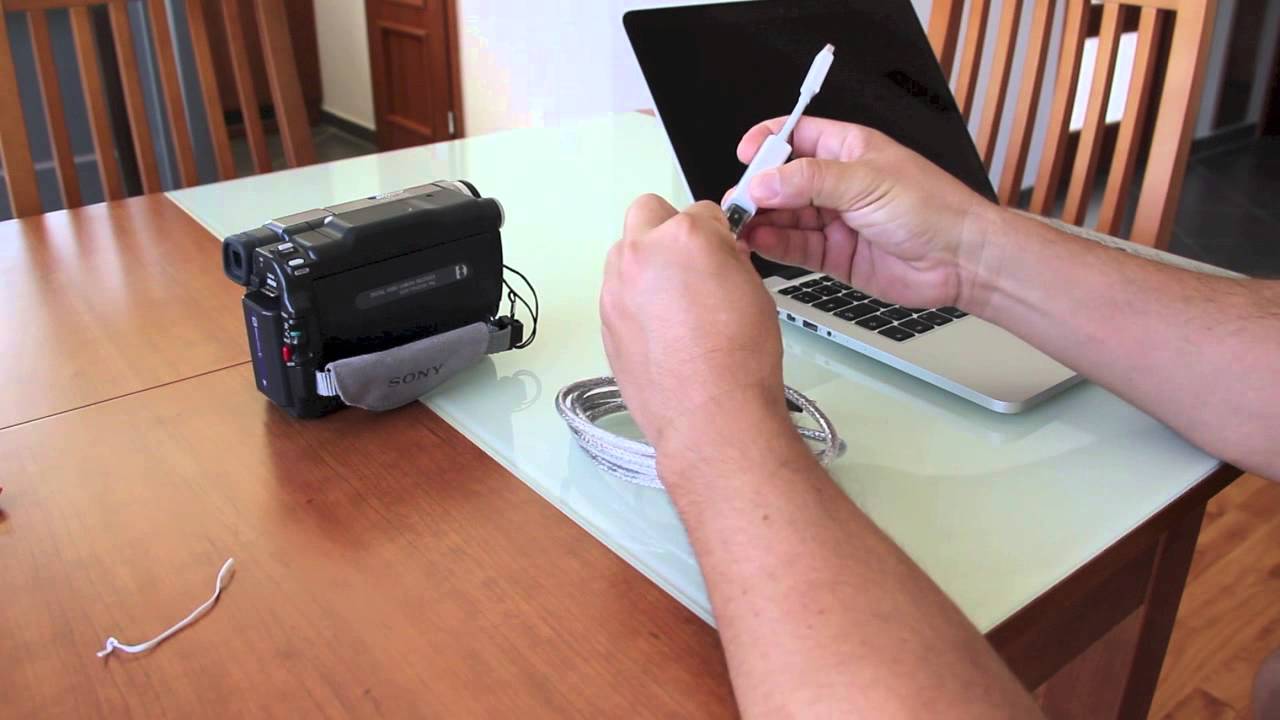
Before delving into the video transfer process, it is crucial to establish a seamless connection between your camcorder and your Mac. This initial step sets the foundation for the subsequent transfer methods, ensuring a smooth and efficient process. Here’s how to connect your camcorder to your Mac:
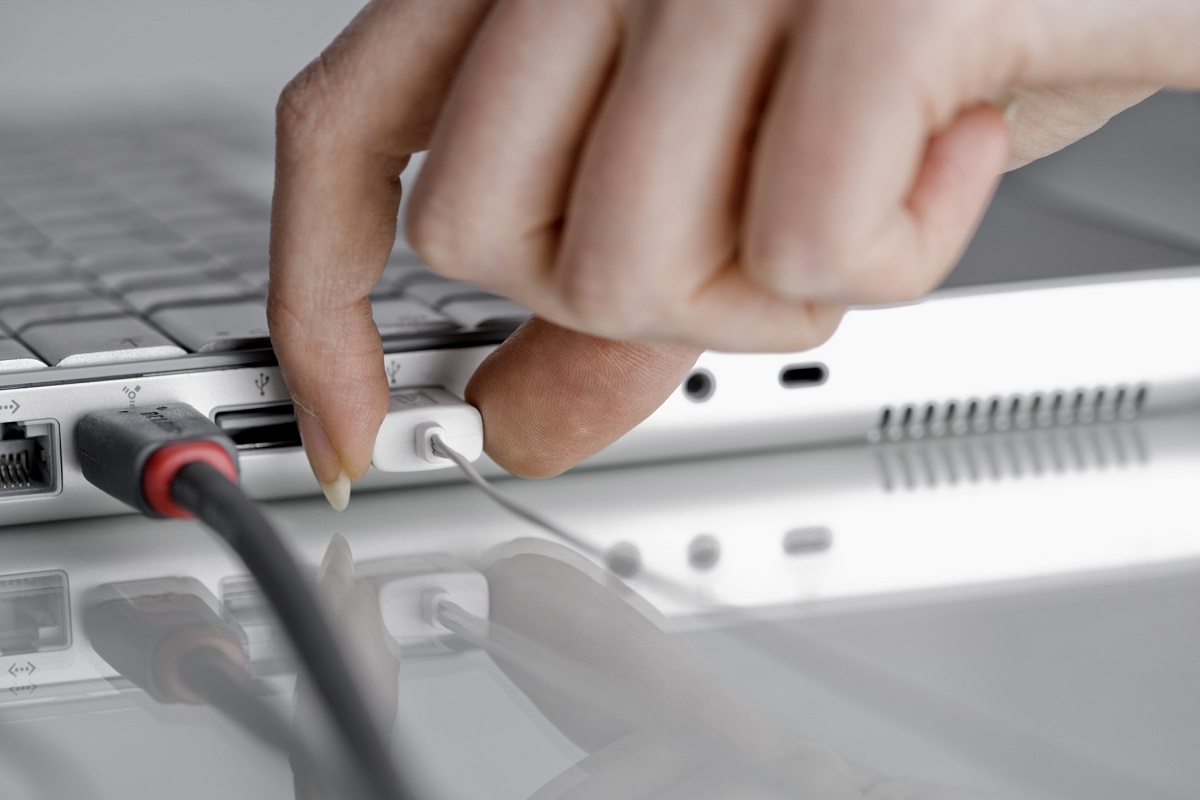
- Using a USB Cable: Most modern camcorders are equipped with a USB port, allowing for direct connectivity to your Mac. Simply locate the USB port on your camcorder and connect it to an available USB port on your Mac using a compatible USB cable. Once connected, your Mac should recognize the camcorder as an external device, enabling you to access its contents.
- Utilizing Firewire (IEEE 1394) Connection: If your camcorder features a Firewire port, also known as IEEE 1394, you can establish a high-speed connection to your Mac using a Firewire cable. This method is particularly beneficial for transferring large video files, ensuring swift and efficient data transfer.
- Wireless Transfer: Some modern camcorders support wireless connectivity, enabling you to transfer videos to your Mac without the need for physical cables. Ensure that both your camcorder and Mac are connected to the same wireless network, and follow the manufacturer’s instructions to initiate the wireless transfer process.
Once the connection is established, you are ready to proceed to the next step, where you will explore various methods to import your videos to your Mac, unleashing the potential to relive and cherish your precious moments.
Step 2: Import Videos Using iMovie
iMovie, a versatile and user-friendly video editing software exclusive to Mac, offers a convenient method to import videos from your camcorder. Follow these steps to seamlessly transfer your videos using iMovie:
- Launch iMovie: Open iMovie on your Mac. If you don’t have iMovie installed, you can download it from the Mac App Store.
- Connect Your Camcorder: Ensure that your camcorder is connected to your Mac using the appropriate method outlined in Step 1.
- Import Videos: In iMovie, click on the “File” menu and select “Import Media” or simply drag the video files from your camcorder into the iMovie interface. iMovie will automatically detect the connected camcorder and prompt you to import the videos.
- Organize and Edit: Once the videos are imported, you can organize them into events and projects within iMovie. This allows for easy access and efficient management of your video library. Additionally, iMovie provides powerful editing tools, enabling you to enhance your videos with transitions, effects, and audio enhancements.
- Save Your Project: After editing and organizing your videos, be sure to save your project to preserve your work and ensure that your videos are readily accessible for future viewing or further editing.
By leveraging iMovie’s intuitive interface and robust features, you can effortlessly import, organize, and enhance your videos, transforming them into captivating visual narratives that resonate with your audience. With your videos now securely stored on your Mac, you are ready to explore additional methods to transfer and manage your video content.
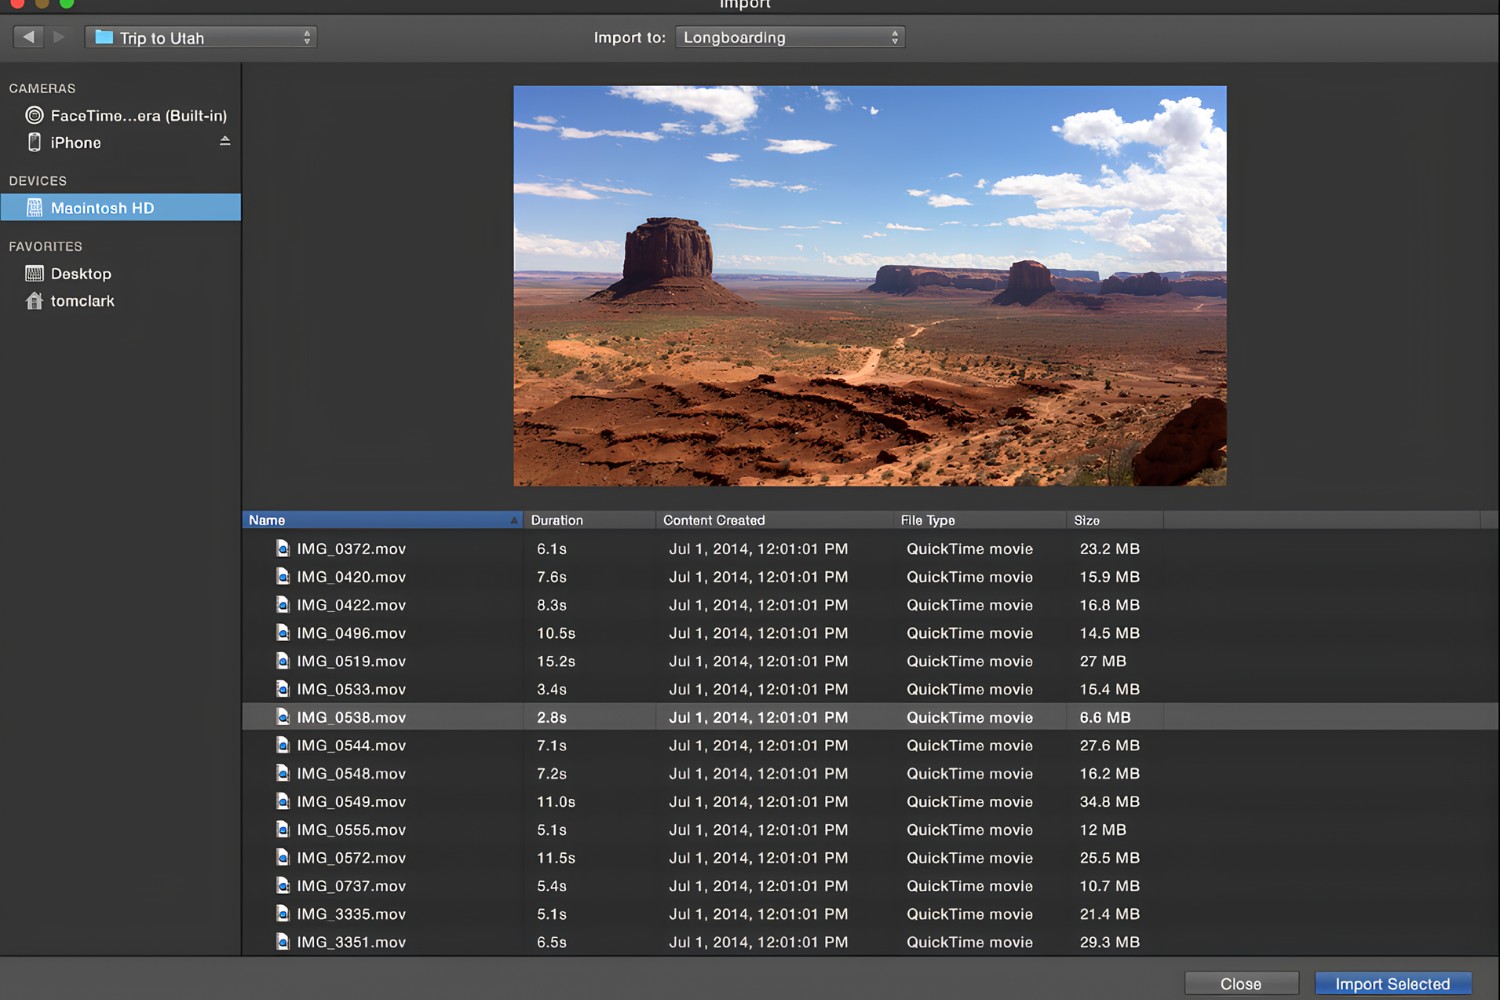
Step 3: Import Videos Using Image Capture
Image Capture, a built-in utility on your Mac, provides a straightforward method to import videos from your camcorder. Follow these steps to seamlessly transfer your videos using Image Capture:
- Launch Image Capture: Open Image Capture on your Mac. You can find it in the Applications folder or by using Spotlight search.
- Connect Your Camcorder: Ensure that your camcorder is connected to your Mac using the appropriate method outlined in Step 1.
- Select Your Camcorder: In the Image Capture interface, your connected camcorder will appear as a device. Click on your camcorder to view all the videos stored on it.
- Import Videos: Select the videos you want to transfer to your Mac. You can either import all videos or choose specific ones based on your preferences. After selecting the videos, click on the “Import” button to initiate the transfer process.
- Choose Import Destination: Image Capture allows you to specify the destination folder for your imported videos. Select a folder on your Mac where you want the videos to be saved. This ensures that your videos are organized and readily accessible.
With Image Capture’s streamlined interface and intuitive functionality, you can efficiently import your videos, preserving your cherished memories and paving the way for seamless access and management on your Mac. As your videos are securely stored on your Mac, you are now equipped with the knowledge to explore additional methods to transfer and manage your video content.
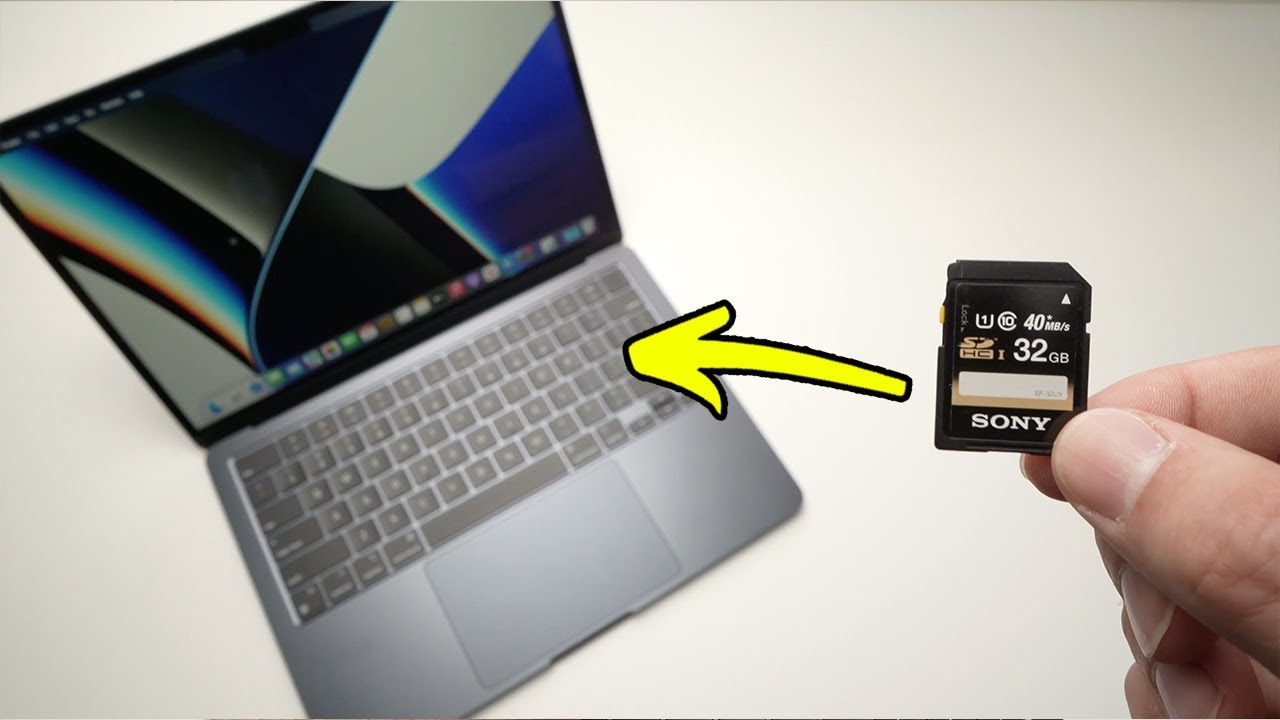
Step 4: Import Videos Using a Card Reader
Utilizing a card reader presents an alternative and convenient method to import videos from your camcorder to your Mac. Follow these steps to seamlessly transfer your videos using a card reader:
- Insert the Memory Card: Remove the memory card from your camcorder and insert it into the appropriate slot on the card reader. If your camcorder uses a specific type of memory card, ensure that the card reader is compatible with that format.
- Connect the Card Reader to Your Mac: Plug the card reader into an available USB port on your Mac. Once connected, your Mac will recognize the inserted memory card as a removable storage device.
- Access the Videos: Open Finder on your Mac and navigate to the card reader, where the inserted memory card will appear as a removable drive. Click on the drive to access the videos stored on the memory card.
- Transfer Videos: Select the videos you wish to import to your Mac and drag them to a designated folder on your computer. This simple drag-and-drop method allows for quick and efficient transfer of your videos from the memory card to your Mac.
- Eject the Memory Card: After the transfer is complete, safely eject the memory card from the card reader to ensure that the data is properly saved, and then remove the memory card from the card reader.
By leveraging a card reader, you can seamlessly import your videos to your Mac, providing a convenient and versatile approach to managing your video content. With your videos now securely stored on your Mac, you are well-equipped to explore additional methods to transfer and manage your cherished video memories.
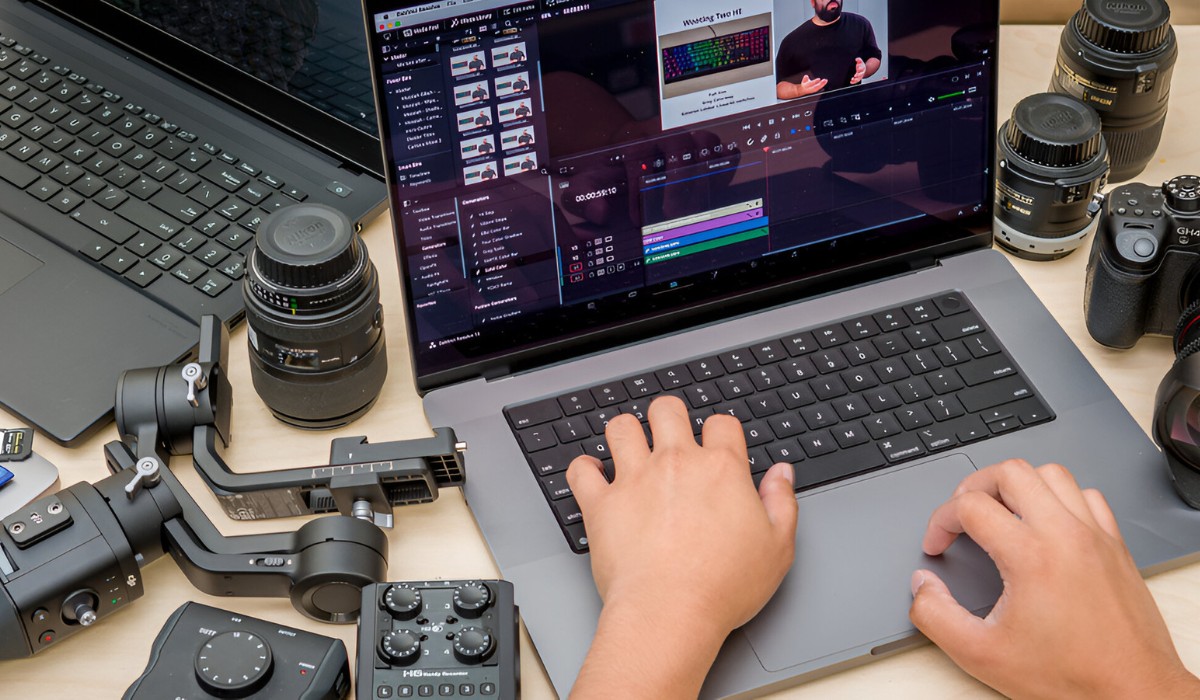
Step 5: Edit and Organize Your Videos on Mac
Now that your videos are successfully transferred to your Mac, it’s time to explore the options for editing and organizing your video library. Mac offers a range of powerful tools and applications that enable you to enhance and manage your video content with ease. Here are the essential steps to edit and organize your videos on Mac:
- Utilize iMovie for Editing: iMovie, a feature-rich video editing software, empowers you to refine your videos with professional-looking effects, transitions, and audio enhancements. Dive into iMovie’s intuitive interface to trim, crop, and add titles to your videos, transforming them into captivating visual stories.
- Explore Third-Party Editing Software: If you seek advanced editing capabilities, consider exploring third-party video editing applications available for Mac, such as Final Cut Pro or Adobe Premiere Pro. These robust tools offer a wide array of features for refining and customizing your videos to perfection.
- Organize Your Video Library: Create dedicated folders on your Mac to categorize and organize your videos based on themes, events, or dates. This systematic approach ensures that your video library remains well-structured and easily navigable, allowing for effortless access to specific videos when needed.
- Utilize Metadata and Tags: Leverage the metadata and tagging features on your Mac to add descriptive information and keywords to your videos. This enhances searchability and facilitates quick retrieval of specific videos based on criteria such as location, date, or content type.
- Back Up Your Videos: Implement a robust backup strategy to safeguard your videos against potential data loss. Utilize cloud storage services or external hard drives to create redundant copies of your video library, ensuring that your precious memories are securely preserved.
By embracing the editing and organizational capabilities of your Mac, you can transform your videos into polished creations while maintaining a well-organized and easily accessible video library. With these essential steps, you are well-prepared to unleash your creativity, preserve your cherished memories, and seamlessly manage your video content on your Mac.