Introduction
So, you've captured some amazing moments with your trusty camcorder, and now you're eager to transfer those precious videos to your Windows 10 computer. Whether it's footage of a family gathering, a special event, or just some creative content you've been working on, the process of transferring camcorder videos to your computer is easier than you might think. This guide will walk you through the steps to seamlessly transfer your videos and get them ready for viewing, editing, and sharing.
With the advancement of technology, most modern camcorders are equipped with various connectivity options, making it convenient to transfer videos to a computer. Windows 10, with its user-friendly interface and robust multimedia capabilities, provides an ideal platform for managing and editing your video files. By following the steps outlined in this guide, you'll be able to effortlessly transfer your camcorder videos to your Windows 10 computer and begin the next phase of your video editing journey.
The process of transferring camcorder videos to your computer not only allows for easy access and storage but also opens up a world of possibilities for editing and sharing. Whether you want to create a memorable montage, add special effects, or simply store your videos for safekeeping, having them on your computer provides the flexibility and convenience you need.
So, without further ado, let's dive into the step-by-step process of transferring your camcorder videos to your Windows 10 computer. Get ready to unlock the full potential of your video footage and unleash your creativity as you embark on this exciting digital journey.
Step 1: Connect your camcorder to your computer
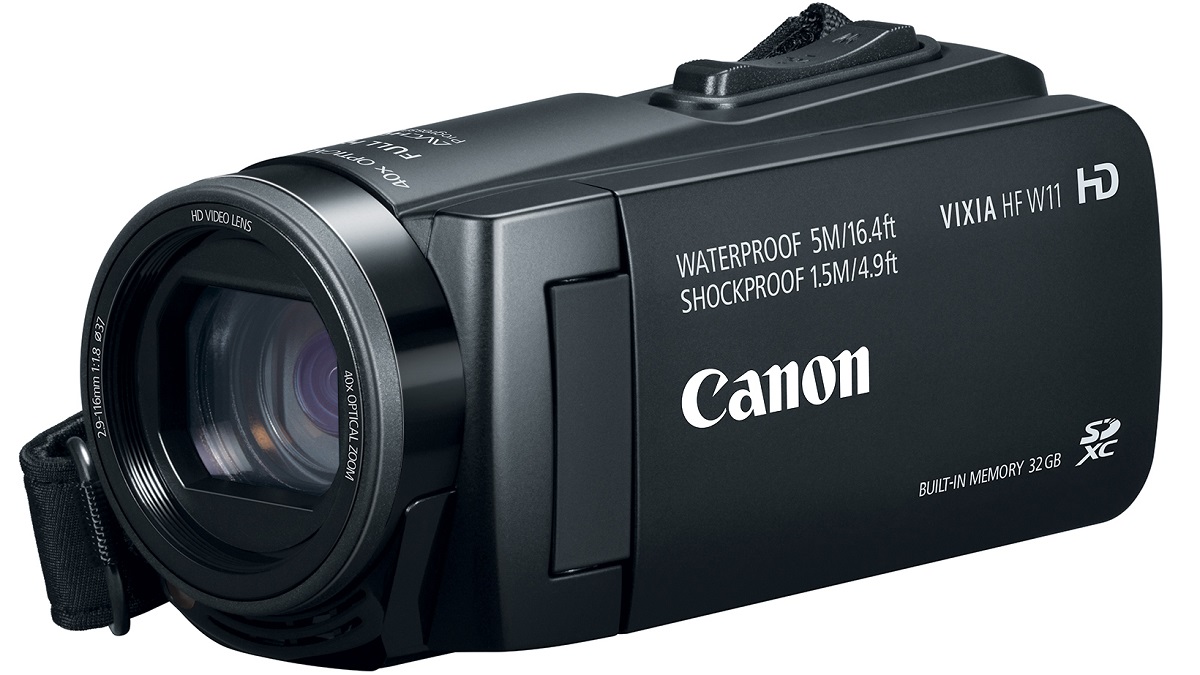
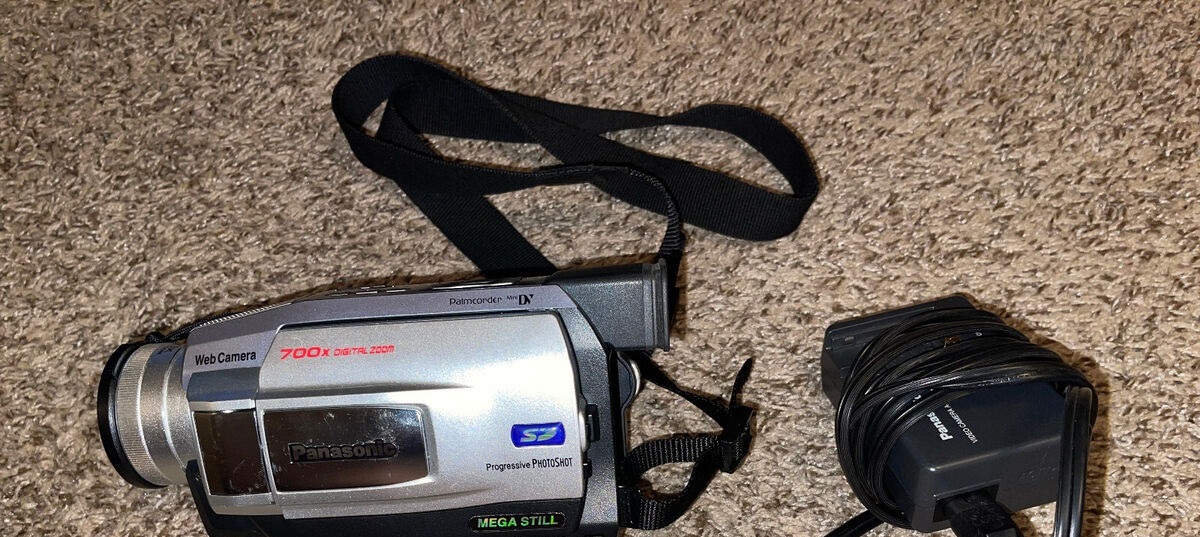
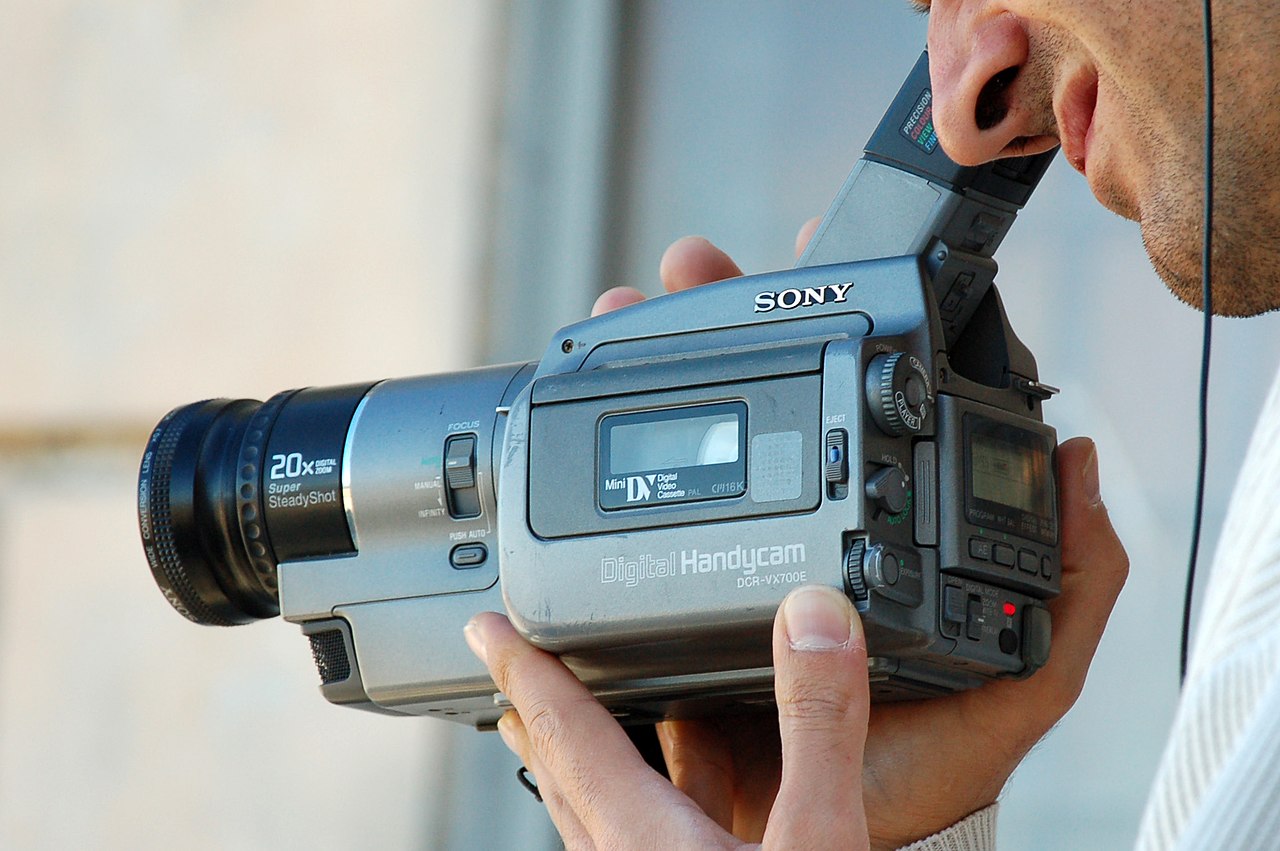
Before you can begin transferring your camcorder videos to your Windows 10 computer, you need to establish a physical connection between the two devices. The method of connection may vary depending on the type of camcorder you have, but the overall process remains straightforward.
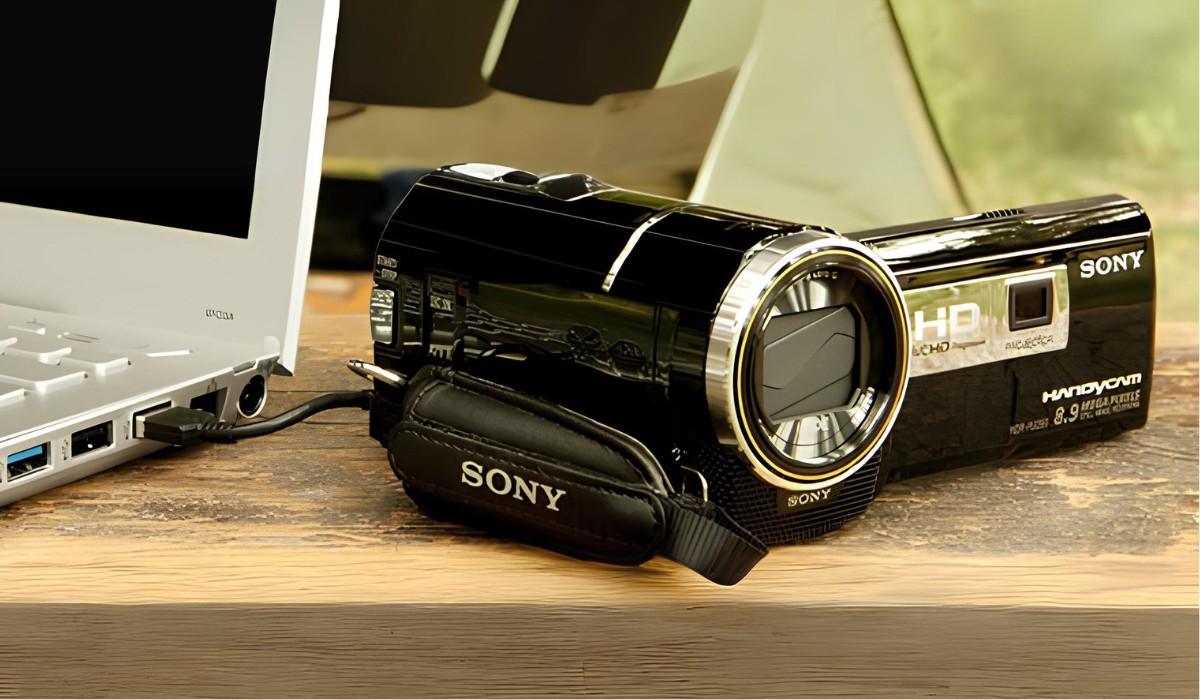
If your camcorder has a USB port, you can use a USB cable to connect it directly to your computer. Once connected, your computer should detect the camcorder as an external device, allowing you to access its contents.
For camcorders that utilize memory cards, you may need to remove the memory card from the camcorder and insert it into a card reader connected to your computer. Many modern computers have built-in card readers, but if yours doesn’t, external card readers are widely available and can be easily connected via USB.
Alternatively, if your camcorder supports wireless connectivity, you can establish a wireless connection between the camcorder and your computer. This method is particularly convenient as it eliminates the need for physical cables and allows for seamless file transfer.
Once the physical connection is established, you’re ready to move on to the next step of transferring your videos to your Windows 10 computer. The successful connection between your camcorder and computer sets the stage for a smooth and efficient transfer process, ensuring that your precious video footage is readily accessible for further management and editing.
Step 2: Transfer the video files
With your camcorder successfully connected to your Windows 10 computer, it’s time to initiate the transfer of your video files. Windows 10 offers several methods for transferring these files, providing flexibility and convenience to suit your preferences.
One of the most common approaches is to use the File Explorer utility in Windows 10. By navigating to the connected camcorder or the inserted memory card, you can access the video files stored on the device. Simply select the desired files and copy them to a location on your computer, such as the Videos folder or a dedicated folder for your camcorder footage.
Another method involves using specialized software provided by the camcorder manufacturer. Many camcorders come with proprietary software that facilitates the transfer of video files to a computer. This software may offer additional features such as video organization, basic editing tools, and direct integration with multimedia applications on your computer.
For wireless connections, some camcorders support direct transfer of video files to a designated folder on your computer over the wireless network. This wireless transfer method eliminates the need for physical cables or memory card removal, streamlining the process and allowing for quick and convenient file transfer.
Regardless of the method you choose, it’s essential to ensure that the video files are transferred to a location on your computer where you can easily locate and manage them. Organizing your video files in a dedicated folder structure can help streamline your editing and sharing processes, making it easier to locate specific footage when needed.
By following these steps, you can effectively transfer your camcorder video files to your Windows 10 computer, setting the stage for the next phase of your video editing and sharing journey.
Step 3: Organize and edit your videos
Now that your camcorder videos are safely transferred to your Windows 10 computer, it’s time to organize and prepare them for editing. Windows 10 provides built-in tools and supports a variety of third-party applications for video organization and editing, offering you the flexibility to tailor your workflow to your specific needs.
Start by organizing your video files into logical folders based on themes, events, or any other categorization that suits your content. This step is crucial for maintaining a structured library of videos, making it easier to locate specific footage when you’re ready to start editing. By creating a well-organized system, you can streamline your editing process and enhance your overall video management experience.
Windows 10 includes the Photos app, which offers basic video editing capabilities, allowing you to trim, add music, apply filters, and create simple video projects. This built-in tool is ideal for quick edits and creating compilations from your camcorder footage without the need for additional software.
If you require more advanced editing features, there is a wide range of third-party video editing software available for Windows 10. These applications offer comprehensive editing tools, special effects, transitions, and advanced features to elevate your video projects to the next level. Whether you’re a beginner or a seasoned video editor, you’ll find an editing tool that suits your skill level and creative aspirations.
Once your videos are organized and edited to your satisfaction, you can seamlessly share them with friends, family, or your online audience. Windows 10 provides various options for sharing your videos, including social media integration, email, and cloud storage services, enabling you to showcase your creative work with ease.
By following these steps, you can effectively organize and edit your camcorder videos on your Windows 10 computer, unleashing your creativity and bringing your video projects to life.
Conclusion
Congratulations! You’ve successfully transferred your camcorder videos to your Windows 10 computer and taken the first steps towards organizing, editing, and sharing your precious video footage. The process of transferring videos from your camcorder to your computer not only provides a secure backup but also unlocks a world of creative possibilities.
By connecting your camcorder to your computer and initiating the transfer of video files, you’ve ensured that your footage is readily accessible for future editing and sharing endeavors. Windows 10’s user-friendly interface and versatile multimedia capabilities have made this process seamless and efficient, empowering you to take full control of your video projects.
With your videos safely stored on your computer, you can now embark on the journey of organizing and editing your footage. Whether you opt for the built-in editing tools provided by Windows 10 or explore third-party video editing software, you have the resources at your fingertips to transform your raw footage into captivating visual stories.
As you organize your videos into logical folders and apply your creative touch through editing, you’re laying the groundwork for sharing your unique perspective with the world. Whether your videos capture cherished family moments, artistic endeavors, or professional projects, Windows 10 offers a range of sharing options to help you connect with your audience.
By following the steps outlined in this guide, you’ve not only mastered the art of transferring camcorder videos to your Windows 10 computer but also set the stage for a fulfilling and creative video editing experience. Embrace the versatility and power of your Windows 10 platform as you continue to explore, create, and share your video projects with confidence and enthusiasm.