Introduction
Are you eager to capture memorable moments on your Windows 10 computer directly from your camcorder? With the right setup and configuration, you can seamlessly live record from your camcorder onto your Windows 10 system. This guide will walk you through the process, from setting up your camcorder to initiating the live recording. By the end, you'll be equipped with the knowledge to effortlessly record precious moments and events.
Live recording from your camcorder to your Windows 10 computer opens up a world of possibilities. Whether you're a vlogger, a filmmaker, or simply someone who wants to preserve special occasions, this feature allows you to directly capture footage onto your computer for immediate viewing, editing, or sharing. It's a convenient and efficient way to manage your recordings without the need for additional hardware or complex setups.
In the following sections, we'll delve into the step-by-step process of setting up your camcorder, connecting it to your Windows 10 computer, configuring the recording settings, and initiating the live recording. Additionally, we'll provide valuable tips to ensure a successful recording experience. So, grab your camcorder and let's embark on this journey to unlock the full potential of live recording on Windows 10.
Setting up your camcorder
Before diving into the live recording process, it’s essential to ensure that your camcorder is properly set up and ready to interface with your Windows 10 computer. Here are the key steps to prepare your camcorder for seamless connectivity:
- Power and Battery: Start by ensuring that your camcorder is adequately powered. If it operates on a rechargeable battery, make sure it’s fully charged to avoid interruptions during the recording process.
- Memory Card: Check if your camcorder requires a memory card for recording. If so, ensure that the memory card is inserted and has sufficient storage capacity to accommodate your recording session.
- External Microphone (Optional): If you plan to use an external microphone for enhanced audio quality, connect it to your camcorder and perform a quick test to verify that the audio input is functioning correctly.
- Adjust Settings: Familiarize yourself with the settings on your camcorder, including resolution, frame rate, and any additional features that you may want to customize based on your recording requirements.
- Clean Lens and Check Focus: Ensure that the camcorder’s lens is clean and free from smudges or dust. Additionally, check the focus to guarantee that your recordings will be sharp and visually appealing.
By meticulously preparing your camcorder, you lay the groundwork for a smooth and uninterrupted live recording experience. Once your camcorder is set up and optimized, you’re ready to proceed with connecting it to your Windows 10 computer for the live recording process.
Connecting your camcorder to your Windows 10 computer
Now that your camcorder is prepared for recording, the next step is to establish a seamless connection between your camcorder and your Windows 10 computer. This connection enables the transfer of live video and audio feed from the camcorder to the computer for immediate recording. Follow these steps to ensure a successful connection:
- USB or HDMI Connection: Determine the type of connection supported by your camcorder. Most modern camcorders offer USB or HDMI connectivity for transferring audio and video signals to external devices.
- USB Connection: If your camcorder utilizes a USB connection, use a compatible USB cable to connect it to an available USB port on your Windows 10 computer. Ensure that the cable is securely plugged into both the camcorder and the computer.
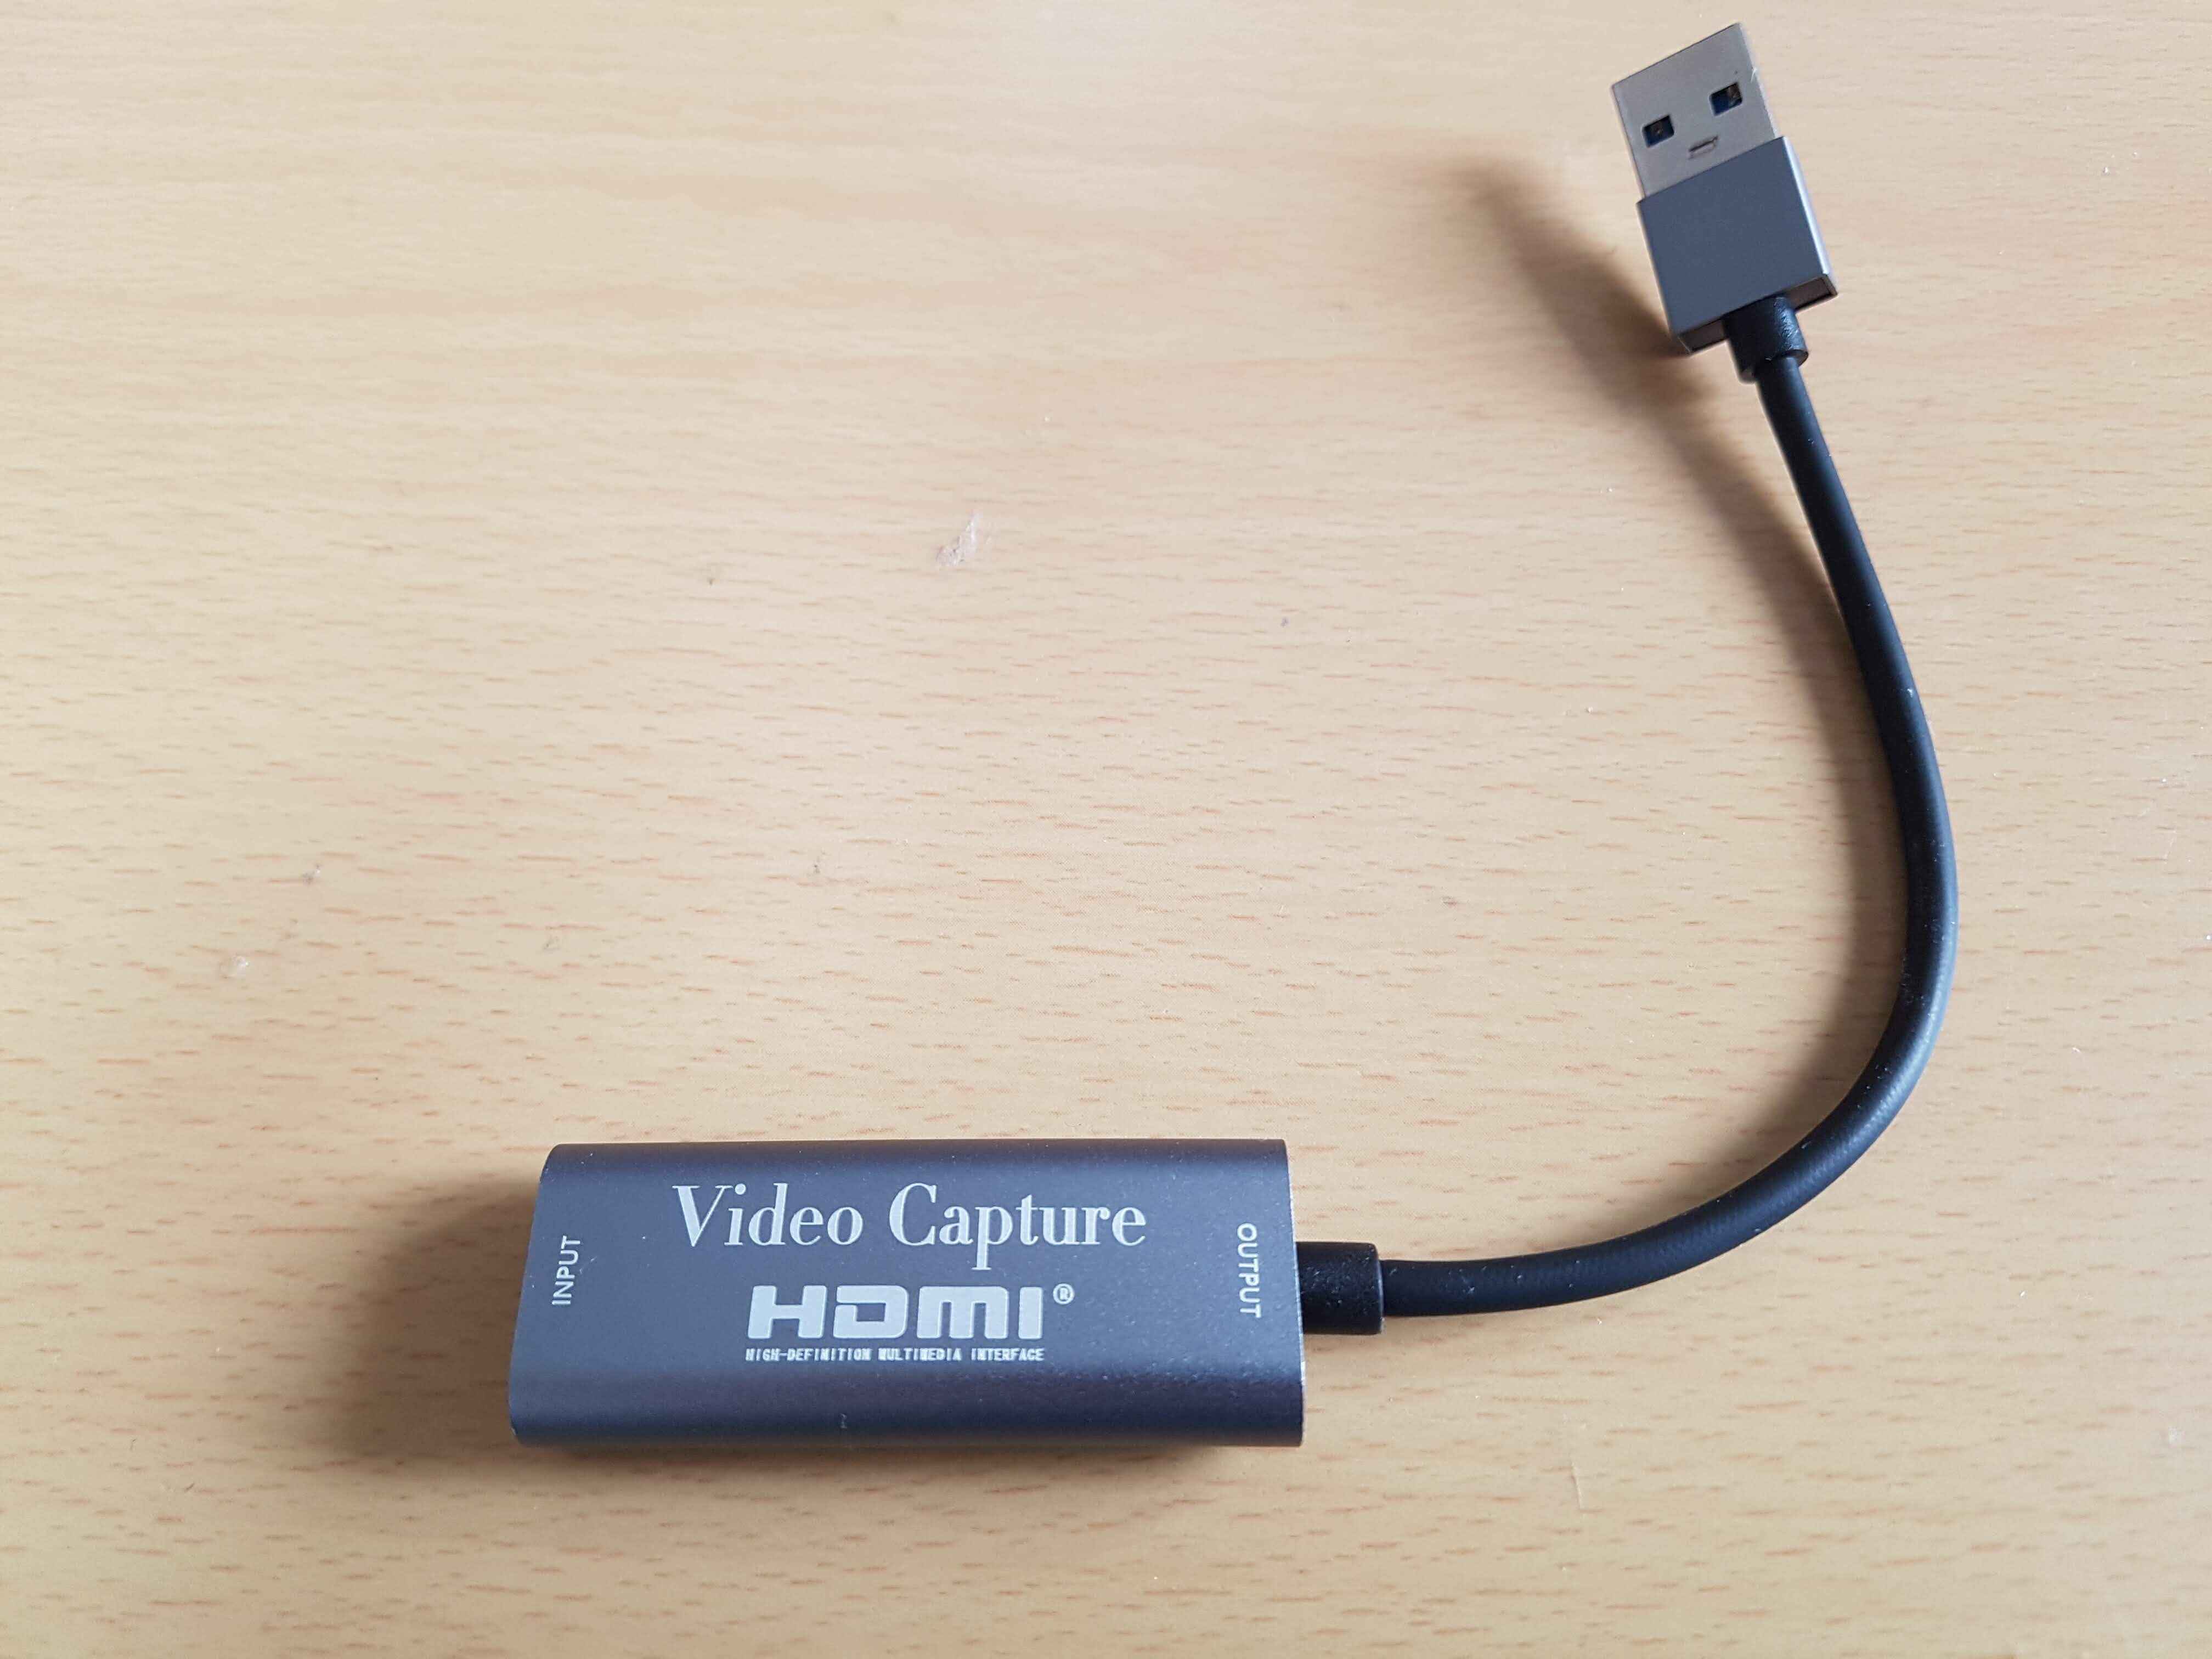
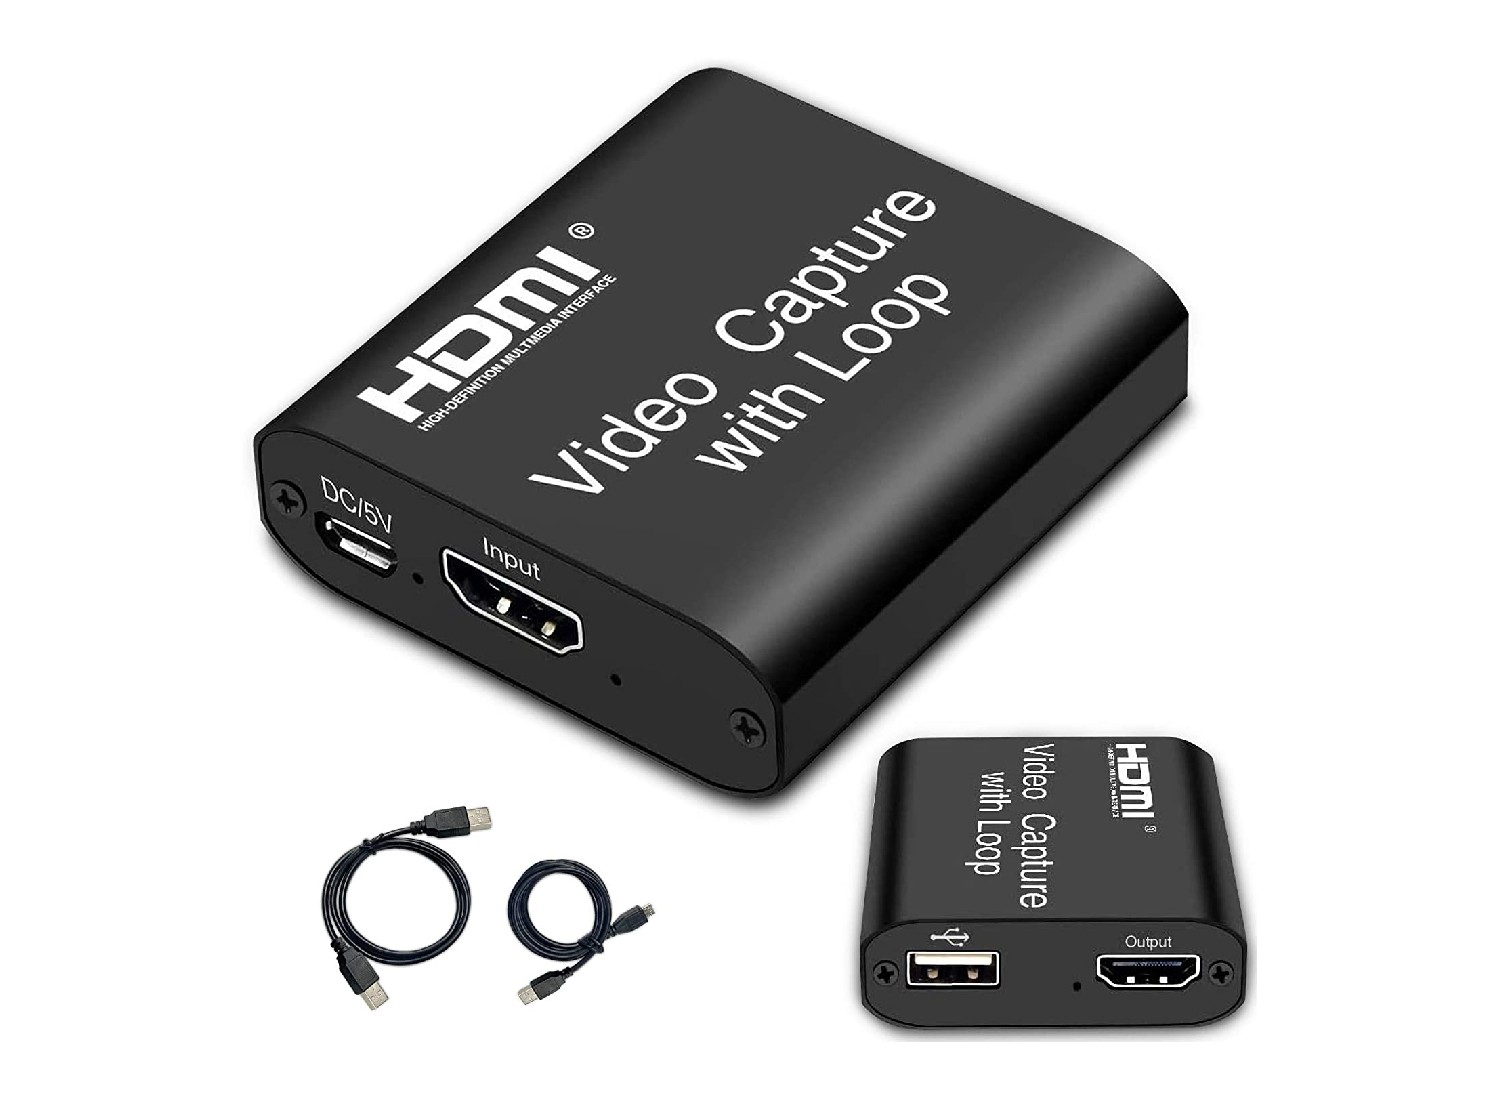
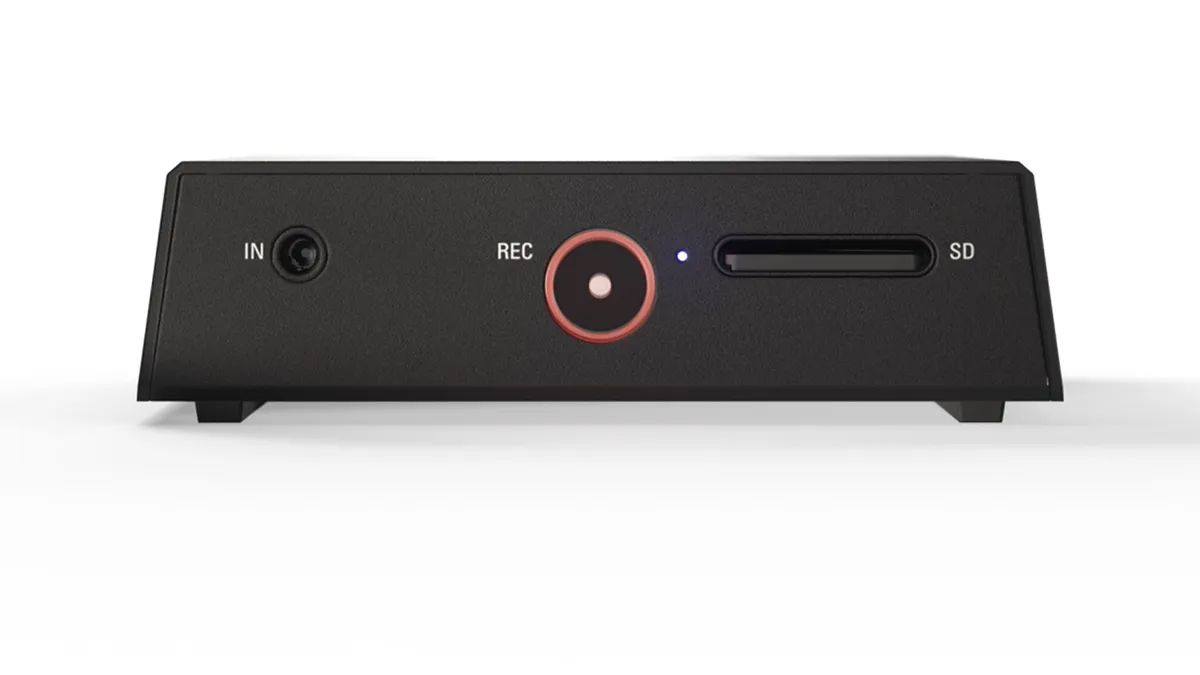
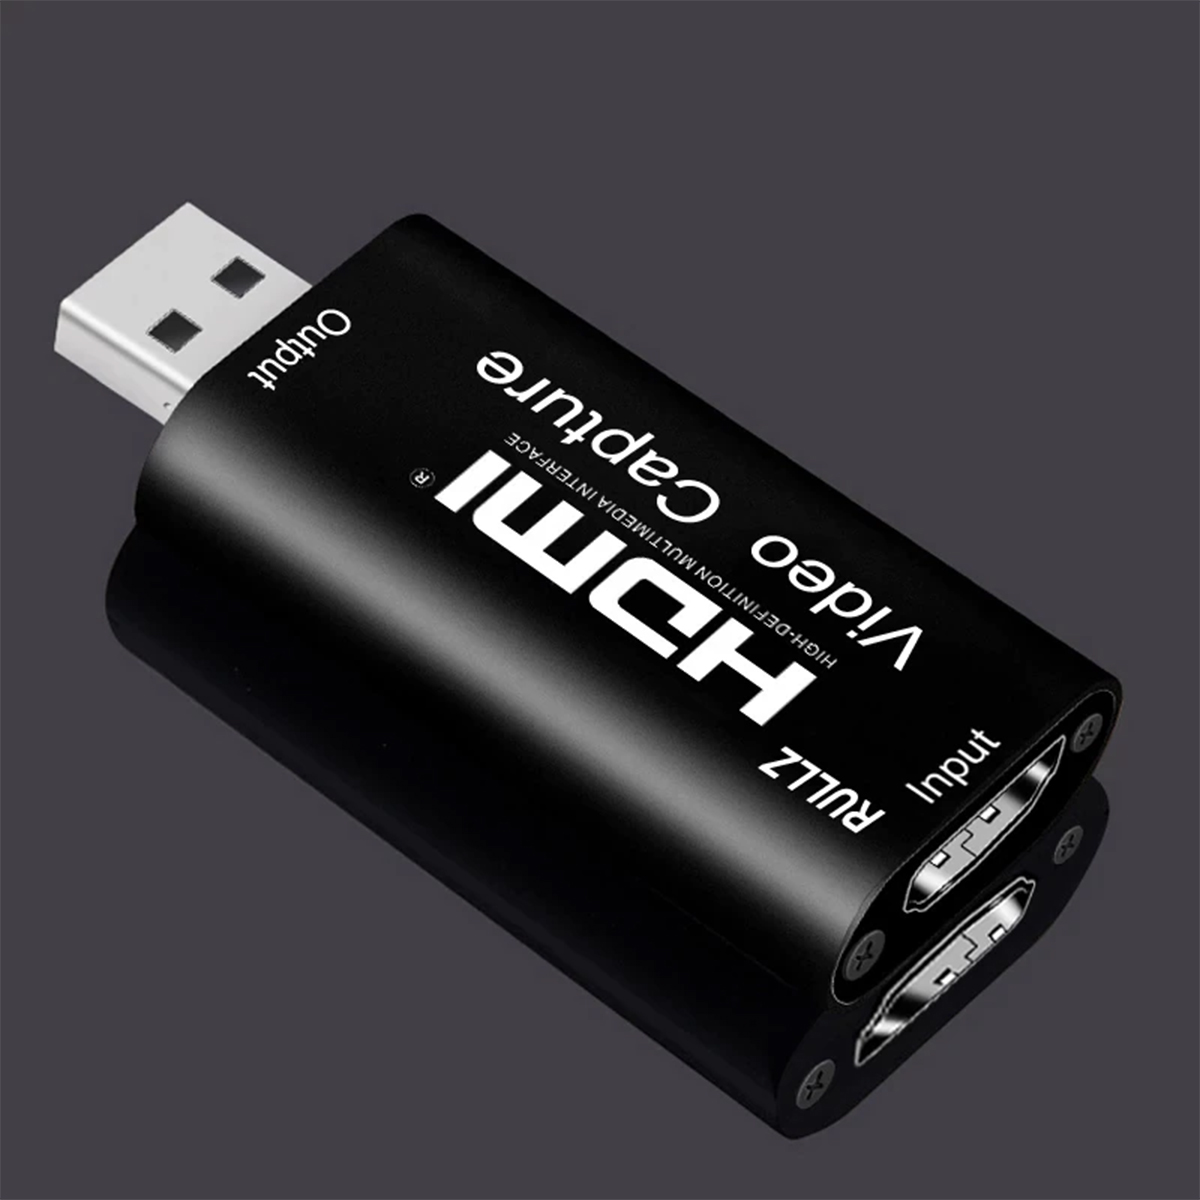
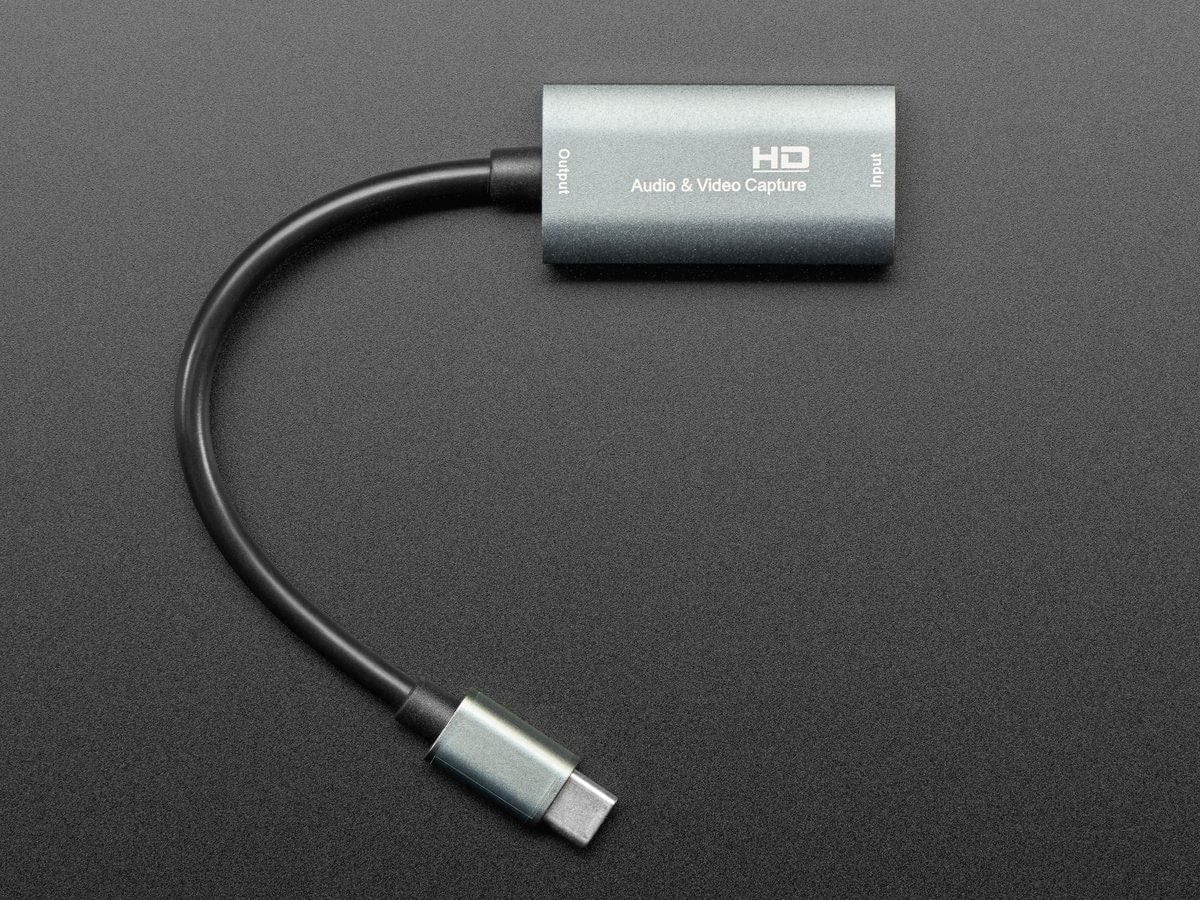
- HDMI Connection: For camcorders with HDMI output, you can use an HDMI cable to connect the camcorder to your computer’s HDMI input, if available. Alternatively, you can use an HDMI capture device to facilitate the connection between the camcorder and the computer.
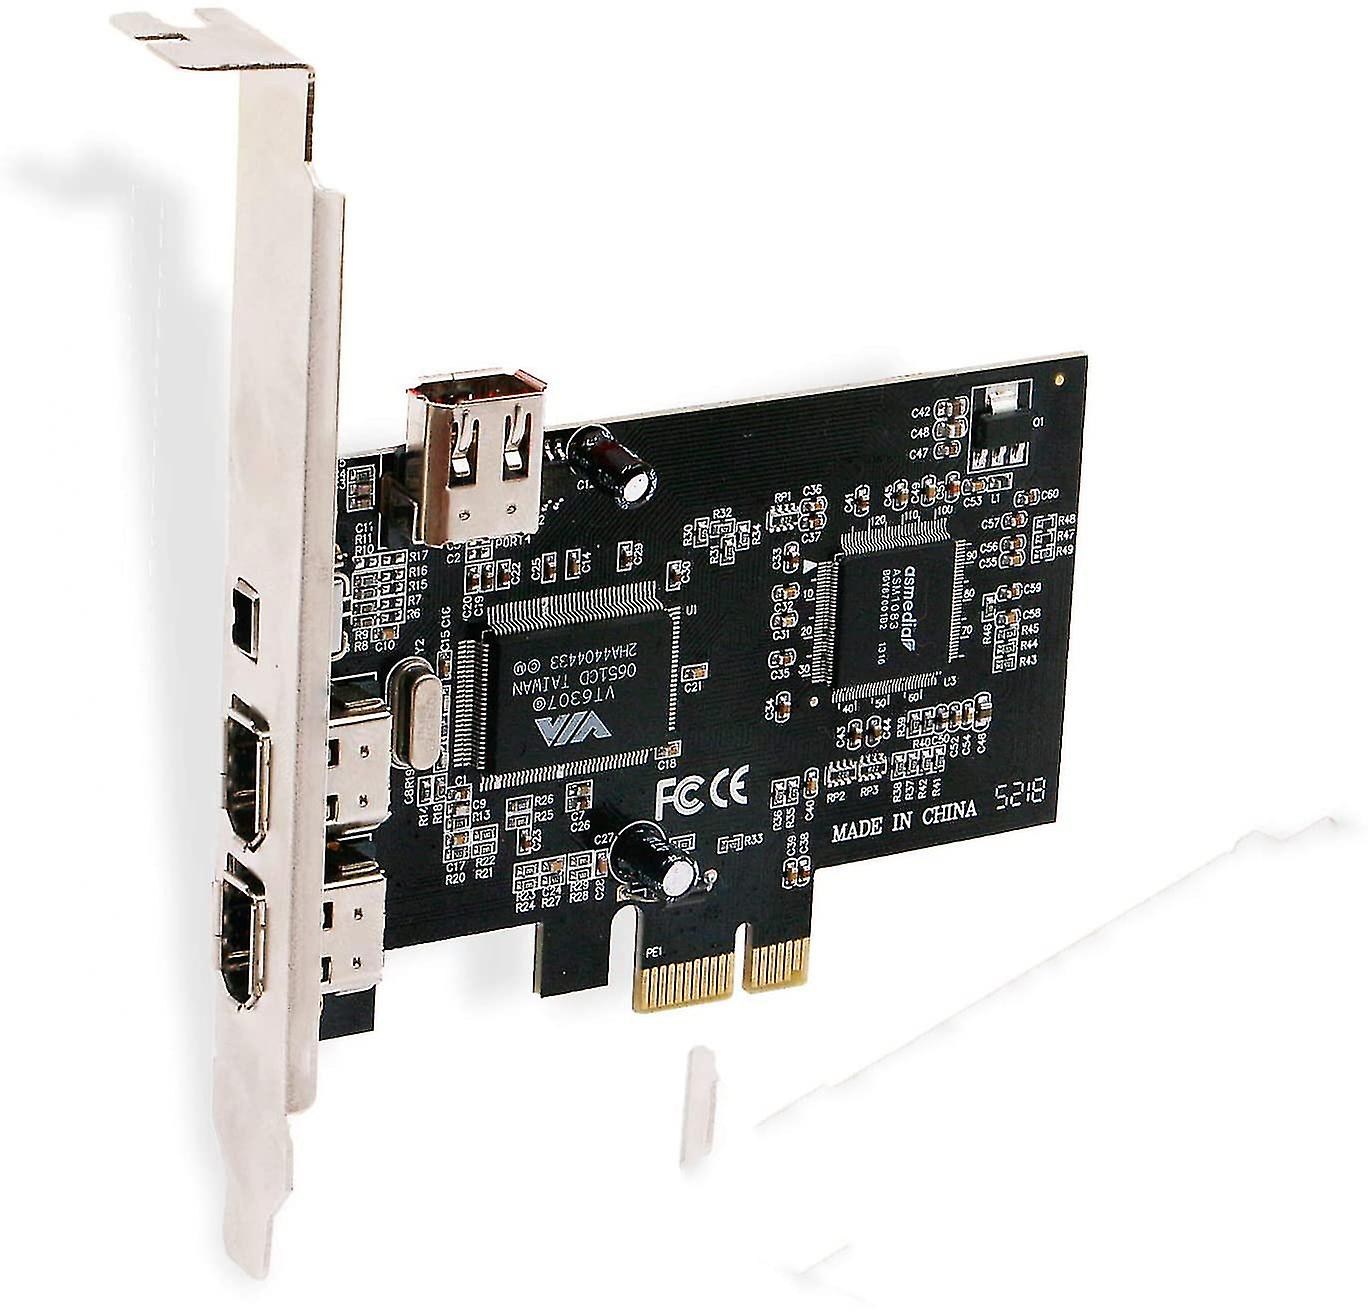
- Driver Installation (if required): In some cases, your Windows 10 computer may require specific drivers to recognize and interface with your camcorder. If prompted, follow the on-screen instructions to install the necessary drivers for seamless connectivity.
- Confirmation of Connection: Once the physical connection is established, verify that your Windows 10 computer recognizes the camcorder as an external device. You can check this by navigating to the “Device Manager” and ensuring that the camcorder is listed under the appropriate category.
By establishing a reliable connection between your camcorder and your Windows 10 computer, you pave the way for a smooth transition to the next phase: configuring the recording settings on your computer to initiate the live recording process.
Configuring the recording settings on your computer
With the physical connection between your camcorder and Windows 10 computer in place, it’s time to configure the recording settings on your computer to prepare for the live recording. Windows 10 offers built-in features and settings that allow you to capture live video and audio from external devices, making it a convenient platform for recording from your camcorder. Follow these steps to set up the recording settings:
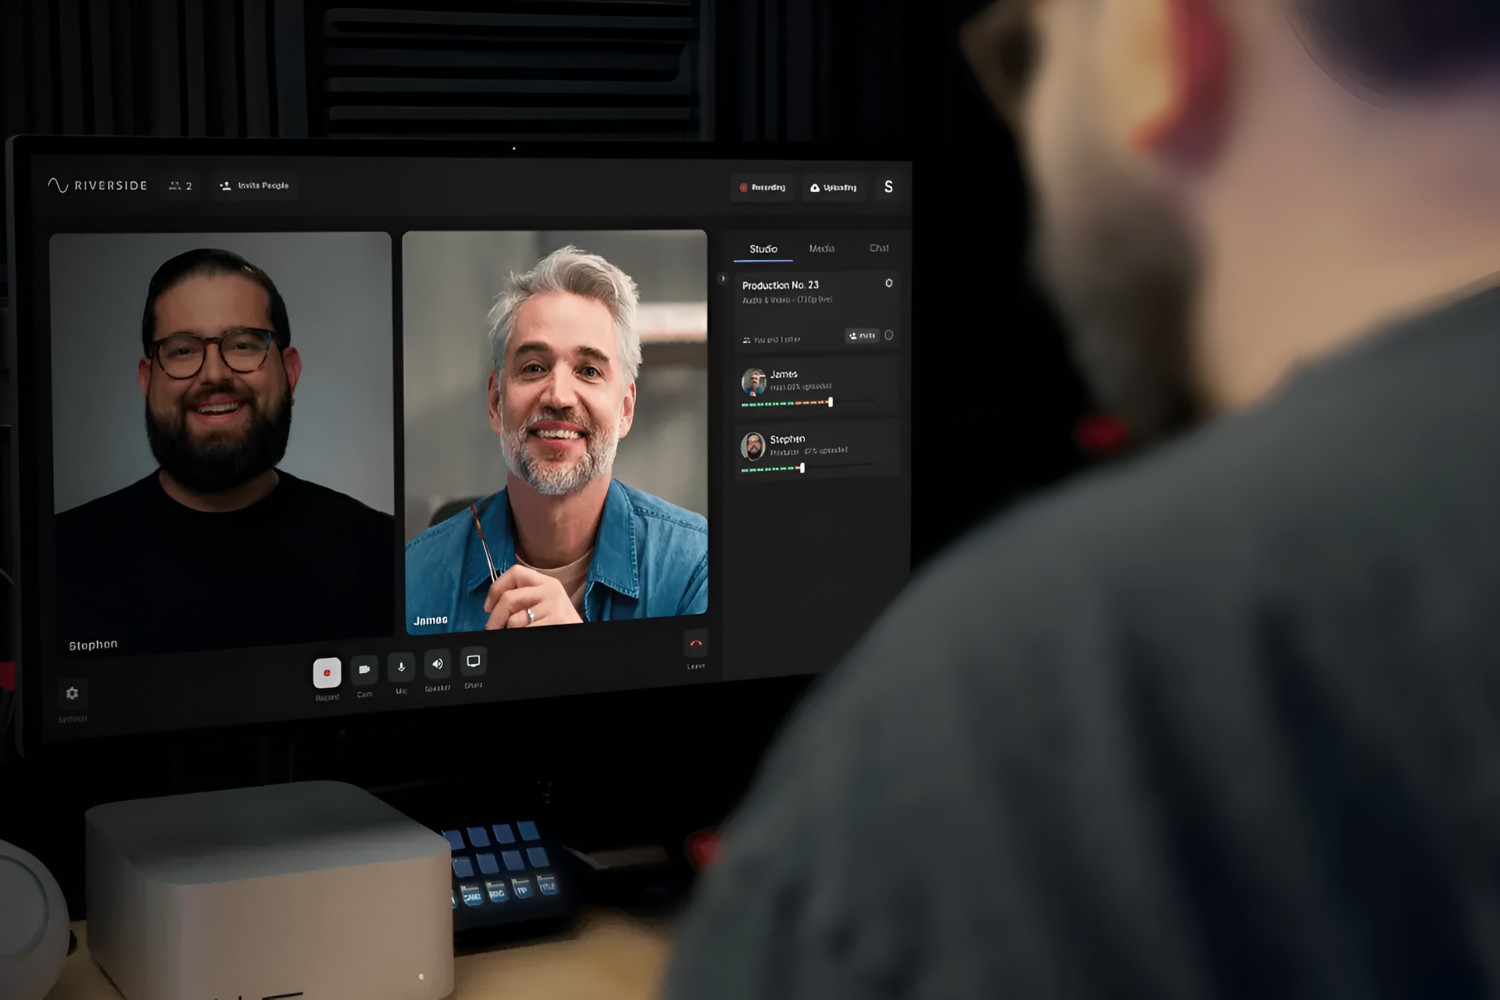
- Open the Recording Software: Launch the recording software of your choice on your Windows 10 computer. You can use built-in applications like the Camera app or Windows Camera, or opt for third-party software that offers advanced recording features.
- Select the Input Device: Within the recording software, navigate to the settings or preferences menu to select the input device. Choose your camcorder from the list of available input devices to ensure that the live video and audio feed from the camcorder are recognized by the software.
- Adjust Video and Audio Settings: Depending on your recording requirements, you may have the option to adjust video resolution, frame rate, audio input levels, and other settings within the recording software. Customize these settings based on your preferences and the specifications of your camcorder.
- Preview the Feed: Before initiating the live recording, take advantage of the preview feature within the recording software to ensure that the video and audio feed from your camcorder are being received and displayed correctly on your Windows 10 computer. This step allows you to make any necessary adjustments before commencing the recording.
- Configure Storage Location: Specify the destination folder or storage location on your computer where the live recording will be saved. Ensure that you have sufficient disk space to accommodate the recording session, especially if you anticipate a lengthy or high-resolution recording.
By meticulously configuring the recording settings on your Windows 10 computer, you set the stage for a seamless and high-quality live recording experience. Once the settings are optimized to your preferences and requirements, you’re ready to initiate the live recording and capture your desired footage directly from your camcorder.
Initiating the live recording
With your camcorder set up, connected to your Windows 10 computer, and the recording settings configured, you’re now poised to initiate the live recording process. This pivotal step marks the commencement of capturing your desired footage directly onto your computer. Follow these guidelines to seamlessly commence the live recording:
- Positioning and Framing: Ensure that your camcorder is positioned to capture the desired scene or subject. Check the framing and composition to guarantee that the recording encompasses the intended visuals.
- Start the Recording Software: Open the recording software on your Windows 10 computer and navigate to the recording interface. Locate the “Record” or “Start Capture” button within the software’s interface.
- Commence the Recording: Click the designated “Record” button to initiate the live recording. Once activated, the software will begin capturing the live video and audio feed from your camcorder onto your Windows 10 computer.
- Monitor the Recording: Throughout the recording session, monitor the live feed displayed on your computer to ensure that the visuals and audio are being captured as intended. Keep an eye on the recording duration and any visual indicators within the software to track the progress of the recording.
- Pause and Resume (if applicable): If your recording software supports pausing and resuming the recording, utilize this feature as needed to manage breaks or interruptions during the recording session. This functionality provides flexibility in capturing continuous footage.
By following these steps, you can confidently initiate the live recording from your camcorder onto your Windows 10 computer. Whether you’re documenting a special event, creating content for your audience, or capturing personal memories, the live recording process empowers you to seamlessly preserve moments in a digital format for future enjoyment and sharing.
Tips for a successful live recording
Embarking on a live recording journey with your camcorder and Windows 10 computer opens up a realm of creative possibilities. To ensure a smooth and successful recording experience, consider the following tips:
- Test the Setup: Before the actual recording session, conduct a brief test to verify that the camcorder is seamlessly interfaced with your Windows 10 computer. This includes checking the video and audio feed, as well as confirming that the recording software is functioning as expected.
- Optimize Lighting: Pay attention to the lighting conditions in the recording environment. Well-lit settings can significantly enhance the visual quality of your recordings, so consider natural light sources or supplementary lighting to achieve optimal results.
- Monitor Audio Levels: Keep an eye on the audio input levels to ensure that the sound being captured is clear and balanced. Adjust the microphone sensitivity or gain settings as needed to maintain high-quality audio throughout the recording.
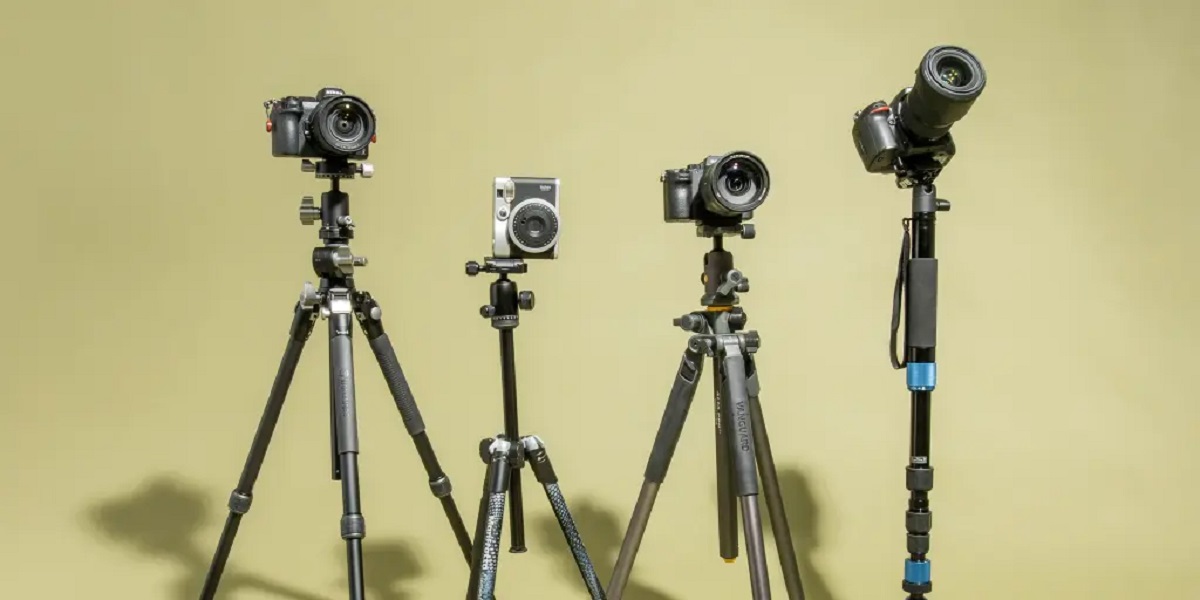
- Stabilize the Camcorder: If possible, use a tripod or stabilizing equipment to minimize camera shake and ensure steady footage. Smooth and stable visuals contribute to a professional and polished recording.
- Backup Power Source: When recording for extended durations, have a backup power source for your camcorder to prevent interruptions due to battery depletion. This is particularly crucial for capturing lengthy events or continuous footage.
- Consider External Microphones: For enhanced audio quality, consider using external microphones or audio recording devices to capture clear and immersive sound. This is especially beneficial for interviews, vlogs, or any content where audio plays a vital role.
- Plan for Storage and Organization: Prepare adequate storage space on your Windows 10 computer to accommodate the recorded footage. Additionally, establish an organized file structure to streamline the management of recorded content.
- Review and Refine: After the initial recording, take the time to review the footage and identify areas for improvement. This may involve adjusting settings, refining camera angles, or enhancing audio elements for subsequent recording sessions.
By incorporating these tips into your live recording process, you can elevate the quality of your footage and streamline the overall recording experience. Whether you’re capturing personal moments, creating content for your audience, or documenting events, these insights can contribute to the success and impact of your recordings.
Conclusion
As you conclude your journey through the process of live recording from a camcorder on your Windows 10 computer, you have gained valuable insights into the meticulous preparation, seamless connectivity, and optimal configuration required for a successful recording experience. By setting up your camcorder, establishing a reliable connection to your computer, and configuring the recording settings, you’ve unlocked the potential to capture cherished moments and create compelling content directly on your Windows 10 platform.
Initiating the live recording marked the pivotal moment when you harnessed the power of technology to seamlessly preserve visual and auditory narratives, whether for personal or professional endeavors. The tips provided have equipped you with the knowledge to elevate the quality of your recordings, ensuring that each captured moment is a testament to your creativity and attention to detail.
Armed with these newfound capabilities, you are poised to embark on a multitude of recording endeavors, from documenting special events and creating engaging video content to preserving precious memories with unprecedented convenience and efficiency. The fusion of your camcorder and Windows 10 computer has become a gateway to a world of storytelling, creativity, and expression, enabling you to seamlessly capture and share the essence of life’s most captivating moments.
As you venture forth into the realm of live recording, remember that each session offers an opportunity for growth and refinement. Embrace the creative process, experiment with different recording techniques, and continue to harness the power of technology to weave compelling visual narratives that resonate with your audience and encapsulate the essence of the moments you cherish.
With the knowledge and skills acquired from this guide, you are well-equipped to embark on your live recording journey with confidence, creativity, and a profound appreciation for the art of capturing life’s most precious moments.