Introduction
If you’re an avid player of Sims 3, you know how much space it can take up on your computer’s internal hard drive. As your Sims collection grows, so does the need for storage. Luckily, there is a solution – you can move Sims 3 to an external hard drive. Not only does this free up valuable space on your computer, but it also allows you to easily transport your Sims game to different devices or locations. In this guide, we will walk you through the steps to move Sims 3 to an external hard drive.
Moving Sims 3 to an external hard drive offers several benefits. Firstly, it provides you with ample storage space to install the game and store your Sims’ files, expansion packs, and custom content. External hard drives can offer terabytes of space, ensuring that you have plenty of room to grow your Sims collection without worrying about running out of storage on your computer.
Secondly, having your Sims 3 game on an external hard drive provides portability. You can easily connect the hard drive to any computer or laptop and continue playing your game. Whether you’re traveling or visiting a friend’s house, you can bring your Sims with you and enjoy your game without any interruption. Additionally, if you play Sims 3 on multiple devices, such as a desktop and a laptop, having it on an external hard drive allows you to seamlessly switch between these devices without having to reinstall the game or transfer files.
To successfully move Sims 3 to an external hard drive, you’ll need a few essential items. Firstly, you’ll need a compatible external hard drive with sufficient storage capacity. Make sure to check the system requirements for Sims 3 and ensure that your external hard drive meets or exceeds those specifications. You’ll also need a computer with a USB port and the Sims 3 installation discs or digital copies of the game.
In the following steps, we’ll guide you through the process of formatting the external hard drive, copying the Sims 3 game files, uninstalling Sims 3 from the internal hard drive, and installing Sims 3 on the external hard drive. We’ll also cover testing and troubleshooting to ensure a smooth transition.
Benefits of Moving Sims 3 to an External Hard Drive
Moving Sims 3 to an external hard drive offers numerous benefits for players. Here are some of the key advantages:
- More Storage Space: By moving Sims 3 to an external hard drive, you’ll free up valuable space on your computer’s internal hard drive. This means you can install other games, software, or media files without worrying about running out of storage.
- Portability: Having your Sims 3 game on an external hard drive allows you to easily transport it to different devices or locations. Whether you want to play at a friend’s house or take your game on the go, simply connect the external hard drive and start playing.
- Easy Backup: Keeping your Sims 3 on an external hard drive makes it simpler to back up your game files. In case of any computer issues or data loss, you can easily recover your game by connecting the external hard drive to another computer.
- Seamless Device Switching: If you play Sims 3 on multiple devices, such as a desktop and a laptop, having it on an external hard drive allows you to switch between these devices effortlessly. There’s no need to reinstall or transfer files, saving you time and hassle.
- Expanded Sims Collection: An external hard drive provides ample space to store not only your Sims 3 game but also expansion packs, custom content, and saved files. This allows you to grow your Sims collection without worrying about running out of memory.
- Improved Performance: As your Sims 3 game is saved and running from an external hard drive, it can help improve the overall performance of your computer. With more space available on your internal hard drive, your computer will have fewer resources dedicated to running the game, resulting in smoother gameplay.
- Future Compatibility: By storing Sims 3 on an external hard drive, you ensure its compatibility with future computer upgrades or replacements. You can easily transfer your game to a new device without the need to reinstall or configure settings.
Moving Sims 3 to an external hard drive not only enhances your gaming experience but also provides flexibility and peace of mind. With increased storage, easy portability, and simplified backups, you can enjoy your Sims game without worrying about storage limitations or losing your progress.
What You Will Need
Before you can start moving Sims 3 to an external hard drive, make sure you have the following items:
- External Hard Drive: You’ll need a compatible external hard drive with sufficient storage capacity. Make sure to check the system requirements for Sims 3 and ensure that your external hard drive meets or exceeds those specifications. Ideally, it should have ample space to accommodate your game files, expansion packs, custom content, and saved files.
- Computer: You’ll require a computer with a USB port to connect the external hard drive. Ensure that your computer meets the minimum system requirements for running Sims 3 smoothly.
- Sims 3 Game Discs or Digital Copies: You’ll need either the physical installation discs or digital copies of the Sims 3 game. This will allow you to reinstall the game on the external hard drive.
- Internet Connection: If you have digital copies of the game, you’ll need an internet connection to download and install the game from your game provider’s website or digital distribution platform.
- Time and Patience: Moving Sims 3 to an external hard drive requires some time and patience. Depending on the size of your game files, the process may take a while. Ensure that you have enough time to complete the steps without rushing.
- Backup (Optional): While not necessary, it’s always a good idea to create a backup of your Sims 3 game files and any other important data before proceeding. This will help safeguard against any potential issues or data loss during the moving process.
Having these items ready will ensure a smooth and successful transition of your Sims 3 game to the external hard drive. Make sure you have everything prepared before proceeding to the next steps.
Step 1: Formatting the External Hard Drive
Before you can move Sims 3 to an external hard drive, you’ll need to format the external hard drive to ensure compatibility with your computer and prepare it for storing the game files. Follow these steps to format the external hard drive:
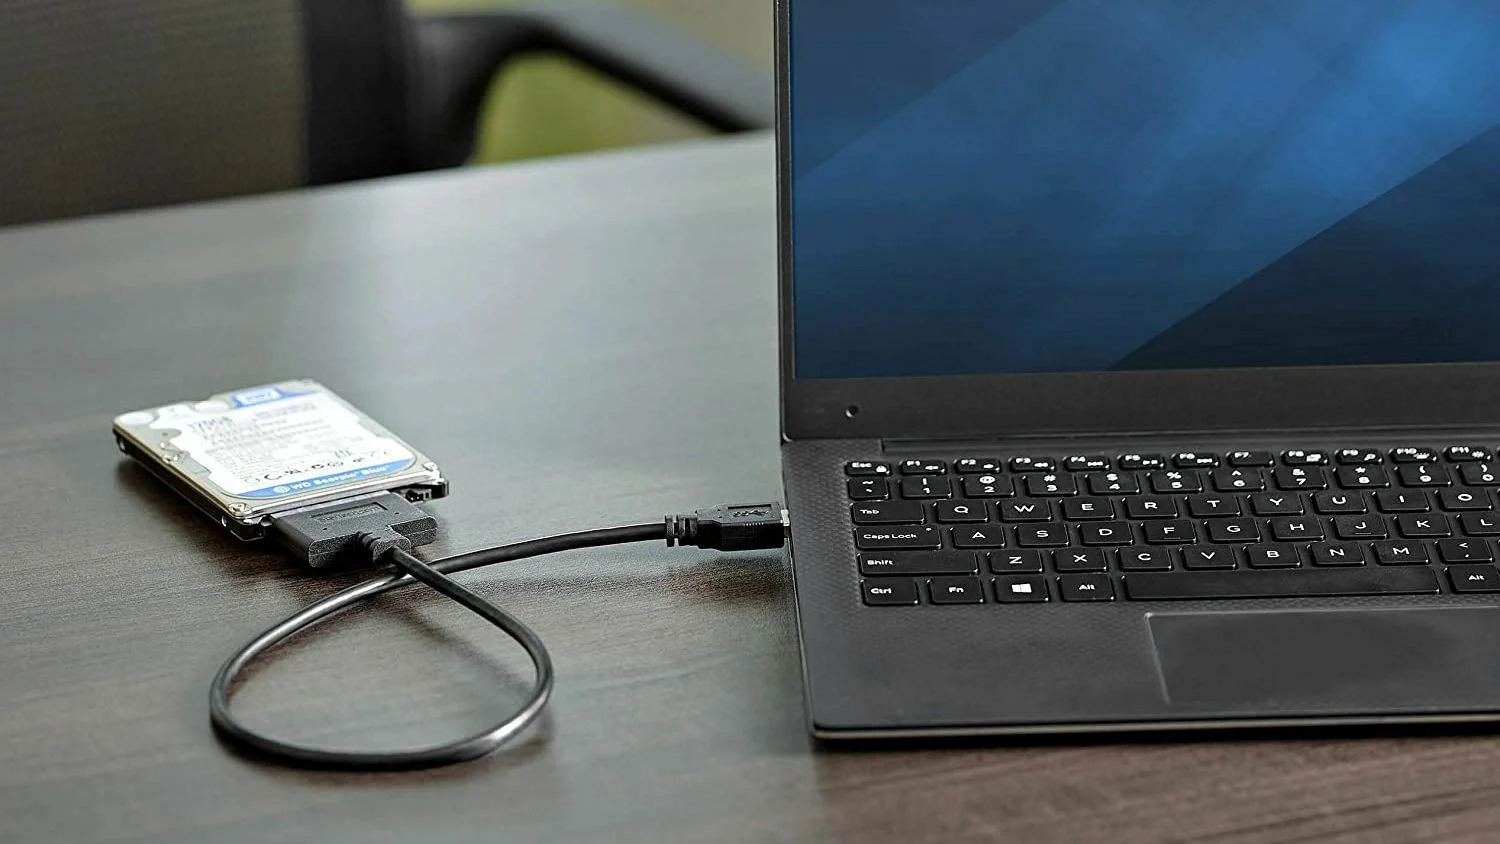
- Connect the External Hard Drive: Plug the external hard drive into an available USB port on your computer. Ensure that the computer recognizes the external hard drive and assigns it a drive letter.
- Backup Existing Data (Optional): If there are any files or data on the external hard drive that you want to keep, make sure to backup and transfer them to another location to avoid losing any important information. Formatting the hard drive will erase all existing data.
- Open Disk Management: Right-click on the Windows Start menu and select “Disk Management” from the context menu. This will open the Disk Management utility, which allows you to manage and format connected storage devices.
- Select the External Hard Drive: In Disk Management, locate the external hard drive from the list of available drives. It will be labeled with the assigned drive letter and information about its capacity.
- Format the External Hard Drive: Right-click on the external hard drive and select “Format” from the dropdown menu. Choose the desired file system format (usually NTFS) and provide a name for the hard drive if prompted. Keep the default allocation unit size for optimal performance.
- Start the Formatting Process: Click on the “OK” or “Format” button to start the formatting process. Depending on the size of the external hard drive, this may take some time.
- Wait for the Formatting to Complete: Be patient and wait for the formatting process to finish. Avoid disconnecting the external hard drive or interrupting the process. Once the formatting is complete, you’ll receive a notification.
- Verify the Formatting: After formatting, ensure that the external hard drive is now accessible, with the assigned drive letter and the new file system format.
Formatting the external hard drive prepares it for storing the Sims 3 game files and ensures compatibility with your computer. Now that the external hard drive is properly formatted, you’re ready to move on to the next step of transferring the Sims 3 game files to the external hard drive.
Step 2: Copying the Sims 3 Game Files
Once you have successfully formatted the external hard drive, you can proceed with copying the Sims 3 game files to the external hard drive. Follow these steps to complete this process:
- Open File Explorer: On your computer, open File Explorer by pressing Win + E or by clicking on the File Explorer icon on the taskbar.
- Navigate to the Sims 3 Installation Folder: In File Explorer, locate the folder where you originally installed Sims 3. The default installation path is typically “C:\Program Files (x86)\Electronic Arts\The Sims 3”.
- Copy the Sims 3 Game Files: Select all the files and folders related to Sims 3 (including the base game, expansion packs, and custom content) within the installation folder. Right-click on the selected files and choose “Copy” from the context menu.
- Navigate to the External Hard Drive: In File Explorer, navigate to the location of the external hard drive. You can usually find it under “This PC” or “My Computer” with the assigned drive letter.
- Create a folder: Right-click in the external hard drive folder and select “New Folder” from the context menu. Give the folder a descriptive name, such as “Sims 3”, to easily identify it.
- Paste the Game Files: Open the newly created folder and right-click inside it. Choose “Paste” from the context menu to copy the Sims 3 game files from your computer’s internal hard drive to the external hard drive.
- Ensure the Copy Process Completes: Depending on the size of the game files, the copy process may take some time. Avoid interrupting the process or disconnecting the external hard drive until it completes.
- Verify the Copy: Once the files are successfully copied to the external hard drive, navigate to the Sims 3 folder on the external hard drive and ensure that all the game files and folders are present.
By copying the Sims 3 game files to the external hard drive, you are ensuring that all the necessary game data is stored securely and can be accessed from the external storage device. Now that the game files are safely transferred, you can proceed to the next step of uninstalling Sims 3 from the internal hard drive.
Step 3: Uninstalling Sims 3 from the Internal Hard Drive
Now that you have successfully copied the Sims 3 game files to the external hard drive, it’s time to uninstall Sims 3 from your computer’s internal hard drive. Follow these steps to uninstall Sims 3:
- Open the Control Panel: Click on the Start menu and search for “Control Panel”. Open the Control Panel from the search results.
- Select “Uninstall a program”: In the Control Panel, navigate to “Programs” or “Programs and Features” and click on “Uninstall a program”. This will open the list of installed programs on your computer.
- Locate Sims 3: Scroll through the list of installed programs and locate “Sims 3” or any expansion packs or related software that you want to uninstall. Select it by clicking on it.
- Initiate the Uninstallation: With Sims 3 selected, click on the “Uninstall” or “Remove” button at the top of the list. This will initiate the uninstallation process of Sims 3.
- Follow the Uninstallation Wizard: The Sims 3 uninstallation process will be guided by an uninstallation wizard. Follow the prompts to complete the uninstallation. You may be asked to confirm your decision and select any additional options.
- Wait for the Uninstallation to Complete: The uninstallation process may take some time, depending on the size of the game and the speed of your computer. Allow the process to complete without interruptions.
- Restart Your Computer (Optional): After the uninstallation is complete, it may be beneficial to restart your computer. This helps ensure that all remnants of the Sims 3 game are removed from your system.
By uninstalling Sims 3 from your computer’s internal hard drive, you are freeing up space and ensuring that the game is fully transferred to the external hard drive. Once the uninstallation is complete, you can proceed to the next step of installing Sims 3 on the external hard drive.
Step 4: Installing Sims 3 on the External Hard Drive
Now that you have uninstalled Sims 3 from your computer’s internal hard drive, it’s time to install the game on the external hard drive. Follow these steps to install Sims 3 on the external hard drive:
- Connect the External Hard Drive: Make sure the external hard drive is connected to your computer’s USB port and recognized by your system.
- Insert the Sims 3 Installation Disc or Locate the Digital Copy: If you have physical copies of the game, insert the Sims 3 installation disc into your computer’s disc drive. If you have digital copies, locate the downloaded setup file or installer.
- Launch the Installation: Double-click on the setup file or installer to launch the Sims 3 installation process. Follow any on-screen prompts or instructions to initiate the installation.
- Choose the External Hard Drive: During the installation process, you’ll be prompted to choose the destination folder or installation directory. Browse for and select the folder you created on the external hard drive in which you previously copied the Sims 3 game files.
- Follow the Installation Wizard: Proceed with the installation process by following the prompts and options provided by the installation wizard. You may need to accept the license agreement, select language preferences, and customize the installation if desired.
- Wait for the Installation to Complete: Depending on the speed of your computer and the size of the game, the installation process may take some time. Allow the installation to complete without any interruptions.
- Verify the Installation: Once the installation is finished, navigate to the Sims 3 folder on the external hard drive and ensure that all the necessary game files and folders are present.
By installing Sims 3 on the external hard drive, you are ensuring that the game is stored and run from the external storage device. This allows for better storage management and portability. With Sims 3 successfully installed on the external hard drive, you are ready to move on to the final step of testing and troubleshooting.
Step 5: Testing and Troubleshooting
After installing Sims 3 on the external hard drive, it’s important to test and troubleshoot to ensure that the game is running smoothly. Follow these steps to test and troubleshoot Sims 3 on the external hard drive:
- Launch Sims 3: Double-click on the Sims 3 shortcut or executable file on the external hard drive to launch the game.
- Check Game Functionality: Test various aspects of the game, such as creating a new Sim, loading a save file, and accessing different features and expansion packs. Ensure that the game functions properly and there are no issues.
- Monitor Performance: Pay attention to the performance of the game on the external hard drive. Check for any unusual lag, crashes, or slow loading times. If you notice any performance issues, there are a few troubleshooting steps you can try:
- Update Graphics Drivers: Ensure that your computer’s graphics drivers are up to date. Outdated graphics drivers can cause performance issues in games.
- Adjust In-Game Settings: Lowering graphic settings or disabling specific features within the game can improve performance.
- Check External Hard Drive Connection: Ensure that the external hard drive is properly connected to your computer and functioning correctly. Disconnect and reconnect the external hard drive if necessary.
- Free Up Space: If your external hard drive is running low on space, consider removing unused files or transferring them to another storage device to free up space for Sims 3.
- Scan for Malware: Perform a malware scan on your computer to check for any malicious software that may be affecting the game’s performance.
- Save and Backup Sims 3: Once you have confirmed that Sims 3 is running properly on the external hard drive, make sure to regularly save your progress and create backups of the game files to avoid potential data loss.
By testing and troubleshooting Sims 3 on the external hard drive, you can ensure a smooth gaming experience. The steps outlined above can help identify and address any performance issues you may encounter. Remember to keep your game and external hard drive updated and regularly maintain your setup to ensure optimal performance.
Conclusion
Moving Sims 3 to an external hard drive is a great solution for freeing up space on your computer’s internal hard drive and providing portability for your game. By following the steps outlined in this guide, you can successfully transfer Sims 3 to an external hard drive and enjoy the benefits it brings.
We discussed the various benefits of moving Sims 3 to an external hard drive, including increased storage space, portability, easy backups, and seamless device switching. These advantages allow you to expand your Sims collection, play on multiple devices, and improve overall performance.
You learned about the essential items you’ll need for the process, such as a compatible external hard drive, a computer with a USB port, and the Sims 3 game discs or digital copies. Having these items prepared beforehand ensures a smooth transition.
We walked through each step of the process, including formatting the external hard drive, copying the Sims 3 game files, uninstalling Sims 3 from the internal hard drive, and installing Sims 3 on the external hard drive. These steps are crucial for ensuring that the game is properly transferred and accessible from the external storage device.
Lastly, we discussed the importance of testing and troubleshooting Sims 3 on the external hard drive. By checking the game’s functionality, monitoring performance, and addressing any issues that arise, you can ensure a smooth and enjoyable gaming experience.
In conclusion, moving Sims 3 to an external hard drive is a convenient and practical solution for optimizing storage space and enhancing portability. By following the steps outlined in this guide, you can successfully transfer Sims 3 to an external hard drive and enjoy your game collection without worrying about storage limitations or compatibility.