Introduction
Do you have precious memories stored on your SIM card and want to transfer them to your computer? Perhaps you took some incredible photos using your smartphone and didn’t have the chance to back them up or share them on social media. Don’t worry, we’ve got you covered! In this article, we’ll walk you through the step-by-step process of downloading pictures from your SIM card to your computer.
Whether you have an Android phone or an iPhone, the procedure to transfer photos from your SIM card to your computer is relatively straightforward. By following the instructions outlined in this guide, you’ll be able to access and retain your cherished memories safely on your computer’s storage.
However, it is important to note that not all SIM cards store pictures. If you have taken photos using your smartphone’s built-in camera, they are most likely saved directly to your phone’s internal memory or external SD card. In such cases, you’ll need to follow a different procedure to transfer photos from your phone to your computer. For the purpose of this article, we’ll focus specifically on downloading pictures stored on a SIM card.
So, without further ado, let’s dive into the process of connecting your SIM card to your computer and downloading those precious pictures!
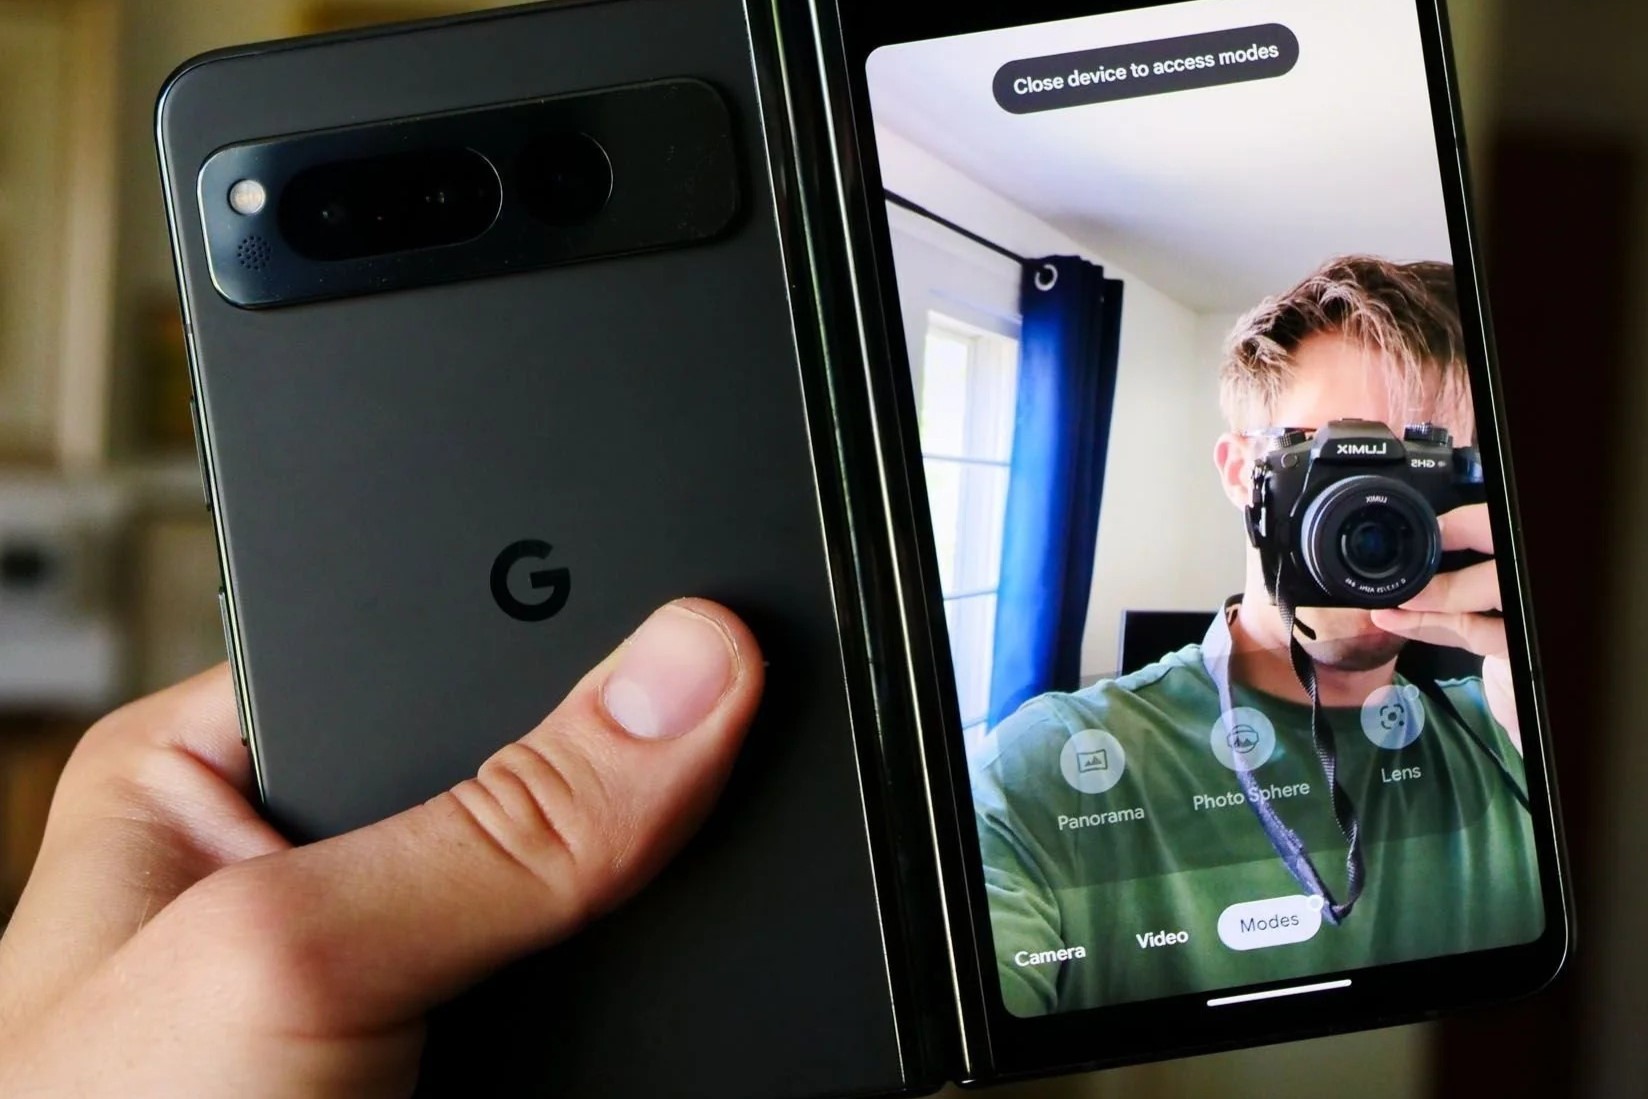
Connect Your Sim Card to Your Computer
The first step in downloading pictures from your SIM card to your computer is to establish a physical connection between the two devices. Here’s what you need to do:
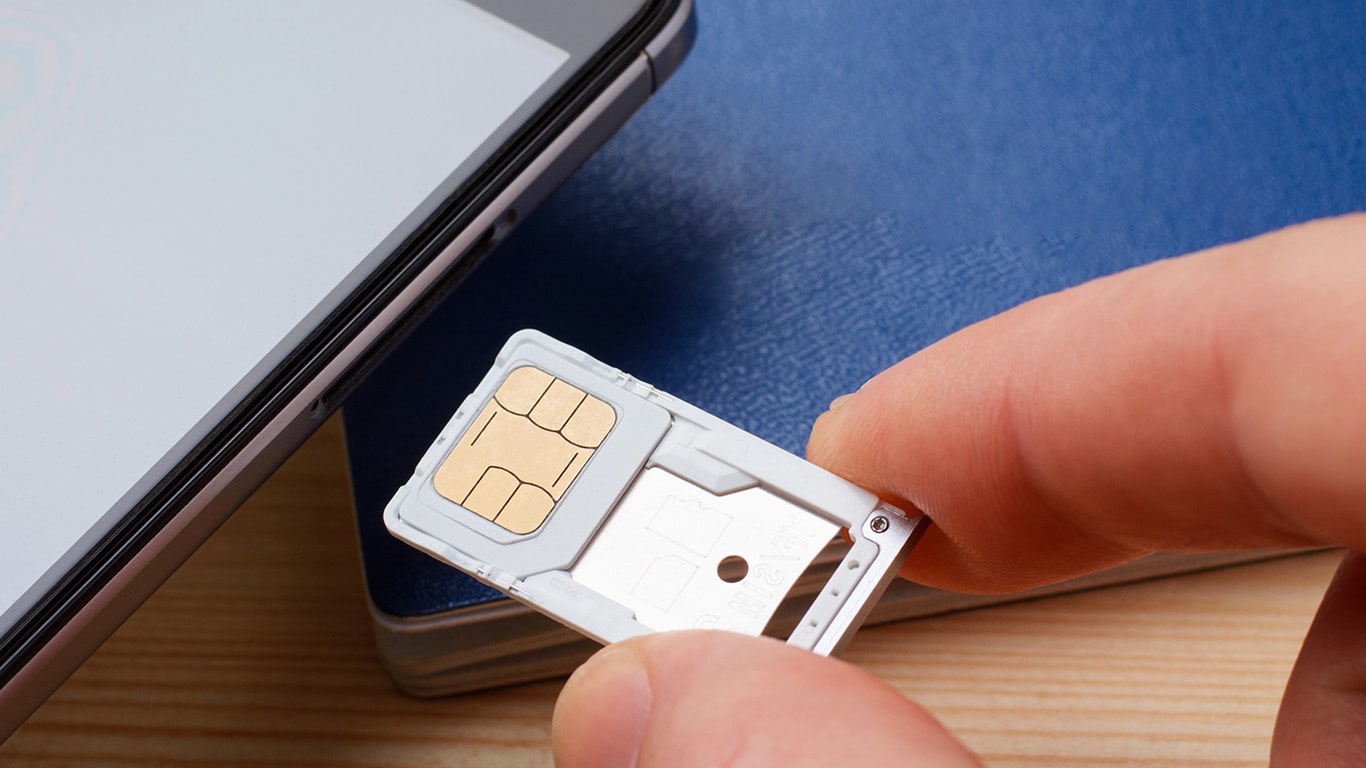
- Turn off your phone: Before you begin, make sure your phone is turned off to avoid any potential data transfer issues.
- Locate the SIM card slot: Most smartphones have a SIM card slot either on the side or the back of the device. Consult your phone’s user manual or do a quick online search to determine the exact location of the SIM card slot on your specific phone model.
- Remove the SIM card: Carefully remove the SIM card from your phone using a SIM card ejector tool or a small paperclip. Gently insert the tool into the SIM card slot and push it in until the SIM card tray pops out. Take out the SIM card from the tray.
- Prepare your computer: Ensure that your computer is turned on and ready for the next steps. If your computer has an inbuilt card reader, you can proceed to the next section. If not, you will need an external card reader to connect your SIM card to your computer.
- Insert the SIM card into the card reader: If you have an external card reader, insert your SIM card into the appropriate slot. Make sure the gold contacts on the SIM card are facing down and aligned with the contacts in the card reader.
- Connect the card reader to your computer: Using a USB cable, connect the card reader to an available USB port on your computer. Wait for your computer to recognize the card reader and the inserted SIM card.
Once you have successfully connected your SIM card to your computer, it’s time to move on to the next step: accessing the SIM card’s storage.
Access the Sim Card’s Storage
Now that your SIM card is connected to your computer, it’s time to access the storage and retrieve your pictures. Follow these steps:
- Open File Explorer (Windows) or Finder (Mac): On your computer, open the file management software that allows you to navigate through the files and folders on your system.
- Locate the SIM card: In the left-hand sidebar or in the list of connected devices, you should see your SIM card listed. Click on it to access its contents.
- Explore the SIM card’s folders: Once you’ve accessed the SIM card, you’ll see the folder structure inside. Depending on your phone and how your pictures are stored, you may find a specific folder labeled “Pictures” or “DCIM.” Click on it to open that folder.
- Browse through the pictures: Within the designated folder, you’ll find your saved pictures. You can now browse through them and select the ones you wish to download.
It is important to note that the organization and structure of the SIM card’s storage may vary depending on the phone model and operating system you are using. If you can’t find a specific folder labeled “Pictures” or “DCIM,” explore other folders or check your phone’s user manual for more information.
Now that you’ve successfully accessed the SIM card’s storage and located your desired pictures, let’s move on to the next step: selecting the pictures you want to download.
Select the Pictures You Want to Download
After accessing the SIM card’s storage and browsing through the pictures, it’s time to select the specific images you want to download to your computer. Follow these steps:
- Click on the first picture: Start by selecting the first picture you want to download. You can do this by clicking on the image file or selecting it using the appropriate command in your file management software.
- Hold down the Shift key (optional): If you want to download a consecutive range of pictures, hold down the Shift key on your keyboard and click on the last picture in the range. This will select all the pictures in between as well.
- Use the Ctrl/Cmd key for non-consecutive selections: If you want to download several pictures that are not in a consecutive range, hold down the Ctrl key (Windows) or Cmd key (Mac) on your keyboard and click on each desired picture individually.
By selecting multiple pictures simultaneously, you can save time and effort during the downloading process. Once you have selected the pictures you wish to download, it’s time to move on to the next step: transferring the pictures to your computer.
Transfer the Pictures to Your Computer
Now that you have selected the pictures you want to download from your SIM card, it’s time to transfer them to your computer. Follow these steps:
- Right-click on the selected pictures: With the pictures selected, right-click on one of them. This will open a context menu with various options.
- Select “Copy” or “Cut” from the menu: In the context menu, choose either “Copy” or “Cut” to copy or move the selected pictures, respectively.
- Navigate to the desired folder on your computer: Open File Explorer (Windows) or Finder (Mac) and navigate to the location where you want to save the downloaded pictures.
- Right-click on an empty space and select “Paste”: Right-click on an empty area within the desired folder and choose “Paste” from the context menu. This will transfer the selected pictures from your SIM card to your computer.
Depending on the number and size of the pictures, the transfer process may take a few moments. Once the transfer is complete, you can verify that the pictures have been successfully copied to your computer by checking the destination folder.
That’s it! You have successfully transferred the selected pictures from your SIM card to your computer. The next step is to organize the downloaded pictures on your computer for easy access and enjoyment.
Organize the Downloaded Pictures on Your Computer
After transferring the pictures from your SIM card to your computer, it’s a good idea to organize them for easy access and to keep your photo collection well-managed. Here are some steps you can follow to organize your downloaded pictures:
- Create a dedicated folder: Select a location on your computer where you want to store your downloaded pictures. Create a new folder with a descriptive name, such as “SIM Card Photos” or “Downloaded Pictures.”
- Move the pictures to the folder: Open the location where you saved the downloaded pictures, select all the transferred files, right-click, and choose “Cut” or “Copy.” Navigate to the dedicated folder you created and right-click to select “Paste.” This will move or copy the pictures to the new folder.
- Consider subfolders or categories: Depending on the number and subject of the pictures, you may want to further organize them into subfolders or categories. For example, you could create folders based on time, location, event, or any other criteria that make sense for your collection.
- Rename files for better organization: If the filenames of your downloaded pictures are generic or uninformative, you may want to rename them to something more descriptive. This will make it easier to identify and search for specific images in the future.
- Backup your organized pictures: To ensure the safety of your downloaded pictures, it’s recommended to create backups. Consider backing up your organized folder to an external hard drive, cloud storage, or another reliable backup solution.
By organizing your downloaded pictures, you’ll be able to locate and enjoy your favorite memories with ease. Take the time to establish a system that works for you and stay consistent in maintaining the organization as you add new pictures to your collection.
Congratulations! You have successfully downloaded, transferred, and organized your pictures from your SIM card to your computer. Now you can cherish and share your memories for years to come!
Conclusion
Transferring pictures from your SIM card to your computer is a simple and effective way to safeguard your cherished memories and make them easily accessible. By following the steps outlined in this guide, you can confidently download, transfer, and organize your pictures with ease.
Remember to start by connecting your SIM card to your computer, then accessing the storage and selecting the pictures you want to download. After transferring the pictures to your computer, take the time to organize them into dedicated folders or categories for convenient browsing and retrieval.
Don’t forget to back up your downloaded pictures to ensure their safekeeping and to have a reliable copy in case of any data loss. Regularly creating backups will provide you with peace of mind and protection against unforeseen situations.
Whether you want to create a digital photo album, edit and enhance your pictures, or simply keep a backup of your memories, downloading pictures from your SIM card to your computer gives you the flexibility and control over your photo collection.
We hope this guide has been helpful to you in transferring your pictures. Now, go ahead and enjoy your downloaded pictures, share them with your loved ones, and create lasting memories!