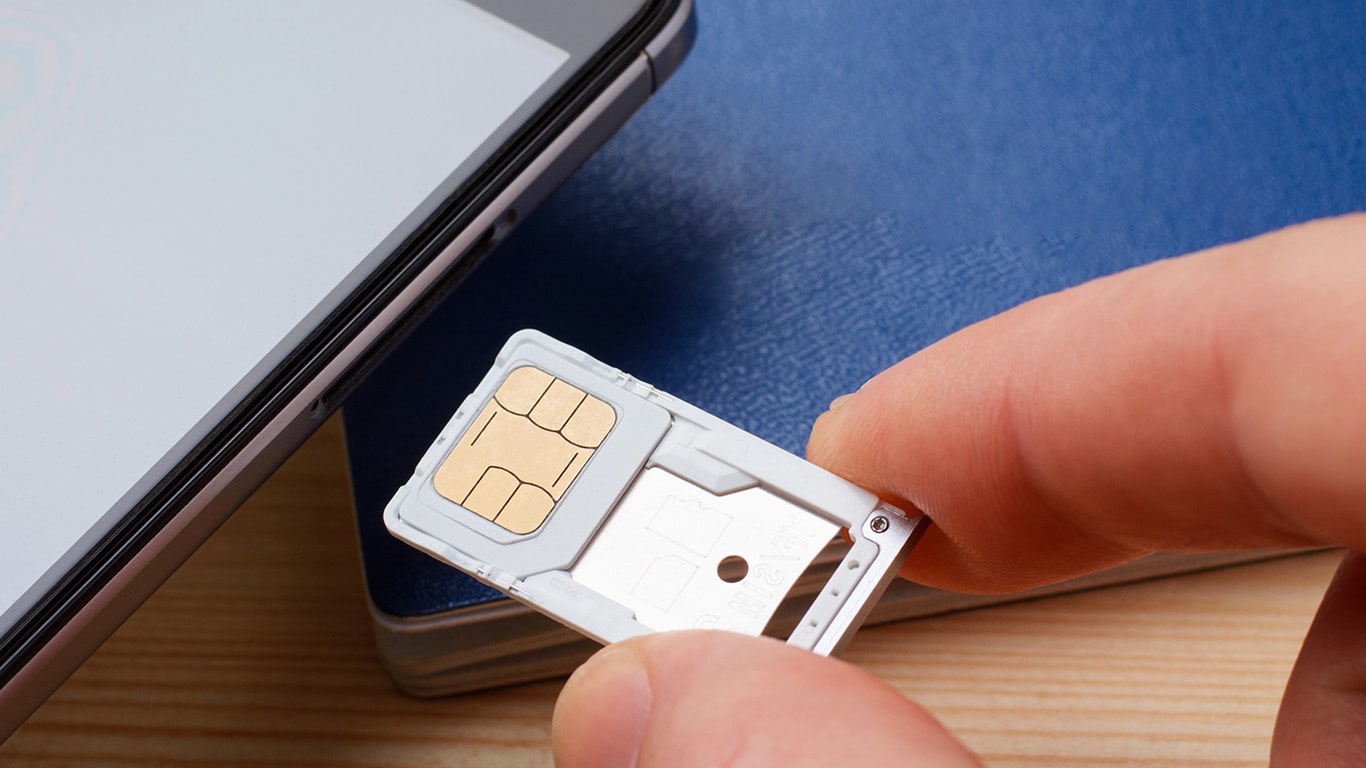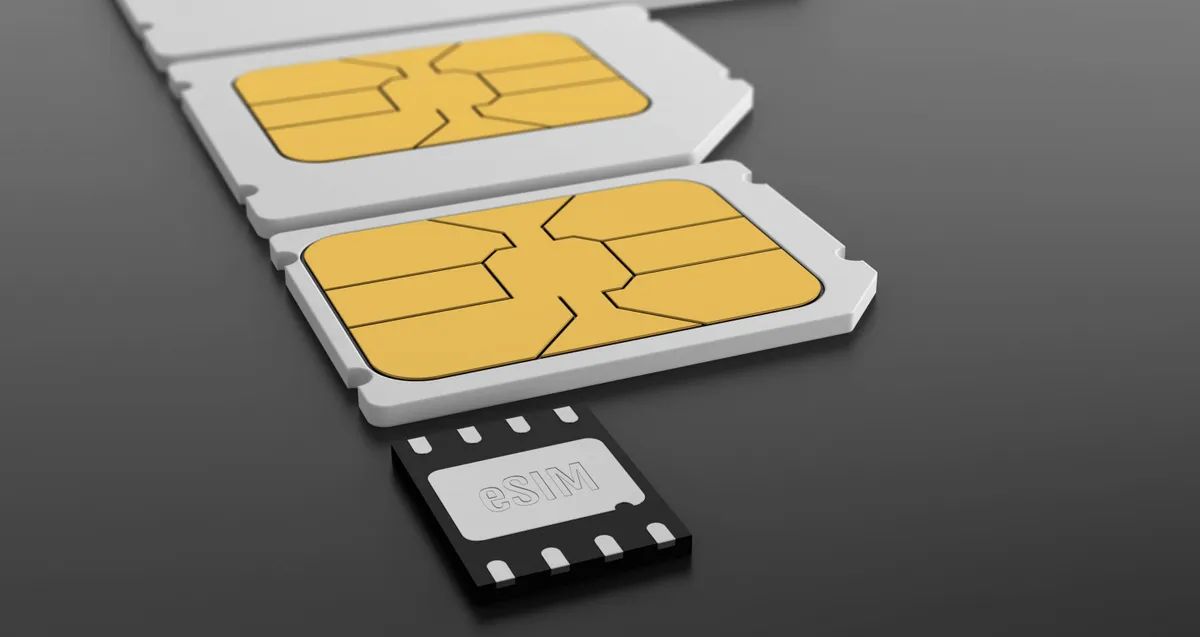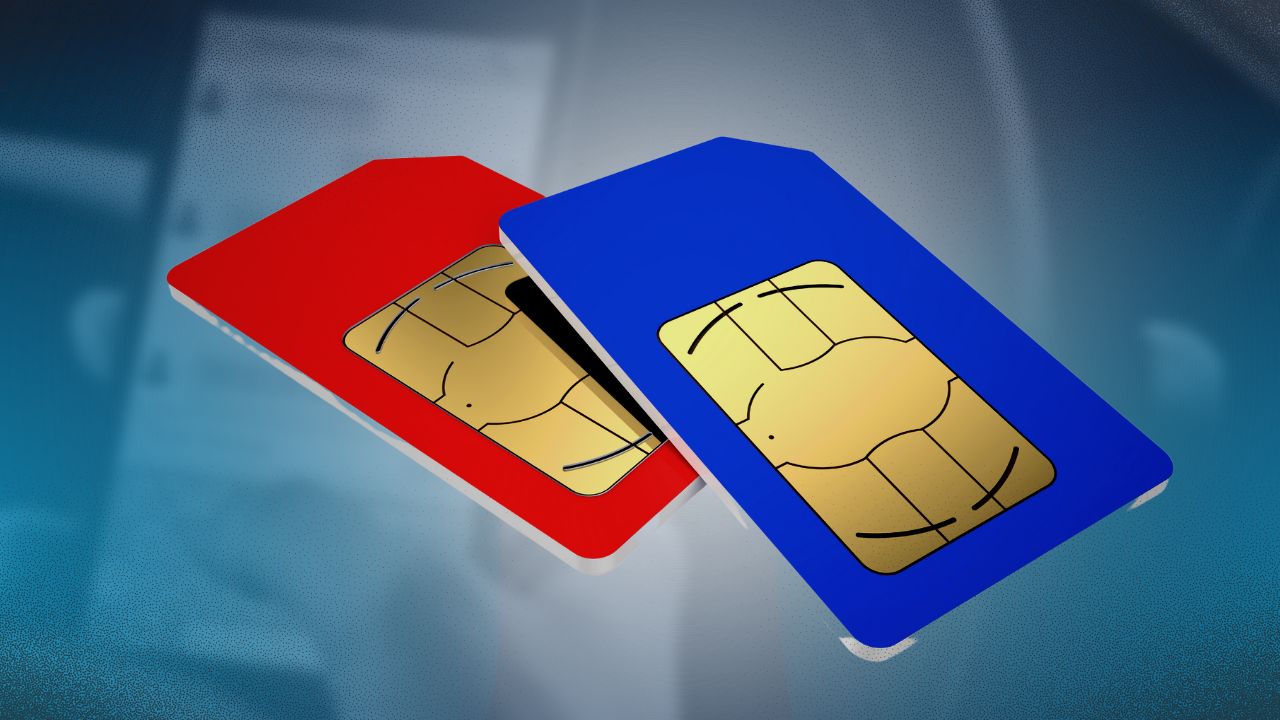
You cannot recover photos from phone SIM cards because SIM cards do not store photos, browser history, or application-related information. Your pictures are actually saved in the DCIM folder on your phone's internal memory or SD card, and that is where you need to focus your recovery efforts, especially if you are transferring photos from iPhone without SIM card.
Do SIM cards store photos? Where your pictures really are
The persistent myth that SIM cards hold photos is simply incorrect. A SIM card is a tiny chip designed for one primary purpose: identifying you to your mobile carrier. Its limited storage capacity is reserved exclusively for your contact list and SMS text messages. Photos, videos, and screenshots taken with your phone's camera are never written to the SIM card. Instead, they are saved to the device's internal storage or to a removable SD card, typically inside a folder named DCIM (Digital Camera Images). When you take a picture, the camera app automatically writes the image file to this folder, either on the internal memory or on the SD card if you've configured it as the default storage location, which is where you actually need to look to download pictures from SIM card to computer.
Find your photos using your phone's file manager
If you are switching phones or just want to back up your images, the quickest way to locate them is through your phone's built-in file manager. On most Android devices, including Samsung phones, you'll find an app called My Files. Here is the exact path to navigate to your camera roll:
- Open the My Files app from your home screen or app drawer.
- Tap on Internal Storage (or "Device storage" on some models).
- Open the DCIM folder, then tap into the Camera subfolder. You'll see all your captured photos and videos here.
- To move them, tap and hold one photo to enter selection mode, then tap additional images you want to transfer.
- Tap the More options icon (three vertical dots) and select Move.
- Navigate to your desired destination, such as an SD card folder or a cloud-synced folder, and tap Move here.
This method works for copying files to a location that's easier to transfer, like a dedicated folder on your SD card.
Transfer photos with an SD card and adapter
If your photos are already stored on an SD card, the simplest approach is to remove the card from your phone and use a microSD adapter to plug it directly into your computer's card reader slot. This bypasses the need for any cables or software. Once connected, open the SD card's drive on your computer, locate the DCIM folder, and copy the entire Camera subfolder to your desktop or an external hard drive. This is a fast, reliable method for bulk-copying hundreds of images without compressing them or losing quality.
Upload photos to the cloud and access them anywhere
To keep your images safe and accessible from any device, using cloud storage is a smart move. Services like Google Photos, iCloud, Google Drive, and Dropbox automatically back up your camera roll from internal memory. You can then download those photos onto any new phone, tablet, or computer. This approach is especially useful when switching devices, as you won't need to connect any cables or move physical cards. Just install the app, sign in, and enable backup. You'll have a secure copy of your images stored remotely, which also protects you from losing your photos if your phone is lost or damaged.
Connect your phone directly to a computer with USB
For a direct and straightforward transfer, use a USB cable to connect your phone to your computer. After plugging it in, your phone will prompt you to select the USB connection mode, choose File Transfer (or MTP). Your computer will then recognize your phone as an external storage device. Open the phone's internal storage, navigate to the DCIM folder, and drag-and-drop the Camera folder to your computer's hard drive. This method works for both Windows PC and Mac, though Mac users may need to install the Android File Transfer app. It's a reliable way to move large numbers of photos without relying on Wi-Fi or cloud services.
Next steps for safeguarding your images
Once you've successfully moved your photos off your phone, take steps to ensure they never get lost. The best practice is to create redundant backups, store a copy on an external hard drive and another in cloud storage. This way, if one backup fails, you have a second layer of protection. By following these steps, you'll have a robust system for recovering and protecting your precious memories.