Introduction
Welcome to our guide on how to make SD card default storage on HTC Desire 626S. If you’re running out of internal storage space on your HTC Desire 626S, using an SD card can significantly expand your device’s storage capacity. By making the SD card the default storage option, you can save photos, videos, apps, and other files directly to the SD card, freeing up precious internal storage.
HTC Desire 626S is a popular Android smartphone that comes with limited internal storage. While the device offers expandable storage, by default, it stores most of the data on the internal memory. However, with a few simple steps, you can utilize the SD card as the default storage option and enjoy the benefits of extra space for your files.
In this guide, we will walk you through the process of making the SD card the default storage option on your HTC Desire 626S. You will learn how to insert the SD card, set it as internal storage, transfer apps and data, change the default storage for camera photos and videos, and move existing files to the SD card. With these steps, you can optimize your device storage and ensure a smooth and efficient user experience.
Before we get started, make sure you have a compatible SD card for your HTC Desire 626S. It’s recommended to use a high-quality SD card with sufficient storage capacity to meet your needs. Additionally, ensure that you have backed up any important data on your device to prevent any loss during the process.
Now, let’s dive into the steps to make SD card default storage on HTC Desire 626S and take full advantage of the additional storage space it offers.
Step 1: Insert the SD Card into your HTC Desire 626S
The first step towards making the SD card the default storage option on your HTC Desire 626S is to insert the SD card into the device. Follow these simple steps:
- Locate the SD card slot on your HTC Desire 626S. The slot is usually located on the side or top of the device, depending on the model.
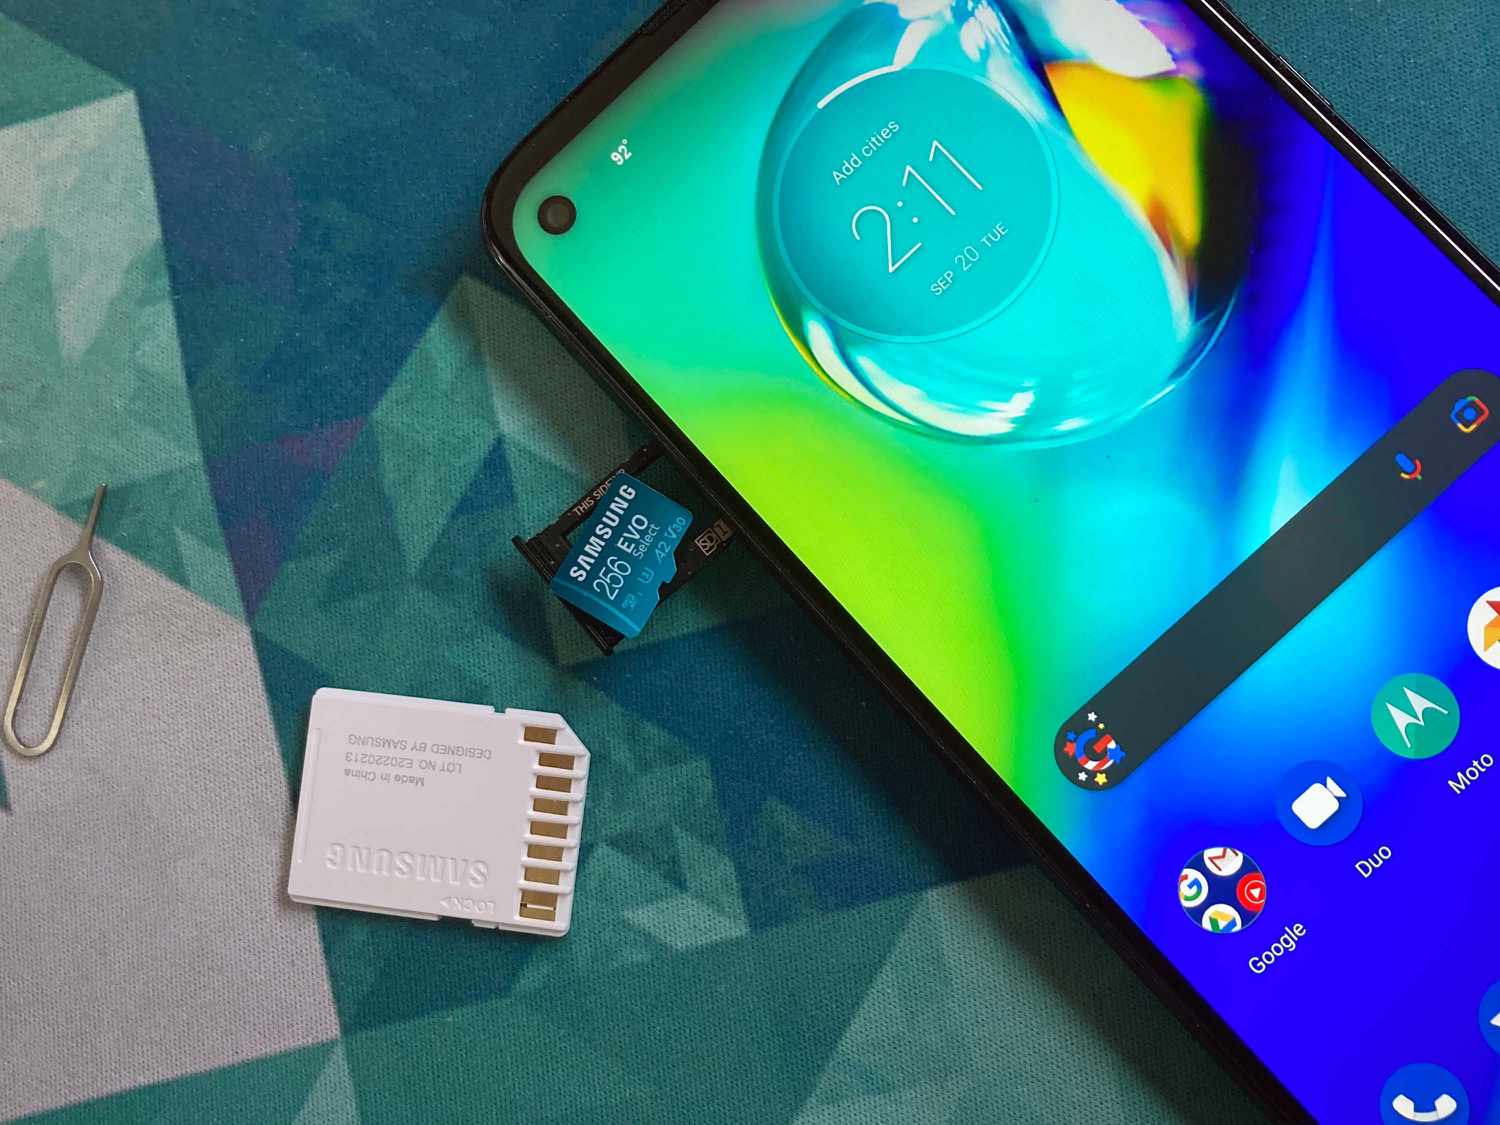
- Use an eject tool, SIM card ejector pin, or a small paperclip to gently push the SIM card tray out of the device.
- Place the SD card into the provided slot on the SIM card tray. Make sure the gold contacts on the SD card are facing down.
- Gently push the SIM card tray back into the device until it clicks into place.
Once the SD card is inserted, you can proceed to the next steps to set it as internal storage and start utilizing it for storing files.
Please note that some devices require you to format the SD card before it can be used as internal storage. If prompted, follow the on-screen instructions to format the SD card. Formatting will erase all data on the SD card, so make sure to back up any important files before proceeding.
It’s essential to use a compatible SD card that meets the device’s requirements. Make sure to check the device specifications or user manual for the supported SD card capacities and types. Using an incompatible or low-quality SD card may result in performance issues or data corruption.
Now that you have successfully inserted the SD card into your HTC Desire 626S, let’s move on to the next step of setting it as internal storage.
Step 2: Set SD Card as Internal Storage
Now that you have successfully inserted the SD card into your HTC Desire 626S, it’s time to set it as internal storage. This will allow you to use the SD card for installing apps and storing data. Follow these steps to proceed:
- Go to the Settings on your HTC Desire 626S. You can access the Settings app by tapping on the gear icon in the app drawer or by swiping down from the top of the screen and tapping the gear icon in the notification panel.
- In the Settings menu, scroll down and tap on “Storage & USB” (or similar options like “Storage” or “Storage & memory”).
- Under the “Storage” section, you will see the internal storage and the SD card (if inserted correctly). Tap on the SD card option.
- On the next screen, you will see options related to the SD card. Tap on the menu icon (three vertical dots) in the top-right corner of the screen and select “Storage settings.”
- In the Storage settings, you will find the option to “Format as internal.” Tap on this option.
- A warning message will appear, informing you that formatting the SD card will erase all data. If you have not backed up your SD card, make sure to do so before proceeding. If you are ready to proceed, tap on “Format.”
- The device will begin formatting the SD card as internal storage. This process may take a few minutes, depending on the SD card’s size and speed.
- Once the formatting is complete, you will be prompted to move your existing data to the SD card. You can choose to move all your data or do it later.
By setting the SD card as internal storage, your HTC Desire 626S will treat it as part of the internal memory. This means you can install apps directly onto the SD card and save files to it without worrying about limited internal storage space.
Now that you have successfully set the SD card as internal storage, let’s move on to the next step of transferring apps and data to the SD card.
Step 3: Transfer Apps and Data to SD Card
Now that you have set the SD card as internal storage on your HTC Desire 626S, it’s time to start transferring apps and data to the SD card. This will help free up the internal storage and ensure that future installations and downloads are automatically saved to the SD card. Follow these steps to transfer your apps and data:
- Open the Settings app on your device.
- Scroll down and tap on “Apps & notifications” (or similar options like “Applications” or “Application manager”).
- In the Apps & notifications menu, you will see a list of installed apps on your device. Tap on the app you want to move to the SD card.
- In the App info screen, tap on “Storage.”
- You will see the storage details for the selected app. Tap on the “Change” or “Move to SD card” option (this may vary depending on your device and Android version).
- The app will start transferring to the SD card. This process may take a few moments, depending on the app size and your device’s performance.
- Repeat these steps for each app you want to transfer to the SD card.
It’s important to note that not all apps can be transferred to the SD card. Some apps, especially system apps or certain security-sensitive ones, may not have the option to move to the SD card. In such cases, the “Change” or “Move to SD card” option will be grayed out or not available.
In addition to transferring apps, you can also move other data such as photos, videos, and music to the SD card. To do this, you can use a file manager app or connect your device to a computer and manually transfer the files to the SD card storage.
Remember to periodically check the storage settings on your device and transfer any new apps or data to the SD card to optimize the internal storage and maintain efficient performance.
Now that you have successfully transferred apps and data to the SD card, let’s move on to the next step of changing the default storage location for camera photos and videos.
Step 4: Change Default Storage Location for Camera Photos and Videos
By default, the HTC Desire 626S saves camera photos and videos to the internal storage. However, now that you have set the SD card as internal storage, you can change the default storage location to save these media files directly to the SD card. Follow these steps to make the necessary changes:
- Open the Camera app on your HTC Desire 626S.
- Swipe from the left side of the screen to open the camera settings menu.
- Scroll down and find the “Storage location” or “Storage” option.
- Tap on the option and select “SD card” as the preferred storage location.
Once the change is made, all the photos and videos you capture with the HTC Desire 626S camera will be saved directly to the SD card. This helps in saving internal storage space and allows you to store more media files without running out of space.
If you have already captured photos and videos that are stored in the internal storage, you have the option to move them to the SD card manually. To do this, you can either use a file manager app or connect your device to a computer and transfer the files to the SD card storage.
It’s important to note that changing the storage location for camera photos and videos may vary depending on the camera app version and device settings. If you are unable to find the option in the Camera app settings, refer to the device’s user manual or consult the manufacturer’s support resources for specific instructions.
Now that you have successfully changed the default storage location for camera photos and videos, let’s move on to the final step of moving existing files to the SD card.
Step 5: Moving Existing Files to SD Card
If you have files already stored in the internal storage of your HTC Desire 626S, like photos, videos, music, and documents, you can easily move them to the SD card to free up space and organize your files more efficiently. Follow these steps to move your existing files to the SD card:
- Open the File Manager app on your device. If you don’t have a file manager app installed, you can download one from the Google Play Store.
- Navigate to the location of the file you want to move. For example, if you want to move a photo, go to the “Pictures” or “Gallery” folder.
- Long-press on the file you want to move until a menu appears.
- Select the “Move” or “Cut” option from the menu.
- Navigate to the SD card storage location. This is usually identified as “SD card” or “External storage.”
- Choose the destination folder on the SD card where you want to move the file.
- Select the “Move here” or “Paste” option to move the file to the SD card.
- Repeat these steps for each file you want to move to the SD card.
Alternatively, you can connect your HTC Desire 626S to a computer using a USB cable and transfer files between the internal storage and the SD card using the file explorer of your computer’s operating system.
Remember to be cautious when moving or deleting files, ensuring that you select the correct files and folders to avoid any accidental loss of data. It’s a good practice to regularly back up your files to an external storage location or cloud storage to prevent data loss.
By moving existing files to the SD card, you can free up valuable space in the internal storage, allowing your device to perform better and accommodate more files in the future.
Congratulations! You have successfully completed all the steps to make the SD card the default storage option on your HTC Desire 626S. By following these steps, you have expanded your device’s storage capacity, optimized internal storage usage, and improved overall performance.
Conclusion
Congratulations on successfully making the SD card the default storage on your HTC Desire 626S! By following the steps outlined in this guide, you have expanded your device’s storage capacity and optimized the usage of internal storage. This will enable you to download more apps, capture more photos and videos, and store more files without worrying about running out of space.
Inserting the SD card into your HTC Desire 626S was the first step, allowing you to set it as internal storage, effectively increasing the available space. You then learned how to transfer apps and data to the SD card, further freeing up the internal storage for a smoother user experience. Moreover, changing the default storage location for camera photos and videos ensures that future media files are automatically saved to the SD card.
Lastly, you discovered how to move existing files to the SD card, organizing your files and making better use of the additional storage space. Remember to periodically check the storage settings and transfer new apps and data to the SD card to maintain optimal storage usage.
With the SD card as your default storage on the HTC Desire 626S, you can enjoy a device that functions smoothly, provides ample space for your files, and allows you to enjoy all the features and functionalities without the worry of limited storage capacity.
Thank you for using this guide to make the SD card the default storage option on your HTC Desire 626S. We hope this has been helpful in expanding your storage capabilities and optimizing your overall device experience.