Introduction
Welcome to the digital age, where capturing memories is as easy as the click of a button on our smartphones. iPhones have become one of the most popular choices for capturing high-quality photos, thanks to their advanced camera technology and user-friendly interface. However, when it comes to transferring these precious moments to your Windows 8 computer, the process may seem a bit daunting.
In this article, we will guide you through various methods to download pictures from your iPhone to your Windows 8 computer. Whether you want to create backups, edit your photos on a larger screen, or simply free up storage space on your device, we have you covered.
With a plethora of options available, we will explore four different methods to transfer your photos. Each method has its own set of advantages and features, so you can choose the one that best suits your needs. From using the built-in Photos app to utilizing iCloud or iTunes, you’ll find a method that works seamlessly for you.
So, let’s dive in and discover how to easily download pictures from your iPhone to your Windows 8 computer. Don’t worry if you’re not a tech-savvy person; we’ve broken down the steps into simple, easy-to-follow instructions to ensure a smooth transfer process.
Connecting your iPhone to your Windows 8 computer
Before we jump into the methods of downloading your iPhone pictures, let’s ensure that your iPhone is properly connected to your Windows 8 computer. Follow these steps to establish a stable connection:
- Using the original USB cable, connect one end to your iPhone and the other end to an available USB port on your Windows 8 computer.
- Unlock your iPhone by entering your passcode or using Touch ID or Face ID.
- When prompted on your iPhone, tap “Trust” to authorize the connection between your iPhone and the computer.
- On your Windows 8 computer, wait for a pop-up notification confirming the successful connection of your iPhone. If a pop-up does not appear, open File Explorer and look for your iPhone listed under “This PC” or “Devices and Drives”.
Once your iPhone is connected, you are now ready to begin the process of downloading your cherished photos.
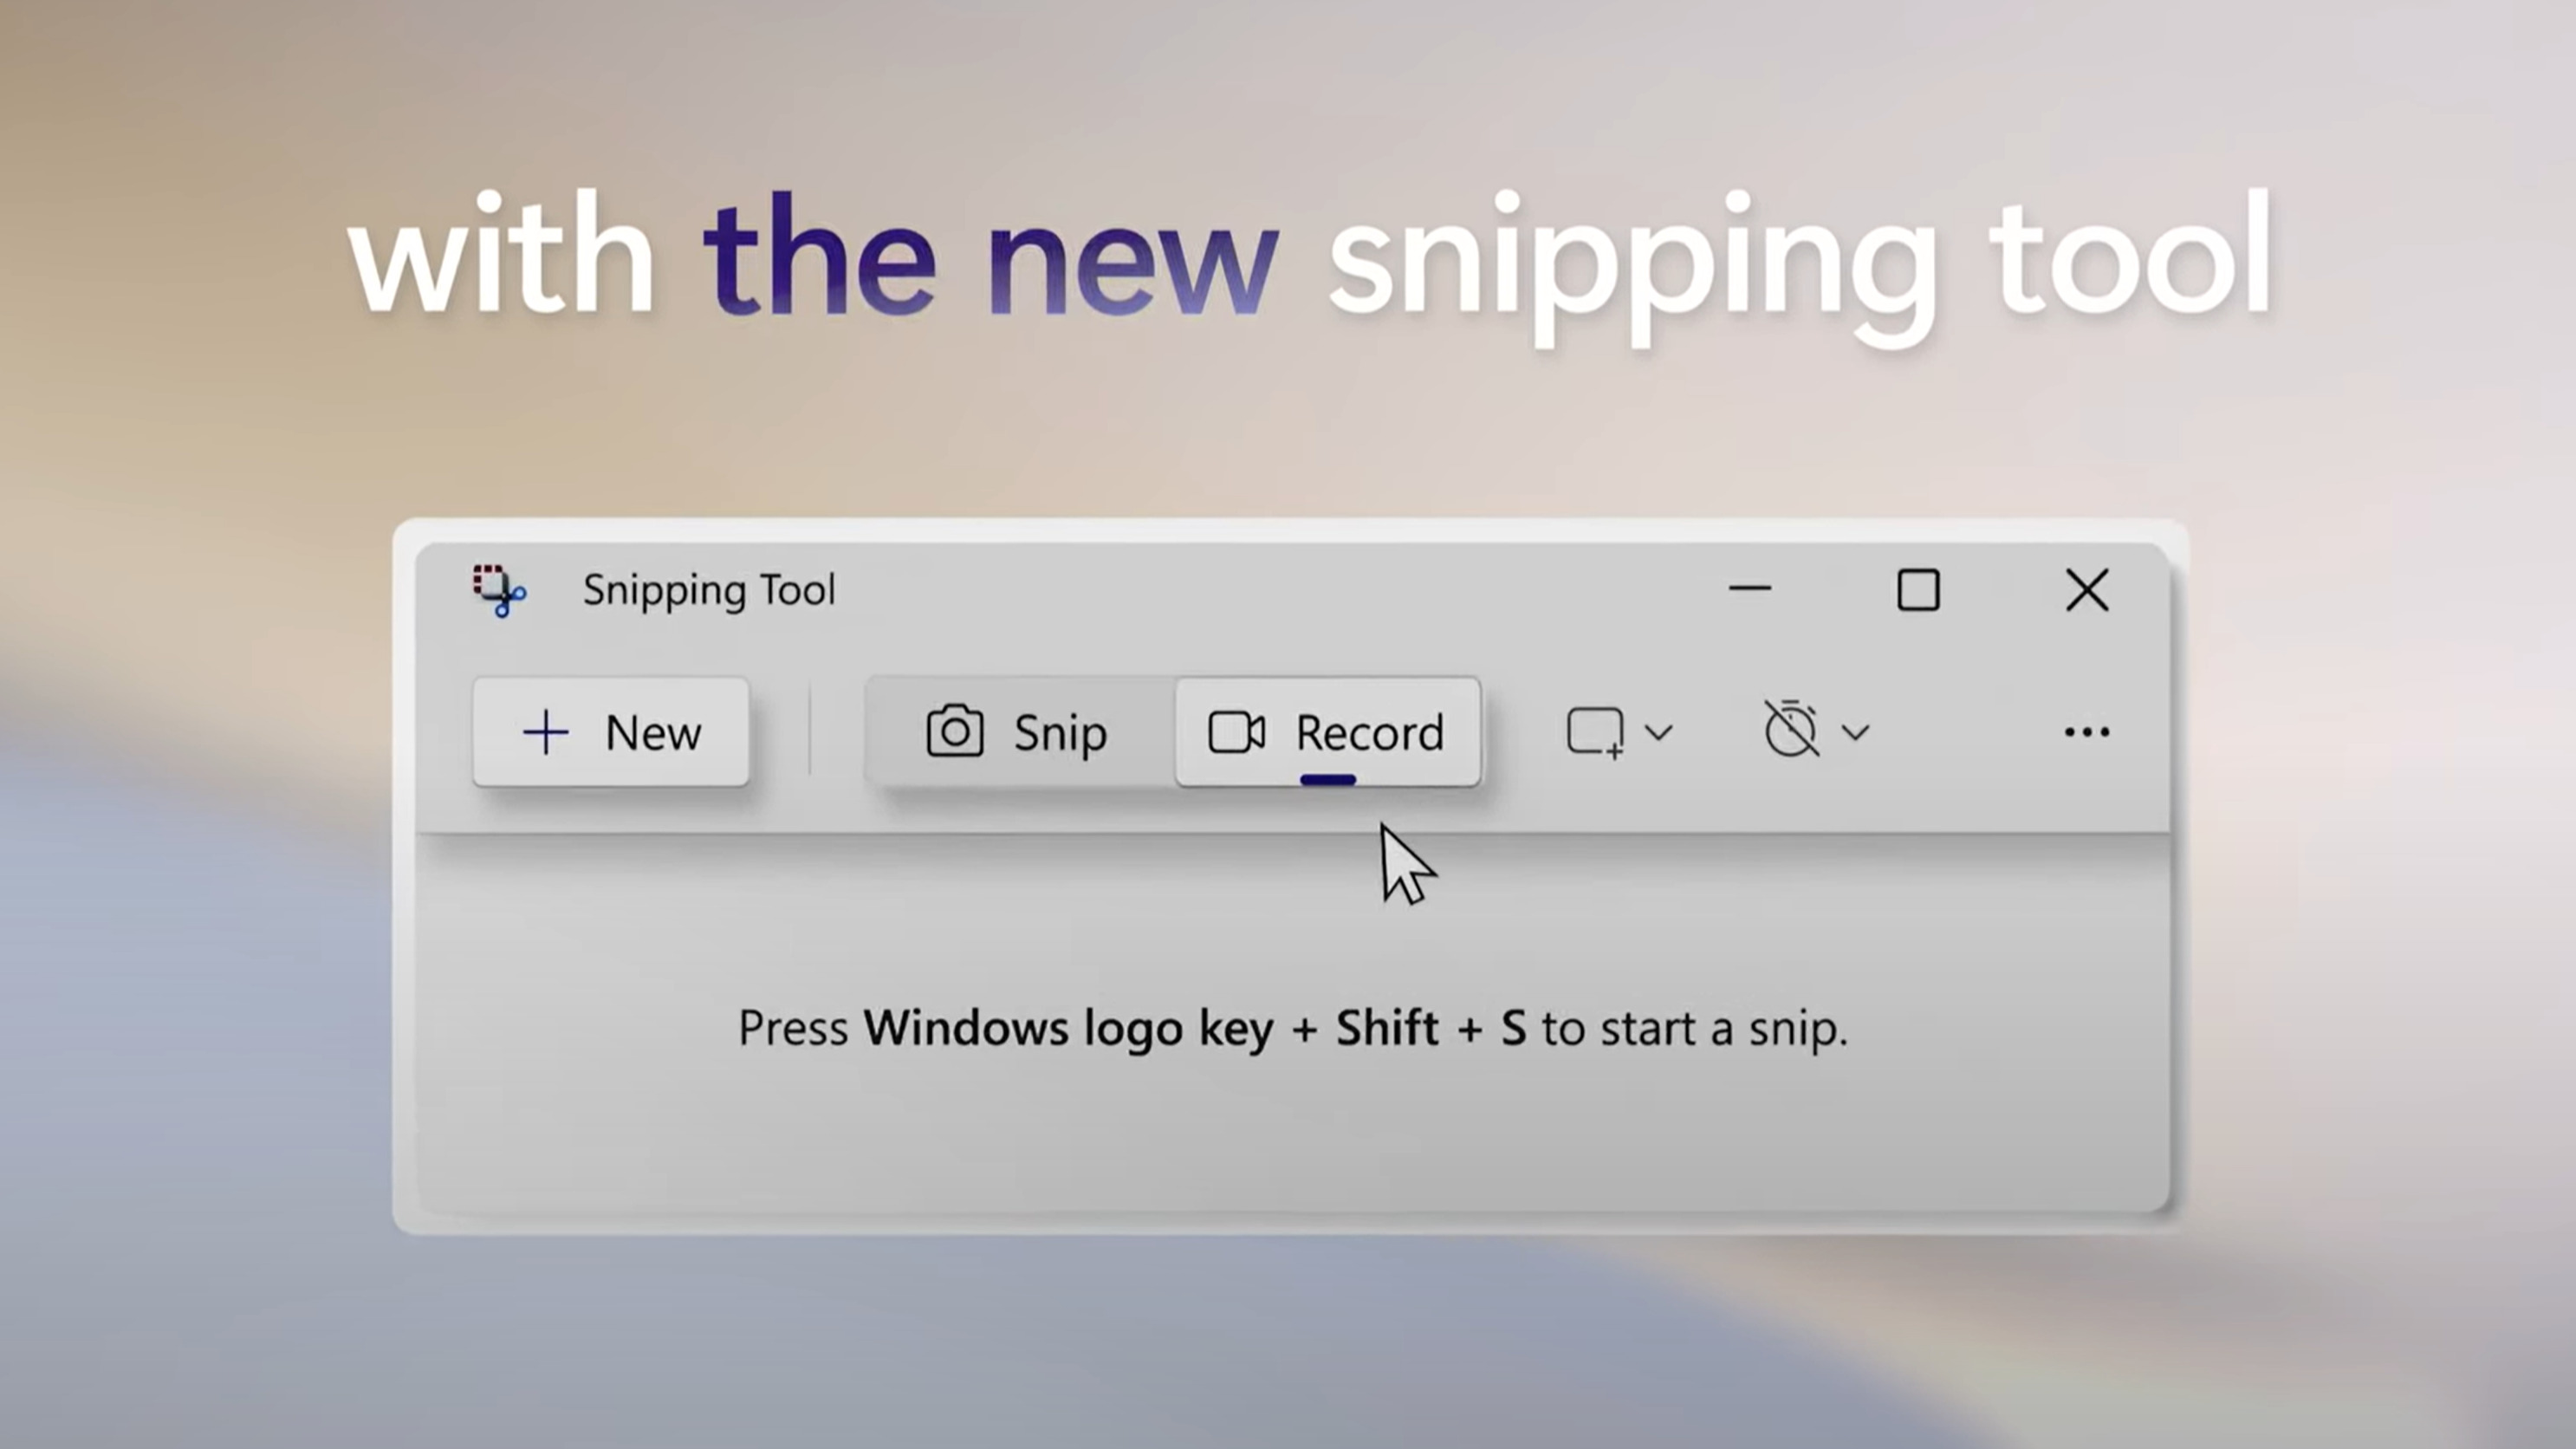
Method 1: Using the Photos App
Windows 8 comes equipped with a built-in Photos app that makes it simple to import and manage your iPhone photos. Follow these steps to use the Photos app:
- Ensure that your iPhone is connected to your Windows 8 computer as described in the previous section.
- On your Windows 8 computer, open the Photos app by clicking on the Start button and searching for “Photos”.
- In the Photos app, click on the “Import” button located at the top-right corner of the window.
- A window will appear displaying all the available devices to import photos from. Select your iPhone from the list.
- Choose the photos you want to import by clicking on the checkboxes beside each photo, or select “Import All” to transfer all photos.
- Customize the import settings according to your preference, such as choosing the destination folder or renaming the imported photos.
- Click on the “Import” button to begin the transfer process. The Photos app will display a progress bar, indicating the status of the import.
- Once the import is complete, you can view your iPhone photos in the Photos app and access them at any time.
The Photos app also offers advanced features for organizing and editing your imported photos. You can create albums, apply filters, adjust lighting and color settings, and even share your photos directly from the app.
Using the Photos app is a convenient and straightforward method to transfer your iPhone photos to your Windows 8 computer. Give it a try and enjoy a seamless photo management experience.
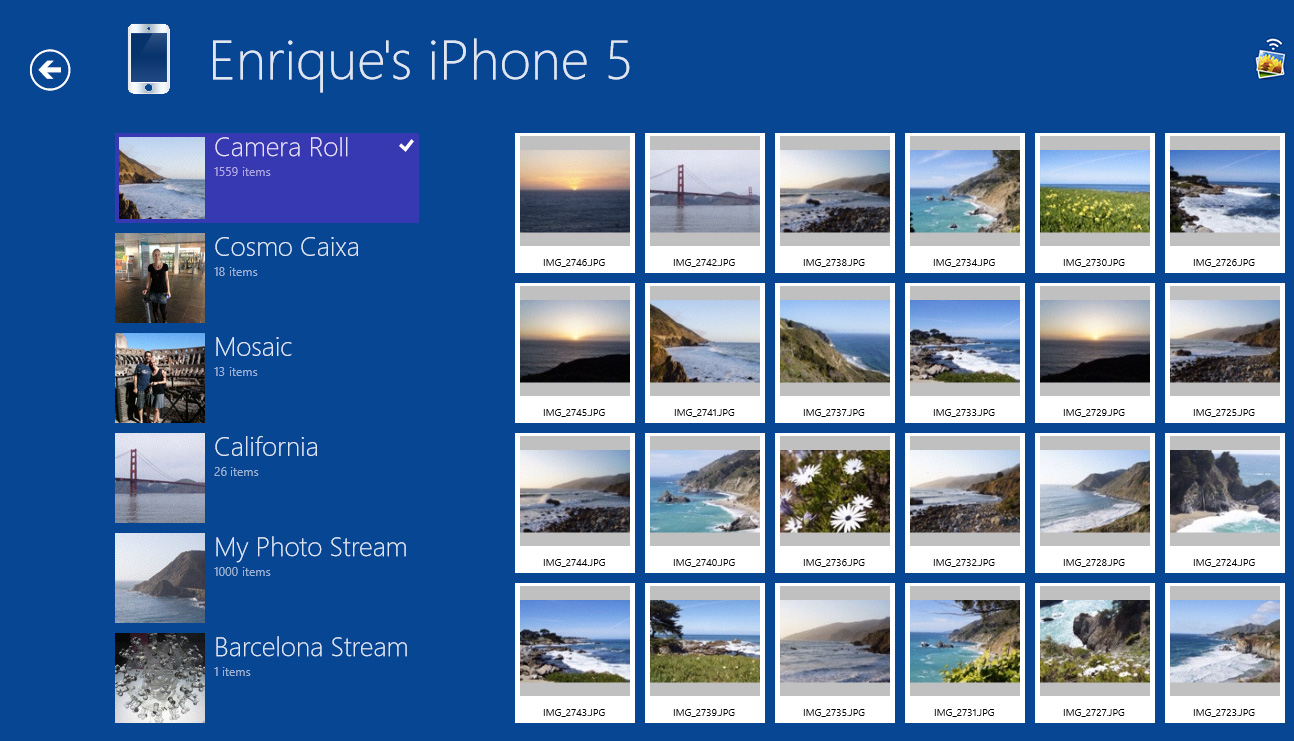
Method 2: Using File Explorer
If you prefer a more hands-on approach with your file management, using File Explorer is the way to go. Follow these steps to transfer your iPhone photos using File Explorer:
- Connect your iPhone to your Windows 8 computer using the USB cable.
- Unlock your iPhone and tap “Trust” when prompted to authorize the connection.
- On your Windows 8 computer, open File Explorer by clicking on the folder icon in your taskbar or pressing the Windows key + E.
- In File Explorer, locate your connected iPhone under “This PC” or “Devices and Drives”.
- Double-click on your iPhone to open it and navigate to the “DCIM” folder.
- You will find one or more folders with numerical names representing your captured photos and videos. Open the folder that contains the desired photos.
- Select the photos you want to transfer by either dragging your mouse cursor over them or holding the Ctrl key and clicking on each photo individually.
- Right-click on the selected photos and choose “Copy”.
- Navigate to the destination folder on your computer where you want to save the photos.
- Right-click within the destination folder and choose “Paste” to transfer the photos from your iPhone to your computer.
Using File Explorer provides you with direct control over the transfer process, allowing you to organize your photos as you wish. You can easily create new folders, rename files, and manage your photo library without relying on third-party software.
Give File Explorer a try and enjoy its versatility and simplicity when transferring your iPhone photos to your Windows 8 computer.
Method 3: Using iCloud
If you are an iPhone user who also utilizes iCloud, you can take advantage of its seamless integration with your Windows 8 computer. Follow these steps to transfer your iPhone photos using iCloud:
- Ensure that iCloud is enabled on your iPhone by going to Settings, tapping on your Apple ID, and selecting iCloud. Make sure the “Photos” option is enabled.
- On your Windows 8 computer, open a web browser and go to the iCloud website (https://www.icloud.com).
- Sign in to your iCloud account using your Apple ID and password.
- Click on the “Photos” icon from the iCloud home screen.
- You will see all your iCloud photos organized by date. Browse through the albums or use the search feature to locate specific photos.
- Select the photos you want to download by clicking on the checkboxes beside each photo, or select “Select All” to download all photos.
- Once you have selected the desired photos, click on the download icon (a cloud with an arrow pointing downward) to start the download process.
- A zip file containing the selected photos will be downloaded to your Windows 8 computer.
- Locate the downloaded zip file and extract its contents to access the individual photos.
Using iCloud provides a convenient way to access and download your iPhone photos directly from your web browser. It allows you to browse your entire photo collection and select specific photos to download, eliminating the need for USB cables or additional software.
Give iCloud a try and experience the seamless integration between your iPhone, iCloud, and your Windows 8 computer when transferring your cherished photos.
Method 4: Using iTunes
For those who prefer using iTunes to manage their iPhone content, this method offers a straightforward way to transfer your photos to your Windows 8 computer. Follow these steps to download your iPhone photos using iTunes:
- Connect your iPhone to your Windows 8 computer using the USB cable.
- If iTunes is not already installed on your computer, download and install the latest version from the official Apple website (https://www.apple.com/itunes).
- Launch iTunes on your computer.
- Click on the device icon located at the top-left corner of the iTunes window to select your iPhone.
- In the left sidebar, click on “Photos” to access the photo management settings for your iPhone.
- Select the option to “Sync Photos” and choose to sync either the entire library or selected albums, folders, or events.
- Customize the settings according to your preference, such as selecting the destination folder on your computer or choosing to include videos.
- Click on the “Apply” or “Sync” button to initiate the synchronization process.
- Once the sync is complete, your iPhone photos will be transferred to your Windows 8 computer and accessible through the chosen destination folder.
Using iTunes provides a comprehensive solution for managing your iPhone photos, allowing you to sync your entire photo library or select specific albums for transfer. It also provides additional options for organizing your photos and optimizing their quality during the synchronization process.
Give iTunes a try and enjoy its robust features when transferring your iPhone photos to your Windows 8 computer.
Conclusion
Transferring photos from your iPhone to your Windows 8 computer doesn’t have to be a complicated process. With the methods discussed in this article, you have several options to choose from, depending on your preferences and requirements.
Using the built-in Photos app provides a user-friendly interface and advanced editing options, making it an excellent choice for those who prefer an all-in-one solution. File Explorer offers more control and flexibility, allowing you to manage your photos directly on your computer. iCloud provides seamless integration between your iPhone and Windows 8 computer through a web browser interface. Finally, iTunes is a comprehensive option for those who already use it as their iPhone management tool.
Remember to always ensure a secure connection between your iPhone and Windows 8 computer before initiating the transfer process. This ensures the safety of your precious memories and avoids any data loss.
Choose the method that suits you best and enjoy the convenience of having your iPhone photos readily available on your Windows 8 computer. Whether you’re looking to create backups, edit your photos, or simply free up storage space on your device, these methods will help you achieve your goals.
So go ahead, give one of these methods a try, and start enjoying the benefits of having your iPhone photos easily accessible on your Windows 8 computer.