Introduction
Losing important data can be extremely frustrating, especially when your tablet suddenly stops working. Whether it’s due to a hardware failure or a software glitch, the thought of losing valuable photos, documents, and other files can be overwhelming. However, with the right steps and tools, you may be able to transfer data from a dead tablet and recover your precious information.
In this guide, we will walk you through the process of transferring data from a dead tablet. From assessing the damage to connecting the hard drive to a computer, we will provide you with detailed instructions to help you retrieve your files. Keep in mind that these steps may vary depending on the type of tablet and the extent of the damage. If you are not comfortable attempting the process yourself, it’s always best to seek professional assistance.
Before we delve into the steps, it’s crucial to stress the importance of backing up your data regularly. Prevention is always better than cure, and having a backup ensures that even if your device malfunctions, you won’t lose your valuable files. However, if you find yourself in a situation where your tablet is no longer functional and you haven’t backed up your data, this guide will help you navigate the recovery process.
Please note that data recovery from a dead tablet is not guaranteed. The success of the process depends on various factors, such as the nature of the damage and the condition of the storage device. Additionally, attempting to recover data yourself may void any remaining warranty on the device. If your tablet is still under warranty, it’s advisable to consult the manufacturer or authorized service center before proceeding.
Now that we’ve discussed the necessary disclaimers, let’s jump into the first step: assessing the damage.
Step 1: Assess the damage
The first step in transferring data from a dead tablet is to assess the extent of the damage. This will help you determine if it’s possible to recover the data yourself or if professional assistance is required.
Start by examining the physical condition of the tablet. Look for any visible signs of damage, such as a cracked screen, water damage, or any other external factors that may have contributed to its failure. If the tablet has suffered significant physical damage, it’s best to consult a professional data recovery service as they have specialized tools and expertise.
Next, try to power on the tablet by pressing the power button. If the device doesn’t respond or if you see error messages on the screen, it’s a clear indication that something is wrong. However, if the tablet seems to be working but you are unable to access your data, there may be a software issue that can potentially be resolved through data recovery methods.
To further assess the damage, connect the tablet to a power source and observe if it charges properly. If the device doesn’t charge or if it gets extremely hot while charging, it could be a sign of a malfunctioning battery or charging port. In such cases, professional intervention may be necessary.
If you are technically inclined, you can also try connecting your tablet to a computer using a USB cable and see if it gets detected. If the computer recognizes the tablet, you may have a higher chance of recovering the data. However, if the tablet remains undetected, it could indicate a severe hardware failure that may require specialized tools or professional assistance.
It’s important to remember that assessing the damage is a crucial step in determining the feasibility of data recovery. If you are unsure or uncomfortable with the process, it’s recommended to seek the help of a professional data recovery service. They have the knowledge and resources to carefully diagnose the issue and take appropriate actions to recover your precious data.
Once you have assessed the damage and determined the next course of action, you can proceed to the next step: gathering the necessary tools.
Step 2: Gather necessary tools
Before you can begin the process of transferring data from a dead tablet, you will need to gather the necessary tools. Having the right equipment and software will help you navigate the data recovery process more effectively. Here are some essential tools you will need:
- USB cable: You will need a USB cable to connect your tablet to a computer. Make sure you have a cable that is compatible with your tablet’s charging port.
- Computer: You will need a computer with a working USB port. This will serve as the intermediary device to connect and transfer data from the dead tablet.
- Data recovery software: Look for reputable data recovery software that is compatible with your tablet’s operating system. There are various options available, both free and paid. Make sure to choose a reliable software with positive reviews and a user-friendly interface.
- External storage device: To securely store the recovered data, you will need an external storage device such as a USB flash drive or an external hard drive. Make sure the storage capacity of the device is sufficient to accommodate the files you wish to recover.
- Screwdriver: In some cases, you may need a screwdriver to remove the back cover of the tablet and access the internal components. The type and size of the screwdriver required will depend on the specific model of your tablet.
It’s essential to ensure that all the tools you gather are in good working condition. A faulty USB cable or a malfunctioning external storage device can hinder the data transfer process. It’s also important to have a backup of your data recovery software on a separate device in case of any issues during the installation process.
Remember to handle all tools and equipment with care, especially when dealing with delicate electronic devices. If you are unsure about any aspect of the tools required, consult the user manual or seek guidance from professionals or online forums.
Once you have gathered the necessary tools, you are now ready to proceed to the next step: removing the hard drive or storage device from the dead tablet.
Step 3: Remove the hard drive or storage device
In order to transfer data from a dead tablet, you will need to remove the hard drive or storage device from the device. This step may require some technical skills and may vary depending on the make and model of your tablet. Take the following steps to remove the hard drive or storage device:
- Power off the tablet: If your tablet is still partially functional, make sure to power it off completely before attempting to remove the hard drive. This will prevent any potential damage to the device or risk of data corruption.
- Locate the access panel or back cover: Most tablets have an access panel or a back cover that can be removed to access the internal components. Refer to the tablet’s user manual or search online for specific instructions on how to remove the back cover.
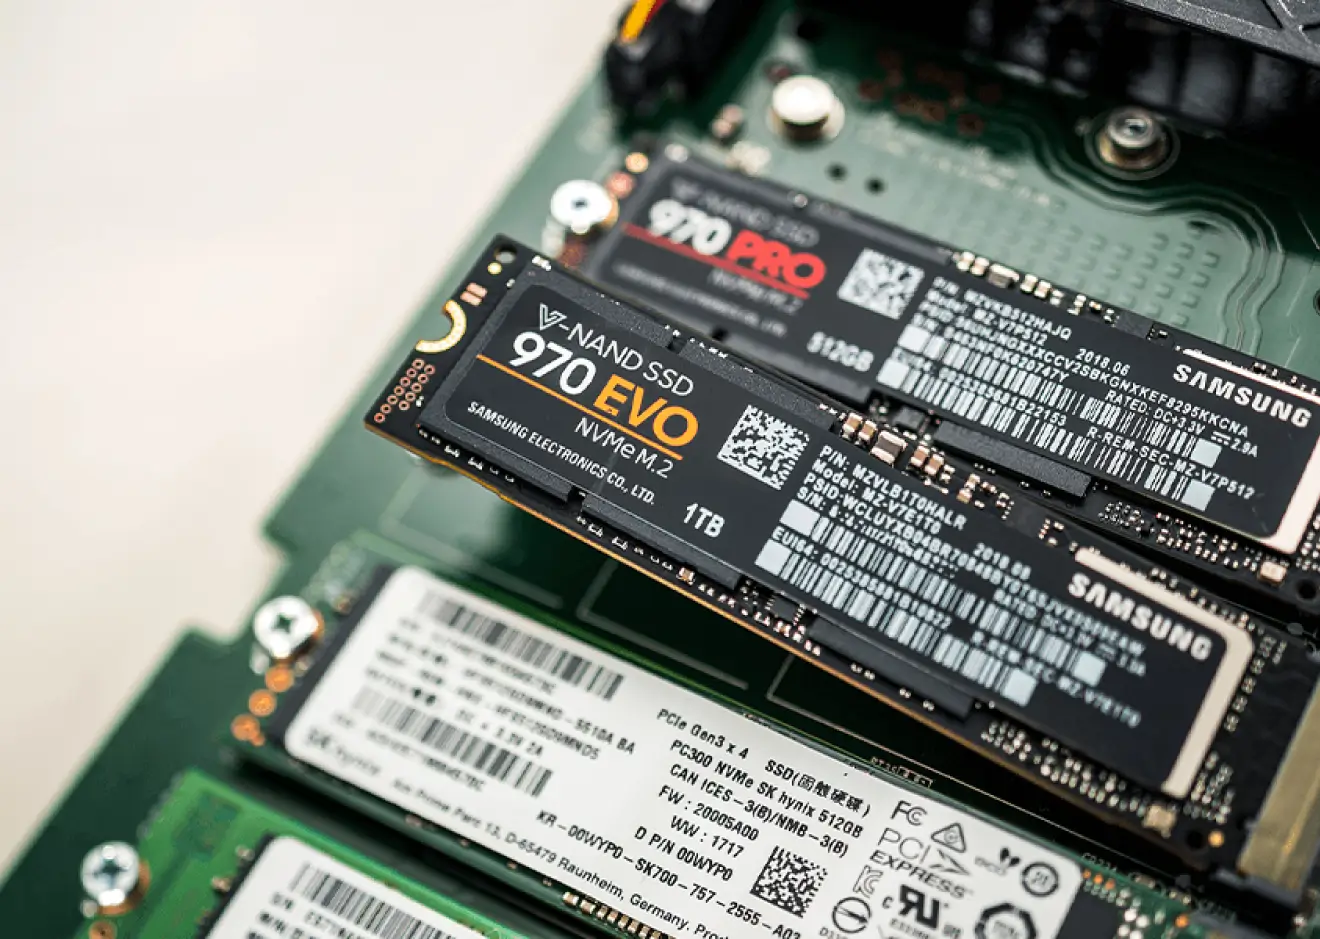
- Identify the hard drive or storage device: Once you have removed the back cover, locate the hard drive or storage device. It is typically a small chip or circuit board attached to the tablet’s motherboard. If you are unsure, consult the tablet’s user manual or seek assistance from an expert.
- Disconnect the hard drive: Carefully remove any cables or connectors that are attached to the hard drive or storage device. Take note of the cable orientation and placement to ensure correct reconnection later.
- Remove the hard drive or storage device: Depending on the tablet’s design, the hard drive or storage device may be secured with screws or clips. Use the appropriate tools (such as a screwdriver) to carefully remove any screws or release the clips holding the hard drive in place.
- Handle the hard drive with care: Once you have removed the hard drive or storage device, it’s important to handle it with care. Avoid touching any sensitive components, and store it in a safe and clean place to prevent any physical damage or contamination.
Remember, if you are not comfortable or confident in removing the hard drive yourself, it’s always best to seek professional assistance. Mishandling the internal components can lead to further damage and potentially render the data irretrievable.
With the hard drive or storage device successfully removed, you are now ready to move on to the next step: connecting the hard drive to a computer for data recovery.
Step 4: Connect the hard drive to a computer
Now that you have successfully removed the hard drive or storage device from your dead tablet, the next step is to connect it to a computer for data recovery. By connecting the hard drive to a computer, you can access the files stored on it and initiate the data transfer process. Here’s how you can connect the hard drive to a computer:
- Prepare the computer: Make sure the computer you are using is powered on and has enough available storage space to accommodate the recovered data. If necessary, free up some space or connect an external storage device to the computer. Also, ensure that the computer has the appropriate ports to connect the hard drive, whether it’s through USB, SATA, or other connectors.
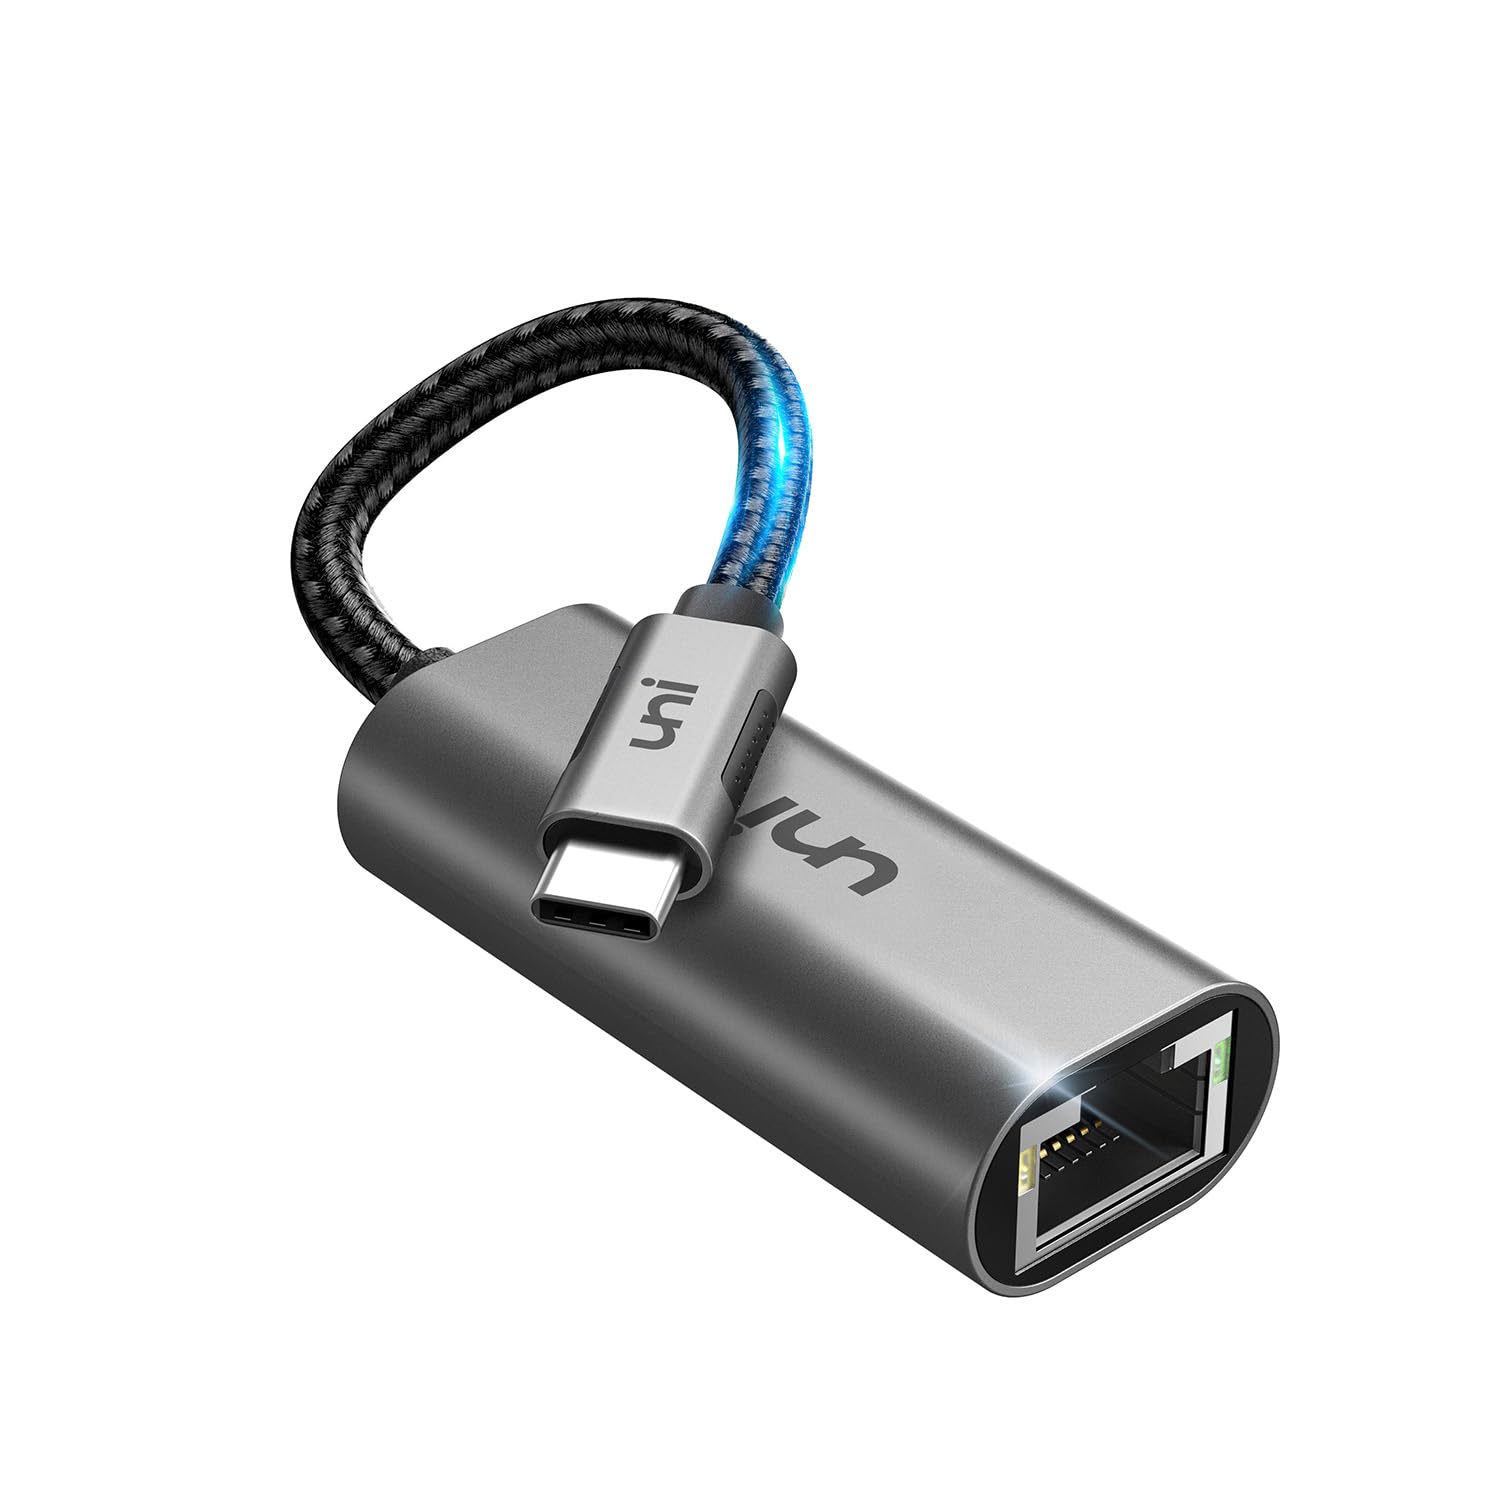
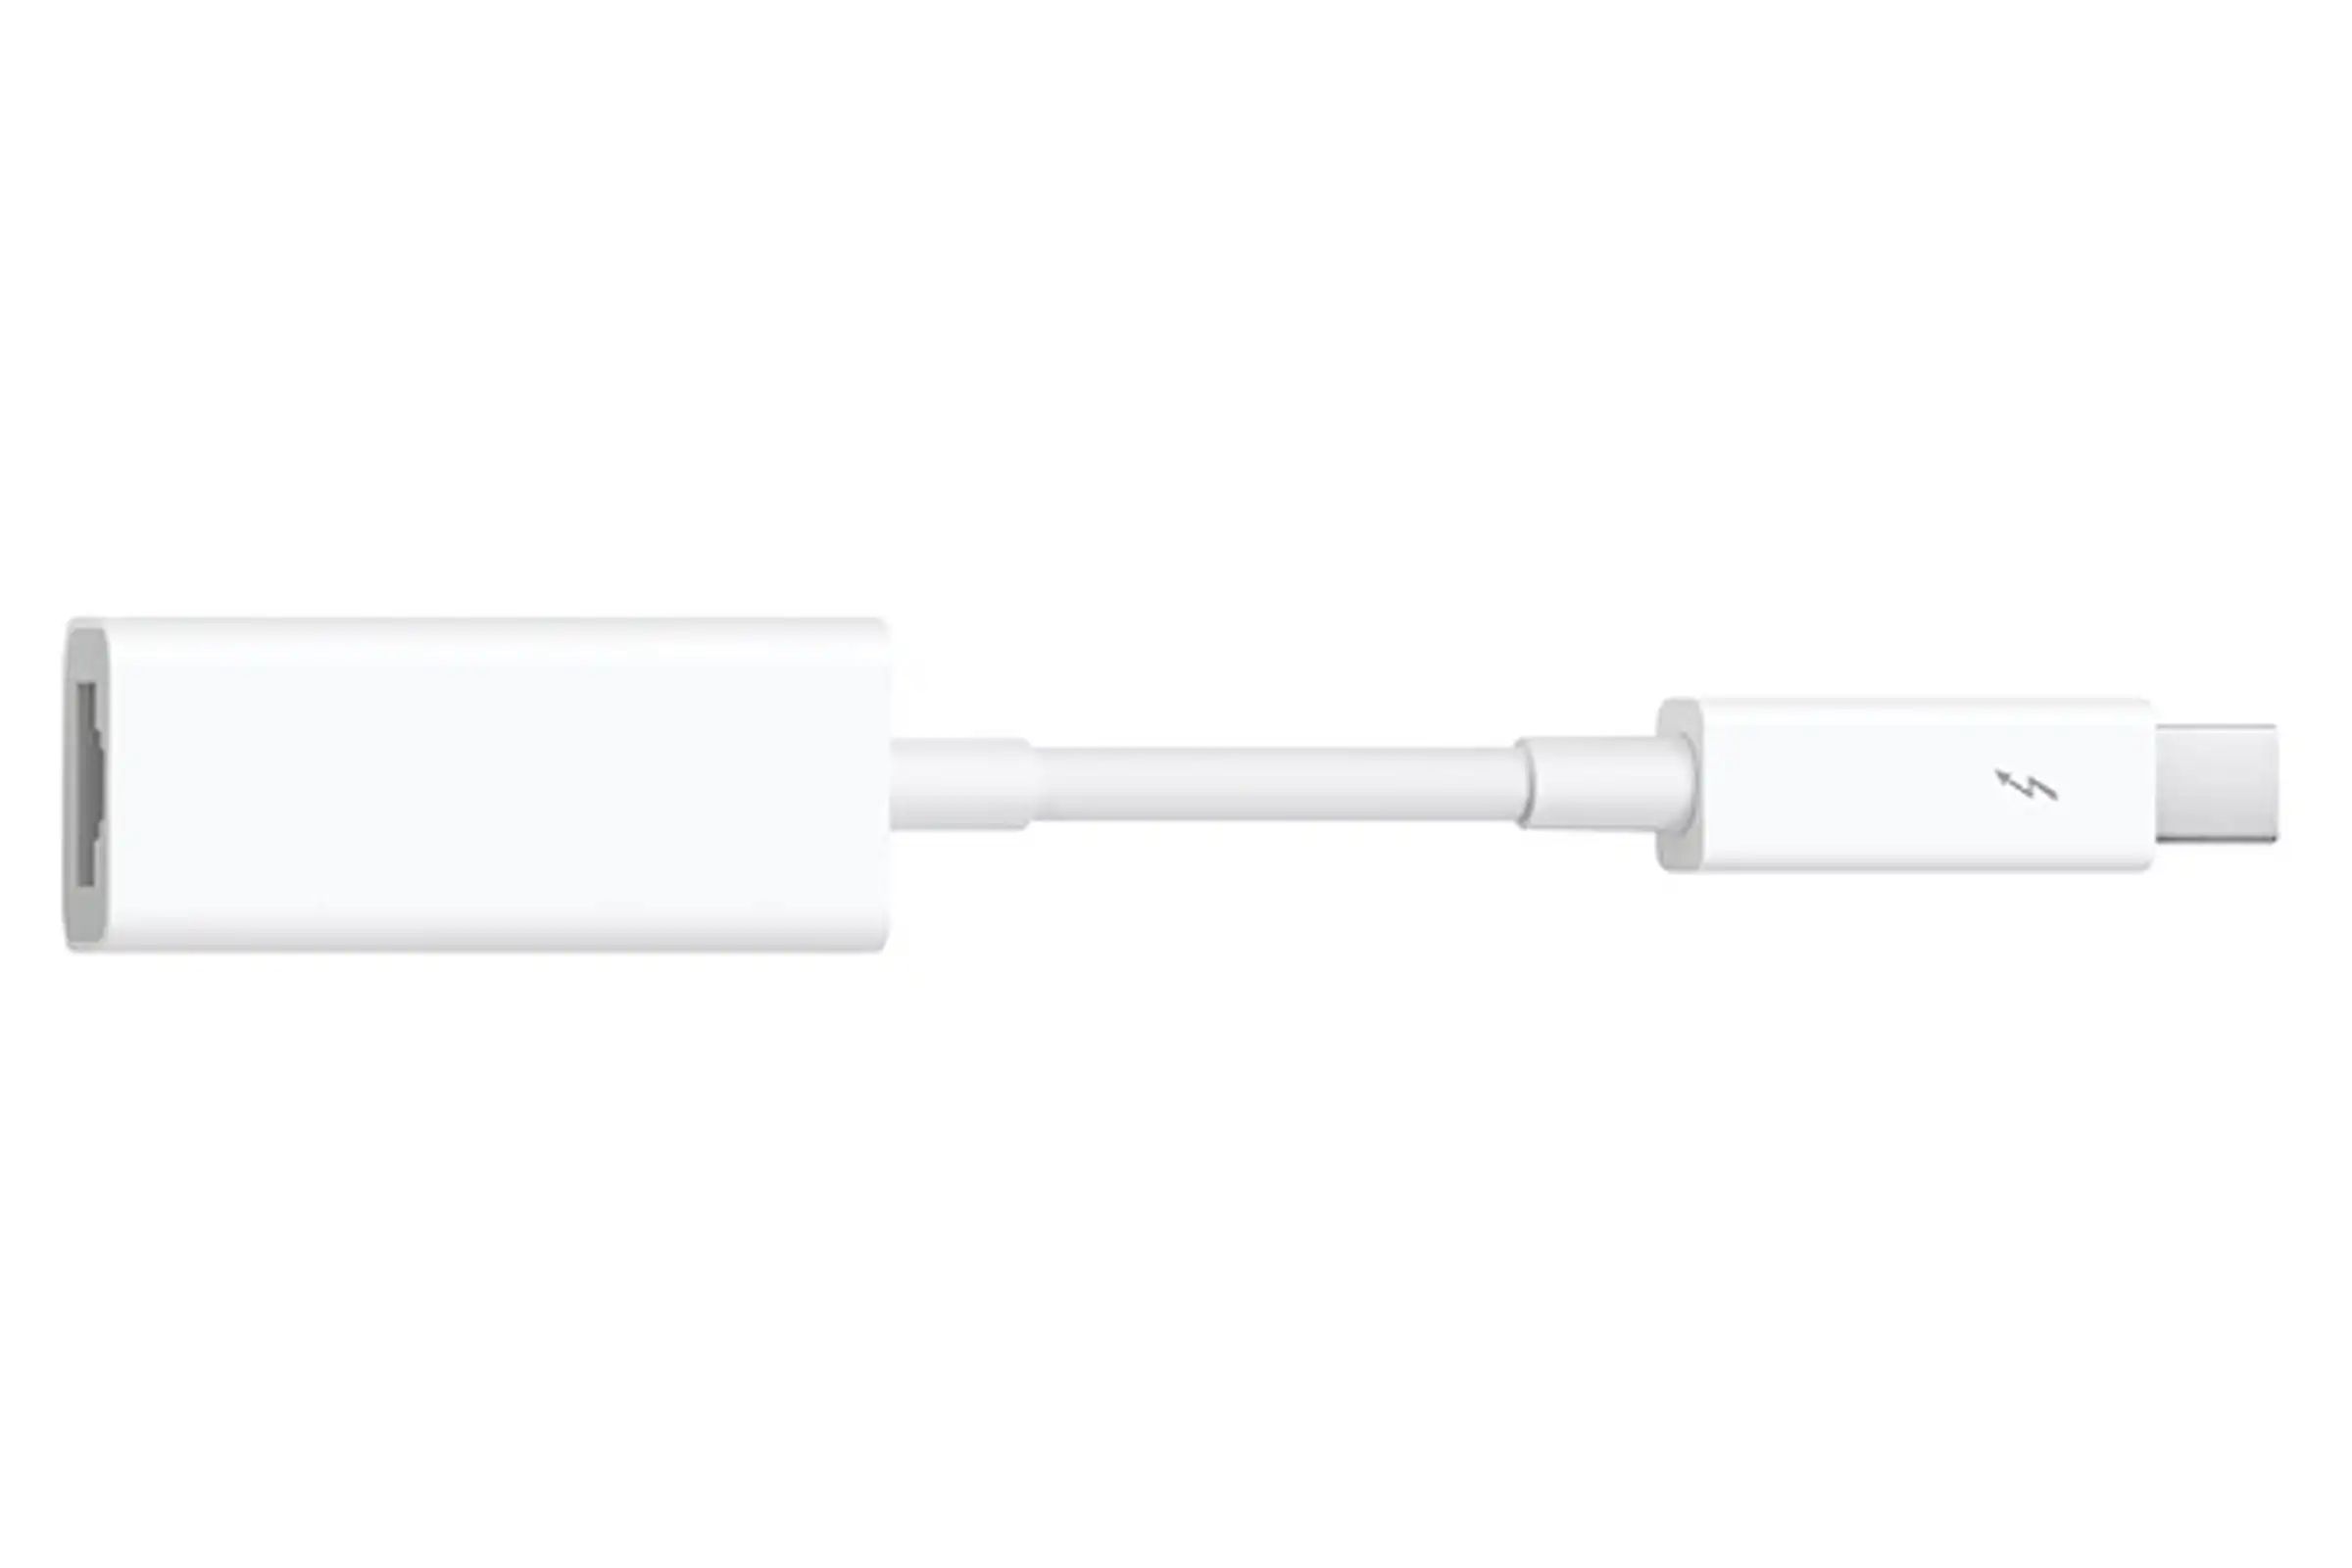
- Obtain the necessary connectors or adapters: Depending on the type of hard drive or storage device you have, you may need connectors or adapters to establish a connection with the computer. For instance, if the hard drive uses a different interface than what the computer supports, you may need a compatible adapter to bridge the connection. Research the specific requirements of your hard drive and ensure you have the necessary connectors or adapters on hand.
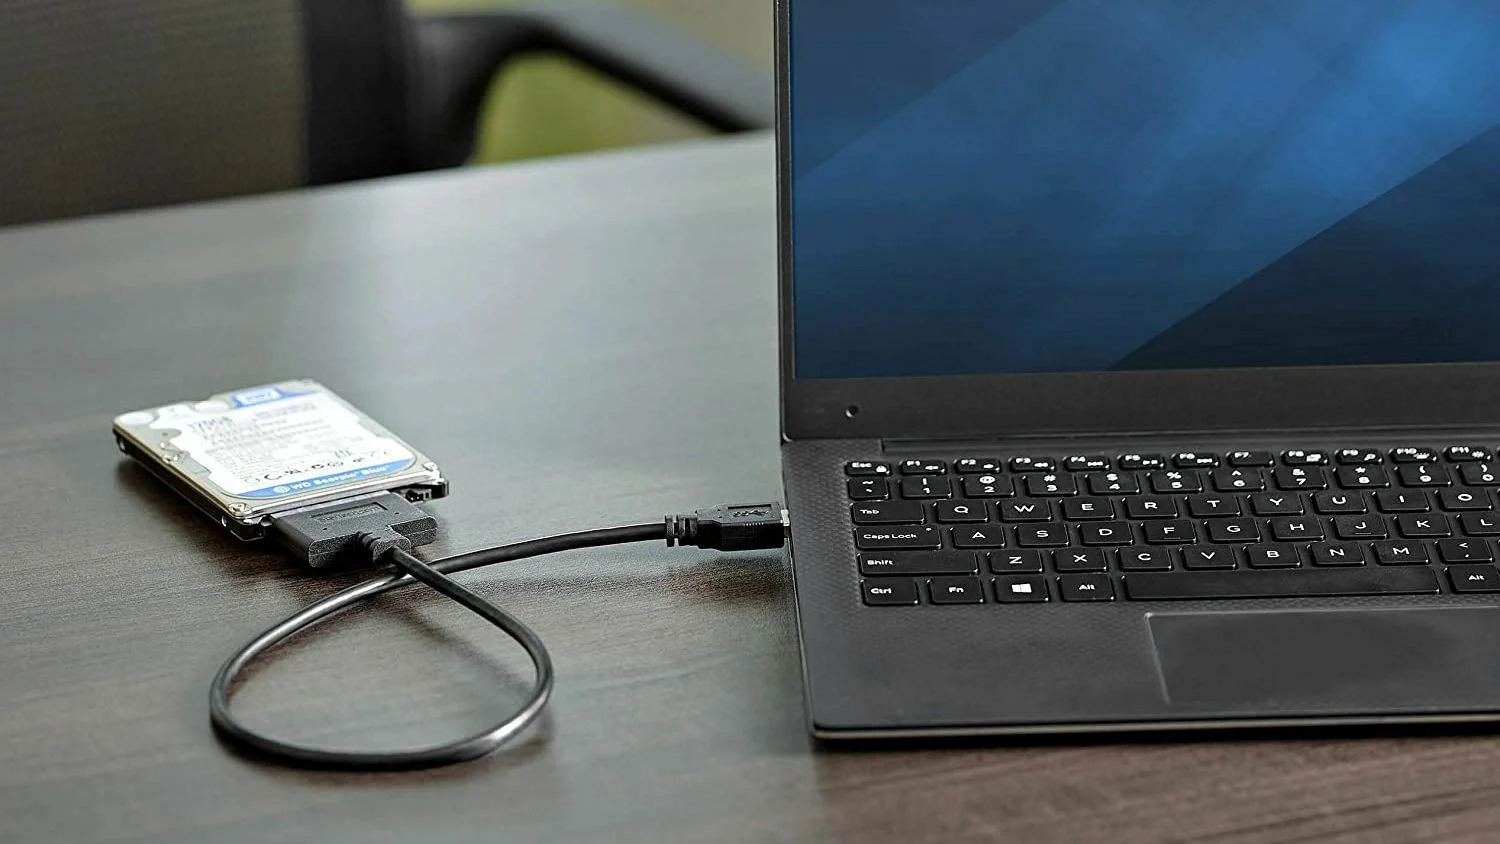
- Connect the hard drive to the computer: Using the appropriate connector or adapter, connect the hard drive to the computer. Ensure a secure and snug connection to avoid any data transfer issues. If using a USB cable, plug one end into the computer’s USB port and the other end into the hard drive’s USB port. If using a different interface, follow the specific instructions for connecting the hard drive.
- Power up the hard drive: If the hard drive requires external power, make sure to connect the power supply to the hard drive as well. This helps provide the necessary power for the hard drive to operate and be recognized by the computer.
- Wait for the computer to detect the hard drive: Once the hard drive is connected and powered up, wait for the computer to detect the device. It may take a few moments for the computer to recognize the connected hard drive. If the hard drive is not detected, try connecting it to a different USB port or check if all connections are properly secured.
- Access the hard drive on the computer: Once the hard drive is detected, you can access the files stored on it through the operating system’s file explorer. Navigate to the connected hard drive and explore the directories and files.
By connecting the hard drive to the computer, you have now established a link between the dead tablet’s storage device and your computer, making it possible to recover and transfer the data. Proceed to the next step to learn about using data recovery software to retrieve your precious files.
Step 5: Use data recovery software
With the hard drive from your dead tablet successfully connected to your computer, it’s time to utilize data recovery software to retrieve your valuable files. Data recovery software is designed to scan and recover lost or inaccessible data from various storage devices, including hard drives.
Follow these steps to use data recovery software for your data retrieval:
- Select and install data recovery software: Research reputable data recovery software options that are compatible with your operating system. Download and install the software on your computer following the provided instructions. Make sure you choose a reliable software that has positive reviews and a track record of successful recoveries.
- Launch the data recovery software: Once installed, launch the data recovery software on your computer. Ensure the connected hard drive is recognized within the software’s interface.
- Choose the recovery mode: Most data recovery software provides different recovery modes. Choose the appropriate mode based on the extent of the data loss and the type of files you want to recover. Common recovery modes include quick scan, deep scan, and specific file type recovery.
- Initiate the scanning process: Start the scanning process by clicking on the appropriate button in the data recovery software. The software will scan the connected hard drive to locate and identify any recoverable files.
- Review and select the files to recover: Once the scanning process is complete, the software will present a list of recoverable files. Review the files found and select the ones you wish to recover. If the software allows, preview the files to ensure they are intact and undamaged.
- Specify the destination for the recovered files: Choose a destination on your computer or an external storage device where you want the recovered files to be saved. Avoid saving the recovered files to the same hard drive you’re recovering from, as it may overwrite or corrupt the remaining data.
- Initiate the data recovery process: Once you have reviewed the selected files and specified the recovery destination, start the data recovery process within the software. The software will retrieve the selected files and save them to the specified location.
Depending on the size of the hard drive and the number of files to be recovered, the data recovery process may take some time. Avoid interrupting the process or disconnecting the hard drive during the recovery, as this may result in data loss or corruption.
Once the data recovery software has completed the retrieval process, you can proceed to the next step: transferring the recovered data to a new device.
Step 6: Transfer recovered data to a new device
After successfully recovering your data using the data recovery software, it’s time to transfer the recovered files to a new device. This step ensures that you have a safe and accessible copy of your valuable data. Follow these steps to transfer the recovered data:
- Connect the new device: Connect the new device, such as a laptop or external hard drive, to your computer using the appropriate cables or connections. Ensure the new device is recognized and accessible on your computer.
- Navigate to the recovered files: Open the file explorer on your computer and navigate to the location where the recovered files are saved. This will typically be the destination you specified during the data recovery process.
- Select and copy the recovered files: Select the recovered files you want to transfer by either individually selecting them or using a bulk selection method. Copy the files by right-clicking and selecting “Copy” or using the copy shortcut (Ctrl+C).
- Paste the files to the new device: Navigate to the destination on the new device where you want to transfer the recovered files. Right-click and select “Paste” or use the paste shortcut (Ctrl+V) to initiate the file transfer. Alternatively, you can drag and drop the files from the source location to the destination location on the new device.
- Monitor the file transfer process: Depending on the size and number of files being transferred, the process may take some time. Monitor the progress of the file transfer to ensure it is completed successfully. Avoid interrupting the transfer process or disconnecting any devices during the transfer.
- Verify the transferred files: Once the file transfer process is complete, navigate to the location on the new device where the files were transferred. Open and verify the files to ensure they have been successfully transferred and remain intact.
Make sure to keep a backup of the transferred files in a secure location, such as an external hard drive or cloud storage. This ensures that you have an additional copy of the recovered data in case of any unforeseen events or data loss.
Congratulations! You have successfully transferred the recovered data to a new device, ensuring your important files are safe and accessible. Now, you can proceed to the final step: properly disposing of the dead tablet.
Step 7: Dispose of the dead tablet properly
Now that you have successfully transferred the recovered data to a new device, it’s important to dispose of the dead tablet properly. Proper disposal ensures that your old device is recycled in an environmentally-friendly manner and that any sensitive information is securely erased. Follow these steps to dispose of your dead tablet:
- Erase all data: Before disposing of your tablet, ensure that all personal data is securely erased. Most tablets provide a factory reset option in the settings menu, which will wipe all data and restore the device to its original settings. Take the time to perform a factory reset to protect your privacy.
- Remove any personal accessories: Before recycling or disposing of the tablet, remove any personal accessories, such as cases, screen protectors, SIM cards, or memory cards. These accessories can be reused or recycled separately.
- Research recycling options: Look for local recycling centers or electronic waste disposal facilities in your area. These facilities are equipped to handle electronic devices, including tablets, and ensure they are recycled in an environmentally-friendly manner.
- Donate or sell if possible: If your tablet is still in working condition, consider donating it to a charity, school, or organization that accepts used electronics. You can also explore selling it if there is a market for used devices in your area.
- Check with the manufacturer: Some tablet manufacturers have take-back programs or recycling initiatives for their products. Check with the manufacturer to see if they have any specific guidelines or recommendations for disposing of your tablet.
Remember, it’s important to dispose of electronic waste responsibly to minimize the impact on the environment. Electronic devices often contain hazardous materials that can be harmful if not properly handled. Recycling or donating your dead tablet ensures that valuable materials are recovered and reused, reducing the demand for raw resources.
By following these steps, you can ensure that your dead tablet is disposed of properly, while also protecting your personal information and contributing to a healthier environment.
Conclusion
Dealing with a dead tablet can be a frustrating experience, especially if you fear losing valuable data. However, by following the steps outlined in this guide, you can increase your chances of recovering and transferring your important files.
From assessing the damage to removing the hard drive, connecting it to a computer, using data recovery software, transferring the recovered data to a new device, and disposing of the dead tablet properly, each step plays a crucial role in the process. It’s important to approach each step with caution and, if necessary, seek professional assistance.
Remember, prevention is always better than cure. Regularly backing up your data is essential to safeguarding your information from potential loss or damage. By maintaining a regular backup routine, you can minimize the risk and stress associated with data recovery from a dead tablet.
Lastly, keep in mind that the success of recovering data from a dead tablet can vary depending on various factors, such as the nature of the damage and the condition of the storage device. If you encounter any difficulties or uncertainties, it’s best to consult professionals or seek specialized data recovery services.
By taking the necessary steps to transfer data from a dead tablet, you can regain access to your valuable files and continue seamlessly with your digital endeavors.
Remember to dispose of your dead tablet responsibly, ensuring proper recycling and safeguarding the environment from electronic waste.
With the information and guidance provided in this guide, we hope that you can successfully retrieve and transfer your data from a dead tablet. Good luck, and may your data recovery efforts be fruitful!