Introduction
Welcome to our guide on how to properly eject an external hard drive from your Mac. Whether you use an external hard drive for backup purposes or to store your important files, it’s crucial to follow the correct procedure when disconnecting it from your Mac. Improper ejection can lead to data corruption or loss, and can even damage your external hard drive.
Ejecting an external hard drive ensures that all read and write operations are completed and that your files are safely stored before disconnecting the drive. Mac OS provides a simple and convenient method to eject your external hard drive, so you can handle the process with ease and confidence.
In this guide, we’ll take you through the step-by-step process of properly ejecting an external hard drive from your Mac. We’ll also provide tips on ensuring the safe physical disconnection of the drive. Whether you’re a seasoned Mac user or a novice, this guide will help you adhere to best practices and protect your data from potential risks.
Step 1: Locate the External Hard Drive Icon
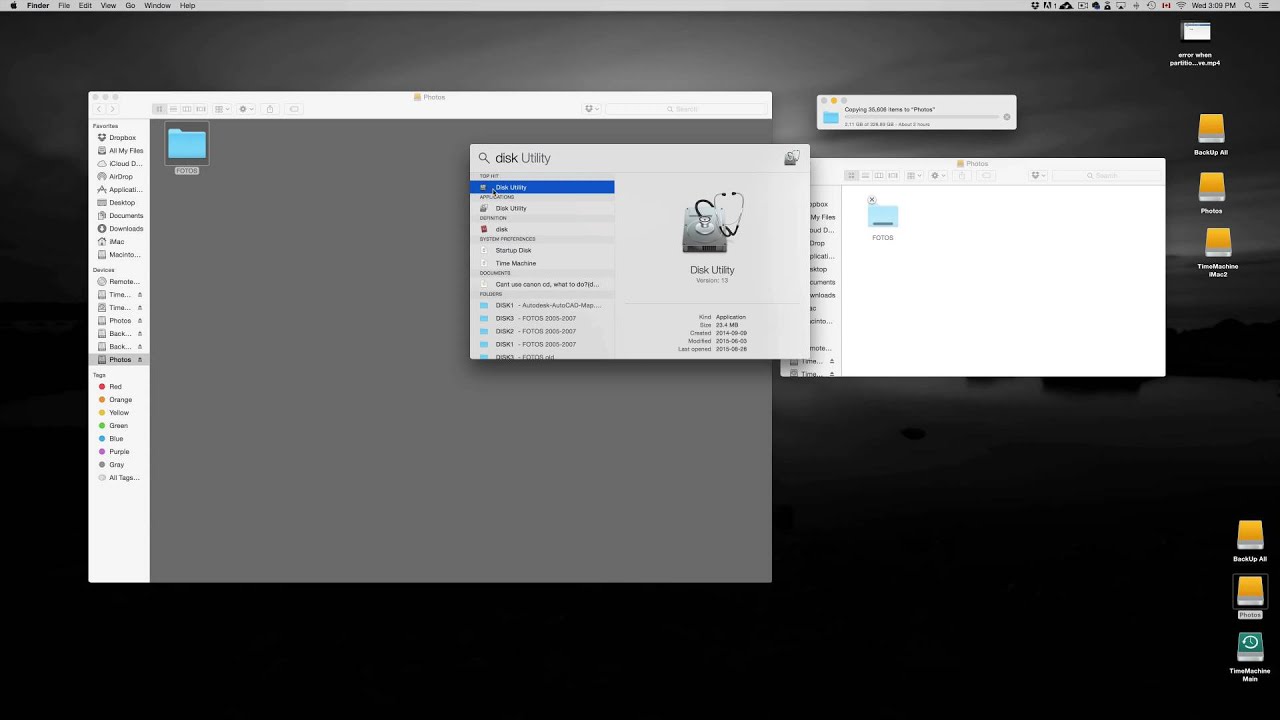
The first step in properly ejecting an external hard drive from your Mac is to locate the icon representing the drive. This icon typically appears on your desktop or in the Finder sidebar.
To find the external hard drive icon on your desktop, simply look for a rectangular icon labeled with the name or brand of your hard drive. It may also be represented by a generic external drive icon. If you don’t see the icon on your desktop, don’t worry – you can still find it in the Finder sidebar.
To locate the icon in the Finder sidebar, first open a new Finder window by clicking on the Finder icon in your dock or selecting it from the Applications menu. Once the Finder window is open, you should see a list of locations on the left-hand side. Look for the “Devices” section and find the external hard drive name or icon listed under it.
It’s important to note that the name or label of your external hard drive may vary depending on how it was set up or what you named it. If you’re unsure which icon represents your drive, you can check the capacity of each device listed in the Finder sidebar. The capacity of your external hard drive should match the size of the drive you’re trying to eject.
Once you’ve successfully located the external hard drive icon, you’re ready to proceed to the next step.
Step 2: Right-click or Control-click on the Icon
After you’ve located the icon representing your external hard drive, the next step is to right-click or control-click on the icon. This will bring up a contextual menu with several options related to your external drive.
To right-click on a Mac, position your cursor over the external hard drive icon, then press the right-hand side of your mouse or trackpad. If you’re using a trackpad, you can also simulate a right-click by holding down the Control key on your keyboard while clicking.
When you right-click or control-click on the icon, a dropdown menu will appear with various options. One of the options you should see is “Eject” or “Eject [Drive Name],” where [Drive Name] represents the name of your external hard drive. This is the option you need to select in order to properly eject the drive from your Mac.
This step is crucial as it initiates the ejection process and ensures that all read and write operations are completed before disconnecting the drive. It’s important not to skip this step and simply unplug the drive, as it may result in data loss or other consequences.
If you don’t see the “Eject” option in the contextual menu, it’s possible that your drive is already ejected or isn’t mounted on your Mac. In this case, you can proceed to the next step without worrying about ejecting it.
Once you’ve selected the “Eject” option, you’re one step closer to safely disconnecting your external hard drive from your Mac.
Step 3: Select “Eject” from the Dropdown Menu
After right-clicking or control-clicking on the icon representing your external hard drive, a dropdown menu will appear with various options. In this step, you’ll need to select the “Eject” option from the menu to initiate the ejection process.
The “Eject” option is specifically designed to safely disconnect your external hard drive from your Mac. By selecting this option, you ensure that all ongoing read and write operations are completed, and any cached data is safely stored on the drive.
To select the “Eject” option, simply position your cursor over it in the dropdown menu and click on it. Alternatively, you can use the arrow keys on your keyboard to navigate to the “Eject” option and press the Enter key to select it.
When you select the “Eject” option, you may notice that the external hard drive icon disappears from your desktop or Finder sidebar. This indicates that the drive has been successfully ejected from your Mac.
It’s important to note that if you have multiple partitions or volumes on your external hard drive, you may see separate options to eject each partition or volume in the dropdown menu. In this case, make sure to select the “Eject” option for each partition or volume before proceeding to the next step.
By selecting “Eject” from the dropdown menu, you’ve completed the necessary step to safely disconnect your external hard drive from your Mac. However, it’s essential to confirm the ejection before physically disconnecting the drive, which we’ll cover in the next step.
Step 4: Confirm Ejection
After selecting the “Eject” option from the dropdown menu, it’s crucial to confirm that your external hard drive has been successfully ejected from your Mac before physically disconnecting it. This step provides an additional layer of assurance that all processes have completed and it’s safe to disconnect the drive.
To confirm the ejection, you can look for a confirmation message or notification on your screen. Depending on your macOS version and settings, you may see a prompt or notification stating that it’s safe to disconnect the drive.
Another way to confirm the ejection is to check the external hard drive icon in the Finder sidebar. If the icon is no longer visible or grayed out, it indicates that the drive has been successfully ejected and is ready to be disconnected.
It’s important to wait a few seconds after selecting the “Eject” option to allow the ejection process to complete. Mac OS performs background tasks to ensure the safe ejection of the drive, and disconnecting it too soon may lead to data corruption or other issues.
If you’re unsure whether the ejection has been completed, you can also try opening a file or folder stored on the external hard drive. If you receive an error message, it means that the drive has been successfully ejected, and you can safely proceed to the next step.
Confirming the ejection of your external hard drive is an essential step to ensure the integrity of your data and prevent any potential data loss. Taking the time to confirm the ejection gives you peace of mind and minimizes the risk of encountering issues when reconnecting the drive in the future.
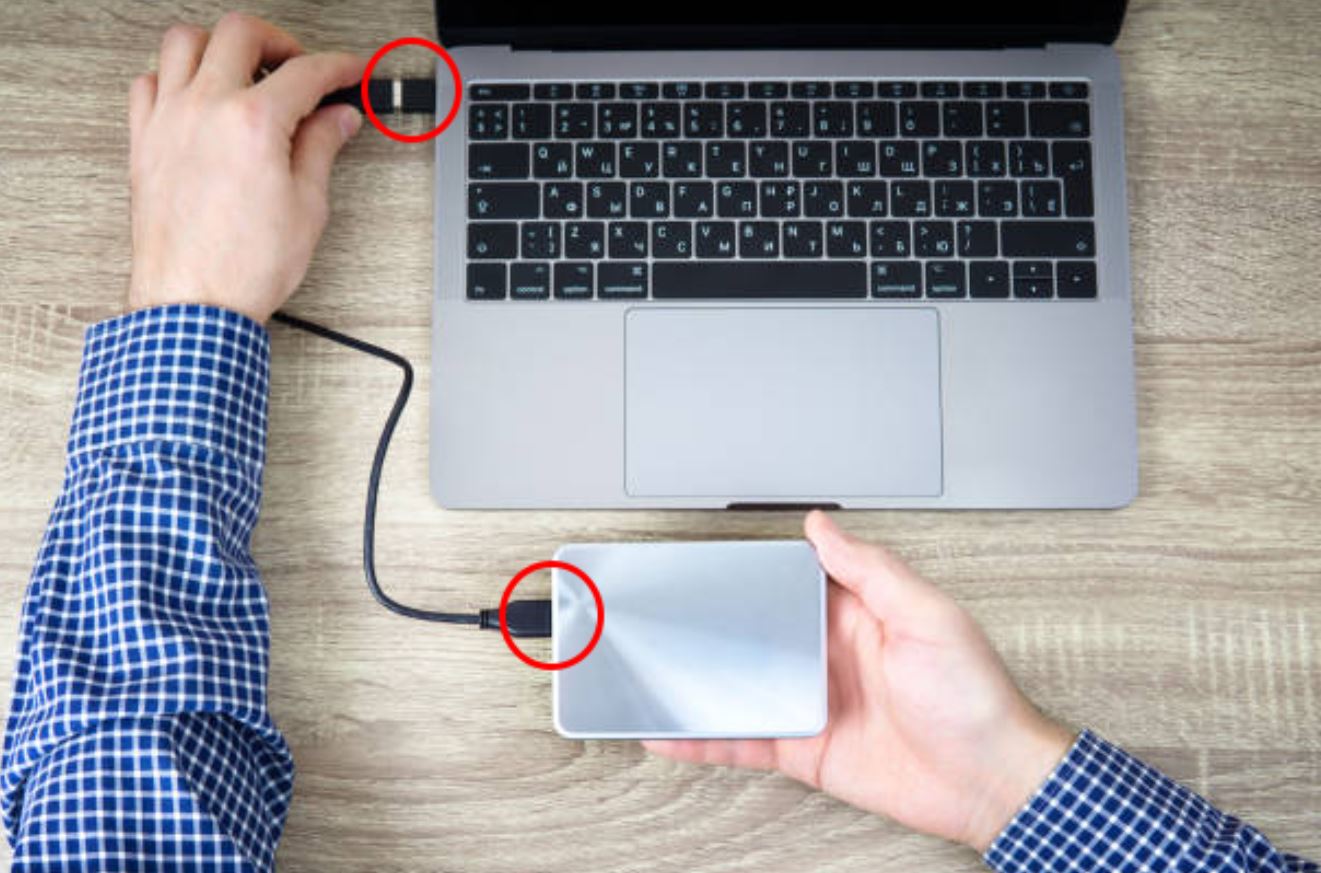
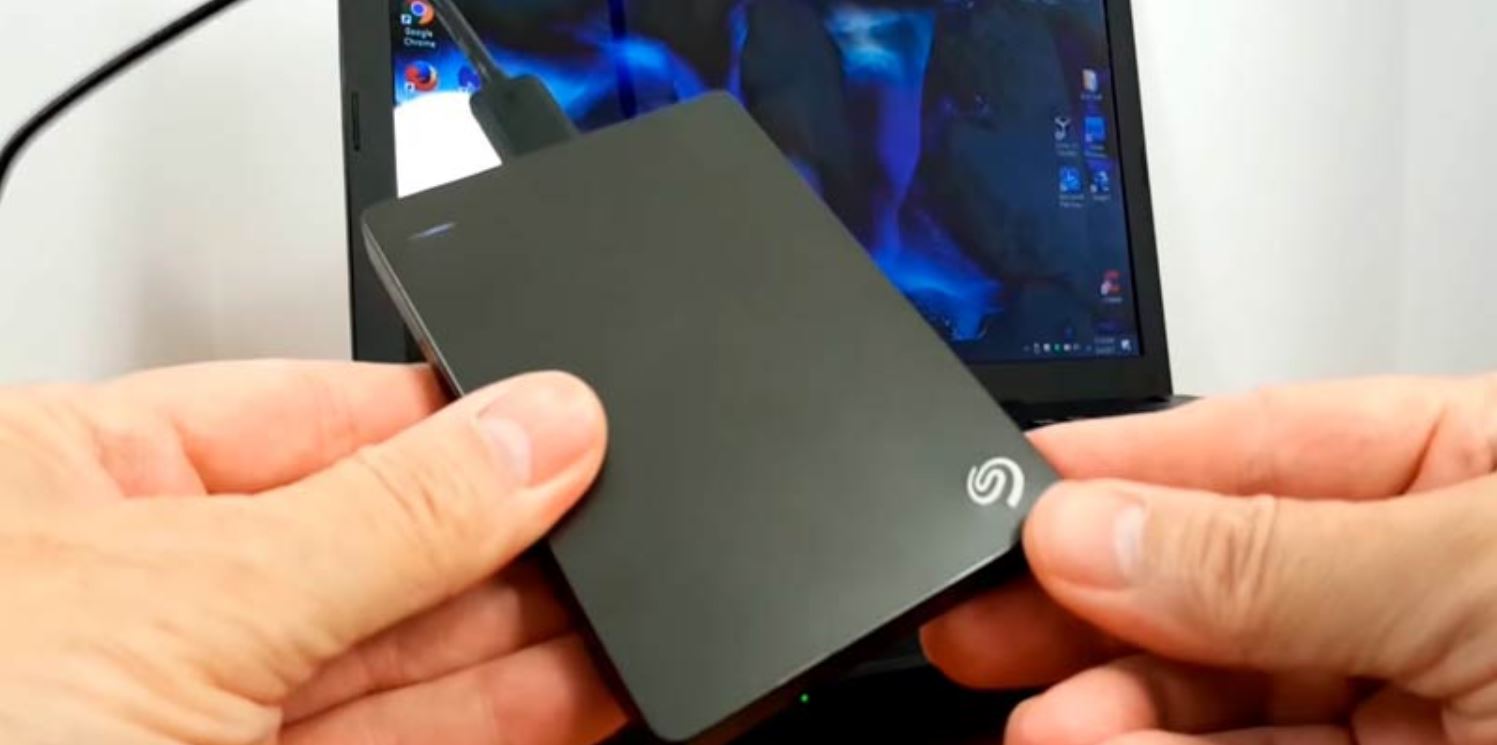
Step 5: Physically Disconnect the External Hard Drive from Your Mac
Once you have successfully confirmed the ejection of your external hard drive, you can proceed to physically disconnect it from your Mac. This step involves safely removing any cables or connections between your Mac and the external hard drive.
Before disconnecting the drive, it’s important to eliminate any potential risks that may cause data loss or damage. The following steps will guide you through the safe disconnection process:
1. Ensure that all read and write operations are complete: Double-check that you have closed any files or applications that were using the external hard drive. This step ensures that all data has been fully written to the drive before removing it.
2. Unplug any cables or connections: Gently remove any cables or connections connecting the external hard drive to your Mac. This includes USB, Thunderbolt, or FireWire cables, depending on the type of connection your external hard drive uses.
3. Avoid pulling the cable forcefully: When disconnecting the cable, make sure to pull it straight out of the port without excessive force. This helps prevent any damage to the cable ends and the ports on both your Mac and the external hard drive.
4. Store the external hard drive properly: Once disconnected, it’s important to store your external hard drive in a safe and secure location. Keep it away from any potential hazards like liquids, extreme temperatures, or magnetic fields.
By following these steps, you can safely disconnect your external hard drive from your Mac without risking data loss or damaging the drive.
It’s important to note that abrupt removal of the external hard drive without following these steps may result in data corruption or other issues. Always take the time to properly eject and physically disconnect the drive to ensure its long-term usability and data integrity.
Conclusion
Congratulations! You have successfully learned how to properly eject an external hard drive from your Mac. By following the steps outlined in this guide, you can ensure the safety and integrity of your data, preventing any potential loss or damage to your external hard drive.
Remember, properly ejecting an external hard drive is crucial to allow all read and write operations to complete before disconnecting the drive. This helps protect your data and ensures that no files are left in an unstable state.
Always locate the external hard drive icon on your desktop or in the Finder sidebar before initiating the ejection process. Right-click or control-click on the icon and select “Eject” from the dropdown menu. Confirm the ejection and wait for any background processes to complete before physically disconnecting the drive.
When disconnecting the external hard drive, remember to unplug the cables or connections gently and store the drive in a safe place. By following these best practices, you can maintain the longevity of your external hard drive and prevent any potential issues in the future.
Keep in mind that ejecting an external hard drive is not only important for data safety but also helps prevent any damage to the drive. Abruptly disconnecting the drive without proper ejection can result in physical damage to the ports or the drive itself.
Taking the time to properly eject and disconnect your external hard drive may seem like an extra step, but it ensures the smooth operation and longevity of both your drive and your data. So, whenever you’re ready to remove your external hard drive from your Mac, make sure to follow these steps for a safe and hassle-free experience.