Introduction
Welcome to the world of Mac, where external hard drives are a common tool for expanding storage, backing up important files, and transferring data between devices. However, it’s important to remember that these devices shouldn’t be disconnected abruptly. Instead, they should be properly ejected to avoid potential data loss or damage to the drive. In this article, we will explore various methods to safely eject your external hard drive on a Mac.
Ejecting an external hard drive effectively terminates the connection between the drive and your Mac, ensuring that all read and write operations are completed before disconnecting. By doing so, you can prevent potential data corruption, safeguard important files, and extend the lifespan of your external hard drive.
Whether you are using the Finder, menu bar, keyboard shortcuts, or Disk Utility, properly ejecting your external hard drive should be a regular part of your workflow. In the sections that follow, we will discuss each method in detail, providing step-by-step instructions to help you safely eject your external hard drive on a Mac.
It’s essential to note that the specific steps may vary slightly depending on the version of macOS you are using. However, the principles remain the same. So, regardless of the macOS version running on your Mac, this article will guide you to safely eject your external hard drive.
Now, let’s dive into the various methods available to eject your external hard drive from a Mac and ensure that your data remains intact.
Why do you need to eject your external hard drive?
You may be wondering why it’s necessary to go through the process of ejecting your external hard drive instead of simply unplugging it. Well, there are a few important reasons to keep in mind:
Data integrity: When you are working with your external hard drive, your computer is constantly reading from and writing to it. By ejecting the drive properly, you allow your operating system to complete any pending read or write operations, ensuring that all changes are saved and the data is written correctly. This helps prevent data corruption and allows for a smooth disconnection.
File system protection: Most external hard drives are formatted using a specific file system, such as HFS+ or APFS for macOS. Ejecting the drive properly ensures that the file system is unmounted correctly, avoiding any potential damage or corruption to the file system structure. This helps maintain the integrity of your data and guarantees that the drive will be recognized properly the next time you connect it.
Hardware safety: Unplugging an external hard drive without ejecting it can have physical consequences as well. The drive may still be spinning or in use when you remove the connection, which can result in damage to the drive’s mechanics. Ejecting the drive gives it the chance to safely park the heads and spin down the disk before you disconnect it, reducing the risk of physical damage.
Compatibility with other devices: If you regularly use your external hard drive with multiple devices, ejecting it properly ensures compatibility and prevents any potential issues when connecting it to another computer. By ejecting the drive correctly, you ensure that all changes are saved and the file system is properly unmounted, making it ready for seamless use with other devices.
By understanding the importance of ejecting your external hard drive, you can protect your data, ensure the longevity of your drive, and facilitate smooth and trouble-free usage across multiple devices. It’s a simple step that is well worth the effort to maintain the integrity and functionality of your external storage.
How to eject an external hard drive using the Finder
The Finder is the default file management application on Mac, and it provides a simple and straightforward way to eject your external hard drive. Here’s how you can do it:
- Open a Finder window by clicking on the Finder icon in the Dock, or by using the Command + N keyboard shortcut.
- In the sidebar, look for the “Devices” section. You should see your external hard drive listed here.
- Click once on your external hard drive to select it.
- Next, click on the “File” menu at the top of the screen.
- In the drop-down menu, select the option that says “Eject [Name of your external hard drive].” Alternatively, you can use the Command + E keyboard shortcut to eject the drive.
After selecting the “Eject” option, macOS will properly unmount the external hard drive and you will see the drive’s icon disappear from the desktop. At this point, it is safe to disconnect the drive from your Mac.
It’s important to wait until the drive has been ejected before removing the connection to ensure that all the data has been written and the file system has been unmounted correctly. This will help prevent any potential data loss or damage to the drive.
The Finder method is one of the simplest and most convenient ways to eject your external hard drive, especially if you are already working with Finder windows in your workflow. By following these steps, you can safely eject your drive and ensure the integrity of your data.
How to eject an external hard drive using the menu bar
Another quick and easy way to eject your external hard drive is by using the menu bar. The menu bar is located at the top of the screen and provides convenient access to various system functions. Here’s how you can use the menu bar to eject your external hard drive:
- Ensure that your external hard drive is connected and recognized by your Mac.
- Look for the external hard drive icon on the desktop or in the Finder sidebar.
- Next, locate the external hard drive icon on the menu bar. It will typically appear as a small gray icon with the name of your drive next to it.
- Click on the external hard drive icon in the menu bar.
- A drop-down list will appear, showing the name of your external hard drive and any other connected drives.
- In the drop-down list, find the name of your external hard drive and select it.
- Once selected, macOS will unmount the external hard drive, and the icon will disappear from both the desktop and the menu bar.
Now you can safely disconnect your external hard drive from your Mac.
The menu bar method offers a convenient way to quickly eject your external hard drive without having to open Finder or navigate through multiple windows. It’s especially useful if you frequently switch between applications and want a simple way to eject your drive with just a few clicks.
By following these steps, you can easily and safely eject your external hard drive using the menu bar on your Mac.
How to eject an external hard drive using a keyboard shortcut
If you prefer using keyboard shortcuts to perform tasks on your Mac, you’ll be pleased to know that there’s a keyboard shortcut specifically designed to eject external hard drives. Here’s how you can use this keyboard shortcut:
- Ensure that your external hard drive is connected and recognized by your Mac.
- Locate the external hard drive icon on the desktop or in the Finder sidebar.
- To eject the drive, simply press the Command (⌘) key and the E key simultaneously.
By pressing Command + E, macOS will initiate the eject process and unmount the external hard drive from your Mac. Once ejected, the drive’s icon will disappear from both the desktop and Finder.
This keyboard shortcut provides a quick and efficient way to eject your external hard drive without the need to navigate through menus or use your mouse. It’s particularly useful if you prefer to keep your hands on the keyboard and want a straightforward way to eject your drive.
By using the Command + E keyboard shortcut, you can ensure that your external hard drive is safely ejected, preventing data loss and protecting the integrity of your files.
How to eject an external hard drive using Disk Utility
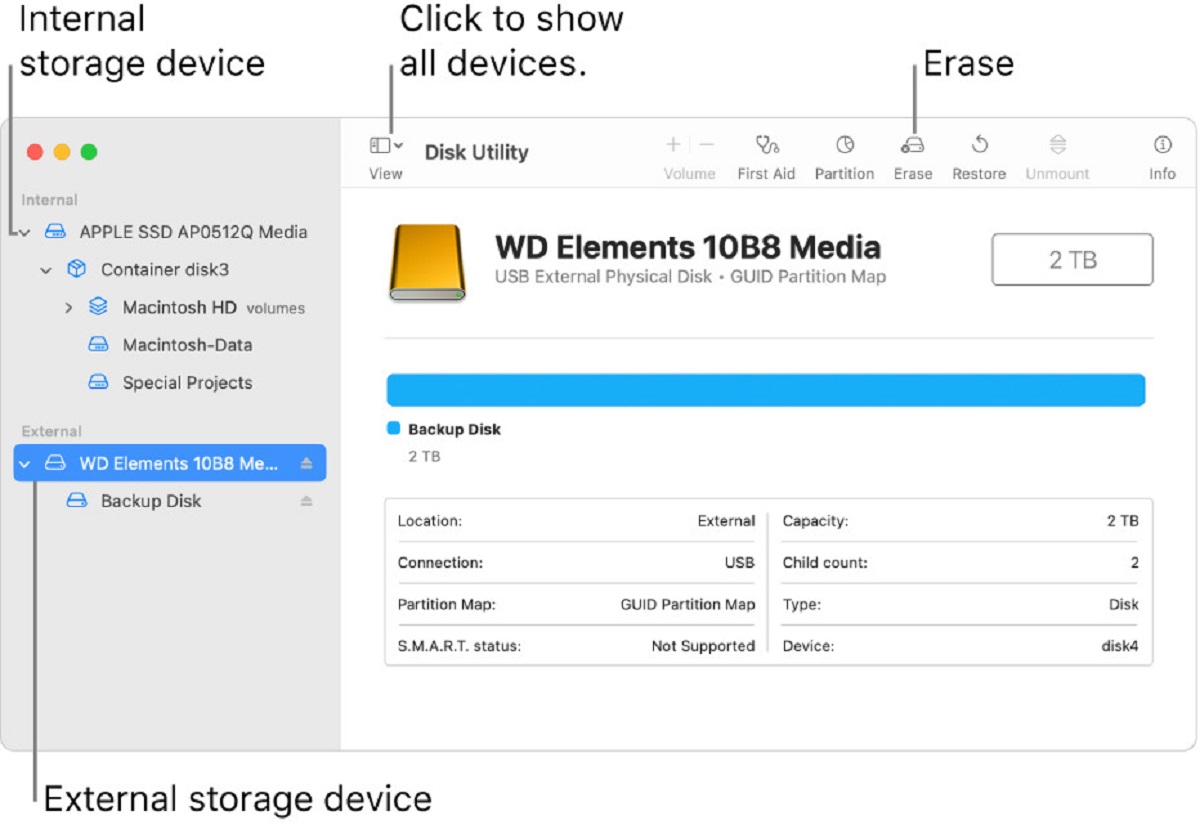
If you prefer a more advanced method to eject your external hard drive, you can use Disk Utility. Disk Utility is a built-in macOS application designed for managing disks, partitions, and volumes. Here’s how you can use Disk Utility to eject your external hard drive:
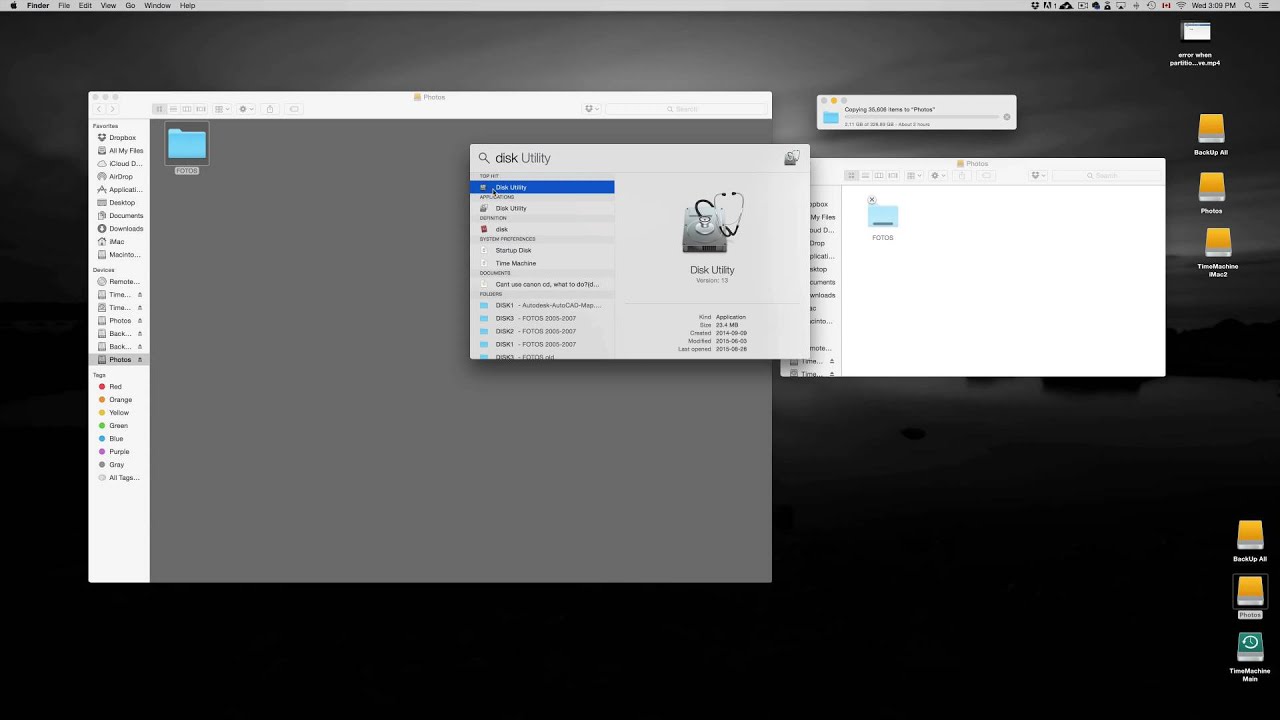
- Open Disk Utility. You can find it by navigating to “Applications” > “Utilities” > “Disk Utility”.
- In the left-hand sidebar, you will see a list of all connected drives and volumes. Locate your external hard drive.
- Click once on your external hard drive to select it.
- Within the toolbar at the top of the Disk Utility window, you will see an eject icon (it looks like an upward-facing arrow). Click on this icon to initiate the eject process.
Alternatively, you can also right-click on the external hard drive icon in the sidebar and select “Eject” from the contextual menu.
After initiating the eject process, Disk Utility will unmount the external hard drive, and the drive’s icon will disappear from both the desktop and the Disk Utility window. At this point, you can safely disconnect your external hard drive from your Mac.
Using Disk Utility provides you with a more in-depth view of your connected drives and additional options for managing them. It’s a useful tool if you need to perform more advanced tasks on your external hard drive, such as partitioning or reformatting.
By following these steps in Disk Utility, you can safely eject your external hard drive and have confidence in the integrity of your data.
Troubleshooting tips for when you can’t eject your external hard drive
At times, you may encounter situations where you are unable to eject your external hard drive using the usual methods. Fortunately, there are a few troubleshooting tips you can try to resolve the issue:
- Close any open files: Make sure all files stored on the external hard drive are closed. Sometimes, open files can prevent the drive from ejecting.
- Quit any applications: Check if any applications are still accessing the files on the external hard drive. Close those applications, as they can also prevent proper ejection.
- Force quit stuck processes: If certain processes seem to be stuck or unresponsive, you can try force quitting them using the Activity Monitor utility. This might release any lock on the drive and allow it to be ejected.
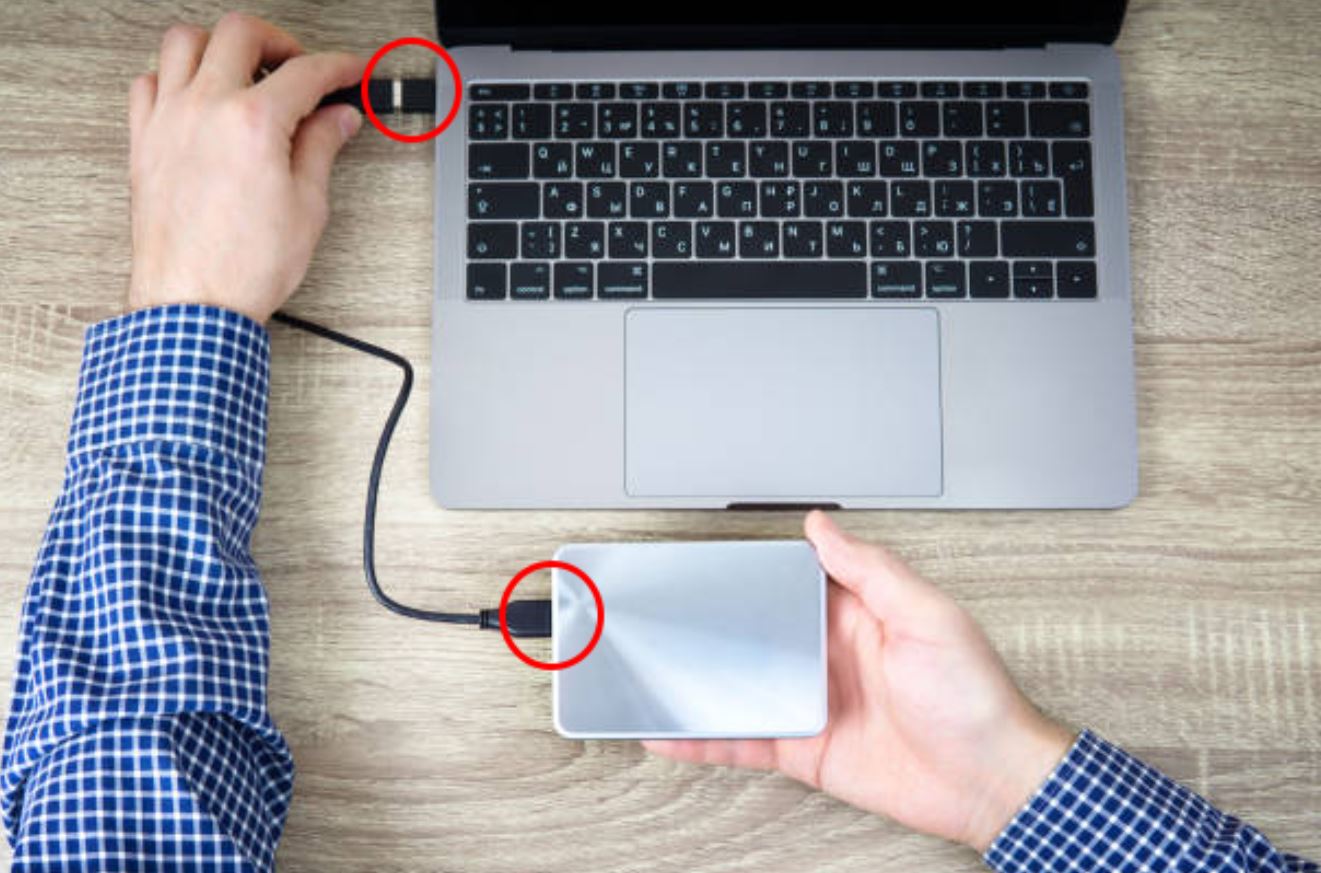
- Try a different USB port or cable: Occasionally, the issue might be related to a faulty port or cable. Switching to a different USB port or using a different cable can help identify if this is the cause of the problem.
- Restart your Mac: Sometimes, a simple system restart can resolve issues preventing the safe ejection of an external hard drive. Restarting your Mac can potentially release any processes or system resources that were holding onto the drive.
- Use the Terminal utility: If all else fails, you can try ejecting the external hard drive using the Terminal utility. Open Terminal (located in “Applications” > “Utilities”) and type “diskutil unmount /Volumes/[Name of the drive]”. Press Enter to execute the command and eject the drive.
If you continue to experience difficulties ejecting your external hard drive, it’s recommended to check for any software updates, including macOS and the firmware for your external hard drive. Keeping your system and devices up to date can address underlying compatibility issues that may be causing the problem.
Remember, it’s crucial to exercise caution when troubleshooting and disconnecting your external hard drive. Abruptly unplugging the drive without proper ejection can lead to data loss or even hardware damage. Always follow the recommended troubleshooting steps to ensure a safe and successful ejection process.
By trying these troubleshooting tips, you should be able to overcome any obstacles preventing you from ejecting your external hard drive and maintain the integrity of your data.
Conclusion
Ejecting your external hard drive is an essential step in protecting your data and maintaining the health of your drive. Properly ejecting the drive ensures that all read and write operations are completed, protects the file system, and reduces the risk of physical damage to the drive.
In this article, we explored different methods to safely eject an external hard drive on a Mac. Whether you prefer using the Finder, menu bar, keyboard shortcuts, or Disk Utility, there is a convenient method for every user.
Using the Finder allows for easy and intuitive ejection of your external hard drive. The menu bar provides quick access to ejecting your drive, while keyboard shortcuts offer a handy way for those who prefer to keep their hands on the keyboard. For more advanced users, Disk Utility offers additional options and a deeper view of your connected drives.
Lastly, we discussed troubleshooting tips for situations where you encounter difficulties ejecting your external hard drive. These tips can help you identify and resolve common issues, ensuring a smooth and successful ejection process.
Remember, it’s important to exercise caution and follow the proper procedures when ejecting your external hard drive. Taking the time to safely disconnect your drive will go a long way in protecting your data and prolonging the lifespan of your external storage.
By incorporating these methods and troubleshooting tips into your workflow, you can confidently and safely eject your external hard drive, ensuring the integrity of your files and the smooth operation of your Mac.