Introduction
Welcome to the world of technology where data storage plays a pivotal role in our daily lives. External hard drives have become an essential tool for individuals and businesses alike, providing a convenient and reliable means of storing large amounts of data. However, sometimes these devices can throw us a curveball when they are not detected by our computers. It can be a frustrating experience, especially if the external hard drive contains important files or precious memories.
In this article, we will delve into the common causes of an external hard drive not being detected and provide you with a step-by-step guide on how to recover your external hard drive. Whether you are a tech-savvy individual or a novice, this guide will equip you with the knowledge to tackle the issue effectively and reclaim your valuable data.
Before we dive into the troubleshooting steps, it’s important to note that every situation is unique, and the success of the recovery process may vary. It’s always a good idea to start with the preliminary steps to ensure the safety of your data before attempting any further actions.
So, if you’re ready to embark on the journey of recovering your external hard drive and regaining access to your files, let’s get started. We’ll explore various methods to troubleshoot the issue, update or reinstall drivers, check for file system errors, recover data, and even seek professional help if necessary.
Remember, patience is key throughout this process. By following the steps meticulously, you increase your chances of successfully recovering your external hard drive and preventing any permanent loss of data. Let’s jump in and learn how to conquer this challenge!
Overview of the Problem
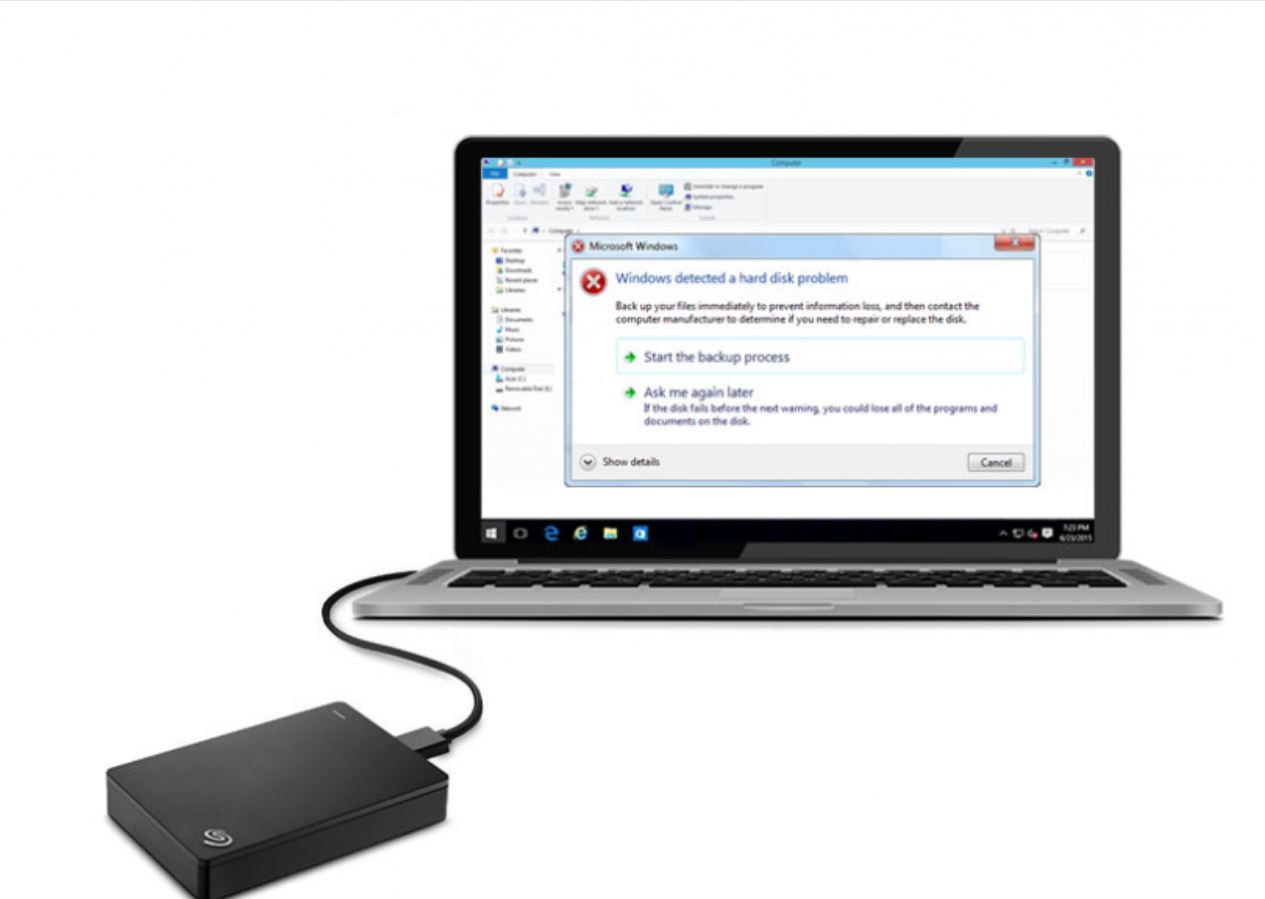
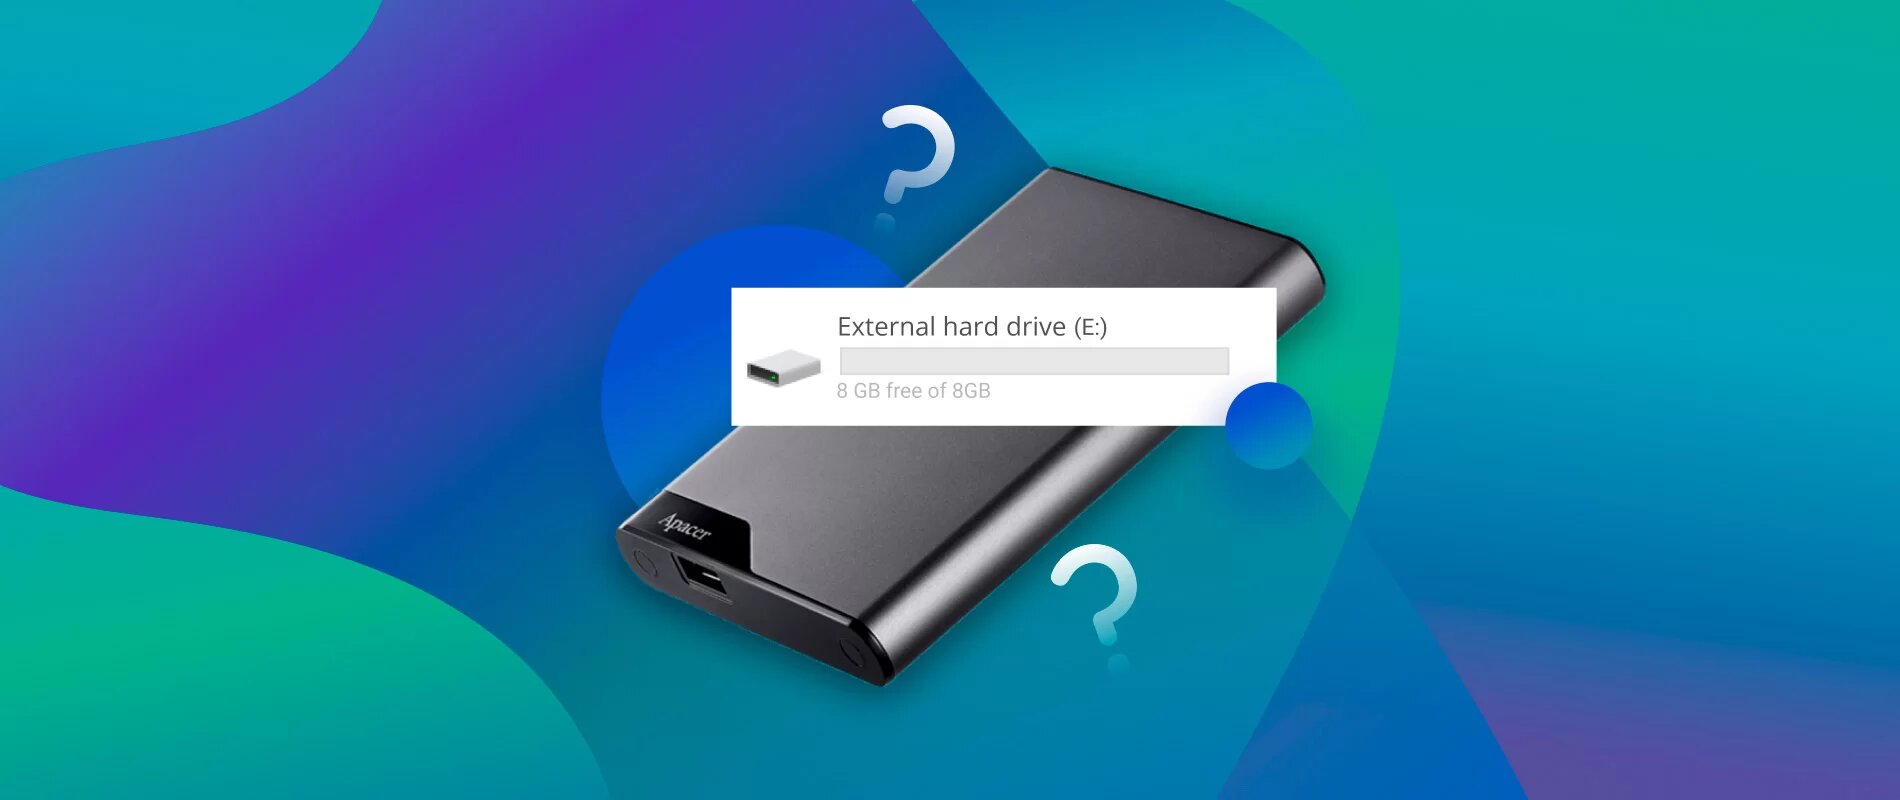
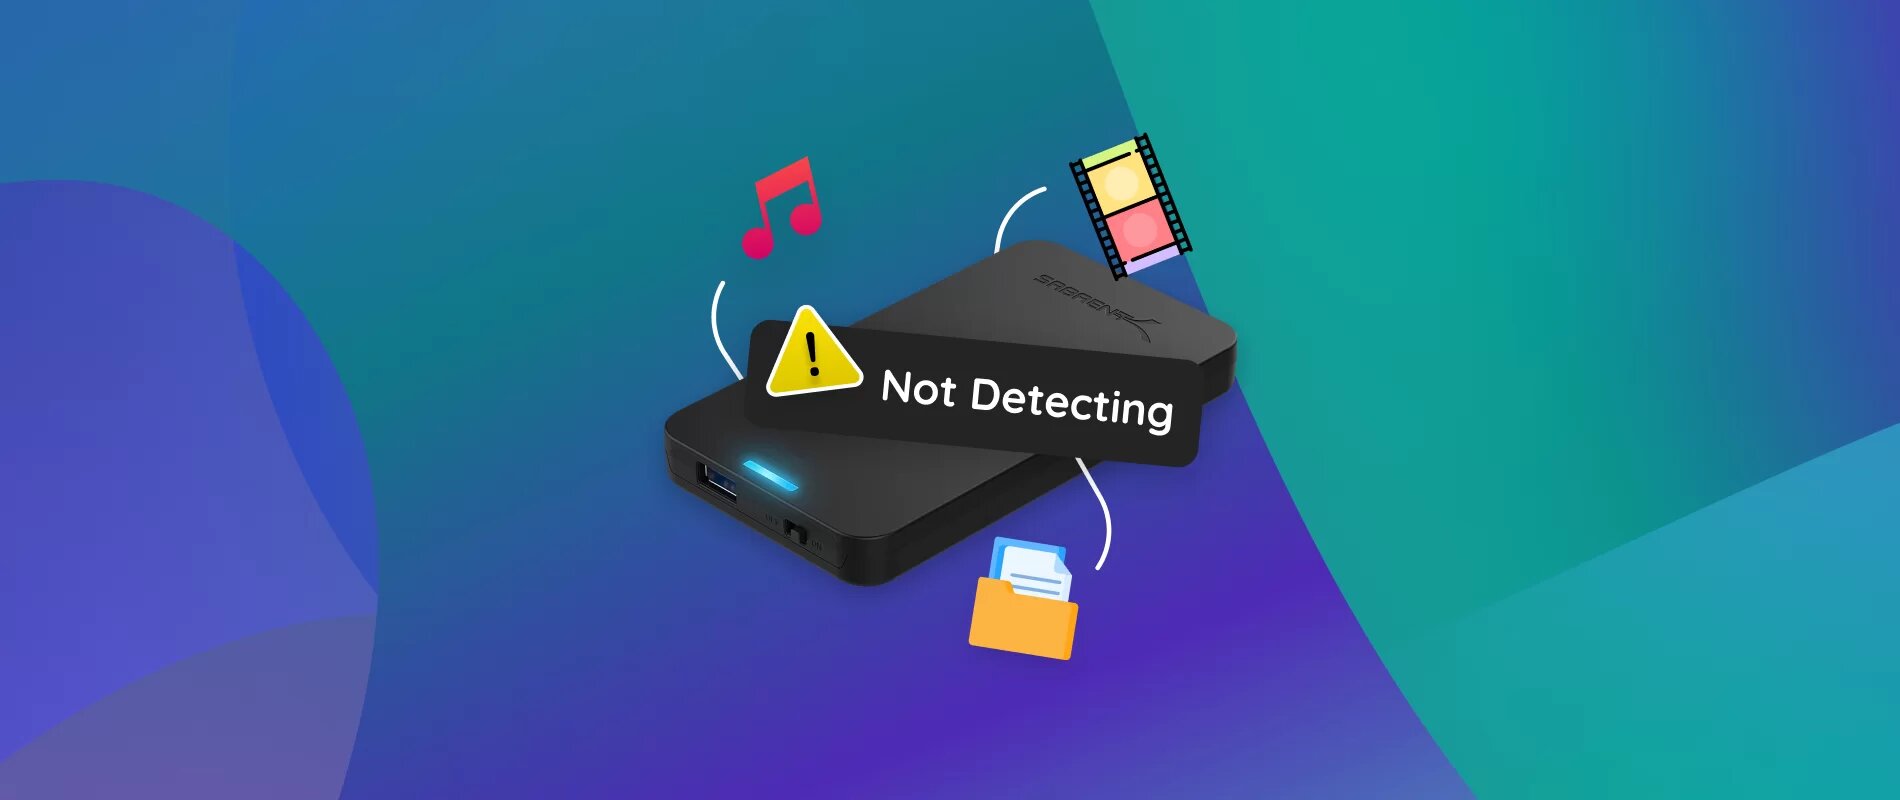
When you connect an external hard drive to your computer, it is expected to be automatically detected and appear as a usable storage device. However, in some cases, you might encounter a situation where your computer fails to recognize the external hard drive. This can be a frustrating problem, as it prevents you from accessing your valuable data stored on the device.
There are several common causes that can result in an external hard drive not being detected. One of the main reasons is a faulty or loose connection. If the USB cable or port is damaged or not connected properly, the computer will not be able to establish a connection with the external hard drive. Additionally, outdated or missing drivers can also prevent the device from being detected by the operating system.
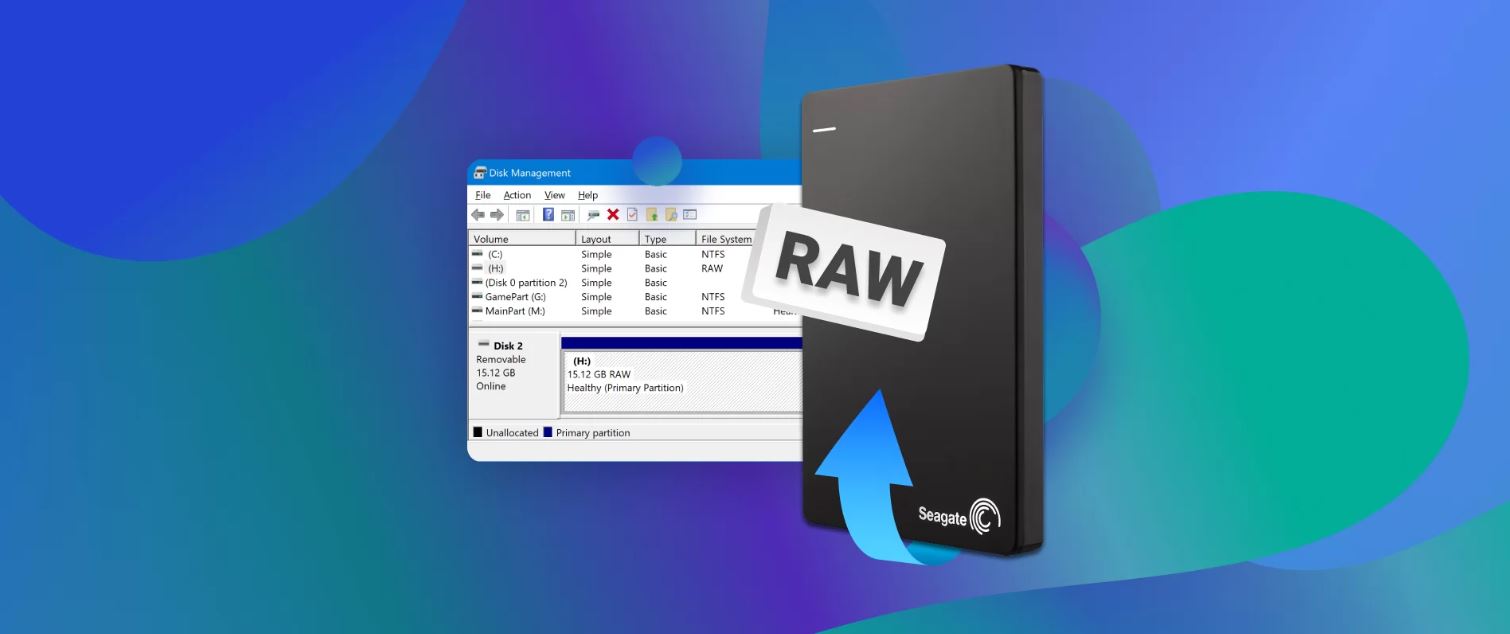
Another possible cause of the problem is a corrupted file system or partition on the external hard drive. When the file system is damaged, it can make the drive inaccessible and result in it not being detected by the computer. This can happen due to sudden power loss, improper ejection of the device, or even a malware infection.
In some cases, issues with the computer’s settings or conflicts with other devices can also lead to the external hard drive not being detected. It’s important to diagnose and identify the specific cause of the problem in order to apply the appropriate troubleshooting steps and resolve the issue.
To overcome this problem and regain access to your data, it is crucial to follow a systematic approach. This involves troubleshooting the connection, checking the device manager for any driver issues, updating or reinstalling drivers if necessary, using disk management to verify and repair the file system, and running disk cleanup and defragmentation to optimize the performance of the external hard drive.
If all else fails, there may be a need to seek professional help from data recovery experts. They have the expertise and specialized tools to recover data from faulty or damaged external hard drives.
Now that we have a clear understanding of the problem and its common causes, let’s move on to the pre-steps to ensure the safety of your data before attempting any troubleshooting methods.
Common Causes of External Hard Drive Not Being Detected
When it comes to an external hard drive not being detected by your computer, there are several common causes that can be behind this frustrating issue. Understanding these causes can help you troubleshoot the problem effectively. Let’s take a closer look at some of the most prevalent reasons why your external hard drive may not be detected:
- Faulty or Loose Connection: One of the primary reasons for an external hard drive not being detected is a faulty or loose connection. Ensure that the USB cable is securely connected to both the external hard drive and the computer. Additionally, try connecting the external hard drive to different USB ports to rule out any port-related issues.
- Outdated or Missing Drivers: If the drivers for your external hard drive are outdated or missing, it can prevent the device from being recognized by the operating system. To resolve this, check the manufacturer’s website for the latest drivers for your device and install them accordingly.
- Corrupted File System or Partition: A corrupted file system or partition on the external hard drive can lead to detection issues. This can occur due to sudden power loss, improper ejection of the device, or a malware infection. In such cases, using disk management tools to check and repair the file system can help resolve the problem.
- Conflicts with Other Devices or Settings: Sometimes, conflicts with other devices or settings on your computer can result in the external hard drive not being detected. Ensure that there are no conflicts by disconnecting any unnecessary USB devices and checking the BIOS settings to enable USB support.
- Physical Damage: Physical damage to the external hard drive, such as a broken connector or internal components, can prevent it from being recognized by the computer. In such cases, professional help may be required to recover the data or repair the drive.
It is important to identify the specific cause of the problem as it can vary from case to case. By understanding the common causes outlined above, you can narrow down the possibilities and apply the appropriate troubleshooting methods to resolve the issue.
Now that we have identified the common causes, let’s move on to the pre-steps you should take to ensure the safety of your data before attempting any further actions.
Pre-Steps to Ensure Data Safety
Before attempting any troubleshooting methods to recover your external hard drive that is not being detected, it is crucial to prioritize the safety of your data. Taking precautionary measures will help prevent any potential data loss during the recovery process. Here are some pre-steps you should follow:
- Disconnect the External Hard Drive: If your external hard drive is not being detected, it is important to disconnect it from the computer. This will prevent any further damage or accidental overwriting of the data on the drive.
- Avoid Formatting or Initialization: When your external hard drive is not detected, you may be tempted to format or initialize it in an attempt to fix the problem. However, this should be avoided as it can erase all the existing data. Formatting or initializing should only be considered as a last resort when all other recovery methods have failed, and you have a reliable backup of your data.
- Perform a Backup (if possible): If your external hard drive is accessible on another computer or device, it is advisable to perform a backup of your important data before attempting any recovery methods. This ensures that even if the recovery process doesn’t go as planned, you still have a copy of your important files.
- Scan for Malware: Run a thorough antivirus scan on your computer to check for any malware or viruses. Sometimes, malware can cause issues with the detection of external hard drives. By ensuring your system is clean, you minimize the likelihood of any software-related issues affecting the recovery process.
- Prepare a Safe Recovery Environment: If you plan to attempt the recovery process yourself, create a safe recovery environment on your computer. Make sure you have enough free space on your internal hard drive to accommodate the recovered data. This will minimize any potential data loss during the recovery process.
By following these pre-steps, you are taking proactive measures to protect your data and increase the chances of a successful recovery. Remember, data recovery can be a complex process, and if you are unsure or hesitant about performing the steps yourself, it is always recommended to seek professional help from data recovery experts.
Now that you have taken these pre-steps, let’s move on to the troubleshooting methods to recover your external hard drive that is not being detected.
Step 1: Troubleshooting the Connection
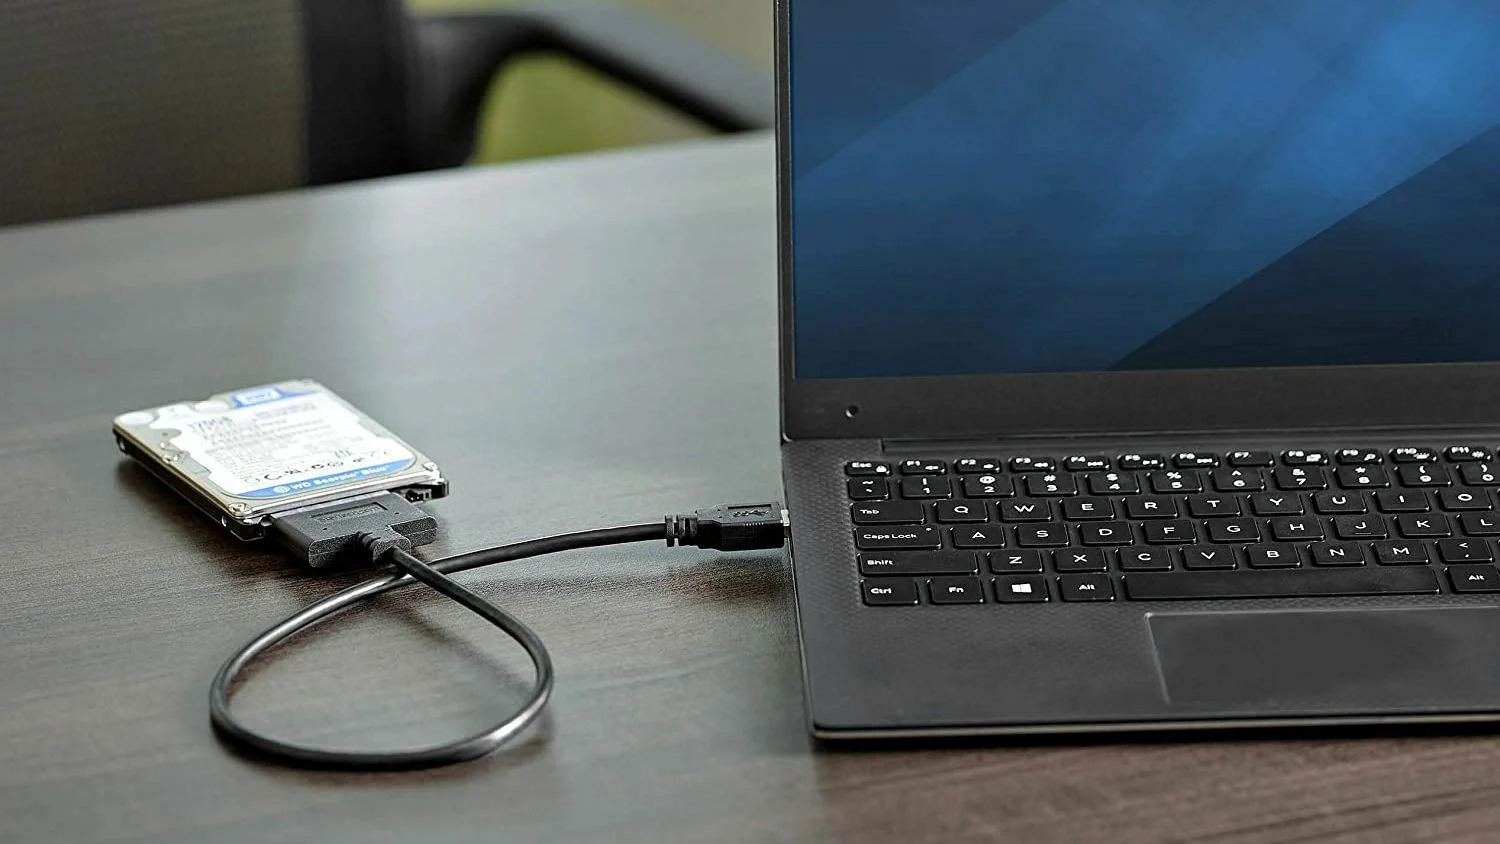
When your external hard drive is not being detected by your computer, the first step is to troubleshoot the connection between the external hard drive and your computer. Here are some troubleshooting methods to help you resolve connection-related issues:
- Check Physical Connections: Begin by ensuring that all physical connections are secure and properly plugged in. Disconnect and reconnect the USB cable on both ends, ensuring a snug fit. If possible, try using a different USB cable or port to rule out any cable or port-related issues.
- Test with Different Computer: Connect the external hard drive to another computer to determine if the issue is specific to your computer or the drive itself. If the drive is detected on another computer, it suggests a problem with your computer’s settings or drivers. If it is not detected on any computer, it could indicate a faulty external hard drive.
- Power Cycle the External Hard Drive: Unplug the power source and USB connection from the external hard drive and wait for a few minutes. Then, reconnect the power source and USB cable and check if the drive is detected. A power cycle can sometimes resolve temporary connection issues.
- Use a Powered USB Hub: If your external hard drive does not receive sufficient power from your computer’s USB port, it may not be detected. In such cases, using a powered USB hub can provide the necessary power for the drive to function properly.
- Disable USB Selective Suspend: USB selective suspend is a power-saving feature that allows the computer to turn off USB ports to save power. However, it can sometimes interfere with the proper functioning of external devices. Disabling this feature in the Power Options settings can help resolve connection issues.
By following these troubleshooting methods, you can identify and resolve any connection-related issues that might be causing your external hard drive to not be detected. If the connection troubleshooting does not fix the problem, we will move on to step 2: checking the device manager for any driver issues.
Step 2: Checking Device Manager
When your external hard drive is not being detected, it is important to check the Device Manager on your computer for any driver-related issues. The Device Manager provides a detailed view of the hardware devices connected to your computer and allows you to manage and troubleshoot them. Here’s how you can check the Device Manager:
- Open Device Manager: Press the Windows key + R to open the Run dialog box. Type “devmgmt.msc” and press Enter. This will open the Device Manager window.
- Expand the Disk Drives Section: In the Device Manager window, locate and expand the “Disk Drives” section. This will display all the disk drives, including your external hard drive, if it is detected by the computer.
- Check for Driver Issues: Look for any yellow exclamation marks or question marks next to the external hard drive listing. This indicates a driver issue. Right-click on the external hard drive entry and select “Update driver” or “Properties” to access further options.
- Update or Reinstall Drivers: If there is an option to update the driver, click on it and follow the on-screen instructions. If no driver updates are found, or the driver update does not resolve the issue, you can try uninstalling the driver and reinstalling it. Right-click on the external hard drive entry, select “Uninstall device,” and then restart your computer. Windows should automatically reinstall the driver upon startup.
- Scan for Hardware Changes: After reinstalling the driver or updating it, you can click on the “Action” menu in Device Manager and select “Scan for hardware changes.” This will prompt Windows to search for any newly connected devices, including your external hard drive.
Checking the Device Manager for any driver-related issues and resolving them can often help in detecting your external hard drive. However, if the problem persists, we will move on to step 3: updating or reinstalling drivers for the external hard drive.
Step 3: Updating or Reinstalling Drivers
If your external hard drive is still not being detected after troubleshooting the connection and checking the Device Manager, the next step is to update or reinstall the drivers for the external hard drive. Outdated or corrupt drivers can prevent the proper functioning of the device. Here’s how you can update or reinstall the drivers:
- Visit the Manufacturer’s Website: Identify the make and model of your external hard drive. Visit the manufacturer’s website to find the latest drivers available for your specific device. Look for the support or downloads section on the website.
- Download and Install the Drivers: Locate the drivers for your external hard drive on the manufacturer’s website and download them to your computer. Make sure to download the appropriate drivers compatible with your operating system. Once downloaded, run the installer file and follow the on-screen instructions to install the updated drivers.
- Restart Your Computer: After installing the updated drivers, restart your computer. This allows the changes to take effect and ensures that the updated drivers are properly loaded by the operating system.
- Test the External Hard Drive: Once your computer has restarted, reconnect the external hard drive and check if it is being detected. Open File Explorer or Disk Management to see if the external hard drive appears as a recognized storage device. If it does, you have successfully updated the drivers and resolved the detection issue.
- Try Reinstalling the Drivers: In case updating the drivers did not resolve the issue, you can try uninstalling the existing drivers for the external hard drive and then reinstalling them. To do this, open the Device Manager, locate the external hard drive in the Disk Drives section, right-click on it, and select “Uninstall device.” Once the drivers are uninstalled, restart your computer and reconnect the external hard drive. Windows should automatically install the default drivers for the device.
Updating or reinstalling the drivers for your external hard drive can often help in resolving detection issues. It ensures that you have the latest drivers compatible with your operating system, which improves the compatibility and performance of the device. However, if the problem persists, we will move on to step 4: using Disk Management to check for any file system errors.
Step 4: Using Disk Management
When your external hard drive is not being detected by your computer, using Disk Management can help diagnose and fix any file system errors that may be causing the issue. Disk Management is a built-in Windows utility that allows you to manage and configure disk storage devices. Here’s how you can use Disk Management to check for file system errors:
- Open Disk Management: Press the Windows key + R to open the Run dialog box. Type “diskmgmt.msc” and press Enter. This will open the Disk Management console.
- Locate the External Hard Drive: In the Disk Management console, look for your external hard drive. It should be listed as a disk with a label such as “Disk X” or the name of your external hard drive. Take note of the disk number or name.
- Check for File System Errors: Right-click on the entry for your external hard drive and select “Properties” from the context menu. In the Properties window, go to the “Tools” tab and click on the “Check” button under the “Error Checking” section. This will initiate a scan for file system errors on the external hard drive.
- Follow the On-screen Instructions: Depending on the scan results, you may be prompted to fix the errors found on the external hard drive. Follow the on-screen instructions to repair the file system errors, if any.
- Restart Your Computer: After the file system errors have been repaired, restart your computer. This ensures that the changes are properly implemented and allows your computer to detect and recognize the external hard drive.
Using Disk Management to check for file system errors can often resolve detection issues with the external hard drive. By fixing any errors, you ensure the integrity of the file system and improve the chances of your computer detecting the drive. However, if the problem persists, we will move on to step 5: checking for file system errors using the Command Prompt.
Step 5: Checking File System Errors
If your external hard drive is still not being detected after using Disk Management, checking for file system errors using the Command Prompt can help identify and resolve any issues that might be affecting the drive. The Command Prompt is a command-line interface in Windows that allows you to execute various commands and perform advanced system operations. Here’s how you can check for file system errors:
- Open Command Prompt: Press the Windows key + R to open the Run dialog box. Type “cmd” and press Enter. This will open the Command Prompt.
- Run CHKDSK Command: In the Command Prompt window, type the command “chkdsk /f [external hard drive letter]:” (replace [external hard drive letter] with the actual drive letter assigned to your external hard drive). Press Enter to execute the command.
- Allow the Scan to Complete: The CHKDSK command will initiate a scan for file system errors on the external hard drive. It may take some time depending on the size and condition of the drive. Allow the scan to complete without interrupting it.
- Review the Scan Results: After the scan is complete, the Command Prompt will display the results. If any file system errors are found, CHKDSK will attempt to fix them automatically. Take note of any errors or messages displayed during the scan.
- Restart Your Computer: After the file system errors have been checked and fixed (if applicable), restart your computer. This will ensure that any changes made during the CHKDSK process are properly implemented and increase the chances of your computer detecting the external hard drive.
By running the CHKDSK command, you can identify and fix any file system errors on the external hard drive. This helps in improving the integrity and stability of the drive, potentially resolving detection issues. However, if the problem persists, we will move on to step 6: running disk cleanup and defragmentation on the external hard drive.
Step 6: Running Disk Cleanup and Defragmentation
If your external hard drive is still not being detected, running disk cleanup and defragmentation can help optimize the drive’s performance and potentially resolve any underlying issues. Over time, temporary files and fragmented data can impact the functionality of the drive. Here’s how you can run disk cleanup and defragmentation:
- Open File Explorer: Open File Explorer by pressing the Windows key + E or by clicking on the folder icon in the taskbar.
- Select the External Hard Drive: In File Explorer, locate and select your external hard drive from the list of drives under the “This PC” or “Computer” section. Right-click on the drive and select “Properties” from the context menu.
- Run Disk Cleanup: In the Properties window of the external hard drive, go to the “General” tab. Click on the “Disk Cleanup” button. This will scan the drive for unnecessary files and present you with a list of items that can be safely removed. Select the items you want to clean up and click “OK” to proceed.
- Defragment the Drive: After running disk cleanup, go to the “Tools” tab in the Properties window. Under the “Optimize and defragment drive” section, click on the “Optimize” button. This will analyze the external hard drive and defragment the fragmented data to optimize its performance.
- Wait for the Process to Complete: The disk cleanup and defragmentation processes may take some time, depending on the size and condition of the external hard drive. Allow the processes to complete without interrupting them. The progress will be displayed on the screen.
Running disk cleanup and defragmentation helps remove unnecessary files and arrange data on the drive to improve its performance. By optimizing the drive, you increase the likelihood of your computer recognizing the external hard drive. If the problem persists, we will move on to step 7: recovering data from a not detected external hard drive.
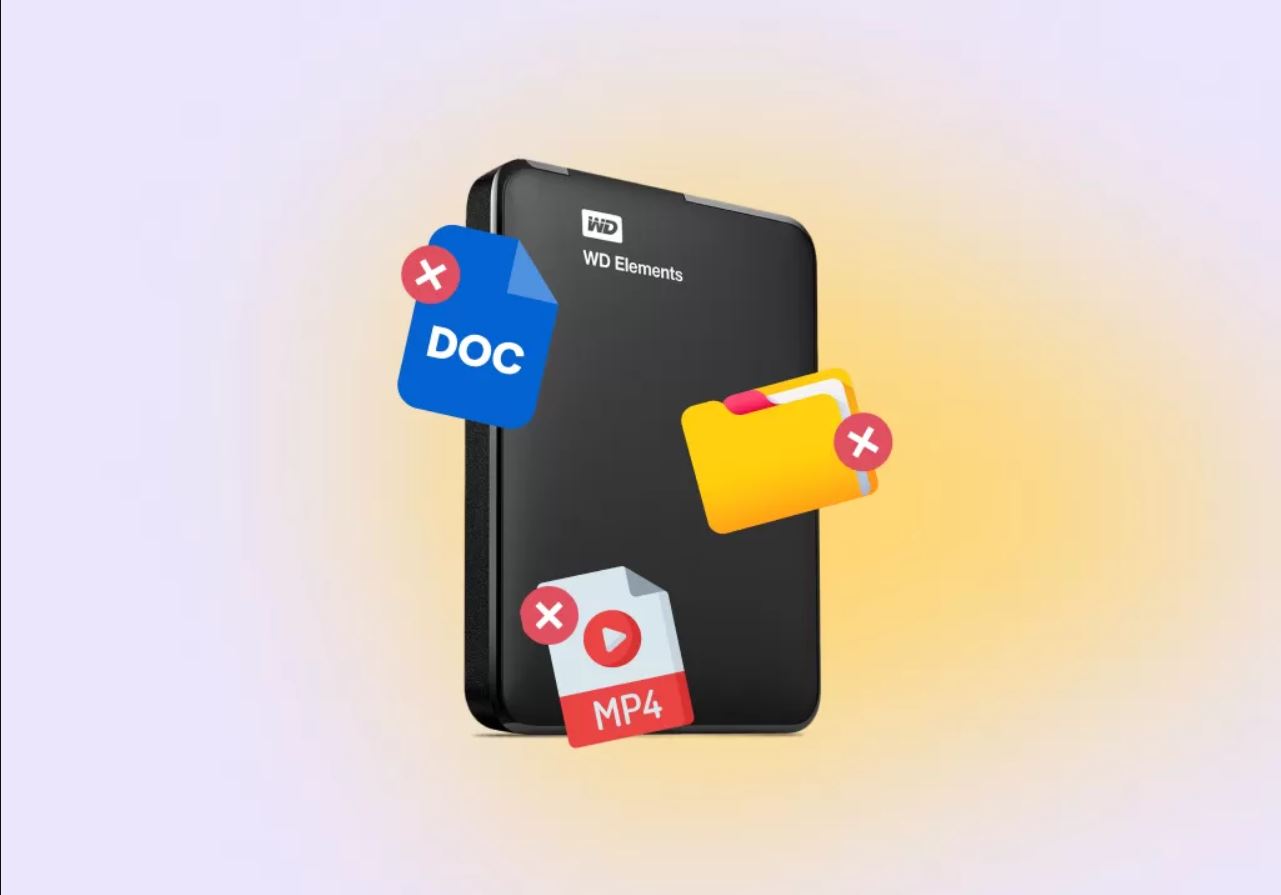
Step 7: Recovering Data from a Not Detected External Hard Drive
If all the previous steps have not helped in resolving the detection issue with your external hard drive, it’s time to focus on recovering your valuable data from the drive. Even if the drive is not being detected by the computer, it doesn’t necessarily mean that your data is lost. There are a few methods you can try to recover your data:
- Try a Different Computer: Connect your external hard drive to a different computer to check if it can be detected on that system. Sometimes, compatibility issues or driver conflicts on your primary computer may prevent the drive from being recognized.
- Use Data Recovery Software: There are various data recovery software available that can help retrieve data from a not detected external hard drive. These programs can perform deep scans of the drive and recover lost or deleted files. Ensure to choose a reputable and reliable data recovery software and follow the instructions provided by the software.
- Seek Professional Data Recovery Services: If the data stored on your external hard drive is critical or if you are unable to recover the data using software solutions, it is advisable to seek professional data recovery services. These experts have specialized tools and knowledge to recover data from faulty or damaged drives. They can examine the drive and employ advanced techniques to retrieve the data safely.
It’s essential not to attempt any further actions that may risk causing permanent data loss. Recovering data from a not detected external hard drive requires careful handling and expertise. Therefore, if you are unsure or uncomfortable with performing the recovery process yourself, it is recommended to consult with a professional data recovery provider.
Remember, data recovery success cannot be guaranteed in all cases. The outcome may depend on the specific situation, the condition of the drive, and the effectiveness of the chosen recovery method. Always prioritize data safety and consult experts when necessary.
If you have successfully recovered your important data from the external hard drive, you can consider formatting the drive to fix any underlying issues and make it usable again. We will discuss this step in the next section.
Step 8: Formatting the External Hard Drive
If you have successfully recovered your important data from your external hard drive but are still experiencing detection issues, it may be necessary to format the drive. Formatting erases all data on the drive and sets it up with a new file system, potentially resolving any underlying issues. Here’s how you can format the external hard drive:
- Open File Explorer: Open File Explorer by pressing the Windows key + E or by clicking on the folder icon in the taskbar.
- Locate the External Hard Drive: In File Explorer, locate and select your external hard drive from the list of drives. Be cautious to select the correct drive to avoid accidental formatting of other drives.
- Right-click and Select “Format”: Right-click on the selected external hard drive and choose the option “Format” from the context menu that appears.
- Choose File System and Allocation Unit Size: In the “Format” window, you can choose the desired file system for the drive (e.g., NTFS, exFAT, or FAT32). Select an allocation unit size appropriate for your needs (usually the default size is sufficient).
- Enter a Volume Label: Optionally, you can assign a new name or volume label to the external hard drive. Enter a descriptive label that will help you identify the drive easily.
- Select “Quick Format” (Optional): If you want to speed up the format process, you can select the “Quick Format” option. However, keep in mind that a full format is more thorough and may be more effective in resolving certain issues.
- Click “Start” and Confirm: After reviewing the selected options, click the “Start” button to begin the formatting process. You will be prompted with a warning that all data on the drive will be erased. Confirm the action if you have already backed up any necessary data.
- Wait for the Format to Complete: The formatting process may take some time, depending on the size and speed of your external hard drive. Allow the process to complete uninterrupted.
Once the formatting is complete, your external hard drive should have a fresh file system and be ready for use. Remember to copy back any important data you have recovered from the drive and take necessary precautions to avoid data loss in the future, such as regular backups and safe ejection of the device.
If formatting the external hard drive does not resolve the detection issue, it is advisable to seek professional assistance or consider replacing the drive.
Step 9: Seeking Professional Help
If you have exhausted all the previous steps and your external hard drive is still not being detected, it may be time to seek professional help. Professional data recovery services can provide expertise and specialized tools to recover data from faulty or damaged drives. Here’s what you should consider when seeking professional help:
- Research Reputable Data Recovery Companies: Look for reputable data recovery companies or specialists that have a track record of successful recoveries. Read reviews, check certifications, and ensure that they have experience in dealing with external hard drive issues.
- Consult with Data Recovery Experts: Reach out to the selected data recovery companies or specialists and explain the issue you are facing. Many of them offer free consultations or assessments to determine the feasibility of data recovery.
- Provide Detailed Information: During your consultation, provide them with as much detail as possible about your external hard drive, the troubleshooting steps you have already taken, and any error messages or unusual behavior you have observed. This will help the experts better understand the situation and provide appropriate recommendations.
- Assess the Cost and Timeframe: Inquire about the cost of the data recovery service and the estimated timeframe for the recovery process. Keep in mind that data recovery can be a complex and time-consuming task, and the cost may vary depending on the extent of the damage and the level of expertise required.
- Evaluate Privacy and Confidentiality: Ensure that the data recovery company has strict policies in place to protect the privacy and confidentiality of your data. This is particularly important if your external hard drive contains sensitive or confidential information.
- Make an Informed Decision: Based on the assessment, expertise, cost, and timeframe provided by different data recovery services, make an informed decision on which option is best suited for your needs.
Seeking professional help may be the best course of action when dealing with complex or severe external hard drive detection issues. They have the necessary tools, experience, and resources to recover data from a wide range of drive failures. However, it’s important to weigh the costs and benefits before proceeding with professional data recovery, keeping in mind the value and importance of your lost data.
Remember, prevention is always better than cure. Regular backups of your important data and proper data management practices can help minimize the risk of data loss in the future. Learn from this experience and implement a robust backup strategy to ensure the safety and availability of your data at all times.
Conclusion
Dealing with an external hard drive that is not being detected can be a frustrating experience, especially when it contains important data. However, by following the steps outlined in this guide, you can increase your chances of resolving the issue and recovering your valuable files.
We started by troubleshooting the connection to ensure all physical connections are secure and properly plugged in. Then, we checked the Device Manager for any driver-related issues and updated or reinstalled the drivers if necessary. Next, we used Disk Management to check for file system errors and ran disk cleanup and defragmentation to optimize the performance of the external hard drive.
If these steps did not resolve the detection issue, we explored data recovery options. We suggested trying a different computer, using data recovery software, or seeking professional help to recover your data from the external hard drive. In the event that data recovery was successful, we discussed the importance of formatting the drive to start fresh and prevent any future issues.
While these steps provide helpful guidance, it’s important to remember that successful recovery and detection of an external hard drive may not always be guaranteed. Each situation is unique, and the state of the drive, extent of damage, and other factors can influence the outcome.
Additionally, preventive measures such as regular data backups, safe ejection of devices, and practicing good data management habits can minimize the risk of encountering such issues in the future.
If you encounter any difficulties during the recovery process or feel uncertain about performing any steps, it is always advisable to consult with professionals who specialize in data recovery. They have the expertise and tools to handle complex situations and safeguard your valuable data.
Remember, the primary goal is to retrieve your important data while ensuring the safety and integrity of your valuable files. Stay patient, informed, and proactive in your approach to tackle the detection issue with your external hard drive.