Introduction
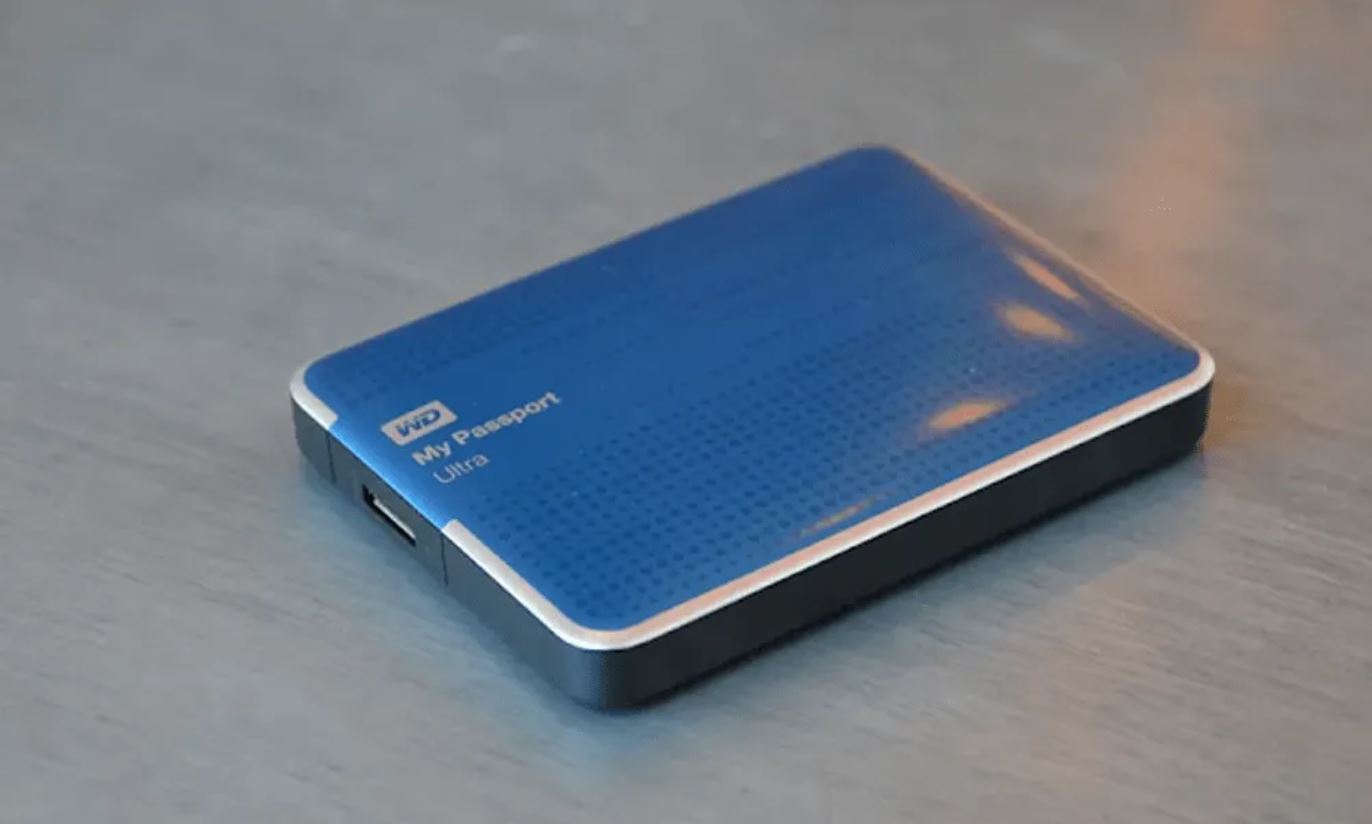
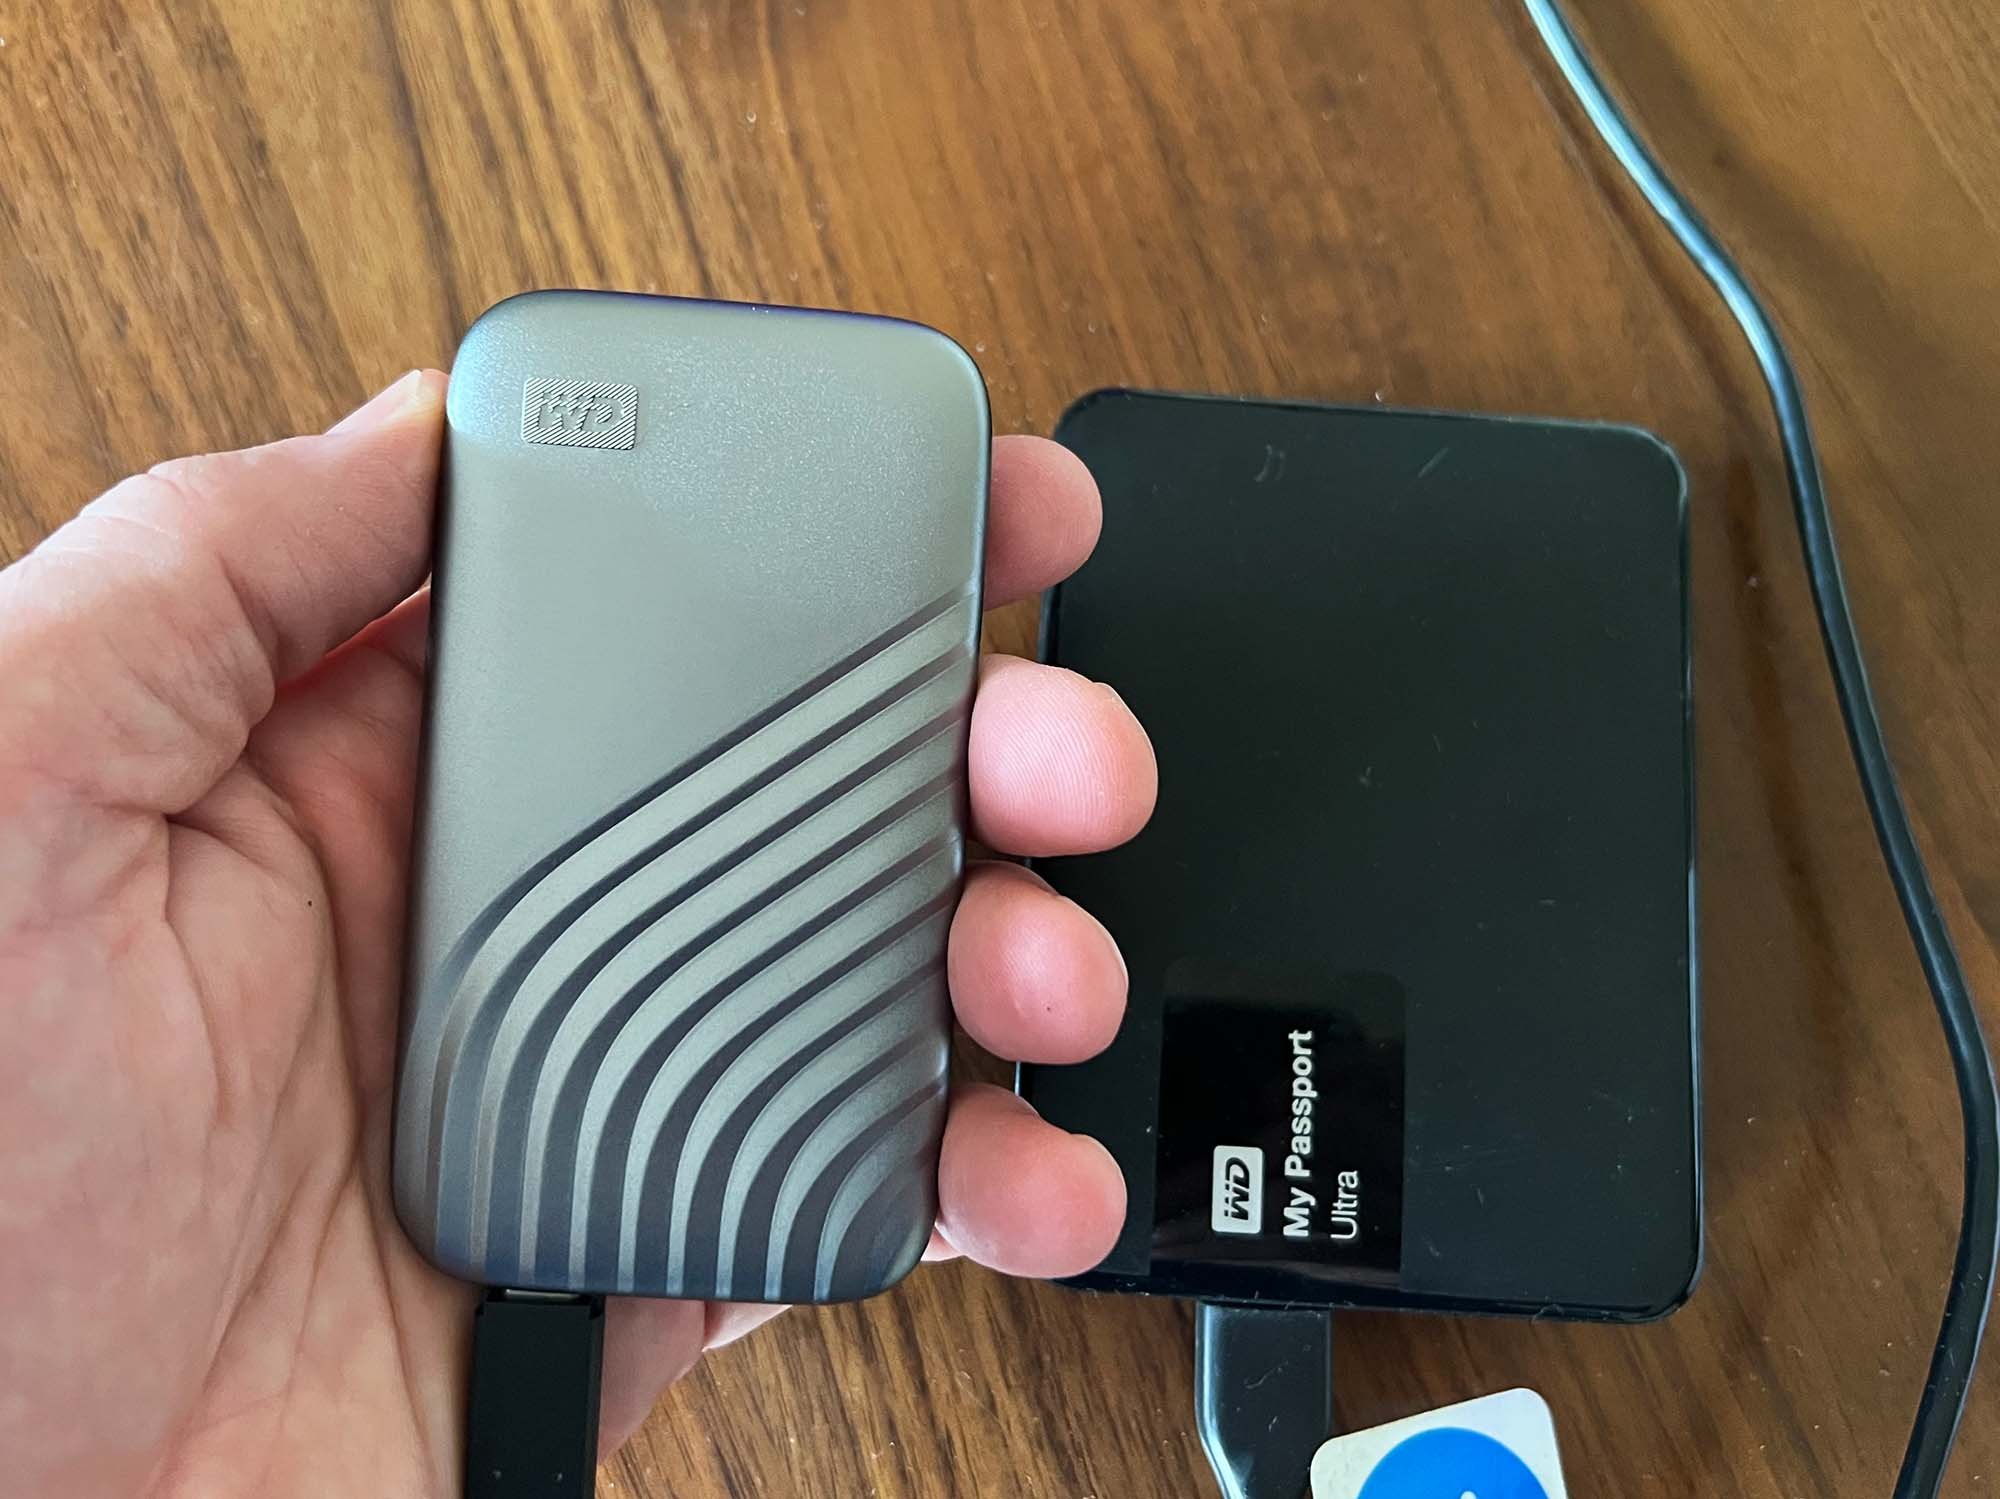
Welcome to our guide on how to recover files from a Western Digital external hard drive. Losing your precious data can be an absolute nightmare, but don’t panic just yet! We’re here to help you navigate through the process of recovering your files and getting your external hard drive back in working order.
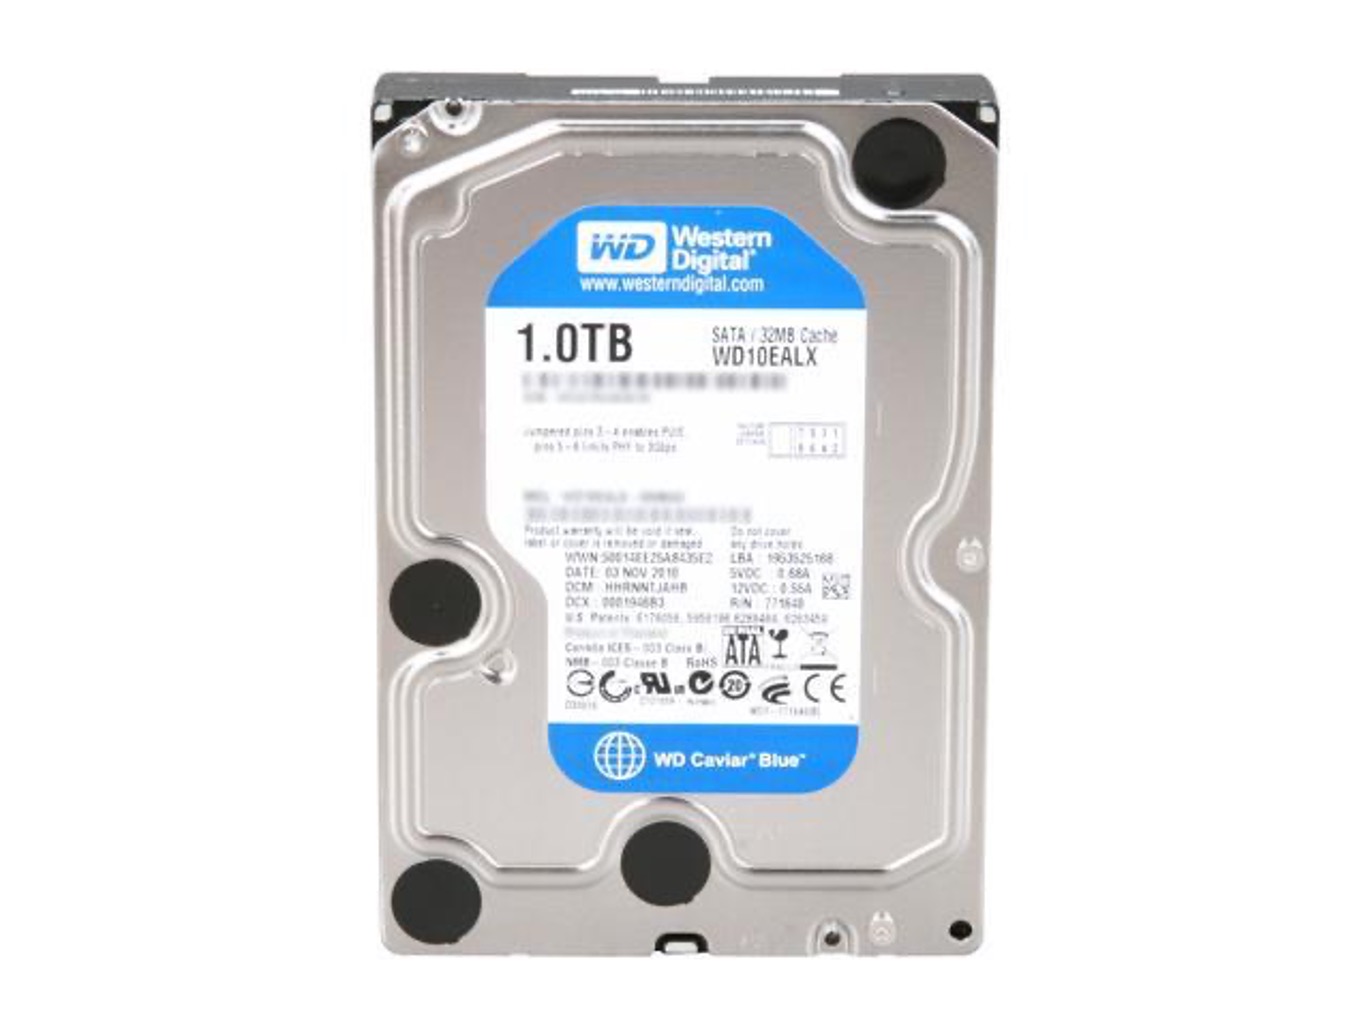
Western Digital, a renowned name in the world of storage devices, produces reliable and high-performing external hard drives. However, like any piece of technology, there may be occasions when you encounter issues, such as accidental file deletion, formatting errors, or even a malfunctioning drive. Fortunately, there are steps you can take to recover your files and prevent permanent data loss.
In this guide, we’ll walk you through some troubleshooting steps and recommended tools to help you retrieve your files from your Western Digital external hard drive. Whether you’re a beginner or technically savvy, don’t worry – we’ll provide easy-to-follow instructions.
Please note that the steps outlined in this guide are general recommendations and may vary depending on the specific model of your Western Digital external hard drive. It’s always a good idea to consult the user manual or the Western Digital support website for any model-specific instructions or additional troubleshooting steps.
Now, without further ado, let’s dive into the world of data recovery and learn how to recover your files from your Western Digital external hard drive.
Step 1: Check the Physical Connection
The first step in recovering files from your Western Digital external hard drive is to ensure that it is properly connected to your computer. A loose or faulty connection can often lead to issues with accessing your files. Follow these steps to check the physical connection:
- Inspect the USB cable: Examine the USB cable connecting your Western Digital external hard drive to your computer. Look for any visible damage or signs of wear and tear. If you notice any issues, try using a different USB cable.
- Disconnect and reconnect: Unplug the USB cable from both the external hard drive and your computer. Wait for a few seconds, then reconnect it firmly. Ensure that it is securely plugged into both devices.
- Try a different USB port: Sometimes, USB ports on your computer may not function properly. Plug the USB cable into a different USB port on your computer to see if it resolves the issue. If you have multiple USB ports, try each one to eliminate the possibility of a faulty port.
- Use USB 2.0 instead of USB 3.0: Some older computers may not be compatible with USB 3.0 ports. If you are using a USB 3.0 port, try connecting the external hard drive to a USB 2.0 port instead.
After following these steps, check if your computer recognizes the Western Digital external hard drive. Open File Explorer (Windows) or Finder (Mac) and look for the drive under the list of connected devices. If you can access the drive and see your files, great! If not, proceed to the next step.
Remember, checking the physical connection is crucial as it is often the simplest and easiest solution to resolve file access issues. However, if the problem persists, there may be other software-related issues preventing you from accessing your files. Don’t worry, we’ll address those in the next step!
Step 2: Troubleshoot Software Issues
If you have determined that the physical connection is not the issue, then there may be software-related problems preventing you from accessing your files on your Western Digital external hard drive. Follow these steps to troubleshoot software issues:
- Update your operating system: Ensure that your computer’s operating system is up to date. Sometimes, outdated software can cause compatibility issues with external devices. Go to the settings or control panel on your computer and check for any available updates.
- Restart your computer: A simple restart can resolve many software-related issues. Close all applications and restart your computer. Once it’s powered back on, try accessing your Western Digital external hard drive again.
- Check device manager (Windows): On a Windows computer, you can open the Device Manager by right-clicking the “Start” button and selecting “Device Manager.” Look for any yellow exclamation marks or red crosses next to your external hard drive. If you see any, right-click on the device and select “Update Driver” to update the driver software.
- Reset PRAM/NVRAM (Mac): If you are using a Mac, resetting the PRAM (Parameter RAM) or NVRAM (Non-Volatile Random Access Memory) can sometimes resolve software-related issues. Turn off your Mac, then turn it back on and immediately press and hold the Command, Option, P, and R keys simultaneously until you hear the startup sound twice. This will reset the PRAM/NVRAM.
- Check disk utility: Both Windows and Mac computers have built-in disk utility tools that can help diagnose and repair issues with storage devices. On Windows, open the Disk Management tool by right-clicking the “Start” button and selecting “Disk Management.” On Mac, open the “Disk Utility” application. Look for your Western Digital external hard drive and check its status. If any issues are detected, attempt to repair the drive using the tools provided.
If you have followed these steps and still cannot access your files, there may be more complex software issues at play. In such cases, it is best to proceed to the next step, which involves scanning for viruses or malware that may be affecting your external hard drive.
Step 3: Scan for Viruses or Malware
If you have ruled out physical and software-related issues but are still unable to access your files on your Western Digital external hard drive, it is important to consider the possibility of a virus or malware infection. Follow these steps to scan for viruses or malware:
- Update your antivirus software: Ensure that your antivirus software is up to date with the latest virus definitions. This will ensure it can effectively detect and remove any potential threats.
- Perform a full system scan: Open your antivirus software and initiate a full system scan, including your Western Digital external hard drive. This scan may take some time depending on the size of your hard drive and the number of files present. Allow the scan to complete and follow any recommended actions suggested by your antivirus software.
- Use an online virus scanner: If you suspect that your current antivirus software might have missed something, you can also consider using an online virus scanner. These scanners are available from reputable antivirus vendors and can provide an additional layer of security.
- Quarantine or remove detected threats: If any viruses or malware are detected during the scan, follow the instructions provided by your antivirus software to quarantine or remove the threats. Exercise caution when deleting files, as some legitimate files may also be flagged as potential threats. If in doubt, seek professional assistance.
- Scan again after removal: Once you have taken appropriate actions to remove any detected threats, run another scan to ensure that your Western Digital external hard drive is now free from viruses or malware.
A virus or malware infection can not only disrupt your access to files but can also pose a risk to your computer and other connected devices. By scanning your Western Digital external hard drive for viruses or malware, you can ensure the safety and integrity of your data.
If scanning for viruses or malware does not resolve your issue, it may be time to move on to the next step – trying a different USB port or cable.
Step 4: Try a Different USB Port or Cable
If you are still encountering difficulties accessing your files on your Western Digital external hard drive, it’s worth considering whether the issue lies with the USB port or cable. Follow these steps to try a different USB port or cable:
- Test with a different USB port: Disconnect the USB cable from your computer and try connecting it to a different USB port. If you have multiple USB ports available, try each one to determine if the issue is specific to a particular port.
- Check for physical damage: Inspect the USB cable for any visible signs of damage or wear and tear. If you notice any issues such as fraying or bent connectors, consider using a different USB cable.
- Replace the USB cable: If you have a spare USB cable, try using it to connect your Western Digital external hard drive to your computer. Sometimes, the cable may be the culprit causing connectivity issues.
- Consider using a powered USB hub: If your Western Digital external hard drive requires a significant amount of power, it may not be receiving enough power from your computer’s USB port. In such cases, using a powered USB hub can help provide sufficient power to the drive.
By trying a different USB port or cable, you can eliminate any issues related to the physical connection. A faulty USB port or damaged cable could potentially prevent proper communication between your computer and the external hard drive.
If after trying different USB ports and cables the problem persists, it’s time to move on to the next step – using data recovery software to retrieve your files.
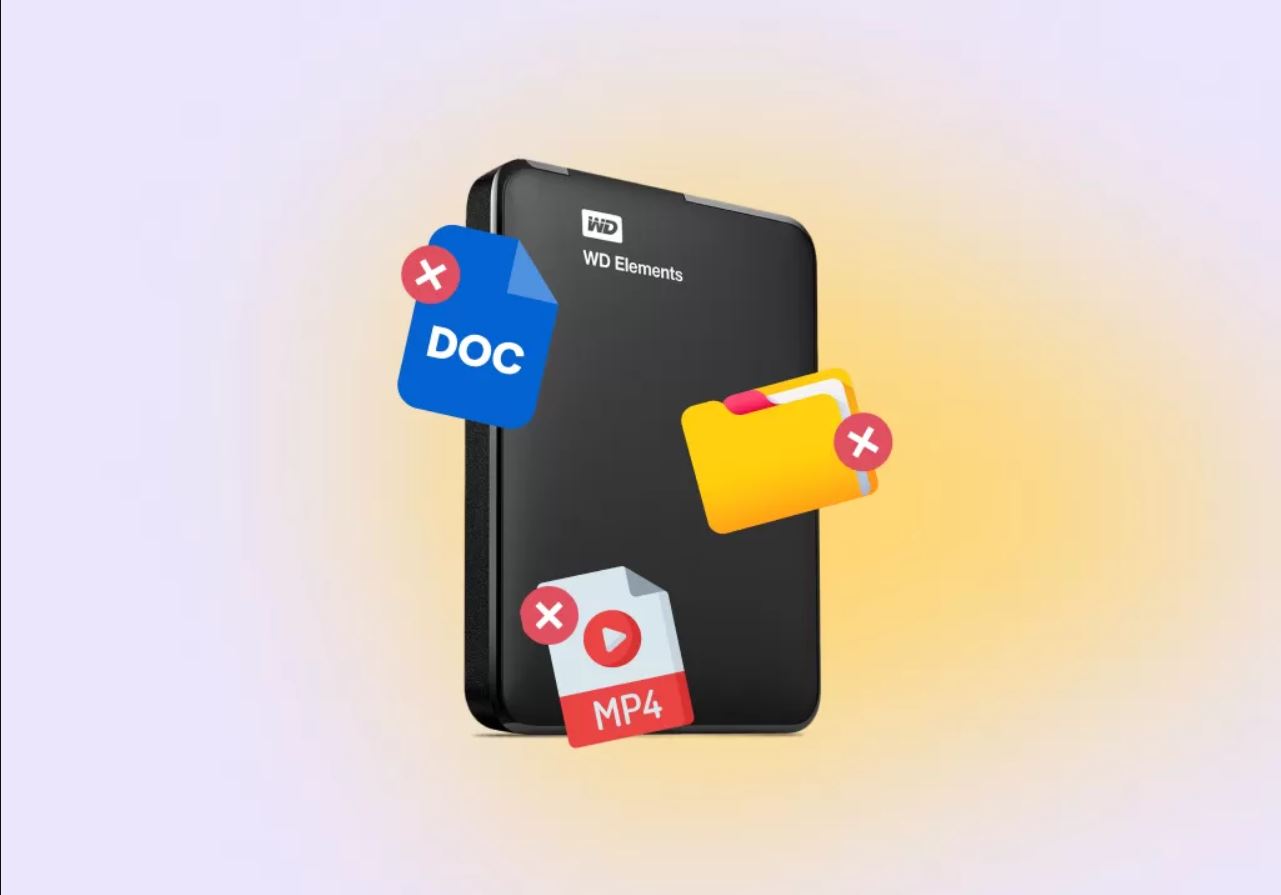
Step 5: Use Data Recovery Software
If previous steps haven’t resolved the issue and you’re still unable to access your files on your Western Digital external hard drive, using data recovery software can be your best bet. Data recovery software is designed to retrieve lost, deleted, or corrupted files from storage devices. Follow these steps to use data recovery software:
- Research and choose reliable data recovery software: There are several data recovery software options available online. Read reviews, compare features, and choose a reputable software that is compatible with your operating system and supports Western Digital external hard drives.
- Install the software and connect your external hard drive: Install the selected data recovery software on your computer and launch it. Connect your Western Digital external hard drive to your computer using a working USB cable.
- Select the external hard drive for scanning: Depending on the software, you will be prompted to select the external hard drive you want to recover files from. Choose your Western Digital external hard drive from the list of available drives.
- Choose a scan option: Data recovery software usually offers two scanning options – quick scan and deep scan. Start with a quick scan, as it is faster and can often retrieve recently deleted files. If the quick scan doesn’t locate your files, proceed with a deep scan, which searches for all recoverable files on the drive.
- Preview and recover your files: Once the scan is complete, the software will display a list of recoverable files. Preview the files to ensure they are intact and select the ones you want to recover. Choose a location on your computer to save the recovered files, not on the Western Digital external hard drive itself.
- Save the recovered files: Follow the prompts provided by the data recovery software to save the recovered files to the specified location on your computer. Avoid overwriting any existing files to prevent data loss.
Remember, the success of data recovery depends on various factors, such as the condition of the external hard drive and the type of files you are trying to recover. If the data recovery software doesn’t yield the desired results, or if you are dealing with physically damaged hardware, it is advisable to seek professional data recovery services.
Now that you have learned how to use data recovery software, let’s move on to the last step – contacting professional data recovery services – if all else fails.
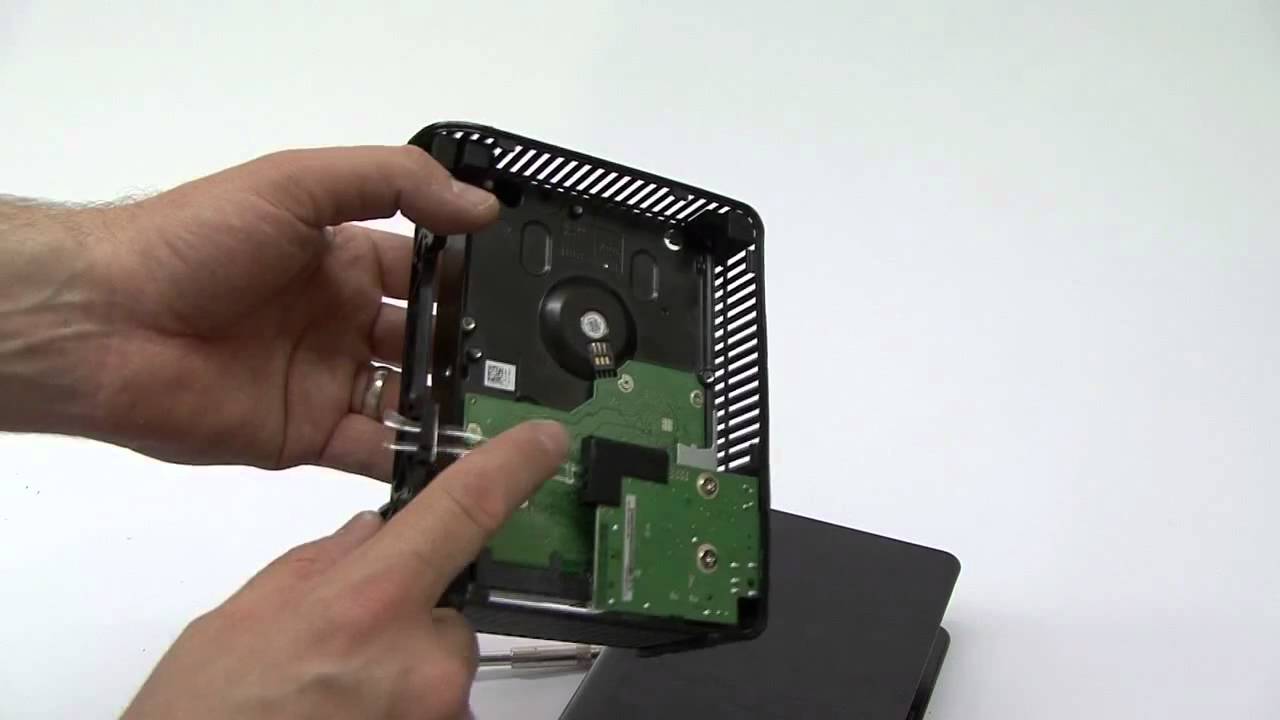
Step 6: Contact Professional Data Recovery Services
If all previous attempts to recover your files from your Western Digital external hard drive have been unsuccessful, it may be time to consider contacting professional data recovery services. These specialized companies have the expertise and resources to recover data from physically damaged drives or complex software issues. Follow these steps to contact professional data recovery services:
- Research reputable data recovery service providers: Take the time to research and identify reputable data recovery service providers in your area or online. Look for companies with a proven track record, positive customer reviews, and experienced technicians.
- Assemble the necessary information: Before reaching out to data recovery services, gather information about your Western Digital external hard drive, such as the model number, capacity, and any symptoms or error messages you have encountered. This will help the professionals assess the potential challenges and provide accurate guidance.
- Get quotes and evaluate services: Contact several data recovery service providers and request quotes for their services. Take into consideration their reputation, expertise, success rate, and pricing. Compare the quotes and services to determine the best fit for your needs.
- Submit your drive for evaluation and recovery: Once you have chosen a data recovery service provider, follow their instructions to submit your Western Digital external hard drive for evaluation. They will assess the drive and provide you with a detailed report outlining the chances of successful data recovery, the estimated cost, and the time required for the process.
- Evaluate the assessment report and make a decision: Review the assessment report provided by the data recovery service provider. Consider the chances of a successful recovery, the cost involved, and the importance of the data. Based on this information, make an informed decision about whether to proceed with the recovery process.
- Authorize the recovery and wait for the results: If you decide to proceed with the recovery, provide authorization to the data recovery service provider. They will initiate the recovery process and keep you updated on the progress. The time required for data recovery may vary depending on factors such as the extent of the damage and the amount of data to be recovered.
Professional data recovery services can be a costly option, but they offer the highest chances of successful data retrieval, especially in complex cases. If your data is of utmost importance and cannot be replaced, seeking the expertise of professionals is recommended.
With this final step, you have explored all the options for recovering your files from your Western Digital external hard drive. Hopefully, you have successfully retrieved your valuable data and can now breathe a sigh of relief!
Conclusion
Recovering files from a Western Digital external hard drive can be a challenging and frustrating experience, but with the right steps and tools, you can increase your chances of success. In this guide, we have covered various troubleshooting steps to help you retrieve your valuable data.
We began by checking the physical connection of the external hard drive, ensuring it was securely connected and functioning properly. Next, we explored troubleshooting software issues, such as updating your operating system, restarting your computer, and checking device managers or disk utility tools for any issues.
If software issues didn’t resolve the problem, we moved on to scanning for viruses or malware that might have affected the external hard drive. By using reliable antivirus software and performing thorough scans, you can ensure the safety and integrity of your data.
Furthermore, we suggested trying a different USB port or cable, as faulty connections can often cause issues with file access. Sometimes, a simple change in the USB port or cable can make all the difference in retrieving your files.
If all else fails, data recovery software can come to the rescue. We walked through the steps of using data recovery software to scan and recover your files from the Western Digital external hard drive. Remember to choose reputable software and follow the instructions carefully to maximize your chances of successful data retrieval.
Lastly, if all other attempts prove unsuccessful, reaching out to professional data recovery services may be your best option. These experts have the necessary tools and expertise to handle physically damaged drives or complex software issues, though it may come at a higher cost.
In conclusion, recovering files from a Western Digital external hard drive requires patience, diligence, and the right tools. By following the steps outlined in this guide, you have increased your chances of retrieving your valuable data and getting your external hard drive back in working order.
Remember to always back up your important files regularly to prevent data loss and consider implementing proactive measures to avoid future incidents. We hope this guide has been helpful, and that you have successfully recovered your files and regained peace of mind!