Introduction
Welcome to our guide on how to test your hard disk drive for problems. A hard disk drive (HDD) is a critical component of your computer system, responsible for storing and accessing your valuable data. Over time, HDDs may develop issues that can affect the performance and reliability of your computer. It is important to regularly check your hard drive for any problems to ensure the longevity and stability of your system.
In this article, we will walk you through various methods and tools to effectively test your hard disk drive for issues. By performing these tests, you can identify and address any potential problems before they escalate into serious data loss or system failure.
Whether you are experiencing slow performance, unexpected errors, or simply want to proactively monitor the health of your hard drive, this guide will provide you with comprehensive instructions on how to evaluate its condition.
It is important to note that while these tests can help identify potential problems, they do not guarantee a complete diagnosis. If you suspect severe or persistent issues with your hard drive, it is recommended to consult with a professional technician or consider replacing the drive.
Now, let’s dive into the various methods and tools you can utilize to test your hard disk drive for problems. By following the steps outlined in this guide, you can gain peace of mind knowing that your data is safe and your computer is running optimally.
Checking for Physical Damage
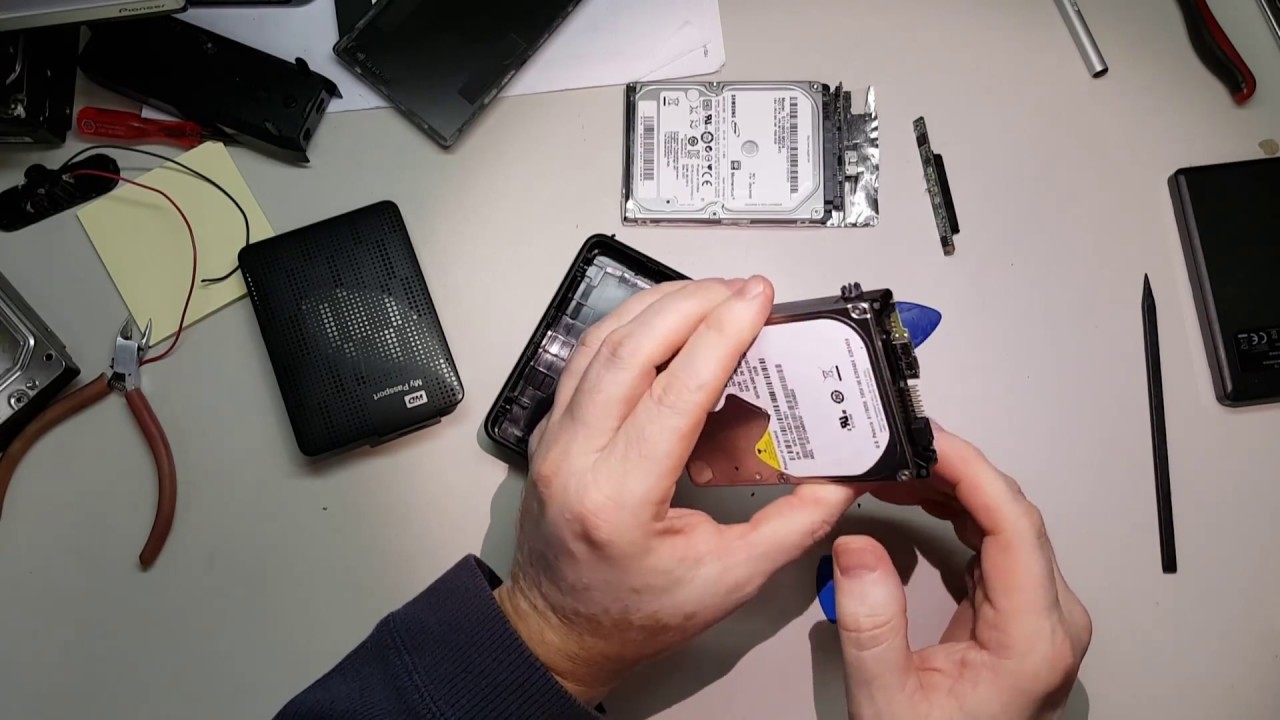
One of the first steps in testing your hard disk drive for problems is to check for any physical damage. Physical damage can occur due to mishandling, shock, or other external factors, and can impact the performance and reliability of your hard drive.
Here are a few steps you can take to check for physical damage:
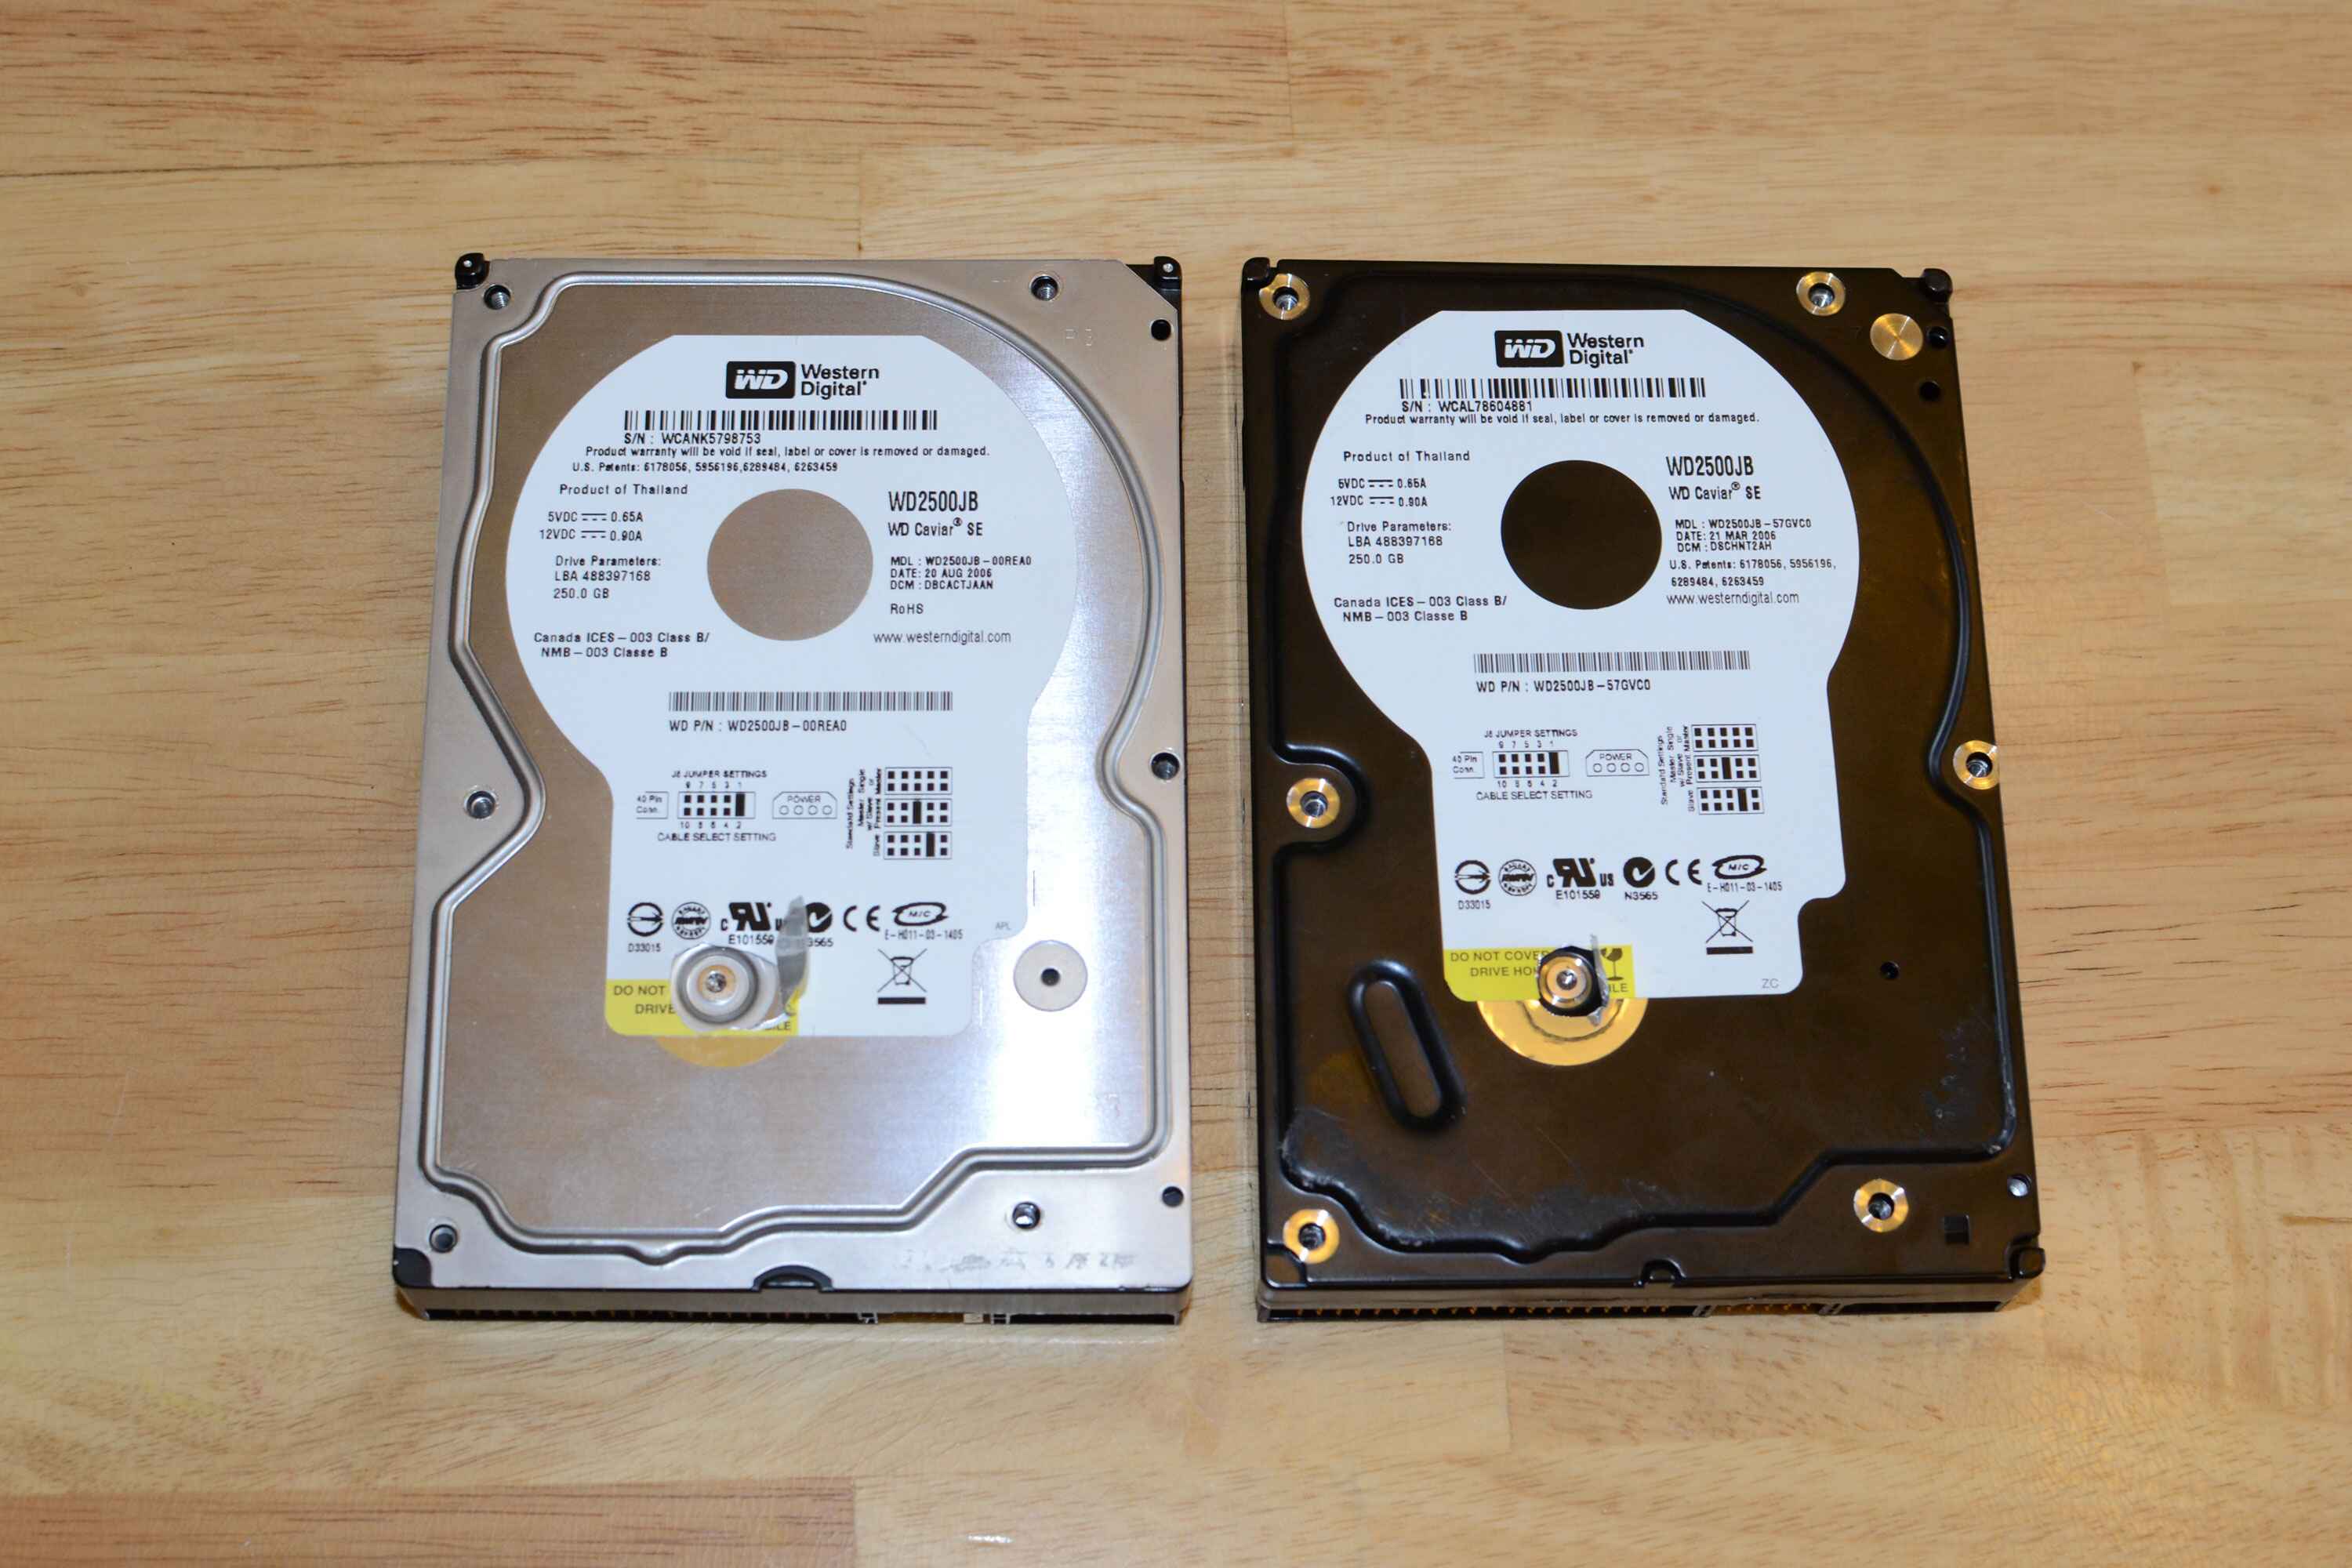
- Inspect the external casing: Examine the external casing of your hard drive for any visible signs of damage, such as dents or scratches. If you notice any significant damage, it is advisable to discontinue using the drive and consider seeking professional assistance.
- Listen for unusual sounds: When your hard drive is operational, listen closely for any unusual noises, such as clicking, grinding, or whirring. Unusual sounds can indicate a mechanical issue and may require immediate attention.
- Check the cables and connections: Ensure that the cables connecting your hard drive are securely attached and not damaged. Loose or faulty connections can cause data transfer errors and lead to performance issues.
- Perform a physical inspection: If you feel comfortable doing so, you can open your computer case and visually inspect the internal hard drive. Look for any loose cables, loose components, or signs of physical damage on the drive itself.
By conducting a thorough physical examination of your hard disk drive, you can detect any visible signs of damage. If you notice any significant issues during this inspection, it is recommended to seek professional assistance to avoid further damage and data loss.
Running Disk Diagnostic Tools
To thoroughly analyze the health of your hard disk drive, it is essential to utilize disk diagnostic tools. These tools are designed to evaluate various aspects of your hard drive, including its performance, integrity, and potential issues.
Here are some popular disk diagnostic tools that you can use:
- CHKDSK: CHKDSK is a built-in Windows utility that checks the integrity of the file system and fixes errors on the hard drive. To run CHKDSK, open the Command Prompt and type in “chkdsk [drive letter]: /f”. This tool will scan for and attempt to repair any file system issues.
- SMART Monitoring Tools: Most modern hard drives come equipped with S.M.A.R.T. (Self-Monitoring, Analysis, and Reporting Technology) that provides real-time monitoring and data about your hard drive’s health. Various third-party software, such as CrystalDiskInfo or HD Tune, can access this information and help identify potential problems.
- Manufacturer Diagnostic Tools: Many hard drive manufacturers provide their own diagnostic tools specifically designed for their drives. These tools offer advanced features and can perform in-depth tests to diagnose and repair specific issues. It is recommended to visit the manufacturer’s website and download their official diagnostic utility for the most accurate results.
- Third-Party Disk Diagnostic Tools: Apart from the manufacturer’s tools, there are several reliable third-party disk diagnostic tools available in the market. Examples include SeaTools by Seagate, Western Digital Data Lifeguard Diagnostics, and HDDScan. These tools offer a range of tests to assess your hard drive’s performance, identify bad sectors, and detect potential problems.
Before running any disk diagnostic tool, ensure that you have backed up important data as some tests could potentially cause data loss. It is also recommended to close any open applications and save your work before initiating the diagnostic process.
By running disk diagnostic tools regularly, you can get a comprehensive overview of your hard drive’s health and address any potential issues promptly.
Checking Disk Health with S.M.A.R.T.
S.M.A.R.T. (Self-Monitoring, Analysis, and Reporting Technology) is a technology embedded in modern hard disk drives that monitors various parameters to assess its health and predict potential problems.
Here is how you can check your disk health using S.M.A.R.T.:
- Use S.M.A.R.T. Monitoring Tools: There are various software applications available, such as CrystalDiskInfo, HD Tune, or manufacturer-specific utilities, that can access the S.M.A.R.T. data of your hard drive. These tools provide detailed information about various attributes and can help you determine the health status of your drive.
- Check for Critical and Warning Values: S.M.A.R.T. attributes have specific values that indicate the health of your hard drive. These values can be critical or trigger warnings when they exceed predefined thresholds. Pay close attention to important attributes like “Reallocated Sectors Count,” “Current Pending Sector Count,” or “Uncorrectable Sector Count.” If any of these attributes show a high value or are in a warning state, it indicates potential issues with your drive.
- Monitor Changes Over Time: Regularly monitor the S.M.A.R.T. attributes of your hard drive to identify any significant changes. Increasing values of crucial attributes or sudden changes in the overall health status might indicate a deteriorating hard drive.
- Take Appropriate Action: If you notice any critical or warning values or significant changes, it is recommended to back up your data immediately. Additionally, consider replacing the hard drive or consulting with a professional technician to prevent any potential data loss or system failure.
Checking your disk health using S.M.A.R.T. allows you to proactively identify any potential problems and take appropriate actions before they result in catastrophic data loss. Regular monitoring of the S.M.A.R.T. attributes can help prolong the life of your hard drive and ensure the safety of your valuable data.
Performing a Surface Scan
A surface scan is a crucial test to detect any physical defects or bad sectors on your hard disk drive. Bad sectors can result from aging, wear and tear, or other factors, and can lead to data corruption or loss.
Here’s how you can perform a surface scan on your hard drive:
- Using Disk Scanning Software: There are several disk scanning utilities available, such as CHKDSK, HD Tune, or third-party tools like SpinRite. These tools scan the entire surface of your hard drive, checking for any damaged or unreadable sectors.
- Selecting Full Scan Option: When launching the disk scanning software, ensure that you choose the full scan or surface scan option. This will thoroughly examine every sector of the hard drive.
- Monitoring Scan Progress: The scan may take a significant amount of time, depending on the size and speed of your hard drive. It is essential to be patient and allow the scan to complete uninterrupted. Monitor the progress to ensure everything is running smoothly.
- Identifying Bad Sectors: Once the scan is complete, the software will provide a report indicating any bad sectors or physical defects found on the hard drive. If any bad sectors are detected, it is advisable to take immediate action.
- Dealing with Bad Sectors: If bad sectors are detected, you should consider backing up important data from the affected areas of the drive. You can attempt to repair them using disk repair tools like CHKDSK, but in severe cases, replacing the hard drive might be the best course of action.
Performing regular surface scans allows you to identify and mitigate any potential issues with your hard drive before they lead to data loss or system instability. By taking proactive measures and addressing bad sectors promptly, you can prolong the lifespan of your hard drive and ensure the safety of your valuable data.
Scanning for Bad Sectors
Bad sectors on a hard disk drive can lead to data corruption, file system errors, and potential data loss. It is crucial to regularly scan your hard drive for bad sectors to identify and address any issues promptly.
Here’s how you can scan for bad sectors on your hard drive:
- Using CHKDSK Utility: CHKDSK is a built-in Windows utility that can scan and repair file system errors, including bad sectors. Open the Command Prompt and type in “chkdsk [drive letter]: /r” to initiate a surface scan and attempt to recover any readable information from the damaged sectors.
- Third-Party Disk Diagnostic Tools: Various third-party tools, such as HD Tune, SeaTools, or Western Digital Data Lifeguard Diagnostics, also offer bad sector scanning features. These tools provide a comprehensive assessment and can help you identify and deal with bad sectors effectively.
- Monitoring Scan Progress: Depending on the size of your hard drive and the number of bad sectors, the scan may take a significant amount of time. It is essential to allow the scan to complete without interruption and monitor the progress to ensure it is running smoothly.
- Dealing with Bad Sectors: If bad sectors are detected during the scan, the utility or tool may attempt to repair them or mark them as unusable. It is crucial to follow the instructions provided by the software and take appropriate action, such as backing up important data from the affected areas and considering a replacement if the number of bad sectors is significantly high.
Regularly scanning for bad sectors helps maintain the integrity of your hard drive and ensures the safety of your data. By taking proactive measures to address any issues identified during the scan, you can mitigate the risk of data loss and prolong the lifespan of your hard disk drive.
Checking for File System Errors
The file system on your hard disk drive is responsible for organizing and managing files and folders. Over time, file system errors can occur, leading to data corruption, application crashes, and other undesirable consequences. It is important to regularly check for file system errors to ensure the stability and reliability of your hard drive.
Here’s how you can check for file system errors:
- Using CHKDSK Utility: CHKDSK is a built-in Windows utility that can scan and repair file system errors on your hard drive. Open the Command Prompt and type in “chkdsk [drive letter]: /f” to initiate a scan and fix any file system errors found. This process may require a restart if the drive is currently in use.
- Running SFC (System File Checker): SFC is another built-in Windows utility that scans for and restores corrupted system files. Open the Command Prompt and type in “sfc /scannow” to initiate the scan. SFC will automatically replace any corrupted files with cached copies from your system.
- Using Third-Party Disk Repair Tools: In addition to the built-in utilities, there are several third-party disk repair tools available that specialize in evaluating and fixing file system errors. Examples include EaseUS Partition Master, MiniTool Partition Wizard, or DiskGenius. These tools provide more advanced features and can effectively address complex file system issues.
- Monitoring Scan Results: During the scan, the utility or tool will list any file system errors found and attempt to repair them. It is important to review the scan results and take appropriate action based on the severity of the errors.
- Rebooting and Retesting: After the repairs are completed, it is advisable to reboot your computer and perform subsequent tests to ensure that the file system errors have been successfully resolved.
Regularly checking for file system errors helps maintain the integrity and performance of your hard drive. By addressing any errors promptly, you can prevent further data corruption, improve system stability, and ensure a smooth computing experience.
Testing Hard Drive Performance
Assessing the performance of your hard drive is essential to ensure that it is operating at its optimal level. By testing the hard drive performance, you can identify any bottlenecks or issues that may be affecting its speed and responsiveness.
Here are some methods you can use to test your hard drive performance:
- Benchmarking Tools: Utilize benchmarking software like CrystalDiskMark, ATTO Disk Benchmark, or HD Tune to measure the read and write speeds of your hard drive. These tools provide detailed reports on various performance parameters, including sequential and random read/write speeds.
- Performance Monitoring Tools: Use built-in operating system tools, such as Windows Task Manager or Resource Monitor, to monitor the disk usage and performance in real-time. These tools can provide insights into disk activity, response times, and overall performance metrics.
- Transfer Rate Tests: Conduct transfer rate tests by copying large files or folders to and from your hard drive. Monitor the time it takes to complete the transfers and compare the results to expected performance benchmarks for your specific drive model.
- Hard Drive Diagnostic Tools: Some manufacturer-specific diagnostic tools, such as SeaTools by Seagate or Western Digital Data Lifeguard Diagnostics, include performance testing features. These tools can evaluate the performance of the drive and provide suggestions or optimizations.
When conducting performance tests, take note of the results and compare them to the expected performance specifications for your specific hard drive model. If the tests reveal significantly lower performance than expected, it may indicate potential issues or the need for optimization.
Keep in mind that hard drive performance can be impacted by various factors, including the drive’s age, fragmentation, available space, or background processes. It is recommended to perform regular maintenance tasks like defragmenting the drive and freeing up disk space to optimize performance.
By regularly testing the performance of your hard drive, you can detect any performance bottlenecks, optimize its operation, and ensure that it is functioning at its peak potential.
Conclusion
Testing your hard disk drive for problems is essential for maintaining the performance, reliability, and longevity of your computer system. By following the steps and utilizing the tools outlined in this guide, you can proactively identify and address any issues with your hard drive before they escalate into more significant problems.
From checking for physical damage to running disk diagnostic tools, checking S.M.A.R.T. data, performing surface scans, scanning for bad sectors, and checking for file system errors, each step contributes to a comprehensive evaluation of your hard drive’s health and performance.
Regularly testing your hard drive not only helps detect potential issues but also allows you to take appropriate action, whether it’s repairing bad sectors, addressing file system errors, or considering a replacement if necessary. By being proactive, you can minimize the risk of data loss, improve system stability, and optimize the overall performance of your computer.
Remember to consult the manufacturer’s guidelines and recommendations when using their diagnostic tools, as they provide specific instructions tailored to their drives. Additionally, be cautious and back up your important data before performing any tests that may pose a risk of data loss.
In conclusion, regular maintenance and testing of your hard disk drive are crucial for ensuring the proper functioning and longevity of your computer system. By being proactive and implementing the steps outlined in this guide, you can keep your hard drive in optimum condition and enjoy a smooth and reliable computing experience.