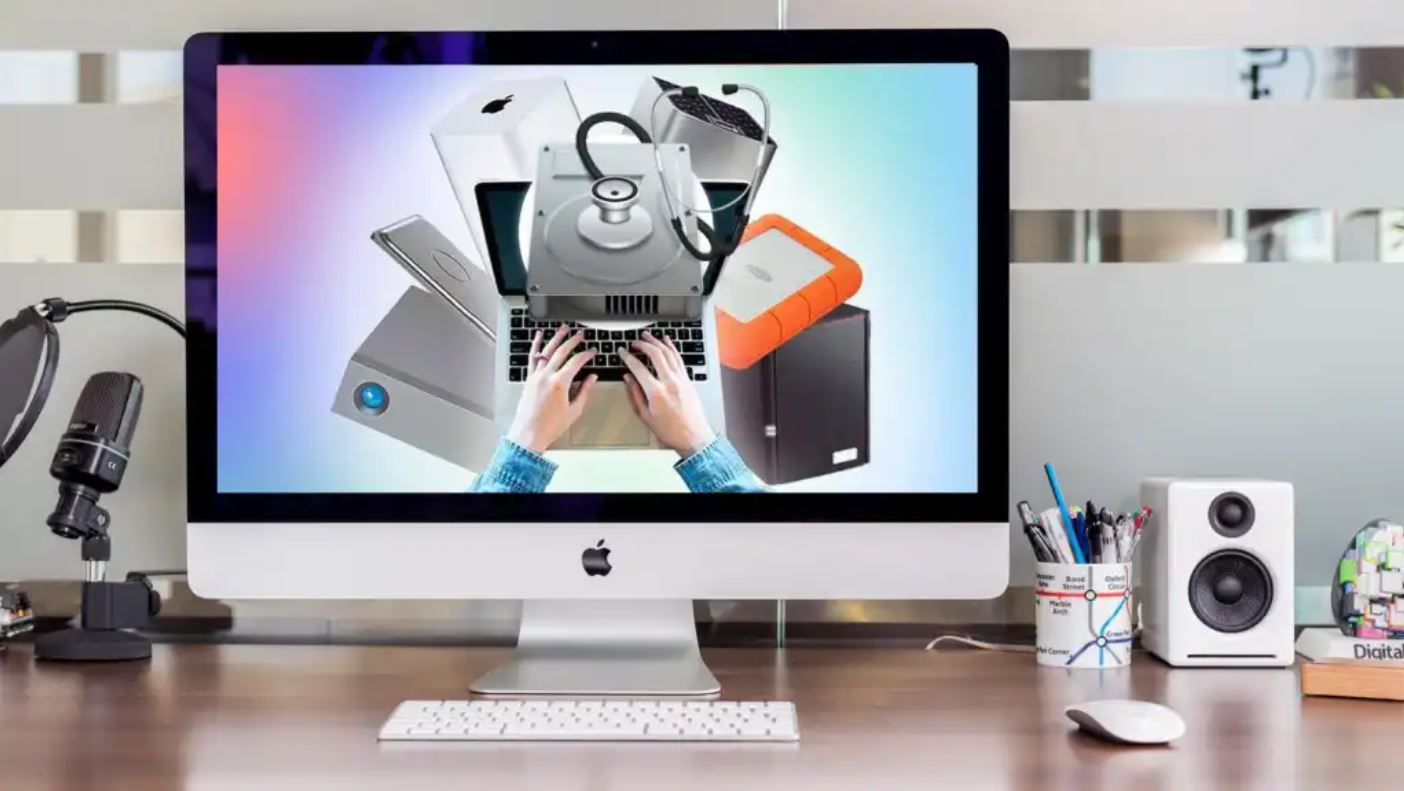
Introduction
An external hard drive is a valuable tool for storing and accessing large amounts of data. Whether you use it for backup purposes, data transfer, or expanding your storage capacity, an external hard drive offers convenience and versatility. However, there may be times when you connect your external hard drive to your computer and realize that it is not being detected. This can be frustrating and worrying as it may contain important files and data.
There are several reasons why an external hard drive may not be detected by your computer. It could be due to a faulty cable or port, outdated or missing device drivers, incorrect drive settings, or even hardware issues. Resolving the issue requires a systematic approach to troubleshoot and identify the underlying cause.
In this article, we will explore the various reasons why an external hard drive may not be detected and provide step-by-step solutions to help you fix the problem. By following these troubleshooting steps, you can increase the chances of successfully detecting and accessing your external hard drive.
Reasons why an external hard drive is not detected
There are several reasons why your external hard drive might not be detected by your computer. Understanding these reasons can help you narrow down the possible solutions and get your external hard drive up and running again. Here are some common reasons:
1. Loose or faulty connections: One of the most common reasons why an external hard drive is not detected is because of loose or faulty connections. Ensure that the USB or Thunderbolt cable is securely connected to both the external hard drive and your computer. Additionally, try using a different cable or connecting to a different USB or Thunderbolt port to rule out any issues with the connection.
2. Outdated or missing device drivers: Device drivers act as a bridge between your external hard drive and your computer’s operating system. If the device drivers are outdated or missing, your computer will not be able to detect the external hard drive. Update the drivers for your external hard drive by visiting the manufacturer’s website or use a reliable driver update tool.
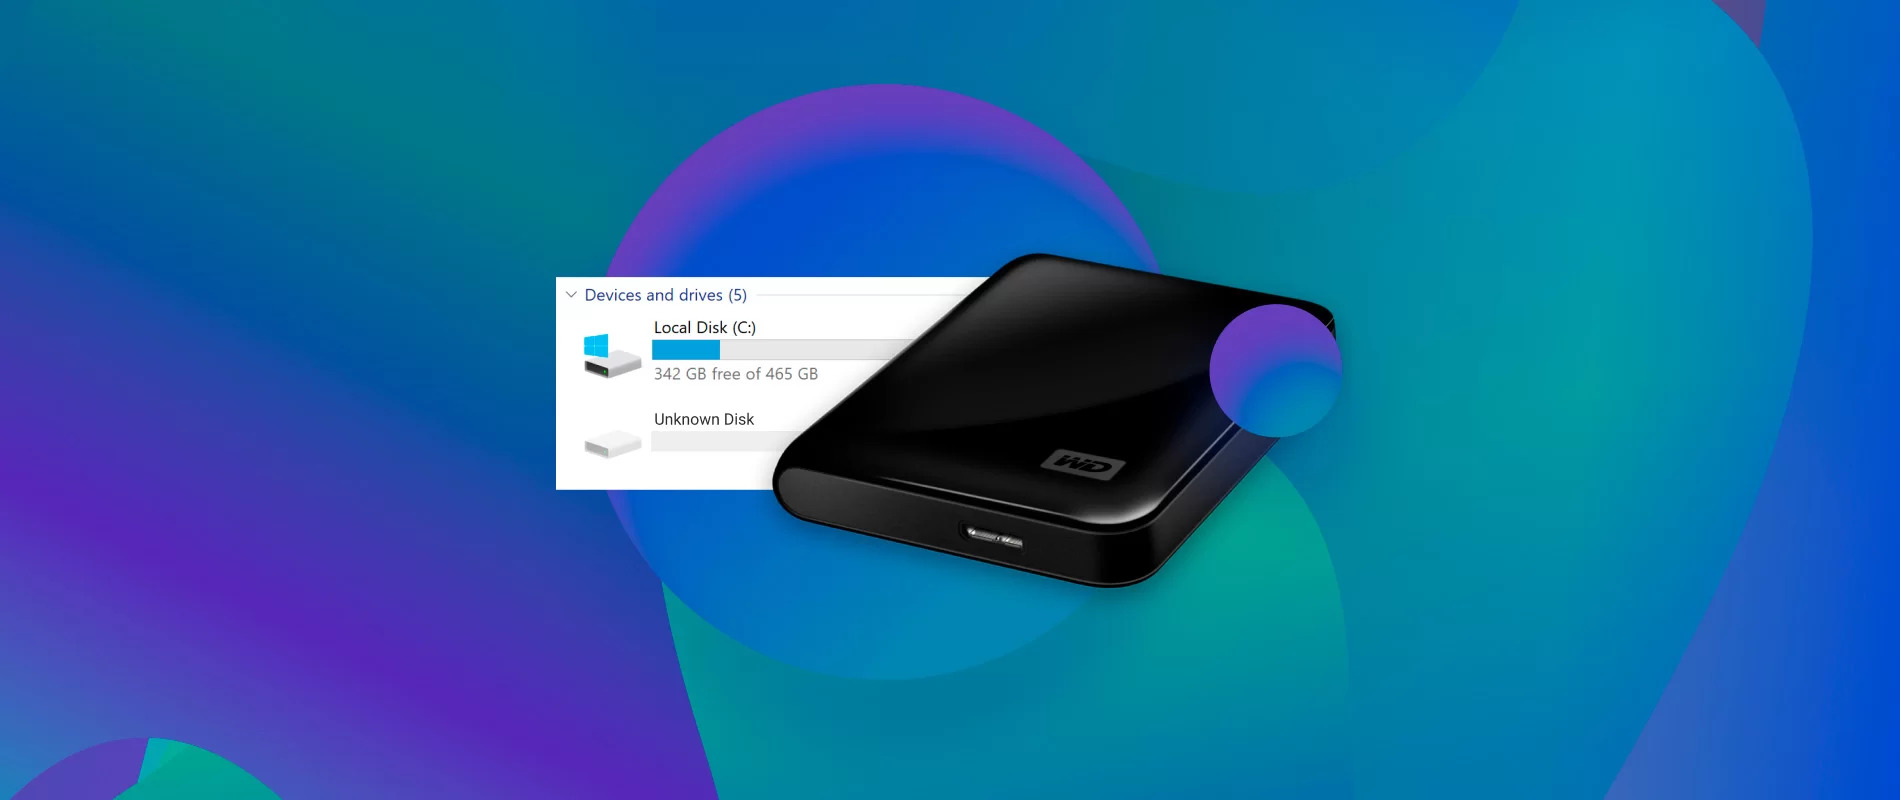
3. Incorrect drive settings: Sometimes, the drive settings on your external hard drive may prevent it from being detected. Go to the Disk Management utility on your computer and check if the external hard drive is listed. If it is, make sure that it has been assigned the correct drive letter and is set to “online” status.
4. File system compatibility: Different operating systems have different file systems. If your external hard drive is formatted with a file system that is not compatible with your computer’s operating system, it may not be detected. Ensure that the external hard drive is formatted with a file system that is supported by your computer.
5. Power supply issues: Some external hard drives require additional power supply and cannot rely solely on the power provided by the USB or Thunderbolt connection. Check if your external hard drive requires an external power adapter and ensure that it is connected properly.
6. Corrupted or damaged drive: If your external hard drive has been physically damaged or is corrupted, it may not be detected by your computer. In such cases, professional data recovery services may be required to retrieve the data or repair the hard drive.
By understanding these reasons, you can narrow down the possible cause of the issue and apply the appropriate solutions. In the following sections, we will outline the steps you can take to troubleshoot and resolve the problem.
Check the physical connections
When your external hard drive is not being detected by your computer, the first step is to check the physical connections. Sometimes, a loose or faulty connection can be the culprit behind the issue. Follow these steps to ensure that the physical connections are secure:
1. Check the USB or Thunderbolt cable: Inspect the cable connecting your external hard drive to your computer. Make sure that it is securely plugged into both the external hard drive and the USB or Thunderbolt port on your computer. If you suspect that the cable is faulty, try using a different cable to see if it resolves the issue.
2. Try a different USB or Thunderbolt port: Connect your external hard drive to a different USB or Thunderbolt port on your computer. Sometimes, a particular port may be faulty, and switching to another port can help establish a connection.
3. Use a powered USB hub: If your external hard drive requires a significant amount of power, it may not receive enough power through a standard USB port on your computer. In such cases, using a powered USB hub can provide the necessary power boost.
4. Check for physical damage: Inspect the USB or Thunderbolt port on your computer and the connection on your external hard drive for any physical damage. Bent pins or damaged connectors can prevent a proper connection. If any damage is detected, you may need to repair or replace the affected components.
5. Restart your computer: Sometimes, a simple restart can resolve connectivity issues. Restart your computer and reconnect your external hard drive to see if it is detected.
By checking the physical connections and ensuring that they are secure, you can eliminate any potential issues related to faulty cables or loose connections. If the external hard drive is still not detected after checking the physical connections, move on to the next troubleshooting steps.
Update or reinstall the device drivers
Device drivers play a crucial role in establishing communication between your external hard drive and your computer. If the device drivers for your external hard drive are outdated or missing, it can prevent your computer from detecting the device. To resolve this issue, you can update or reinstall the device drivers using the following steps:
1. Identify the manufacturer and model: Determine the manufacturer and model of your external hard drive. This information can usually be found on the label or documentation that came with the device.
2. Visit the manufacturer’s website: Go to the official website of the manufacturer and navigate to the support or downloads section. Look for the drivers or software section and search for the appropriate drivers for your external hard drive model.
3. Download and install the latest drivers: Download the latest device drivers for your external hard drive from the manufacturer’s website. Ensure that you select the drivers that are compatible with your operating system. Once downloaded, run the installer and follow the on-screen instructions to install the drivers.
4. Reconnect the external hard drive: After installing the updated device drivers, reconnect your external hard drive to your computer. The operating system should now be able to detect the device.
If updating the device drivers does not resolve the issue, you can try reinstalling the drivers using the following steps:
1. Uninstall the existing drivers: Open the Device Manager on your computer by right-clicking on the Start button and selecting “Device Manager”. Expand the “Disk drives” or “Universal Serial Bus controllers” category and locate your external hard drive. Right-click on the device and select “Uninstall device”. Follow the prompts to complete the uninstallation process.
2. Restart your computer: After uninstalling the drivers, restart your computer. This will allow the operating system to reinstall the drivers automatically when you reconnect the external hard drive.
3. Reconnect the external hard drive: Once your computer has restarted, reconnect your external hard drive. The operating system should now initiate the driver installation process and detect the device.
Updating or reinstalling the device drivers can often resolve issues with the detection of external hard drives. If the problem persists after updating or reinstalling the drivers, move on to the next troubleshooting steps.
Verify drive settings in Disk Management
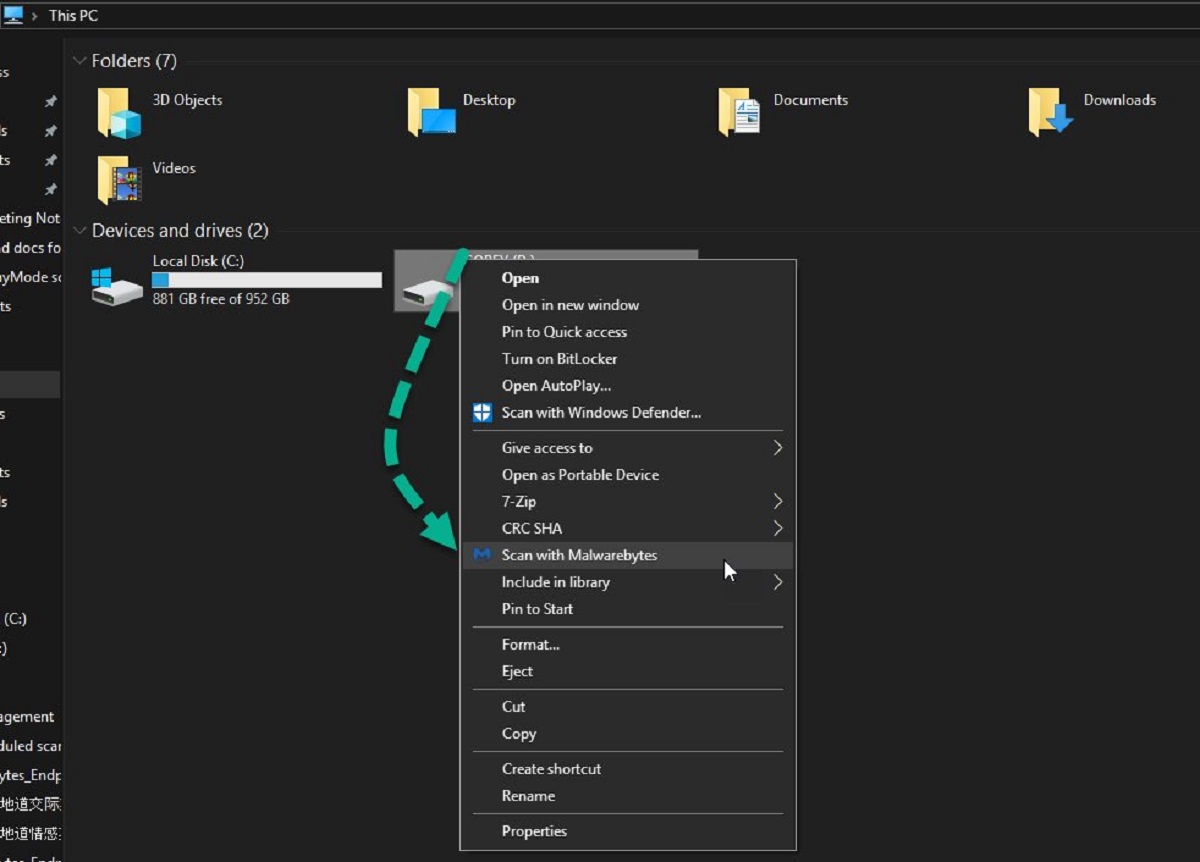
When an external hard drive is not detected by your computer, it’s important to check the drive settings in Disk Management. Disk Management is a built-in Windows utility that allows you to manage and configure disk drives on your computer. By verifying the drive settings, you can ensure that the external hard drive is correctly recognized by your operating system. Follow these steps to verify the drive settings in Disk Management:
1. Open Disk Management: Press the Windows key + R on your keyboard to open the Run dialog box. Type “diskmgmt.msc” into the box and press Enter. The Disk Management utility will open.
2. Check for the external hard drive: In Disk Management, look for your external hard drive in the list of available drives. It may be listed as “Disk X” with a label indicating the brand or model of the drive.
3. Check the status and drive letter: Ensure that the status of the external hard drive is listed as “Online.” If it is listed as “Offline” or “Unallocated,” right-click on the drive and select “Online” or “Assign Drive Letter” from the context menu. Assign a new drive letter to the external hard drive if it is not already assigned.
4. Check the file system: Verify that the file system of the external hard drive is compatible with your operating system. Common file systems include NTFS, exFAT, and FAT32. If the file system is not compatible, you may need to format the drive with a compatible file system. However, formatting will erase all data on the drive, so proceed with caution.
5. Perform a rescan: If you have made any changes to the drive settings, click on the “Action” menu in Disk Management and select “Rescan Disks.” This will prompt the operating system to rescan for any newly added or changed drives.
By verifying the drive settings in Disk Management, you can ensure that the external hard drive is recognized and configured correctly. If the drive settings are correct and the external hard drive is still not detected, proceed to the next troubleshooting steps.
Assign a new drive letter
If your external hard drive is not being detected by your computer, it’s possible that the drive letter assigned to it has been changed or is conflicting with another device. By assigning a new drive letter to the external hard drive, you can help ensure that it is recognized by your operating system. Follow these steps to assign a new drive letter:
1. Open Disk Management: Press the Windows key + R on your keyboard to open the Run dialog box. Type “diskmgmt.msc” into the box and press Enter. The Disk Management utility will open.
2. Locate the external hard drive: In Disk Management, look for your external hard drive in the list of available drives. It may be listed as “Disk X” with a label indicating the brand or model of the drive.
3. Right-click on the drive: Right-click on the external hard drive and select “Change Drive Letter and Paths” from the context menu.
4. Click “Change”: In the Change Drive Letter and Paths window, click the “Change” button.
5. Select the new drive letter: In the Assign Drive Letter or Path window, select a new drive letter from the drop-down menu. It’s recommended to choose a letter that is not currently in use to avoid conflicts.
6. Click “OK”: Once you have selected a new drive letter, click the “OK” button to save the changes.
7. Close Disk Management: Close the Disk Management utility and check if the external hard drive is now detected by your computer.
By assigning a new drive letter, you can help ensure that the external hard drive is correctly recognized by your operating system. If the issue persists even after assigning a new drive letter, proceed to the next troubleshooting steps.
Format the external hard drive
If your external hard drive is still not being detected by your computer, it may be necessary to format the drive. Formatting the external hard drive can help resolve any issues with the file system or partition that may be causing the detection problem. However, it’s important to note that formatting will erase all data on the drive, so be sure to back up any important files before proceeding. Follow these steps to format the external hard drive:
1. Open Disk Management: Press the Windows key + R on your keyboard to open the Run dialog box. Type “diskmgmt.msc” into the box and press Enter. The Disk Management utility will open.
2. Locate the external hard drive: In Disk Management, look for your external hard drive in the list of available drives. It may be listed as “Disk X” with a label indicating the brand or model of the drive.
3. Backup important files: Before formatting the drive, make sure to copy any important files from the external hard drive to another storage location.
4. Right-click on the drive: Right-click on the external hard drive and select “Format” from the context menu.
5. Choose the file system: In the Format window, choose the desired file system for the external hard drive. NTFS is recommended for Windows, while exFAT is a more universal file system that can be used with both Windows and Mac.
6. Provide a new volume label: Optionally, you can enter a new volume label (drive name) for the external hard drive.
7. Uncheck “Perform a quick format”: It is recommended to uncheck the “Perform a quick format” option to ensure a thorough formatting process.
8. Click “OK” to start the formatting: Once you have chosen the file system and provided the volume label, click the “OK” button to start the formatting process.
9. Wait for the formatting to complete: The formatting process may take some time, depending on the size of the external hard drive. Once it is complete, you can close the Disk Management utility.
After formatting the external hard drive, reconnect it to your computer and check if it is now being detected. If the issue persists, proceed to the next troubleshooting steps.
Test the external hard drive on another computer
If your external hard drive is still not being detected on your computer, it’s important to determine if the issue is specific to your computer or if it persists when connected to another computer. Testing the external hard drive on another computer can help identify whether the problem lies with the drive itself or with your computer’s configuration. Follow these steps to test the external hard drive on another computer:
1. Select another computer: Find another computer that you can connect your external hard drive to for testing purposes. It can be a friend’s computer, a family member’s computer, or even a public computer, as long as you have permission to use it.
2. Connect the external hard drive: Use the appropriate cable to connect your external hard drive to the USB or Thunderbolt port on the other computer.
3. Wait for detection: Once the external hard drive is connected, wait for a few moments to see if the other computer detects it. Keep an eye out for any notifications or pop-ups indicating the successful detection of the drive.
4. Check File Explorer or Finder: Open File Explorer (Windows) or Finder (Mac) and look for the external hard drive under the list of available drives. If the drive is visible and accessible, it suggests that the issue may be specific to your computer settings or configuration.
5. Attempt data transfer: Try copying or transferring a file to or from the external hard drive on the other computer. This will help ensure that the drive is functioning properly and that you can access and use the data on it.
6. If the external hard drive is detected: If the external hard drive is successfully detected and accessible on the other computer, it indicates that the issue may be related to your computer’s settings, drivers, or connectivity. You can then continue troubleshooting on your own computer using the insights gained from this test.
7. If the external hard drive is not detected: If the external hard drive is still not being detected on the other computer, it suggests that the issue may lie with the drive itself. In such cases, consider reaching out to a professional data recovery service for further assistance or diagnosis.
By testing the external hard drive on another computer, you can gather valuable information about the source of the problem and determine the next steps to take in resolving the issue.
Check for hardware issues
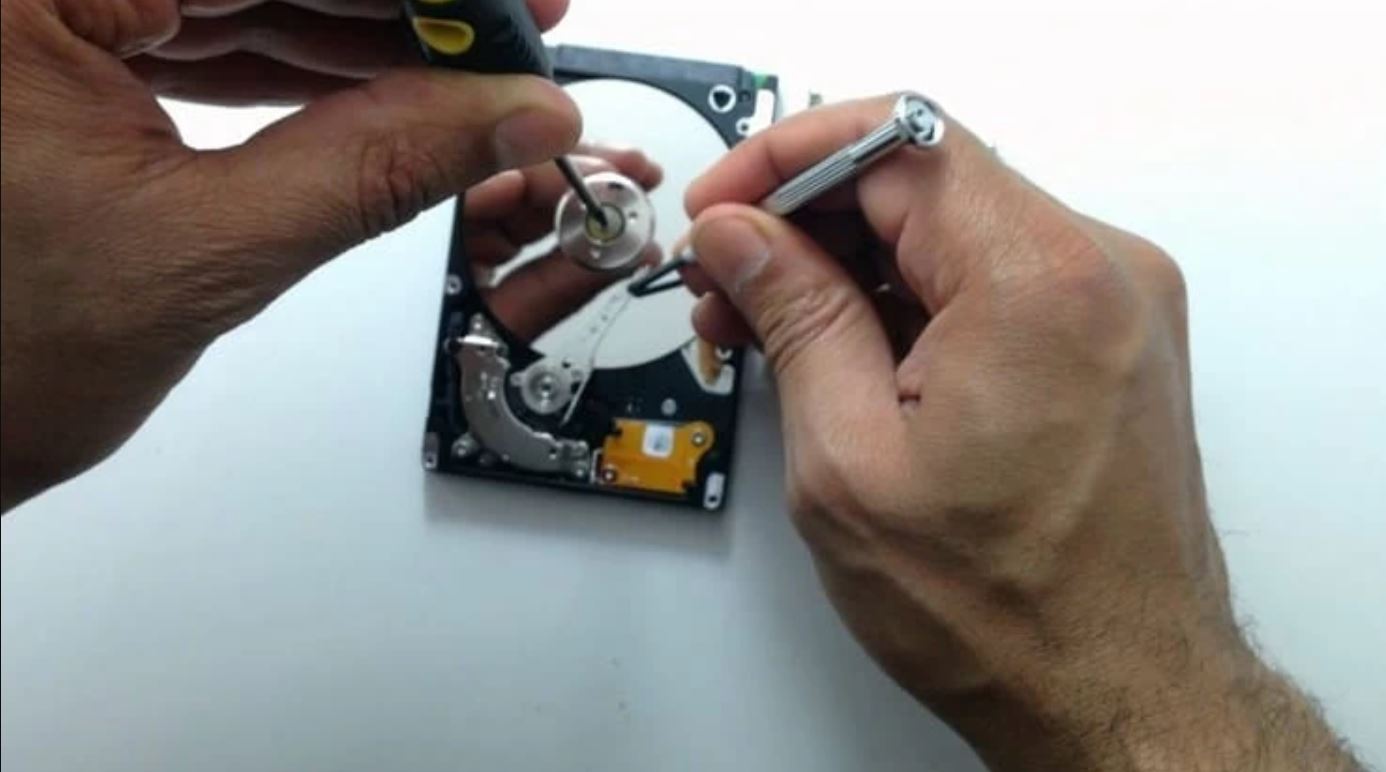
If your external hard drive is still not being detected on any computer or if it is experiencing intermittent connectivity issues, it’s possible that there may be a hardware problem with the drive itself. Checking for hardware issues can help identify any physical damage or faulty components that may be causing the detection problem. Here are some steps to check for hardware issues with your external hard drive:
1. Inspect the external hard drive: Carefully examine the external hard drive for any signs of physical damage. Look for dents, scratches, or loose parts that may indicate a problem. Pay close attention to the USB or Thunderbolt port on the drive and check if it appears damaged or bent.
2. Use a different cable and port: Try using a different USB or Thunderbolt cable to connect your external hard drive to your computer. Additionally, connect it to a different USB or Thunderbolt port on your computer. A faulty cable or port could be the cause of the detection issue.
3. Try a different power source: If your external hard drive requires an external power adapter, make sure it is securely connected to a working power source. You can also try using a different power adapter or USB hub to supply power to the drive.
4. Listen for unusual noises: Power on the external hard drive and listen for any unusual noises such as clicking, grinding, or buzzing sounds. These noises could indicate a mechanical failure within the drive.
5. Check warranty and professional repair: If your external hard drive is still under warranty, contact the manufacturer for assistance. They may offer repair or replacement options. Alternatively, consider reaching out to a professional data recovery service or a computer repair technician who specializes in hardware issues.
It’s worth noting that if there is physical damage or a hardware issue with your external hard drive, data recovery may be difficult or even impossible. Therefore, it is important to regularly back up your important files to minimize data loss in case of any drive failures.
By checking for hardware issues, you can determine if there are any problems with the external hard drive itself that need to be addressed. If no hardware issues are found, it may be necessary to explore other troubleshooting options or seek professional assistance.
Conclusion
Experiencing a situation where your external hard drive is not being detected can be frustrating, especially if it contains important data. However, by following the troubleshooting steps outlined in this article, you can increase the chances of resolving the issue and regaining access to your external hard drive.
We explored various reasons why an external hard drive may not be detected, including loose connections, outdated drivers, incorrect drive settings, file system compatibility, power supply issues, and hardware problems. By systematically checking these factors, you can pinpoint the underlying cause and implement the appropriate solution.
Checking the physical connections and updating or reinstalling the device drivers are often the first steps to take. Verifying the drive settings in Disk Management and assigning a new drive letter can also help in resolving detection issues. Formatting the external hard drive, if necessary, can address file system or partition-related problems. Additionally, testing the drive on another computer can help determine if the issue is computer-specific or drive-related.
If all else fails, it’s important to consider the possibility of hardware issues. Inspecting the external hard drive for physical damage and listening for unusual noises can provide insights into potential hardware problems. Warranty coverage, professional repair options, or data recovery services may need to be explored in such cases.
Remember to regularly back up your important data to prevent data loss in case of any drive failures. It’s always better to be prepared and have your files backed up on other storage devices or cloud services.
By taking a systematic and patient approach to troubleshooting, you can increase the likelihood of resolving the issue and getting your external hard drive up and running again.