Introduction
Welcome to our step-by-step guide on how to install the WD Blue 2TB Desktop Hard Disk Drive. Whether you’re upgrading your computer’s storage or adding an additional hard drive, this process is relatively straightforward and can be accomplished with just a few tools. By following this guide, you’ll have your WD Blue 2TB hard disk drive up and running in no time.
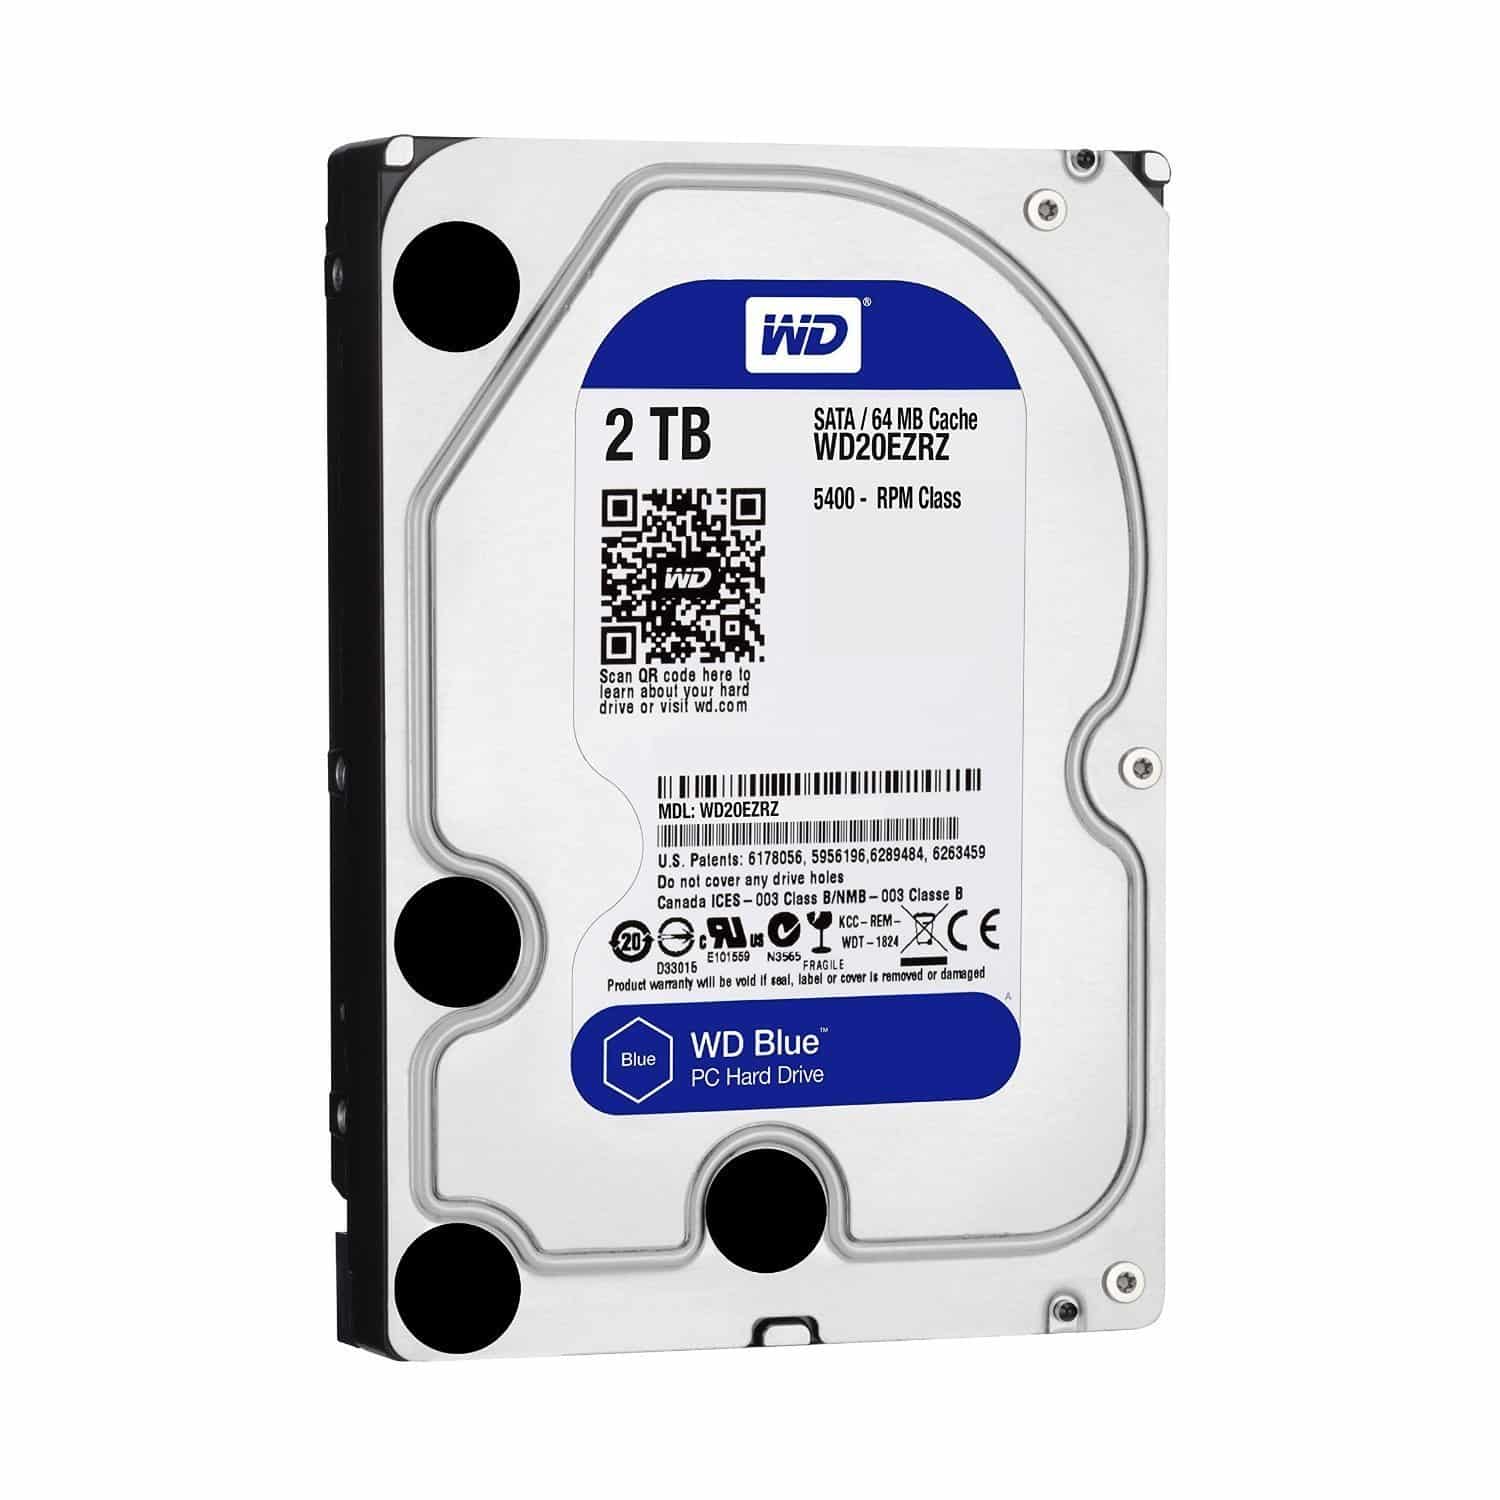
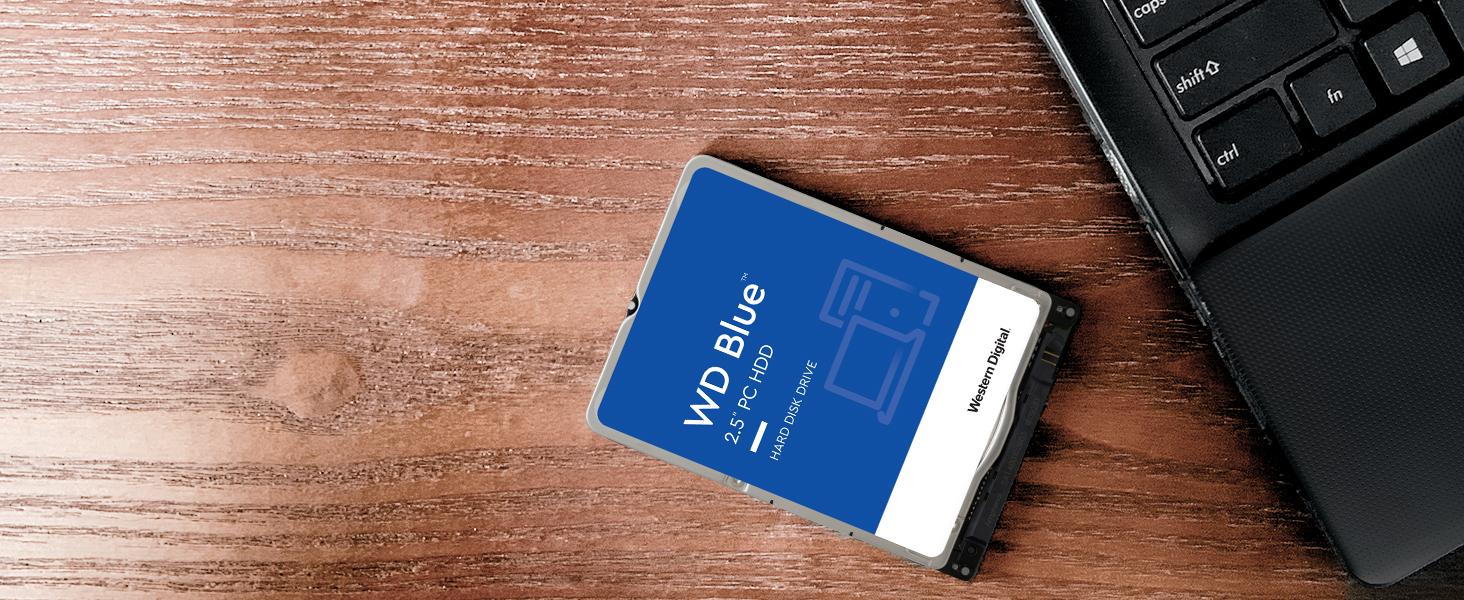
The WD Blue 2TB Desktop Hard Disk Drive offers ample storage space for your files, documents, photos, and videos. It operates at a high speed, ensuring quick data transfer and efficient performance to enhance your computing experience. Whether you’re a professional who needs extra storage for work-related files or a casual user who wants to store a large media library, this hard drive is a reliable and cost-effective option.
Before we dive into the installation process, it’s essential to ensure you have the necessary tools and materials. You’ll need a screwdriver, preferably a Phillips-head screwdriver, to open your computer case or external hard drive enclosure. Additionally, make sure you have enough space in your computer case or enclosure to accommodate the new hard drive. It’s also a good idea to have an anti-static wrist strap to prevent any static electricity from damaging the sensitive components of the hard drive.
Now that you have a basic understanding of what the WD Blue 2TB Desktop Hard Disk Drive offers and the tools you’ll need, let’s move on to the step-by-step installation process. By following these instructions carefully, you’ll be able to install your new hard drive efficiently and effectively without any complications.
Step 1: Gather the necessary tools and materials
Before beginning the installation process, it’s essential to gather all the tools and materials you’ll need. Having everything ready beforehand will ensure a smooth and uninterrupted installation process. Here are the necessary tools and materials:
- Screwdriver: You’ll need a screwdriver to open your computer case or external hard drive enclosure. A Phillips-head screwdriver is typically used for this purpose, but make sure to check if your case requires a different type.
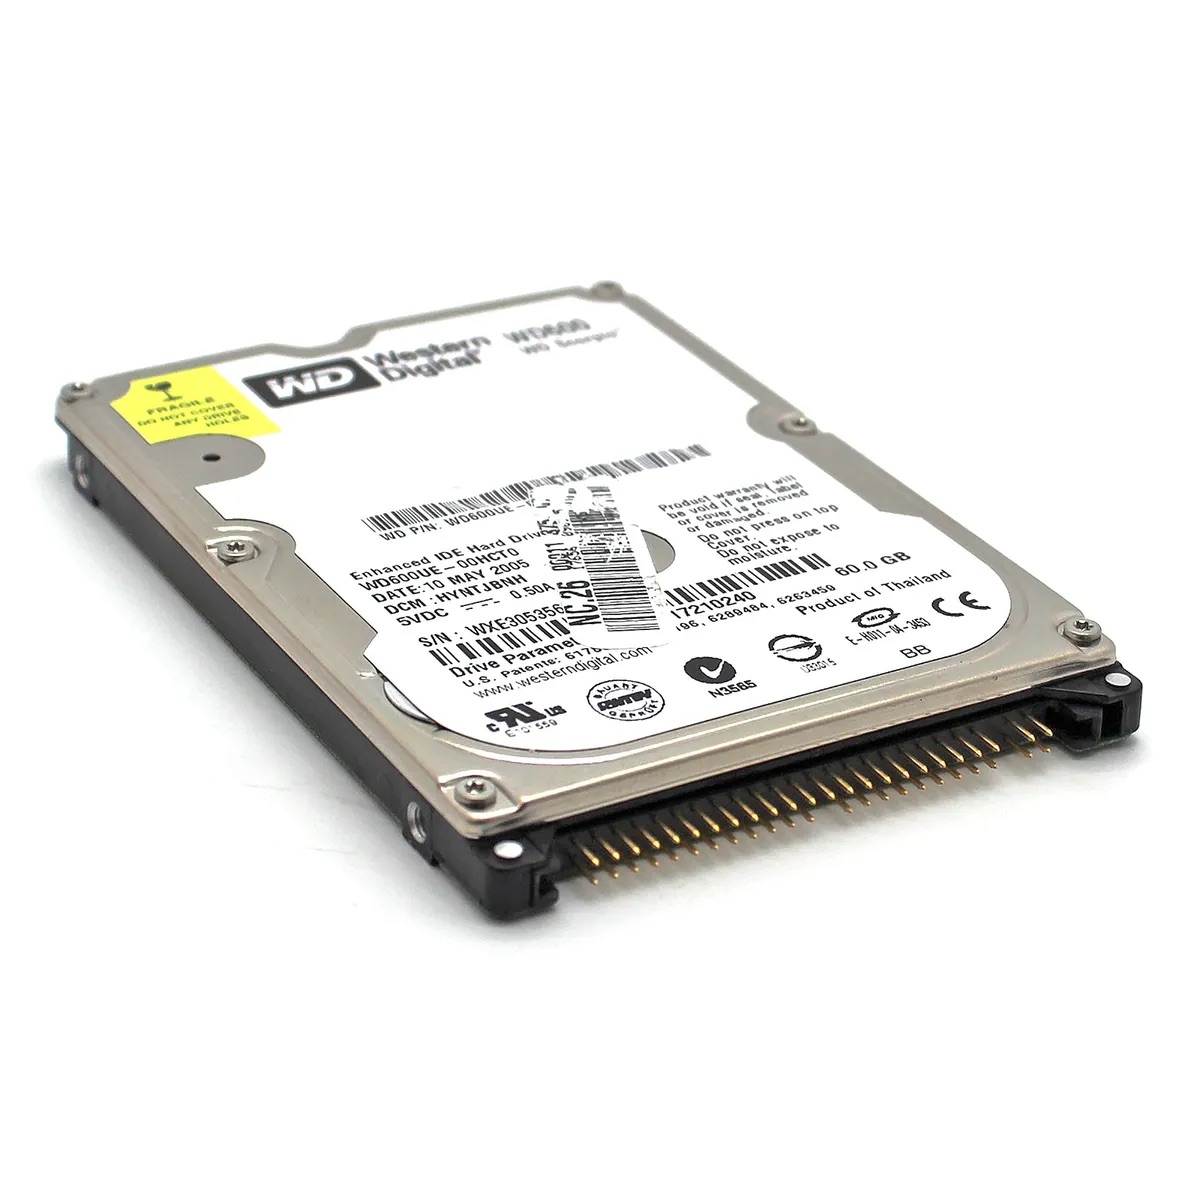
- WD Blue 2TB Desktop Hard Disk Drive: Ensure you have the 2TB variant of the WD Blue Desktop Hard Disk Drive. This will be the drive you’ll be installing.
- Space in your computer case or enclosure: Check if you have enough space in your computer case or external hard drive enclosure to accommodate the new hard drive. Make sure there are available drive bays where you can mount the drive.
- Anti-static wrist strap: While not mandatory, it’s highly recommended to use an anti-static wrist strap to prevent any static electricity from damaging the sensitive components of the hard drive. This will help ensure a safe installation process.
By having these tools and materials prepared, you’ll be ready to proceed with the installation process smoothly. It’s crucial to have the right tools to avoid any mishaps or delays during the installation. Once you’ve gathered these items, you can move on to the next step: preparing your computer for the installation of the WD Blue 2TB Desktop Hard Disk Drive.
Step 2: Prepare your computer for the installation
Before diving into the installation of the WD Blue 2TB Desktop Hard Disk Drive, it’s crucial to prepare your computer for the process. By following these preparation steps, you’ll ensure that the installation goes smoothly and without any complications:
- Power off your computer: Start by shutting down your computer completely. It’s essential to turn off the power to prevent any electrical mishaps during the installation process.
- Unplug all cables: Once your computer is powered off, unplug all the cables connected to it, including the power cable, monitor cable, and any peripherals such as a keyboard or mouse. This will allow you to have easy access to the internals of your computer.
- Ground yourself: To protect your computer components from static electricity, it’s crucial to ground yourself. You can do this by either touching a grounded metal object or using an anti-static wrist strap. This step prevents any static discharge that can potentially damage the sensitive electronics.
- Open the computer case or external enclosure: Use the appropriate screwdriver to remove the screws that secure your computer case or external hard drive enclosure. Carefully slide or lift off the side panel to expose the internal components. Take note of any specific instructions provided by your computer case’s manufacturer.
By following these preparation steps, you’ll ensure a safe and efficient installation process. Properly powering off your computer, disconnecting cables, and grounding yourself will minimize the risk of any electrical damage. Opening the computer case or external enclosure will grant you access to the internal components, allowing you to proceed with the installation of the WD Blue 2TB Desktop Hard Disk Drive.
Now that you’ve prepared your computer, it’s time to move on to the next step: opening the computer case or external hard drive enclosure to begin the installation process.
Step 3: Open the computer case or external hard drive enclosure
With your computer prepared for the installation, the next step is to open the computer case or external hard drive enclosure. This will allow you to access the internal components and proceed with the installation of the WD Blue 2TB Desktop Hard Disk Drive. Follow these steps to open the case or enclosure:
- Locate the screws: Depending on your computer case or external enclosure, there may be screws securing the case or cover in place. Look for these screws, typically located on the back or side of the case.
- Use your screwdriver: Once you’ve located the screws, grab your screwdriver and carefully remove them. Make sure to keep the screws in a safe place, as you will need them later to secure the drive in place.
- Slide or lift off the case or cover: With the screws removed, you can now slide or lift off the computer case or external enclosure cover. Take caution not to force anything and ensure a smooth removal to avoid any damage to the components.
It’s important to note that the process of opening the computer case or external enclosure may vary depending on the specific model and manufacturer. If you are unsure about the exact steps for your device, refer to the manual or documentation provided by the manufacturer.
Once you have successfully opened the computer case or external hard drive enclosure, you are ready to proceed to the next step: locating the appropriate drive bay for the installation of the WD Blue 2TB Desktop Hard Disk Drive.
Step 4: Locate the appropriate drive bay
After successfully opening the computer case or external hard drive enclosure, the next step in installing the WD Blue 2TB Desktop Hard Disk Drive is to locate the appropriate drive bay. The drive bay is where the hard drive will be mounted securely. Follow these steps to find the appropriate drive bay:
- Inspect the internal components: Take a look inside the computer case or external enclosure and familiarize yourself with the internal components. Look for the existing hard drive(s) and any empty drive bays available.
- Identify the drive bay: Drive bays are usually located towards the front of the computer case or enclosure. They are typically rectangular slots that can accommodate the physical size of the WD Blue 2TB Desktop Hard Disk Drive.
- Check for mounting brackets: Some drive bays may have removable mounting brackets or sleds. These brackets are used to secure the hard drive in place and provide stability. If there are brackets present, check if they need to be removed to insert the new hard drive.
It’s important to note that the exact location and design of the drive bays may vary depending on the specific model and manufacturer of your computer case or external enclosure. If you’re having trouble locating the drive bay, refer to the manual or documentation provided by the manufacturer for guidance.
Once you have identified the appropriate drive bay, you’re ready to move on to the next step: mounting the WD Blue 2TB Desktop Hard Disk Drive securely in place.
Step 5: Mount the WD Blue 2TB Desktop Hard Disk Drive
With the appropriate drive bay identified, it’s time to mount the WD Blue 2TB Desktop Hard Disk Drive securely in place. Proper mounting ensures stability and prevents any movement or damage to the hard drive during operation. Follow these steps to mount the hard drive:
- Prepare the mounting brackets (if applicable): If the drive bay has removable mounting brackets or sleds, remove them if necessary, ensuring that you have enough space to insert the hard drive.
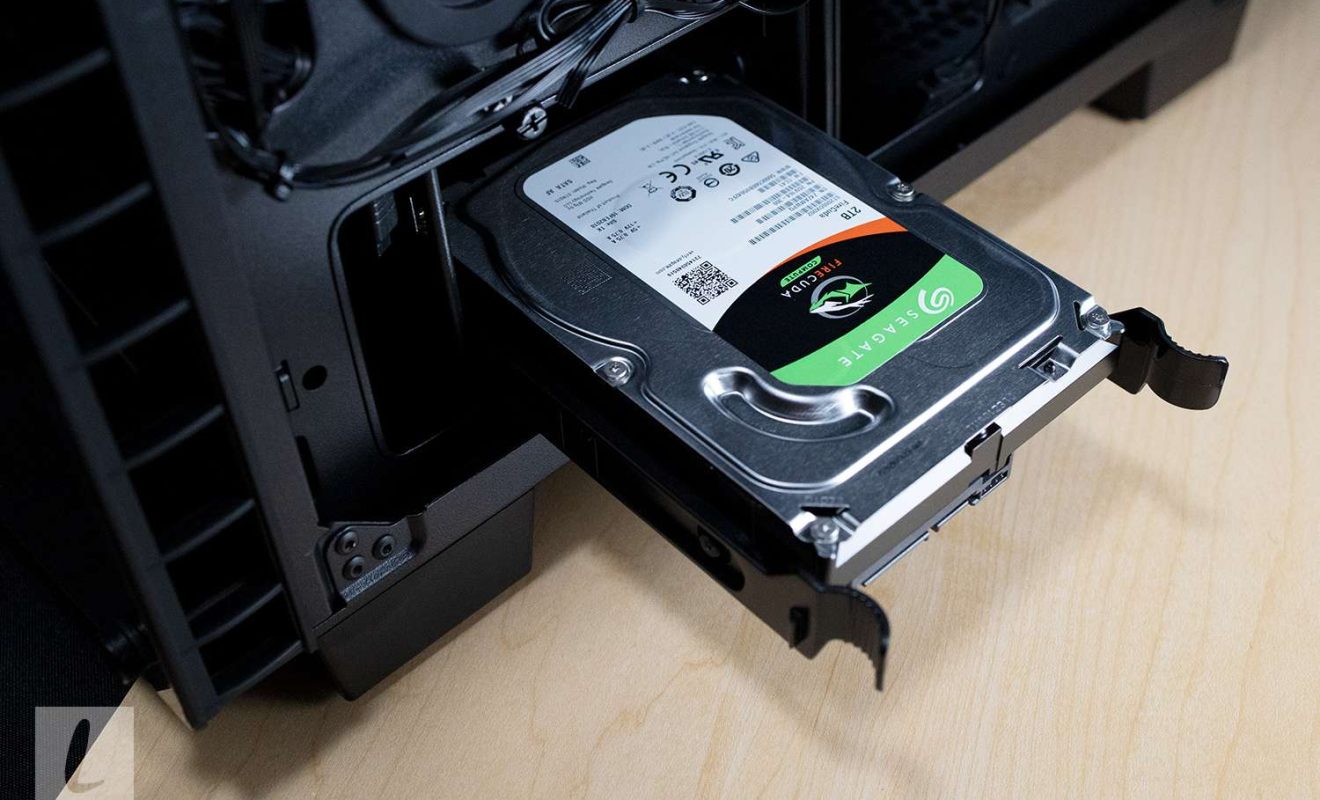
- Align the hard drive with the drive bay: Take the WD Blue 2TB Desktop Hard Disk Drive and align it with the open drive bay. Ensure that the connectors on the hard drive are facing towards the back of the computer case or the appropriate connectors on the external enclosure.
- Slide the hard drive into the bay: Carefully slide the hard drive into the drive bay, ensuring that it is fully inserted. Apply gentle pressure if needed, but avoid forcing the hard drive to prevent any damage.
- Secure the hard drive: If there are mounting brackets or sleds, carefully attach them to the hard drive to secure it in place. If your drive bay doesn’t have brackets, check if there are screws or other securing mechanisms provided with the case or enclosure. Use these to secure the hard drive firmly.
It’s important to handle the hard drive with care during this step to prevent any accidental drops or damage. Take your time to properly align and insert the hard drive into the drive bay, ensuring a secure and stable fit.
Once you have successfully mounted the WD Blue 2TB Desktop Hard Disk Drive, you can move on to the next step: connecting the necessary cables to complete the installation process.
Step 6: Connect the necessary cables
Now that you have securely mounted the WD Blue 2TB Desktop Hard Disk Drive in the drive bay, the next step in the installation process is to connect the necessary cables. Properly connecting the cables ensures that the hard drive is powered and recognized by your computer. Follow these steps to connect the cables:
- SATA data cable: Locate the SATA data cable, which is typically included with your motherboard or external enclosure. Connect one end of the cable to the SATA port on the back of the hard drive.
- SATA power cable: Locate a spare SATA power cable from your power supply unit (PSU) or use a SATA power splitter if needed. Connect one end of the SATA power cable to the corresponding power port on the hard drive.
Make sure to align the connectors properly and firmly push them into place. The SATA data cable usually has a small L-shaped connector, while the SATA power cable has a longer and straighter connector. Double-check the connections to ensure they are secure before proceeding.
If you are unsure about identifying the correct cables, refer to the documentation provided with your motherboard or external enclosure. It may also be helpful to consult the user manual for your specific device.
Once the necessary cables are connected, you can proceed to the next step: securing the hard drive in place to ensure it stays in position during operation.
Step 7: Secure the drive in place
After connecting the necessary cables to the WD Blue 2TB Desktop Hard Disk Drive, the next step is to secure the drive in place within the drive bay. Properly securing the drive ensures that it remains stable and prevents any movement during operation. Follow these steps to secure the drive:
- Check for any screws: If your drive bay or mounting brackets have screw holes, locate the appropriate screws that fit the holes.
- Align the screws: Align the screw holes on the drive with the corresponding holes in the drive bay or mounting brackets.
- Tighten the screws: Use a screwdriver to tighten the screws gently, ensuring that they are snug but not overly tight. Be careful not to strip the screw holes or overtighten the screws.
By securely fastening the screws, you’ll ensure that the WD Blue 2TB Desktop Hard Disk Drive remains in place and reduces any potential vibrations or movement during operation.
If your drive bay or enclosure does not have screw holes, make sure to follow any alternative securing methods provided by the manufacturer. Some cases may include tool-less mechanisms or other securing mechanisms that do not require screws.
Once you have successfully secured the drive in place, you can proceed to the next step: closing the computer case or external enclosure.
Step 8: Close the computer case or external enclosure
With the WD Blue 2TB Desktop Hard Disk Drive securely mounted and the necessary cables connected, the next step is to close the computer case or external enclosure. Properly closing the case or enclosure protects your components from dust, debris, and accidental damage. Follow these steps to close the case or enclosure:
- Align the case or enclosure: Ensure that the side panel or cover is aligned properly with the rest of the case or enclosure.
- Slide or push the panel into place: Slide or push the side panel or cover back into its original position. Apply gentle pressure to ensure it fits snugly.
- Secure the panel: If there are screws, use the appropriate screwdriver to tighten them and secure the panel in place. Make sure the screws are tightened enough to hold the panel securely but not too tight to cause damage.
It’s important to ensure that the case or enclosure is closed correctly to prevent any accidental damage or exposure of the internal components. Take your time to properly align and secure the panel, ensuring a proper fit.
If you’re installing the hard drive in an external enclosure, make sure to follow the specific instructions provided by the manufacturer. Some enclosures may have different mechanisms for closing and securing the drive inside.
With the case or enclosure closed, you have successfully completed the installation of the WD Blue 2TB Desktop Hard Disk Drive. You can now proceed to the final step: powering on your computer and checking for drive detection.
Step 9: Power on your computer and check for detection
Now that you have closed the computer case or external enclosure, it’s time to power on your computer and ensure that the WD Blue 2TB Desktop Hard Disk Drive is detected correctly. Follow these steps to power on your computer and check for drive detection:
- Reconnect all cables: Double-check that all cables, including the power cable and any peripherals, are securely connected to your computer.
- Plug in your computer: Connect the power cable to your computer and plug it into a power outlet.
- Power on your computer: Press the power button on your computer to turn it on.
- Check drive detection: During the computer’s startup process, keep an eye on the screen for any messages related to drive detection. Your computer may display information about the newly installed hard drive.
- Access the operating system: Once your computer has started up, access your computer’s operating system, whether it’s Windows, macOS, or Linux.
- Open disk management (if necessary): If the newly installed hard drive is not automatically recognized, you may need to open the disk management utility, which allows you to view and manage your computer’s storage devices. Instructions for accessing disk management vary depending on the operating system you’re using.
- Format the hard drive (if necessary): If the hard drive appears in disk management but is not yet usable, you may need to format it before you can begin using it. Follow the instructions provided by your operating system to format the hard drive.
By following these steps, you’ll ensure that the newly installed WD Blue 2TB Desktop Hard Disk Drive is correctly detected by your computer’s operating system. It’s essential to check for drive detection and, if required, format the drive before you can begin using it for storing files and data.
Congratulations! You have successfully completed the installation of the WD Blue 2TB Desktop Hard Disk Drive. Enjoy the additional storage capacity and enhanced performance it provides for your computing needs.
Conclusion
Congratulations on successfully installing the WD Blue 2TB Desktop Hard Disk Drive! By following the step-by-step guide outlined in this article, you have added valuable storage space to your computer or external enclosure. The WD Blue 2TB hard drive offers ample storage capacity and high-speed performance, making it an excellent choice for both professional and casual users.
Throughout the installation process, we covered essential steps, including gathering the necessary tools, preparing your computer, opening the case or enclosure, locating the drive bay, mounting the hard drive, connecting the cables, securing the drive in place, closing the case or enclosure, and finally powering on your computer to check for drive detection. By carefully following these steps, you have ensured a safe and efficient installation.
Remember to double-check the connections and verify that the hard drive is detected by your computer’s operating system. If necessary, format the drive using the disk management utility provided by your operating system. This will ensure that your newly installed hard drive is ready to be utilized for storing files, documents, photos, videos, and other data.
We hope that this guide has been helpful in assisting you with the installation process of the WD Blue 2TB Desktop Hard Disk Drive. Should you encounter any difficulties or have further questions, refer to the documentation provided by the manufacturer or seek assistance from a professional. Enjoy your expanded storage capacity and the benefits of the WD Blue 2TB hard drive!