Introduction
Are you a fan of unique and delightful ice cream flavors? If so, you’re in for a treat! In this article, we will show you how to make delicious violet ice cream without the need for an ice cream maker. This whimsical flavor is both visually appealing and incredibly tasty, making it a perfect choice for those looking to experiment with homemade ice cream.
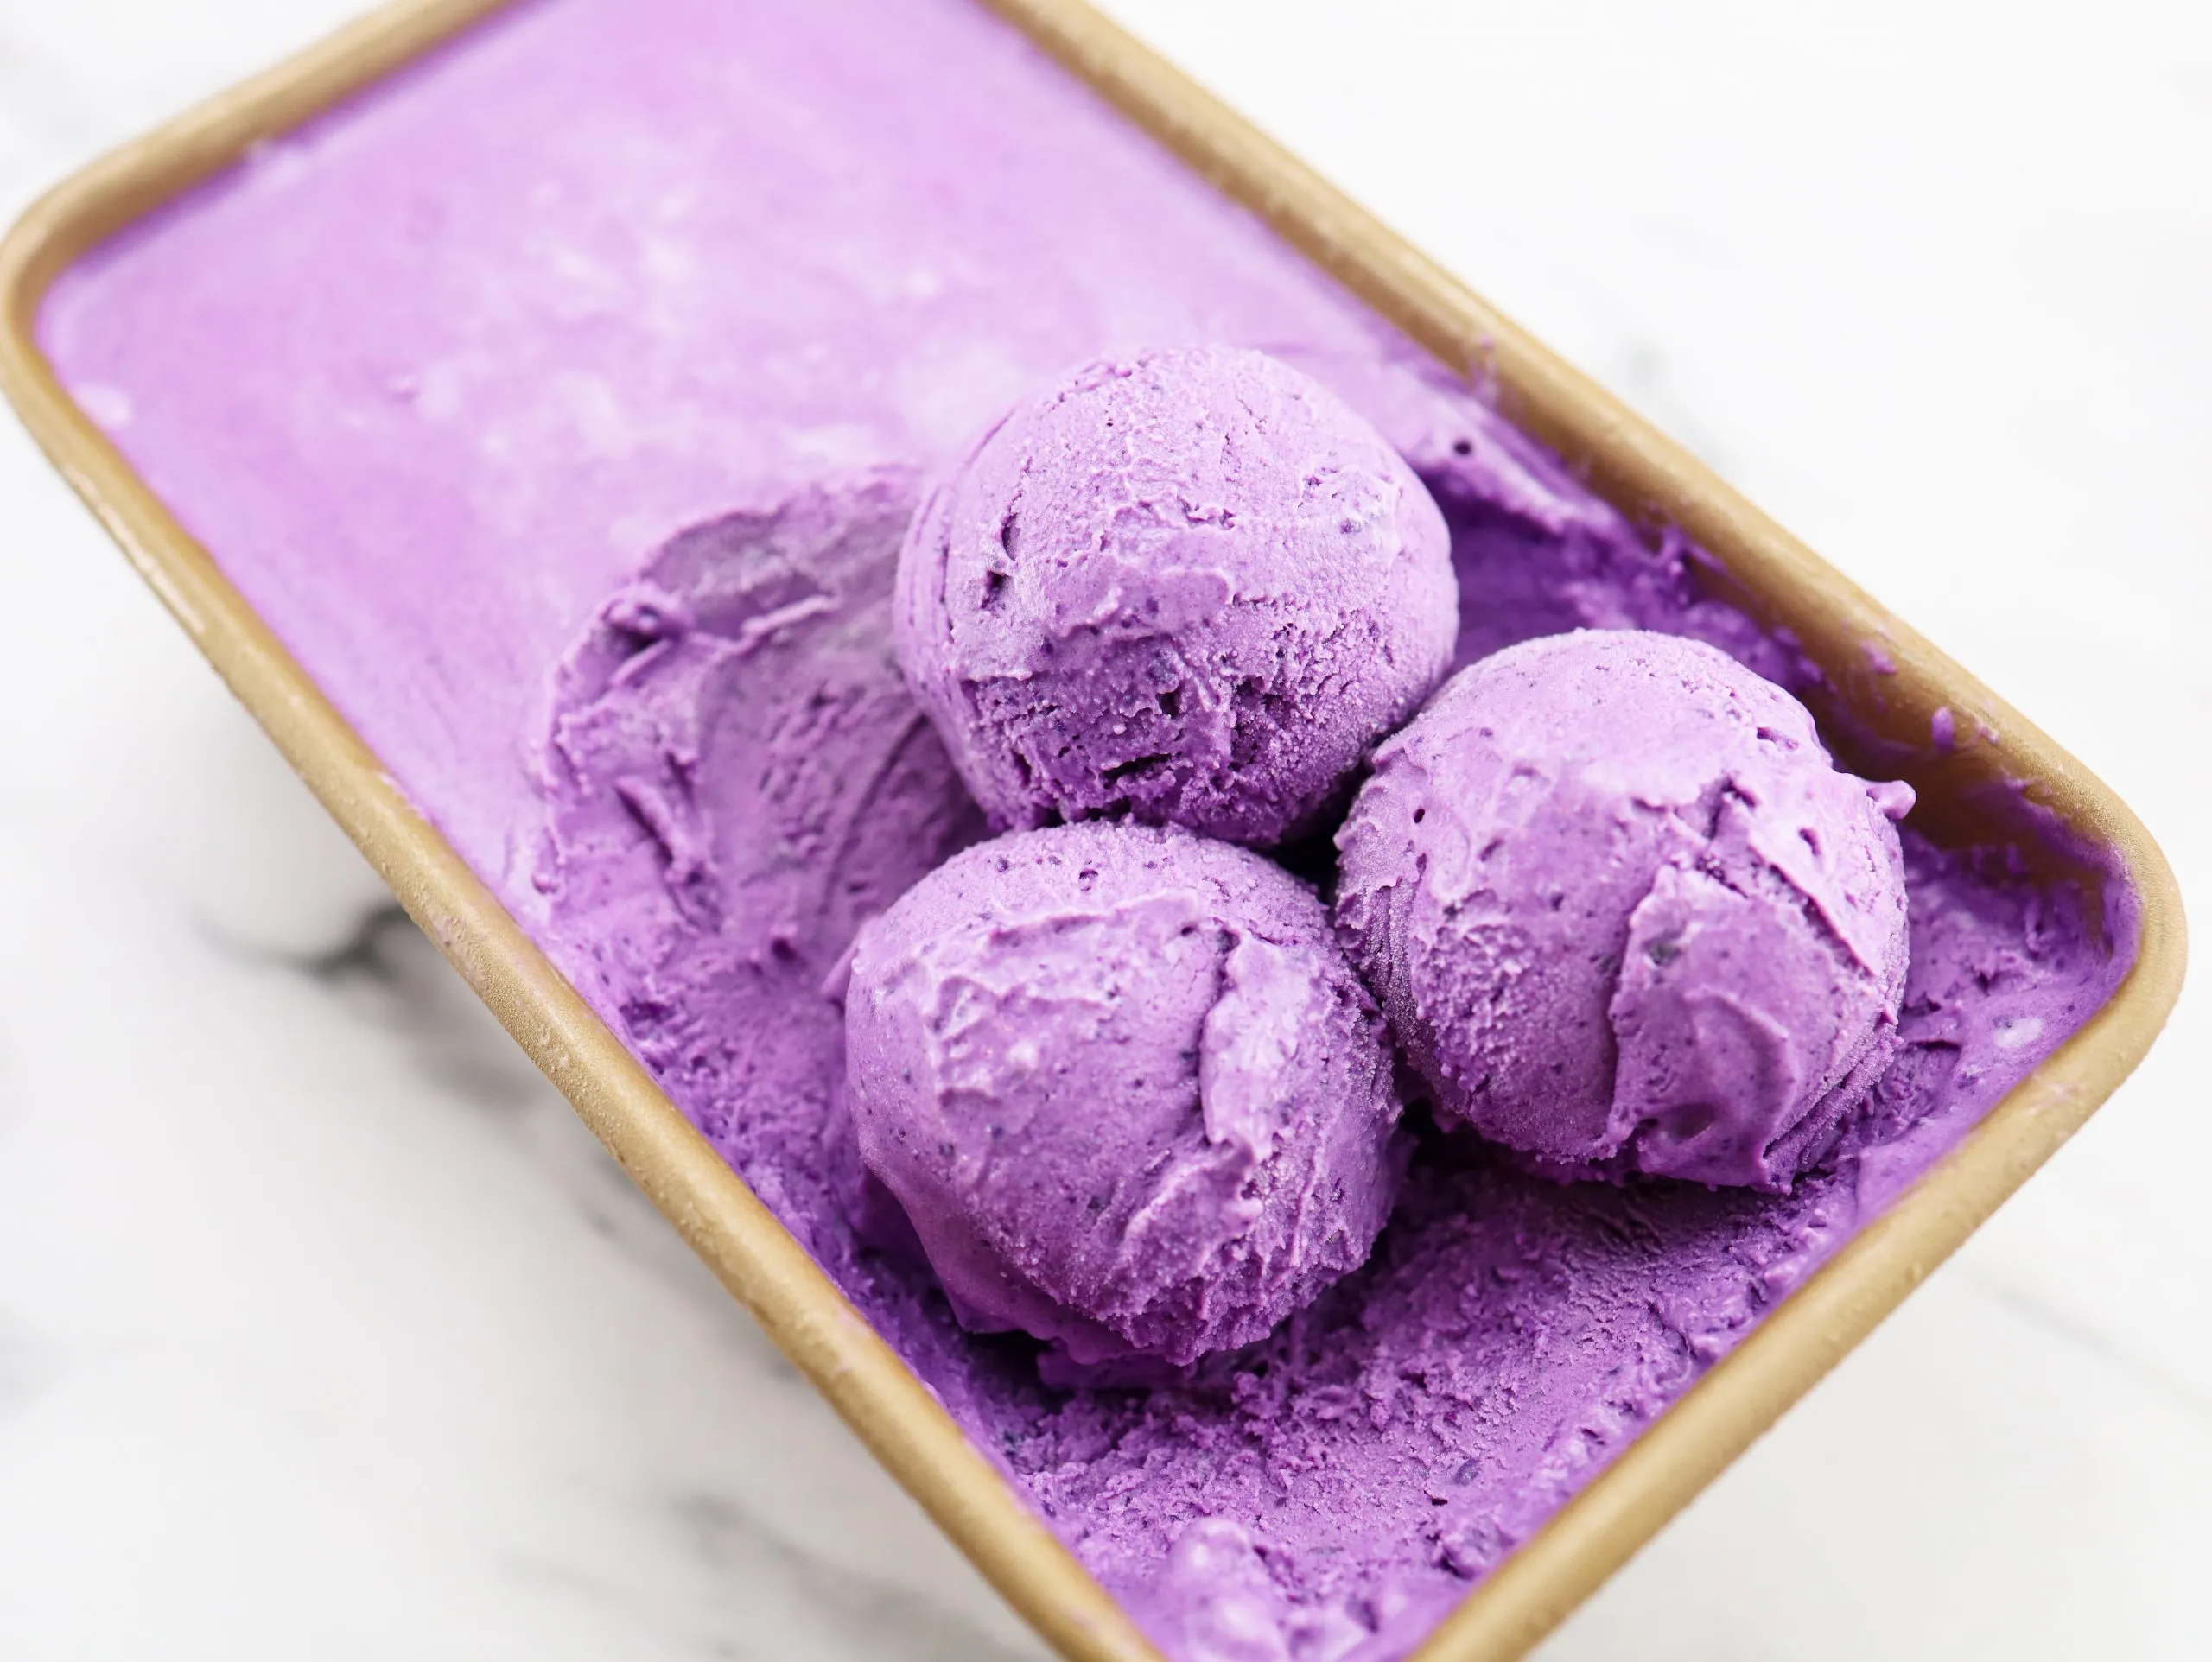
Known for its vibrant purple color and delicate floral aroma, violet is a captivating ingredient that adds a touch of elegance to any dessert. Although violet ice cream may seem like a complicated treat to make, with the right technique and ingredients, you can easily create a creamy and flavorful treat that will surprise and delight your taste buds.
Unlike traditional ice cream recipes that rely on expensive equipment and specialized techniques, our method requires just a few simple steps and basic ingredients. You don’t need to own an ice cream maker or have any prior experience in ice cream making to achieve fantastic results.
So, whether you’re looking to impress your family and friends or simply indulge in a unique homemade treat, this violet ice cream recipe is the perfect choice. Join us as we guide you through each step, from infusing the cream with violet flavor to freezing it into a luscious ice cream that will make your taste buds dance with joy.
Ingredients
Before we dive into the process of making violet ice cream without an ice cream maker, let’s take a look at the ingredients you will need:
- 2 cups of heavy cream
- 1 cup of whole milk
- 1/2 cup of granulated sugar
- 1 teaspoon of vanilla extract
- 1/2 teaspoon of violet extract (can be found at specialty stores or online)
- 1/4 teaspoon of salt
- 2-3 drops of purple food coloring (optional, for enhancing the color)
These simple and easily accessible ingredients will come together to create a delightful base for our violet ice cream. The heavy cream and whole milk will contribute to the creamy texture, while the sugar will add sweetness and balance to the floral flavor. The vanilla extract will enhance the overall taste, and the violet extract will bring that distinctive violet aroma.
As for the optional purple food coloring, it can be used if you desire a more vibrant and intense shade of purple in your violet ice cream. However, if you prefer a more subtle color, you can omit it from the recipe.
With these ingredients gathered and ready, let’s move on to the next steps of creating our homemade violet ice cream. Get your mixing bowls and measuring spoons ready, as we embark on this delicious journey together!
Step 1: Making the Violet Infused Cream
The first step in creating our decadent violet ice cream is to infuse the cream with the delicate floral flavor of violets. This can be done by heating the cream on the stovetop and adding violet petals. Here’s how you can do it:
- In a medium-sized saucepan, combine the heavy cream and whole milk. Place it over medium heat and warm the mixture until small bubbles start to form around the edges. Be careful not to let it boil.
- Once the mixture is heated, remove it from the stove and add the violet petals. You can use fresh or dried petals, whichever is more convenient for you. Make sure to use petals that are free from any pesticides or chemicals.
- Cover the saucepan with a lid and let the cream steep for about 30 minutes. This will allow the violets to infuse their flavor into the cream.
- After the steeping time has passed, strain the cream using a fine mesh sieve or cheesecloth to remove the violet petals. This will ensure a smooth and velvety texture for our ice cream base.
Once the violet-infused cream is ready, it’s time to move on to the next step – preparing the violet syrup. Remember to keep the infused cream in the refrigerator until needed, as we want it to be chilled when we mix it with the syrup. Get ready to experience the enchanting aroma and flavor of violets in every spoonful of the final product!
Step 2: Preparing the Violet Syrup
To add an extra burst of violet flavor to our ice cream, we will be creating a delightful violet syrup. This syrup will not only enhance the taste but also contribute to the vivid purple color of the final product. Here’s how you can prepare the violet syrup:
- In a small saucepan, combine 1/4 cup of granulated sugar and 1/4 cup of water. Stir until the sugar dissolves and the mixture comes to a simmer over medium heat.
- Add 1/4 teaspoon of violet extract to the sugar-water mixture. The violet extract will intensify the floral flavor and aroma.
- Continue heating the mixture for another 2-3 minutes, until it thickens slightly and becomes syrupy.
- Remove the saucepan from the heat and let the violet syrup cool completely. This will allow it to thicken further and develop a more concentrated violet flavor.
Once the violet syrup has cooled down, it’s ready to be incorporated into our ice cream base. The combination of the violet-infused cream and the vibrant violet syrup is what makes this homemade ice cream truly unique and irresistible. Get ready to take the next step towards creating a mouthwatering frozen treat!
Step 3: Mixing the Cream and Syrup
With the violet-infused cream and the aromatic violet syrup ready, it’s time to bring them together and create the base for our violet ice cream. This step involves combining the cream and syrup to achieve a harmonious blend of flavors. Here’s what you need to do:
- In a mixing bowl, pour the chilled violet-infused cream.
- Add the cooled violet syrup to the cream. Start with a small amount and taste as you go, adjusting the quantity to your desired level of sweetness and violet flavor. Remember, you can always add more syrup if needed, but you can’t take it away once it’s mixed in.
- Whisk the cream and syrup together until well combined. You should see a beautiful purple hue develop as the syrup blends with the cream.
- If you prefer a more vibrant purple color, you can add a few drops of purple food coloring at this stage. However, this is entirely optional, and the ice cream will still have a lovely violet color without it.
Once the cream and syrup are thoroughly mixed, you have successfully created the base for your violet ice cream. The combination of the violet-infused cream and the flavorful syrup will provide a decadent taste and a stunning visual appeal when frozen. Get ready for the next step, where we turn this luscious mixture into a frozen delight!
Step 4: Freezing the Ice Cream
Now that the violet ice cream base is prepared, it’s time to transform it into a delightful frozen treat. This step involves freezing the mixture to achieve that creamy texture we all love in ice cream. Here’s how you can do it:
- Transfer the violet ice cream base into a shallow container or a loaf pan. Make sure to leave some space at the top to allow for expansion as it freezes.
- Cover the container tightly with a lid or plastic wrap to prevent any unwanted flavors or freezer burn.
- Place the container in the freezer and let it freeze for at least 4-6 hours, or until the ice cream is firm and scoopable. It’s best to leave it overnight for optimal results.
- If possible, give the ice cream a quick stir every hour or so during the first few hours of freezing. This will help prevent ice crystals from forming and will result in a smoother texture.
After the required freezing time has elapsed, your violet ice cream should be ready to enjoy. The creamy texture, combined with the delicate floral flavor of violets, will make every spoonful a delightful experience. However, if you prefer a firmer consistency, you can leave the ice cream in the freezer for a few more hours.
Now that the ice cream is frozen, it’s time to move on to the final step – serving and enjoying your delicious homemade violet ice cream!
Step 4: Serving and Enjoying
The moment has finally arrived to savor the fruits of your labor and indulge in a scoop of homemade violet ice cream. Here’s how you can serve and enjoy this delightful frozen treat:
- Remove the container of frozen violet ice cream from the freezer and let it sit at room temperature for a few minutes to soften slightly. This will make it easier to scoop.
- Using an ice cream scoop, scoop out the desired amount of violet ice cream into serving bowls or cones.
- If you’re feeling adventurous, you can garnish your violet ice cream with a sprinkle of edible violet petals or a drizzle of violet syrup. This will not only add to the visual appeal but also intensify the floral aroma.
- Grab a spoon and dig into the creamy goodness of your homemade violet ice cream. Allow yourself to savor the unique taste and indulge in the delicate floral notes that make this ice cream truly special.
Whether you enjoy it on a hot summer day or as a delightful dessert after a delicious meal, this homemade violet ice cream is sure to impress. Share it with friends and family, or simply savor it by yourself as a well-deserved treat. Make sure to store any leftovers in the freezer, tightly covered, for future enjoyment.
Now that you have mastered the art of making violet ice cream without an ice cream maker, you can continue experimenting with different flavors and techniques to create your own signature frozen delights. Enjoy the sweet satisfaction of crafting unique homemade ice cream from scratch, and let your creativity run wild!