Introduction
Ice cream lovers rejoice! There’s nothing quite like the creamy, indulgent goodness of a homemade salted caramel ice cream. The perfect combination of sweet caramel and a hint of salt creates a flavor profile that is simply irresistible. While you can easily find salted caramel ice cream in stores, there’s something special about making it from scratch in the comfort of your own home.
In this article, we’ll walk you through the step-by-step process of making salted caramel ice cream using an ice cream maker. You’ll learn how to make the salted caramel sauce, prepare the ice cream base, churn the ice cream to perfection, and incorporate the rich caramel flavor. So, put on your apron and get ready to embark on a delicious ice cream-making adventure!
By making your own salted caramel ice cream, you have complete control over the quality of ingredients and can customize it to suit your preferences. So, whether you prefer a pronounced salted caramel flavor or a subtle hint of salt, you can tailor the recipe to your liking. Plus, making the salted caramel sauce from scratch ensures a deep, rich caramel flavor that will take your ice cream to the next level.
Not only will this homemade version save you money compared to buying premium ice cream brands, but it will also give you the satisfaction of creating a truly artisanal dessert that will impress family and friends. So, whether you’re planning a summer gathering, a cozy night in, or simply want to treat yourself, this salted caramel ice cream recipe is sure to hit the spot.
Ready to indulge in a creamy, salted caramel delight? Let’s get started with the essential ingredients you’ll need for this ice cream-making adventure!
Ingredients
Making homemade salted caramel ice cream requires a handful of simple, yet important, ingredients. Here’s what you’ll need:
- 1 cup granulated sugar
- 6 tablespoons unsalted butter
- 1/2 cup heavy cream
- 1 teaspoon sea salt
- 2 cups whole milk
- 1 cup heavy cream
- 3/4 cup granulated sugar
- 4 large egg yolks
- 2 teaspoons pure vanilla extract
The first set of ingredients is for the salted caramel sauce, which will infuse the ice cream with its irresistible flavor. Granulated sugar, unsalted butter, heavy cream, and sea salt are all you need to make this delectable sauce that will elevate your ice cream to new heights.
The second set of ingredients forms the ice cream base. Whole milk, heavy cream, granulated sugar, egg yolks, and vanilla extract come together to create a luscious and smooth ice cream mixture that will churn into a dreamy dessert.
Make sure to use high-quality ingredients for the best results. Fresh eggs, pure vanilla extract, and a high-fat content in the dairy products will contribute to a rich and creamy texture in your final ice cream.
Now that you have everything you need, it’s time to gather the necessary equipment to turn these ingredients into a delectable treat. Let’s move on to the next section to find out what you’ll need!
Equipment Needed
To successfully make salted caramel ice cream at home, you’ll need a few essential pieces of equipment. Here’s what you’ll need:
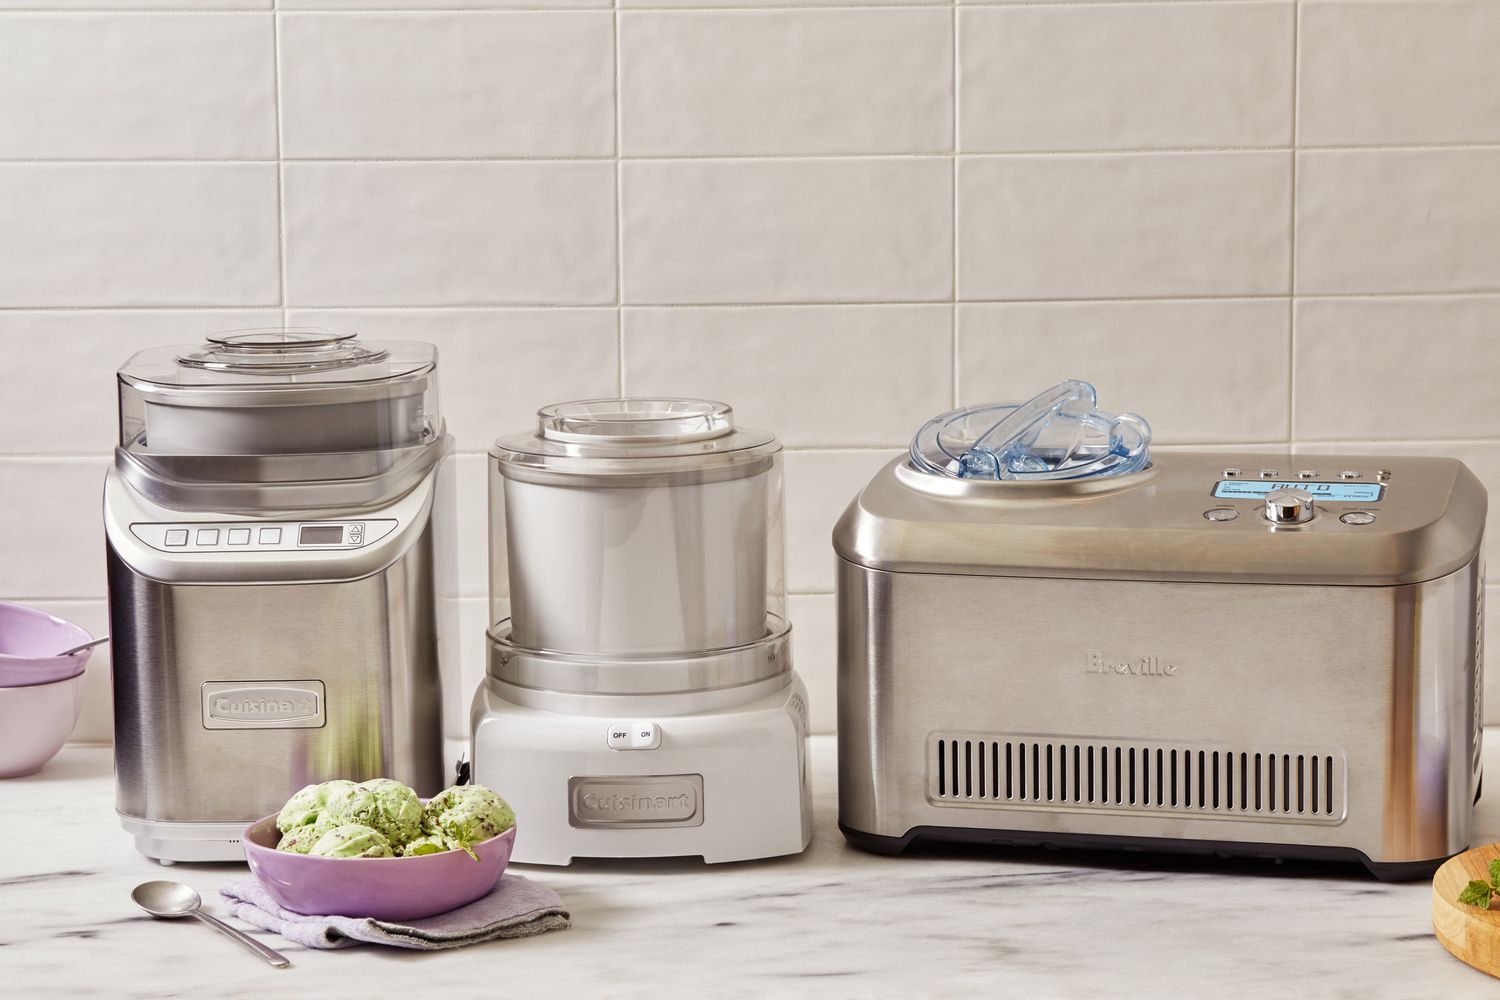
- Ice cream maker: This is the star of the show! An ice cream maker is necessary to churn and freeze the ice cream base, creating that smooth and creamy texture we all love. There are various types of ice cream makers available, including electric and manual options. Choose one that suits your preferences and budget.
- Saucepan: A medium-sized saucepan will be used to make the salted caramel sauce. Make sure it has enough capacity to accommodate the ingredients and allow for stirring without overflowing.
- Whisk: A whisk is essential for combining and whisking the ingredients together. It will be used to whisk the salted caramel sauce and the ice cream base.
- Heatproof spatula or wooden spoon: A heatproof spatula or wooden spoon will come in handy when making the salted caramel sauce. It will help you stir and combine the ingredients in the saucepan, ensuring a smooth and even consistency.
- Bowl and plastic wrap: After churning the ice cream, you will need a bowl to transfer it into for freezing. Cover the bowl tightly with plastic wrap to prevent ice crystals from forming on the surface of the ice cream.
- Ice cream storage container: To store any leftover ice cream or to keep the ice cream for future enjoyment, you’ll need a suitable storage container. Look for an airtight container that will keep the ice cream fresh and prevent any freezer odors from seeping in.
Having these essential pieces of equipment on hand will ensure a smooth and enjoyable ice cream-making process. Before you start, make sure your ice cream maker is clean and in good working condition. Read the manufacturer’s instructions for any specific recommendations or precautions.
Now that you have your ingredients and equipment ready, it’s time to dive into the step-by-step process of making salted caramel ice cream. Let’s move on to the next section to learn how to make the luscious salted caramel sauce!
Step 1: Making the Salted Caramel Sauce
Get ready to unleash the sweet and salty flavor of salted caramel by making your own sauce. Follow these steps:
- In a medium-sized saucepan, heat the granulated sugar over medium heat. Stir continuously using a heatproof spatula or wooden spoon until the sugar melts and turns into a smooth amber-colored liquid.
- Once the sugar has completely melted, add the unsalted butter to the saucepan. Be cautious as the mixture may bubble and sizzle. Continue stirring until the butter has fully melted and is well combined with the caramelized sugar.
- Gradually pour in the heavy cream while stirring constantly. The mixture will bubble up again, so be careful. Stir until the cream is fully incorporated and the sauce becomes smooth and creamy.
- Remove the saucepan from the heat and stir in the sea salt. The salt adds a subtle, but important, savory note that balances the sweetness of the caramel. Adjust the amount of salt to your taste preference.
- Allow the salted caramel sauce to cool for a few minutes in the saucepan, then transfer it to a heatproof container. Let it cool completely before using it in the ice cream base.
The salted caramel sauce can be made ahead of time and stored in the refrigerator until you’re ready to incorporate it into the ice cream. It will thicken as it cools and can be warmed slightly before use if needed. The richness and depth of flavor in the homemade salted caramel sauce will infuse your ice cream with indulgence.
Now that the salted caramel sauce is ready, let’s move on to preparing the ice cream base in the next step.
Step 2: Preparing the Ice Cream Base
With the salted caramel sauce in hand, it’s time to move on to preparing the ice cream base. Follow these steps to create the creamy foundation for your salted caramel ice cream:
- In a medium-sized saucepan, combine the whole milk and 1 cup of heavy cream. Heat the mixture over medium heat until it starts to steam, but avoid bringing it to a boil.
- In a separate bowl, whisk together the granulated sugar and egg yolks until well combined.
- Slowly pour a small amount of the hot milk mixture into the bowl with the egg yolks and sugar, whisking continuously. This step, known as tempering, prevents the eggs from curdling when added to the hot liquid.
- Pour the tempered egg mixture back into the saucepan with the remaining milk mixture, whisking constantly.
- Continue cooking the mixture over medium-low heat, stirring constantly with a wooden spoon or heatproof spatula, until it thickens enough to coat the back of the spoon. This usually takes around 8-10 minutes.
- Once the ice cream base has thickened, remove the saucepan from the heat and stir in the pure vanilla extract. This adds a delightful aroma and enhances the overall flavor of the ice cream.
- Transfer the ice cream base to a container or bowl and cover it with plastic wrap. Make sure the plastic wrap is directly in contact with the surface of the mixture to prevent a skin from forming.
- Refrigerate the ice cream base for at least 4 hours or overnight, allowing it to chill completely. This step is crucial for the ice cream to churn properly in the following steps.
By following these steps, you’ll create a smooth and creamy ice cream base that provides the perfect canvas for the luscious salted caramel sauce. The chilled base will also shorten the churning time and result in a creamier texture for your homemade ice cream.
Now that your ice cream base is ready, it’s time to move on to the exciting step of churning the ice cream!
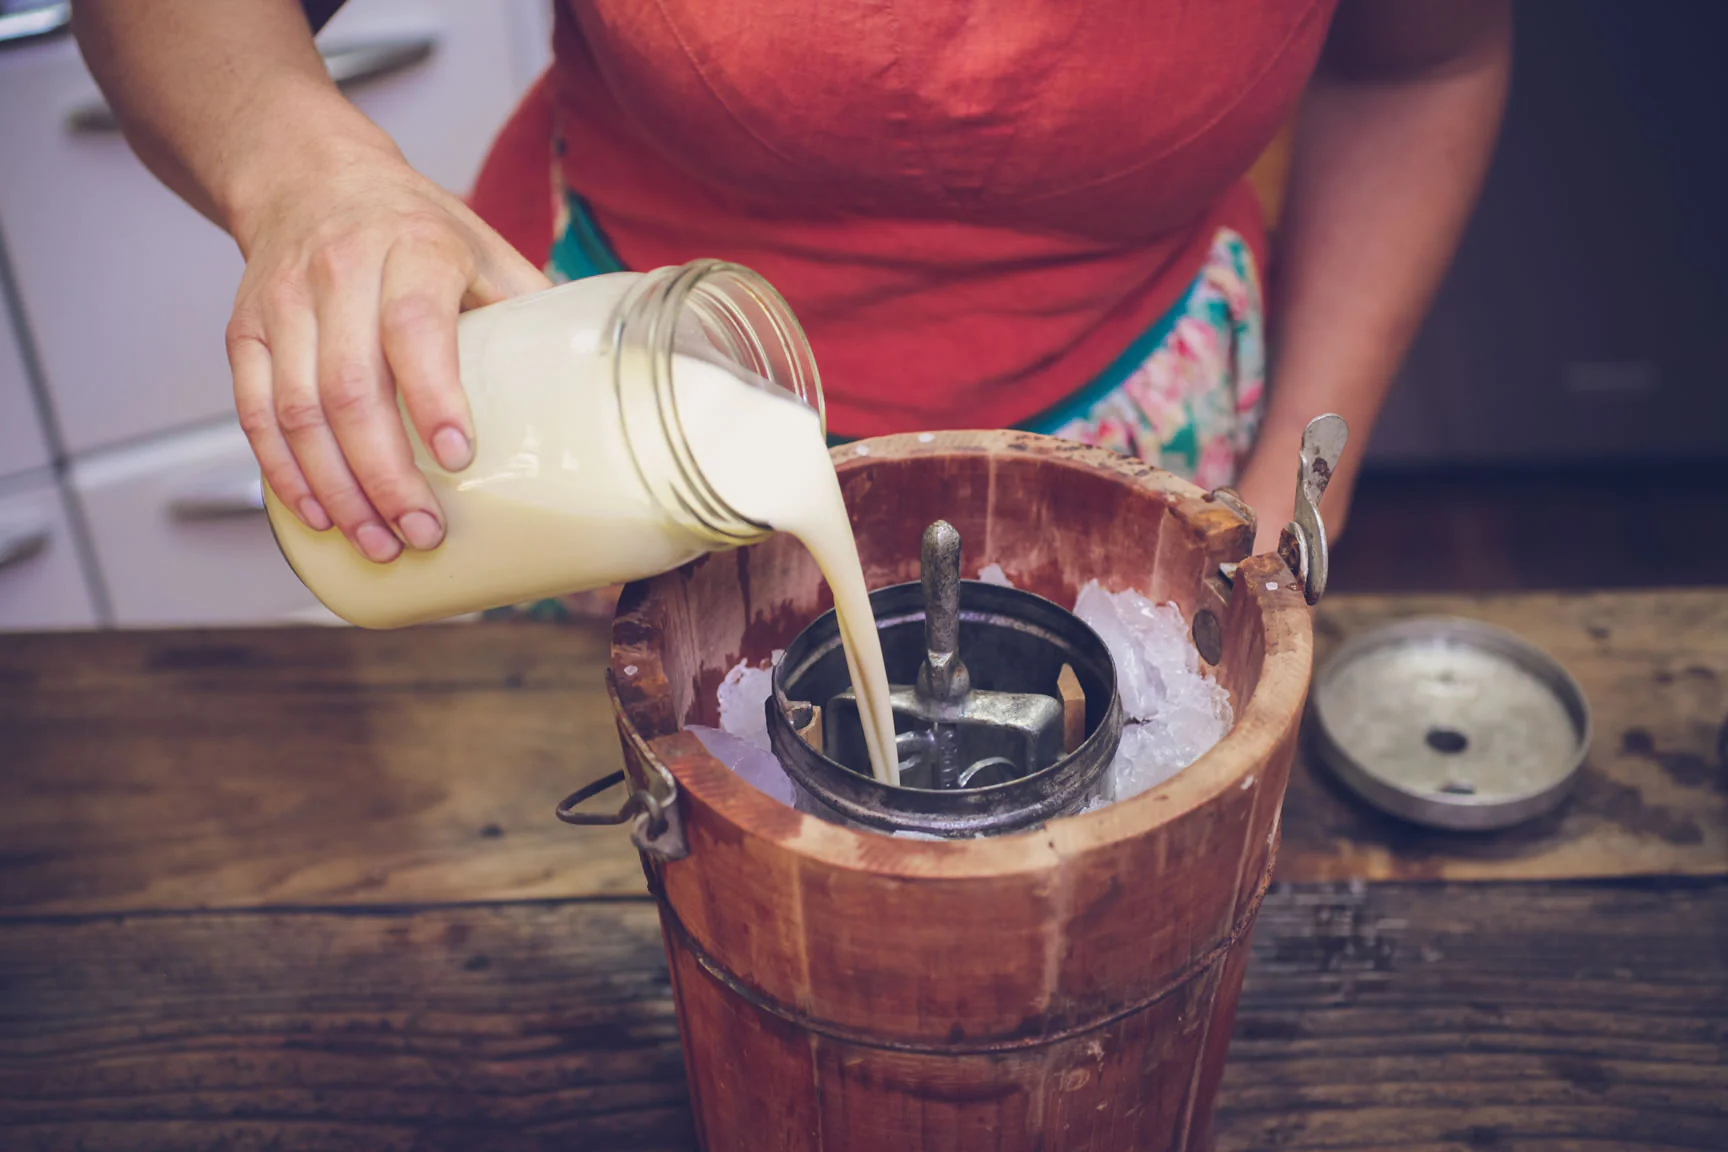
Step 3: Churning the Ice Cream
Now comes the fun part – churning the ice cream! This step will transform the ice cream base into a smooth and creamy treat. Here’s how to go about it:
- Remove the chilled ice cream base from the refrigerator.
- Set up your ice cream maker according to the manufacturer’s instructions. Make sure the freezer bowl is properly frozen, as this is essential for achieving the desired consistency of the ice cream.
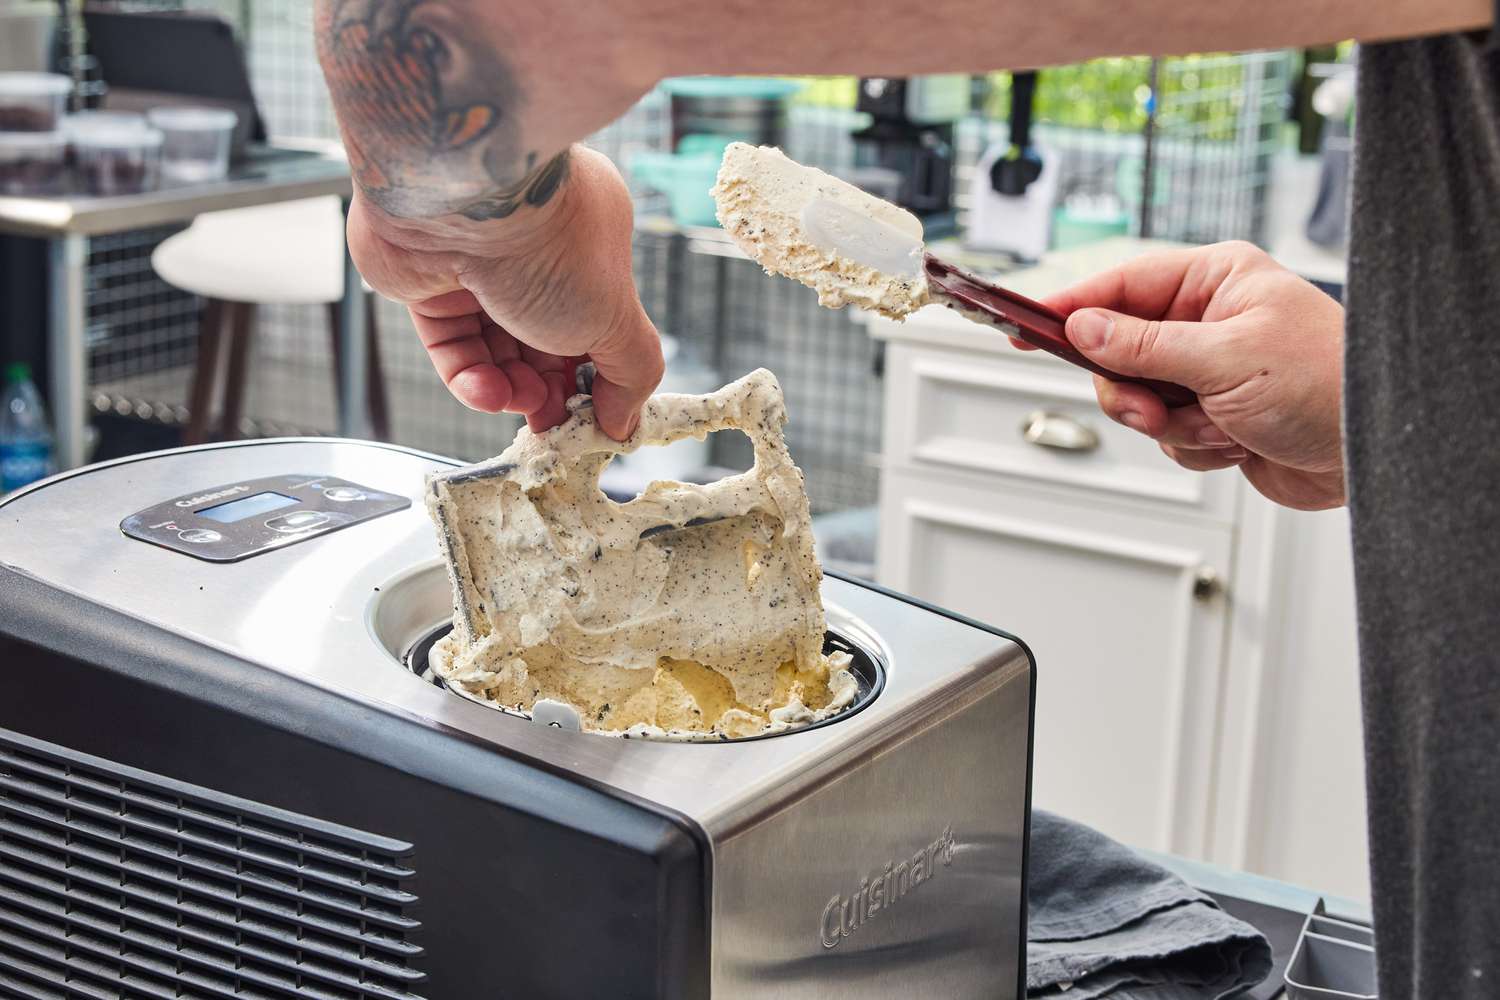
- Pour the ice cream base into the ice cream maker and turn it on. Let it churn for the recommended time, typically about 20-30 minutes. During this time, the mixture will thicken and freeze, gradually taking on the texture of ice cream.
- While the ice cream is churning, prepare a container or bowl to transfer the freshly churned ice cream into.
- Once the ice cream reaches a soft-serve consistency, it is ready to be transferred to the container. If desired, you can now add in mix-ins like chopped nuts or chocolate chips, but we will focus on adding the salted caramel sauce in the next step.
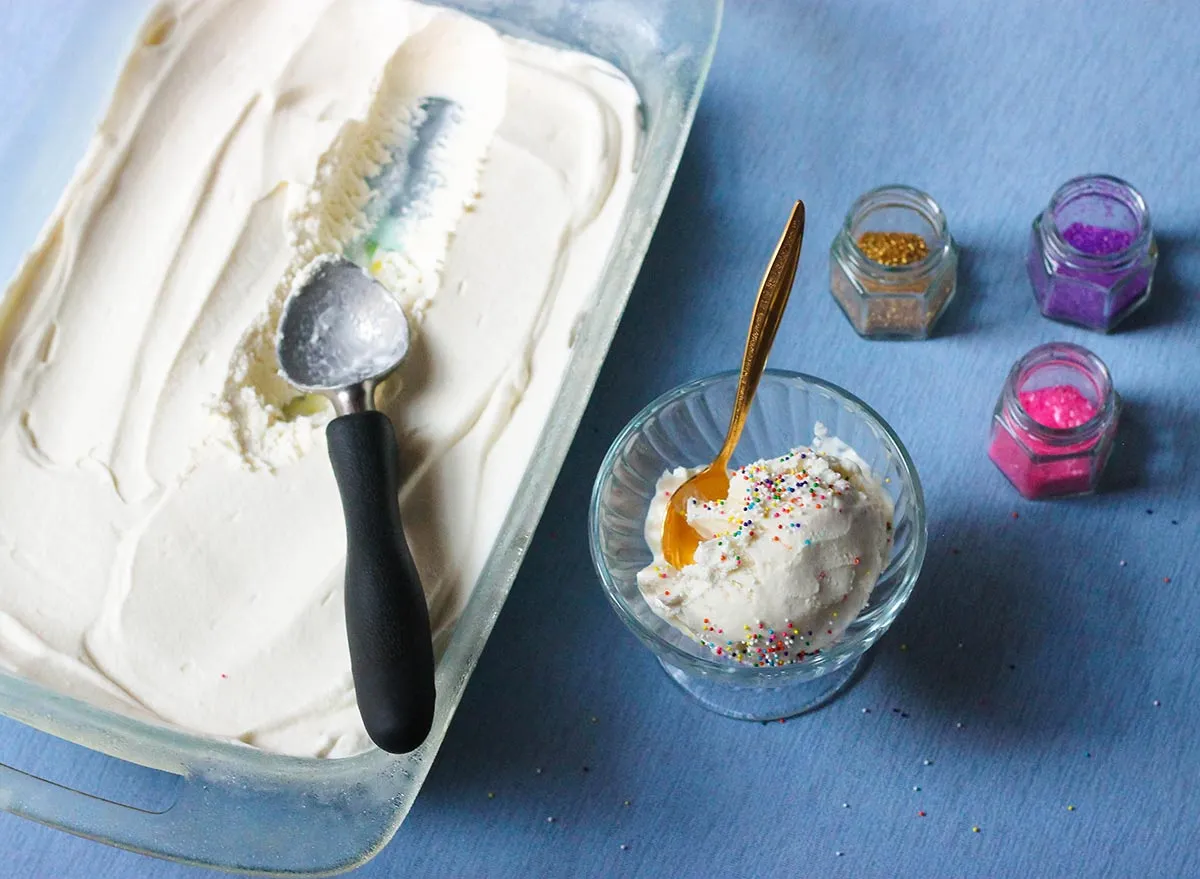
- Remove the salted caramel sauce from the refrigerator and give it a gentle stir to soften it slightly. Using a spoon or a spatula, swirl in the salted caramel sauce into the churned ice cream. Avoid overmixing to create ribbons of caramel throughout the ice cream.
- Once the salted caramel sauce is incorporated, quickly transfer the ice cream into the prepared container. Smooth the top with a spatula and cover it tightly with a lid or plastic wrap to prevent freezer burn.
- Place the container in the freezer and allow the ice cream to firm up for at least 4-6 hours or until it reaches the desired scoopable consistency.
Churning the ice cream not only freezes it but also adds air to the mixture, resulting in a light and creamy texture. The addition of the salted caramel sauce will create pockets of irresistible caramel swirls throughout the ice cream.
Now that the ice cream is in the freezer, all that’s left to do is patiently wait for it to freeze. Once it’s properly set, you can indulge in a generous scoop or two of your homemade salted caramel ice cream.
In the next step, we’ll learn about freezing and storing the ice cream for long-lasting enjoyment.
Step 4: Adding the Salted Caramel Sauce
Now that you have your ice cream nicely churned, it’s time to take it to the next level by adding the heavenly salted caramel sauce. Follow these steps to create a delectable caramel swirl throughout your homemade ice cream:
- Remove the salted caramel sauce from the refrigerator and give it a gentle stir to ensure it is smooth and pourable.
- Scoop a portion of the churned ice cream into a large bowl or container.
- Drizzle a generous amount of the salted caramel sauce over the ice cream. Aim for even distribution throughout the container.
- Using a spoon or spatula, gently swirl the salted caramel sauce into the ice cream. Be careful not to overmix; the goal is to create beautiful ribbons of caramel throughout.
- Repeat this process, layering the ice cream and salted caramel sauce until all the ice cream and caramel sauce are used.
- To achieve larger caramel swirls, you can dollop spoonfuls of the salted caramel sauce directly onto the layers of ice cream and lightly swirl them in.
- Once you’ve added and swirled in all the salted caramel sauce, smooth the top with a spatula or back of a spoon.
- Cover the container tightly with a lid or plastic wrap, ensuring it is airtight to prevent freezer burn.
Adding the salted caramel sauce to the churned ice cream creates pockets of rich and gooey caramel throughout, resulting in an irresistible flavor combination. The swirls of caramel add a visual appeal that makes the ice cream even more inviting.
With the salted caramel sauce incorporated, your homemade ice cream is now ready to be frozen and enjoyed at its finest. In the next step, we’ll discuss how to freeze and store your ice cream for long-lasting indulgence.
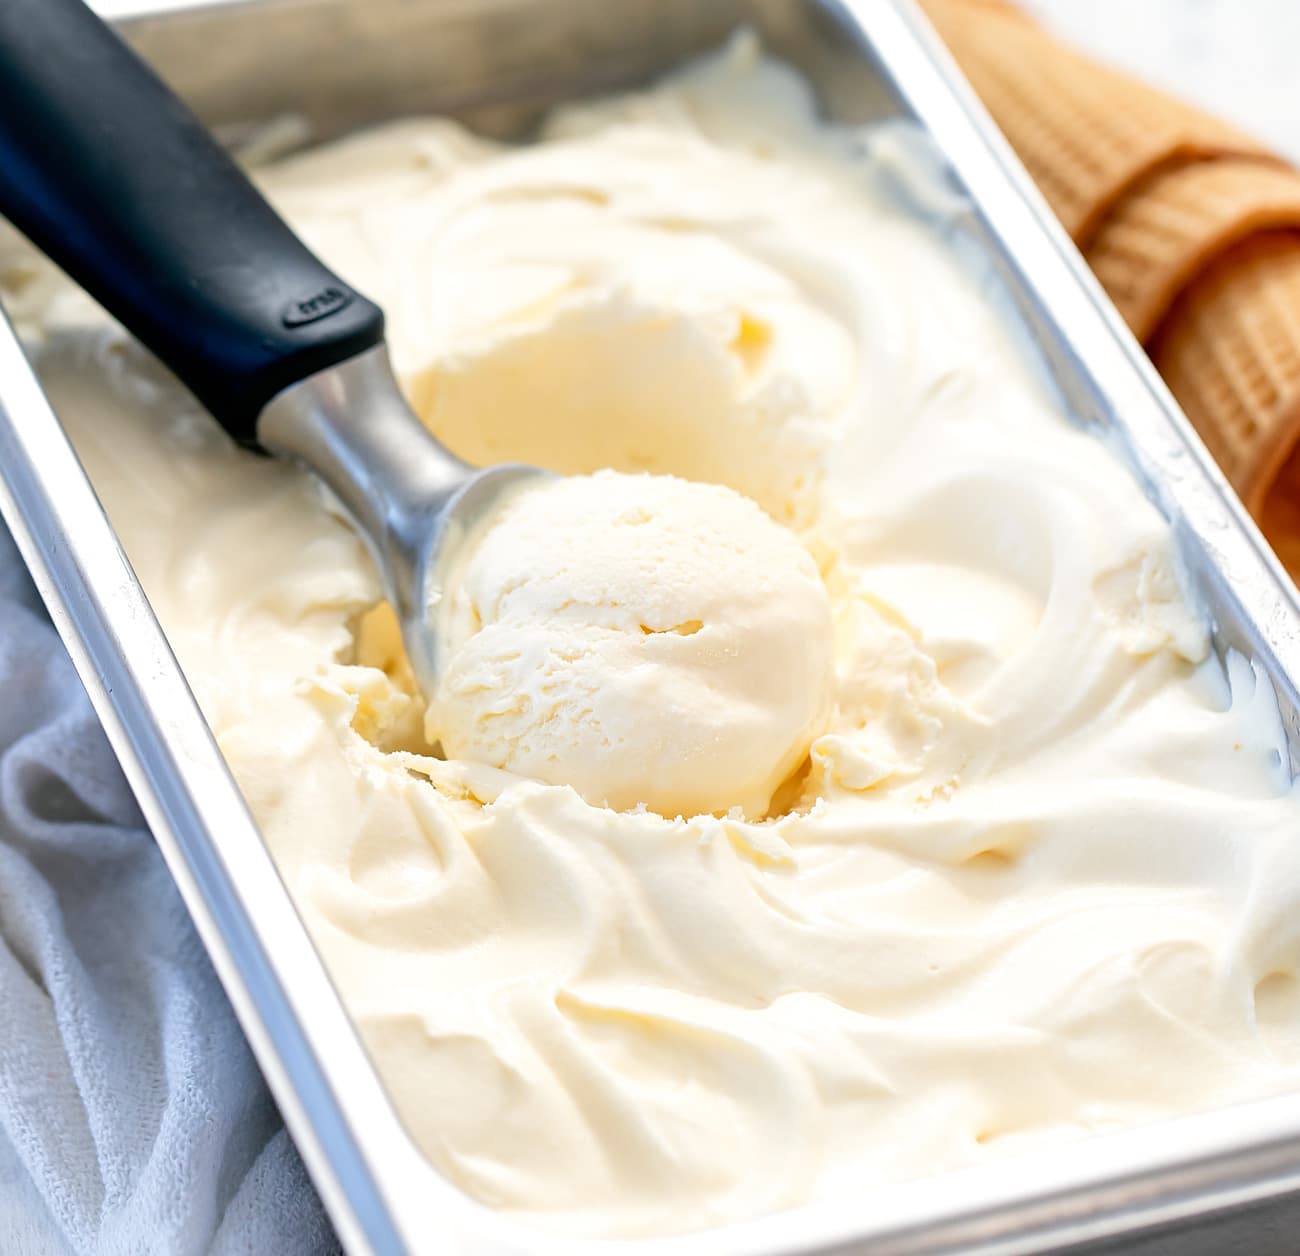
Step 5: Freezing and Storing the Ice Cream
After adding the delicious salted caramel swirls, it’s time to freeze and store your homemade ice cream for future enjoyment. Follow these steps to ensure that your ice cream remains fresh and maintains its delightful texture:
- Place the tightly covered container of ice cream in the freezer.
- Allow the ice cream to freeze for at least 4-6 hours, or until it reaches a firm, scoopable consistency. This will give the flavors time to meld and the ice cream to solidify.
- Remember to always use a scoop or spoon to serve the ice cream, rather than letting it sit out too long or using warm utensils, as this can cause the ice cream to melt and refreeze, resulting in ice crystals.
- If you have any leftovers, tightly seal the container again and place it back in the freezer as soon as possible. Stored properly, homemade ice cream can last for about 2 weeks.
- When ready to serve the stored ice cream, remove it from the freezer and let it sit at room temperature for a few minutes to soften slightly. This will make scooping easier and ensure a luscious, smooth texture.
- For longer storage, you can also transfer the ice cream to an airtight freezer-safe container or wrap it tightly with plastic wrap to prevent freezer burn. Label the container with the date to keep track of its freshness.
- While homemade ice cream is best enjoyed within a few weeks, it’s unlikely you’ll have any left after you discover just how irresistible this salted caramel creation is.
Now that you know how to freeze and store your homemade ice cream, you can enjoy it whenever your craving strikes. Whether you savor it solo, share it with loved ones, or use it as a delightful addition to desserts, your salted caramel ice cream will surely be a hit!
So go ahead, treat yourself to a scoop of creamy, indulgent bliss whenever the desire for a frozen treat arises. Enjoy!
Conclusion
Congratulations! You have successfully learned how to make homemade salted caramel ice cream using an ice cream maker. By following the step-by-step instructions, you have created a creamy and indulgent dessert that is sure to satisfy your sweet tooth.
Making salted caramel ice cream from scratch allows you to customize the flavor and enjoy the richness of homemade caramel sauce. The combination of sweet caramel and a touch of sea salt creates a perfect balance that tantalizes the taste buds.
Remember to use high-quality ingredients, follow the recommended measurements, and give yourself enough time to properly chill and freeze the ice cream base. These steps are essential for achieving a smooth and velvety texture in your ice cream.
From making the salted caramel sauce to incorporating it into the churning process, each step is crucial in creating a delectable ice cream filled with irresistible caramel swirls. The finished product is a true labor of love and a testament to your culinary skills.
Whether you enjoy it on its own, topped with additional caramel sauce or a sprinkle of sea salt, or as a delightful accompaniment to warm desserts like pies or cakes, your homemade salted caramel ice cream is sure to impress.
So, the next time you’re craving a frozen treat, skip the store-bought options and embark on the adventure of making your own salted caramel ice cream. The creamy indulgence and the satisfaction of creating something from scratch will surely make it worth the effort.
Now, gather your ingredients, dust off your ice cream maker, and get ready to indulge in a scoop of homemade perfection. Enjoy the creamy, sweet, and salty delight that is your homemade salted caramel ice cream!