Introduction
Ice cream is a timeless treat that brings joy and delight to people of all ages. From the classic flavors like chocolate and vanilla to unique creations like cookie dough or salted caramel, there is something for everyone to enjoy. While store-bought ice cream is convenient, nothing beats the homemade taste and satisfaction of making your own ice cream from scratch.
One way to achieve this homemade goodness is by using a hand crank ice cream maker. These traditional, nostalgic machines bring a sense of whimsy and fun to the ice cream-making process. By combining simple ingredients and a little bit of elbow grease, you can create creamy, delicious ice cream right in the comfort of your own home.
But what exactly is a hand crank ice cream maker? How does it work, and why should you consider using one? In this article, we will delve into the world of hand crank ice cream makers and guide you through the process of using one to make your very own delectable frozen desserts.
What is a Hand Crank Ice Cream Maker?
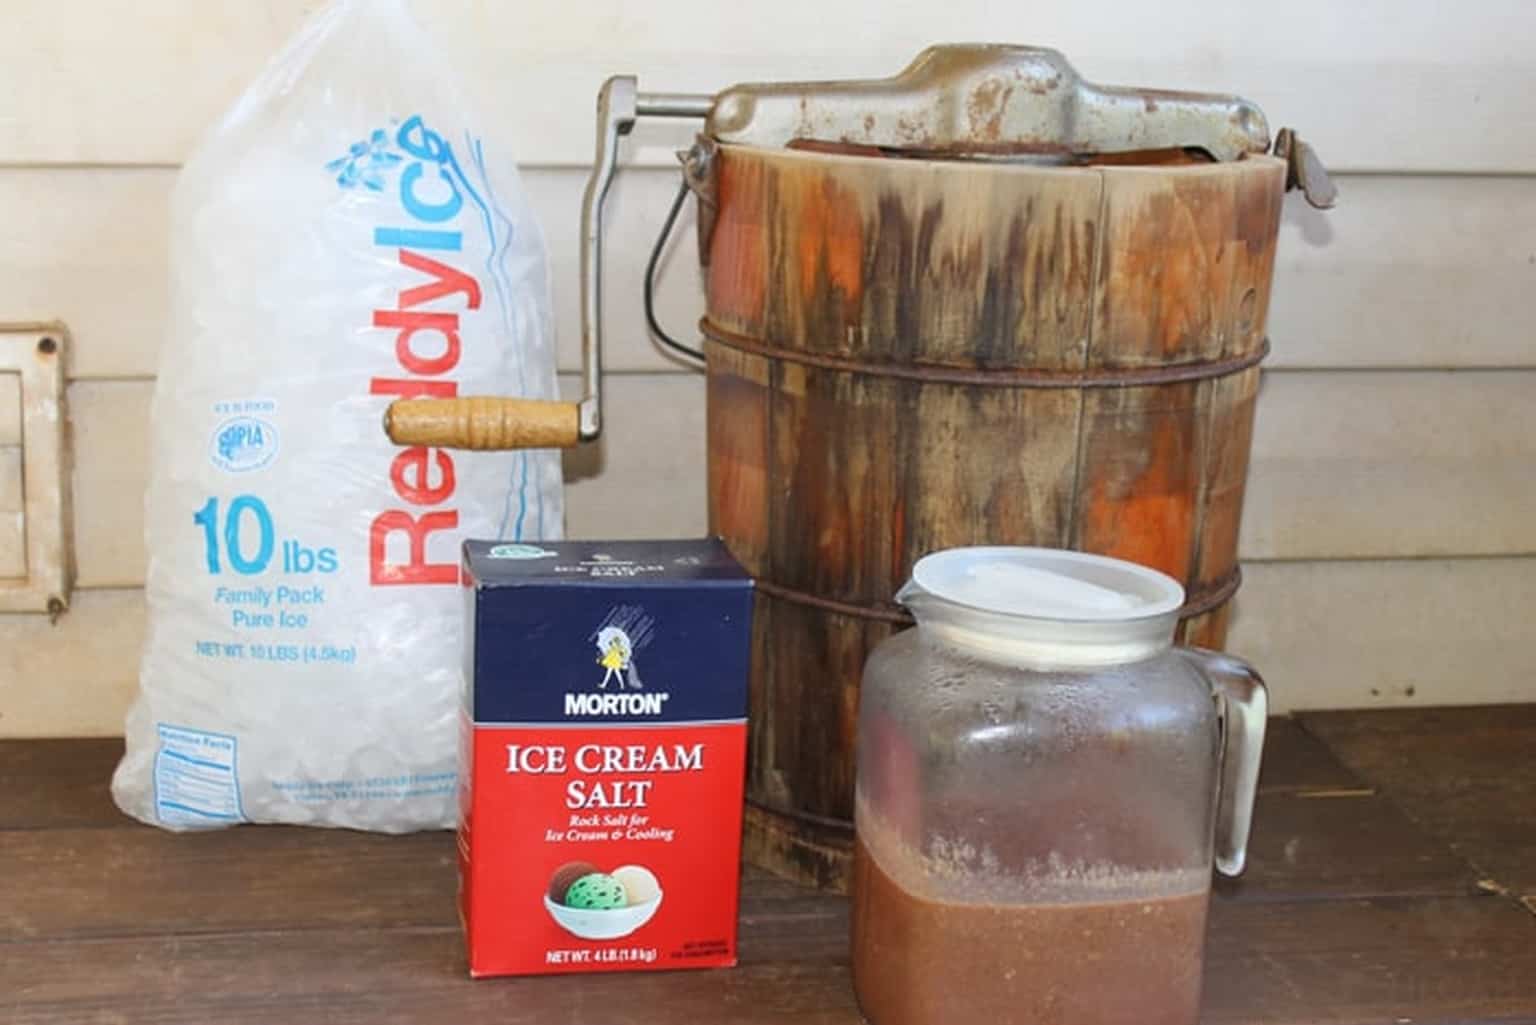
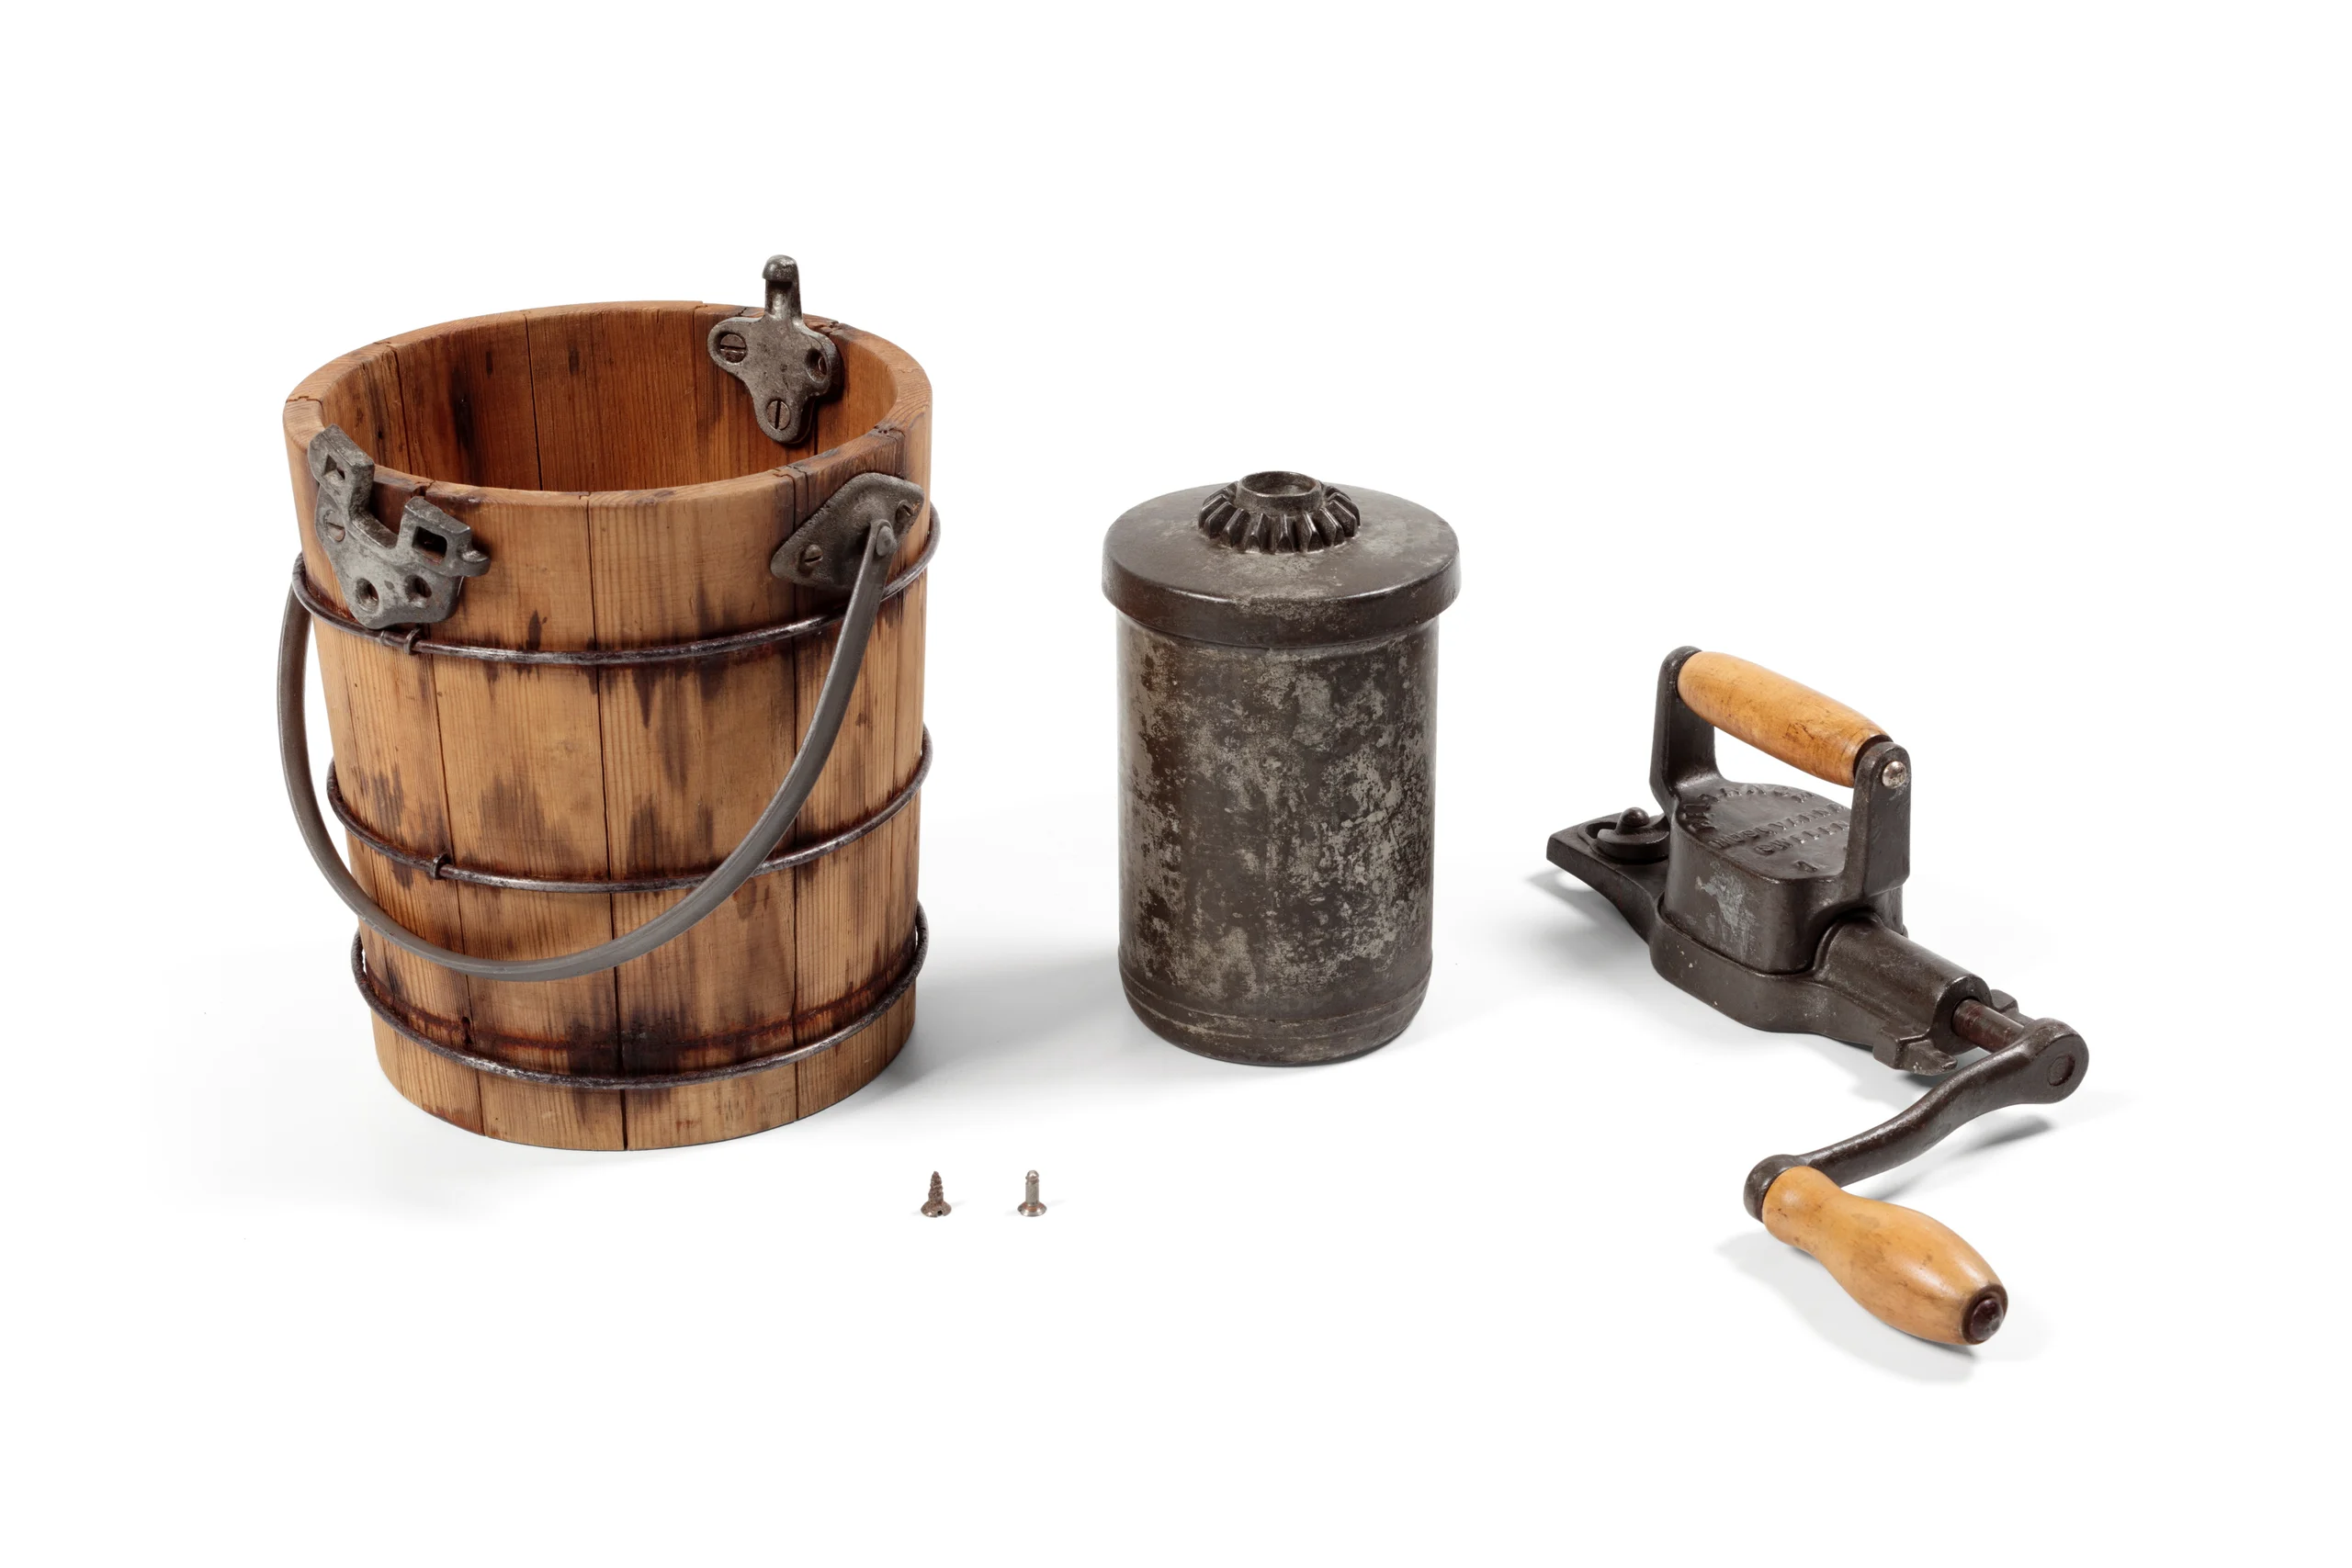
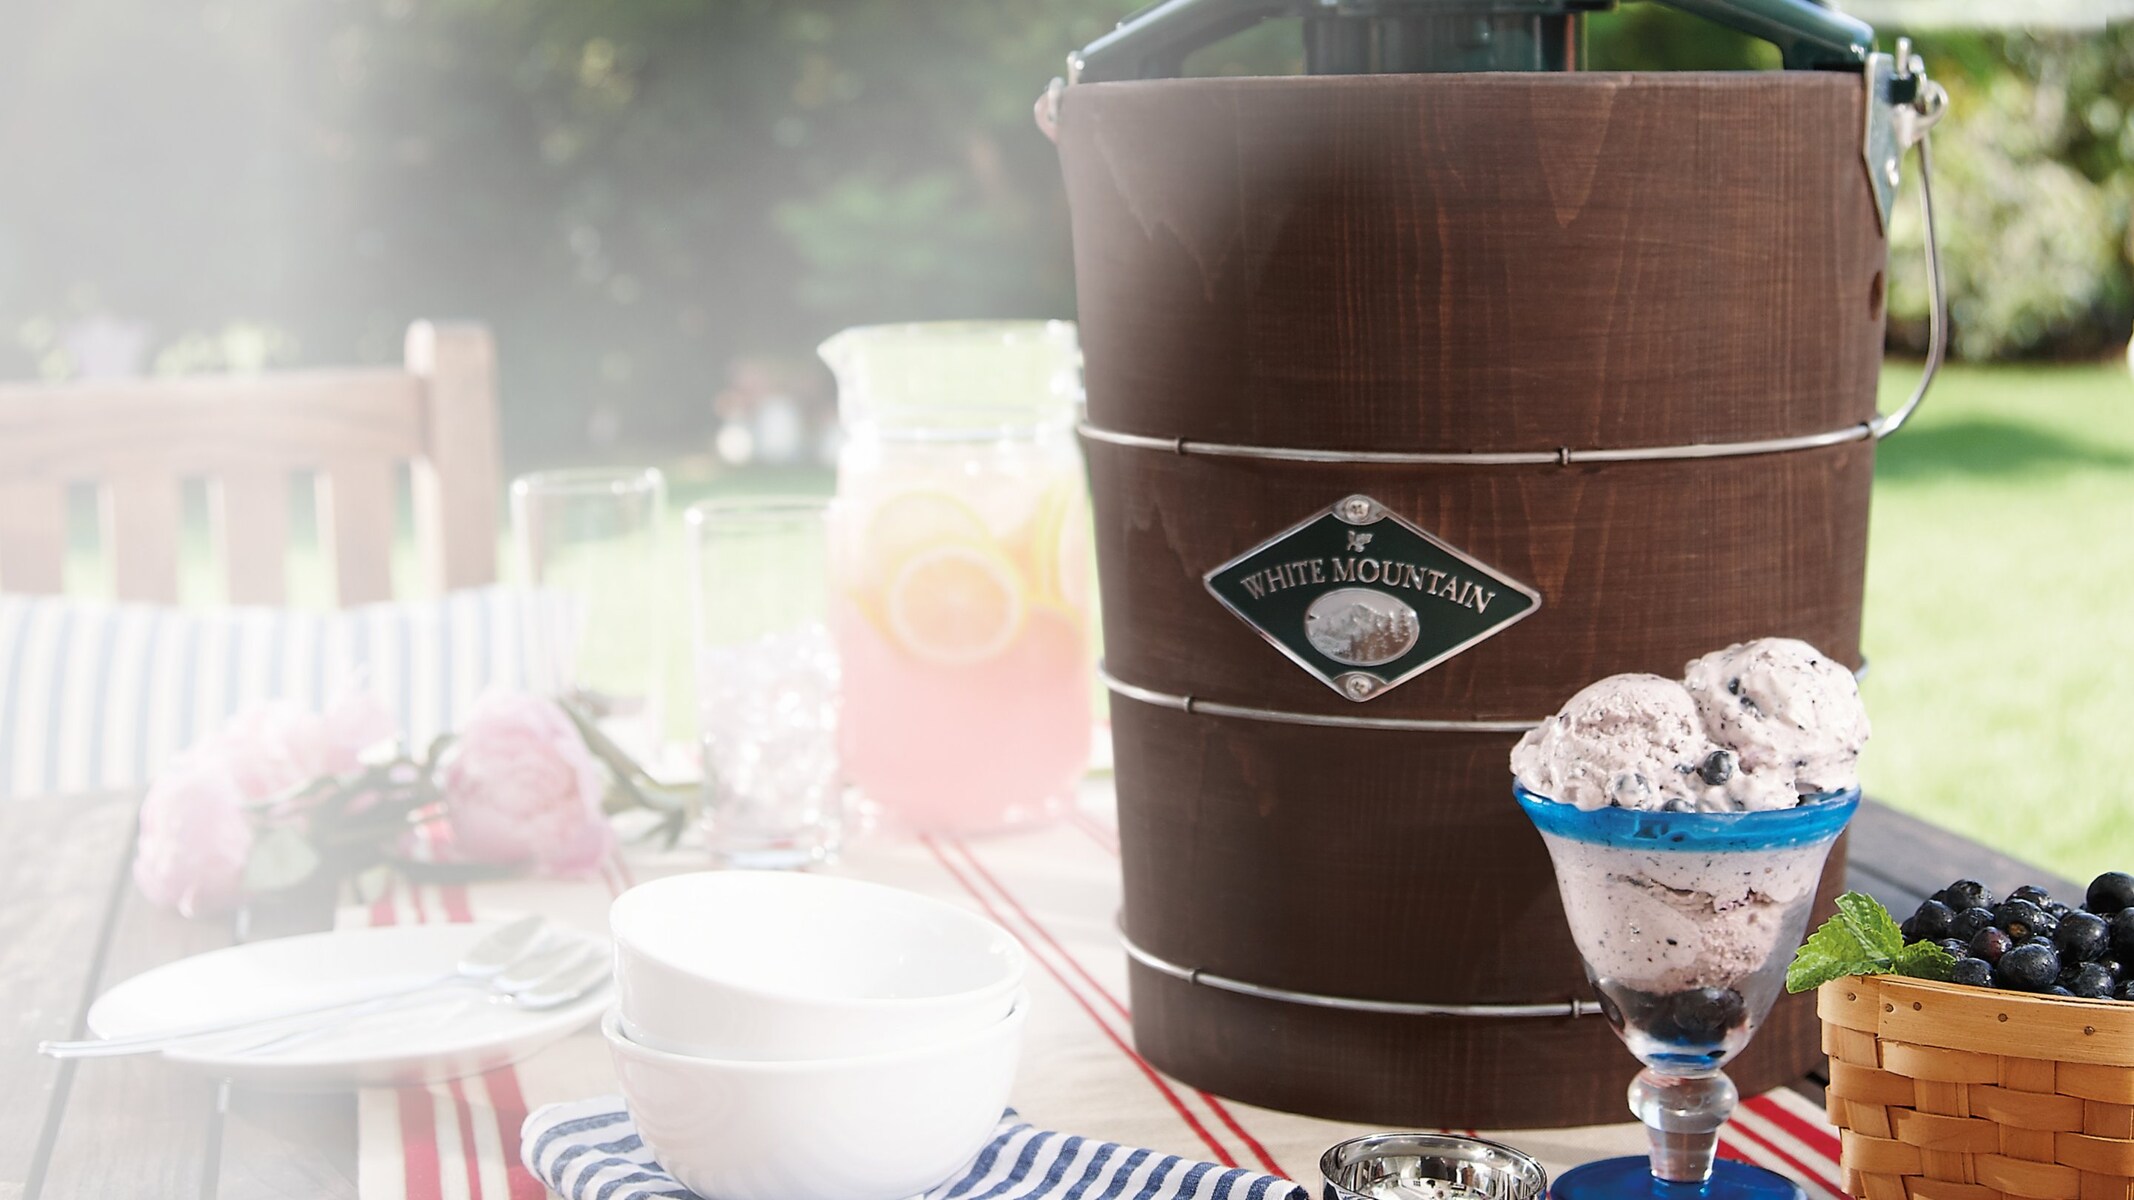
A hand crank ice cream maker is a manual device used to churn and freeze ice cream. It consists of a canister, an outer bucket, a paddle or dasher, and a hand crank. The canister is where the ice cream mixture is placed and churned, while the outer bucket holds a mixture of ice and rock salt, which helps to freeze the ice cream.
The hand crank is attached to the paddle or dasher inside the canister. As you turn the crank, the paddle scrapes and pushes the mixture against the canister’s walls, incorporating air and preventing ice crystals from forming. This constant motion creates a smooth and creamy ice cream texture.
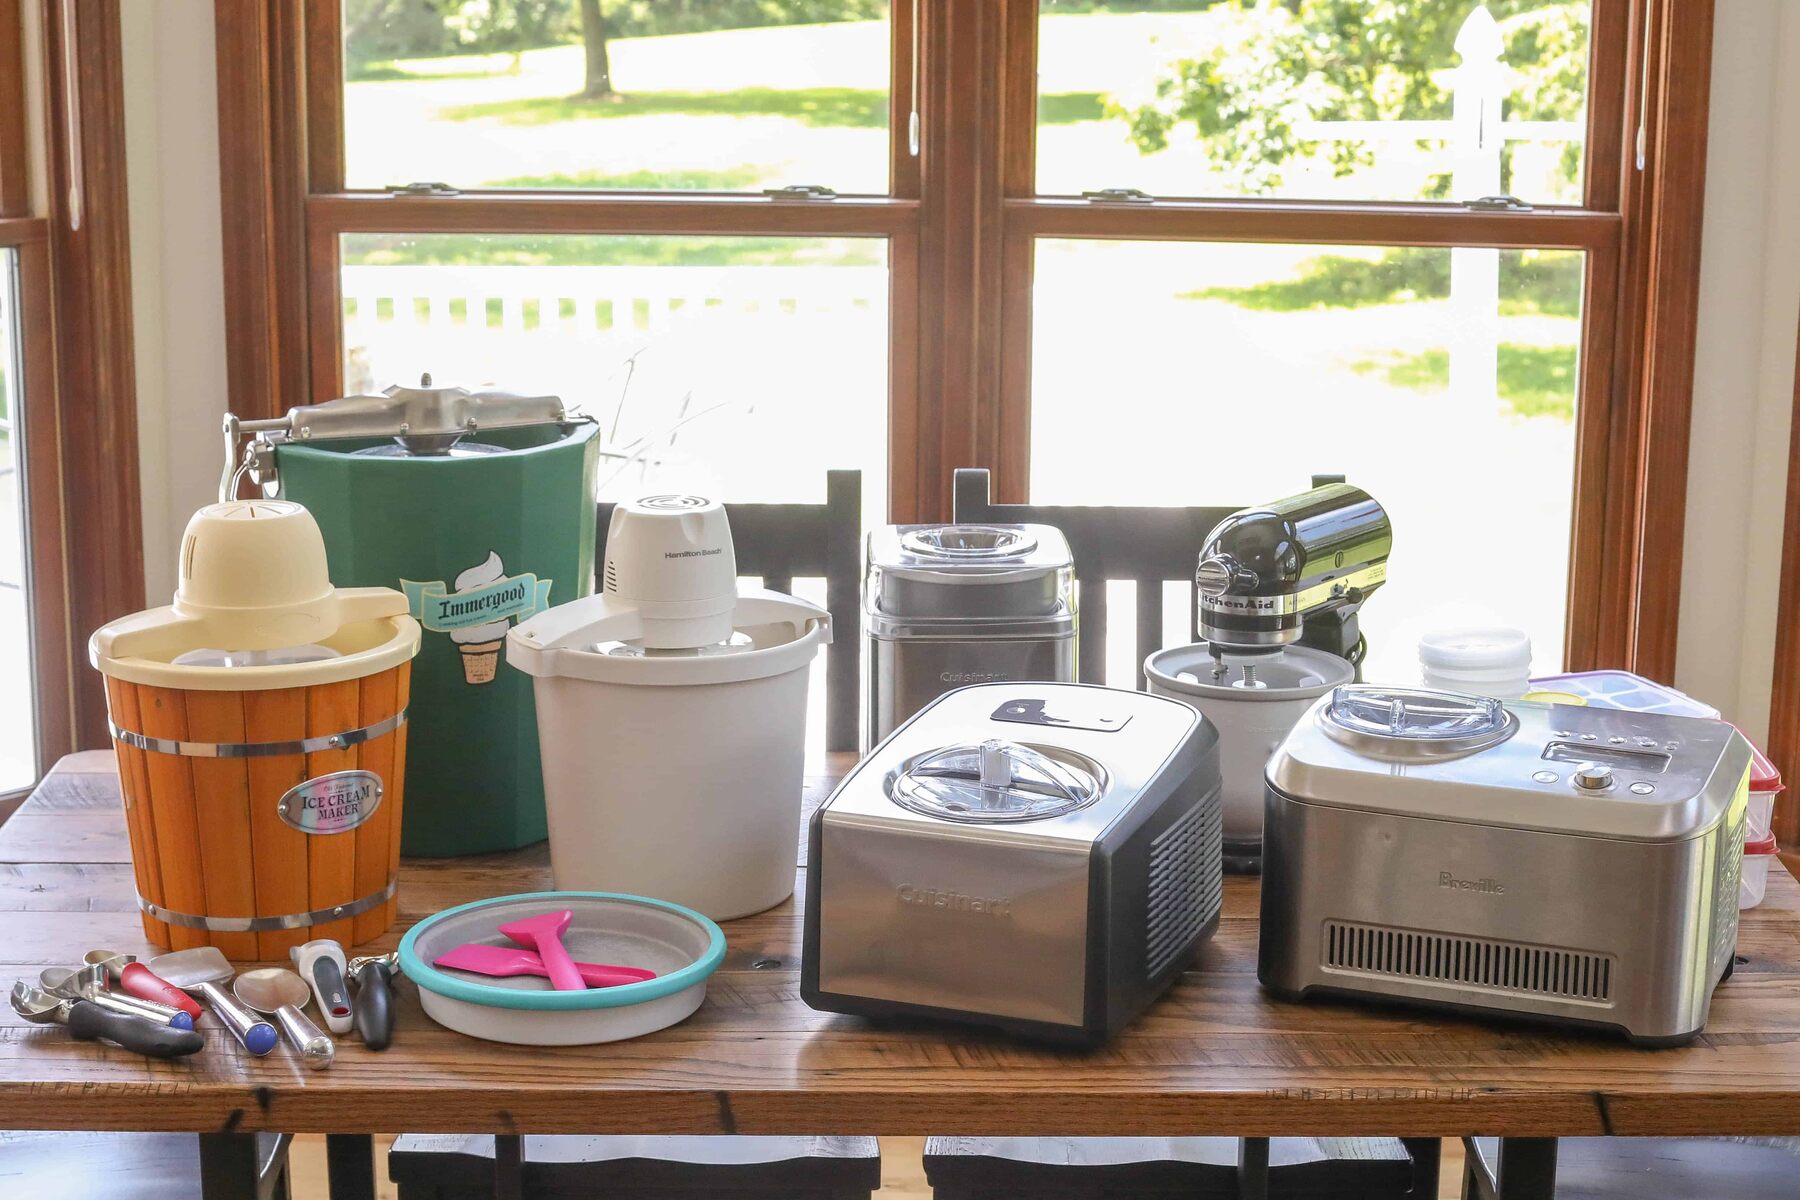
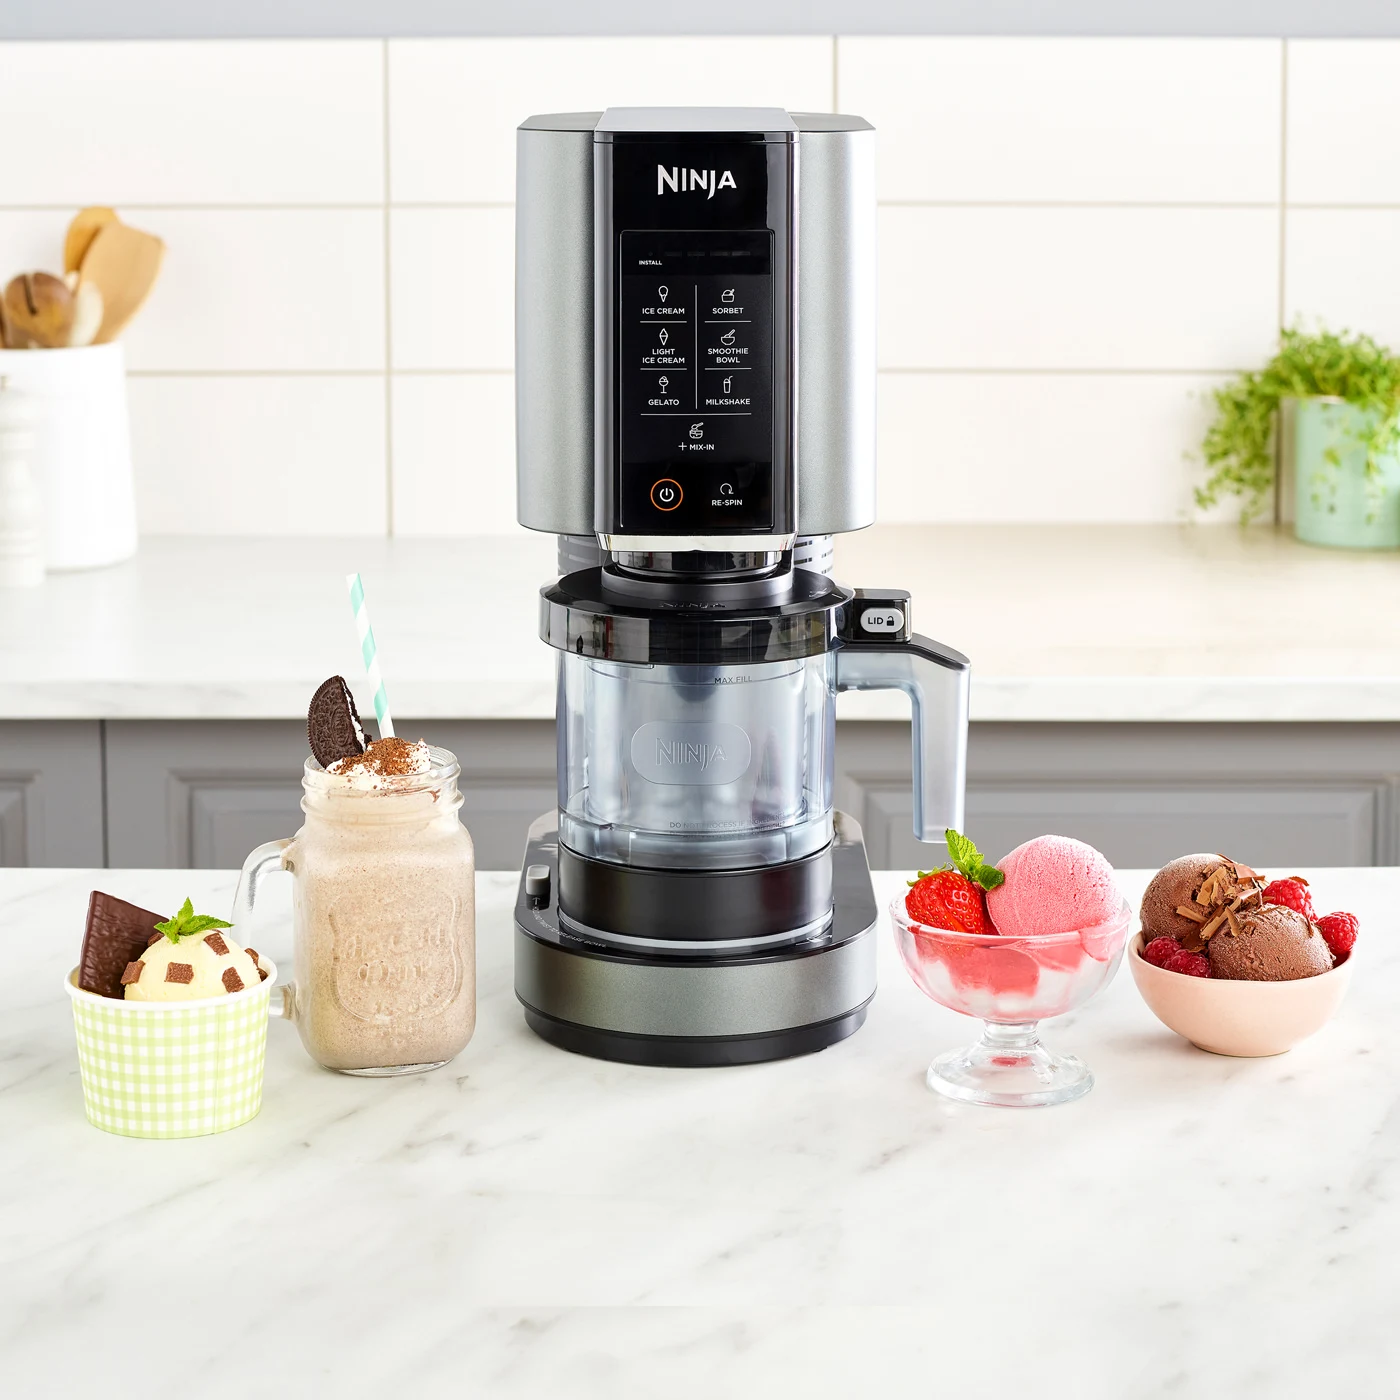
What sets hand crank ice cream makers apart from electric models is the manual operation. While electric ice cream makers automate the churning process, hand crank models require human effort to turn the crank and churn the mixture, creating a more participatory and interactive experience.
Hand crank ice cream makers appeal to those who enjoy the nostalgic process of making ice cream and savor the anticipation of the final product. There’s a certain satisfaction that comes from putting in the effort and witnessing the transformation of simple ingredients into a delightful frozen dessert.
Additionally, hand crank ice cream makers are portable and versatile. They don’t require electricity, making them ideal for outdoor gatherings, camping trips, or any situation where electricity might be limited or unavailable. Their simplicity and ease of use also make them a great option for introducing children to the joy of making homemade ice cream.
Choosing the Right Hand Crank Ice Cream Maker
When it comes to selecting the perfect hand crank ice cream maker, there are a few factors to consider. Here are some tips to help you make an informed decision:
1. Size and Capacity: Hand crank ice cream makers come in various sizes, ranging from smaller models that make a few servings to larger ones that can churn out multiple quarts of ice cream. Consider your needs and the number of people you’ll be serving to determine the right size for you.
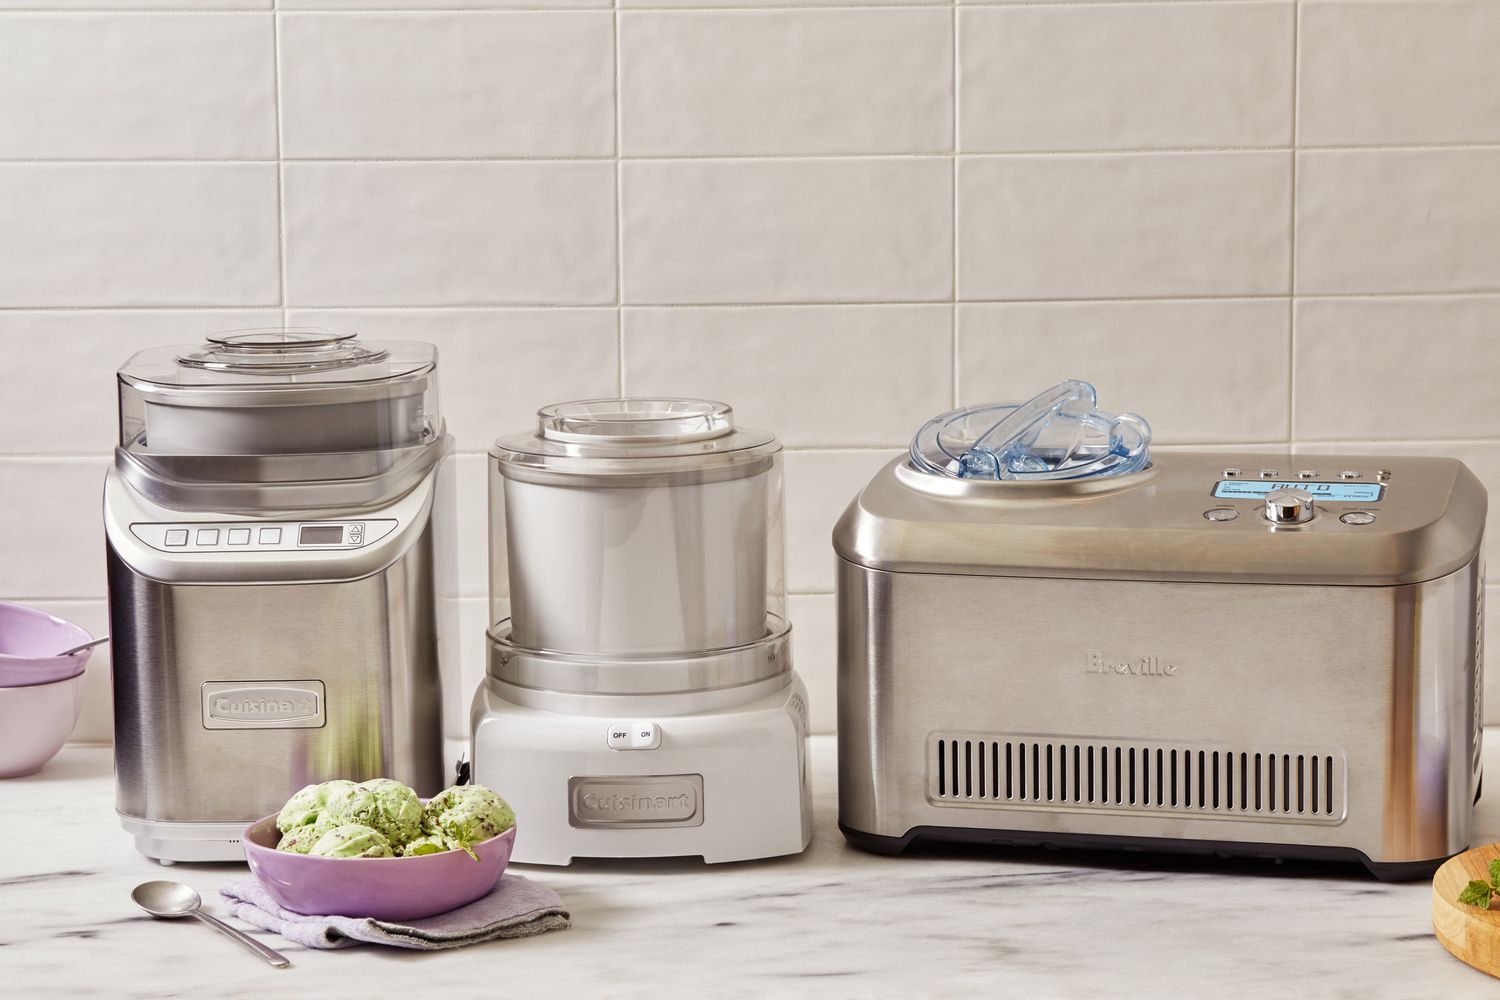
2. Construction and Durability: Look for a hand crank ice cream maker made from sturdy materials such as stainless steel or high-quality plastic. This will ensure its longevity and ability to withstand repeated use.
3. Freezing Method: Some hand crank models require the addition of ice and rock salt to create the freezing effect, while others use a pre-frozen canister. Decide which method you prefer and consider the availability of ice and salt if you choose the former option.
4. Ease of Cleaning: Opt for a hand crank ice cream maker that is easy to disassemble and clean. Look for models with removable parts that can be washed thoroughly to maintain hygiene and prevent any lingering flavors.
5. Budget: Hand crank ice cream makers come in a range of prices. Consider your budget and find a model that offers the features and quality that align with your needs.
6. Reviews and Recommendations: Read reviews from other users to get insights into the performance and reliability of different hand crank ice cream makers. Pay attention to factors like ease of use, consistency of results, and overall customer satisfaction.
By considering these factors, you can choose a hand crank ice cream maker that meets your specific needs and preferences. Remember, the right choice will enhance your experience and make the ice cream-making process even more enjoyable.
Ingredients and Tools Needed
To make delicious hand-cranked ice cream, you will need a few essential ingredients and tools. Here’s what you’ll need to get started:
1. Ingredients:
– Heavy Cream: This provides richness and creaminess to the ice cream. Look for heavy cream with a high fat content for the best results.
– Whole Milk: Whole milk adds a smooth texture and helps to balance the richness of the cream. Avoid using skim or low-fat milk as it may result in a less creamy consistency.
– Sugar: Sweeten your ice cream mixture with granulated sugar or other sweeteners like honey or maple syrup. Adjust the amount according to your taste preference.
– Flavorings: Choose your favorite extracts, such as vanilla, chocolate, or fruit flavors, to add a burst of flavor to your ice cream.
– Mix-ins: Get creative and add mix-ins like chocolate chips, crushed cookies, nuts, or fresh fruits to personalize your ice cream.
2. Tools:
– Hand Crank Ice Cream Maker: Of course, you’ll need a hand crank ice cream maker to churn and freeze your ice cream mixture.
– Mixing Bowls: Use large mixing bowls to combine the ingredients and create your ice cream base.
– Whisk or Electric Mixer: A whisk or electric mixer will help you blend the cream, milk, sugar, and flavorings together until well combined and slightly thickened.
– Measuring Cups and Spoons: Accurate measurements are crucial for the perfect balance of ingredients. Use measuring cups and spoons to ensure the right proportions.
– Ice and Rock Salt (if applicable): Some hand crank ice cream makers require ice and rock salt to freeze the mixture. Have these on hand if your model uses this freezing method.
– Rubber Spatula: Use a rubber spatula to scrape the sides of the mixing bowl and transfer the ice cream mixture into the canister.
Having these ingredients and tools ready will ensure a smooth and hassle-free ice cream-making process. Get creative with your flavor combinations and gather all the necessary elements before diving in to make your homemade ice cream masterpiece.
Preparing the Ice Cream Mixture
Before you can begin churning your hand-cranked ice cream, you need to prepare the ice cream mixture. This step is crucial as it determines the flavor and texture of your final product. Here’s a step-by-step guide on how to prepare the perfect ice cream mixture:
1. Measure the Ingredients: Start by measuring the required amount of heavy cream, whole milk, sugar, and flavorings. Follow the recipe or adjust the quantities to your taste preference.
2. Combine the Cream and Milk: In a large mixing bowl, pour in the heavy cream and whole milk. Using a whisk or electric mixer, blend the two together until well combined and slightly thickened.
3. Add the Sugar and Flavorings: Gradually add the sugar to the cream and milk mixture while continuing to whisk. Make sure the sugar is fully dissolved. Then, add your chosen flavorings, such as vanilla extract or cocoa powder, and mix thoroughly. If you’re adding mix-ins like chocolate chips or crushed cookies, hold off on adding them until later in the process.
4. Chill the Mixture: Once the ice cream base is mixed, cover the bowl with plastic wrap or a lid and place it in the refrigerator. Let it chill for at least one to two hours, or even overnight. Chilling allows the flavors to meld together and creates a smoother texture.
5. Stir and Adjust: After chilling, give the mixture a good stir to ensure it is well combined. At this point, you can taste the mixture and adjust the sweetness or flavor as needed.
Now that your ice cream mixture is ready, you’re one step closer to enjoying homemade hand-cranked ice cream. The well-chilled and perfectly blended mixture will result in a rich and creamy treat that is ready to be transformed into delightful ice cream using your hand crank ice cream maker. Get ready to churn up some scrumptious goodness!
Assembling and Preparing the Ice Cream Maker
Now that your ice cream mixture is prepared, it’s time to assemble and prepare your hand crank ice cream maker. Follow these steps to ensure a successful and delicious ice cream-making experience:
1. Ensure the Canister is Frozen: If your hand crank ice cream maker requires a frozen canister, make sure it has been properly frozen according to the manufacturer’s instructions. It’s best to keep the canister in the freezer for at least 24 hours before using for optimal freezing.
2. Set Up the Outer Bucket: Place the outer bucket of your ice cream maker on a sturdy, level surface. Make sure the surfaces are clean and dry.
3. Insert the Canister: Carefully insert the frozen canister into the outer bucket. Ensure it sits securely in place. If there are any gaps or movements, refer to the user manual for troubleshooting.
4. Add Ice and Rock Salt (if applicable): If your hand crank ice cream maker requires ice and rock salt, layer the bottom of the bucket with ice. Sprinkle a layer of rock salt over the ice. Repeat this layering until the ice reaches the level recommended by the manufacturer.
5. Install the Paddle or Dasher: Insert the paddle or dasher into the canister. Ensure it fits snugly and securely in the center.
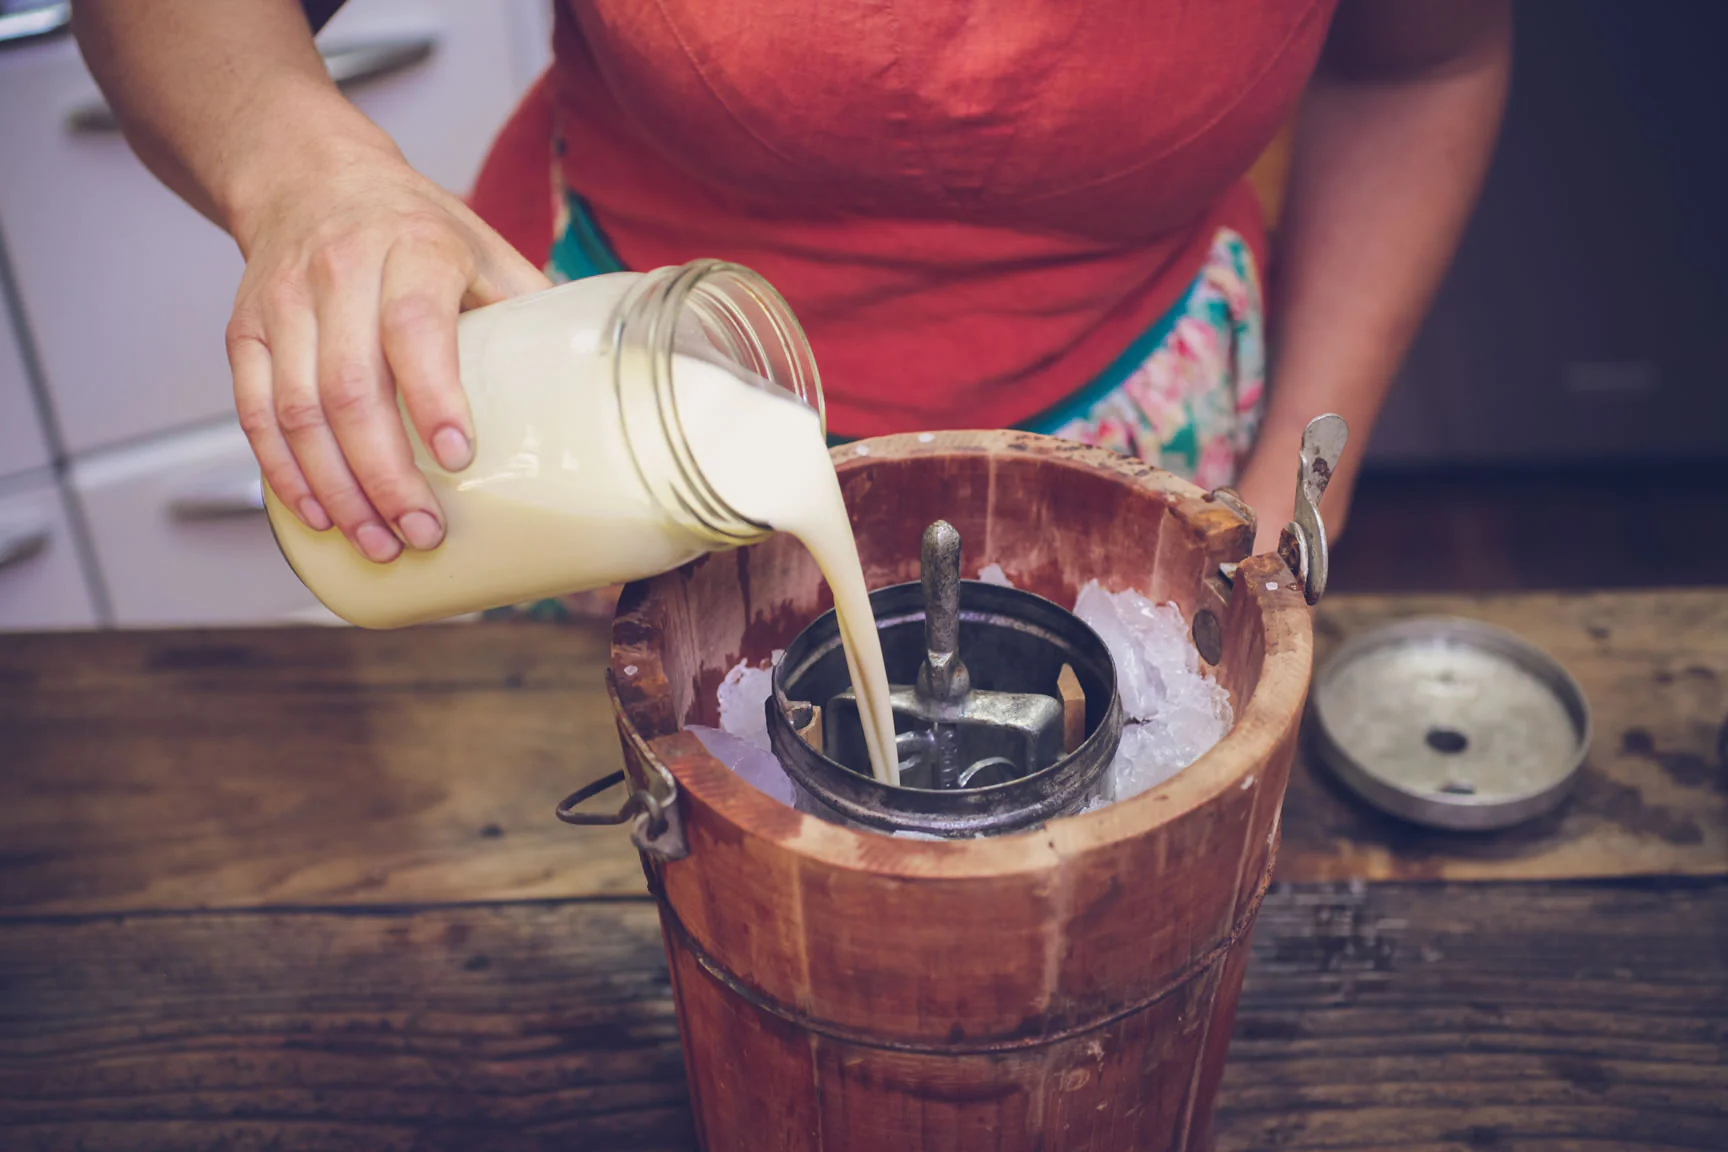
6. Pour in the Ice Cream Mixture: Take your chilled ice cream mixture and carefully pour it into the canister. Avoid overfilling, as the mixture will expand during churning. Leave some space at the top for the ice cream to expand.
7. Secure the Lid: Place the lid tightly on the canister, ensuring it is properly sealed. This will prevent any leakage during the churning process.
Now that your hand crank ice cream maker is properly assembled and prepared, it’s time to start churning. Gather your friends and family, and get ready to turn that crank to create the most delicious homemade ice cream you’ve ever tasted!
Churning the Ice Cream
With your hand crank ice cream maker assembled and prepared, it’s time to start churning the ice cream mixture. Follow these steps to achieve a smooth and creamy texture:
1. Securely close the lid of the ice cream maker to prevent any leaks during churning.
2. Begin turning the hand crank at a steady and consistent pace. It may require some effort, but the rhythmic motion will soon become second nature.
3. As you turn the crank, the paddle or dasher inside the canister will rotate, churning the ice cream mixture. This motion incorporates air and prevents the formation of ice crystals, resulting in a smooth and creamy texture.
4. Continue to churn for about 15 to 20 minutes, or until the ice cream reaches your desired consistency. The exact time may vary depending on the specific model of your ice cream maker and the temperature of the surrounding environment.
5. Keep an eye on the ice and rock salt (if applicable). As the ice melts, you may need to add more ice and salt to maintain the freezing temperature. Follow the manufacturer’s instructions regarding this matter.
6. During the churning process, you may notice the outer bucket becoming frosty or accumulating moisture. This is normal and indicates that the ice cream is freezing properly.
7. As the ice cream thickens, you’ll notice increased resistance when turning the crank. This is a sign that the ice cream is almost done. However, be cautious not to over-churn, as it can result in a less creamy texture.
8. Once the ice cream has reached your desired consistency, stop churning and remove the paddle or dasher from the canister. Scrape off any excess ice cream from the paddle back into the canister.
Now that your ice cream is churned and ready, transfer it to a storage container and place it in the freezer to further firm up. Keep in mind that freshly churned ice cream will have a soft-serve consistency. Freezing it for a few hours or overnight will allow it to firm up to a scoopable texture.
Now, all that’s left to do is patiently wait for your hand-cranked ice cream to freeze completely before indulging in its creamy goodness.
Troubleshooting Common Issues
While making ice cream with a hand crank ice cream maker is a fun and rewarding process, you may encounter a few common issues along the way. Here are some troubleshooting tips to help you overcome these challenges:
1. Ice Cream Not Freezing Properly: If your ice cream is not freezing properly, check that the canister has been properly frozen before beginning the churning process. Ensure that the ice and rock salt (if applicable) are providing enough freezing power. You may need to add more ice and salt or adjust the ratio as needed.
2. Ice Cream Not Churning: If the ice cream is not churning despite turning the crank, first check that the paddle or dasher is securely attached and rotates freely inside the canister. Make sure the lid is properly sealed, as any leakage may prevent proper churning. If the issue persists, investigate if there are any mechanical problems or contact the manufacturer for assistance.
3. Ice Crystals in Ice Cream: If ice crystals appear in your ice cream, it could be due to either over-churning or not adding enough fat in the form of cream or milk. Be mindful of the recommended churn time and ensure that your ice cream mixture has the proper fat content to create a creamy texture.
4. Ice Cream Too Soft or Melting Too Quickly: If your ice cream is too soft or melts quickly, it may need additional time in the freezer to firm up. Allow the ice cream to freeze for a few more hours to achieve the desired consistency. Also, ensure that the freezer is set to the proper temperature for optimal freezing.
5. Uneven Consistency: If your ice cream has an uneven consistency, it may be due to improper mixing of the ingredients before pouring into the canister. Make sure all the ingredients are thoroughly blended to create a smooth and consistent ice cream base.
6. Flavor not Intense Enough: If your ice cream lacks flavor, consider adjusting the amounts of flavorings or mix-ins in your recipe. You can also experiment with additional ingredients such as extracts or spices to enhance the overall flavor profile.
Remember that troubleshooting is part of the ice cream-making journey. Don’t be discouraged if you encounter challenges along the way. With a little experimentation and practice, you’ll be able to overcome these issues and create delicious hand-cranked ice cream that satisfies your taste buds.
Adding Mix-Ins and Flavors
One of the joys of making homemade ice cream is the ability to customize it with a variety of mix-ins and flavors. Whether you prefer chunks of chocolate, swirls of caramel, or bursts of fruit, adding mix-ins can elevate your ice cream to a whole new level. Here’s how to incorporate mix-ins and flavors into your hand-cranked ice cream:
1. Timing is Everything: Decide when you want to add your mix-ins. For ingredients like chocolate chips or cookie chunks, it’s best to add them during the last few minutes of churning to ensure even distribution. For ingredients that need to be swirled, like caramel or fruit puree, add them during the last minute.
2. Preparation is Key: Prepare your mix-ins ahead of time so they are ready to be added to the ice cream. Chop chocolate or nuts, crush cookies, or dice fruits based on your preferences and desired texture.
3. Chilling Mix-ins: For mix-ins like chocolate chips or certain fruits, it’s a good idea to chill them in the refrigerator beforehand. This helps maintain their integrity and prevents them from melting or affecting the temperature of the ice cream mixture.
4. Adding Mix-ins: Once the ice cream is almost done churning, add the chilled mix-ins gradually. You can sprinkle them in or carefully fold them in using a rubber spatula or spoon. Be gentle to avoid overmixing, which might result in a loss of texture or distribution.
5. Layering: For more intricate mix-ins like swirls or ribbons of sauce or fruit, layer the ice cream mixture and the mix-ins in the storage container. Alternate layers of ice cream and swirls until the container is filled. Use a knife or skewer to gently swirl the layers together.
6. Variety of Flavors: Explore a variety of flavors by adding different extracts, spices, or essences to your ice cream base. Vanilla, cocoa powder, coffee, mint, or even a touch of almond or coconut extract can transform the flavor profile and make the ice cream uniquely yours.
Remember, the possibilities are endless when it comes to adding mix-ins and flavors to your hand-cranked ice cream. Let your imagination run wild and experiment with different combinations to create frozen delights that suit your taste preferences. Enjoy the process and have fun creating ice cream masterpieces filled with your favorite mix-ins and flavors!
Freezing and Tasting the Ice Cream
After you’ve churned and added your desired mix-ins and flavors, it’s time to properly freeze and taste your hand-cranked ice cream. Here’s what you need to do next:
1. Transfer to a Storage Container: Carefully transfer the freshly churned ice cream from the canister to a suitable storage container. Airtight containers or containers with lids work best to prevent freezer burn and maintain the ice cream’s quality.
2. Smooth the Surface: Use a rubber spatula or the back of a spoon to smooth the surface of the ice cream, ensuring an even texture. This creates a more pleasing presentation and makes scooping easier.
3. Cover and Freeze: Place the lid on the storage container or cover it tightly with plastic wrap. This prevents any frost or ice crystals from forming on the surface of the ice cream. Then, transfer the container to the freezer.
4. Freeze for Optimal Texture: Allow the ice cream to freeze undisturbed for a minimum of 4 to 6 hours, or ideally overnight. This freezing time allows the ice cream to fully set and develop a rich, creamy texture.
5. Conduct a Taste Test: Once the ice cream is sufficiently frozen, it’s time to treat yourself to a delectable taste test. Grab an ice cream scoop and dig into your creation. Savor the flavor, texture, and the satisfaction that comes from making your own homemade ice cream.
6. Make Adjustments if Needed: If the ice cream is too firm straight out of the freezer, let it sit at room temperature for a few minutes to soften before scooping. If it’s too soft, return it to the freezer for a little longer until it reaches your desired firmness.
7. Enjoy and Share: Share your hand-cranked ice cream with family and friends. Serve it in bowls or cones, or get creative by creating sundaes with various toppings and sauces. The joy of homemade ice cream is best enjoyed when shared with loved ones.
Remember that homemade ice cream tends to be slightly softer than store-bought versions due to its lack of stabilizers and preservatives. Embrace the creaminess and savor each spoonful of your delicious creation.
Now that you know the process of freezing and tasting your hand-cranked ice cream, embrace the anticipation of enjoying a frozen delight that you’ve made with your own hands. Dive into a world of irresistible flavors and textures that will satisfy your cravings and leave you craving more.
Cleaning and Maintenance Tips
Proper cleaning and maintenance of your hand crank ice cream maker will ensure its longevity and continued performance. Here are some essential tips to keep your machine in top shape:
1. Disassemble and Clean: After each use, disassemble the ice cream maker according to the manufacturer’s instructions. Remove the canister, paddle, and any other removable parts. Rinse them with warm water to remove any leftover ice cream or residue. Use a mild dish soap and a soft brush or sponge to gently scrub away any stubborn stains.
2. Hand Wash Only: Avoid putting any parts of the ice cream maker in the dishwasher, as it may cause damage to the materials or affect the machine’s performance. Handwashing is the safest and most effective way to clean the components.
3. Thoroughly Dry: Ensure that all parts are completely dry before reassembling or storing them. Use a towel or air dry them on a drying rack. Moisture left on the components can lead to mold growth or damage to the machine.
4. Clean the Outer Bucket: Wipe the outer bucket and the motor housing with a damp cloth. Be cautious not to wet any electrical components or submerge the machine in water.
5. Store Properly: Once cleaned and dried, store the ice cream maker in a dry and cool location. Keep it away from direct sunlight or heat sources that may cause damage.
6. Regular Maintenance Checks: Periodically inspect your ice cream maker for any signs of wear or damage. Check for loose screws, cracks, or any other issues that may require attention or professional repair.
7. Follow Manufacturer’s Guidelines: Always refer to the manufacturer’s instructions and guidance for the specific model of your hand crank ice cream maker. They may provide additional maintenance tips or specific cleaning recommendations.
By following these cleaning and maintenance tips, you can keep your hand crank ice cream maker in excellent condition, ensuring many more batches of delicious homemade ice cream in the future.
Remember, proper care and attention will not only extend the lifespan of your ice cream maker but also ensure optimal performance each time you use it. With a little maintenance, you’ll continue to enjoy the delightful process of making hand-cranked ice cream for years to come.
Conclusion
Making homemade ice cream with a hand crank ice cream maker is a delightful and rewarding experience. From the nostalgic charm to the creamy and delicious results, this simple yet satisfying process allows you to create frozen treats that are truly special.
Throughout this article, we have explored the world of hand crank ice cream makers, from understanding their mechanism to choosing the right one for your needs. We have covered the steps of preparing the ice cream mixture, assembling and preparing the ice cream maker, churning the ice cream, adding mix-ins and flavors, freezing and tasting the final product, and cleaning and maintaining your ice cream maker.
The joy of creating your own ice cream goes beyond the incredible flavors you can achieve. It’s about the memories made in the process, the anticipation as you turn the crank, and the satisfaction of enjoying a frozen delight made with love.
So, why not embark on this sweet journey? Gather your ingredients, assemble your hand crank ice cream maker, and let your creativity flow. Whether you’re making classic flavors, experimenting with unique combinations, or adding decadent mix-ins, the possibilities are endless.
Remember, making homemade ice cream is a process that allows for experimentation and personalization. So don’t be afraid to get creative and find the flavors that truly capture your taste buds’ desires.
So go ahead, indulge in the simple pleasure of hand-cranked ice cream. From the creamy texture to the delightful flavors, there’s something truly special about the taste of homemade ice cream. Enjoy the experience, share the joy with loved ones, and create memories that will last a lifetime.