The Time It Takes to Make Ice Cream with an Ice Cream Maker
Do you have a craving for a delicious bowl of homemade ice cream? With an ice cream maker, you can satisfy your sweet tooth in no time. However, it’s important to understand that making ice cream from scratch does require some time and patience. Let’s take a closer look at the factors that determine the time it takes to make ice cream with an ice cream maker.
Several factors come into play when considering the time it takes to make ice cream. The type of ice cream maker you have, the pre-freezing duration of the ice cream bowl, the preparation time for the ice cream base, the chilling period, the time required for churning, and the time needed for holding and hardening the ice cream all contribute to the overall time involved.
First and foremost, the type of ice cream maker you have will impact the time it takes to make your frozen treat. There are manual crank models, electric models, and even self-freezing models. Each has its own specific timeline for ice cream production.
Next, consider the pre-freezing duration of the ice cream bowl. Most ice cream makers require the bowl to be frozen for a specific amount of time before use. This can range from several hours to overnight freezing. Planning ahead and ensuring the bowl is properly frozen is essential.
The preparation time for the ice cream base is another factor to keep in mind. Depending on the recipe, you may need to heat and cool the ingredients, which adds a few extra minutes to the overall time. It’s important to follow the recipe instructions carefully to achieve the desired result.
After preparing the ice cream base, it needs to chill for a certain period. This step allows the flavors to meld together and ensures a smoother texture. The chilling time can range from a few hours to overnight, depending on the recipe.
Once the ice cream base is chilled, it’s time to churn. Churning is the process of incorporating air into the mixture, resulting in a creamy and smooth texture. The time required for churning can vary but typically takes around 20 to 30 minutes.
After churning, the ice cream needs to be held in the freezer to firm up and reach the desired consistency. This holding period can range from a couple of hours to several hours, depending on the recipe and personal preference.
While the overall time it takes to make ice cream with an ice cream maker may vary, it’s typically a process that spans several hours. However, the majority of this time is comprised of inactive steps, such as freezing and chilling. The hands-on time required is minimal, making it an enjoyable and rewarding experience.
So, if you’re in the mood for a delectable bowl of homemade ice cream, plan accordingly and give yourself ample time to complete the process. The end result will be a creamy and flavorful treat that will leave you wanting more.
Introduction
Nothing beats the creamy, sweet indulgence of homemade ice cream. With an ice cream maker, you can recreate your favorite flavors and experiment with new combinations right in the comfort of your own kitchen. However, it’s important to understand that making ice cream from scratch requires time and patience. From pre-freezing the ice cream bowl to churning and hardening, each step in the process contributes to the time it takes to make a delightful batch of ice cream.
In this article, we will explore the factors that affect the time it takes to make ice cream with an ice cream maker. By understanding the various elements involved, you can plan your ice cream-making adventures more effectively and ensure that you have ample time to enjoy the process.
There are several key factors to consider when calculating the time needed to make ice cream. First and foremost, the type of ice cream maker you have will impact the overall time. Whether you have a manual crank model, an electric model, or a self-freezing model, each comes with its own set of instructions and recommended timeframes for producing delicious ice cream.
Another factor to consider is the pre-freezing duration of the ice cream bowl. Most ice cream makers require you to freeze the bowl for a specific amount of time before use. This step ensures that the bowl is cold enough to freeze the ice cream mixture effectively. Depending on your specific model, the pre-freezing time may vary from a few hours to overnight, so it’s important to plan accordingly.
The preparation time for the ice cream base is also worth noting. Different recipes may require you to heat and cool the ingredients, which adds additional minutes to the overall time. Taking the time to properly prepare the base will contribute to the flavor and texture of your final product.
Once the ice cream base is prepared, it needs to chill for a certain period. This chilling time allows the flavors to meld together and ensures a smoother texture. Depending on the recipe, the chilling time may range from a few hours to overnight.
Once the base is chilled, it’s time to churn the ice cream. Churning is the process of incorporating air into the mixture, which creates that creamy and smooth texture we all love. The churning time can vary depending on your model but typically takes around 20 to 30 minutes.
After churning, the ice cream needs to be held in the freezer to firm up and reach the desired consistency. This holding period may range from a couple of hours to several hours, depending on your recipe and personal preference.
While making ice cream with an ice cream maker does require some time, the majority of the process is comprised of inactive steps, such as freezing and chilling. The hands-on time required is minimal, allowing you to engage in other activities while waiting for your delicious creation to be ready.
Now that we have an overview of the factors that affect the time it takes to make ice cream with an ice cream maker, we can dive deeper into each aspect to better understand the time involved in making this frozen treat. So, grab your favorite ice cream recipe and let’s begin our journey to homemade ice cream heaven!
Factors Affecting the Time Taken
When it comes to making ice cream with an ice cream maker, several factors contribute to the overall time required to produce that perfect scoop. Understanding these factors will help you plan and manage your time effectively. Let’s explore some of the key elements that influence the time taken to make ice cream.
The first factor to consider is the type of ice cream maker you have. Manual crank models usually involve more hands-on time, as you need to manually turn the crank to churn the ice cream. On the other hand, electric models and self-freezing models typically require less manual effort. The type of ice cream maker you choose will have a direct impact on the overall time it takes to make ice cream.
Another crucial factor is the pre-freezing duration of the ice cream bowl. Most ice cream makers require you to freeze the bowl for a specific amount of time before use. This step ensures that the bowl is cold enough to freeze the ice cream mixture effectively. The pre-freezing time can range from a few hours to overnight. It’s essential to read the manufacturer’s instructions and plan ahead to ensure the bowl is properly frozen and ready for use.
The time required for preparing the ice cream base is also worth considering. Depending on the recipe, this may involve heating and cooling the ingredients to achieve the desired flavor and texture. The preparation time can vary depending on the complexity of the recipe. It’s important to allocate enough time to complete this step without rushing it to ensure the best possible results.
Once the ice cream base is prepared, it needs to chill for a certain duration. This chilling period allows the flavors to meld together and provides a smoother texture. The suggested chilling time can vary depending on the recipe, ranging from a few hours to overnight in the refrigerator. It’s crucial to factor in this waiting time while planning your ice cream-making adventure.
The actual churning process is another significant factor in the time taken to make ice cream. Churning is the process of incorporating air into the ice cream mixture to create a creamy texture. The duration of churning can vary depending on the specific ice cream maker model and recipe. Typically, it takes around 20 to 30 minutes for the ice cream to reach the desired consistency. It’s essential to follow the instructions provided by your ice cream maker and monitor the churning process to achieve the perfect texture.
Finally, the time required for holding and hardening the ice cream should be taken into account. After churning, the freshly made ice cream needs time to firm up in the freezer. The holding time can vary depending on the recipe and personal preference, ranging from a couple of hours to several hours. This step ensures that the ice cream is fully set and ready to be enjoyed.
By considering all these factors – the type of ice cream maker, pre-freezing time, preparation time, chilling period, churning duration, and holding time – you can estimate the overall time it will take to make ice cream. Allow yourself ample time to enjoy the process without feeling rushed. Ultimately, embracing each step of the ice cream-making journey will result in a delightful frozen treat that will make all your efforts worthwhile.
Type of Ice Cream Maker
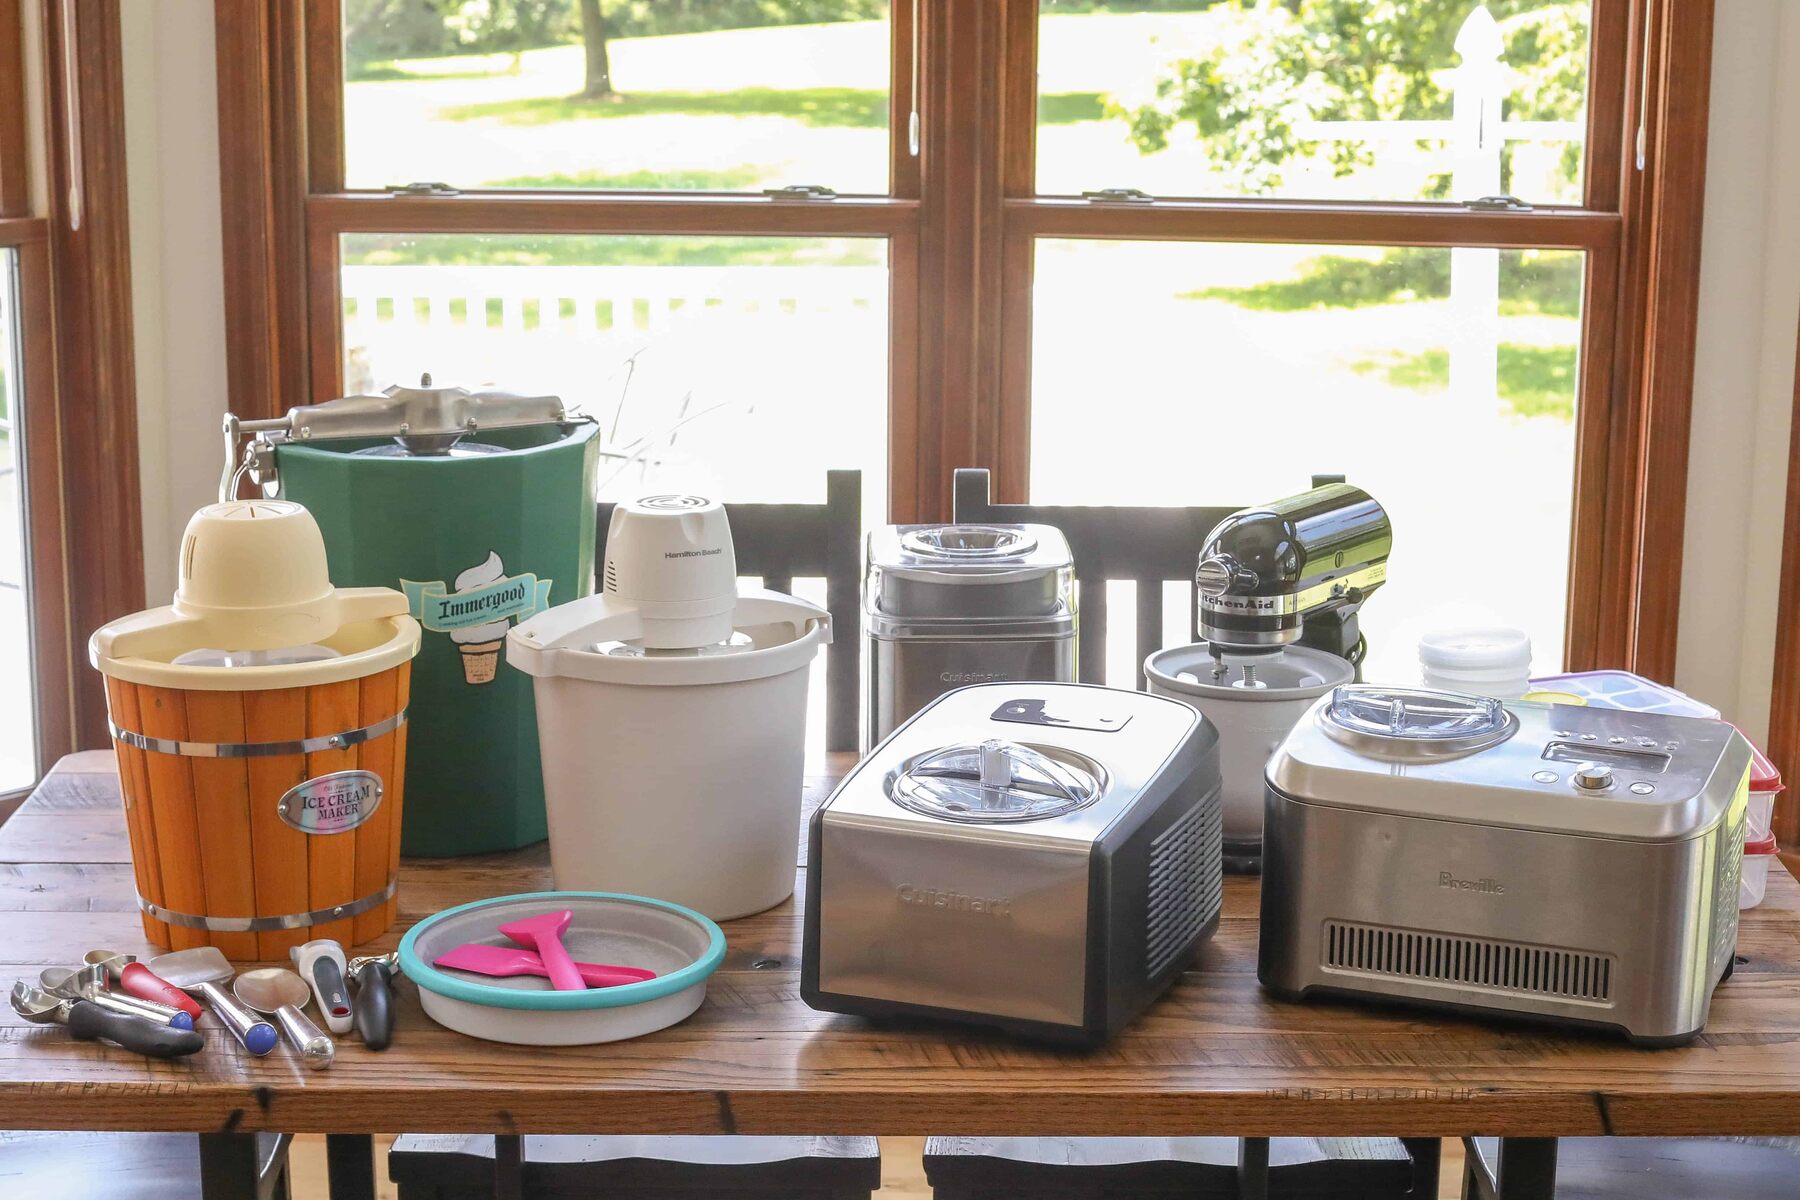
The type of ice cream maker you choose plays a significant role in determining the time it takes to make your homemade ice cream. There are several different types of ice cream makers available on the market, each with its own unique characteristics and time requirements.
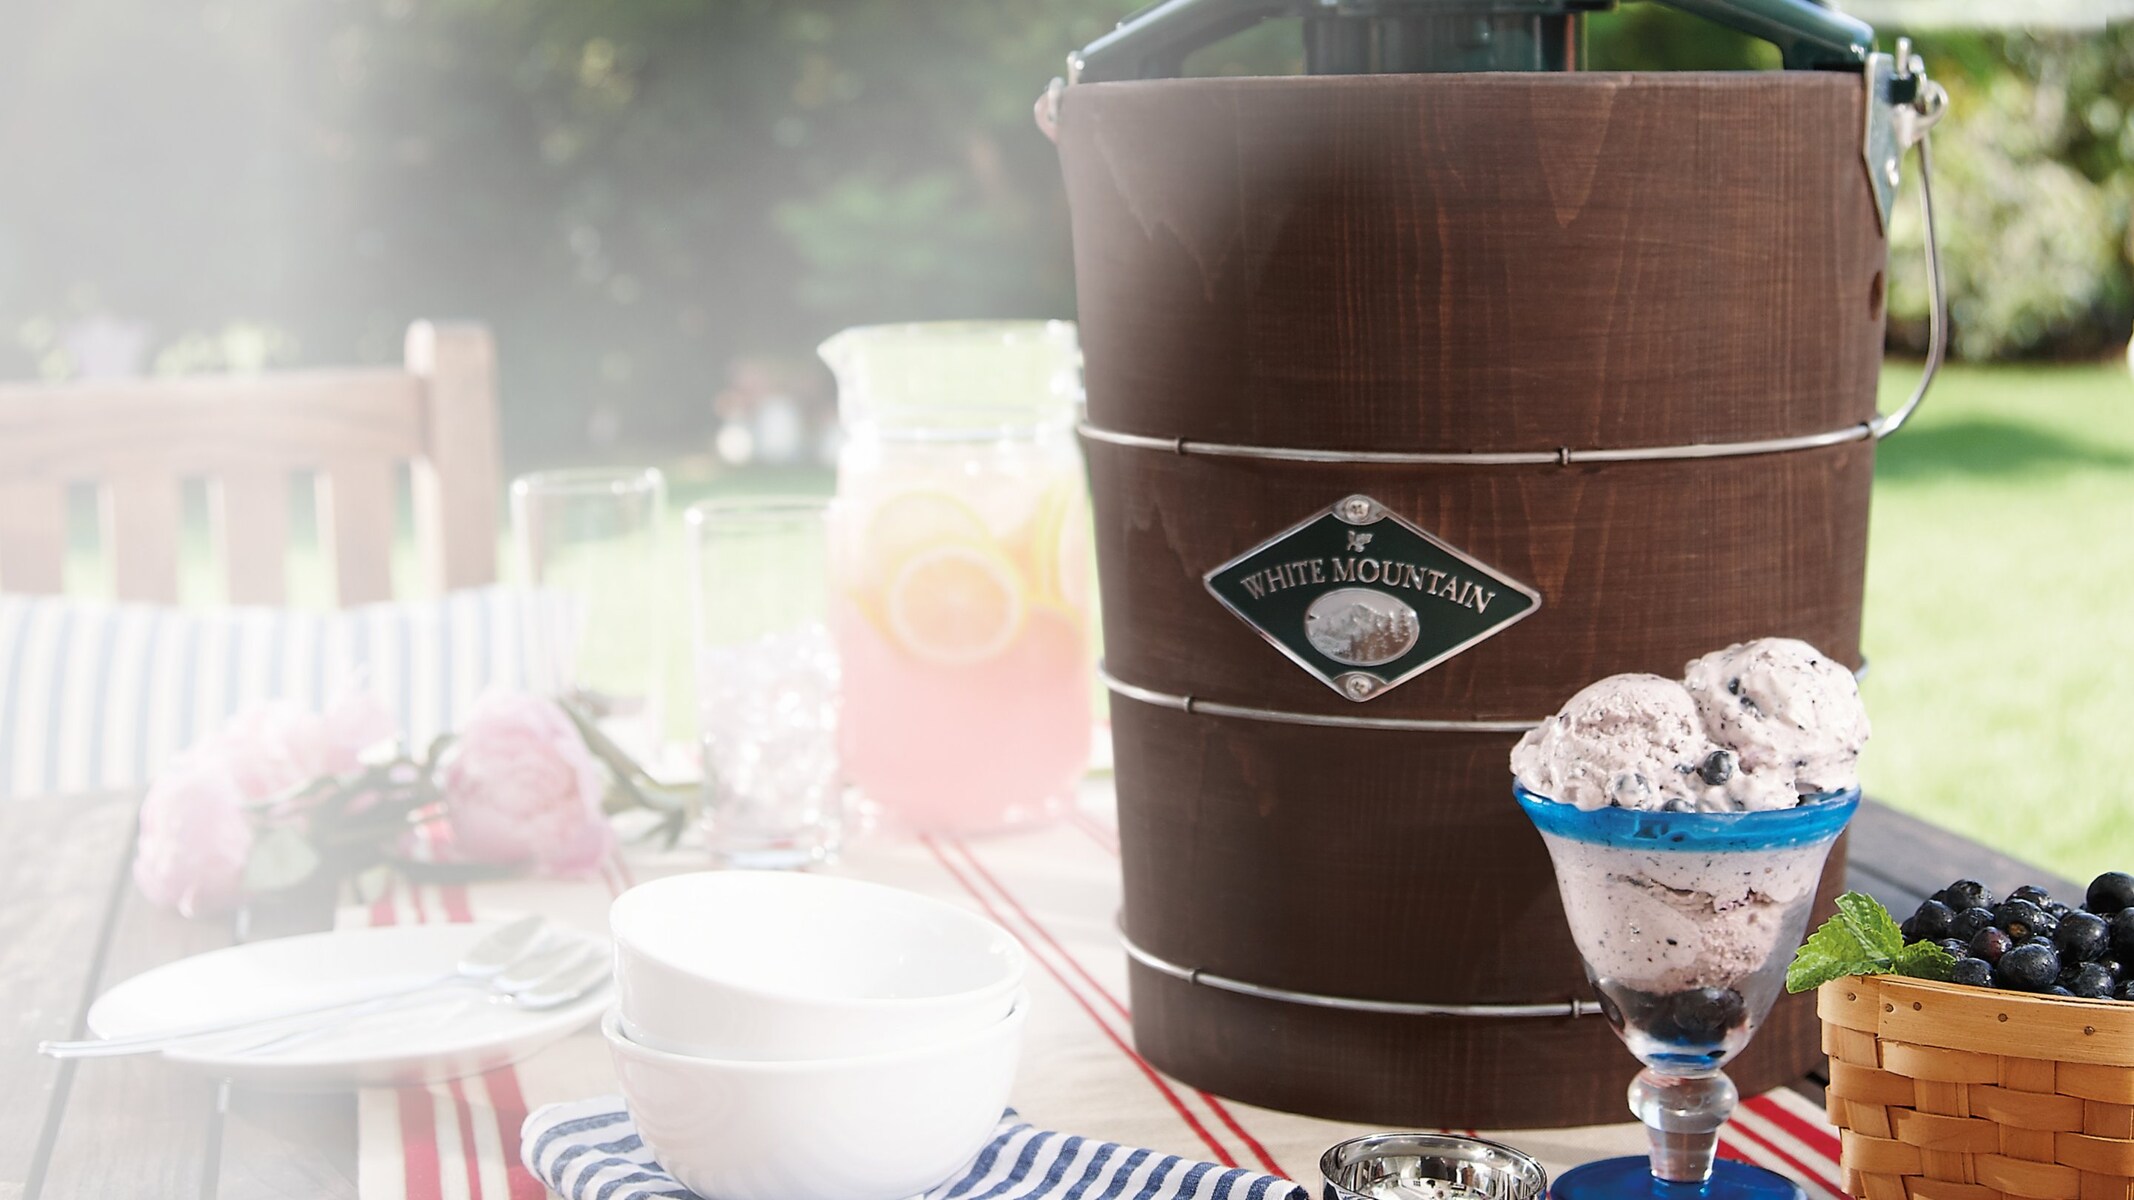
Manual crank models are the traditional and most basic type of ice cream maker. They consist of a metal canister that holds the ice cream mixture, surrounded by ice and rock salt in a larger bucket. You manually turn the crank, which rotates a paddle inside the canister, churning the mixture as it freezes. Manual crank models generally require more time to make ice cream compared to other types, often ranging from 30 minutes to an hour or more. The hand-cranking process requires continuous effort and can be a fun activity for families or those who enjoy a more hands-on approach to their ice cream making experience.
Electric ice cream makers, on the other hand, simplify the process and reduce the amount of manual labor required. These models have an electric motor that rotates the paddle inside the canister. They are designed to automatically churn the ice cream mixture, providing a more convenient experience. Electric ice cream makers typically take around 20 to 30 minutes to produce a batch of ice cream. The hands-on time is minimal, allowing you to relax or attend to other tasks while the machine does the churning for you.
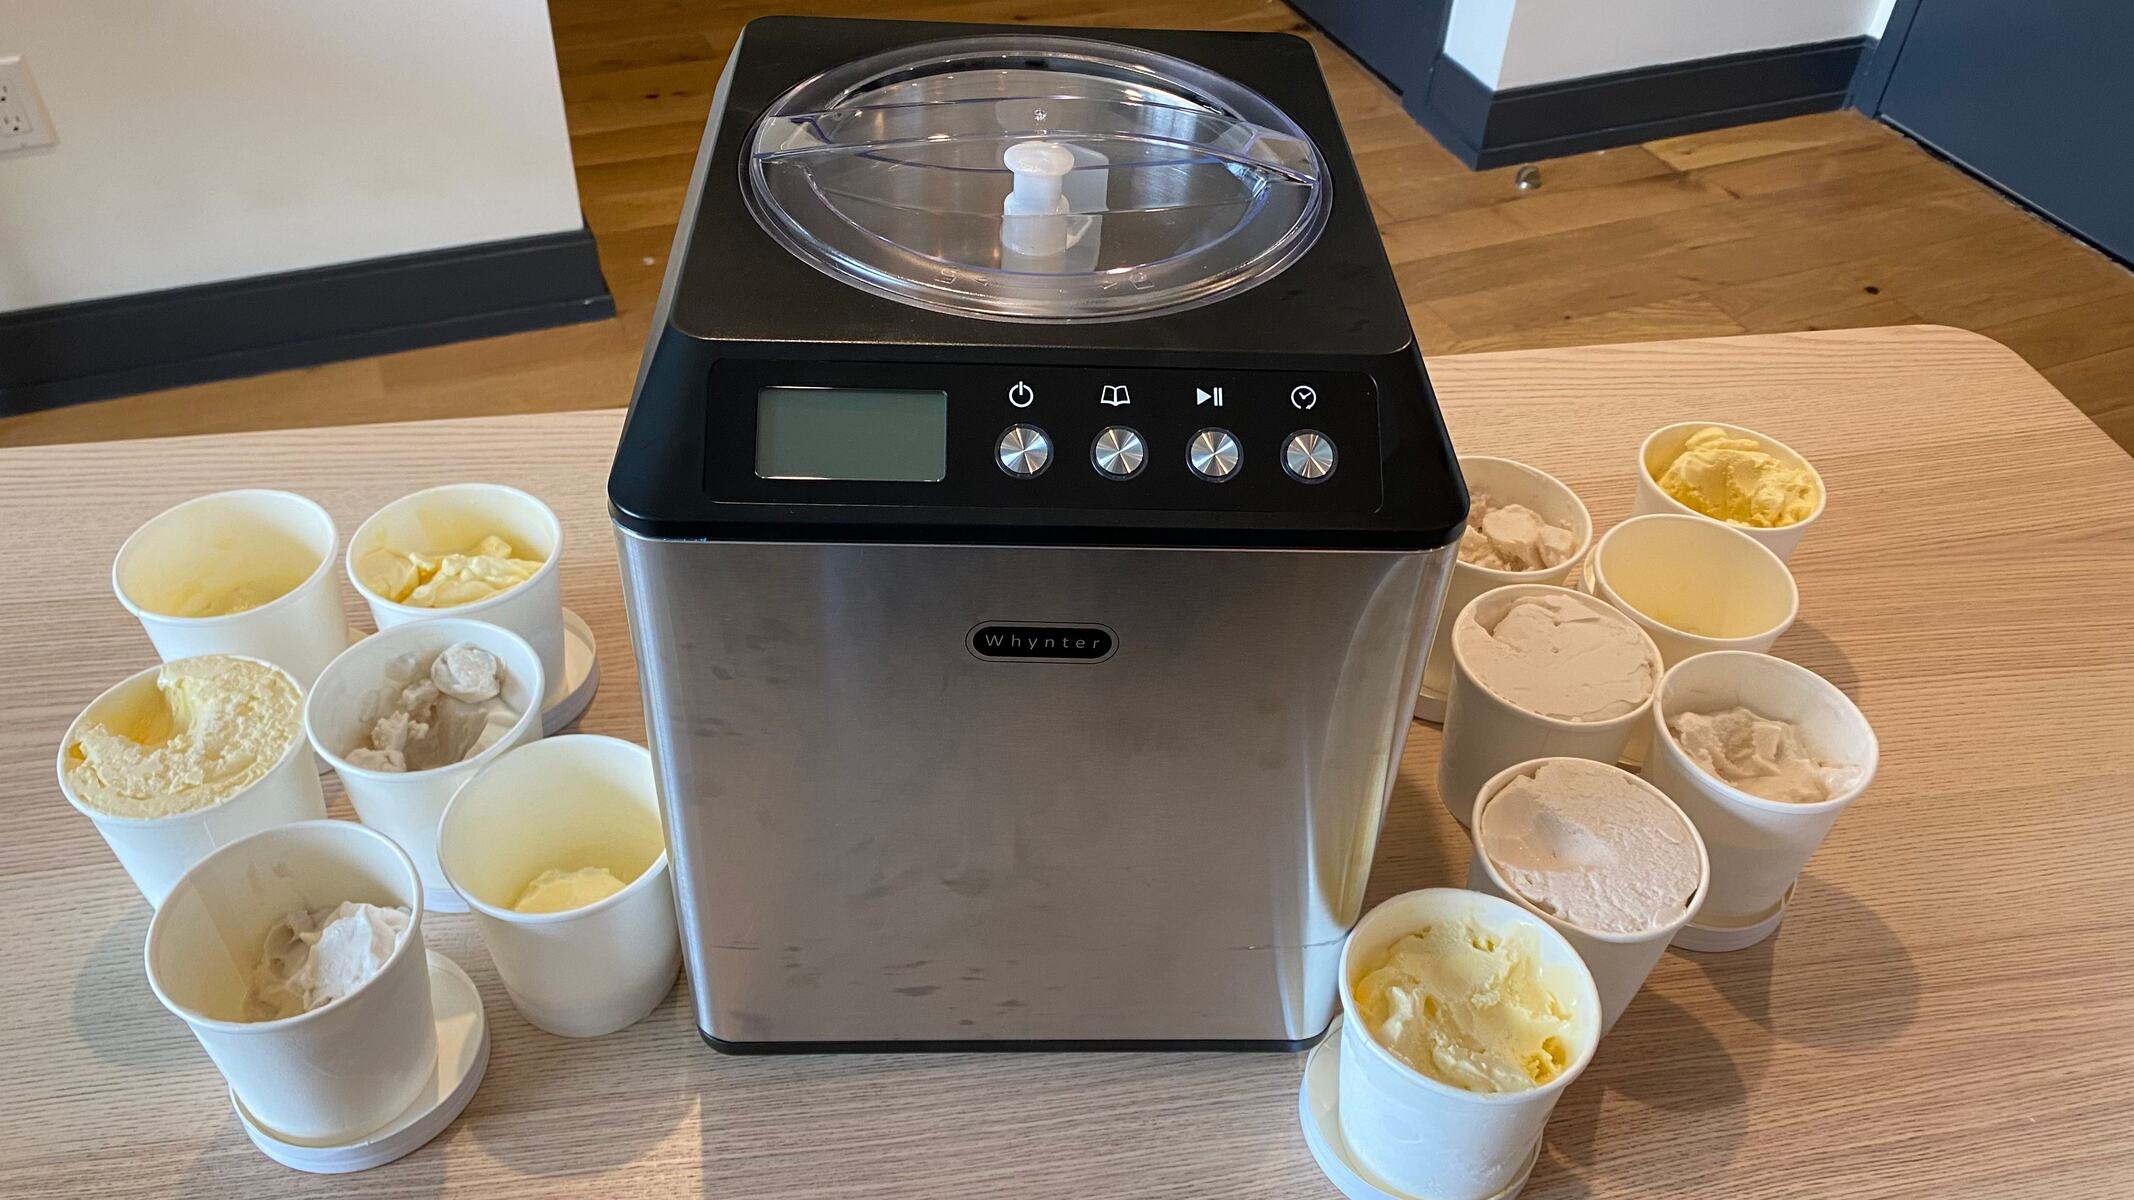
Self-freezing ice cream makers, also known as compressor ice cream makers, are the most advanced and efficient type. These machines have built-in freezers, eliminating the need for pre-freezing the ice cream bowl or using ice and salt. Self-freezing ice cream makers can cool and churn the ice cream simultaneously, allowing for immediate ice cream making. The time required to make ice cream with a self-freezing model is significantly reduced, often taking around 30 to 60 minutes. These models are perfect for those who want to make impromptu batches of ice cream without the need for pre-planning or extensive waiting time.
When considering the type of ice cream maker to purchase, it’s essential to keep in mind your personal preferences and the amount of time you are willing to invest in the ice cream-making process. If you enjoy the nostalgia and hands-on experience, a manual crank model may be ideal. If convenience and time efficiency are your priorities, an electric or self-freezing model may be a better fit.
No matter which type of ice cream maker you choose, the joy of creating your own homemade ice cream will surely be worth the time and effort involved. So, select the model that suits your needs and have fun experimenting with delicious ice cream flavors right in your own kitchen.
Pre-Freezing the Ice Cream Bowl
One crucial step in making ice cream with an ice cream maker is pre-freezing the ice cream bowl. Most ice cream makers require you to freeze the bowl for a specific amount of time before use. This essential step ensures that the bowl is cold enough to freeze the ice cream mixture effectively.
The pre-freezing time can vary depending on the type and model of your ice cream maker. It’s important to read the instructions provided by the manufacturer to determine the recommended pre-freezing duration for your specific machine. In general, the pre-freezing time ranges from several hours to overnight.
The purpose of pre-freezing the ice cream bowl is to lower its temperature to a level where it can effectively freeze the mixture during the churning process. The bowl needs to be cold enough to freeze the liquid ice cream base, transforming it into a creamy and delicious frozen treat.
When pre-freezing the ice cream bowl, it’s essential to ensure that it is placed in a flat and stable position in the freezer. This helps prevent any spillage or uneven freezing of the mixture. Additionally, make sure that the bowl is clean and dry before placing it in the freezer to avoid any unwanted ice crystals forming on the surface.
Planning ahead is key when it comes to pre-freezing the ice cream bowl. If you know you want to make ice cream, check whether the bowl is properly frozen in advance. This will prevent any last-minute delays or disappointment when you’re ready to begin the ice cream-making process.
It’s worth noting that some advanced ice cream makers, such as self-freezing models, eliminate the need for pre-freezing the ice cream bowl. These machines have built-in freezers that can cool the bowl during the churning process, allowing for immediate ice cream making. If time efficiency is a priority for you, investing in a self-freezing model may be a worthwhile option.
Pre-freezing the ice cream bowl is an essential step that should not be overlooked. It ensures that the bowl is at the optimal temperature for freezing your ice cream mixture effectively. By following the manufacturer’s instructions and planning ahead, you’ll have a properly frozen ice cream bowl ready to churn out perfectly creamy and delightful homemade ice cream.
Preparation Time for the Ice Cream Base
When making ice cream with an ice cream maker, the preparation time for the ice cream base is a crucial factor to consider. The ice cream base is the foundation of your frozen treat, and the time it takes to prepare it can vary depending on the recipe and the specific ingredients involved.
Preparation time for the ice cream base typically includes gathering and measuring the ingredients, mixing them together, and ensuring that the mixture is properly chilled before churning. The actual time needed for preparation can range from a few minutes to several hours, depending on the complexity of the recipe and any additional steps involved.
The first step in preparing the ice cream base is gathering the necessary ingredients. This can involve a variety of components, such as milk or cream, sugar, eggs, flavorings, and mix-ins like chocolate chips or fruit. It’s important to measure the ingredients accurately to maintain the right balance of flavors and ensure a successful outcome.
Once the ingredients are gathered, they need to be combined and mixed together to create a homogeneous mixture. This step usually involves heating the mixture on the stovetop to dissolve the sugar and ensure proper incorporation of flavors. It’s essential to follow the recipe instructions carefully to achieve the desired consistency and avoid any lumps or overly sweet ice cream.
After the ingredients are mixed, the ice cream base usually needs to be cooled down before churning. This cooling period allows the flavors to meld together and promotes a smoother texture in the final product. The duration of the cooling period can vary depending on the recipe, ranging from a couple of hours to overnight in the refrigerator.
Some recipes may also require additional steps during the preparation of the ice cream base, such as tempering eggs or cooking the mixture to a specific temperature. These extra steps can add some time to the overall preparation process but are essential for achieving the desired taste and texture in the ice cream.
It’s worth noting that there are also no-churn ice cream recipes available that do not require an ice cream maker. These recipes often have simplified preparations and may not require heating or chilling the mixture. However, to make ice cream with a traditional ice cream maker, following the preparation steps and allowing for sufficient time to prepare the ice cream base is essential.
Planning ahead and allocating enough time for the ice cream base preparation is crucial for a successful ice cream-making experience. By taking the time to properly gather, measure, mix, and chill the ingredients, you can ensure that the flavors are well-developed and the ice cream has a delightful texture. So, get your recipe ready, set aside the necessary preparation time, and embark on your ice cream-making adventure.
Chilling Period for the Ice Cream Base
When making ice cream with an ice cream maker, one of the crucial steps in the process is allowing the ice cream base to chill before churning. This chilling period is essential as it allows the flavors to develop and meld together while also ensuring a smoother texture in the final frozen treat.
The duration of the chilling period can vary depending on the recipe and the ingredients used. In most cases, the ice cream base needs to be fully chilled to a specific temperature before it is ready to be churned. This process typically involves placing the mixture in the refrigerator for a designated period, usually ranging from a few hours to overnight.
During the chilling period, several processes occur that enhance the overall quality of your homemade ice cream. First, as the mixture cools, the flavors have an opportunity to blend and intensify. This results in a more robust and well-developed taste profile in the finished ice cream. Additionally, the chilling process helps the ice cream base achieve a stable and consistent temperature, which is essential for the churning process.
While the chilling period is necessary for flavor development, it also plays a crucial role in achieving a smoother and creamier texture in the ice cream. Allowing the base to chill thoroughly allows the fat molecules from the dairy ingredients to solidify. This solidification helps to trap air during the churning process, creating small air pockets that contribute to the ice cream’s light and airy consistency.
It’s important to note that the chilling period may vary depending on the specific recipe you are using. Some recipes, especially those that don’t contain eggs or require cooking, may have shorter chilling times. Others, such as custard-based ice creams, usually benefit from longer chilling periods to fully develop their flavors and achieve optimum texture.
During the chilling period, it’s important to cover the ice cream base to prevent the formation of a skin or absorbing any odors from the refrigerator. You can cover the mixture with plastic wrap, making sure it is in direct contact with the surface of the base to minimize any air exposure.
Overall, the chilling period for the ice cream base is a critical step in the ice cream-making process. It allows the flavors to meld together, enhances the taste profile, and promotes a smoother texture in the final product. By following the chilling time specified in your recipe, you can ensure that your homemade ice cream is bursting with flavor and has a delightful creamy consistency.
Time Required for Churning
Once the ice cream base has been properly prepared and chilled, it’s time to move on to the churning process. Churning is the magic that transforms the liquid base into a delectable frozen treat. The time required for churning plays a crucial role in achieving the desired texture and consistency of your homemade ice cream.
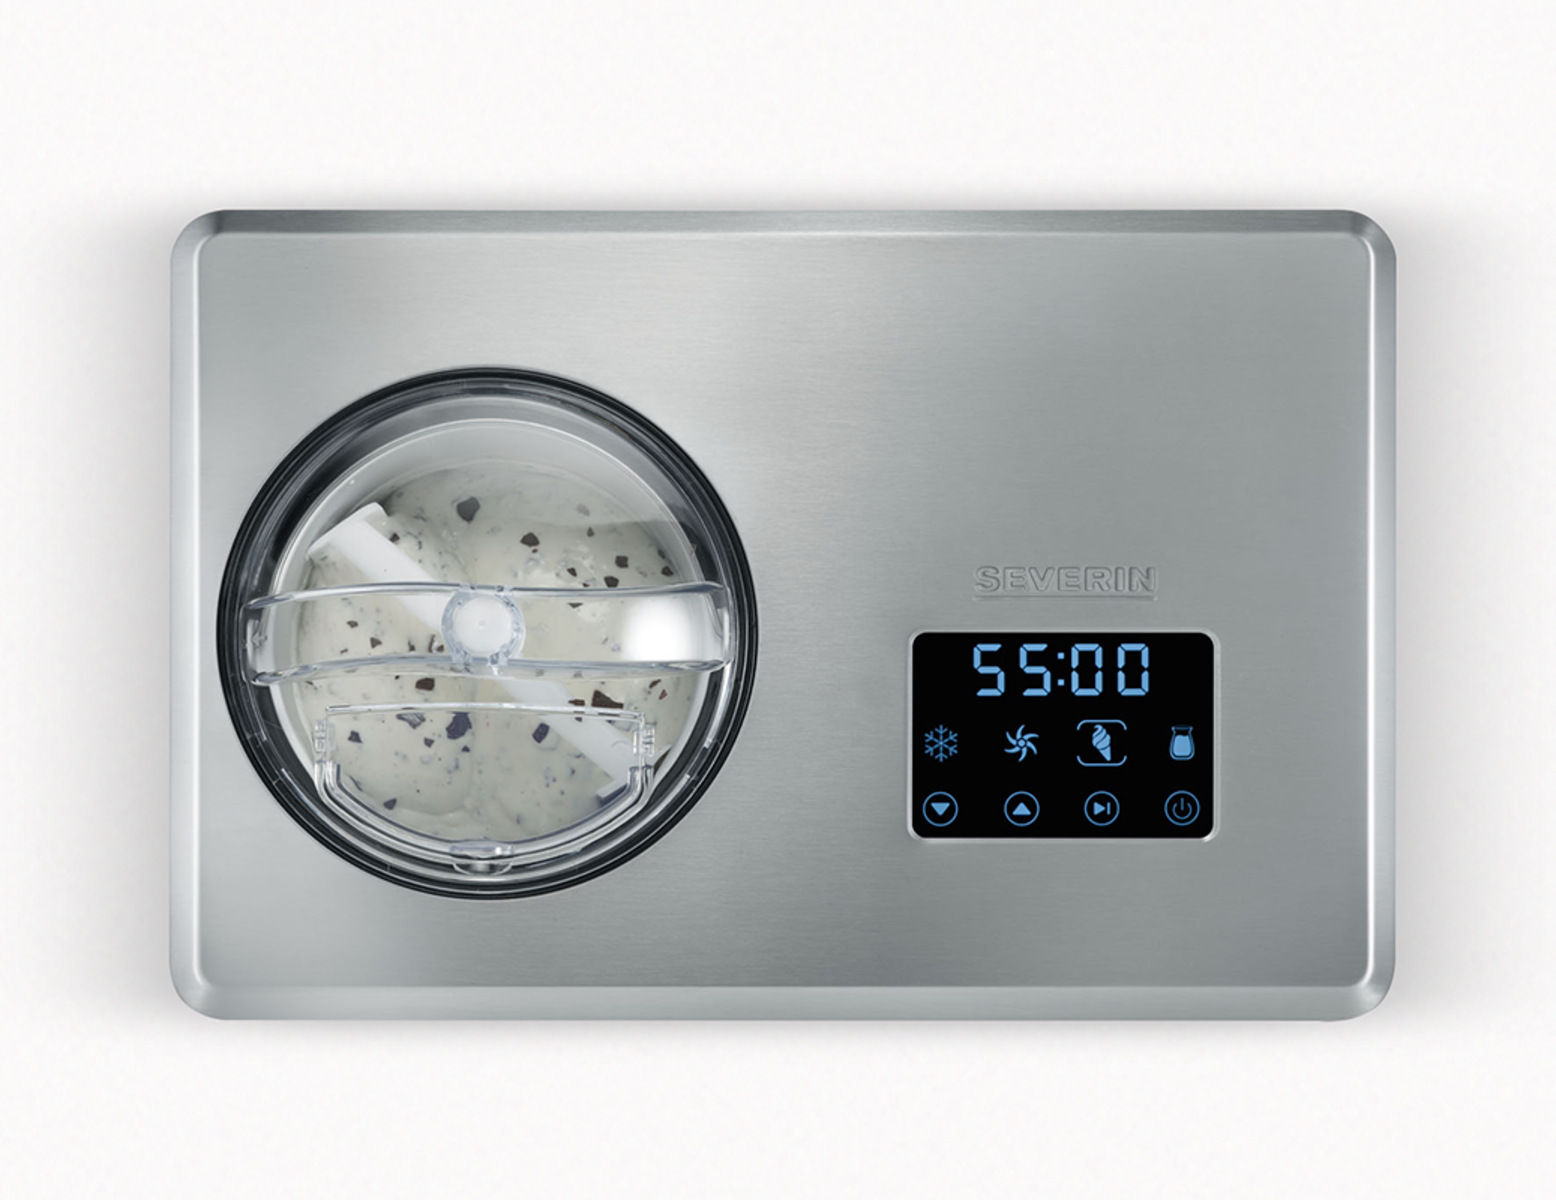
The duration of churning can vary depending on several factors, including the specific ice cream maker model, the temperature of the ice cream base, and the recipe’s instructions. On average, the churning process takes approximately 20 to 30 minutes, but it may be shorter or longer depending on these factors.
During churning, the ice cream maker paddle rotates, continuously incorporating air into the mixture. This aeration process helps to create a smooth and creamy texture in the ice cream. The more air that is incorporated, the lighter and fluffier the resulting ice cream will be.
It’s important to note that overly long churning can lead to excessive air incorporation, resulting in a lighter but less dense ice cream. On the other hand, inadequate churning time may result in a dense and icy texture. Therefore, it’s crucial to closely follow the guidelines provided by your ice cream maker and recipe instructions to ensure the perfect balance.
Monitoring the churning process is essential to achieve the desired texture. Keep an eye on the ice cream as it churns, observing its consistency and texture. The ice cream should gradually thicken and increase in volume. Some ice cream makers come with a timer or an indicator that signals when the churning is complete. However, it’s always a good idea to rely on visual cues and personal judgment to determine the ideal churning time for your specific ice cream base.
It’s worth noting that different recipes may have specific recommendations for churning time based on the ingredients used or the desired outcome. For instance, a recipe with a higher fat content (such as a custard-based ice cream) may require a slightly longer churning time to achieve a creamy and luxurious texture.
Once the ice cream has reached the desired consistency, it’s important to stop the churning process promptly. Over-churning can result in over-aerated ice cream, causing it to melt quickly and lose its desired texture. Therefore, it’s best to err on the side of caution and stop the churning before the ice cream begins to separate or becomes too soft.
Ultimately, finding the perfect churning time for your ice cream may require some trial and error. Experimenting with different recipes and adjusting the churning time to suit your preferences will help you fine-tune the process and achieve the ideal texture and consistency for your homemade ice cream.
Holding and Hardening the Ice Cream
Once the churning process is complete, it’s time to focus on the final stages of making your homemade ice cream – the holding and hardening periods. These steps are crucial to achieve the desired texture and firmness of the ice cream before it’s ready to be scooped and enjoyed.
After churning, the ice cream is usually in a semi-soft state, with a texture similar to soft serve. Holding the ice cream allows it to thicken and stabilize further, resulting in a creamier and firmer final product. The holding time can vary depending on the specific recipe and personal preference.
The recommended holding time for ice cream typically ranges from a couple of hours to several hours. During this time, it’s important to transfer the freshly churned ice cream into a suitable container with an airtight seal. This container helps prevent unwanted ice crystals from forming and maintains the ice cream’s quality.
The exact holding time may depend on the recipe and the desired consistency of the ice cream. Some recipes may suggest a shorter holding time if a softer and more scoopable texture is desired. On the other hand, a longer holding time, especially in the freezer, can result in a firmer and more solid ice cream.
During the holding period, it’s crucial to place the container with the ice cream in the coldest part of the freezer to ensure optimal freezing. Keeping the ice cream away from the freezer door and other warmer areas helps maintain a consistent and even temperature, preventing any premature melting or uneven freezing.
It’s important to note that the holding period is a necessary step but does not mean the ice cream is ready for consumption right away. While the ice cream may firm up during this time, it may still be somewhat soft and delicate. For a harder consistency, further hardening is required.
Hardening the ice cream involves allowing it to remain in the freezer for an extended period, usually several hours or overnight. This additional time in the freezer solidifies the ice cream even further, resulting in a harder texture that is easier to scoop and hold its shape.
Batch size and the container used can also impact the hardening time. Larger batches and deeper containers may require additional time to fully harden. It’s always a good idea to check the firmness of the ice cream by gently pressing the surface with a finger or spoon to ensure it has reached the desired consistency.
Once the ice cream has hardened to your liking, it’s ready to be scooped, served, and enjoyed. The proper texture achieved through the holding and hardening periods ensures that each scoop is rich, smooth, and satisfying.
Remember, the holding and hardening stages are essential to allow the ice cream base to set and reach its full potential. So, exercise patience, let the freezer work its magic, and soon you’ll savor the fruits of your labor – a delicious bowl of homemade ice cream with the perfect consistency.
Conclusion
Making homemade ice cream with an ice cream maker is a delightful experience that allows you to indulge in the rich, creamy goodness of your favorite frozen treat. While the process does require some time and patience, the end result is well worth the effort.
Throughout this article, we have explored the different factors that contribute to the overall time it takes to make ice cream with an ice cream maker. From the type of ice cream maker to pre-freezing the ice cream bowl, preparing the ice cream base, and the chilling, churning, holding, and hardening periods, each step plays a crucial role in creating the perfect scoop.
Understanding these factors allows you to plan and manage your time effectively while ensuring the best possible outcome for your homemade ice cream. Whether you opt for a manual crank model, an electric model, or a self-freezing model, choosing the right type of ice cream maker can streamline the process and provide the desired level of convenience.
Pre-freezing the ice cream bowl and properly preparing the ice cream base contribute to the overall success of your ice cream-making venture. Taking the time to chill the base and allowing it to develop in flavor and texture during the churning process ensures that your ice cream is rich, smooth, and delicious.
Finally, the holding and hardening periods allow the ice cream to set and solidify, achieving the perfect consistency. By following these steps and paying attention to the details, you can create homemade ice cream that rivals the taste and texture of your favorite ice cream shop.
So, whether you’re in the mood for classic flavors like vanilla and chocolate or want to experiment with unique combinations and mix-ins, the time and effort invested in making ice cream with an ice cream maker will be rewarded with a frozen treat that is tailored to your taste and preferences.
Take the time to explore different recipes, experiment with flavors, and enjoy the process of creating your own ice cream masterpiece. The joy and satisfaction of seeing your family and friends delight in your homemade creation will make every minute spent well worth it.
Now, armed with a better understanding of the factors affecting the time it takes to make ice cream with an ice cream maker, go forth and whip up some frozen delights that will leave everyone asking for more.