Introduction
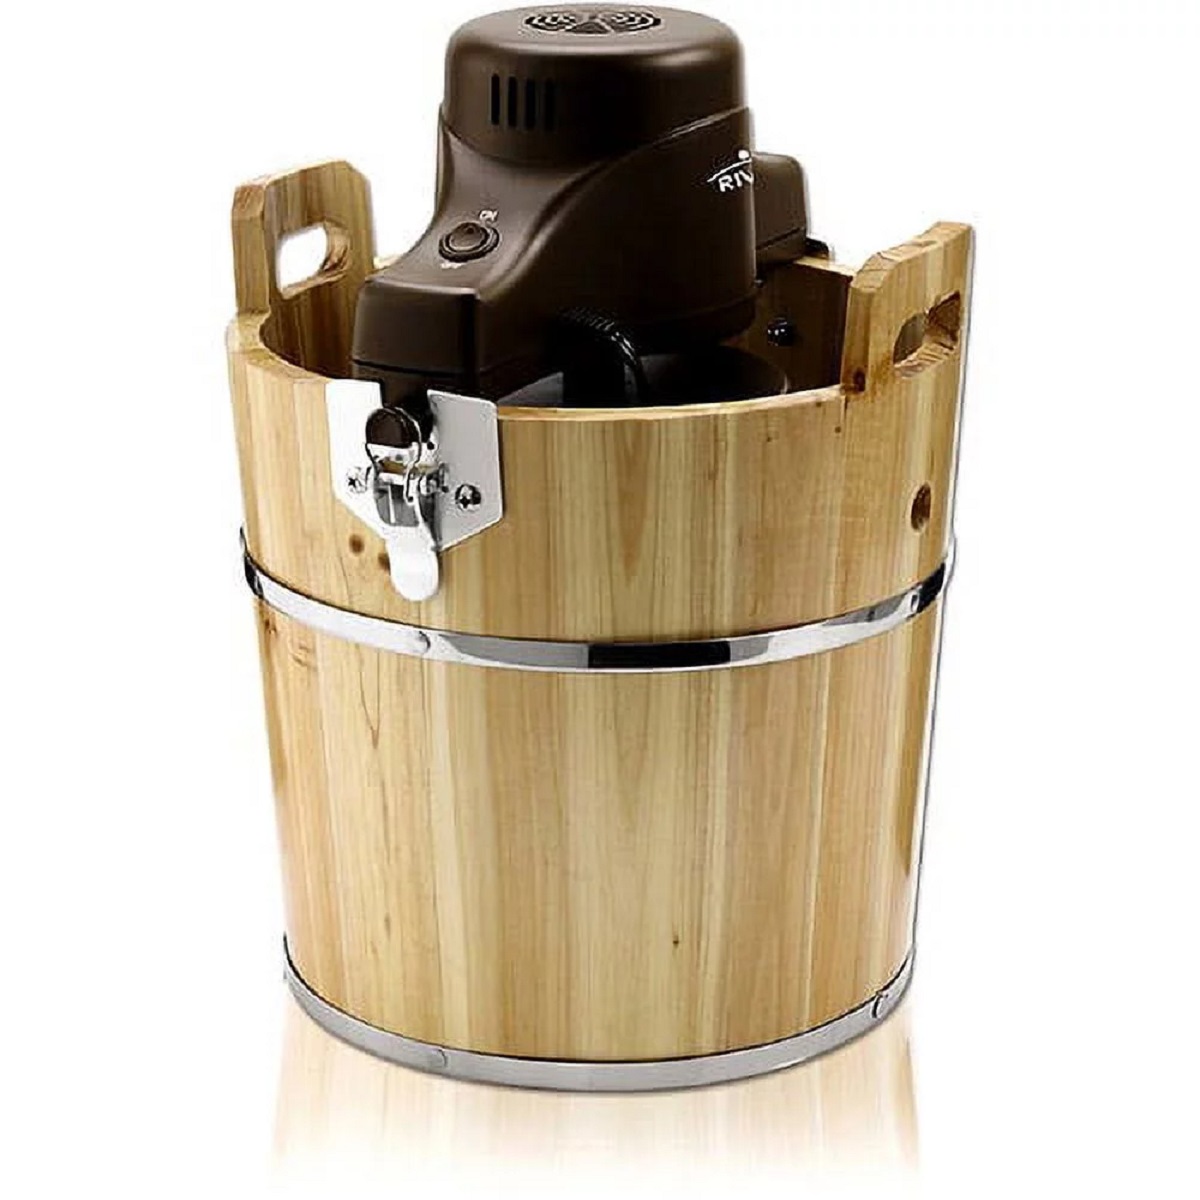
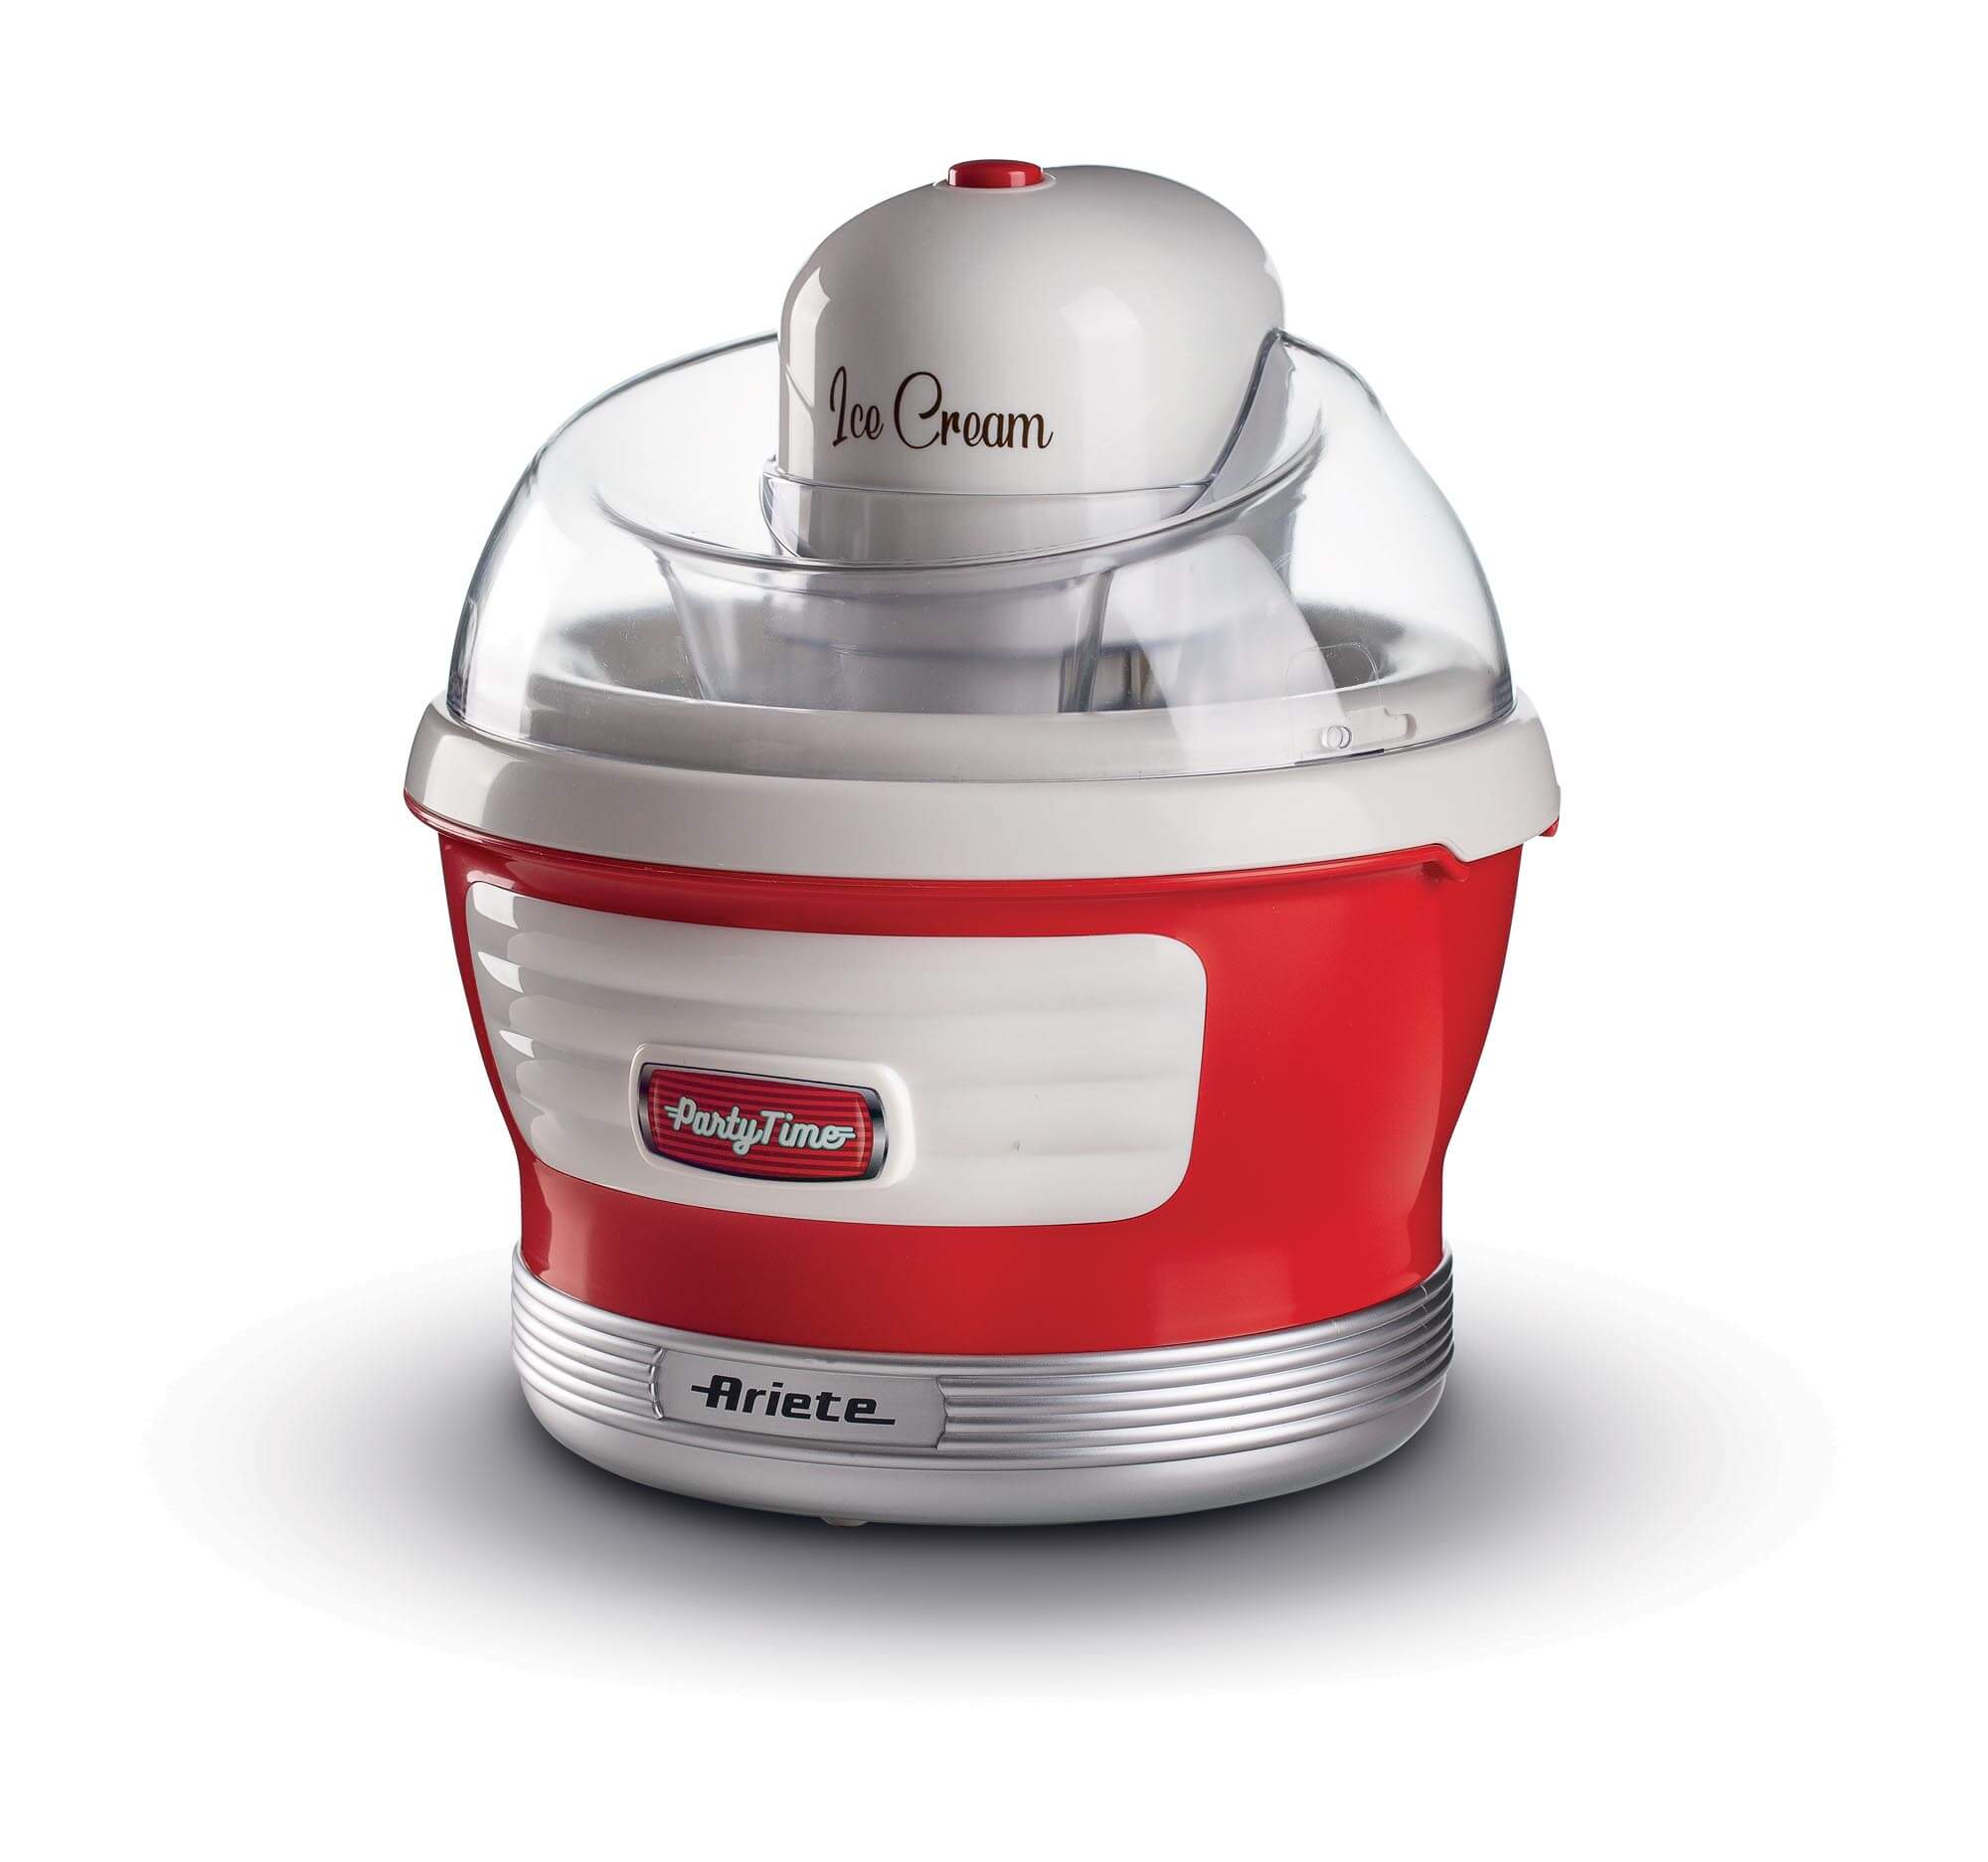
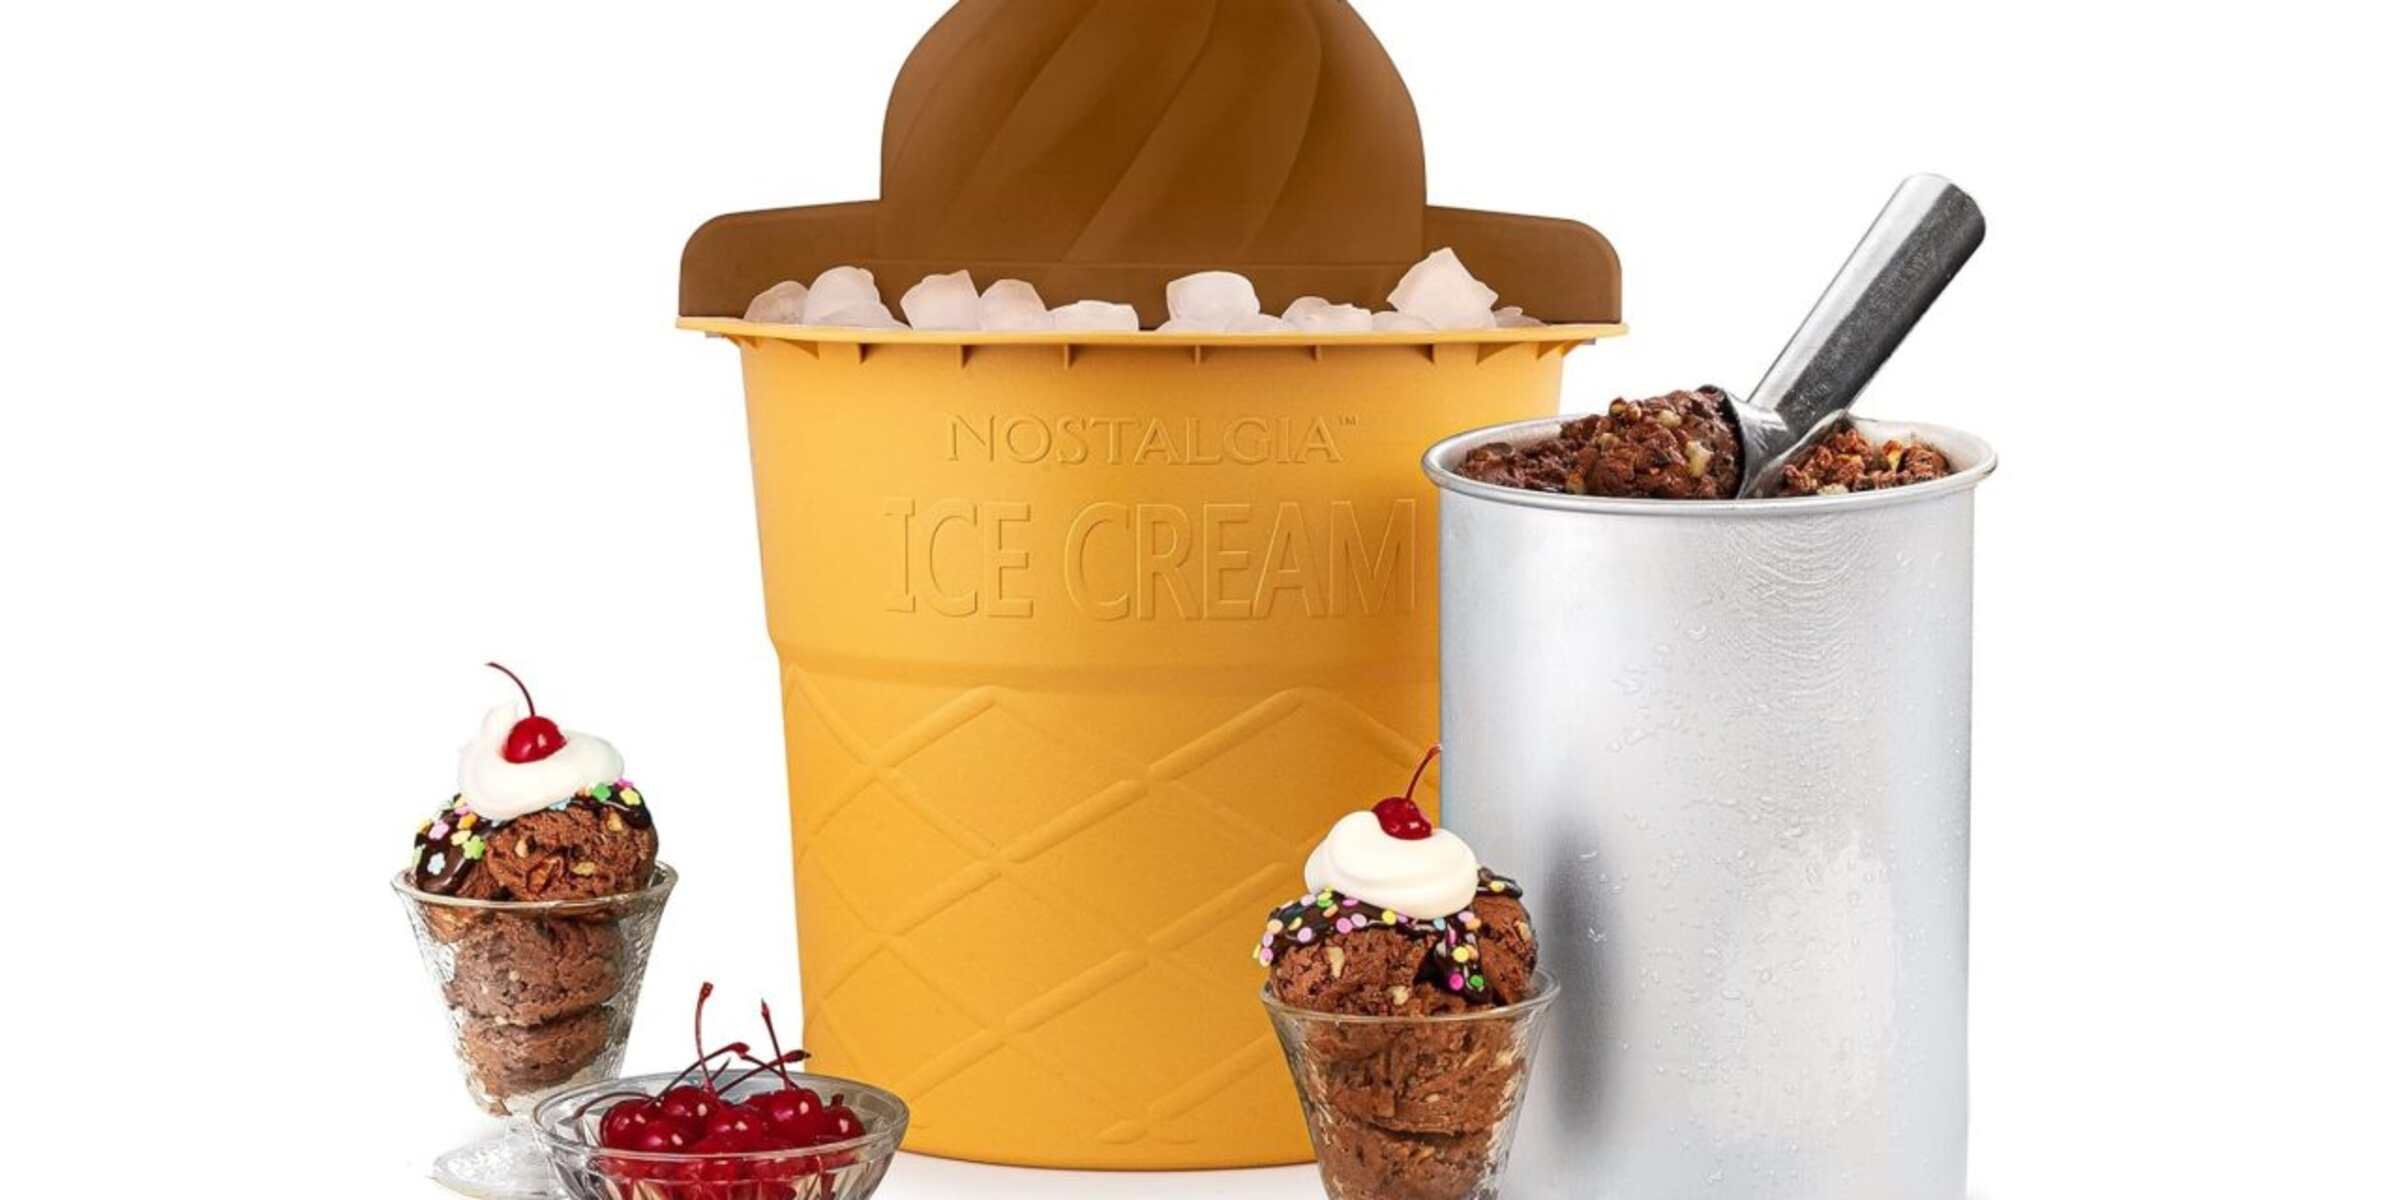
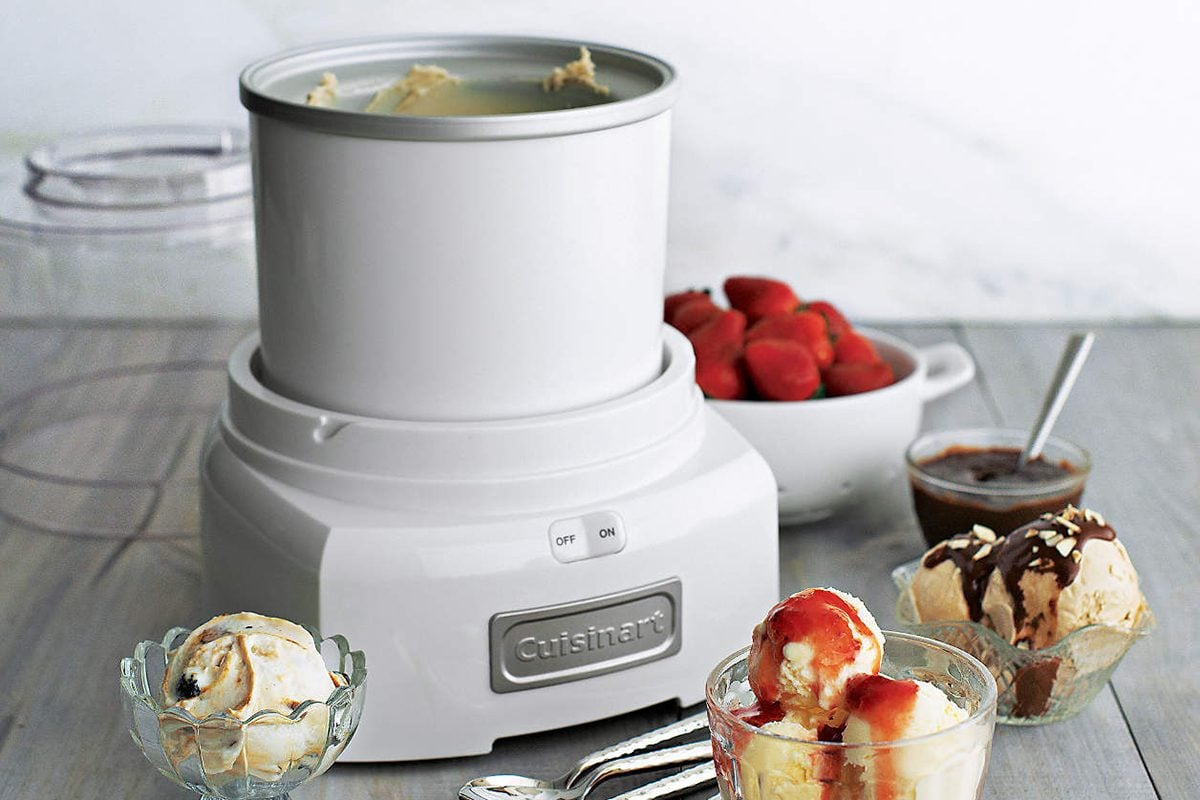
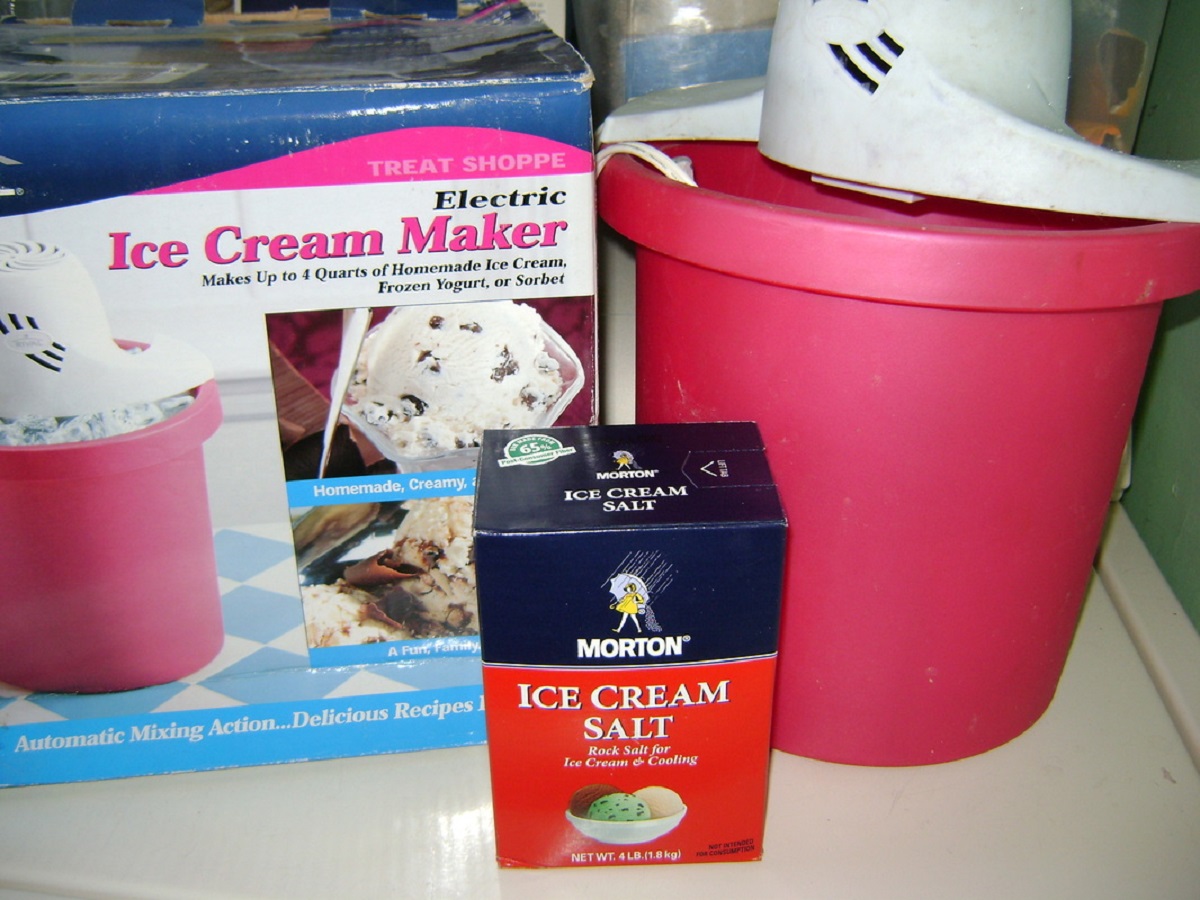
Ice cream is a beloved dessert enjoyed by people of all ages. Making homemade ice cream can be a fun and rewarding experience, especially when using an electric ice cream maker. One important ingredient that is commonly used to make ice cream is rock salt. Rock salt is used to lower the freezing temperature of the ice surrounding the ice cream mixture, allowing it to freeze properly.
In this article, we will explore the use of rock salt in home electric ice cream makers. We will discuss the factors to consider when using rock salt, the recommended amount of rock salt to use, and provide some tips for using rock salt effectively. We will also explore alternative options to rock salt for those who may choose to avoid using it.
Whether you are a novice ice cream maker or an experienced one, understanding the role of rock salt in the ice cream making process is crucial to achieving that smooth and creamy texture we all love. So, let’s dive in and explore the world of rock salt and its role in creating delicious homemade ice cream!
Understanding Rock Salt and Ice Cream Making
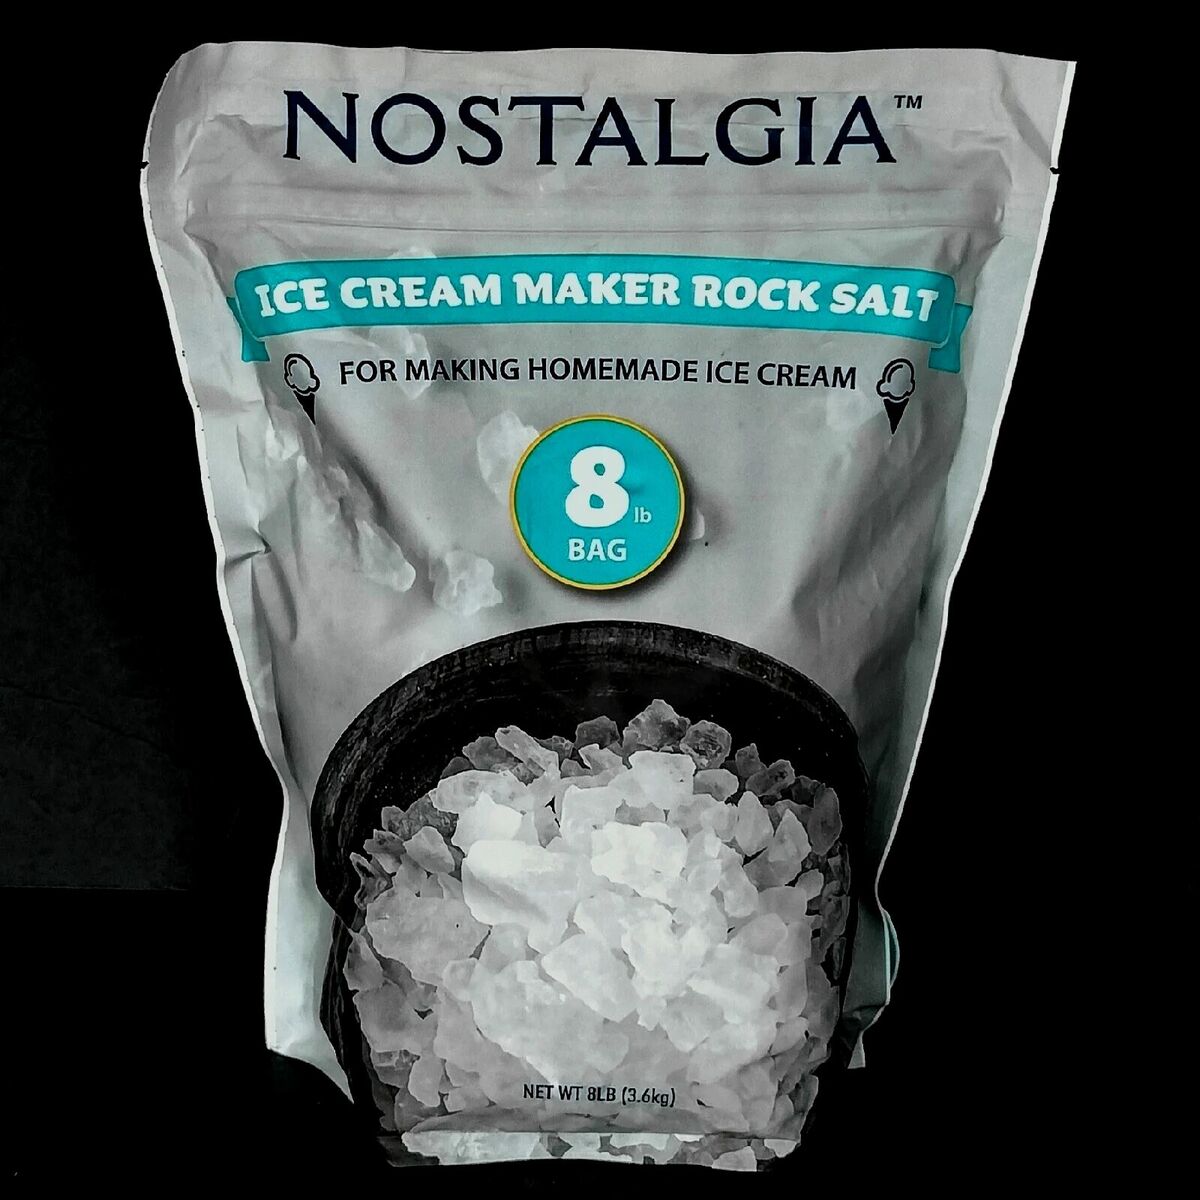
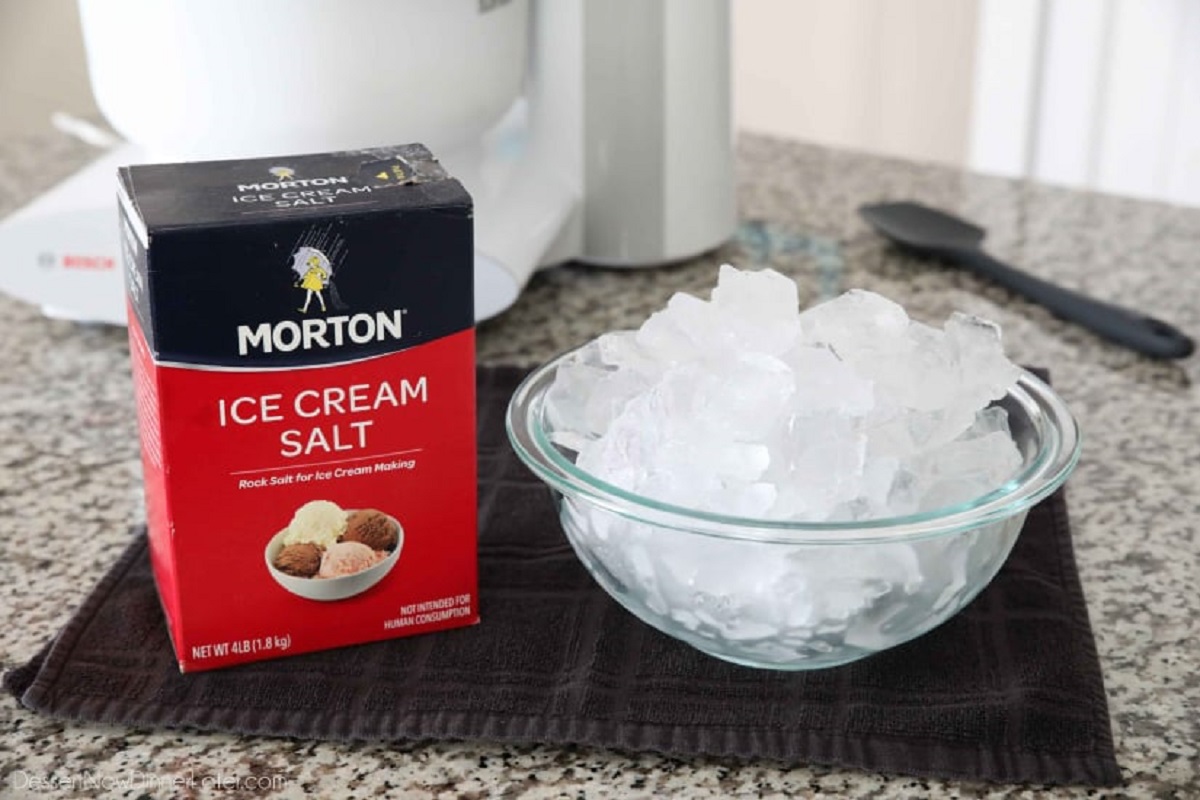
Rock salt, also known as ice cream salt, is a type of salt that is commonly used in the process of making ice cream. Its main purpose is to help lower the freezing point of the ice surrounding the ice cream mixture, allowing it to freeze and solidify properly.
To understand the role of rock salt in ice cream making, it’s important to first understand the concept of freezing point depression. Normally, water freezes at 32 degrees Fahrenheit (0 degrees Celsius). However, by adding salt to the ice, the freezing point of the mixture can be lowered, creating below-freezing temperatures.
When making ice cream, the ice cream mixture is placed in a container, which is then surrounded by a mixture of ice and rock salt. The ice cream mixture absorbs the heat from the surrounding air and gradually freezes, resulting in a smooth and creamy texture. The addition of rock salt helps to ensure that the ice surrounding the container remains at a lower temperature, allowing for a faster and more efficient freezing process.
It’s important to note that rock salt should not be directly mixed with the ice cream mixture itself. Instead, it is used to create a cold brine solution with the ice, which indirectly affects the freezing of the ice cream. Direct contact between rock salt and the ice cream mixture could result in a too salty and unpleasant flavor.
Another important factor to consider is the size and texture of the rock salt used. Rock salt typically comes in larger crystals compared to table salt. This is because the larger crystals allow for a slower dissolution rate, resulting in a longer-lasting and more consistent cooling effect. The coarse texture also provides greater surface area, facilitating better contact with the ice and enhancing the freezing process.
Overall, understanding the role of rock salt in ice cream making is essential for achieving the desired consistency and texture in your homemade ice cream. By harnessing the freezing point depression properties of rock salt, you can create deliciously smooth and creamy ice cream that will delight your taste buds.
Factors to Consider When Using Rock Salt
While rock salt can greatly aid in the process of making homemade ice cream, there are a few factors to consider to ensure optimal results. Let’s take a closer look at these factors:
1. Quality and Purity:
When selecting rock salt for your ice cream maker, it’s important to choose a high-quality and food-grade option. Ensure that the rock salt is free from any impurities or additives that could affect the taste or quality of the ice cream.
2. Proper Storage:
Rock salt should be stored in an airtight container in a cool, dry place. This will prevent it from clumping or absorbing moisture, which could alter its effectiveness in lowering the freezing point of the ice.
3. Amount of Rock Salt:
The amount of rock salt you use depends on the capacity of your ice cream maker. Be sure to consult the manufacturer’s instructions or guidelines to determine the recommended amount of rock salt for your specific machine. Using too much rock salt can lead to excessively low temperatures, while using too little may result in insufficient freezing.
4. Mixing and Layering:
When adding rock salt to the ice surrounding the ice cream mixture, it is important to mix and layer it properly. Alternating layers of ice and rock salt ensures even distribution and consistent cooling. Avoid pouring excessive amounts of rock salt in one area, as this could create localized freezing and uneven temperatures.
5. Safety Precautions:
Rock salt can be corrosive, so it’s important to handle it with care. Avoid direct contact with your skin and eyes, and wash your hands thoroughly after handling it. If accidentally ingested, seek medical attention immediately.
By considering these factors and following the recommended guidelines, you can effectively use rock salt to enhance the freezing process of your ice cream, resulting in a deliciously smooth and well-frozen treat.
Recommended Amount of Rock Salt for Home Electric Ice Cream Maker
When using a home electric ice cream maker, it’s important to use the right amount of rock salt to ensure proper freezing and a creamy texture. The recommended amount of rock salt varies depending on the capacity of your ice cream maker and the specific manufacturer guidelines. Here are some general recommendations to consider:
1. Consult the Instruction Manual:
The first step is to refer to the instruction manual or user guide provided by your ice cream maker manufacturer. This manual will often include specific recommendations for the amount of rock salt to use based on the capacity of the machine.
2. One Part Rock Salt to Four Parts Ice:
A common guideline when using an electric ice cream maker is to use a mixture of one part rock salt to four parts ice by volume. This ratio helps create the appropriate low temperature for freezing the ice cream mixture. However, it’s important to note that this ratio may vary depending on the specific machine and instructions provided.
3. Avoid Excessive Amounts of Rock Salt:
While it may be tempting to use more rock salt for faster freezing, it’s important to avoid using excessive amounts. Excessive rock salt can lead to extremely low temperatures, causing the ice cream to freeze too quickly and potentially resulting in a grainy texture. It can also give the ice cream a salty taste, which may not be desirable.
4. Adjust Based on Ambient Temperature:
Take into account the ambient temperature when determining the amount of rock salt to use. In hotter climates or warmer temperatures, you may need to increase the amount of rock salt slightly to compensate for the faster melting of the ice. Similarly, in colder climates or lower temperatures, you may need to use a slightly lower amount of rock salt.
5. Experiment and Adjust to Taste:
Every ice cream maker and personal preference is unique, so don’t be afraid to experiment with different amounts of rock salt to find what works best for you. Start with the recommended guidelines and adjust the amount of rock salt according to your desired consistency and freezing time.
Remember, the goal is to create a creamy and well-frozen ice cream, so finding the right balance of rock salt and ice is key. By following the manufacturer’s recommendations and making adjustments based on the ambient temperature and personal preference, you can achieve deliciously frozen homemade ice cream with the perfect texture.
Tips for Using Rock Salt in Ice Cream Making
Making homemade ice cream with the help of rock salt can be a lot of fun, but it’s important to keep in mind a few tips to ensure successful results. Here are some helpful tips for using rock salt in ice cream making:
1. Use High-Quality Ice:
Ensure that the ice you use in combination with the rock salt is of high quality. Freshly made ice or ice from a bag that has been properly stored will provide the best results. Avoid using ice that has started to melt or has been sitting out for too long, as it may affect the overall freezing process.
2. Layer the Ice and Rock Salt:
When setting up your ice cream maker, layer the ice and rock salt in alternating layers. This helps to evenly distribute the rock salt throughout the ice and create consistent cooling. Start with a layer of ice, followed by a layer of rock salt, and repeat until the container is filled.
3. Monitor the Freezing Process:
Keep a close eye on the ice cream maker during the freezing process. Check the consistency and texture of the ice cream regularly to ensure that it is freezing properly. If needed, adjust the amount of rock salt or ice to maintain the desired temperature and freezing time.
4. Don’t Overfill the Ice Cream Maker:
Avoid overfilling the ice cream maker with the ice cream mixture. Leave some room for expansion as the mixture freezes and expands. Overfilling can result in the mixture seeping out or overflowing, making a mess and potentially damaging the machine.
5. Clean and Dry the Ice Cream Maker Properly:
After each use, make sure to thoroughly clean and dry the ice cream maker, including the container and any other removable parts. This helps prevent the buildup of salt residue and ensures that the machine functions optimally for future use.
6. Experiment with Flavor Combinations:
While rock salt is commonly used for traditional ice cream recipes, don’t be afraid to get creative with your flavor combinations. Experiment with different fruits, extracts, and mix-ins to customize your homemade ice cream. Remember to adjust the amount of rock salt accordingly to ensure proper freezing.
By following these tips and techniques, you can confidently use rock salt in your ice cream making process and create delicious, homemade frozen treats for yourself and your loved ones to enjoy.
Alternative Options to Rock Salt for Ice Cream Making
While rock salt is a commonly used ingredient in ice cream making, there are alternative options available for those who prefer to avoid using it. Here are some alternative options to consider:
1. Kosher Salt or Sea Salt:
If you prefer a less processed option, kosher salt or sea salt can be used as an alternative to rock salt. These salts have larger crystals compared to table salt, which can help lower the freezing point of the ice surrounding the ice cream mixture and aid in the freezing process.
2. Epsom Salt:
Epsom salt, also known as magnesium sulfate, can be used as a substitute for rock salt in ice cream making. It has similar freezing point depression properties, making it an effective option. However, be sure to use food-grade Epsom salt that does not contain any additives or fragrances.
3. Ice Cream Makers with Built-in Freezers:
An alternative to using rock salt altogether is investing in an ice cream maker with a built-in freezer. These machines have a self-contained freezing mechanism, eliminating the need for external freezing agents like rock salt. While they may be more expensive, they offer convenience and ease of use.
4. Pre-Frozen Ice Cream Makers:
Pre-frozen ice cream makers, also known as gel-canister ice cream makers, do not require rock salt for the freezing process. These machines have a removable canister that needs to be pre-frozen before use. The frozen canister is then placed into the machine, and the ice cream mixture is added for it to freeze and churn.
5. Liquid Nitrogen:
For those looking for a truly unique and rapid freezing experience, liquid nitrogen can be used to make ice cream. Liquid nitrogen rapidly lowers the temperature of the ice cream mixture, resulting in small ice crystals and a smooth texture. However, it is important to handle liquid nitrogen with extreme caution and follow proper safety guidelines.
Each alternative option has its own advantages and considerations. It’s important to read and follow the instructions provided by the specific ice cream maker or alternative option you choose to ensure successful and safe ice cream making.
Whether you decide to use rock salt or opt for an alternative, the key is to experiment and find a method that suits your preferences and yields delicious homemade ice cream that will satisfy your cravings.
Conclusion
Making homemade ice cream with the help of rock salt can be a delightful experience. By understanding the role of rock salt in ice cream making, considering important factors, using the recommended amount of rock salt, and implementing helpful tips, you can create deliciously smooth and well-frozen ice cream with ease.
Rock salt, with its ability to lower the freezing point of the ice surrounding the ice cream mixture, plays a crucial role in achieving the desired texture and consistency. However, if you prefer to avoid using rock salt, there are alternative options available, such as kosher salt, sea salt, Epsom salt, or ice cream makers with built-in freezers and pre-frozen canisters.
When using rock salt or any alternative option, following the recommended guidelines, consulting the instruction manual, and considering factors like quality, storage, and mixing techniques will help you achieve the best results. Be sure to monitor the freezing process, clean and dry your ice cream maker properly, and don’t be afraid to experiment with flavor combinations to create unique and delicious ice cream creations.
Whether you choose to embrace the traditional method of using rock salt or explore alternative options, making homemade ice cream is a wonderful way to indulge in a sweet treat and unleash your culinary creativity. So grab your ice cream maker, gather your ingredients, and start making your own delicious frozen delights that will leave you and your loved ones wanting more!