Introduction
Ice cream is a delectable treat enjoyed by people of all ages. It’s a creamy and frozen dessert that provides a delightful combination of flavors and textures. Have you ever wondered how this delightful treat is made? The answer lies in the workings of an ice cream maker. In this article, we will explore the fascinating process behind the scenes of creating ice cream and unveil the secrets of ice cream makers.
An ice cream maker is a kitchen appliance specifically designed to churn and freeze ice cream mixture to create a smooth and creamy texture. It takes a mixture of ingredients, freezes it evenly, and incorporates air to prevent ice crystals from forming. This results in the creamy consistency that we all know and love.
Understanding the mechanism behind an ice cream maker is essential to appreciate the entire process. The primary components of an ice cream maker include a freezing canister or bowl, a dasher or paddle, and an electric or manual motor. The freezing canister is typically double-walled and filled with a freezable liquid, such as gel or coolant, which helps in maintaining a low temperature. The dasher or paddle is responsible for churning the mixture inside the canister during the freezing process.
Before we delve deeper into the working of an ice cream maker, let’s first discuss the ice cream mix. The base of any ice cream recipe consists of cream, milk, sugar, and flavorings. The proportions of these ingredients can vary depending on the desired richness and sweetness of the ice cream. Once the mix is prepared, it is poured into the freezing canister of the ice cream maker.
Now that we have the ice cream mix in place, it’s time to understand how an ice cream maker churns and freezes the mixture. When the freezing canister is inserted into the ice cream maker, the mixture starts to freeze against the walls of the canister. As the dasher or paddle rotates, it scrapes off the frozen mixture from the walls and incorporates air into the mix. This continuous churning and freezing process helps in creating small ice crystals and ensuring a smooth and creamy texture.
Adding flavors and mix-ins to the ice cream can be done during or after the churning process. Whether it’s chocolate chips, nuts, fruit pieces, or even cookie dough, these additions contribute to the overall taste and texture of the ice cream. Some ice cream makers come with additional compartments or mix-in spouts that allow you to add these ingredients at the right moment, ensuring an evenly distributed mix of flavors.
When it comes to ice cream makers, salt plays a crucial role. The addition of salt to the ice surrounding the freezing canister helps to lower the temperature, making it even colder and accelerating the freezing process. It’s important to note that salt is not added directly to the ice cream mix, as it would affect the flavor and texture. Instead, it is used externally to create the optimal environment for freezing.
In the next section, we will explore the different types of ice cream makers available in the market and how they differ in terms of functionality and convenience. Are you ready to satisfy your curiosity and become an ice cream-making expert? Let’s continue our adventure into the world of ice cream makers!
Understanding the Mechanism
Ice cream makers operate on a simple yet ingenious mechanism that allows for the creation of smooth and creamy ice cream. The freezing canister or bowl is the heart of the machine, responsible for freezing the ice cream mixture to the desired consistency. This canister is usually made of stainless steel or a food-grade plastic material, both of which have excellent thermal properties.
Inside the canister, there is a double-walled structure that helps to maintain a consistent low temperature. The space between the walls is filled with a refrigerant, such as gel or coolant, which freezes upon exposure to subzero temperatures. Before using the ice cream maker, the canister needs to be pre-frozen, typically for several hours or overnight, depending on the specific model.
The frozen canister is then placed into the ice cream maker, and the ice cream mixture is poured into it. The dasher or paddle is then inserted into the canister. This paddle is connected to an electric or manual motor that rotates it continuously throughout the freezing process.
As the motor turns the paddle, it scrapes the frozen mixture off the walls of the canister. The movement of the paddle also helps to incorporate air into the ice cream mixture. This continuous churning prevents large ice crystals from forming, which could lead to a grainy and icy texture.
The speed at which the paddle rotates is an important factor in achieving the desired texture. Too slow, and the ice cream may not freeze evenly or incorporate enough air. Too fast, and the mixture can become too stiff or even result in the paddle getting stuck. Most ice cream makers have adjustable speeds to allow for customization based on personal preference.
The freezing process takes place in two stages: the primary freezing and the secondary freezing. During the primary freezing, the ice cream mixture starts to freeze against the walls of the canister. The constant churning breaks up the ice crystals, creating a smoother texture. At this stage, the mixture is still soft and semi-frozen.
After the primary freezing, the ice cream mixture undergoes the secondary freezing, which further solidifies the mixture and develops the desired consistency. This stage is where the majority of the freezing occurs, transforming the semi-frozen mixture into a creamy and scoopable ice cream.
Understanding the mechanism of an ice cream maker is essential as it enables you to make adjustments and troubleshoot any issues. Monitoring the freezing time and ensuring that the mixture is adequately chilled before churning will result in better-quality ice cream. Now that we have delved into the working mechanism, let’s explore the key ingredient in the ice cream-making process—the ice cream mix.
The Ice Cream Mix
The ice cream mix is the foundation of every delicious batch of ice cream. It consists of a blend of cream, milk, sugar, and flavorings that come together to create the base of the frozen treat. The proportions of these ingredients can vary depending on personal preference and the desired richness of the ice cream.
The creamy element in the ice cream mix is usually provided by heavy cream, half-and-half, or a combination of both. These dairy products contribute to the smooth and luscious texture of the ice cream. The fat content in the cream adds richness and improves flavor perception. For those looking for a lighter option, low-fat or non-fat milk can be used, although it may result in a slightly less creamy texture.
Sugar is an essential ingredient in the ice cream mix as it sweetens the base and helps to lower the freezing point of the mixture. This lower freezing point allows the ice cream to remain scoopable and prevents it from turning rock-hard. Granulated sugar is commonly used, but alternative sweeteners like honey, maple syrup, or agave nectar can be used as well.
Flavorings are what make each scoop of ice cream unique and exciting. The options are virtually limitless when it comes to choosing flavors – classic choices include vanilla, chocolate, strawberry, and mint, but you can experiment with a wide range of extracts, essences, or even add inclusions like crushed cookies, nuts, or fruit pieces for added texture and flavor.
When preparing the ice cream mix, it’s important to ensure that all the ingredients are thoroughly combined. This can be achieved by whisking or using a blender to create a smooth and homogeneous mixture. It’s advisable to let the ice cream mix chill in the refrigerator for a few hours or overnight. Chilling helps to meld the flavors together and allows for a more efficient freezing process.
Some ice cream makers come with built-in freezing capabilities, eliminating the need for pre-freezing the canister. These models often have a built-in compressor that chills the mixture as it is being churned. This feature offers convenience and allows for spontaneous ice cream making without the need for pre-planning.
Experimentation is key when it comes to creating unique and personalized ice cream flavors. You can add spices, extracts, or even mix and match different flavors to develop your own signature creations. The best part is that you have control over the sweetness and intensity of the flavors, making your homemade ice cream truly one-of-a-kind.
Now that we have a good understanding of the ice cream mix, let’s move on to exploring the churning and freezing process in more detail. Join us in the next section as we uncover the magic behind creating the perfect texture in homemade ice cream.
Churning and Freezing
Churning and freezing are the key processes that transform the ice cream mix into the creamy, frozen delight we all crave. These processes go hand in hand and are essential for creating the ideal texture and consistency of the ice cream.
Once the ice cream mix is prepared, it is poured into the pre-frozen canister of the ice cream maker. The dasher or paddle is then inserted, and the canister is locked into place. When the machine is turned on, the paddle starts to rotate, ensuring that the mixture is constantly stirred and scraped off the walls of the canister.
As the paddle churns the mix, air is incorporated into the mixture. This process is known as overrun and contributes to the light and airy texture of the ice cream. The amount of overrun can be controlled by the speed at which the paddle rotates and the duration of the churning process.
During the churning process, the mixture gradually starts to freeze. The frozen walls of the canister help to rapidly cool the mixture, promoting the formation of small ice crystals. With continuous churning, these ice crystals are distributed evenly throughout the mixture, ensuring a smooth and creamy texture.
The time required for the churning and freezing process can vary depending on the specific ice cream maker and the recipe being used. Generally, it takes anywhere from 20 to 40 minutes for the ice cream to reach the desired consistency. It’s important to pay attention to the manufacturer’s instructions and recipe guidelines to achieve the best results.
Throughout the churning process, it’s crucial to monitor the mixture’s temperature. A properly chilled mixture will freeze more quickly and result in a smoother texture. If the mix is not adequately chilled, the ice cream may take longer to freeze, resulting in larger ice crystals and a grainy texture.
As the churning and freezing process progresses, the ice cream mixture gradually thickens and gains volume. It transforms from a semi-frozen state to a creamy, soft-serve consistency. This stage is when the ice cream can be enjoyed directly from the ice cream maker for those who prefer a softer texture.
If a firmer consistency is desired, the ice cream can be transferred to an airtight container and placed in the freezer for further hardening. This final freezing stage allows the ice cream to solidify fully and reach the classic scoopable consistency we associate with store-bought varieties.
Now that we have explored the churning and freezing process, let’s move on to the next section, where we will delve into the exciting world of flavors and mix-ins that can elevate your homemade ice cream to new levels of deliciousness.
Adding Flavors and Mix-ins
One of the most exciting parts of making homemade ice cream is the opportunity to get creative with flavors and mix-ins. Adding a variety of flavors and mix-ins can take your ice cream to the next level, providing bursts of taste, texture, and visual appeal.
When it comes to flavors, the options are virtually limitless. Whether you prefer classic choices like chocolate, vanilla, or strawberry, or want to experiment with unique flavors like lavender, matcha, or salted caramel, the choice is yours. Extracts, essences, and even natural ingredients like fruit purees can be added to create a myriad of flavors. It’s important to note that some flavors may require adjustments to the base recipe to ensure the desired taste intensity.
In addition to flavors, mix-ins can add a delightful surprise to every bite. You can choose from a wide range of mix-ins, such as crushed cookies, chocolate chips, nuts, candies, or even chunks of fruit. These mix-ins provide contrasting textures and flavors, making each spoonful even more enjoyable. Some ice cream makers even come with a mix-in compartment or spout, allowing you to add these ingredients at the right moment during the churning process for even distribution.
When adding mix-ins, it’s important to consider their size and texture. Larger pieces, such as cookie chunks or fruit pieces, should be added toward the end of the churning process to prevent them from getting broken down too much. Smaller mix-ins, like chocolate chips or finely chopped nuts, can be added earlier to evenly distribute throughout the ice cream. It’s also a good idea to chill mix-ins before adding them to the ice cream mixture, as it helps to preserve their texture and prevent them from melting too quickly.
For those who enjoy swirls and ribbons of flavor, sauces and syrups can be incorporated into the ice cream mixture. This can be achieved by drizzling the sauce over the ice cream in layers or gently folding it into the semi-frozen mixture. The swirling effect adds visual interest and an extra burst of flavor to your creation.
Experimentation is key when it comes to creating unique flavor combinations and mix-ins. Don’t be afraid to get creative and step outside the traditional flavor profiles. Blend different ingredients, spices, and extracts to develop your own signature ice cream concoctions. The ability to customize your ice cream flavors and mix-ins is one of the joys of homemade ice cream making.
Now that we’ve explored the wonderful world of flavors and mix-ins, let’s turn our attention to the role of salt in the ice cream making process. Join us in the next section as we unravel the secret behind achieving the perfect freezing temperature.
The Role of Salt
When making ice cream, salt plays a crucial role in the freezing process. Although the salt itself is not directly added to the ice cream mixture, it is used to create an optimal environment for freezing.
The addition of salt to a mixture of ice and water creates a solution with a much lower freezing point than just ice alone. This means that the mixture can become even colder, helping to freeze the ice cream more efficiently. The process of using salt to lower the freezing point is known as freezing point depression.
In an ice cream maker, the freezing canister or bowl is filled with a mixture of ice and rock salt. The salt, typically rock salt or coarse salt, is spread evenly around the ice. As the ice melts, it absorbs heat from the surrounding environment, including the canister containing the ice cream mix. This rapid heat absorption lowers the temperature inside the canister, aiding in the freezing process.
The salt functions by disrupting the formation of ice crystals. As the temperature of the mixture of ice and salt decreases, it prevents large ice crystals from forming. Instead, smaller ice crystals develop, resulting in a smoother texture in the ice cream. A consistent distribution of small ice crystals ensures that the ice cream is creamy, without any grainy or icy texture.
It’s important to note that the salt does not directly come into contact with the ice cream mix. The freezing canister is carefully sealed and insulated to prevent saltwater or salt particles from contaminating the ice cream. This ensures that the flavor and quality of the ice cream remain unaffected by the presence of salt.
The amount of salt required can vary depending on the ice cream maker and the size of the canister. Generally, a ratio of about three parts ice to one part salt is recommended. It’s essential to follow the manufacturer’s instructions regarding the specific quantity and type of salt to achieve the best results for your ice cream maker.
Some ice cream makers include a built-in freezer or compressor, eliminating the need for salt and ice. These models function by chilling the mixture internally, maintaining a stable temperature throughout the freezing process. While they offer convenience, they may not produce the same level of texture and creaminess achieved through the traditional salt and ice method.
Now that we understand the crucial role of salt in the ice cream making process, let’s explore the different types of ice cream makers and their functionalities in the next section. Join us as we embark on a journey into the world of ice cream maker options.
Different Types of Ice Cream Makers
Ice cream makers come in various types, each offering a unique approach to creating delicious homemade ice cream. The choice of ice cream maker depends on your preferences, convenience, and desired level of involvement in the ice cream making process. Let’s explore some common types of ice cream makers:
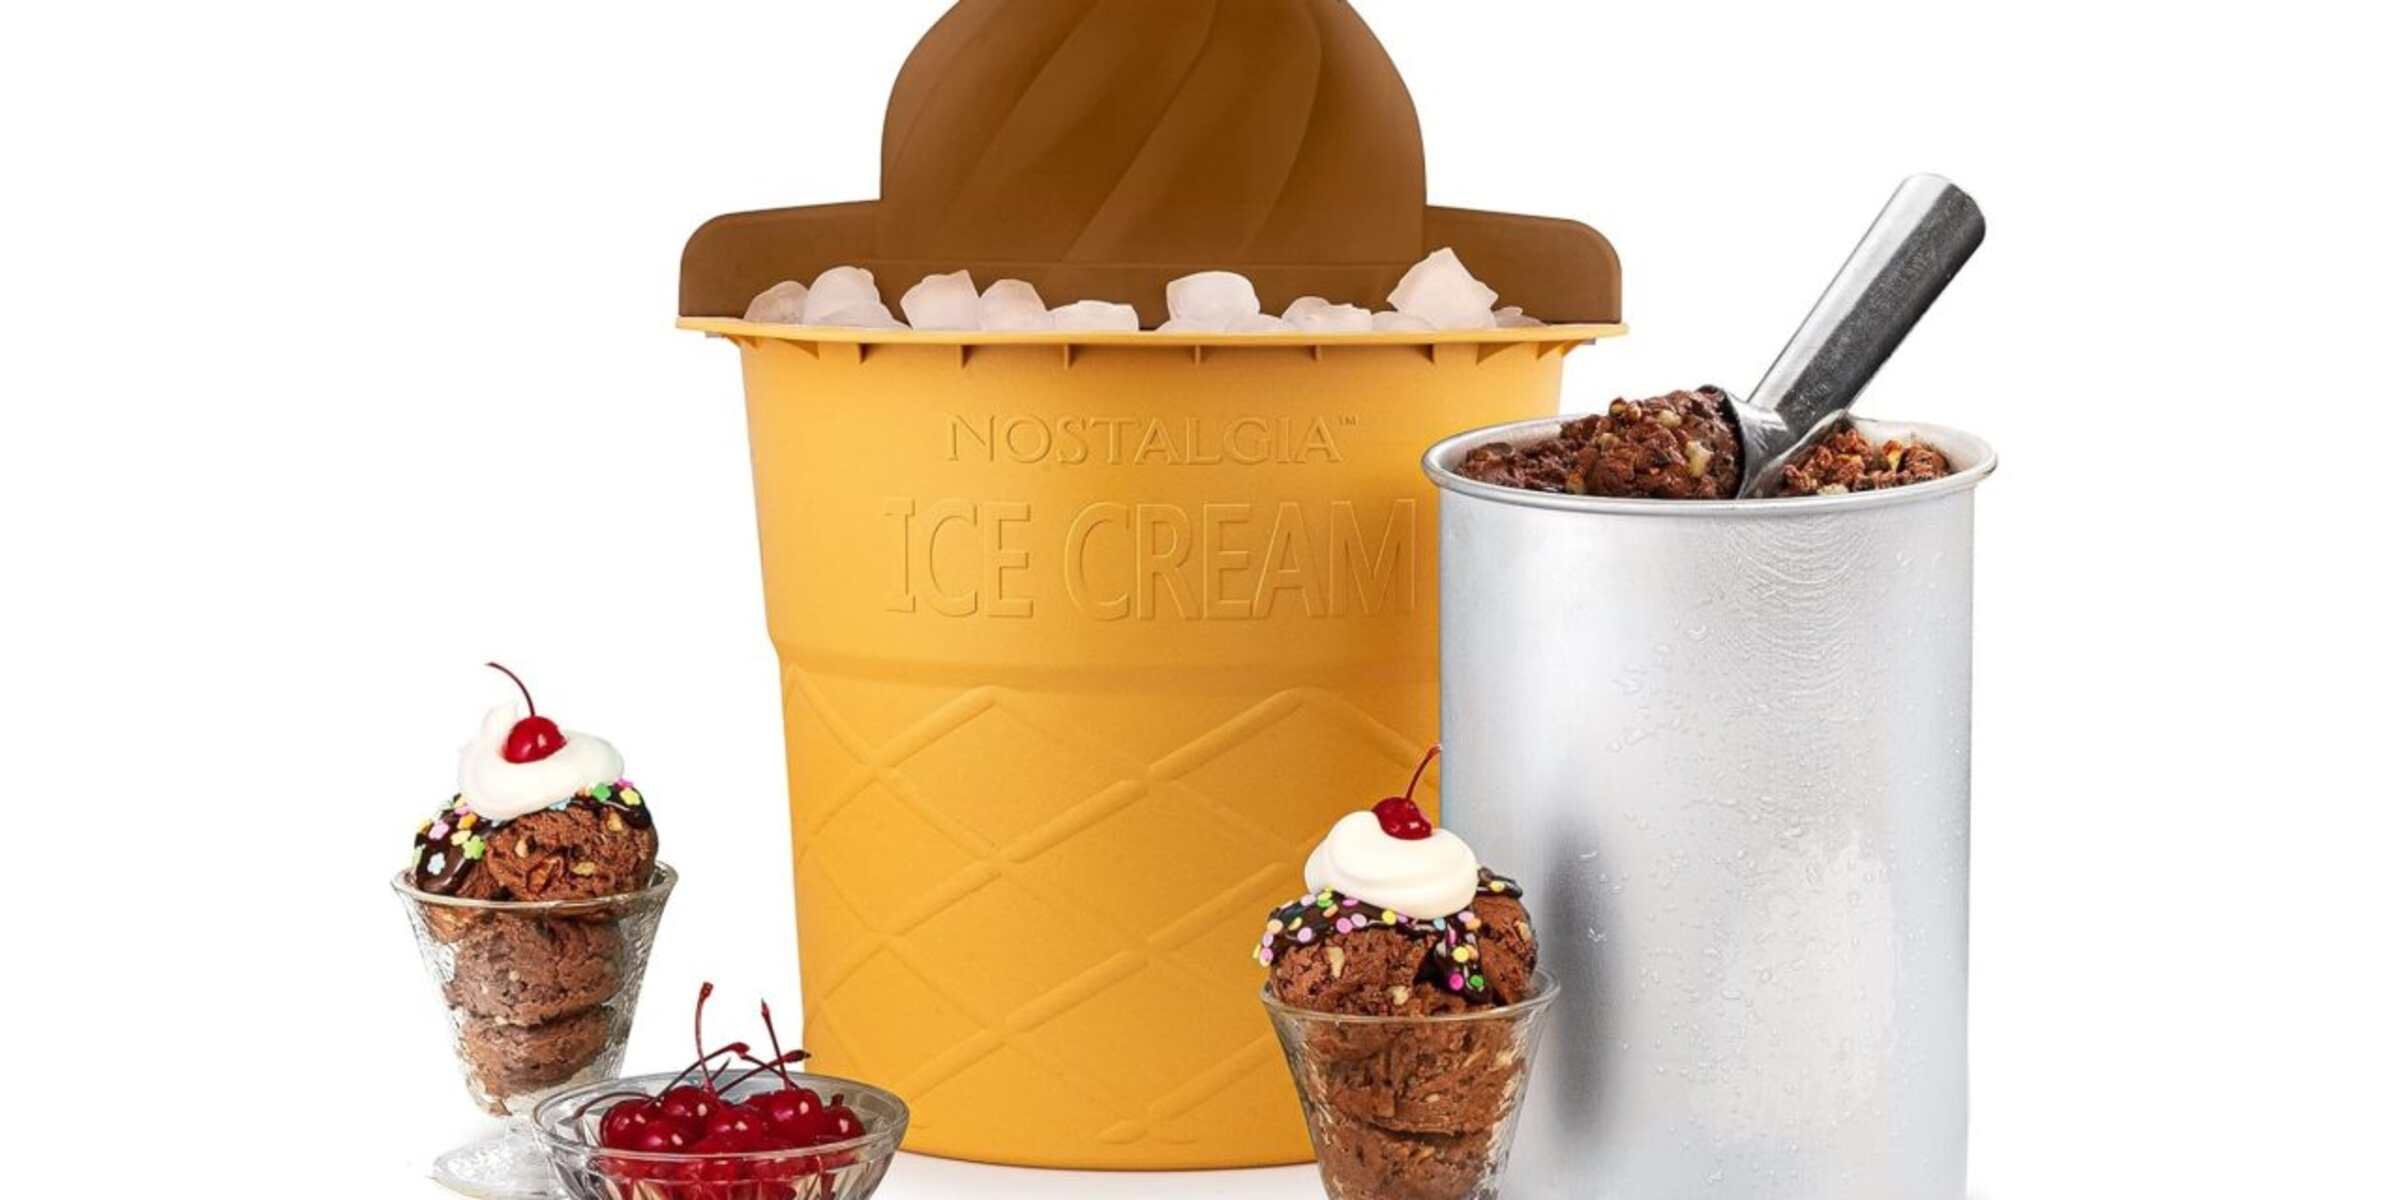
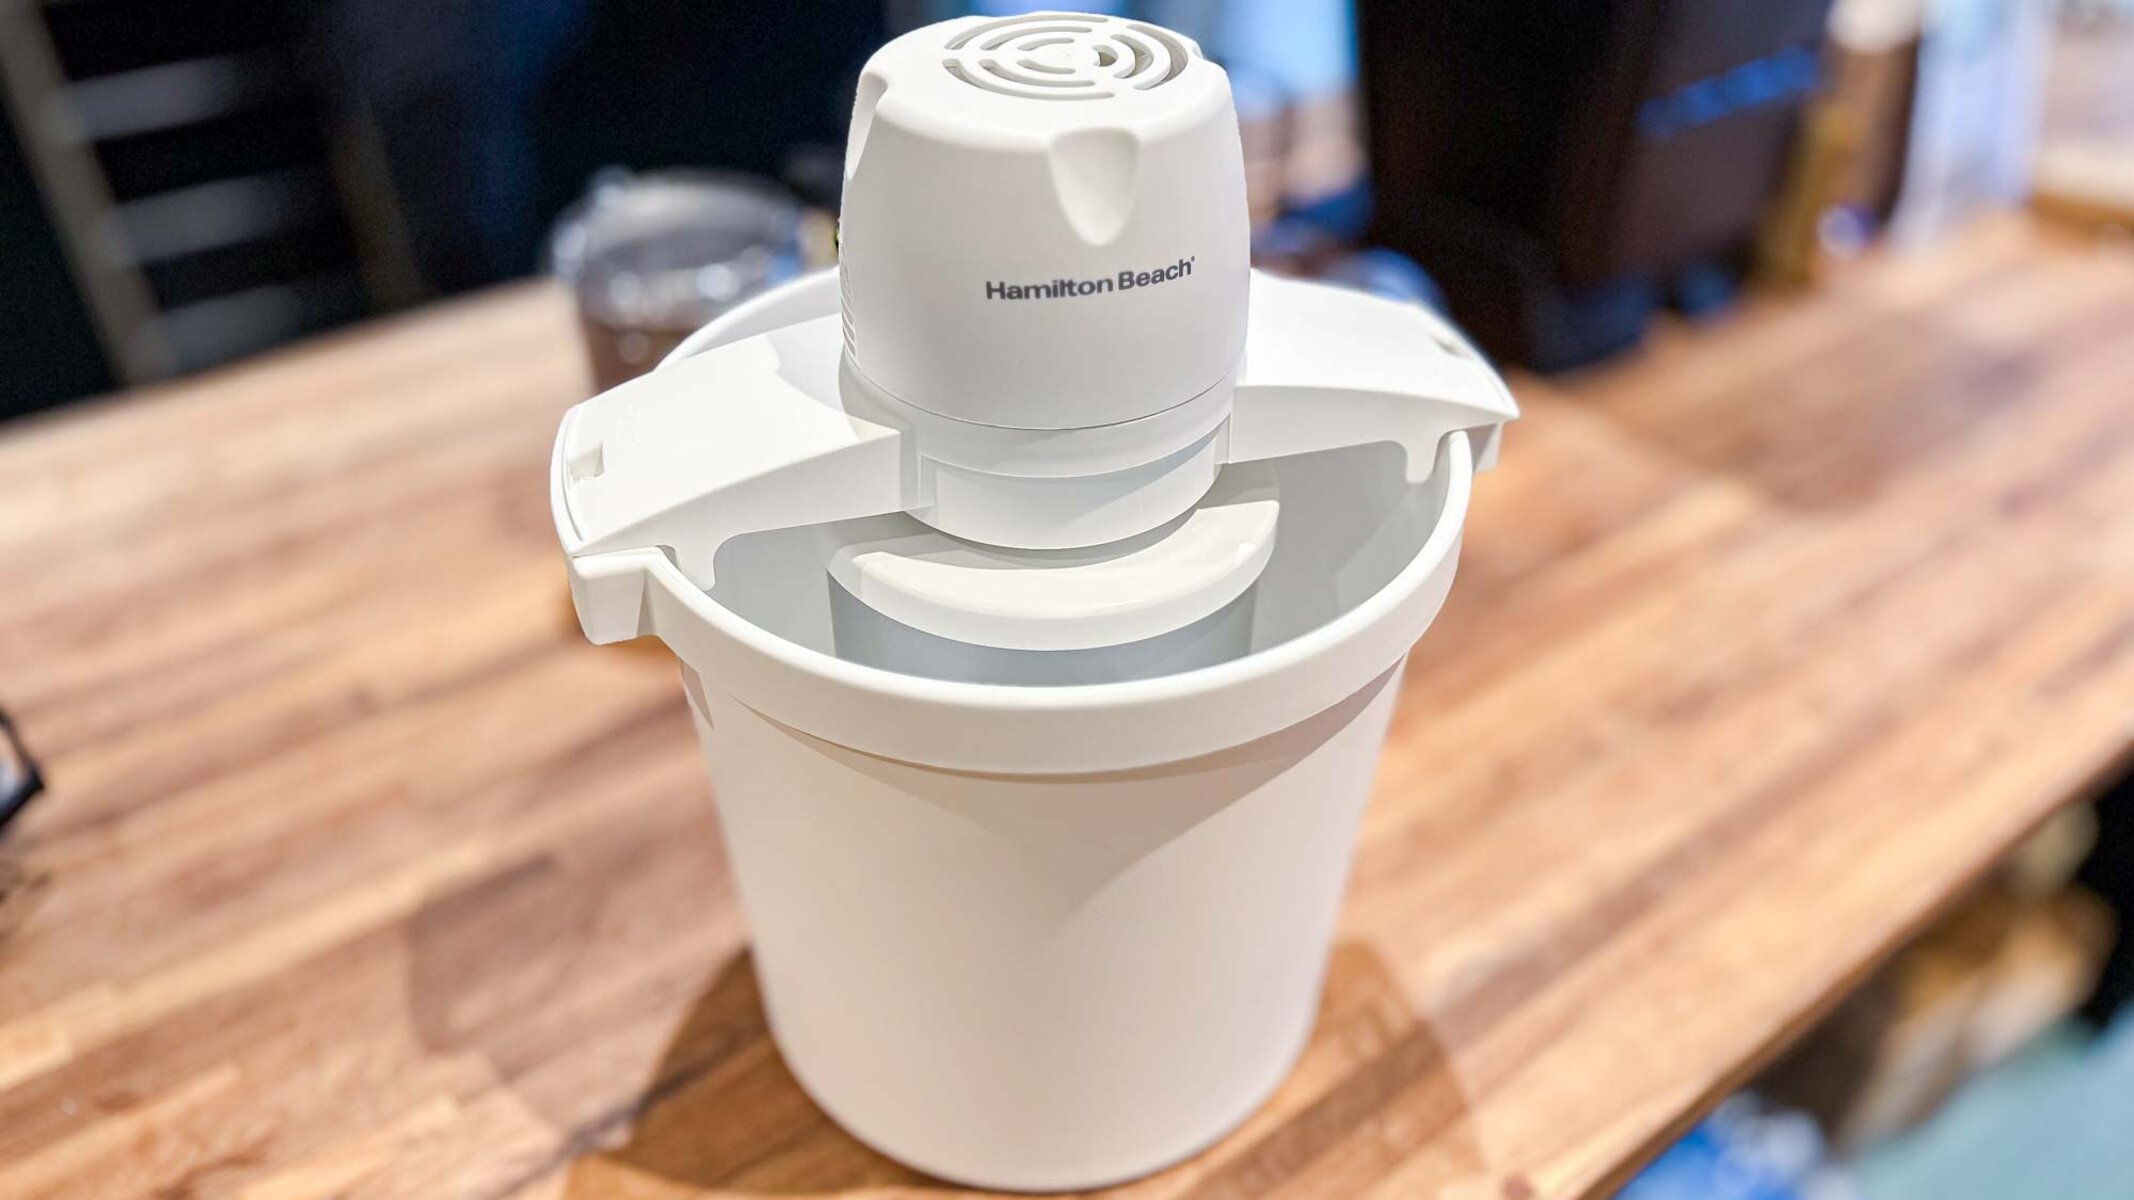
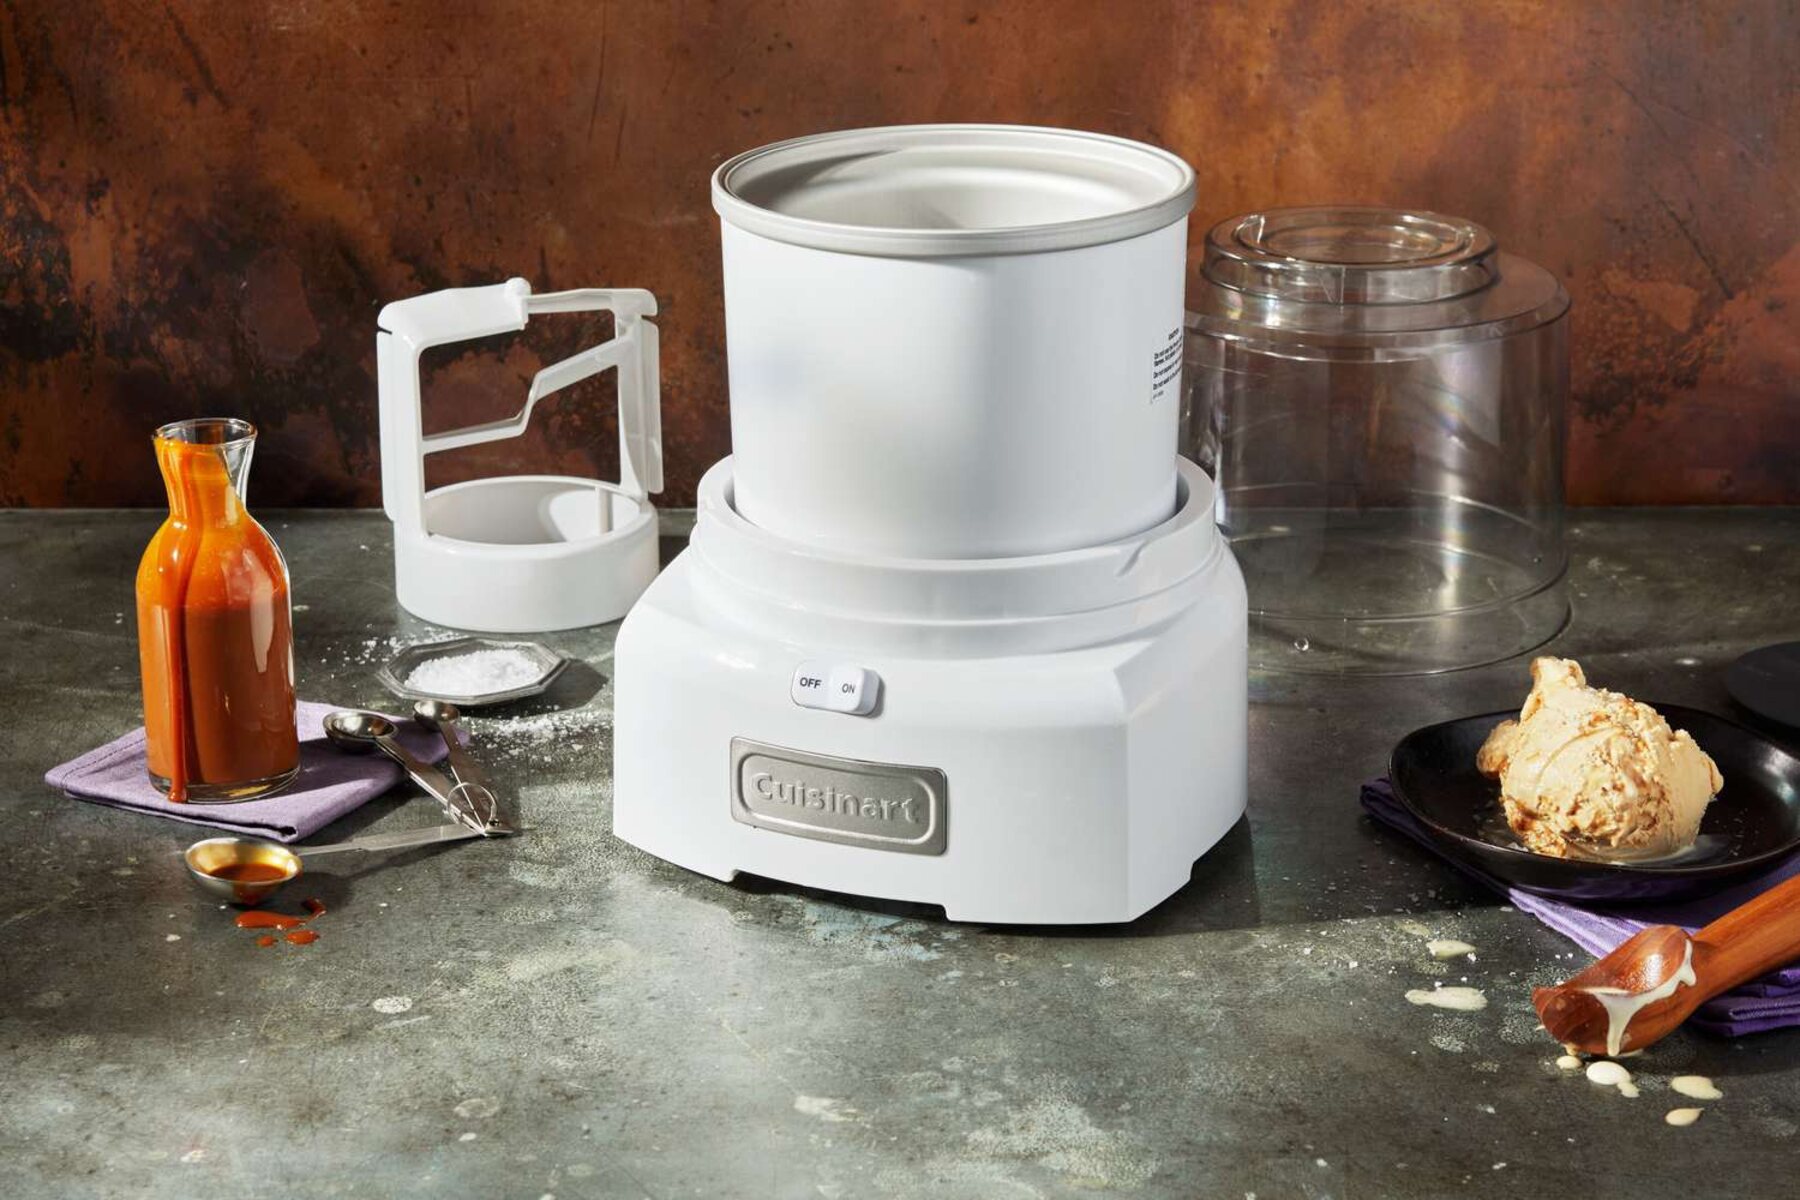
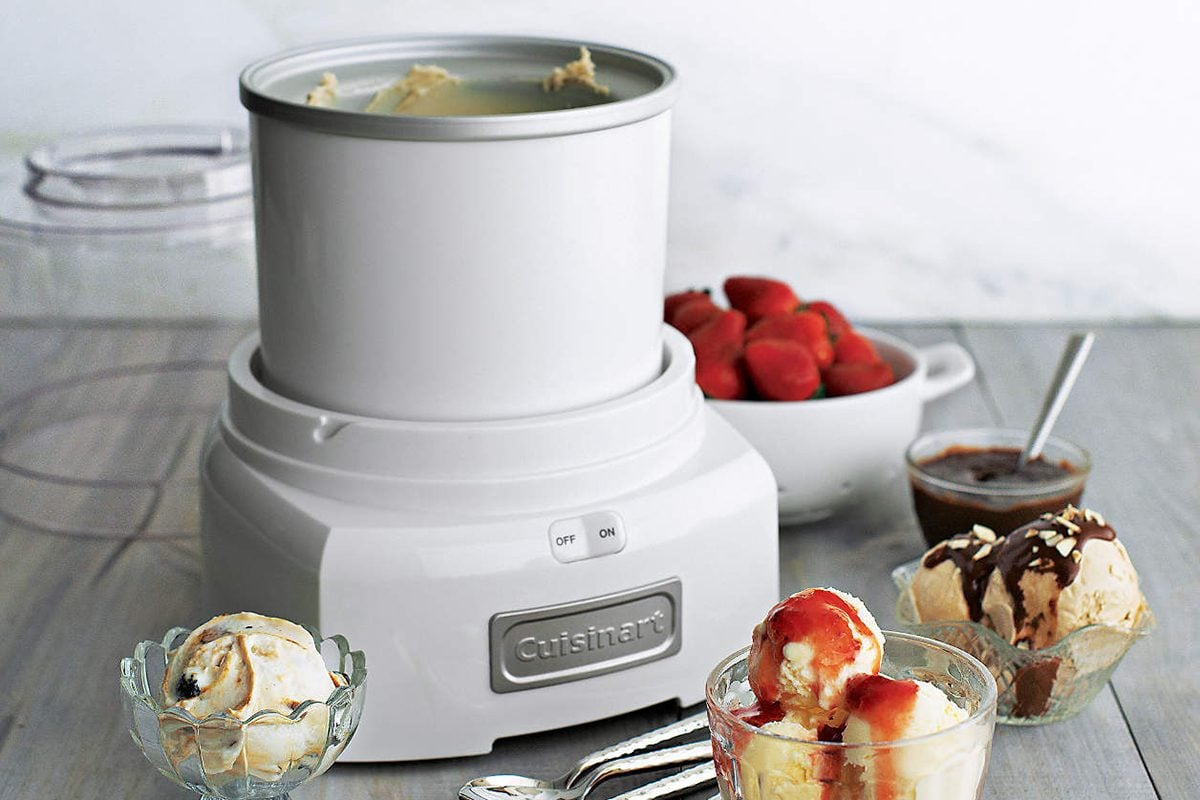
- Freezer Bowl Ice Cream Maker: This type of ice cream maker consists of a freezing canister or bowl that needs to be pre-frozen before use. The ice cream mixture is poured into the frozen bowl, and the paddle or dasher is inserted. As the machine is turned on, the paddle churns the mixture until it reaches the desired consistency. Freezer bowl ice cream makers are popular among home users due to their affordability and ease of use.
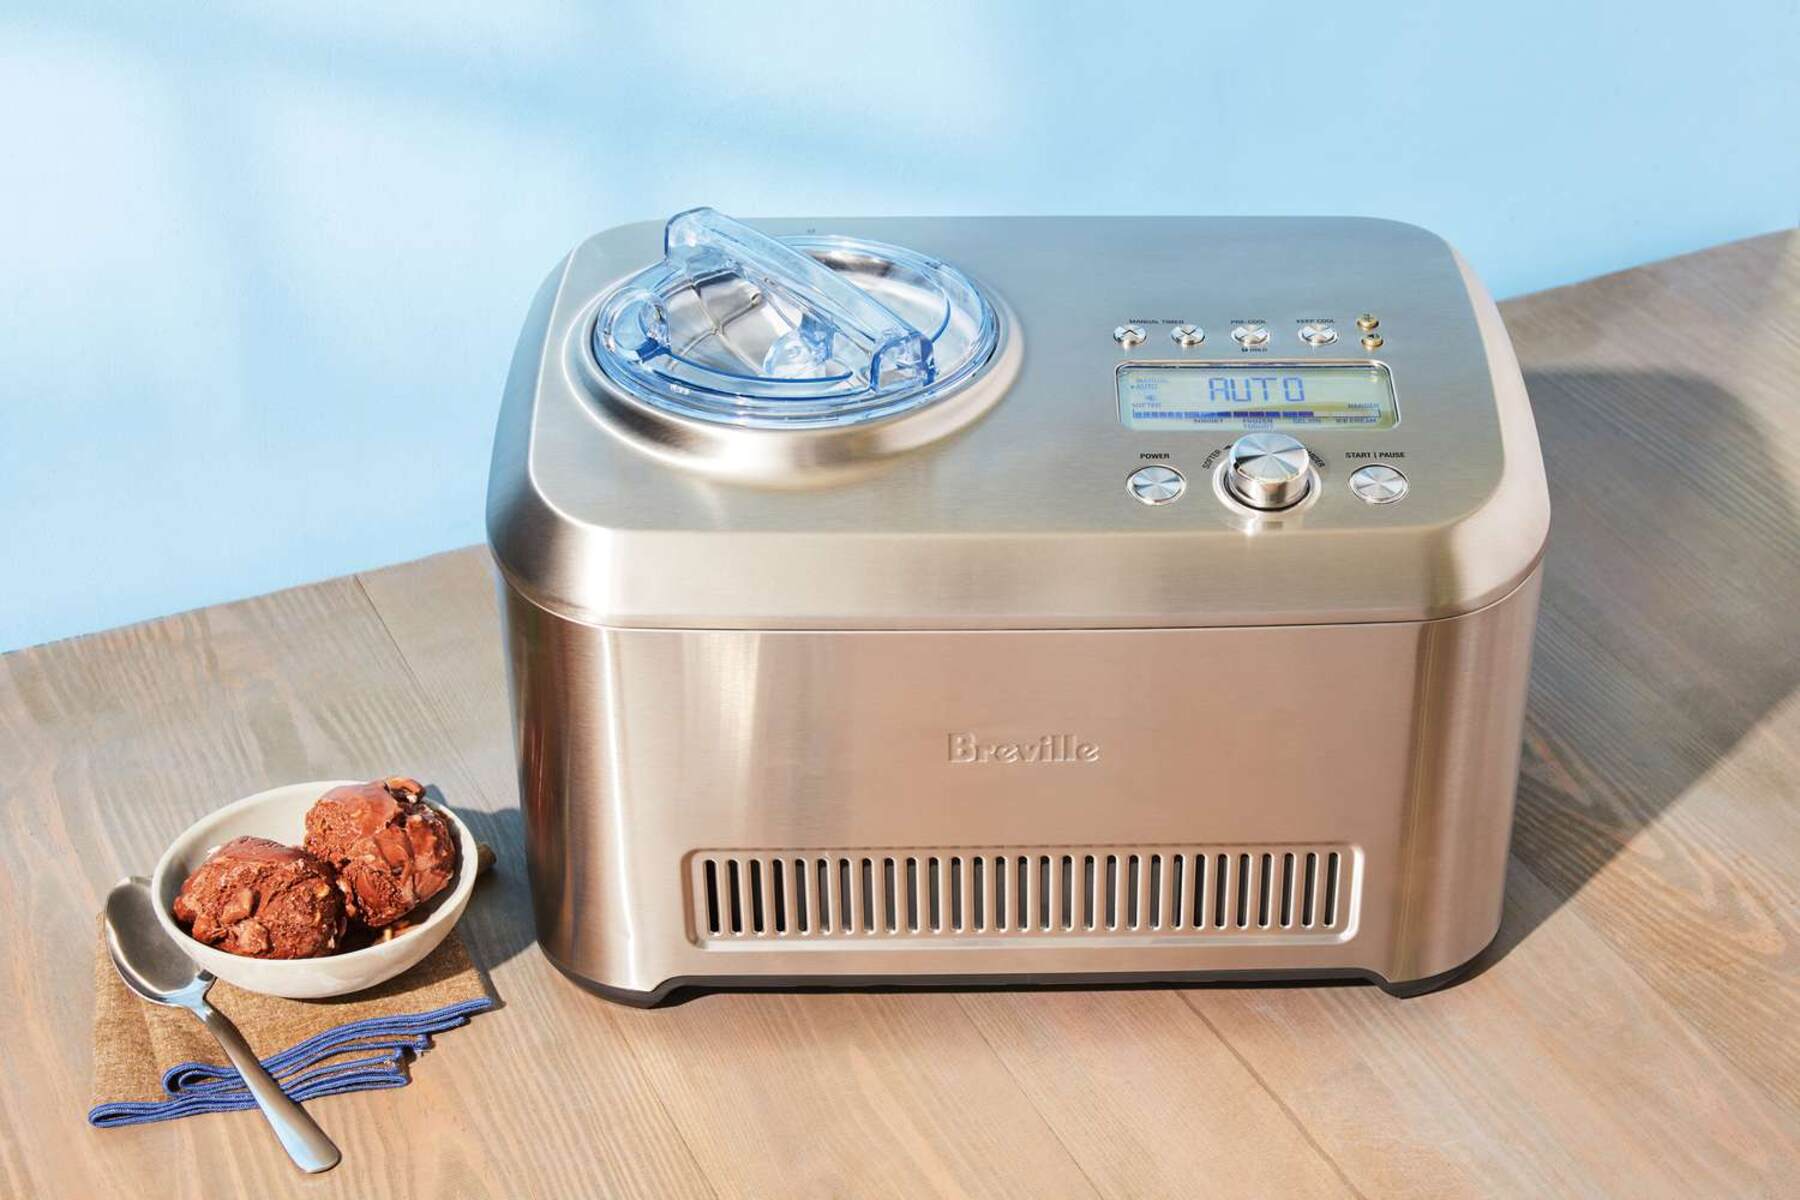
- Compressor Ice Cream Maker: Unlike the freezer bowl ice cream makers, compressor ice cream makers have built-in refrigeration units. These machines cool the mixture internally, eliminating the need for pre-freezing the canister. Compressor ice cream makers offer convenience and the ability to churn multiple batches consecutively without the waiting time required for the bowl to refreeze. However, they tend to be more expensive and take up more counter space.
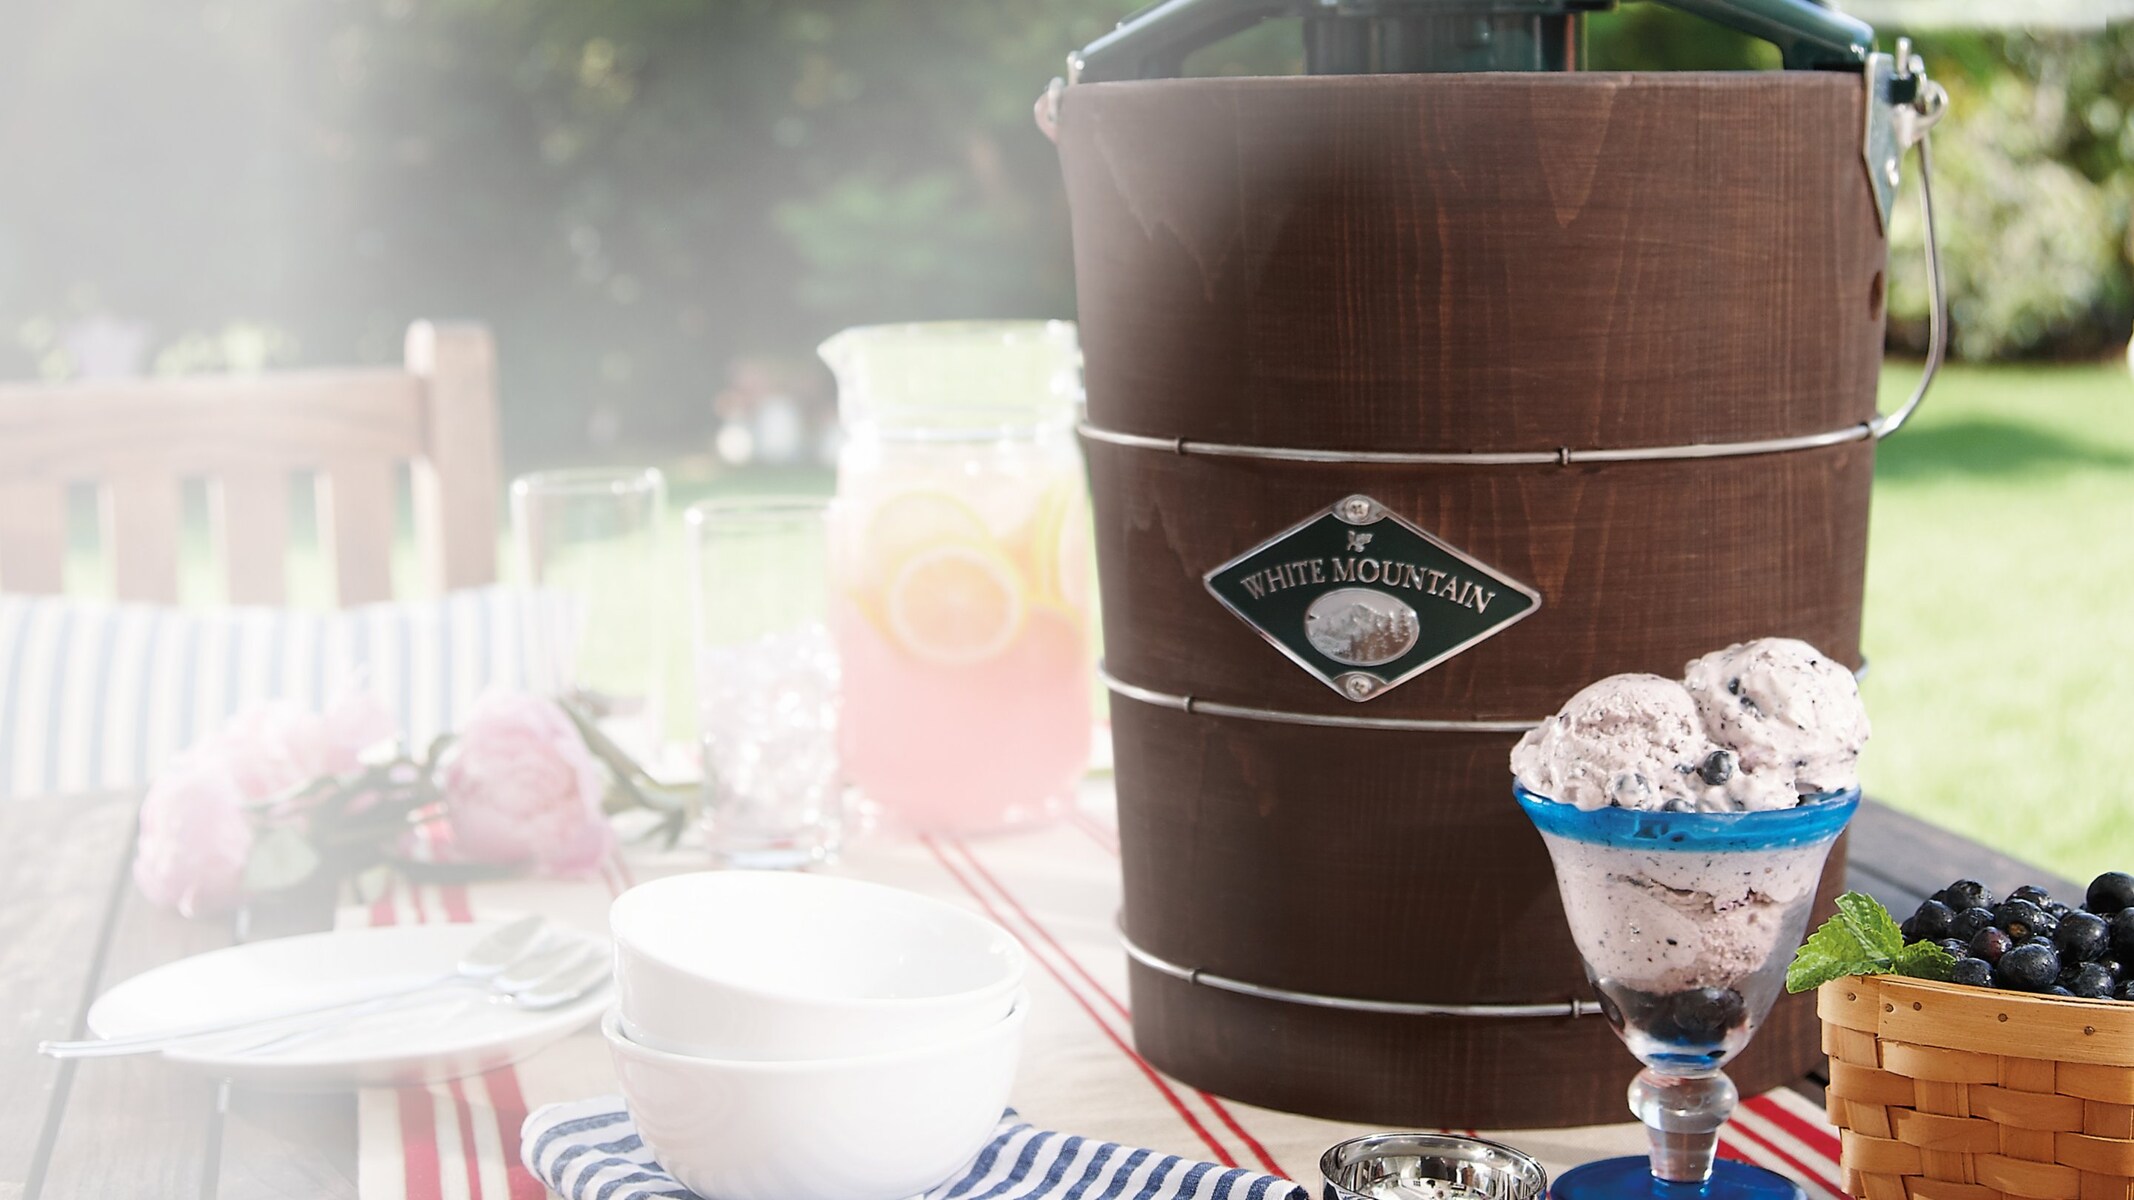
- Manual Ice Cream Maker: Manual ice cream makers rely on hand-cranking to churn the ice cream mixture. These nostalgic machines require physical effort to turn the paddle, making them a fun and interactive option for those who enjoy the traditional ice cream making experience. Manual ice cream makers typically come in a bucket-style design and require the addition of ice and rock salt to freeze the mixture.
- Soft Serve Ice Cream Machine: Soft serve ice cream machines are designed to produce a smooth and swirly texture similar to that of commercial soft-serve ice cream. These machines incorporate air into the mixture, resulting in a light and fluffy consistency. Soft serve machines often have built-in storage for mix and air pumps to control the texture. They are popular in commercial settings, but there are smaller versions available for home use.
- Gelato Maker: Gelato makers are specifically designed to churn and freeze gelato, the Italian cousin of ice cream. These machines have slower churning speeds compared to traditional ice cream makers. The slower speed and lower overrun produce a denser and silkier texture that is characteristic of gelato. Gelato makers often have built-in freezing capabilities, eliminating the need for pre-freezing the canister.
Each type of ice cream maker has its own benefits and considerations. Consider your budget, desired level of involvement, and texture preferences when choosing the right ice cream maker for you.
Now that we have explored the different types of ice cream makers, let’s move on to the next section, where we will discuss the importance of cleaning and maintenance to ensure the longevity and optimal performance of your ice cream maker.
Cleaning and Maintenance
Proper cleaning and maintenance of your ice cream maker are essential for ensuring its longevity and optimal performance. Regular upkeep will not only prolong its lifespan but also prevent unwanted flavors or residues from transferring to your ice cream batches. Here are some important tips for cleaning and maintaining your ice cream maker:
1. Read the manufacturer’s instructions: Start by reading and understanding the cleaning and maintenance guidelines provided by the manufacturer. Different models may have specific instructions or recommendations that should be followed for effective cleaning.
2. Disassemble and clean: After each use, disassemble the removable parts of the ice cream maker, such as the canister, paddle, and any other accessories. Rinse them with warm water to remove any excess ice cream residue. Avoid using harsh chemicals or abrasive cleaning agents that may damage the parts.
3. Hand wash or dishwasher safe: Check if the removable parts of your ice cream maker are dishwasher safe. If they are, place them in the dishwasher for a thorough cleaning. If not, hand wash them with warm soapy water, using a soft sponge or cloth to remove any remaining residue. Rinse thoroughly and dry before reassembly.
4. Clean the main unit: Wipe down the main unit of the ice cream maker with a damp cloth or sponge. Be careful not to let water enter any electrical components, as this can cause damage. Dry the unit thoroughly before storing it to avoid any moisture buildup that may lead to mold or unpleasant odors.
5. Store properly: When not in use, ensure that your ice cream maker is stored in a clean and dry place. Avoid placing heavy objects on top of it to prevent any potential damage. Store the removable parts separately to prevent them from getting lost or damaged.
6. Regular maintenance: Periodically inspect your ice cream maker for any signs of wear or damage. Check the motor, power cord, and other components for any issues. If you notice any problems, seek professional repair or contact the manufacturer for assistance.
7. Deep clean as needed: Over time, residue or mineral deposits may accumulate inside the ice cream canister or other parts. If this happens, a deep cleaning may be required. Follow the manufacturer’s instructions for deep cleaning procedures or consider using a food-safe cleaning solution specifically designed for removing tough stains or buildup.
By following these cleaning and maintenance practices, you can ensure that your ice cream maker remains in optimal condition, ready to churn out delightful batches of homemade ice cream for years to come.
Now that we’ve covered the importance of cleaning and maintenance, let’s move on to the next section, where we will discuss common troubleshooting tips for resolving issues that may arise during the ice cream-making process.
Troubleshooting Common Issues
While making homemade ice cream can be a delightful experience, it’s not uncommon to encounter some challenges along the way. Understanding and troubleshooting common issues that may arise during the ice cream-making process can help you overcome these obstacles. Here are some common problems and their possible solutions:
1. Ice cream mixture not freezing: If the ice cream mixture is not freezing properly, it could be due to insufficient chilling of the mixture before churning. Ensure that the mixture is adequately chilled in the refrigerator before adding it to the ice cream maker. Additionally, check that the freezing canister or bowl is properly pre-frozen according to the manufacturer’s instructions.
2. Ice cream remains too soft: If the ice cream comes out too soft after churning, it may need additional time in the freezer to harden. Transfer the semi-frozen ice cream to an airtight container and place it in the freezer for a couple of hours or until it reaches the desired consistency.
3. Ice cream has a grainy texture: A grainy texture in ice cream can be a result of large ice crystals. To avoid this, ensure that the freezing canister or bowl is properly pre-frozen. Additionally, do not over-churn the ice cream, as excessive churning can result in graininess. Follow the recommended churning time specified in the ice cream maker’s instructions.
4. Motor or paddle gets stuck: If the motor or paddle of your ice cream maker gets stuck during the churning process, check if the mixture is too thick or too large in quantity. Adjust the recipe to ensure that the mixture is within the recommended capacity of your ice cream maker. If the issue persists, stop the machine, unplug it, and carefully remove any obstruction or mixture buildup around the paddle or motor area.
5. Ice cream has an off-flavor: If your ice cream has an unusual or off-flavor, it may be due to improper cleaning of the ice cream maker or residual flavors from previous batches. Make sure to thoroughly clean all parts of the machine after each use. Additionally, consider using a food-safe cleaning solution or vinegar rinse to remove any lingering flavors or odors.
6. Excessive ice or water leakage: If you notice excessive ice or water leakage during the ice cream-making process, check that the canister or bowl is properly sealed and locked into place. Ensure that the lid or cover is tightly secured. If leakage persists, inspect the gasket or seal on the canister for any signs of damage or wear and contact the manufacturer for further assistance.
7. Uneven freezing or melting: If you experience uneven freezing or melting of the ice cream, it could be due to fluctuations in room temperature or inconsistent churning. Ensure that the room temperature is cool and stable. Additionally, check that the paddle is rotating smoothly throughout the churning process. If needed, adjust the speed or duration of the churning to achieve consistent results.
By troubleshooting these common issues and implementing the appropriate solutions, you can overcome challenges and continue to create delicious batches of homemade ice cream with ease.
Now that we’ve covered the troubleshooting tips, let’s move on to the concluding section where we will summarize the key points and reiterate the joys of homemade ice cream-making.
Conclusion
Making homemade ice cream with an ice cream maker is a delightful and rewarding experience. Understanding the process and mechanics behind ice cream making allows you to create the perfect balance of flavors and textures. From the chilling of the ice cream mix to the churning and freezing in the canister, every step plays a crucial role in achieving a creamy and delicious treat.
Choosing the right ice cream maker for your needs and preferences is important. Freezer bowl, compressor, manual, soft serve, and gelato makers each offer their own unique features and capabilities. Selecting the one that suits your style and desired level of involvement will enhance your ice cream-making adventures.
Adding flavors and mix-ins to your ice cream allows for endless customization. From classic choices to innovative combinations, the possibilities for creating unique and mouthwatering flavors are endless. Whether it’s swirls, chunks, or sauces, these additions add depth and excitement to each spoonful.
Proper maintenance and cleaning of your ice cream maker will ensure its longevity and consistently excellent performance. Following the manufacturer’s recommendations and regularly inspecting and cleaning the machine will help prevent unwanted flavors or residues from transferring to your ice cream batches.
By troubleshooting common issues that may arise during the ice cream-making process, you can overcome challenges and achieve professional-quality results. From ice cream mixtures that won’t freeze to issues with texture or flavor, understanding the potential causes and solutions will empower you to create the perfect batch of ice cream.
Whether you’re a novice or an experienced ice cream maker, exploring the world of homemade ice cream offers endless creative possibilities. From experimenting with flavors and mix-ins to sharing your creations with family and friends, making ice cream at home is a fun and delicious way to indulge in a frozen treat that is uniquely your own.
So why wait? Grab your favorite ice cream maker, unleash your imagination, and start creating your very own frozen masterpiece. With each scoop of homemade ice cream, you’ll savor the taste of accomplishment and the joy of indulgence.