Introduction
Ice cream, the beloved frozen treat enjoyed by people of all ages, has a rich history that stretches back centuries. From the invention of the ice cream cone to the introduction of various flavors and toppings, ice cream has evolved into a delectable indulgence that brings joy to millions.
While modern ice cream makers offer convenience and speed, there is something charmingly nostalgic about old-fashioned ice cream makers. These traditional contraptions not only allow you to create your own creamy concoctions but also provide a sense of tradition and craftsmanship.
In this article, we will delve into the workings of an old-fashioned ice cream maker, exploring the fascinating mechanisms behind this classic dessert-making device. We will uncover the magic of the ice and salt method, discover the components that make up an antique ice cream maker, and learn some tips and tricks for perfecting your homemade ice cream.
So, step back in time with us as we explore the inner workings of an old-fashioned ice cream maker and unlock the secrets to creating delicious frozen delights right in your own home.
A Brief History of Ice Cream Making
The origins of ice cream can be traced back to ancient China, where a mixture of snow, milk, and rice was consumed as a frozen treat. This method of creating ice cream spread throughout Asia and eventually reached Europe in the 13th century.
It was during the Renaissance period that ice cream gained popularity among the elite. Royal courts and wealthy households in Italy and France employed chefs who would carefully craft this luxurious dessert using ice brought down from the mountains. The process involved mixing cream or milk with sugar and flavorings, which were then frozen in ice-filled pots.
The 18th century brought advancements in ice cream making, with the invention of the hand-cranked ice cream churn. This innovation made it easier to create a smooth and creamy consistency by continuously stirring the mixture as it froze.
During the 19th century, the industrial revolution led to significant advancements in ice cream production. Ice cream parlors began to pop up around cities, scooping out various flavors to delighted customers. It was also during this time that the first patented ice cream maker was introduced, marking the beginning of a new era in frozen delights.
Fast forward to the modern era, and ice cream making has become even more accessible and efficient. Electric ice cream makers have taken center stage, allowing home cooks to whip up their favorite flavors with ease.
However, the charm and nostalgia of old-fashioned ice cream makers continue to captivate individuals who appreciate the process and craftsmanship involved in creating this frozen delight.
Now that we have taken a brief journey through the history of ice cream making, let’s delve into how an old-fashioned ice cream maker works.
How Does an Old-Fashioned Ice Cream Maker Work?
An old-fashioned ice cream maker operates on a simple but effective principle – a combination of ice, salt, and a churning mechanism that transforms a liquid mixture into creamy, frozen delight.
The primary goal of an old-fashioned ice cream maker is to freeze the mixture while incorporating air into it. This process is crucial in achieving the desired smooth and creamy texture that we associate with high-quality ice cream.
The key ingredient in the freezing process is ice. The ice surrounds the container that holds the ice cream mixture and absorbs heat from it. As the heat is transferred from the mixture to the ice, it causes the mixture to cool down and eventually freeze.
But simply surrounding the container with ice alone wouldn’t ensure proper freezing. This is where salt comes into play. Salt lowers the temperature at which water freezes, allowing the ice to become even colder than it would be at freezing point. The addition of salt to the ice creates a supercooled environment that facilitates faster freezing of the ice cream mixture.
In an old-fashioned ice cream maker, the ice and salt are layered around the container holding the ice cream mixture. The container is typically made of metal, which conducts the cold temperatures efficiently.
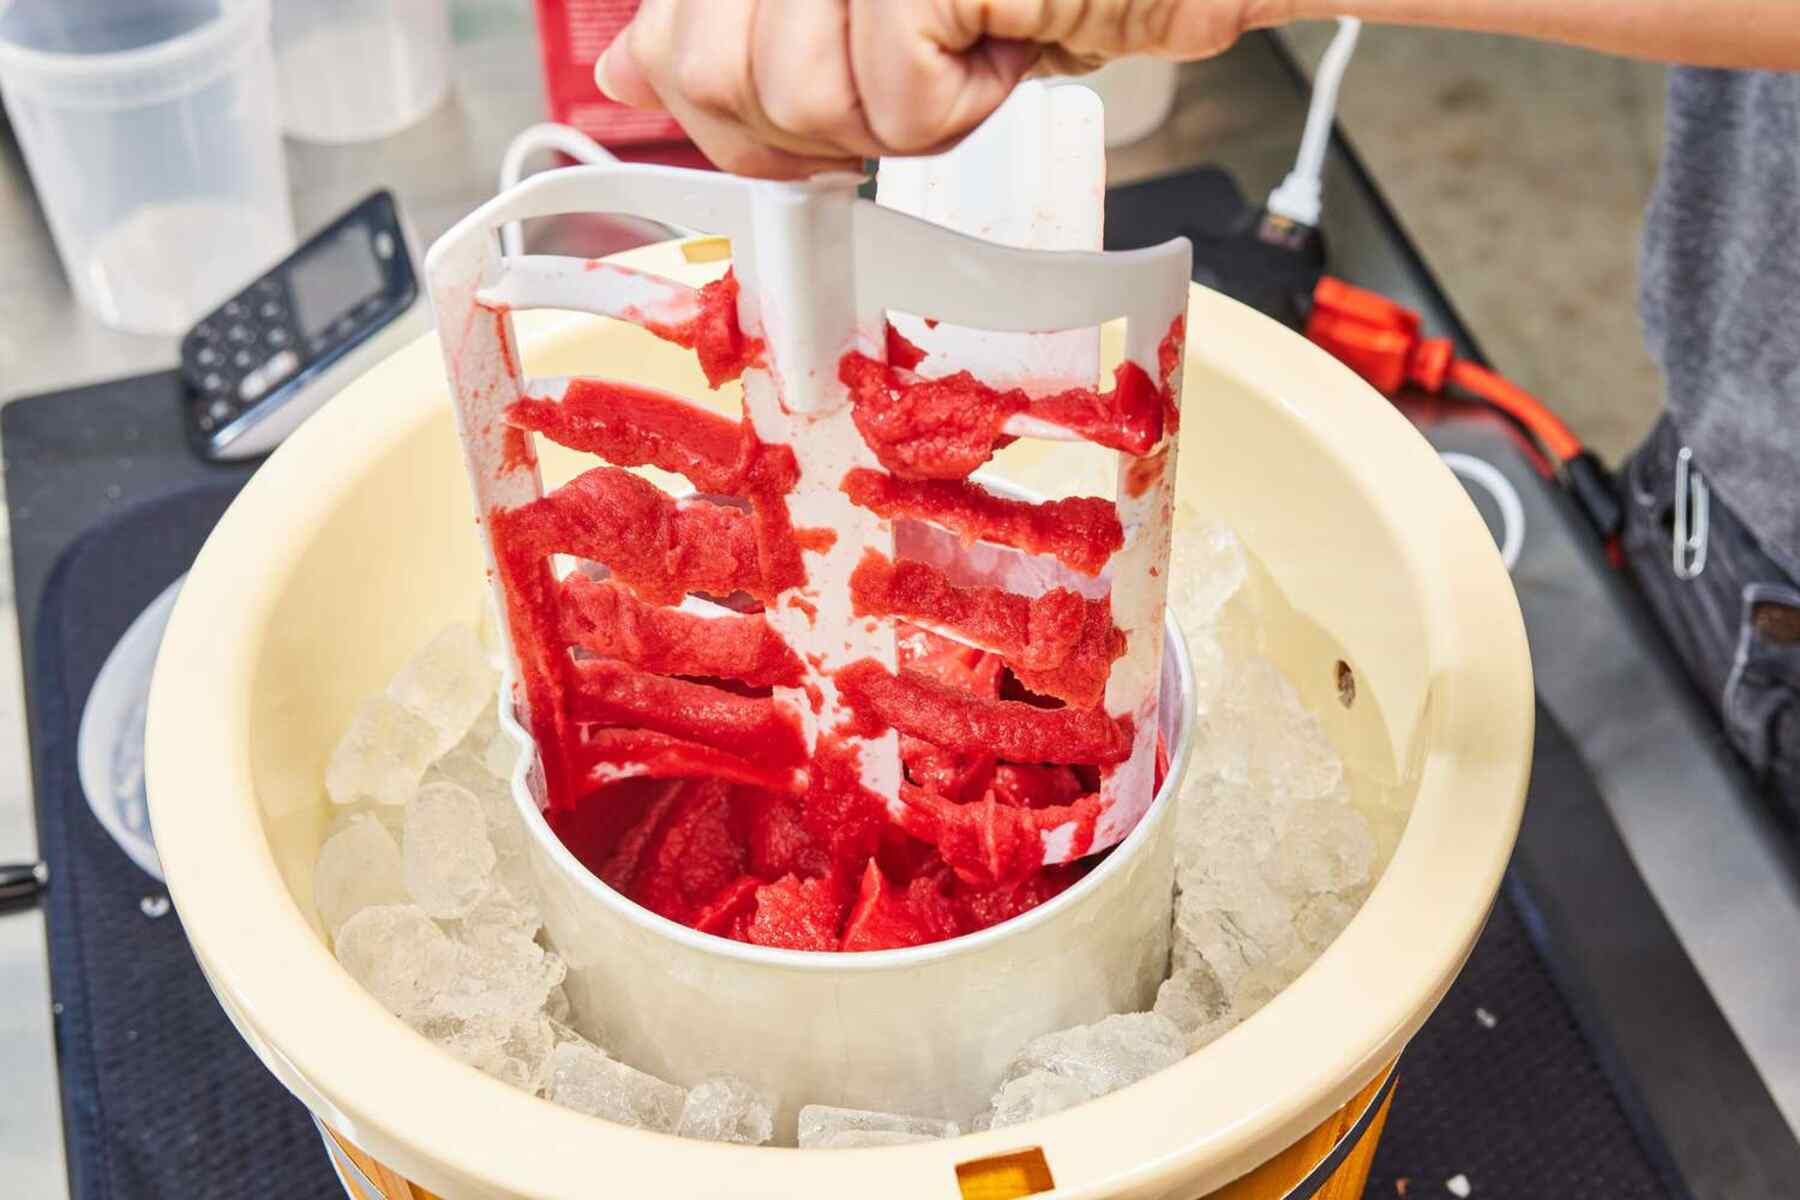
The churning mechanism of the ice cream maker is what sets it apart from other freezing methods. As the ice cream mixture begins to freeze, the paddle or dasher inside the container starts to rotate. This constant motion of the paddle breaks up the ice crystals that form during the freezing process and incorporates air into the mixture.
By continuously agitating the mixture, the churning process prevents large ice crystals from forming, resulting in a smooth and creamy texture. Additionally, the incorporation of air adds volume and lightness to the ice cream, making it airy and easier to scoop.
So, in essence, an old-fashioned ice cream maker works by creating a freezing environment using a combination of ice and salt, while the churning mechanism breaks up ice crystals and incorporates air to create a delectable frozen treat.
Now that we understand the basic workings of an old-fashioned ice cream maker, let’s explore the components that make up this delightful device.
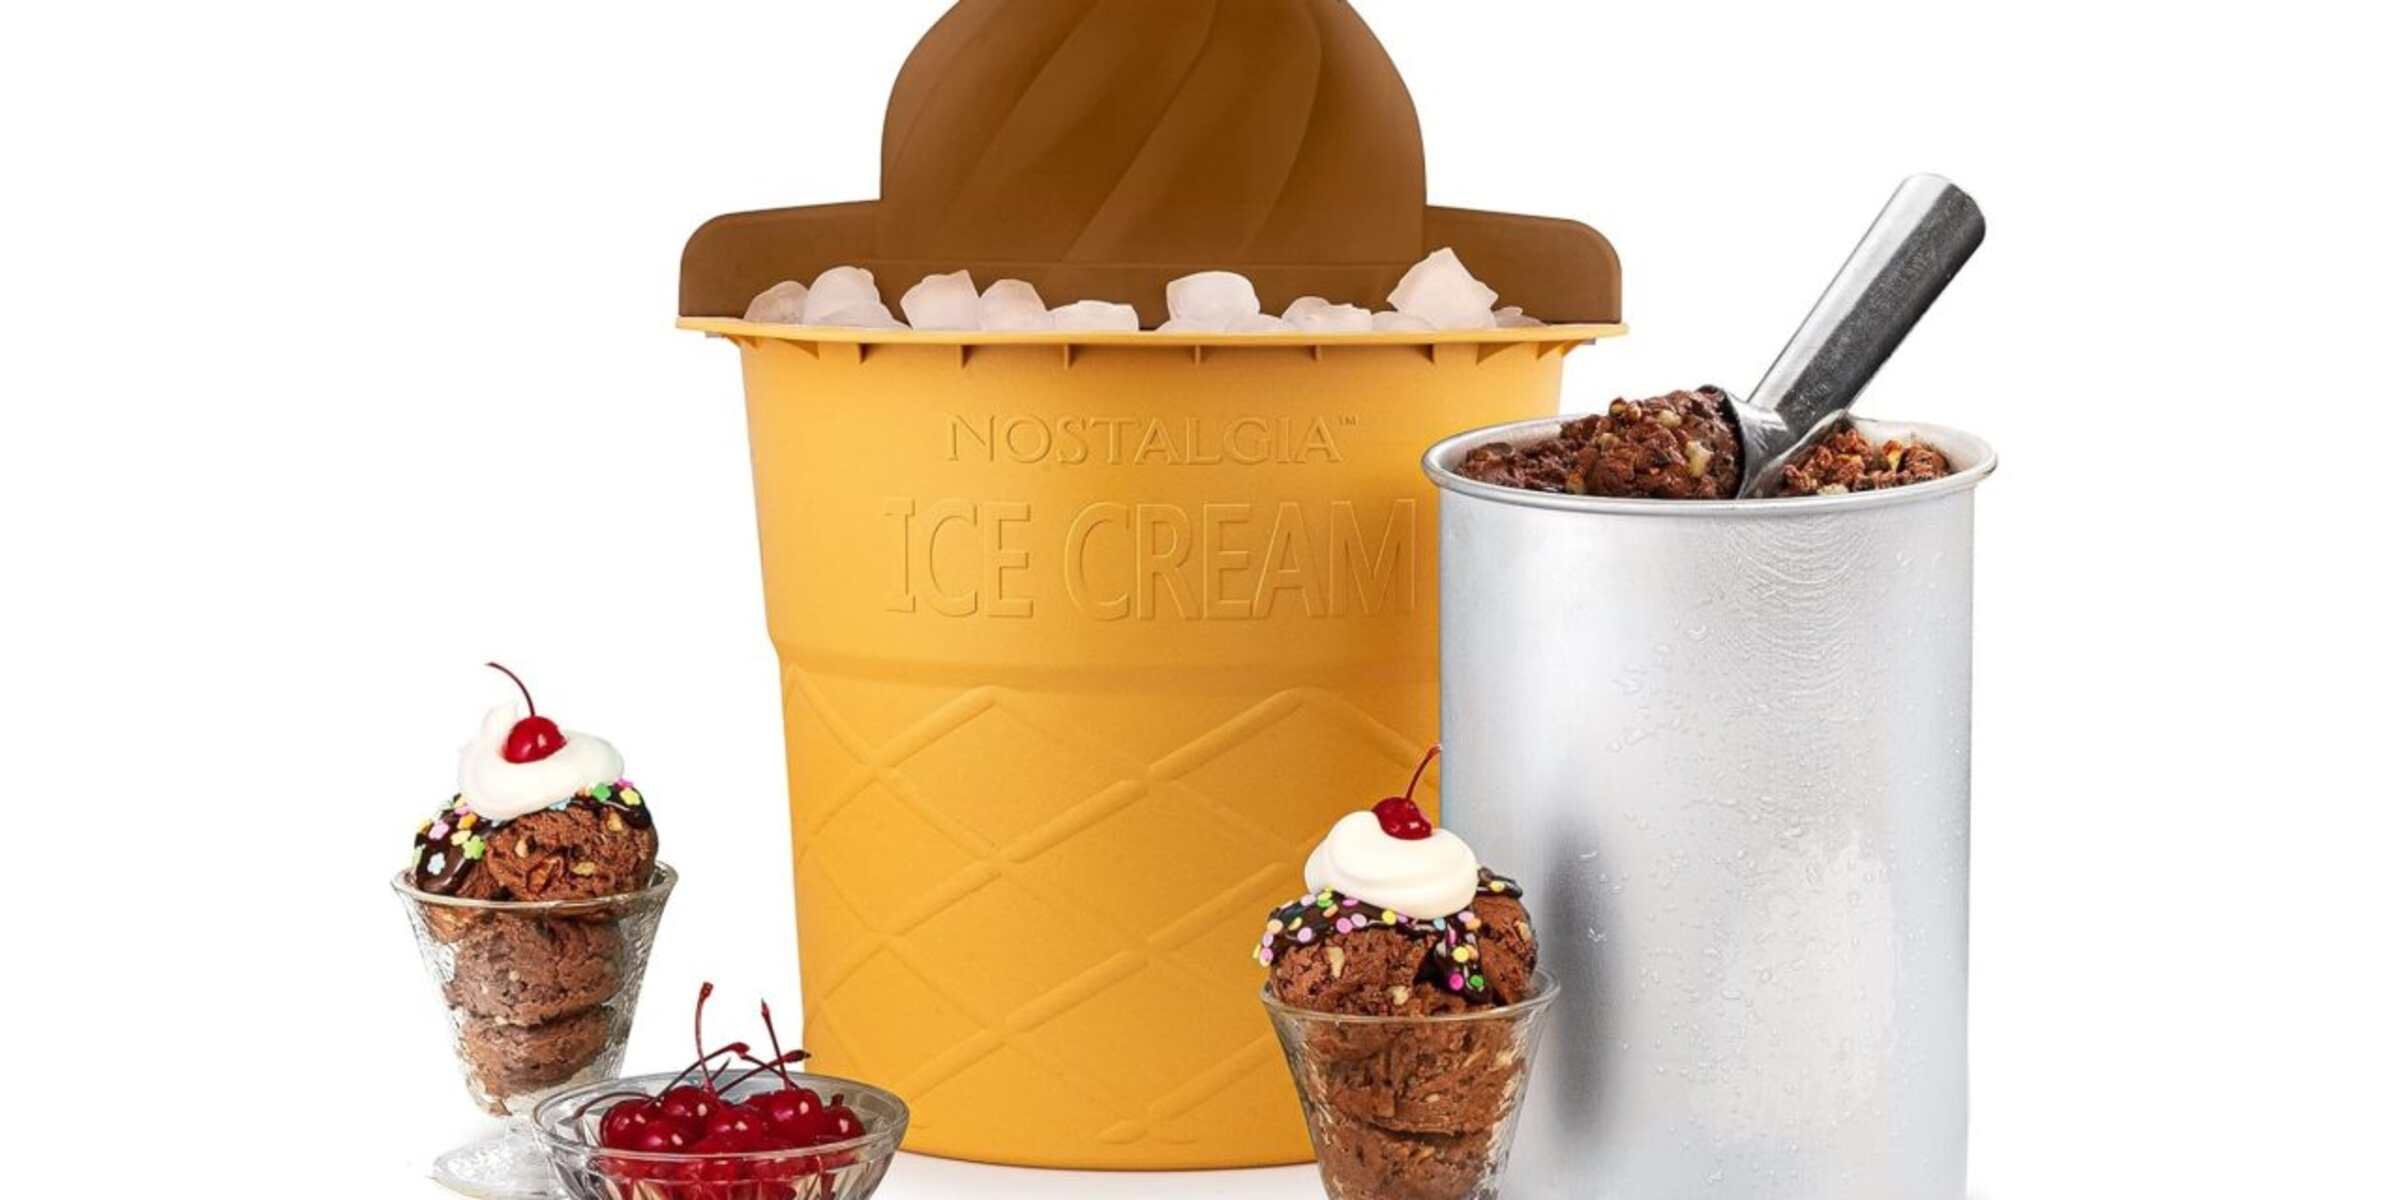
Components of an Old-Fashioned Ice Cream Maker
Old-fashioned ice cream makers consist of several key components that work together to create the perfect batch of homemade ice cream. Let’s take a closer look at these components:
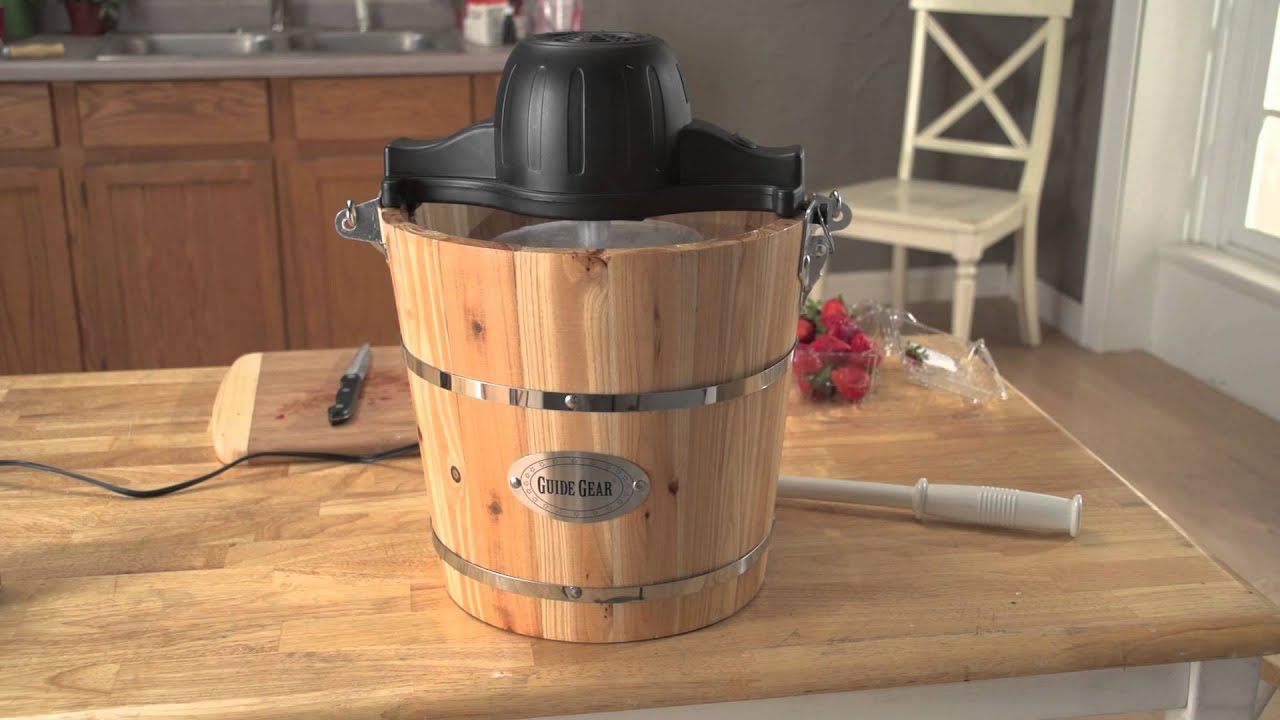
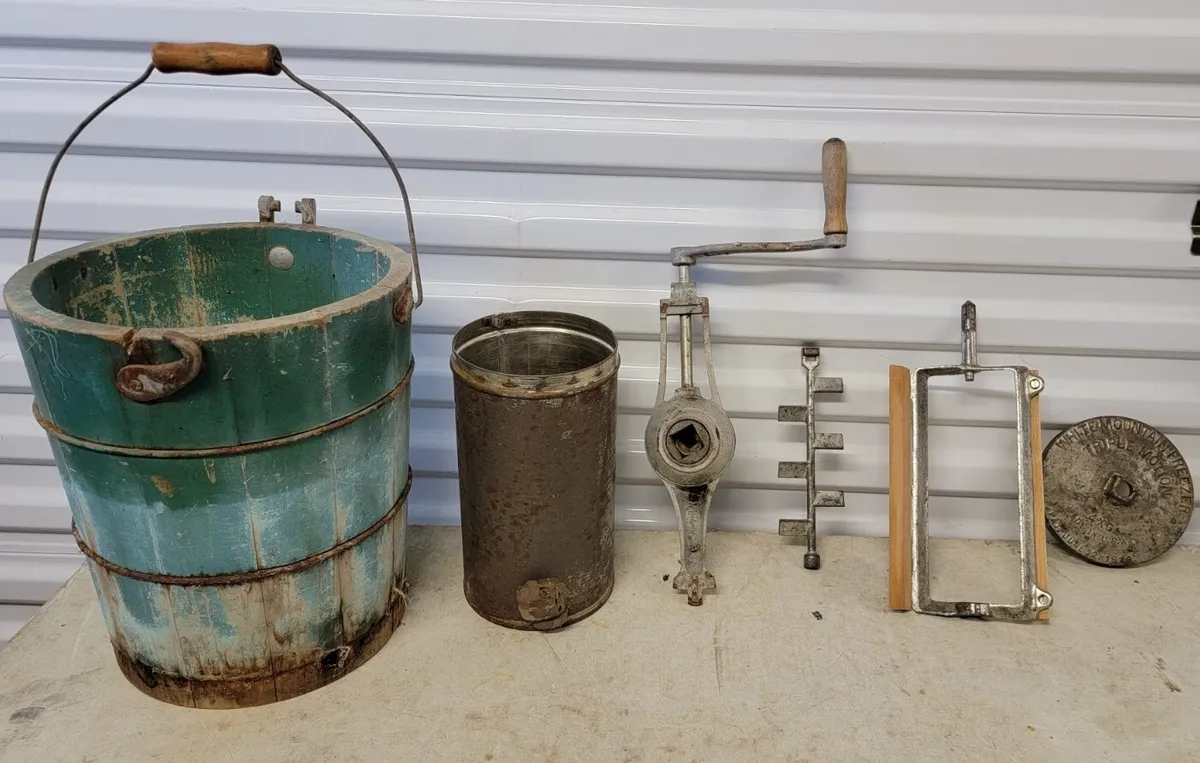
- Container: The container, often made of metal, is where the ice cream mixture is placed for freezing. It is designed to withstand the extremely cold temperatures required to freeze the mixture. The container typically has a tightly-fitting lid to prevent any salt or ice from entering the mixture.
- Paddle or Dasher: This is the stirring mechanism inside the container that mixes and churns the ice cream mixture. The paddle is usually made of wood or plastic and is attached to a handle or crank on the lid, allowing it to rotate while the mixture freezes.
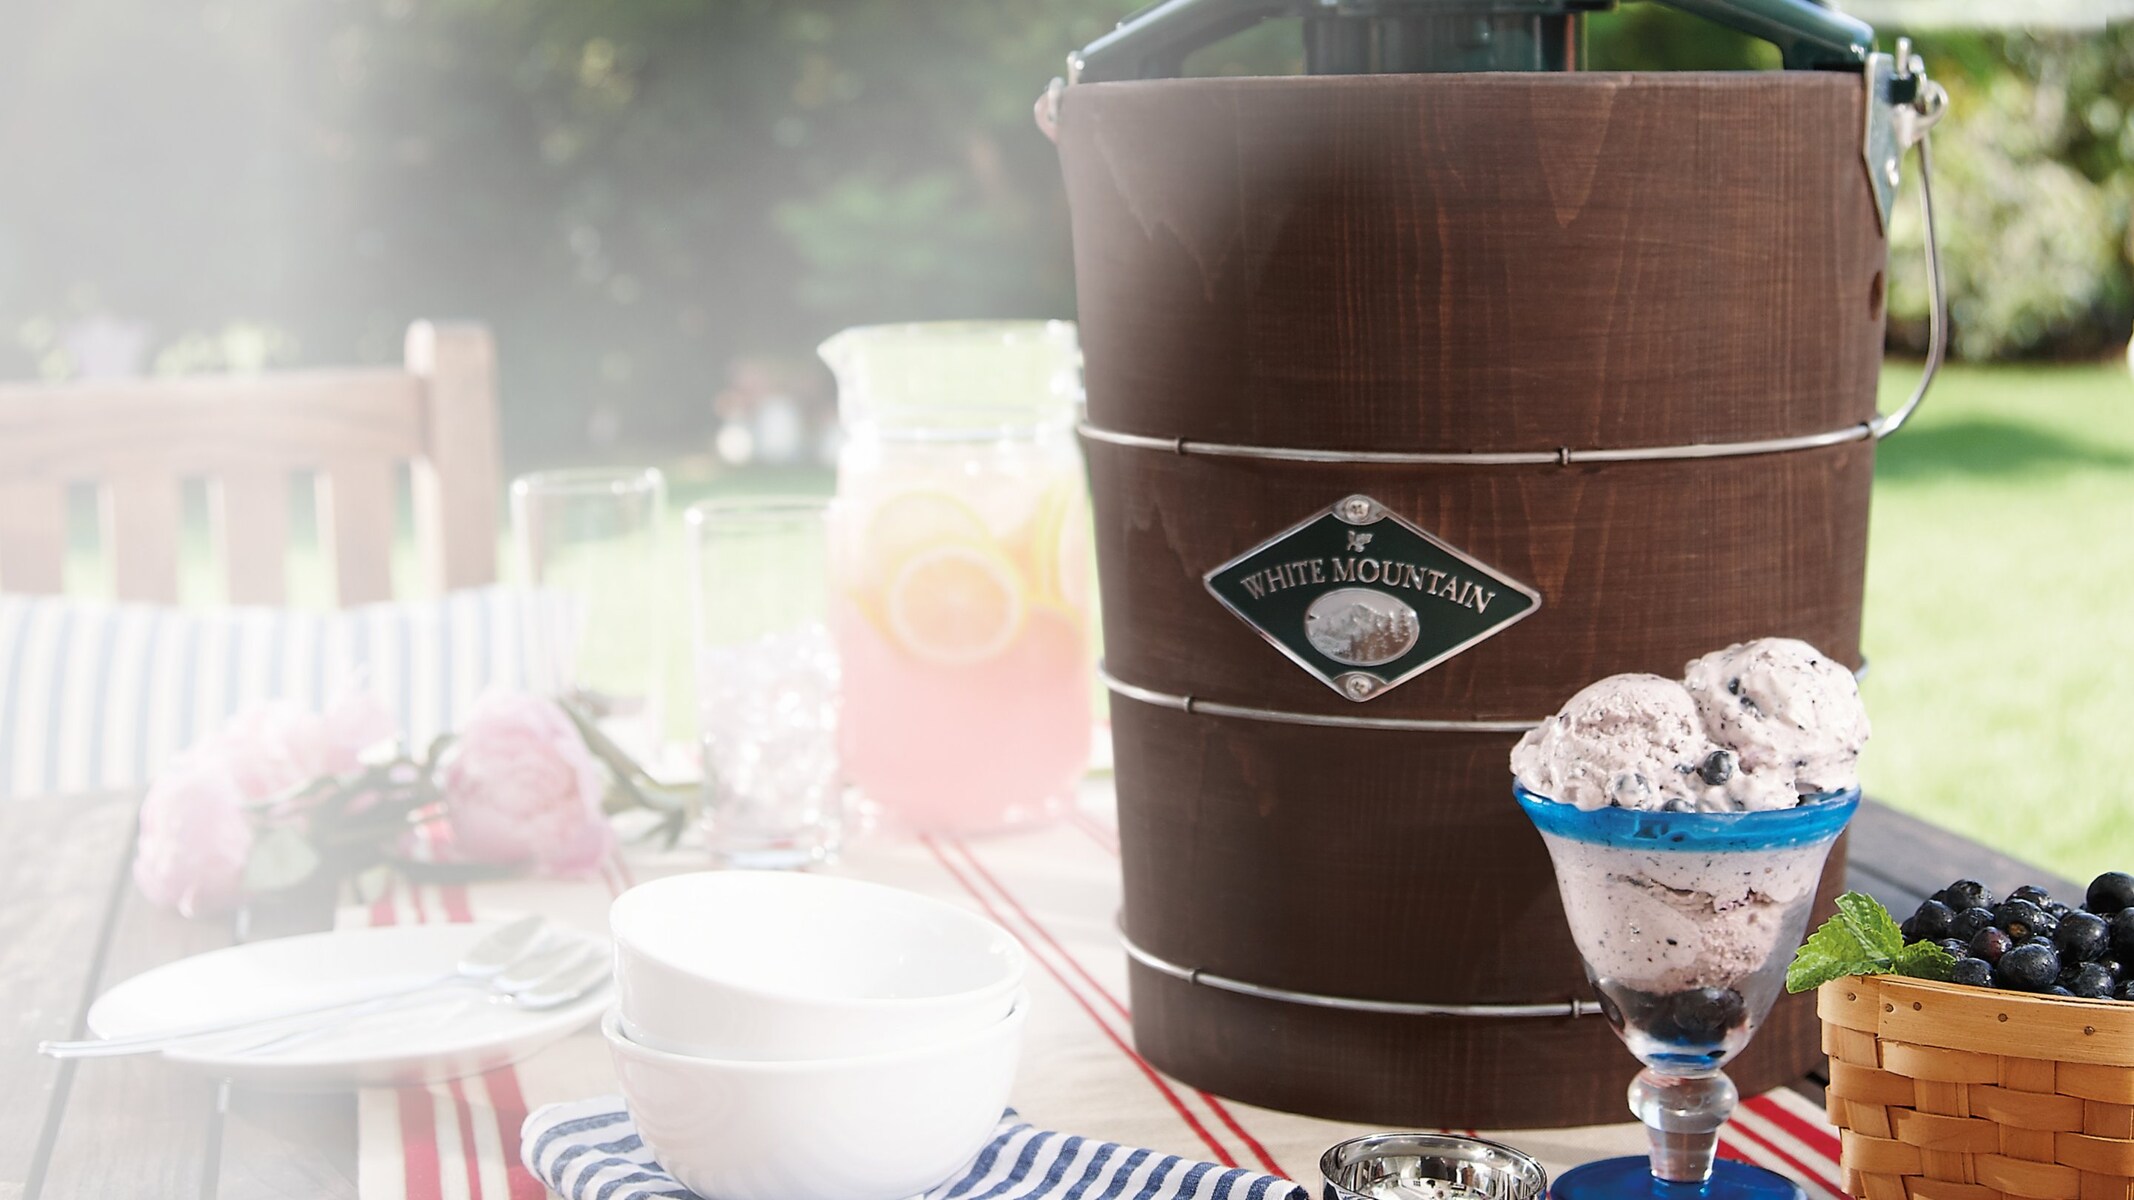
- Outer Bucket: The outer bucket holds the ice and salt mixture. It not only provides insulation but also allows for the formation of the supercooled environment necessary for freezing the ice cream mixture. The outer bucket often has handles or grips for easy transportation.
- Lid: The lid of an old-fashioned ice cream maker is an essential component as it seals the container and prevents any salt, ice, or external contaminants from entering the mixture during the churning process.
- Cranks or Handles: Many old-fashioned ice cream makers have cranks or handles attached to the lid. These are used to manually rotate the paddle or dasher inside the container. By turning the crank or handle, the user keeps the mixture constantly stirring and prevents it from fully freezing along the edges of the container.
These components come together to create a well-designed and efficient ice cream maker that produces delightful frozen treats. Now that we understand the components, let’s explore the process of making ice cream using an old-fashioned ice cream maker.
The Ice and Salt Method
The ice and salt method is a classic technique used in old-fashioned ice cream makers to create the freezing environment necessary for making homemade ice cream. By combining ice and salt, this method allows the temperature to drop below the freezing point of water, resulting in the rapid freezing of the ice cream mixture.
The primary purpose of using ice and salt is to create a supercooled environment inside the ice cream maker. Salt, typically rock salt or coarse salt, is mixed with the ice to lower the freezing point of water. As a result, the ice can reach even colder temperatures than it would at its natural freezing point.
When the ice and salt mixture is added to the outer bucket of the ice cream maker, the salt comes into contact with the ice, causing it to melt. This process, known as freezing point depression, creates a brine solution that is colder than the freezing point of the ice cream mixture.
As the ice cream mixture is placed in the container inside the ice cream maker, the paddle or dasher begins to rotate. This motion, combined with the low temperatures created by the ice and salt mixture, causes the mixture to freeze gradually.
The ice and salt method is highly effective in freezing the ice cream mixture evenly and quickly. The supercooled environment created by the ice and salt helps to prevent the formation of large ice crystals, resulting in a smoother and creamier texture.
It is important to note that the ice and salt mixture needs to be replenished periodically during the freezing process. As the salt melts the ice, both the ice and salt diminish in quantity. Adding more ice and salt ensures the freezing process continues at the desired temperature.
The ice and salt method is a traditional and reliable technique for making ice cream with old-fashioned ice cream makers. It provides a practical solution for achieving the ideal freezing conditions required to create delectable homemade frozen treats.
Now that we understand the ice and salt method, let’s explore the churning process involved in making ice cream with an old-fashioned ice cream maker.
Churning Process
The churning process is a crucial step in making ice cream with an old-fashioned ice cream maker. It involves the continuous mixing and agitation of the ice cream mixture to create a smooth and creamy texture.
As the ice cream mixture begins to freeze, the paddle or dasher inside the container starts to rotate. The rotating motion helps break up the ice crystals that form during the freezing process and prevents them from clumping together.
By constantly stirring the mixture, the churning process evenly distributes the ice crystals and incorporates air into the mixture. This incorporation of air, also known as overrun, is essential for creating a light and airy texture in the ice cream.
During the churning process, the ice cream mixture slowly thickens and increases in volume. The constant agitation prevents the formation of large ice crystals, resulting in a smoother texture.
The length of the churning process can vary depending on the recipe and the desired consistency of the ice cream. Generally, it takes around 20 to 30 minutes for the ice cream to reach the desired consistency, but this can vary based on factors such as the temperature of the mixture and the speed of the rotating paddle.
Throughout the churning process, it’s important to keep an eye on the ice and salt levels in the outer bucket. As the ice melts and the salt dissolves, the temperature inside the ice cream maker decreases. Checking and replenishing the ice and salt mixture helps maintain the desired freezing conditions and ensure proper churning.
Once the ice cream reaches the desired consistency, it can be transferred to a separate container for further freezing or enjoyed immediately as a soft-serve treat. Remember to cover the container tightly and store the ice cream in the freezer until it reaches the desired firmness.
The churning process is a crucial step that transforms a liquid mixture into a delightful frozen dessert. The constant motion of the paddle or dasher, combined with the freezing conditions created by the ice and salt, works together to produce a smooth and creamy texture that is loved by ice cream enthusiasts around the world.
Now that we have explored the churning process, let’s take a look at some helpful tips and tricks for making ice cream with an old-fashioned ice cream maker.
Tips and Tricks for Making Ice Cream with an Old-Fashioned Ice Cream Maker
Making ice cream with an old-fashioned ice cream maker can be a delightful and rewarding experience. To help you achieve the best results, here are some valuable tips and tricks.
- Pre-freeze the container: Before starting the ice cream-making process, it’s advisable to pre-freeze the container. This helps maintain a colder temperature, ensuring faster and more efficient freezing of the ice cream mixture.
- Chill the ingredients: It’s essential to chill the ingredients, especially the dairy base, before mixing them together. This helps the mixture freeze faster and promotes smoother and creamier texture.
- Experiment with flavors and mix-ins: Don’t be afraid to get creative with your ice cream flavors. Try different extracts, fruits, nuts, or chocolate chips to customize your ice cream according to your preferences.
- Avoid overfilling the container: Leave some space at the top of the container when pouring the ice cream mixture. The mixture will expand as it freezes, and allowing room for expansion prevents overflow and ensures even freezing.
- Layer the ice and salt mixture: When adding the ice and salt to the outer bucket, layer them alternately for better distribution and more effective freezing. This helps maintain lower temperatures and speeds up the freezing process.
- Monitor the churning process: Keep an eye on the churning process throughout. Check the consistency and texture of the ice cream regularly to ensure it doesn’t become too frozen or overly soft.
- Replenish the ice and salt: As the ice melts and the salt dissolves, it’s important to add more ice and salt to maintain the freezing conditions. Regularly check and replenish the ice and salt mixture to ensure consistent freezing temperatures.
- Use a thermometer: For precise temperature control, consider using a food thermometer to monitor the temperature of the ice cream mixture. This helps ensure that the mixture reaches the optimal freezing point.
- Let it rest in the freezer: Once the ice cream has reached the desired consistency, transfer it to a separate container and let it rest in the freezer for a couple of hours to further firm up before serving.
- Enjoy it fresh: Old-fashioned ice cream is best enjoyed fresh. Serve it immediately after it reaches the desired firmness to savor the creamy, homemade goodness.
By following these tips and tricks, you’ll be well on your way to creating delicious and satisfying ice cream using an old-fashioned ice cream maker.
Now that you have some valuable insights, it’s time to embark on your ice cream-making adventure. Whether you’re making classic vanilla or experimenting with unique flavors, enjoy the process and indulge in the delectable results!
Conclusion
Old-fashioned ice cream makers offer a delightful and nostalgic way to create homemade ice cream. Through the ice and salt method and the churning process, these classic devices transform liquid mixtures into smooth and creamy frozen delights.
We explored the history of ice cream making, tracing its origins in ancient China to its popularity among the elite in Europe. From hand-cranked churns to the invention of modern ice cream makers, the art of creating ice cream has evolved over time.
An old-fashioned ice cream maker consists of various components, including the container, paddle or dasher, outer bucket, lid, and cranks or handles. These components work harmoniously to freeze the ice cream mixture and create the desired texture.
The ice and salt method is a key aspect of old-fashioned ice cream making. By combining ice and salt, a supercooled environment is created, allowing for faster and more effective freezing of the mixture.
The churning process is another crucial step, incorporating air into the mixture and preventing the formation of large ice crystals. This process results in a smoother and creamier texture that we associate with quality ice cream.
To make the most out of your old-fashioned ice cream maker, we provided some helpful tips and tricks. Pre-freezing the container, chilling the ingredients, experimenting with flavors, and maintaining the ice and salt levels are just a few ways to enhance your ice cream-making journey.
Now, armed with the knowledge of how an old-fashioned ice cream maker works and some practical tips, you are ready to create your own homemade frozen delights. Whether you prefer classic flavors or want to explore unique combinations, the joy of making ice cream with an old-fashioned ice cream maker is unmatched.
So, gather your ingredients, set up your ice cream maker, and let the magic unfold. Enjoy the process, savor the taste, and create sweet memories with every scoop of your homemade ice cream.