Introduction
Welcome to our guide on how to make delicious vanilla ice cream with eggs using an ice cream maker. If you’ve ever wanted to create a creamy and indulgent treat right in the comfort of your own home, then this recipe is for you. By incorporating the richness of eggs into the base mixture, you’ll achieve a velvety texture that is sure to please your taste buds.
Whether you’re looking to impress your family and friends at a gathering or simply craving a satisfying dessert, making homemade vanilla ice cream is a delightful and rewarding experience. This classic flavor is loved by many for its simplicity and versatility, making it the perfect base for various toppings and mix-ins.
In this guide, we’ll take you through the step-by-step process of creating vanilla ice cream using an ice cream maker. We’ll cover everything from preparing the base to churning and freezing the mixture, ensuring that you end up with a smooth and luscious scoop every time.
Before we dive into the recipe, it’s important to note that using fresh, high-quality ingredients is key to achieving the best results. The flavor and quality of your vanilla extract will greatly impact the overall taste of the ice cream, so opt for a pure and fragrant variety if possible.
Now, let’s gather our ingredients and get ready to embark on this delicious journey of making vanilla ice cream with eggs in an ice cream maker!
Ingredients
To make vanilla ice cream with eggs in an ice cream maker, you will need the following ingredients:
- 2 cups heavy cream
- 1 cup whole milk
- 3/4 cup granulated sugar
- 4 large egg yolks
- 2 teaspoons pure vanilla extract
- A pinch of salt
These simple yet essential ingredients will blend together to create a velvety and creamy ice cream with a perfect balance of sweetness and vanilla flavor. Make sure to measure the ingredients accurately for the best results.
The heavy cream provides richness and adds a luxurious mouthfeel to the ice cream, while the whole milk helps to achieve a smooth consistency. The granulated sugar sweetens the mixture, and the egg yolks introduce a rich and custard-like texture.
Don’t forget the star of the show – the pure vanilla extract. This ingredient brings a fragrant and distinct vanilla flavor to the ice cream, elevating it to a whole new level of deliciousness. And a pinch of salt helps to enhance and balance the flavors.
Once you have gathered all the ingredients, it’s time to move on to the next step: preparing the base for our vanilla ice cream.
Step 1: Preparing the Base
Before we can churn our delicious vanilla ice cream, we need to start by preparing the base mixture. This base will serve as the foundation for our creamy dessert.
- In a medium-sized saucepan, combine the heavy cream and whole milk over medium heat. Heat the mixture until it begins to simmer, then remove it from the heat.
- In a separate bowl, whisk together the granulated sugar and egg yolks until they are well combined.
- Slowly pour about half of the hot cream mixture into the bowl with the sugar and eggs, whisking continuously. This process, known as tempering, helps to gradually raise the temperature of the eggs without scrambling them.
- Pour the tempered egg mixture back into the saucepan with the remaining cream mixture, whisking constantly to ensure everything is well incorporated.
- Return the saucepan to the stove over low heat and cook the mixture while stirring continuously. Use a rubber spatula or wooden spoon to scrape the bottom and sides of the pan to prevent any sticking or forming clumps.
- Cook the base until it thickens and coats the back of the spoon. This usually takes around 8-10 minutes, and the mixture should reach a temperature of around 170°F (77°C).
- Once the base has thickened, remove it from the heat and stir in the pure vanilla extract. The aroma of vanilla will fill the air, instantly elevating the anticipation for the final result.
With the base mixture ready, we have successfully completed the first step of our vanilla ice cream-making process. Now, let’s move on to the next step: tempering the eggs.
Step 2: Tempering the Eggs
Tempering the eggs is an important step in creating the perfect texture for our vanilla ice cream. This process involves gradually raising the temperature of the egg mixture without scrambling the eggs.
- Begin by placing a fine-mesh sieve or strainer over a large bowl. This will help ensure a smooth and creamy consistency by removing any potential lumps or bits.
- Slowly pour the hot cream mixture into the bowl with the egg yolks, while whisking constantly. The key here is to add the hot mixture in a gradual and steady stream while continuously whisking.
- This slow and steady addition of the hot liquid to the eggs helps to warm up the eggs without causing them to cook and curdle.
- Continue whisking until the cream mixture and egg yolks are well combined, and the mixture is smooth and uniform in texture. This ensures that the flavors and textures are evenly distributed in the ice cream base.
- Once the mixture is well combined, remove the strainer and give it a gentle stir to remove any remaining bits or lumps that may have been caught in the sieve.
By tempering the eggs in this way, we ensure that they are fully incorporated into the ice cream base, contributing to its richness and smoothness. This step also helps to eliminate any potential risk of consuming undercooked eggs.
With the eggs tempered and our base mixture prepared, we’re ready to move on to the next step: combining and chilling the mixture.
Step 3: Combining and Chilling the Mixture
Now that we have our tempered egg and cream mixture, it’s time to combine the ingredients and prepare them for the churning process. This step ensures that the flavors meld together and the mixture cools down before being transformed into creamy ice cream.
- Slowly pour the tempered mixture into a clean bowl or container. If desired, you can strain the mixture one more time to remove any potential lumps or bits that may have been missed during the previous straining.
- Place a piece of plastic wrap directly on the surface of the mixture. This creates a barrier and prevents a skin from forming on the top of the mixture as it chills.
- Refrigerate the mixture for at least 4 hours, or preferably overnight. Chilling the mixture allows the flavors to meld together and ensures that it is properly cooled before churning.
- You can also place the mixture in the freezer for about 30 minutes to speed up the chilling process. Just make sure to stir it every 10-15 minutes to prevent the formation of ice crystals.
During the chilling process, the mixture will develop a more pronounced flavor and its consistency will thicken slightly. This step is crucial for achieving a smooth and creamy texture in the final ice cream result.
After the mixture has been properly chilled, we can move on to the exciting step of churning the ice cream. So let’s get ready to bring our vanilla ice cream to life!
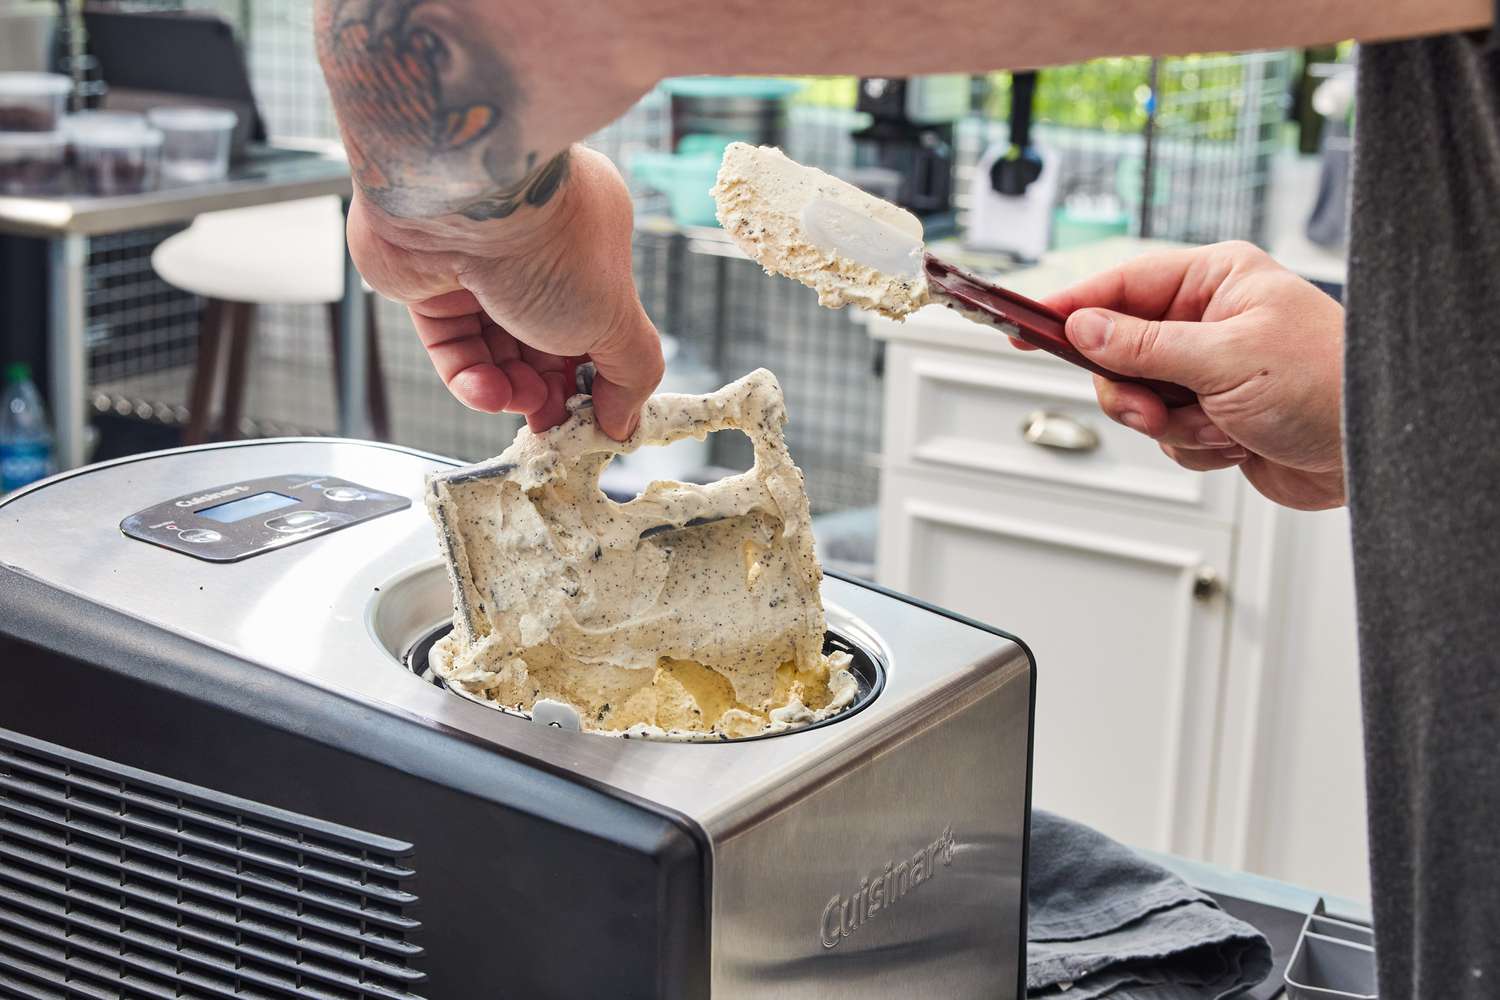
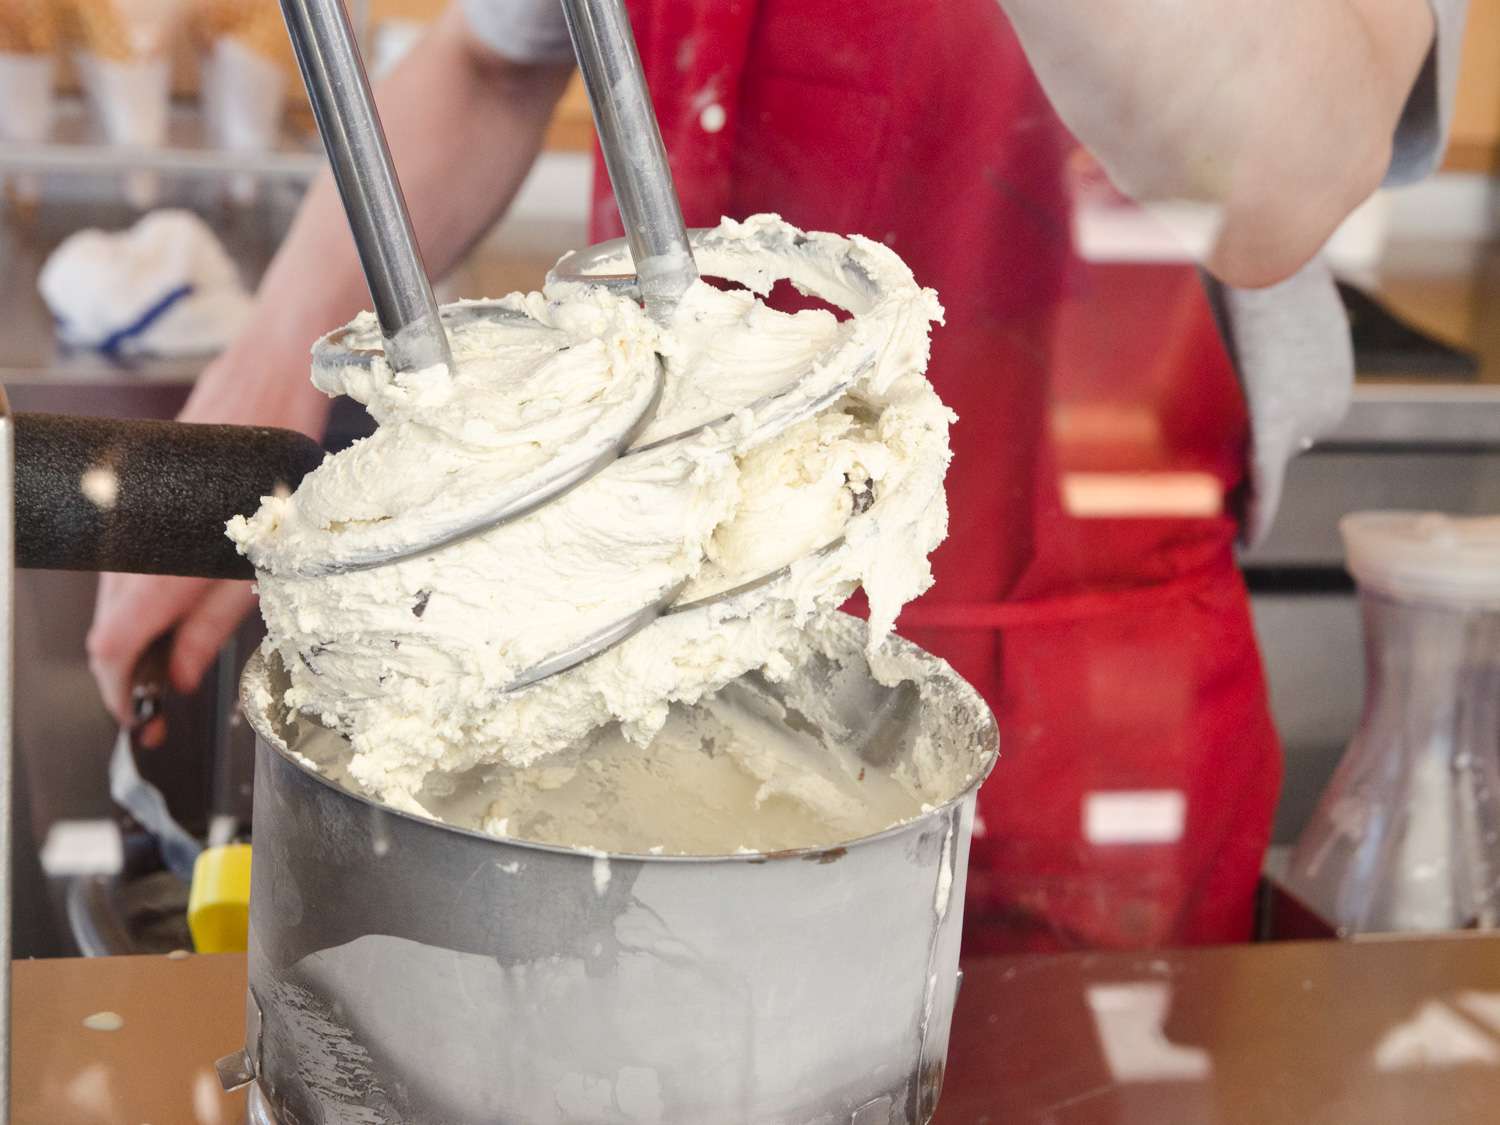
Step 4: Churning the Ice Cream
Now comes the fun part – churning the chilled mixture into creamy, dreamy vanilla ice cream! This step involves using an ice cream maker to incorporate air into the mixture while freezing it at the same time.
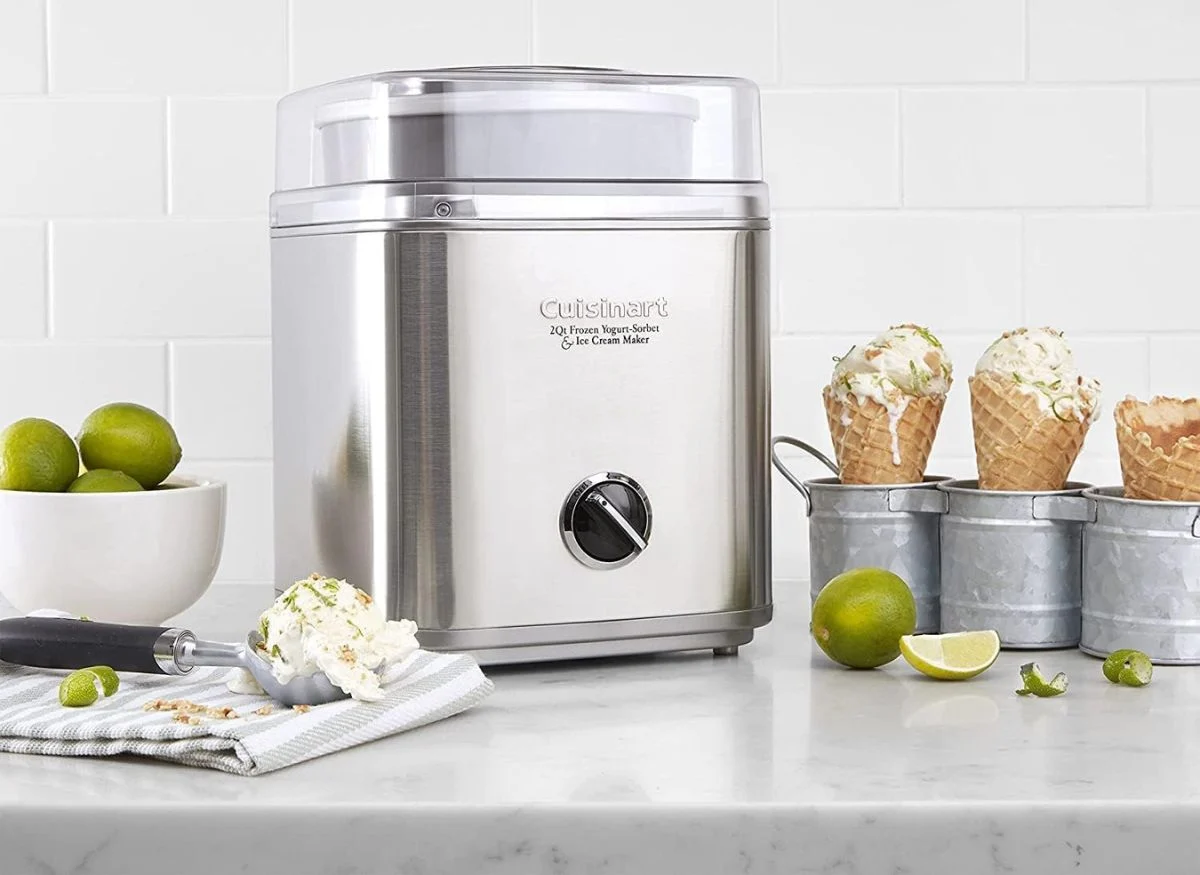
- Before starting, make sure that your ice cream maker is properly assembled and the freezer bowl has been thoroughly frozen according to the manufacturer’s instructions.
- Remove the plastic wrap from the chilled mixture and give it a gentle stir to ensure it’s well mixed.
- Place the mixer bowl onto the ice cream maker and turn it on.
- Slowly pour the chilled mixture into the freezer bowl while the machine is running. The mixture will gradually thicken and freeze as it rotates in the freezing bowl.
- Allow the ice cream maker to churn the mixture for approximately 20-25 minutes, or follow the manufacturer’s instructions.
- As the mixture churns, it will increase in volume and develop a light and airy texture. This is due to the incorporation of air during the churning process.
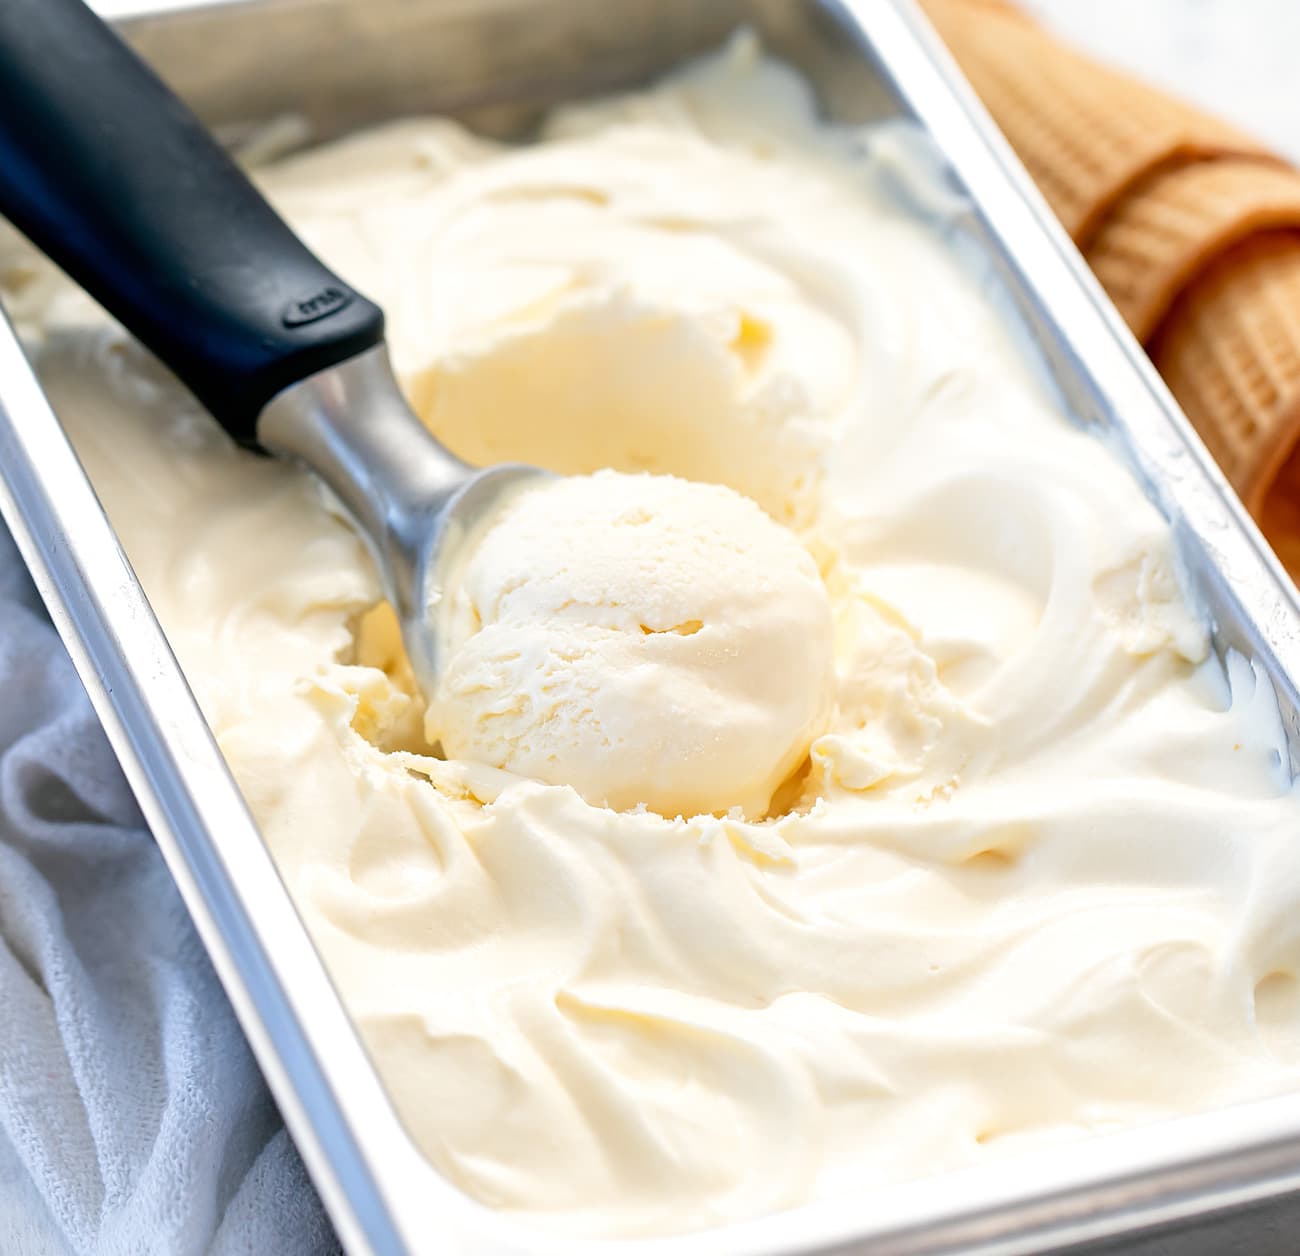
- The ice cream is ready when it reaches a soft-serve consistency, with a smooth and creamy texture.
Keep in mind that the churning time can vary depending on the specific ice cream maker used and the desired consistency. It’s always a good idea to consult the instructions provided with your machine for the best results.
Once the ice cream has reached the desired consistency, it’s time to move on to the final step: freezing and storing the freshly churned vanilla ice cream.
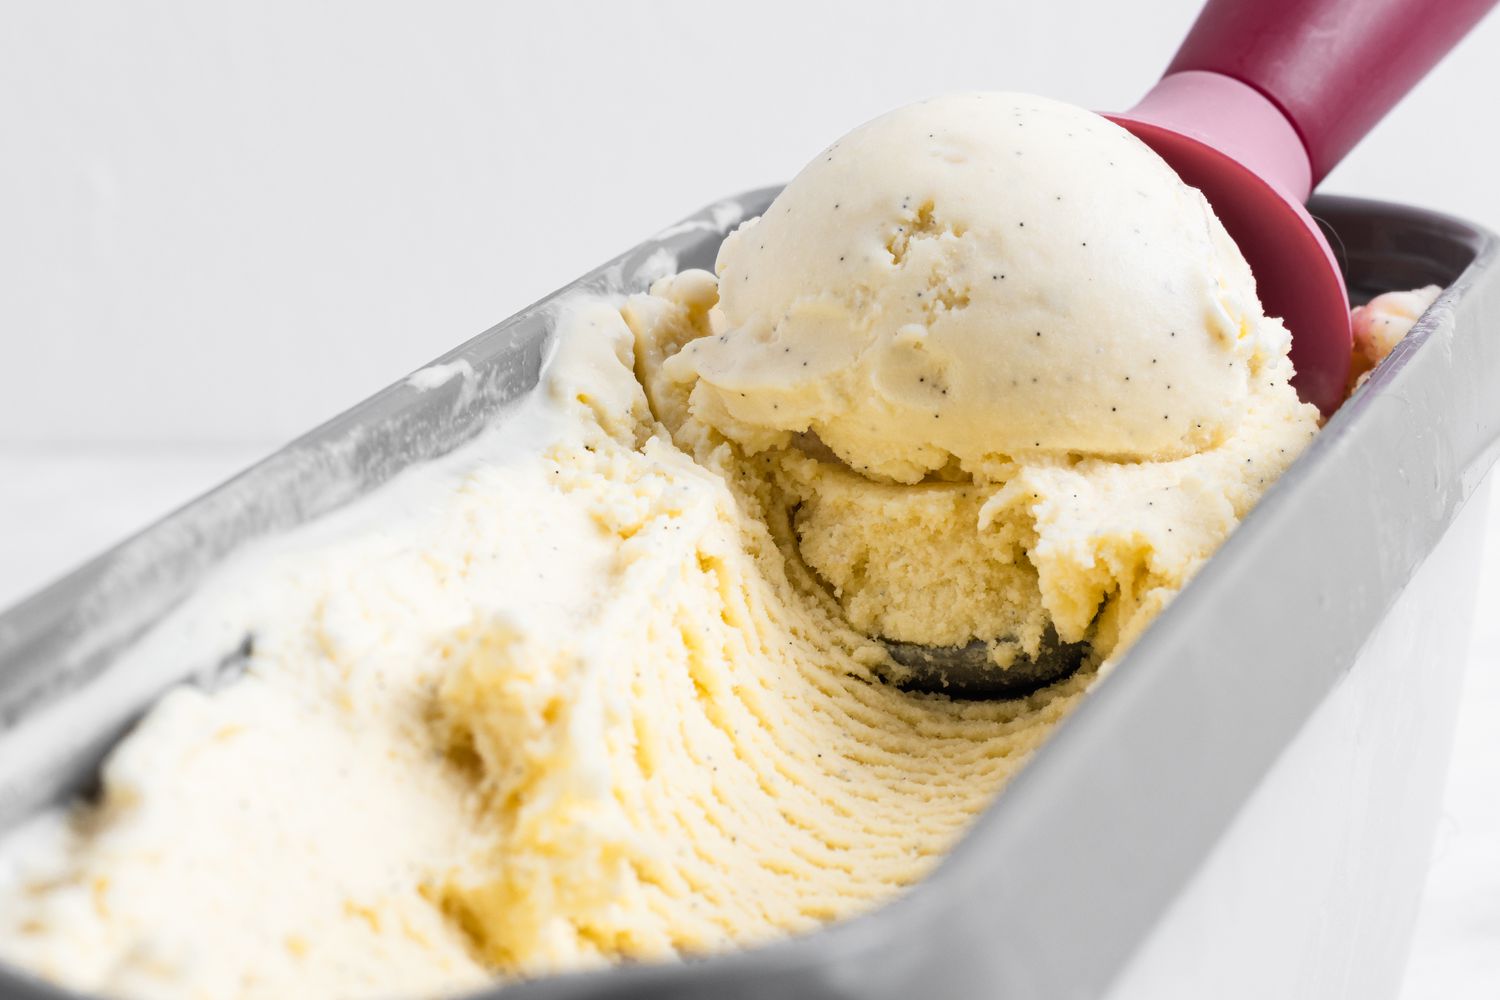
Step 5: Freezing and Storage
After the ice cream has been churned to perfection, it’s essential to properly freeze and store it to maintain its texture and flavor. Here are the steps to follow:
- Transfer the freshly churned ice cream to a lidded container. Make sure to use one that is freezer-safe and has enough space to accommodate the volume of the ice cream.
- Smooth the surface of the ice cream with a spoon or spatula to create an even layer. This helps prevent ice crystals from forming during the freezing process.
- Place a piece of plastic wrap directly on the surface of the ice cream before closing the lid. This extra layer of protection will help prevent freezer burn and maintain the creamy consistency.
- Label the container with the date and flavor for easy identification later on.
- Put the container in the coldest part of your freezer, away from any strong-smelling foods. This will ensure that your ice cream stays fresh and free from absorbing any unwanted odors.
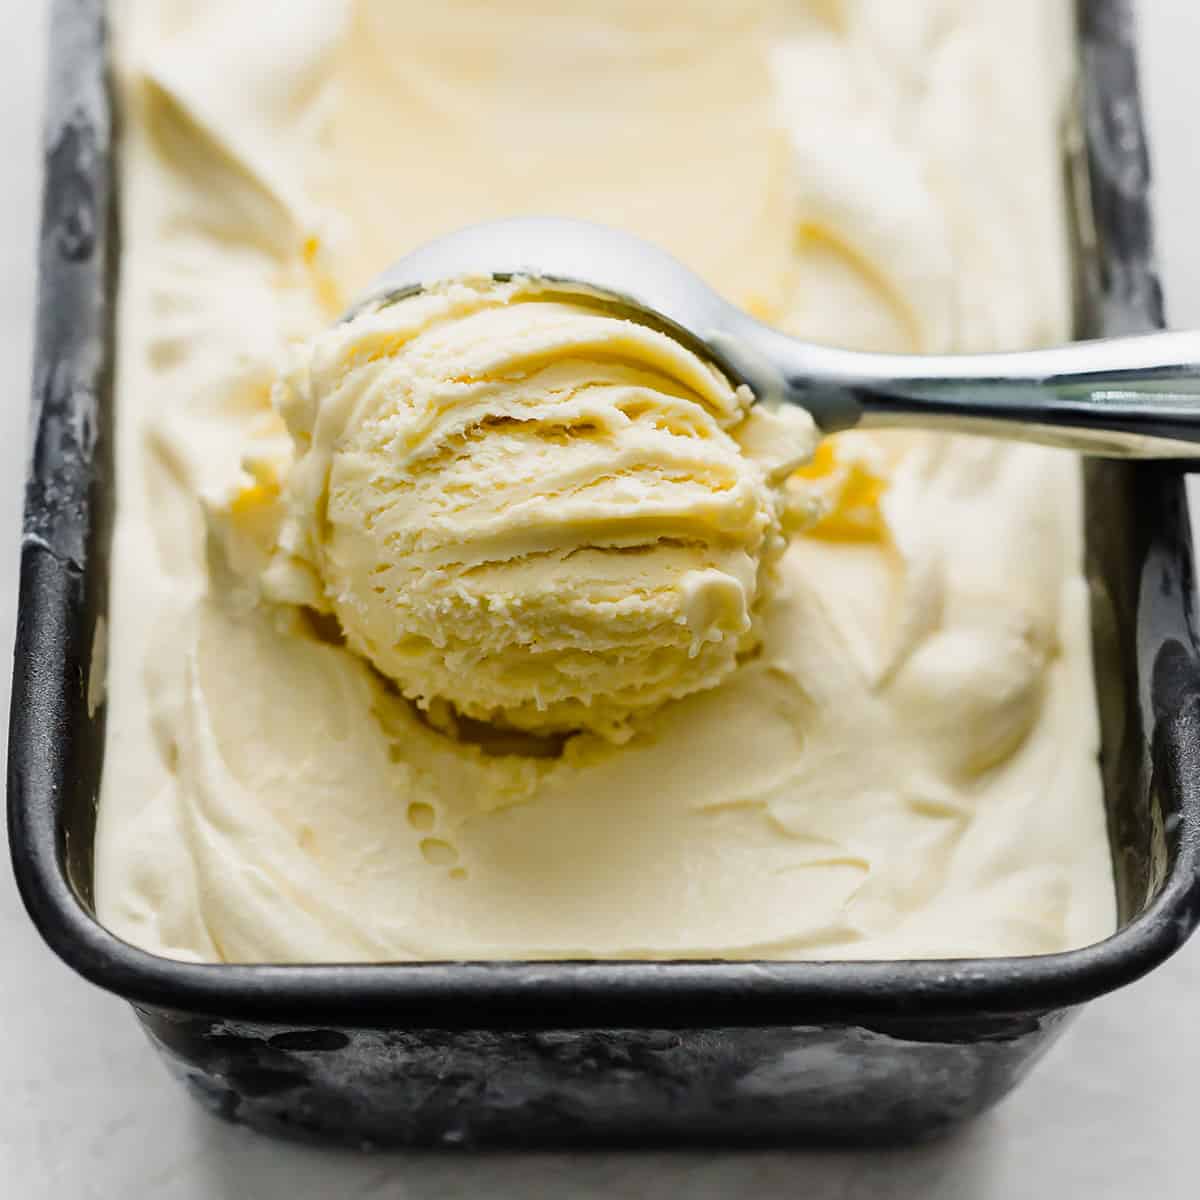
- Allow the ice cream to freeze for at least 4 hours, or preferably overnight, to fully set and develop its rich, creamy texture.
Properly stored, homemade vanilla ice cream can typically last for up to 2 to 3 months in the freezer. However, for the best quality and taste, it’s recommended to consume it within the first month.
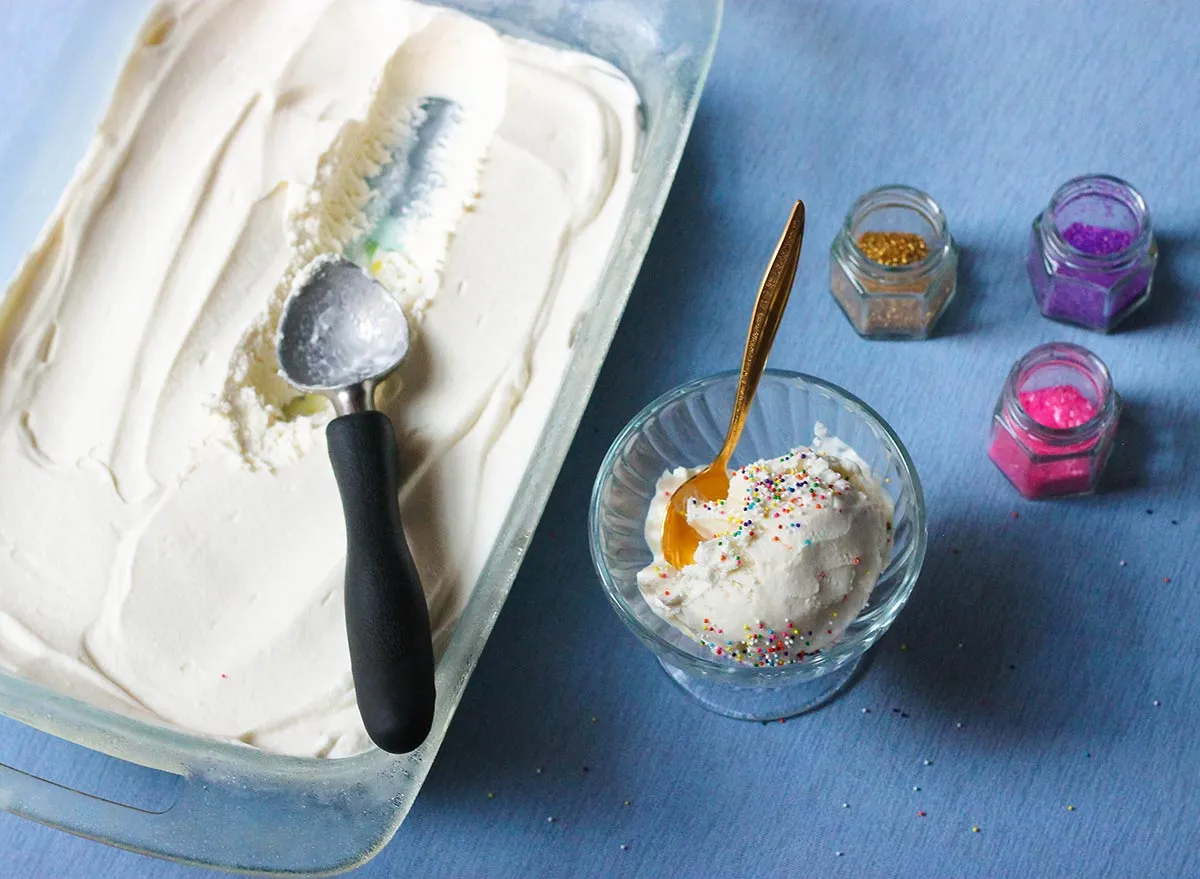
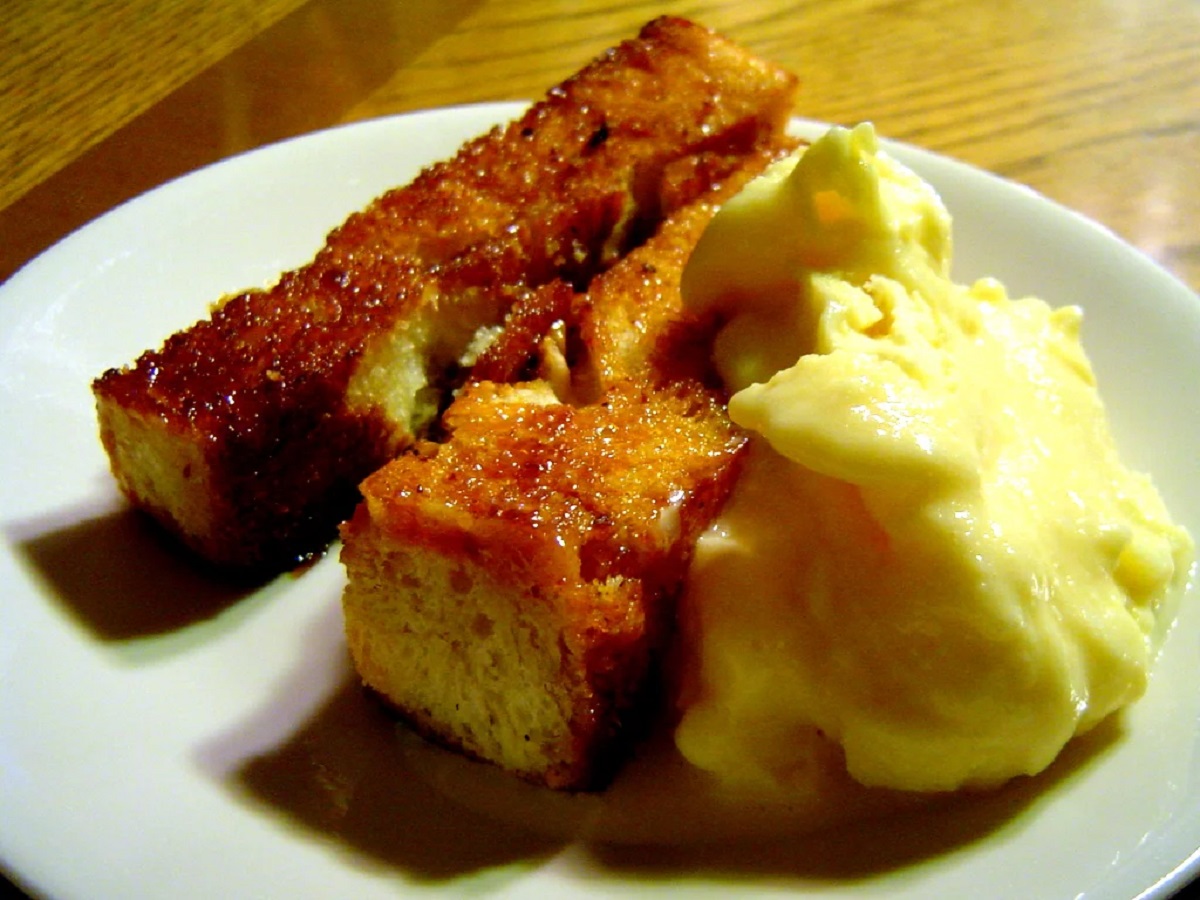
When it’s time to enjoy your homemade vanilla ice cream, simply remove it from the freezer and let it sit at room temperature for a few minutes to soften slightly. Then, scoop, serve, and savor every delightful spoonful!
Congratulations on successfully making your very own vanilla ice cream with eggs in an ice cream maker. Now you can indulge in this creamy, homemade treat whenever your craving strikes!
Conclusion
Congratulations on mastering the art of making vanilla ice cream with eggs in an ice cream maker! By following the steps outlined in this guide, you have learned how to create a smooth, creamy, and delicious frozen dessert right in the comfort of your own home.
From preparing the base, tempering the eggs, combining and chilling the mixture, to churning and freezing the ice cream, each step was necessary to ensure the perfect texture and flavor. The use of high-quality ingredients, such as fresh eggs, heavy cream, and pure vanilla extract, contributed to the rich and indulgent taste of the final product.
Now, whenever you’re craving a scoop of homemade vanilla ice cream, you have the skills and knowledge to satisfy that desire. Experiment with different mix-ins and toppings to create your own unique variations, such as adding chocolate chips, caramel swirls, or crushed cookies.
Remember, making homemade ice cream is a delightful and rewarding experience that allows you to take control of the flavors and ingredients. Share your delicious creations with family and friends, and watch their faces light up with joy as they savor every spoonful.
So go ahead, enjoy the process of making your own ice cream, and indulge in the sweet rewards of your labor. Whether it’s a hot summer day or a cozy winter evening, a bowl of homemade vanilla ice cream is always a treat worth savoring!