Introduction
Welcome to the delicious world of homemade ice cream! There’s something truly satisfying about making your own frozen treat from scratch, and today we’re going to show you how to create a classic favorite: French Vanilla Ice Cream.
French Vanilla Ice Cream is known for its rich and indulgent flavor, with hints of creamy custard and sweet vanilla bean. While you can find store-bought versions, there’s nothing quite like the taste and texture of homemade ice cream.
With the help of an ice cream maker, you can easily create this delightful dessert in the comfort of your own kitchen. Don’t worry if you’ve never used an ice cream maker before – it’s a simple and fun process.
In this step-by-step guide, we’ll walk you through each stage of the process – from preparing the vanilla base to churning the ice cream and adding optional mix-ins. You’ll be rewarded with a velvety smooth and flavorful French Vanilla Ice Cream that will impress your family and friends.
So gather your ingredients, get your equipment ready, and let’s embark on a culinary adventure to create the perfect French Vanilla Ice Cream!
Ingredients
Before we dive into the ice cream making process, let’s take a look at all the ingredients you’ll need to make delicious French Vanilla Ice Cream:
- 2 cups of heavy cream: This will provide the rich and creamy base for your ice cream.
- 1 cup of whole milk: The milk adds a lighter and smoother texture to the ice cream.
- 3/4 cup of granulated sugar: This sweetens the base and balances the flavors.
- 4 large egg yolks: Egg yolks add richness and help create a smooth and custard-like consistency.
- 2 teaspoons of pure vanilla extract: The star of the show, vanilla extract adds the signature flavor to French Vanilla Ice Cream.
- A pinch of salt: Salt enhances the sweetness and balances the flavors.
That’s it – just a handful of simple ingredients that will come together to create a decadent and creamy homemade French Vanilla Ice Cream. Remember, using high-quality ingredients will elevate the taste of your final product, so opt for fresh eggs and pure vanilla extract if possible.
Now that we have our ingredients ready, let’s move on to the equipment you’ll need to make this delectable frozen dessert.
Equipment Needed
To make French Vanilla Ice Cream, you’ll need a few essential pieces of equipment. Don’t worry, you won’t need any fancy or specialized tools – these are items commonly found in most kitchens:
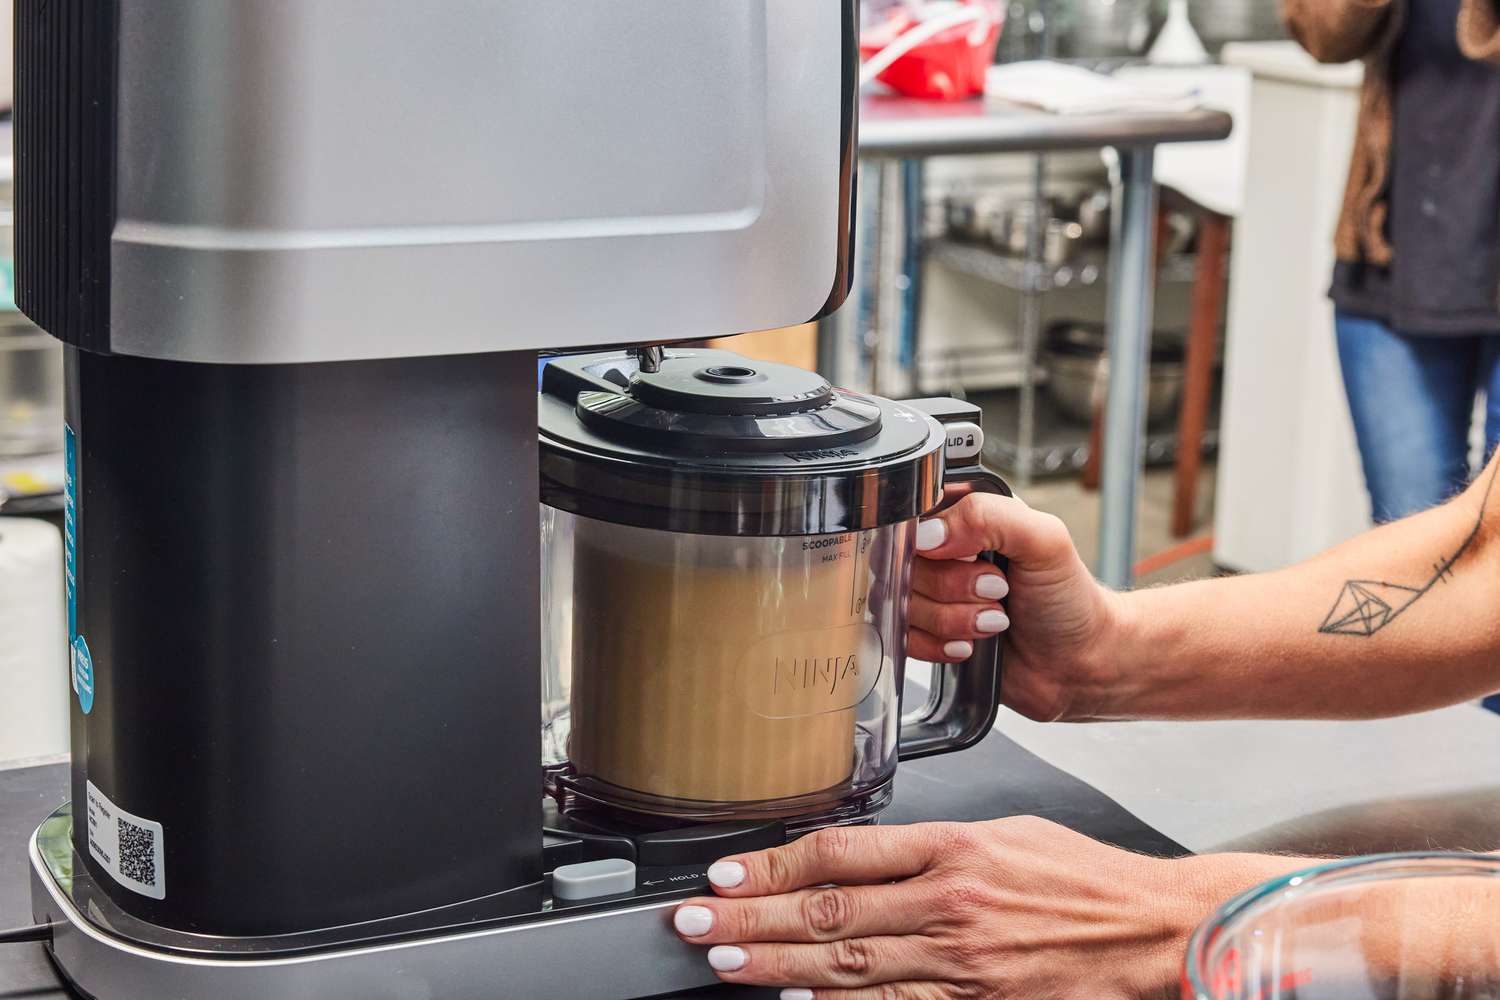
- An ice cream maker: This is the hero of the process. There are various types of ice cream makers available, including electric, manual, and freezer bowl attachments. Choose the one that works best for you and suits your budget.
- A mixing bowl: Use a large mixing bowl to combine your ingredients and create the ice cream base.
- A whisk or electric mixer: This will help you beat the egg yolks and incorporate air into the mixture.
- A saucepan: You’ll need a medium-sized saucepan to heat the cream, milk, sugar, and salt together.
- A fine-mesh strainer: This simple tool will help you strain the mixture to remove any lumps or bits of cooked egg before chilling it.
- Airtight container: Once your ice cream is finished churning, you’ll need a container to store it in. Choose an airtight container to prevent freezer burn and maintain the ice cream’s texture.
- Ice cream scoop: Finally, you’ll want a reliable ice cream scoop to dish out perfect scoops of your homemade French Vanilla Ice Cream.
That’s it! With these basic kitchen tools, you’ll be well-equipped to create your own batch of irresistibly creamy French Vanilla Ice Cream. Now, let’s move on to the step-by-step process of making the ice cream base.
Step 1: Prepare the Vanilla Base
The first step in making French Vanilla Ice Cream is preparing the vanilla base. This is where all the flavor magic happens! Follow these simple steps to create a luscious base for your ice cream:
- In a medium-sized saucepan, combine the heavy cream, whole milk, granulated sugar, and a pinch of salt.
- Place the saucepan over medium heat and stir occasionally until the mixture starts to steam. Be careful not to let it boil.
- In a separate bowl, whisk the egg yolks until they become smooth and slightly pale in color.
- Slowly pour about half of the hot cream mixture into the egg yolks while whisking continuously. This step is called tempering and helps prevent the eggs from curdling.
- Return the tempered egg mixture back into the saucepan with the remaining cream mixture. Stir well to combine.
- Continue cooking the mixture over medium heat, stirring constantly, until it thickens enough to coat the back of a spoon. This should take about 5-7 minutes.
- Once the mixture has thickened, remove it from the heat and stir in the pure vanilla extract. The aroma will be absolutely heavenly!
Now that your vanilla base is prepared and infused with delightful flavors, it’s time to move on to the next step: chilling the base.
Step 2: Chill the Base
After preparing the delicious vanilla base for your French Vanilla Ice Cream, it’s important to chill it thoroughly before moving on to the next step. Chilling the base helps develop the flavors and ensures a smoother texture in the final product. Follow these simple steps to chill your ice cream base:
- Carefully transfer the hot vanilla base into a clean mixing bowl. Place a fine-mesh strainer over the bowl to catch any bits of cooked egg or lumps that may have formed.
- Allow the mixture to cool at room temperature for about 20-30 minutes, stirring occasionally. This will prevent a skin from forming on the surface.
- Cover the bowl with plastic wrap, ensuring it touches the surface of the liquid. This will help prevent any air from coming into contact with the base, which can cause ice crystals to form.
- Refrigerate the base for at least 4 hours, or overnight if possible. Chilling it for longer will result in a more flavorful and creamy ice cream.
While the base is chilling, the flavors will meld and intensify, resulting in a more pronounced taste. Additionally, the extended chilling time allows the mixture to cool completely, which is essential for optimal ice cream texture.
Once your base is thoroughly chilled, it’s time to start setting up your ice cream maker for the churning process. Let’s move on to Step 3!
Step 3: Set Up the Ice Cream Maker
Now that your French Vanilla Ice Cream base is thoroughly chilled, it’s time to set up your ice cream maker. Follow these steps to ensure your machine is ready for the churning process:
- Start by taking your ice cream maker out of the freezer, if it has a freezer bowl attachment. This is typically required for most ice cream makers.
- Place the freezing bowl on a stable surface and ensure it’s completely dry. It’s important to have a dry bowl to prevent any ice crystals from forming during the churning process.
- If your ice cream maker requires assembly, follow the manufacturer’s instructions to properly attach any paddles or lids necessary for churning the ice cream.
- Retrieve your chilled vanilla base from the refrigerator and give it a quick stir to ensure it’s well mixed. The base should be thick and slightly custard-like in consistency.
- Pour the chilled vanilla base into the freezing bowl of your ice cream maker. Be sure not to overfill it, as the mixture will expand as it churns.
- Secure the lid on top of the ice cream maker and make sure it’s properly locked in place to prevent any leaks.
With your ice cream maker set up and the vanilla base poured in, you’re almost ready to start churning your French Vanilla Ice Cream! In the next step, we’ll guide you through the exciting process of churning and transforming the base into a luscious frozen dessert.
Step 4: Pour the Base Into the Ice Cream Maker
Now that your ice cream maker is set up and ready to go, it’s time to pour the chilled vanilla base into the machine. Follow these steps to ensure a smooth and successful pouring process:
- Make sure that the freezing bowl is securely in place and attached to the motor, if applicable. This will ensure that the churner is properly situated inside the bowl.
- Gently give the chilled vanilla base a quick stir to ensure it’s well mixed and smooth.
- Carefully pour the vanilla base into the freezing bowl of the ice cream maker. Be sure not to overfill it, as the mixture will expand as it churns.
- Put the lid back on the ice cream maker, ensuring that it is firmly in place. This will prevent any unwanted spills or leaks as the machine begins to churn.
- If your ice cream maker has a timer or an automatic churn setting, set it according to the manufacturer’s instructions. If not, set a timer for the recommended churning time, typically around 20-30 minutes.
As the ice cream maker churns, the freezing bowl will freeze the base, creating a delightful creamy texture. The churning process also incorporates air into the mixture, resulting in a light and fluffy ice cream.
Now that your base is safely in the ice cream maker, it’s time to let the magic happen! In the next step, we’ll guide you through the process of churning the base and transforming it into delectable French Vanilla Ice Cream.
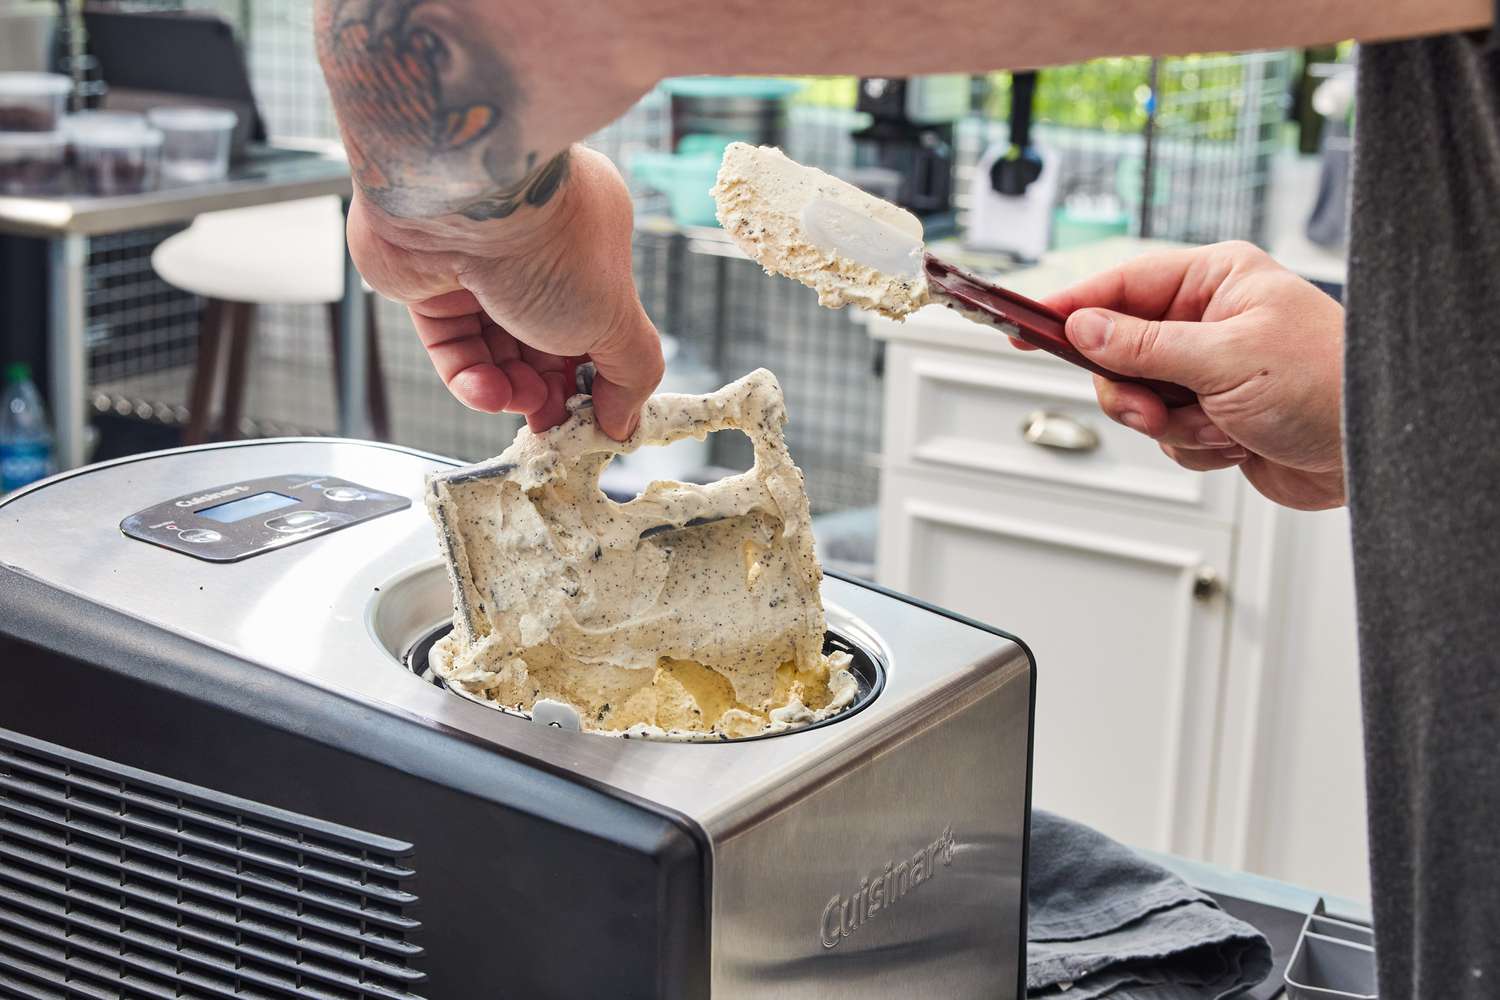
Step 5: Churn the Ice Cream
With the vanilla base poured into the ice cream maker, it’s time to start the churning process. Churning incorporates air into the mixture and freezes it into a creamy delight. Follow these steps to churn your French Vanilla Ice Cream to perfection:
- Turn on the ice cream maker and let it churn according to the manufacturer’s instructions. This typically takes around 20-30 minutes, but it may vary depending on your machine.
- As the base churns, you’ll notice it gradually thickening and increasing in volume. The mixture will transform from a liquid state to a creamy and semi-solid consistency.
- Avoid the temptation to check the progress too often, as opening the lid can disrupt the churning process and delay the freezing of the ice cream.
- Depending on your preference, you can stop the churning when the ice cream reaches a soft-serve consistency or continue churning for a firmer texture.
Churning is a crucial step in creating a smooth and creamy French Vanilla Ice Cream. The process combines the chilled base with air, resulting in a light and fluffy texture. Be patient and resist the urge to interrupt the churning process. Allow the machine to work its magic!
Once the churning process is complete, it’s time to move on to the optional step of adding mix-ins to elevate the flavors of your French Vanilla Ice Cream. We’ll explore this step in the next section.
Step 6: Add-Ins (Optional)
While French Vanilla Ice Cream is superb and delicious on its own, you can take it to the next level by adding some optional mix-ins. These additional ingredients can enhance the flavor and texture of your ice cream, creating a customized and indulgent treat. Here are a few ideas for add-ins:
- Chocolate chips or chunks: Stir in some chocolate chips or chunks for a delightful burst of chocolate in every bite.
- Crushed cookies: Add crushed cookies like Oreos or chocolate chip cookies to introduce some crunch and extra sweetness.
- Nuts: Chopped nuts like almonds, walnuts, or pecans can provide a satisfying crunch and a nutty flavor to complement the creamy base.
- Swirls of caramel or chocolate sauce: Create ribbons of caramel or chocolate sauce throughout the ice cream for a decadent and gooey surprise.
- Fruit: Add fresh or frozen fruit like strawberries, blueberries, or sliced bananas to infuse the ice cream with a refreshing and fruity taste.
To incorporate your chosen mix-ins, gently fold them into the churned ice cream by hand. Avoid overmixing, as this can deflate the air and result in a denser texture. Remember to be creative and experiment with different combinations to find your favorite variations of French Vanilla Ice Cream.
Once your mix-ins are added, it’s time to transfer and store your freshly churned ice cream. Let’s move on to the next step!
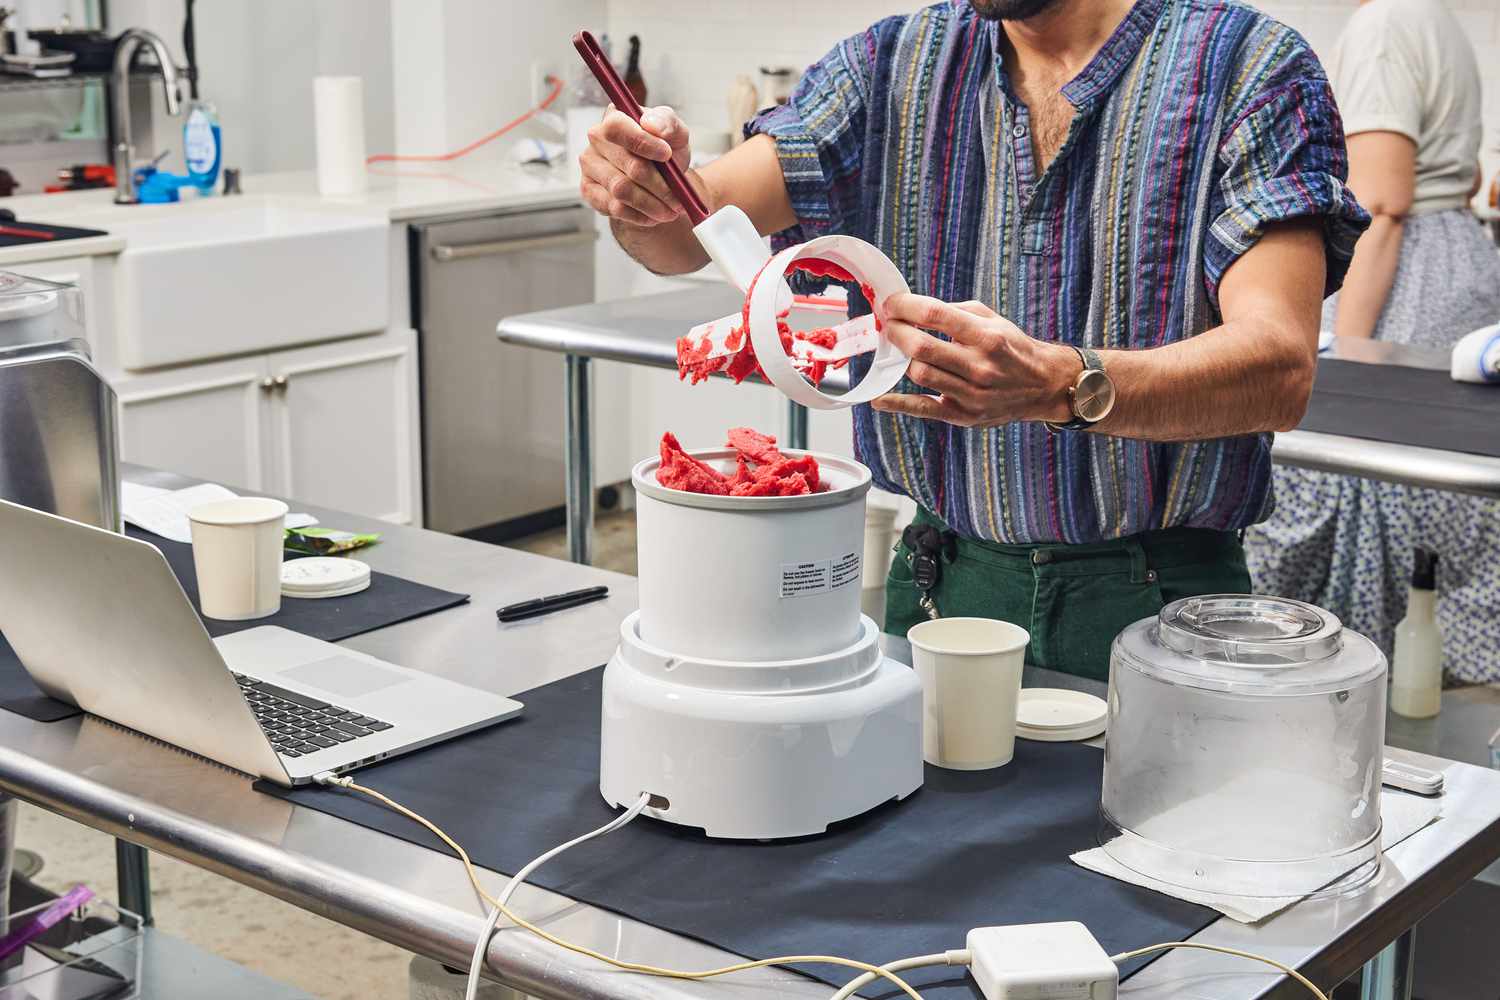
Step 7: Transfer and Store the Ice Cream
Now that you’ve churned your French Vanilla Ice Cream and possibly added some delicious mix-ins, it’s time to transfer and store the final product. Proper storage is essential to maintain the texture and flavor of your homemade ice cream. Follow these steps to ensure your ice cream stays fresh and delightful:
- Using a spatula or ice cream scoop, transfer the churned ice cream into an airtight container. A container with a lid will help prevent the ice cream from absorbing any unwanted flavors from the freezer.
- Smooth out the surface of the ice cream to create an even layer. This will minimize any air exposure and help preserve the creamy consistency.
- Place the lid securely onto the container, ensuring that it’s tightly sealed. This will prevent freezer burn and maintain the freshness of the ice cream.
- Label the container with the flavor and date of preparation. This will make it easier to identify in the freezer and keep track of its shelf life.
- Store the ice cream in the coldest part of your freezer, ideally at a temperature of around -18°C (0°F) or lower. This will help maintain the quality of your ice cream.
It’s best to let the ice cream sit in the freezer for a few hours or overnight before serving. This allows it to fully harden and develop its optimal texture. When you’re ready to indulge, simply remove the ice cream from the freezer and let it soften for a few minutes before scooping and serving.
Now that you’ve successfully stored your French Vanilla Ice Cream, it’s time for the most delightful step – enjoying your homemade frozen treat!
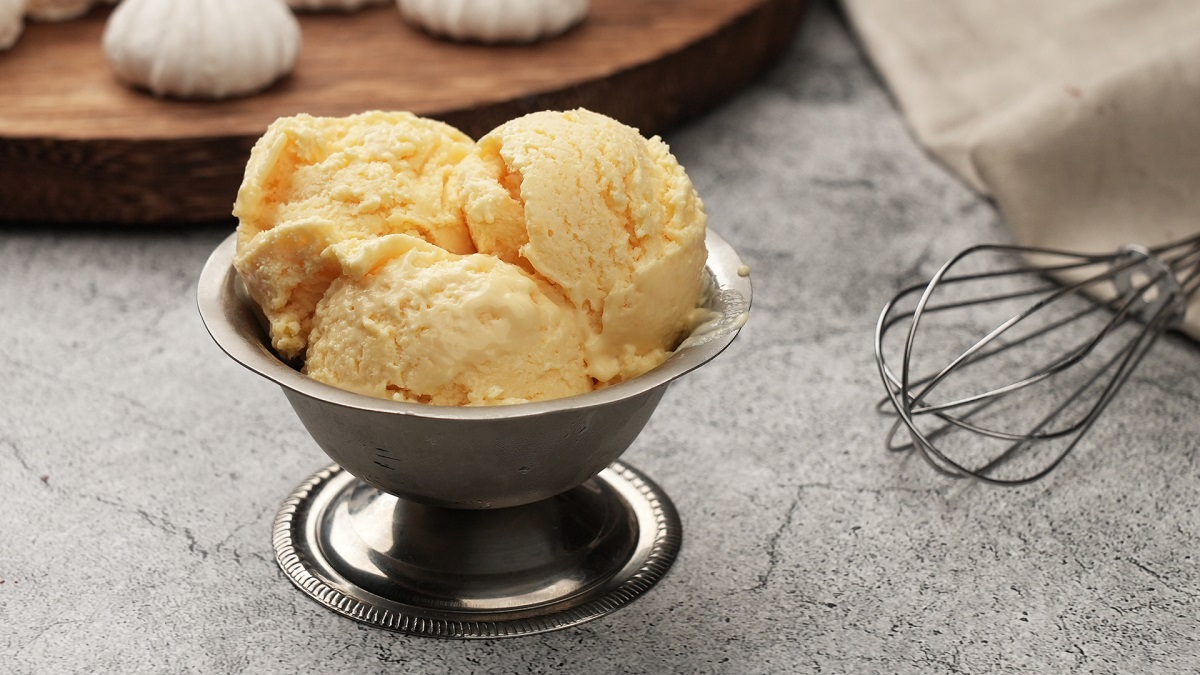
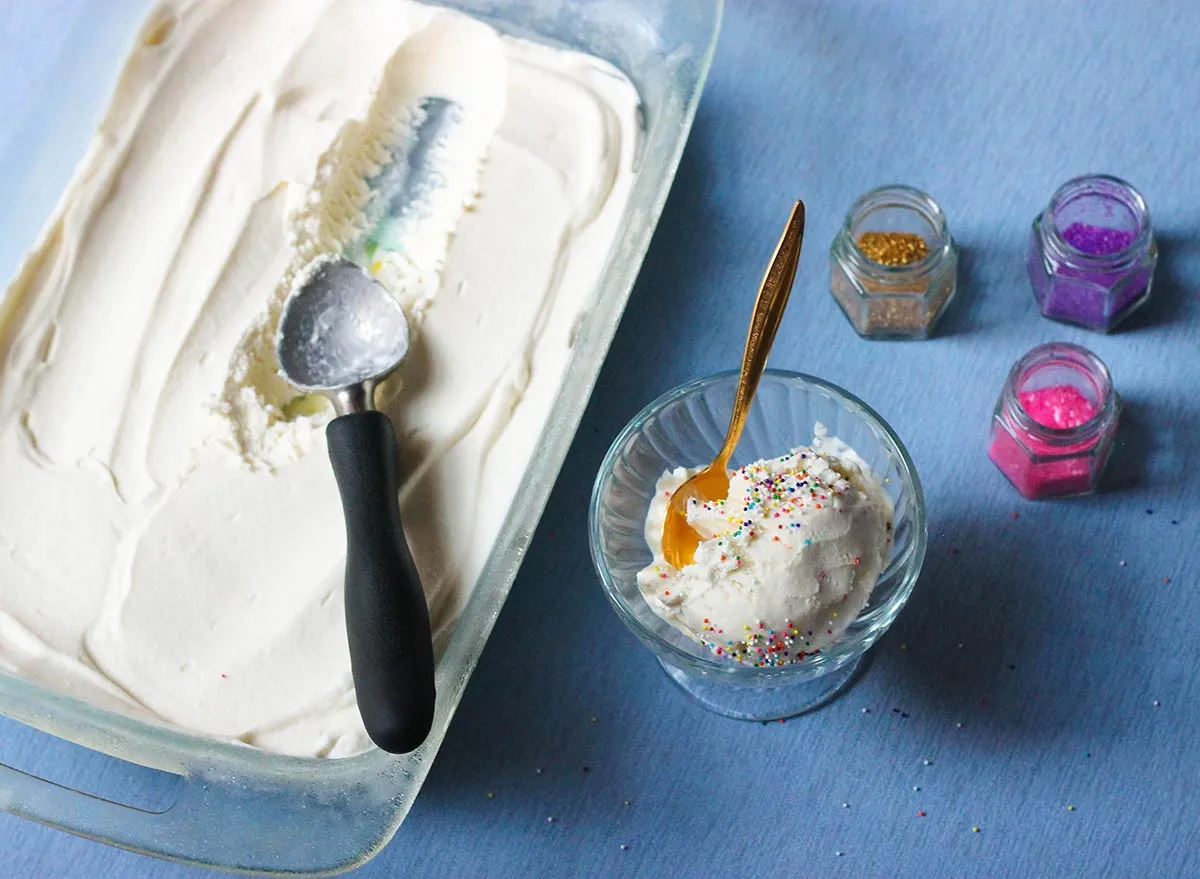
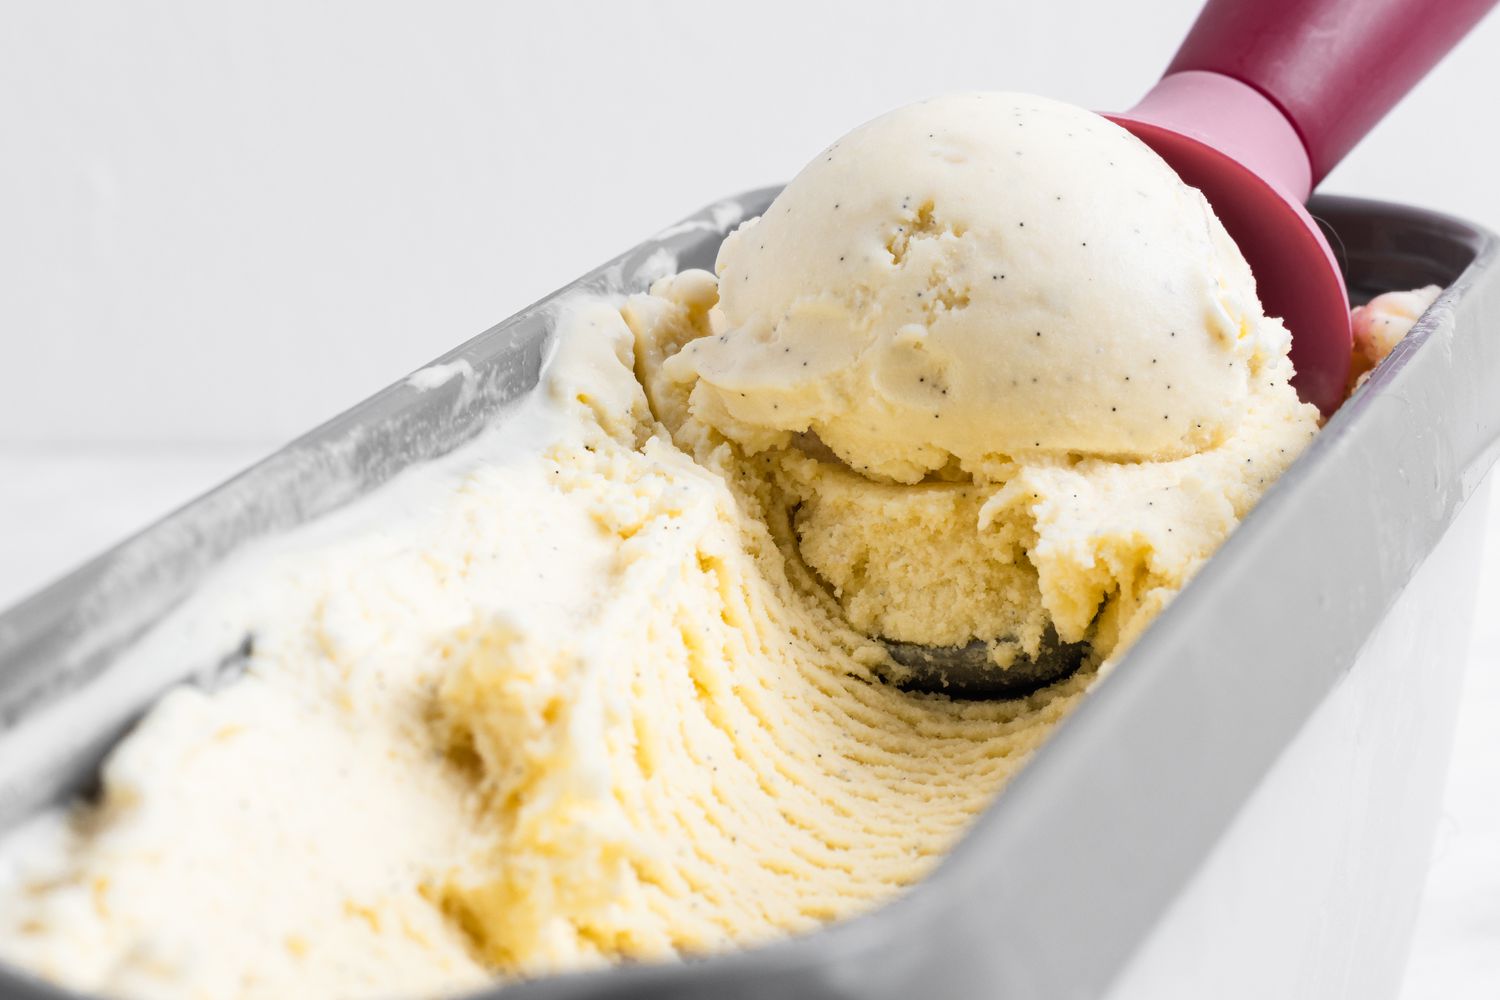
Step 8: Enjoy Your Homemade French Vanilla Ice Cream
Congratulations! You’ve reached the final step of the process – it’s time to savor and delight in your homemade French Vanilla Ice Cream. Here’s how to enjoy it to the fullest:
- Remove your container of French Vanilla Ice Cream from the freezer and let it sit at room temperature for a few minutes to soften slightly. This will make it easier to scoop and serve.
- Grab your favorite ice cream bowls or cones and scoop generous portions of the creamy delight into them. You can use an ice cream scoop for perfectly round scoops or simply spoon it out for a more rustic presentation.
- If desired, garnish your French Vanilla Ice Cream with toppings like chocolate sauce, caramel drizzle, whipped cream, sprinkles, or fresh fruit. These add-ons will provide extra flavor and a delightful visual appeal.
- Gather your loved ones or simply indulge by yourself. Sit back, relax, and savor each spoonful of the homemade ice cream, allowing the velvety texture and rich vanilla flavors to melt in your mouth.
- Take the time to appreciate your culinary masterpiece and share the joy with those around you. Homemade French Vanilla Ice Cream is a treat that brings smiles and happiness.
Feel proud of your accomplishment in creating this delectable dessert from scratch. Experiment with flavors, add your favorite toppings, and explore unique combinations to make every batch of French Vanilla Ice Cream an exciting culinary adventure.
Now that you’ve enjoyed your homemade creation, you can store any remaining ice cream in the freezer for future indulgence. Be sure to seal the container tightly to maintain the quality and prevent any unwanted freezer odors from affecting the taste of your ice cream.
Congratulations once again on mastering the art of making French Vanilla Ice Cream from scratch. Whether it’s a special occasion or a simple treat on a hot summer day, your homemade ice cream will surely leave a lasting impression on anyone fortunate enough to taste it.
Conclusion
Congratulations on successfully making your own delectable French Vanilla Ice Cream! By following the step-by-step process and infusing your personal touch, you have unlocked the secrets of creating a creamy and flavorful frozen dessert right in your own kitchen.
Making homemade ice cream allows you to control the ingredients, personalize the flavors, and indulge in a truly satisfying culinary experience. From preparing the vanilla base to churning it into a velvety treat, each step ensures that your French Vanilla Ice Cream is of the highest quality and tailored to your taste.
Remember, the key to exceptional French Vanilla Ice Cream lies in using high-quality ingredients, proper chilling techniques, and a reliable ice cream maker. By investing a little time and effort, you can delight in the rewards of enjoying a luxurious and homemade frozen dessert.
So, gather your loved ones, grab your spoons, and savor the creamy goodness of your homemade French Vanilla Ice Cream. Whether it’s a refreshing treat on a sunny day or a sweet finale to a memorable meal, this indulgent dessert will bring joy and satisfaction to all who taste it.
Don’t hesitate to experiment with different flavors and add-ins to create endless variations of French Vanilla Ice Cream. Let your creativity and taste buds guide you on a delicious ice cream adventure.
Thank you for joining us on this delightful journey of making French Vanilla Ice Cream. We hope this guide has inspired you to continue exploring the world of homemade frozen treats. Now, it’s time to enjoy the fruit of your labor – sit back, relax, and revel in the creamy bliss of your very own French Vanilla Ice Cream creation!