Introduction
Welcome to the delicious world of homemade ice cream! If you’re a fan of Disney’s Frozen and have recently acquired the Disney Frozen Ice Cream Maker, you’re in for a treat. This fun and easy-to-use appliance allows you to create your own frozen delights right in the comfort of your own kitchen.
There’s something truly magical about making ice cream from scratch. Not only do you have full control over the flavors and ingredients, but it’s also a great activity to do with family and friends. Whether you’re hosting a Frozen-themed party or simply want to enjoy a refreshing dessert on a hot summer day, the Disney Frozen Ice Cream Maker is sure to delight both kids and adults alike.
In this article, we will explore the various ice cream mixes that you can use with the Disney Frozen Ice Cream Maker. Each mix creates a unique flavor profile, allowing you to experiment and find your favorite. From classic options like vanilla and chocolate to more adventurous choices like mint chocolate chip and rocky road, there’s a flavor for every palate.
So, dust off your Disney Frozen Ice Cream Maker, gather your ingredients, and get ready to embark on a mouthwatering journey through a world of frozen delights. Let’s dive into the wonderful world of homemade ice cream and discover the perfect mix for your next icy treat!
Ingredients for Making Ice Cream with Disney Frozen Ice Cream Maker
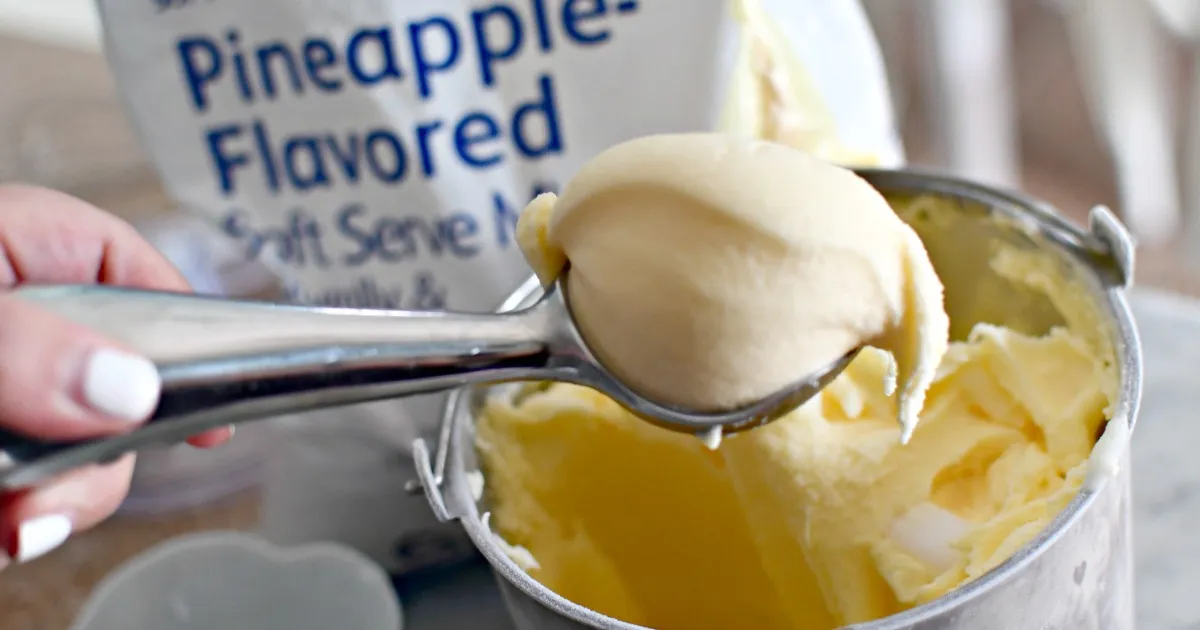
Before we dive into the delightful array of ice cream mixes, let’s take a look at the basic ingredients you’ll need to make your homemade treats with the Disney Frozen Ice Cream Maker. The good news is that these ingredients are readily available at your local grocery store, making the ice cream-making process even more convenient.
1. Milk: This provides the creamy base for your ice cream. You can use whole milk for a richer, creamier texture or opt for lower-fat options like 2% milk or even almond milk for a lighter alternative.
2. Heavy Cream: Adding heavy cream to your ice cream mixture contributes to its smooth and luxurious texture. If you prefer a lighter option, you can substitute half-and-half or a lighter cream variety.
3. Sugar: Naturally, ice cream needs a touch of sweetness. Whether you choose granulated sugar, powdered sugar, or a sugar substitute, be sure to adjust the quantity according to your taste preferences.
4. Eggs (optional): Traditional ice cream recipes call for eggs, which lend a rich and velvety texture. However, if you’re seeking an eggless recipe or have dietary restrictions, you can skip this ingredient without compromising the overall result.
5. Flavorings and Mix-ins: This is where the fun begins! You can add a variety of flavorings to your ice cream base, such as vanilla extract, cocoa powder, fruit purees, or even extracts like mint or almond. Additionally, get creative with mix-ins like chocolate chips, crushed cookies, nuts, or marshmallows to add extra texture and flavor.
6. Salt and Ice: The Disney Frozen Ice Cream Maker requires a mixture of ice and rock salt to freeze the ice cream mixture. The ice helps to chill the mixture, while the salt lowers the freezing point, allowing the ice cream to freeze properly.
Now that you have a basic understanding of the ingredients, it’s time to explore the delightful assortment of ice cream mixes that you can whip up with the Disney Frozen Ice Cream Maker. Get ready to indulge in a variety of flavors that will tantalize your taste buds and leave you craving for more.
Vanilla Ice Cream Mix
Let’s start with a classic: vanilla ice cream. This timeless flavor is loved by many for its simplicity and versatility. With the Disney Frozen Ice Cream Maker, you can create a velvety smooth and creamy vanilla ice cream that will satisfy any sweet tooth.
To make the vanilla ice cream mix, you will need the following ingredients:
- 2 cups of milk
- 1 cup of heavy cream
- 3/4 cup of granulated sugar
- 2 teaspoons of pure vanilla extract
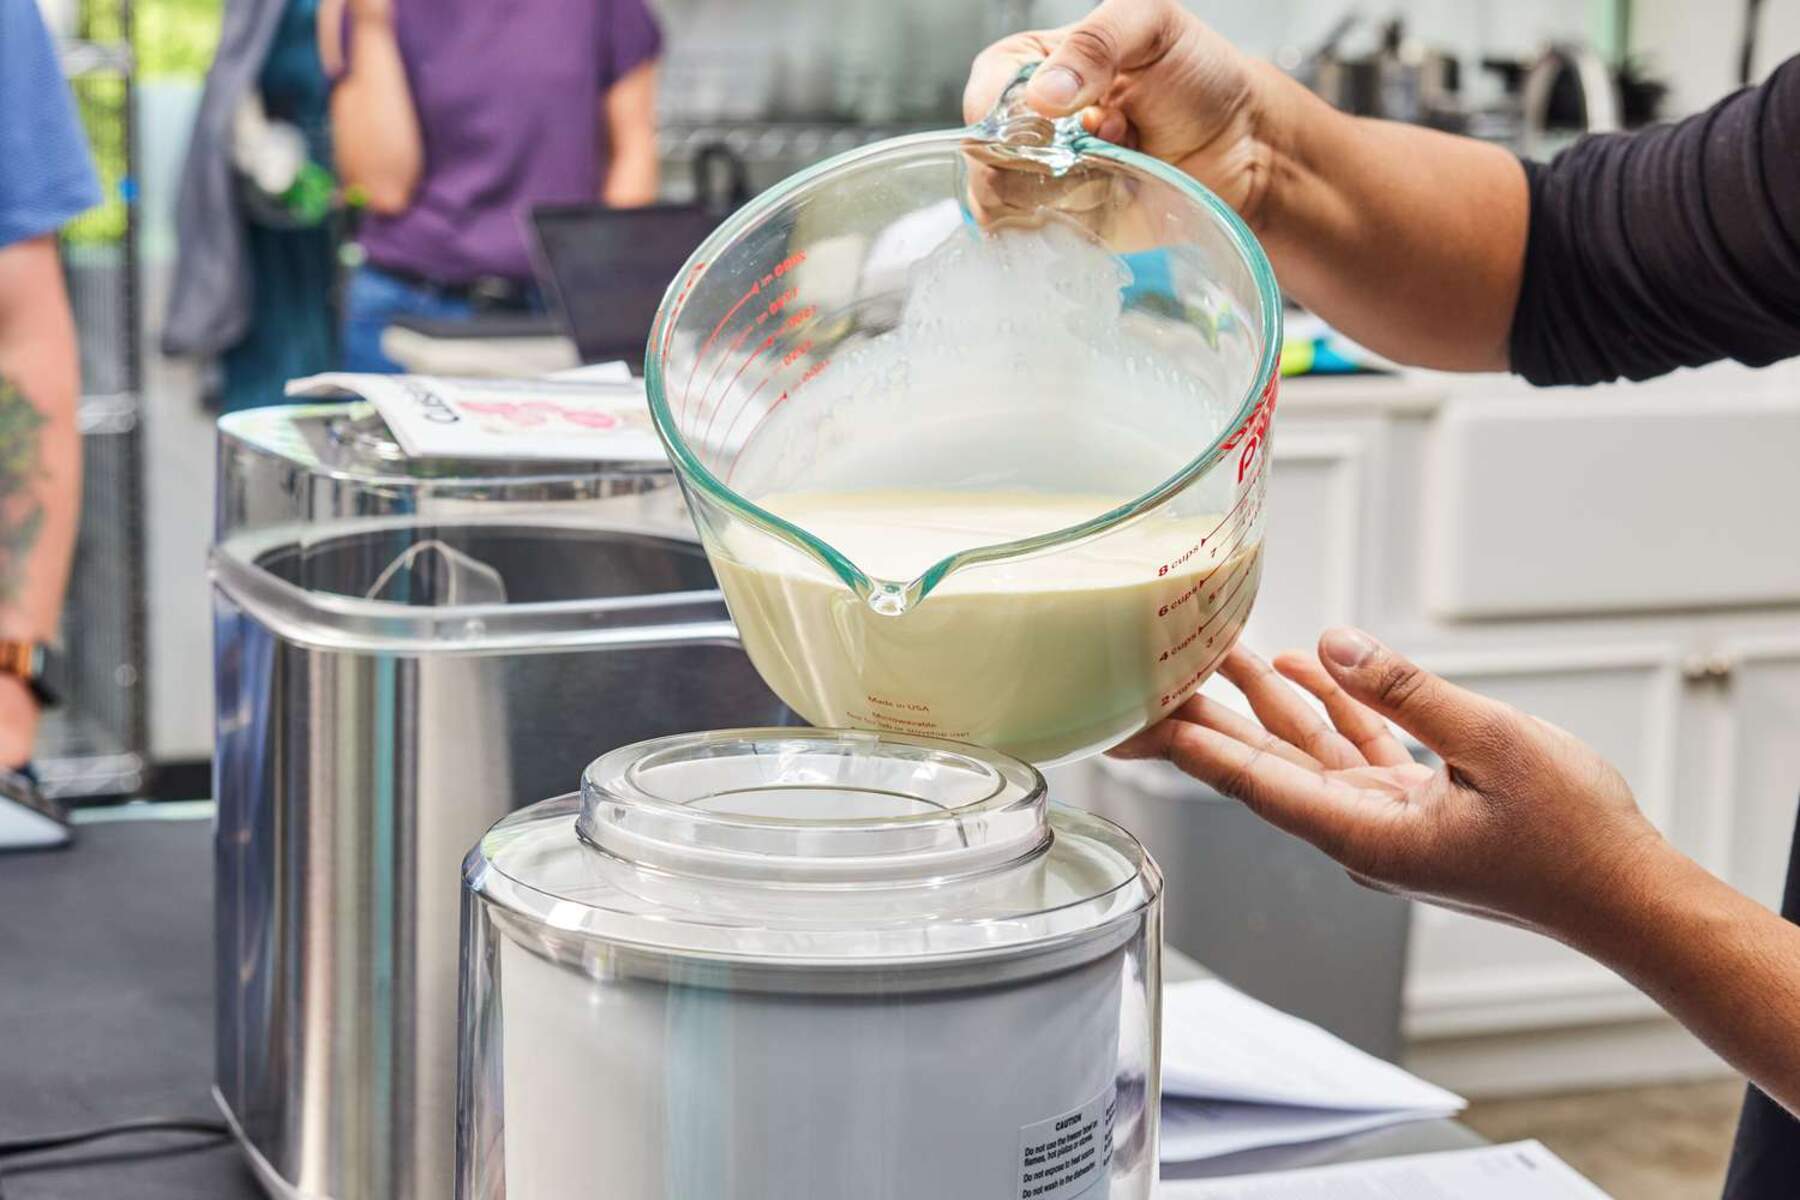
Begin by combining the milk and heavy cream in a mixing bowl. Whisk them together until well blended. Next, add the granulated sugar and continue whisking until the sugar has completely dissolved.
Once the sugar has dissolved, add the vanilla extract and mix well. This will infuse the mixture with the delicious vanilla flavor..Transfer the mixture to an airtight container and refrigerate for at least 2 hours, allowing the flavors to meld together.
Once the mixture is well chilled, it’s time to pour it into the Disney Frozen Ice Cream Maker. Follow the manufacturer’s instructions for your specific model to churn the ice cream. Typically, this involves placing the mixture in the bowl, securing it with the lid, and then cranking or turning on the machine.
As the mixture churns and freezes, it will develop a thick and creamy consistency. This process usually takes around 20-30 minutes, depending on the temperature and the specific model of your ice cream maker.
Once the vanilla ice cream has reached your desired consistency, remove it from the ice cream maker and transfer it to a lidded container. Place the container in the freezer to allow the ice cream to further firm up for a couple of hours.
Now you have a delightful homemade vanilla ice cream ready to be enjoyed. Serve it in bowls, cones, or as a base for other desserts like sundaes or milkshakes. The simplicity of the vanilla flavor allows you to experiment with various toppings and mix-ins, adding your own personal touch to this classic treat.
Indulge in the creamy goodness of homemade vanilla ice cream made with the Disney Frozen Ice Cream Maker. It’s a timeless flavor that will never go out of style and will leave you craving for more.
Chocolate Ice Cream Mix
Calling all chocolate lovers! Get ready to indulge in a rich and decadent treat with homemade chocolate ice cream made using the Disney Frozen Ice Cream Maker. This delightful flavor is sure to satisfy your cravings for a smooth and creamy chocolatey experience.
To make the chocolate ice cream mix, gather the following ingredients:
- 2 cups of milk
- 1 cup of heavy cream
- 3/4 cup of granulated sugar
- 1/2 cup of unsweetened cocoa powder
- 1 teaspoon of pure vanilla extract
Start by combining the milk and heavy cream in a mixing bowl. Whisk them together until they are thoroughly combined. Next, add the granulated sugar and cocoa powder to the mixture.
Whisk vigorously until the cocoa powder and sugar are completely dissolved, ensuring a smooth and even mixture. Add in the vanilla extract and continue whisking until all the ingredients are well incorporated.
Once the mixture is well combined, pour it into an airtight container and refrigerate it for a minimum of 2 hours. Chilling the mixture not only enhances the flavor but also helps achieve the desired consistency when using the Disney Frozen Ice Cream Maker.
After the mixture has chilled, it is time to transfer it into the ice cream maker. Follow the instructions provided by the manufacturer to churn the chocolate ice cream. This typically involves placing the mixture in the bowl, securing the lid, and starting the machine.
Allow the ice cream maker to do its magic and freeze the mixture. The churning process usually takes around 20-30 minutes, but it may vary depending on your specific model and preferences. The end result should be a rich and creamy chocolate ice cream with a velvety texture.
Once the chocolate ice cream has reached the desired consistency, carefully remove it from the ice cream maker and place it in a lidded container. Transfer the container to the freezer and let it set for a few hours to firm up.
Now, it’s time to indulge in the chocolaty goodness of your homemade ice cream. Enjoy a scoop or two in a bowl, as a milkshake, or alongside your favorite desserts. Feel free to get creative and add toppings like chocolate sauce, whipped cream, or sprinkles to enhance the chocolate experience.
With the Disney Frozen Ice Cream Maker, you can easily whip up a batch of delicious homemade chocolate ice cream. So, go ahead and treat yourself to this decadent delight and satisfy your chocolate cravings in the most delightful way possible.
Strawberry Ice Cream Mix
Get ready to indulge in the sweet and refreshing flavors of homemade strawberry ice cream with the Disney Frozen Ice Cream Maker. This delightful treat combines the natural sweetness of ripe strawberries with a creamy base to create a fruity and creamy concoction that is perfect for the summer season.
To make the strawberry ice cream mix, gather the following ingredients:
- 2 cups of fresh strawberries
- 1 cup of milk
- 1 cup of heavy cream
- 3/4 cup of granulated sugar
- 1 teaspoon of pure vanilla extract
Before we begin, make sure to wash and remove the stems from the fresh strawberries. Then, slice the strawberries into smaller pieces for easier blending.
In a blender or food processor, add the sliced strawberries and pulse until they are pureed to your desired consistency. Set aside the strawberry puree for now.
In a mixing bowl, combine the milk, heavy cream, granulated sugar, and vanilla extract. Whisk the mixture until the sugar is fully dissolved and well incorporated.
Once the sugar is dissolved, add the strawberry puree to the mixture. Stir well to evenly distribute the strawberry flavor throughout the base. The vibrant pink color of the strawberry puree will beautifully infuse the ice cream mix.
Transfer the mixture to an airtight container and refrigerate it for at least 2 hours to allow the flavors to meld together and the mixture to chill.
After the mixture has chilled, it’s time to pour it into the Disney Frozen Ice Cream Maker. Follow the instructions provided by the manufacturer to churn the strawberry ice cream. This typically involves placing the mixture in the bowl, securing the lid, and starting the machine.
Churn the mixture for around 20-30 minutes, or until it reaches the desired consistency. The ice cream should be firm but creamy. Once done, carefully remove the ice cream from the machine and transfer it to a lidded container.
Place the container in the freezer for a few hours to allow the strawberry ice cream to firm up further before serving.
Now that your homemade strawberry ice cream is ready, treat yourself to a scoop or two of this luscious delight. The natural sweetness of the strawberries combined with the creamy base creates a perfect balance of flavors that will surely satisfy your cravings for a fruity and refreshing treat.
Enjoy your homemade strawberry ice cream on its own, in a cone, or as a topping for other desserts. Feel free to garnish it with fresh strawberries or a dollop of whipped cream for an extra touch of indulgence. Let the Disney Frozen Ice Cream Maker transport you to a world of sweet strawberry bliss!
Mint Chocolate Chip Ice Cream Mix
Get ready to experience a cool and refreshing treat with homemade Mint Chocolate Chip ice cream using the Disney Frozen Ice Cream Maker. The combination of minty freshness and rich chocolate chunks creates a delightful contrast that will leave your taste buds tingling.
To make the Mint Chocolate Chip ice cream mix, you will need the following ingredients:
- 2 cups of milk
- 1 cup of heavy cream
- 3/4 cup of granulated sugar
- 2 teaspoons of mint extract
- Green food coloring (optional)
- 1 cup of chocolate chips or chopped chocolate chunks
In a mixing bowl, combine the milk, heavy cream, granulated sugar, mint extract, and a few drops of green food coloring (if desired). Whisk the ingredients together until the sugar is completely dissolved and the mixture is well blended.
If you prefer a more vibrant green color, gradually add a few more drops of food coloring until you achieve the desired hue. However, keep in mind that the food coloring is completely optional, and the ice cream will taste just as delicious without it.
Once the mixture is well combined, add the chocolate chips or chopped chocolate chunks. Stir them into the mixture, ensuring they are evenly distributed throughout.
Transfer the mixture to an airtight container and refrigerate it for a minimum of 2 hours. Chilling the mixture not only enhances the flavor but also helps achieve the desired consistency when using the Disney Frozen Ice Cream Maker.
After the mixture has chilled, it’s time to pour it into the ice cream maker. Follow the manufacturer’s instructions for your specific model to churn the Mint Chocolate Chip ice cream. Typically, this involves placing the mixture in the bowl, securing the lid, and turning on the machine.
Allow the ice cream maker to churn and freeze the mixture until it thickens and reaches a creamy consistency. The churning process usually takes around 20-30 minutes, but it may vary depending on your specific model and preferences.
Once the Mint Chocolate Chip ice cream has reached the desired consistency, carefully remove it from the machine and transfer it to a lidded container. Place the container in the freezer for a couple of hours to allow the ice cream to further firm up.
Now you can scoop out servings of your homemade Mint Chocolate Chip ice cream and savor the delightful combination of minty freshness and chocolatey goodness. The ice cream is best enjoyed on its own or atop a cone, providing a refreshing and satisfying indulgence.
With the Disney Frozen Ice Cream Maker, you can effortlessly create this classic flavor combination that will surely cool you down on a warm day and make your taste buds dance with delight.
Cookies and Cream Ice Cream Mix
Indulge in the perfect combination of crunchy chocolate cookies and creamy ice cream with homemade Cookies and Cream ice cream made using the Disney Frozen Ice Cream Maker. This classic flavor is loved by many for its delightful texture and irresistible taste.
To make the Cookies and Cream ice cream mix, gather the following ingredients:
- 2 cups of milk
- 1 cup of heavy cream
- 3/4 cup of granulated sugar
- 1 teaspoon of pure vanilla extract
- 1 cup of crushed chocolate sandwich cookies
In a mixing bowl, combine the milk, heavy cream, granulated sugar, and vanilla extract. Use a whisk to blend the ingredients together until the sugar is fully dissolved and the mixture is smooth.
Once the mixture is well blended, add the crushed chocolate sandwich cookies. Stir them into the mixture, ensuring they are evenly distributed throughout.
The crushed cookies will bring a delightful crunch and chocolatey flavor to the ice cream, creating an irresistible combination.
Transfer the mixture to an airtight container and refrigerate it for a minimum of 2 hours. Chilling the mixture not only enhances the flavor but also helps achieve the desired consistency when using the Disney Frozen Ice Cream Maker.
After the mixture has chilled, it’s time to pour it into the ice cream maker. Follow the manufacturer’s instructions for your specific model to churn the Cookies and Cream ice cream. This typically involves placing the mixture in the bowl, securing the lid, and turning on the machine.
Allow the ice cream maker to churn and freeze the mixture until it thickens and reaches a creamy consistency. The churning process usually takes around 20-30 minutes, but it may vary depending on your specific model and preferences.
Once the Cookies and Cream ice cream has reached the desired consistency, carefully remove it from the machine and transfer it to a lidded container. Place the container in the freezer for a couple of hours to allow the ice cream to further firm up.
Now you can savor the delightful and irresistible flavor of homemade Cookies and Cream ice cream. Indulge in the creamy base infused with pieces of chocolate cookies, offering a perfect contrast of textures and flavors in every bite.
Serve the Cookies and Cream ice cream in bowls or cones, or get creative with your presentation by adding cookie crumbles or a drizzle of chocolate sauce as a garnish.
With the Disney Frozen Ice Cream Maker, you can easily create this beloved flavor combination that will bring smiles to the faces of ice cream lovers young and old.
Rocky Road Ice Cream Mix
Get ready for a delightful combination of flavors and textures with homemade Rocky Road ice cream using the Disney Frozen Ice Cream Maker. This classic ice cream flavor blends rich chocolate, crunchy nuts, and soft marshmallows to create a truly indulgent treat.
To make the Rocky Road ice cream mix, gather the following ingredients:
- 2 cups of milk
- 1 cup of heavy cream
- 3/4 cup of granulated sugar
- 1/4 cup of unsweetened cocoa powder
- 1 teaspoon of pure vanilla extract
- 1 cup of chopped nuts (such as almonds or walnuts)
- 1 cup of mini marshmallows
In a mixing bowl, combine the milk, heavy cream, granulated sugar, cocoa powder, and vanilla extract. Whisk the ingredients together until the sugar and cocoa powder are fully dissolved and the mixture is smooth.
Once the mixture is well blended, add the chopped nuts and mini marshmallows. Stir them into the mixture, distributing them evenly throughout the ice cream base.
The chopped nuts provide a satisfying crunch, while the mini marshmallows add a delightful pillowy texture to the ice cream.
Transfer the mixture to an airtight container and refrigerate it for a minimum of 2 hours. Chilling the mixture helps enhance the flavors and allows the ice cream to achieve the desired consistency when churning with the Disney Frozen Ice Cream Maker.
Once the mixture has chilled, it’s time to pour it into the ice cream maker. Follow the instructions provided by the manufacturer to churn the Rocky Road ice cream. This typically involves placing the mixture in the bowl, securing the lid, and starting the machine.
Allow the ice cream maker to churn and freeze the mixture until it thickens and reaches a creamy consistency. The churning process usually takes around 20-30 minutes, though the time may vary depending on your specific ice cream maker model and preferences.
Once the Rocky Road ice cream has reached the desired consistency, carefully remove it from the machine and transfer it to a lidded container. Place the container in the freezer for a few hours to allow the ice cream to further firm up.
Now you can enjoy the delicious combination of rich chocolate, nutty crunch, and fluffy marshmallows with every spoonful of homemade Rocky Road ice cream. Serve it in bowls, cones, or get creative by mixing it into milkshakes or using it as a topping for warm brownies.
With the Disney Frozen Ice Cream Maker, you can easily recreate this classic flavor in the comfort of your own kitchen. Indulge in the delightful blend of textures and flavors that make Rocky Road ice cream a timeless favorite.
Butter Pecan Ice Cream Mix
Experience the rich and nutty goodness of homemade Butter Pecan ice cream with the Disney Frozen Ice Cream Maker. This classic flavor combines creamy buttery notes with crunchy toasted pecans, creating a delightful treat fit for any ice cream lover.
To make the Butter Pecan ice cream mix, you will need the following ingredients:
- 2 cups of milk
- 1 cup of heavy cream
- 3/4 cup of granulated sugar
- 2 tablespoons of unsalted butter
- 1 teaspoon of pure vanilla extract
- 1 cup of chopped pecans, toasted
In a small saucepan over medium heat, melt the butter. Once melted, add the chopped pecans and toast them until they become fragrant and slightly golden. Keep stirring to prevent burning. Once toasted, remove the pecans from the heat and set them aside to cool.
In a mixing bowl, combine the milk, heavy cream, granulated sugar, and vanilla extract. Whisk the ingredients together until the sugar is fully dissolved and the mixture is smooth.
Once the mixture is well blended, add the cooled toasted pecans. Stir them into the mixture, ensuring they are evenly distributed throughout.
The toasted pecans will provide a delightful crunch and nutty flavor to the ice cream, complementing the creamy base beautifully.
Transfer the mixture to an airtight container and refrigerate it for a minimum of 2 hours. Chilling the mixture allows the flavors to meld together and helps achieve the desired consistency when using the Disney Frozen Ice Cream Maker.
After the mixture has chilled, it’s time to pour it into the ice cream maker. Follow the instructions provided by the manufacturer to churn the Butter Pecan ice cream. This usually involves placing the mixture in the bowl, securing the lid, and starting the machine.
Allow the ice cream maker to churn and freeze the mixture until it thickens and reaches a creamy consistency. The churning process typically takes around 20-30 minutes, but it may vary depending on your specific ice cream maker model and preferences.
Once the Butter Pecan ice cream has reached the desired consistency, carefully remove it from the machine and transfer it to a lidded container. Place the container in the freezer for a few hours to allow the ice cream to further firm up.
Now it’s time to savor the decadent and nutty delight of homemade Butter Pecan ice cream. Enjoy a scoop or two in a bowl or indulge in an ice cream sundae with toppings like caramel or hot fudge sauce.
With the Disney Frozen Ice Cream Maker, you can easily create this beloved flavor combination that will satisfy your cravings for a creamy and nutty indulgence.
Neapolitan Ice Cream Mix
Experience the best of three worlds with homemade Neapolitan ice cream made using the Disney Frozen Ice Cream Maker. The classic combination of chocolate, vanilla, and strawberry flavors in perfect harmony creates a nostalgic and delightful treat that is loved by all.
To make the Neapolitan ice cream mix, gather the following ingredients:
- 2 cups of milk
- 1 cup of heavy cream
- 3/4 cup of granulated sugar
- 2 teaspoons of pure vanilla extract
- 1/4 cup of unsweetened cocoa powder
- 1/2 cup of fresh strawberries, pureed
- A few drops of red food coloring (optional)
In a mixing bowl, combine the milk, heavy cream, granulated sugar, and vanilla extract. Whisk the ingredients together until the sugar is fully dissolved and the mixture is smooth.
Once the mixture is well blended, divide it equally into three separate bowls.
In the first bowl, add the unsweetened cocoa powder. Whisk vigorously until the cocoa powder is fully incorporated, transforming the mixture into a delicious chocolate base.
In the second bowl, add the pureed strawberries. Whisk until the strawberry puree is well blended with the mixture. You can add a few drops of red food coloring to intensify the pink hue, but this step is optional.
Leave the third bowl as it is, creating a creamy vanilla base without any additional flavorings.
Transfer each mixture to airtight containers and refrigerate them for a minimum of 2 hours. Chilling the mixtures allows the flavors to develop and helps achieve the desired consistency when using the Disney Frozen Ice Cream Maker.
After the mixtures have chilled, it’s time to pour each one into the ice cream maker. Follow the instructions provided by the manufacturer to churn the Neapolitan ice cream. Typically, this involves placing each mixture in the bowl, securing the lid, and turning on the machine.
Allow the ice cream maker to churn and freeze the mixtures until they thicken and reach a creamy consistency. The churning process usually takes around 20-30 minutes, but it may vary depending on your specific ice cream maker model and preferences.
Once each layer has reached the desired consistency, carefully remove them from the machine and layer them in a lidded container. Start with a layer of chocolate, followed by vanilla, and then strawberry. Repeat the layers until all the mixtures are utilized.
Place the container in the freezer for a few hours to allow the Neapolitan ice cream to further solidify and the flavors to meld together.
Now you can enjoy the nostalgic charm of homemade Neapolitan ice cream. Serve it in bowls or cones, showcasing the beautiful layered presentation. The combination of chocolate, vanilla, and strawberry flavors ensures there’s something for everyone to enjoy.
With the Disney Frozen Ice Cream Maker, you can easily create this timeless and beloved ice cream flavor combination that will bring smiles to the faces of both kids and adults.
Conclusion
Congratulations! You’ve embarked on a delicious journey through the world of homemade ice cream with the Disney Frozen Ice Cream Maker. We’ve explored a range of scrumptious ice cream mixes, including classic flavors like vanilla and chocolate, as well as delightful combinations like Mint Chocolate Chip, Cookies and Cream, Rocky Road, Butter Pecan, and Neapolitan.
Creating your own ice cream with the Disney Frozen Ice Cream Maker allows you to customize flavors, experiment with different mix-ins and toppings, and enjoy the satisfaction of indulging in a frozen treat made with love. Whether you’re enjoying a simple scoop in a bowl, delighting in an ice cream cone, or enhancing your dessert creations with homemade ice cream, the possibilities are endless.
Remember the key ingredients for making ice cream: milk, cream, sugar, and your desired flavorings. From there, you can let your creativity run wild. Add fruit purees, extracts, crushed cookies, nuts, chocolate chips, or marshmallows to create unique and personalized ice cream flavors.
Make sure to follow the instructions provided by the manufacturer of your Disney Frozen Ice Cream Maker for the best results. Chilling the mixtures, proper churning, and allowing the ice cream to firm up in the freezer are essential steps to achieve the creamy and delicious consistency you desire.
Now, armed with the knowledge and inspiration shared in this article, it’s time to unleash your inner ice cream master. Gather your preferred ingredients, experiment with flavors, and have fun creating your own homemade ice cream. The Disney Frozen Ice Cream Maker will be your trusty companion in this delightful journey.
So, grab your mixing bowls, don your apron, and get ready to treat yourself and your loved ones to the sweet joy of homemade ice cream. The Disney Frozen Ice Cream Maker is your gateway to endless ice cream possibilities, offering a delectable and refreshing way to beat the heat and satisfy your sweet tooth.
Enjoy the process of making ice cream, indulge in the flavors you’ve created, and cherish the moments shared with family and friends as you savor your delectable creations. Happy ice cream making!