Introduction
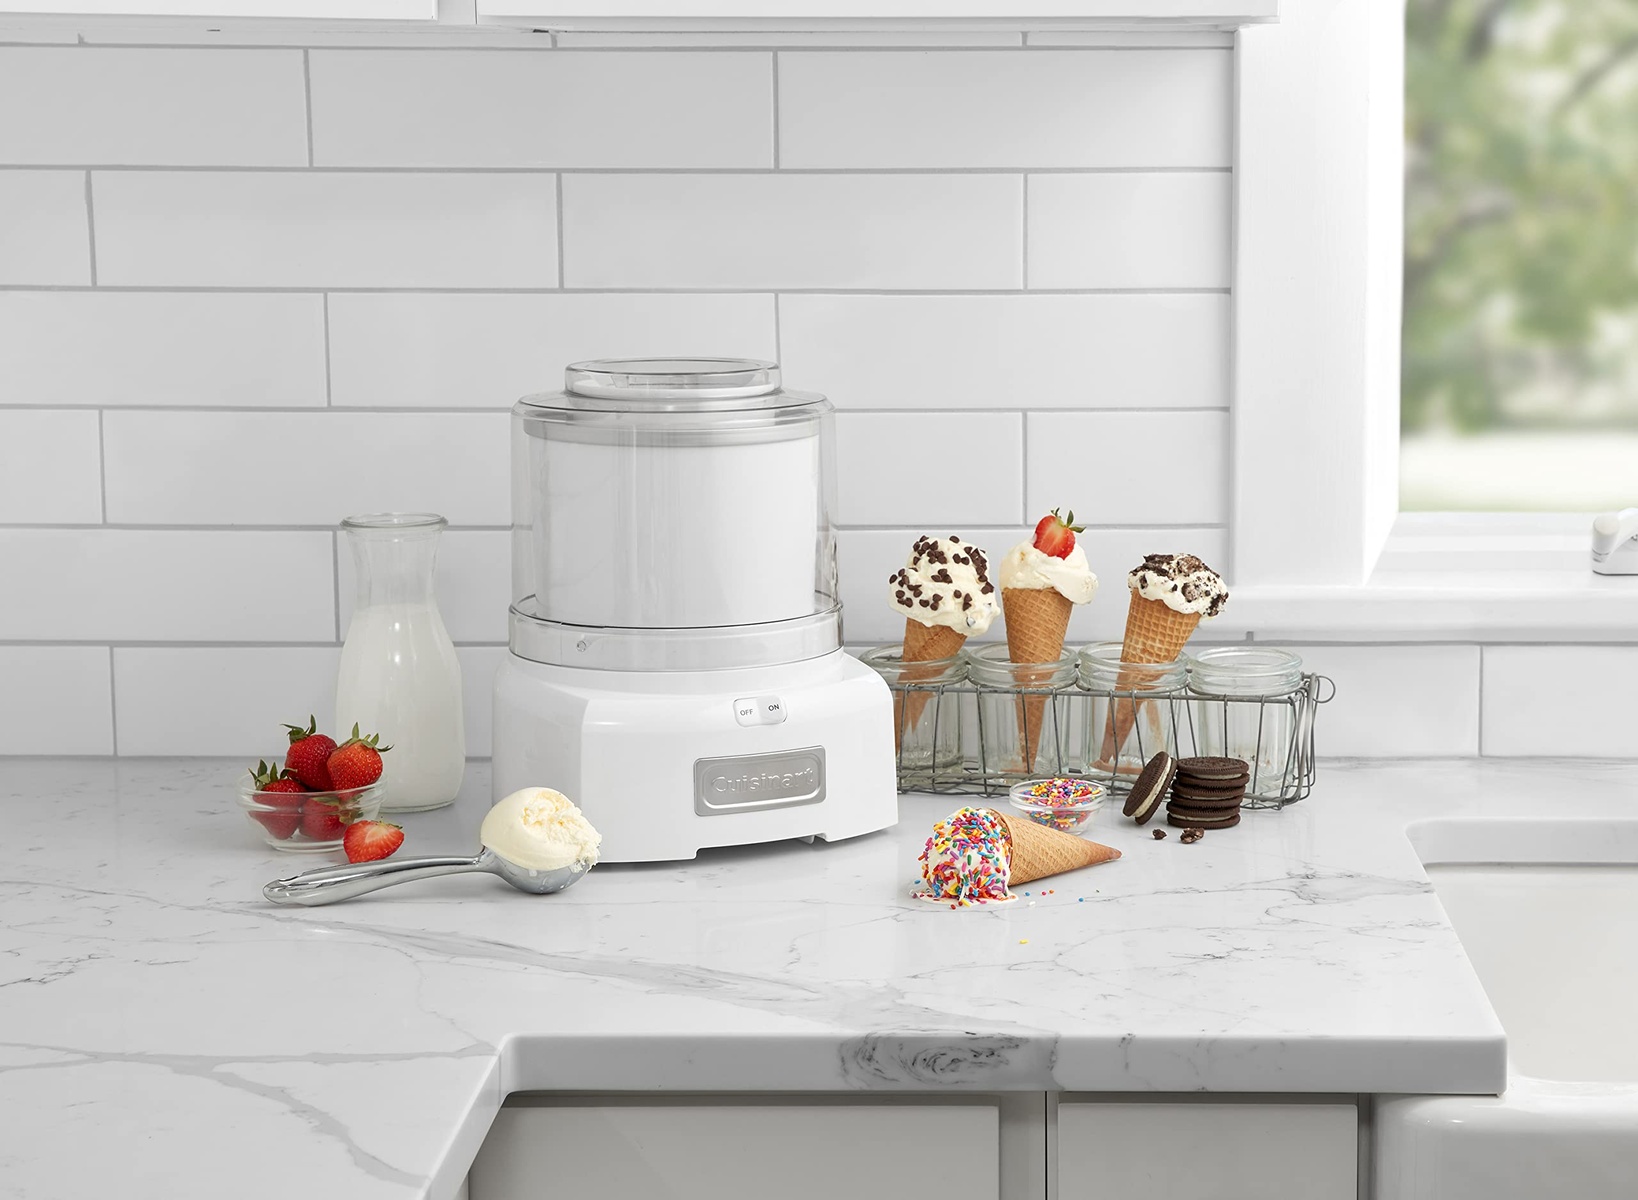
Dole Whip is a tropical and refreshing treat that has become a beloved dessert for many. Originally served exclusively at Disney theme parks, it is a creamy, smooth, and dairy-free pineapple soft serve that is perfect for those hot summer days or whenever you’re in need of a tropical escape. And the good news is, you can now make it yourself at home using a Cuisinart ice cream maker!
In this article, we will guide you through the step-by-step process of making Dole Whip in a Cuisinart ice cream maker. We’ll cover everything from preparing the pineapple to churning the mixture and freezing it to perfection. So grab your ingredients and let’s get started on this delicious journey!
Before we dive into the recipe, it’s important to note that the key ingredient for Dole Whip is pineapple. You can use fresh or frozen pineapple chunks for this recipe, depending on what you have available. Additionally, the Cuisinart ice cream maker will help achieve the perfect consistency and texture for your Dole Whip, ensuring you get that creamy, velvety soft serve consistency that everybody loves.
So whether you’re a die-hard Dole Whip fan or someone looking to try this delightful dessert for the first time, this homemade version is sure to satisfy your cravings. With just a few simple steps, you’ll be able to enjoy this tropical treat right from the comfort of your own kitchen – no theme park required!
Ingredients
To make Dole Whip in a Cuisinart ice cream maker, you will need the following ingredients:
- 2 cups of pineapple chunks (fresh or frozen)
- 1/2 cup of pineapple juice
- 1/4 cup of granulated sugar
- 1/2 cup of coconut milk
- 1 teaspoon of lemon juice
These simple ingredients come together to create the tropical flavor and creamy texture of the Dole Whip. The pineapple provides a sweet and tangy taste, while the coconut milk adds a rich and indulgent touch. The pineapple juice and lemon juice help to enhance the overall flavor and balance the sweetness. And of course, the sugar is needed to sweeten the mixture and give it that perfect dessert-like taste.
Please note that if you prefer a lighter version of Dole Whip, you can use light coconut milk instead of the regular one. You can also adjust the amount of sugar to suit your personal preference – add a little more if you like it sweeter or reduce it if you prefer a less sweet treat. Feel free to experiment and customize the recipe to your liking!
Now that you have all the ingredients ready, it’s time to move on to the next step: preparing the pineapple.
Step 1: Preparing the Pineapple
The first step in making Dole Whip in a Cuisinart ice cream maker is preparing the pineapple. If you’re using fresh pineapple, start by peeling and coring it. Then, cut the pineapple into small chunks. If you’re using frozen pineapple, simply thaw it according to the package instructions.
Once you have your pineapple ready, transfer it to a blender or food processor. Blend until smooth and no large chunks remain. This will ensure a creamy and consistent texture for your Dole Whip.
Next, add the pineapple juice, granulated sugar, coconut milk, and lemon juice to the blender. Blend again until all the ingredients are well combined and the mixture is smooth.
It’s important to note that if you like pineapple chunks in your Dole Whip, you can reserve a small portion of the pineapple and add it to the blended mixture at the end. This will give your dessert some delightful texture and bursts of pineapple flavor.
Now that you have prepared the pineapple mixture, it’s time to move on to the next step: making the Dole Whip mixture.
Step 2: Making the Dole Whip Mixture
After preparing the pineapple in step 1, it’s time to make the Dole Whip mixture. In a medium-sized mixing bowl, combine the blended pineapple mixture with the coconut milk, pineapple juice, granulated sugar, and lemon juice. Stir well until all the ingredients are thoroughly combined.
You can adjust the sweetness level by adding more or less sugar, depending on your preference. Taste the mixture and make any necessary adjustments.
Once you’re satisfied with the taste, cover the bowl with plastic wrap and refrigerate the mixture for at least one hour. Chilling the mixture will not only enhance the flavors but also make it easier to churn in the next step.
As the Dole Whip mixture chills, the flavors will meld together, resulting in a more delicious and cohesive dessert. It’s important to give it enough time to cool and thicken, so don’t rush this step.
Now that the Dole Whip mixture is chilling, we can move on to the next step: pouring it into the ice cream maker.
Step 3: Chilling the Mixture
After preparing the Dole Whip mixture in step 2, it’s time to let it chill. This step is important as it allows the flavors to meld together and the mixture to thicken, resulting in a creamier and more delightful dessert.
Carefully transfer the bowl of the Dole Whip mixture to the refrigerator and let it chill for at least one hour, or until it reaches a cold and thickened consistency. The chilling time can vary depending on the temperature of your refrigerator and the initial temperature of the mixture.
During the chilling process, the flavors will continue to develop and intensify, creating a harmonious balance of pineapple, coconut, and sweetness. Additionally, the mixture will become slightly firmer, which will help it churn better in the next step.
To ensure that the Dole Whip mixture is properly chilled, you can periodically check its consistency by gently stirring it with a spoon. If it has thickened and coats the back of the spoon, it’s ready for the next step. If it’s still too runny, give it more time in the refrigerator until it reaches the desired consistency.
Chilling the mixture is an essential step in the Dole Whip making process, so exercise patience and resist the urge to rush this stage. The rewards will be worth it when you taste the rich and velvety texture of your homemade Dole Whip.
Now that the Dole Whip mixture is well-chilled, it’s time to move on to the next step: pouring it into the ice cream maker.
Step 4: Pouring into the Ice Cream Maker
With the Dole Whip mixture properly chilled in step 3, it’s time to pour it into the ice cream maker. This step is crucial as it will help churn and freeze the mixture, transforming it into a creamy and luscious pineapple soft serve.
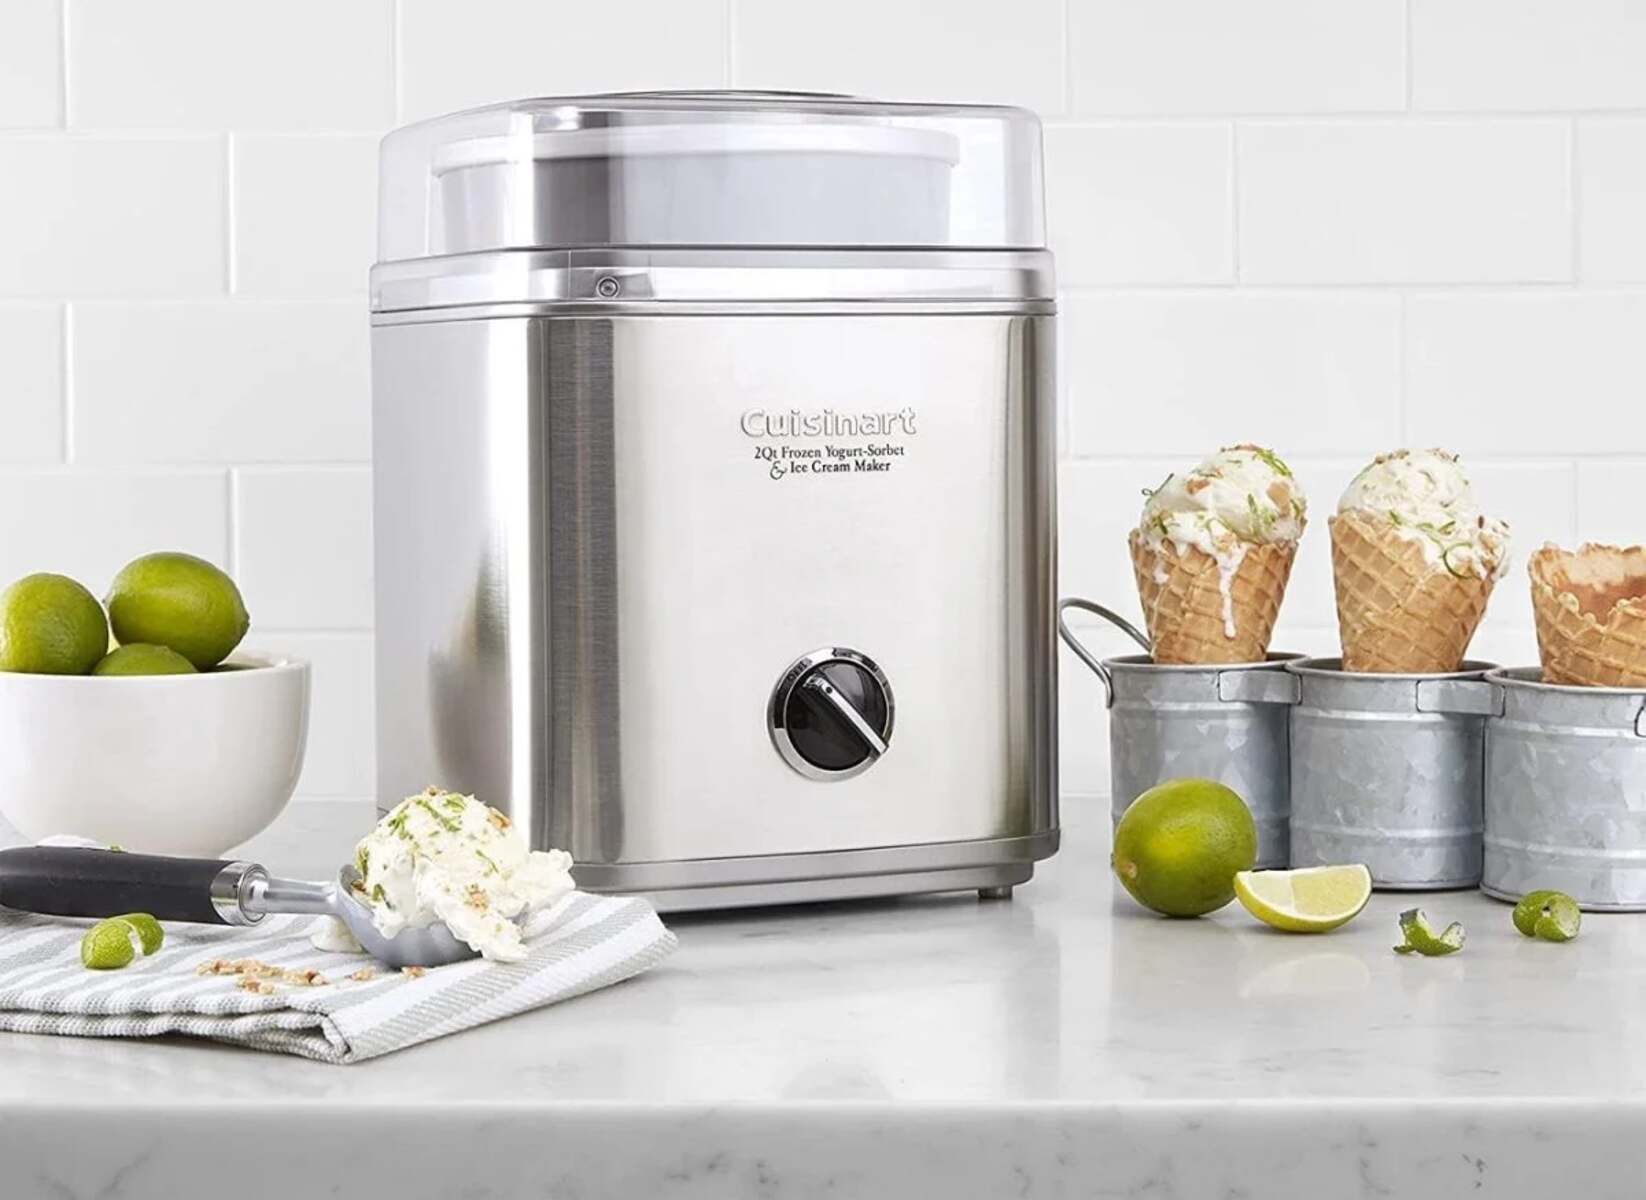
Retrieve your Cuisinart ice cream maker and ensure that the freezer bowl is properly frozen according to the manufacturer’s instructions. This usually requires pre-freezing the bowl for at least 24 hours prior to use. Make sure the bowl is completely frozen before proceeding.
Once the freezer bowl is ready, assemble the ice cream maker according to the manufacturer’s instructions. Place the frozen bowl onto the base of the machine and secure it in place. Turn on the ice cream maker to begin the churning process.
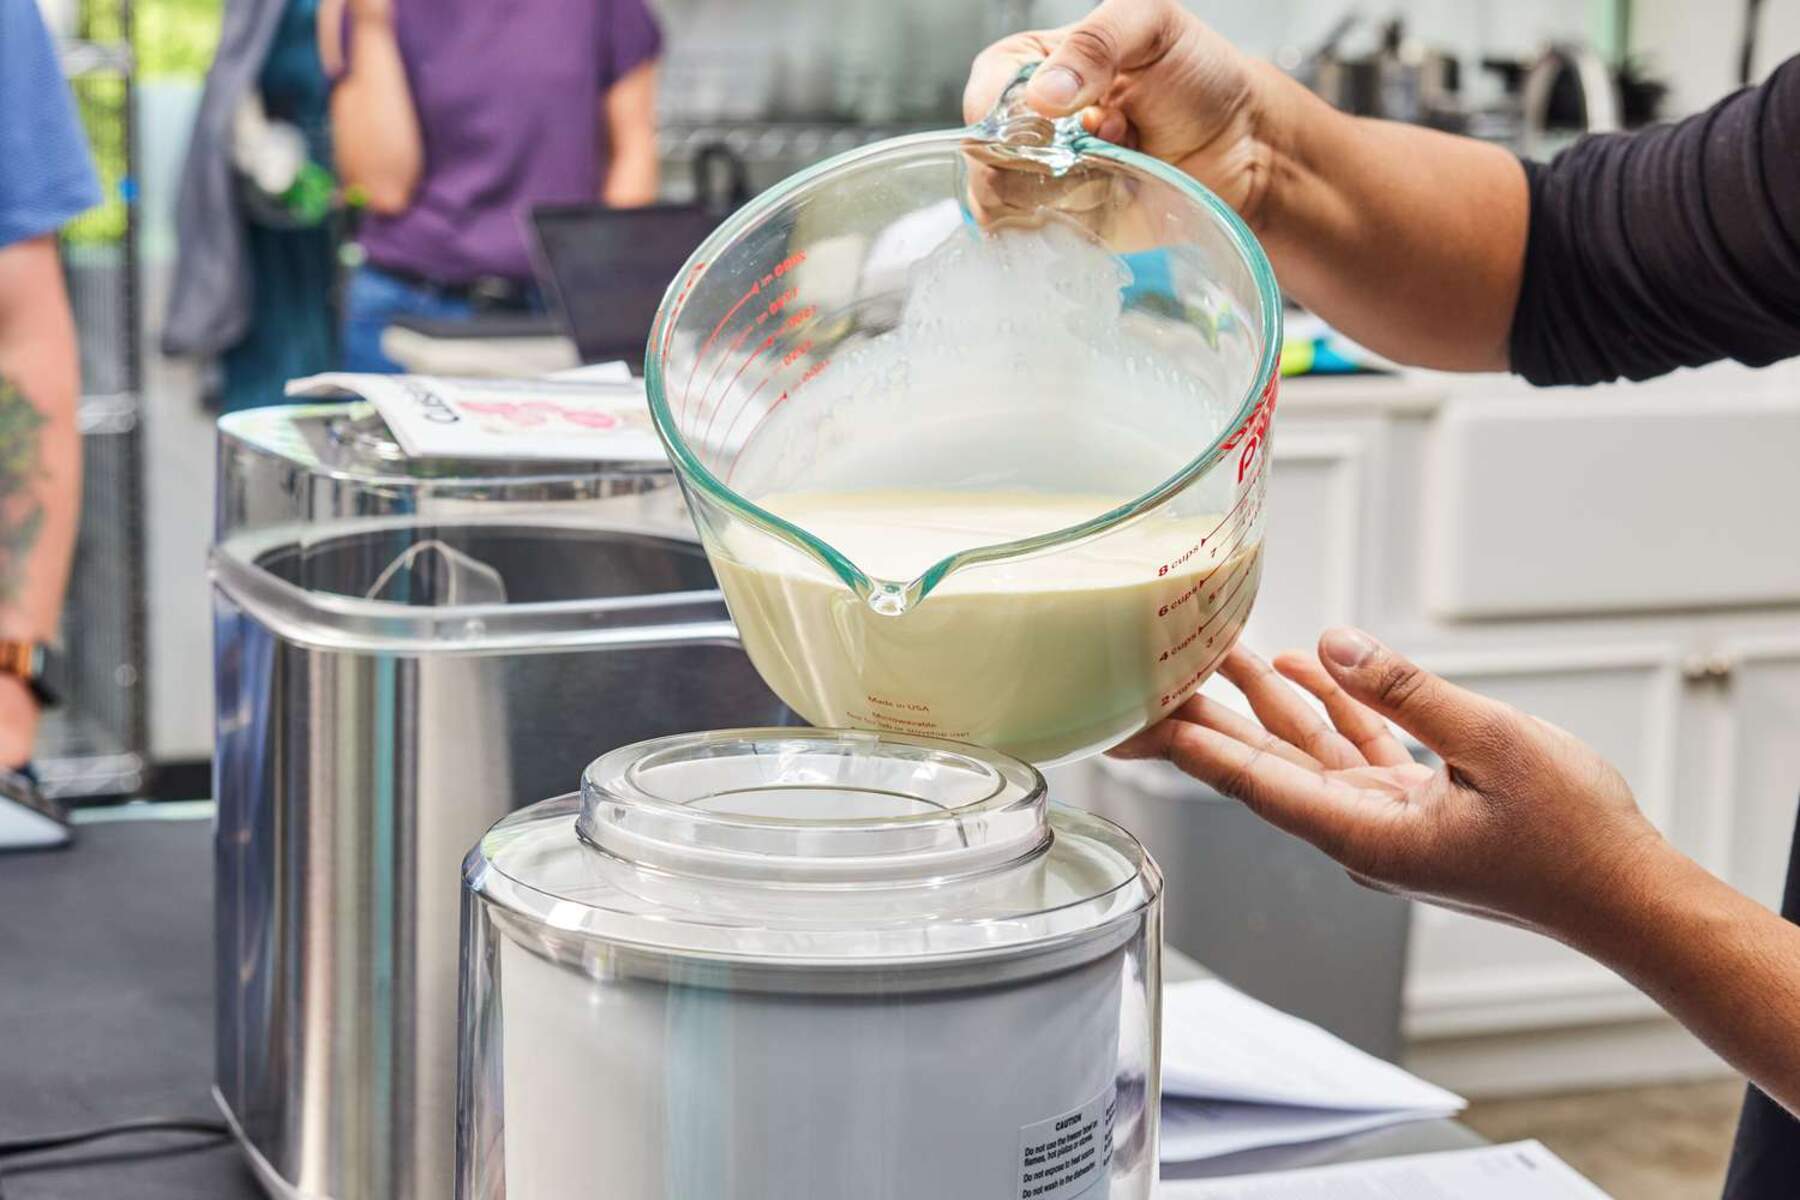
While the machine is running, slowly pour the chilled Dole Whip mixture into the freezer bowl through the opening at the top. Take care not to overfill the bowl, as the mixture will expand slightly as it churns. Leave enough space for the mixture to expand and allow for proper churning.
As the ice cream maker churns, the mixture will begin to freeze around the edges of the bowl and incorporate air, creating a light and creamy texture. This process usually takes around 15 to 20 minutes, but it may vary depending on the model of your ice cream maker.
It’s important to resist the temptation to open the lid and check on the progress too frequently, as this can disrupt the churning and freezing process. Trust in the machine and allow it to work its magic.
Now that the Dole Whip mixture is smoothly churning in the ice cream maker, we can move on to the next step: freezing the Dole Whip.
Step 5: Churning the Dole Whip
In step 4, we poured the chilled Dole Whip mixture into the ice cream maker. Now, it’s time to let the machine work its magic and churn the mixture into a delightful pineapple soft serve.
As the ice cream maker continues to churn, the mixture will gradually freeze and thicken. This is where the magic happens, transforming the smooth pineapple blend into a luscious and creamy treat.
It’s important to let the ice cream maker run for the recommended time specified in the manufacturer’s instructions. Typically, this process takes around 15 to 20 minutes, but the time may vary depending on the specific ice cream maker model.
While the machine is churning the Dole Whip, you may notice a slight increase in volume due to air being incorporated into the mixture. This is what creates the light and fluffy texture that is characteristic of soft serve desserts.
As the churning process progresses, keep an eye on the consistency of the Dole Whip. The mixture will gradually become thicker and more ice cream-like in texture. You’ll know it’s ready when it reaches your desired level of creaminess and holds its shape.
Avoid over-churning the Dole Whip, as it can lead to a denser and harder texture. Additionally, avoid opening the lid of the ice cream maker too frequently during the churning process, as this can cause temperature fluctuations and affect the final result.
Once the Dole Whip has reached the desired consistency, it’s time to move on to the next step: freezing the Dole Whip to firm up the texture even further.
Step 6: Freezing the Dole Whip
After churning the Dole Whip in the ice cream maker in step 5, it’s important to give it some additional time to firm up in the freezer. This step will help achieve the perfect texture and consistency before serving.
Carefully transfer the churned Dole Whip from the ice cream maker’s freezer bowl into a lidded container. Make sure the container is freezer-safe and has enough space to accommodate the volume of the Dole Whip.
Cover the container with the lid and place it in the freezer. Allow the Dole Whip to freeze for at least 2 to 4 hours, or until it reaches the desired level of firmness.
During this freezing time, the Dole Whip will continue to solidify, resulting in a velvety and scoopable texture. It’s important to check the Dole Whip periodically and give it a gentle stir to prevent any ice crystals from forming. This will help maintain its smooth and creamy consistency.
If you prefer a firmer texture for your Dole Whip, you can leave it in the freezer for a longer period. However, be cautious not to freeze it for too long, as it may become overly hard. Remember, the Dole Whip should be enjoyable and easy to scoop.
Once the Dole Whip has fully frozen, it’s ready to be served and enjoyed. You can keep it stored in the freezer for up to several days, but be sure to cover the container tightly to prevent any freezer burn.
Now that you’ve successfully frozen the Dole Whip, it’s time for the final step: serving and savoring this delightful tropical treat.
Step 7: Serving and Enjoying the Dole Whip
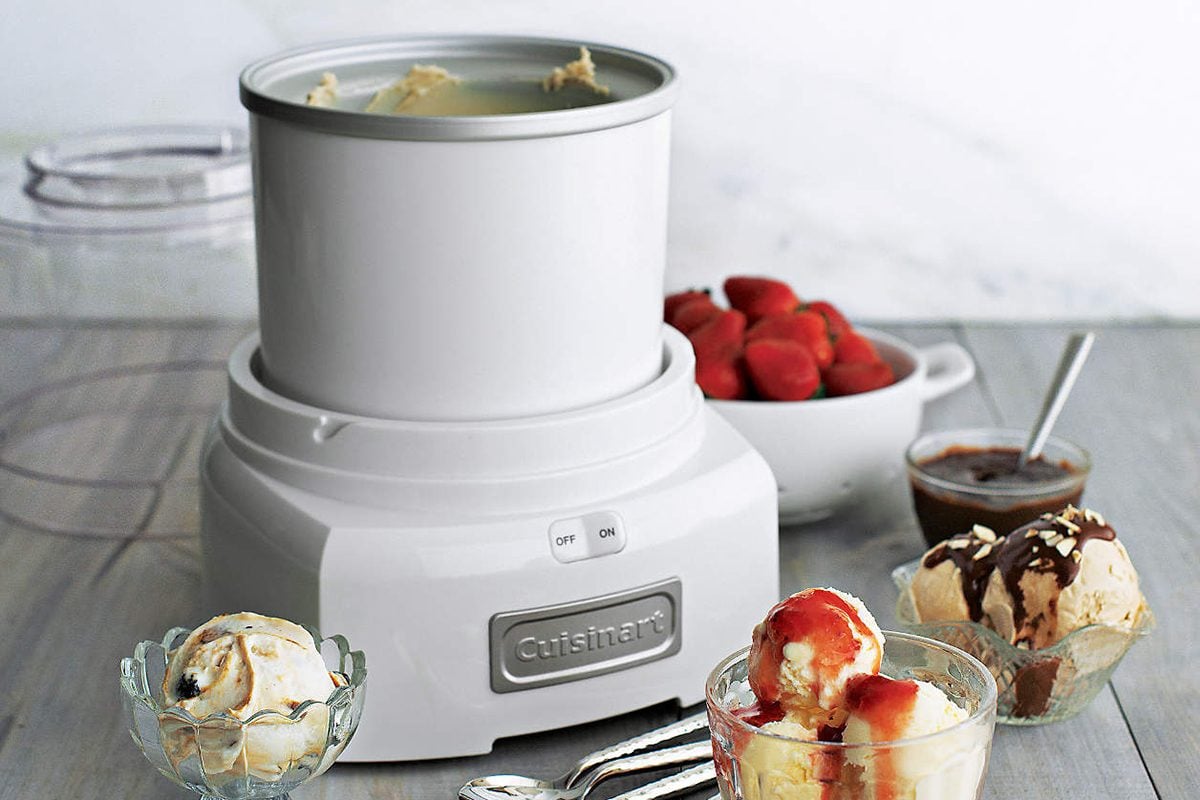
Congratulations! You’ve reached the final step in making Dole Whip in a Cuisinart ice cream maker. Now it’s time to indulge in the creamy, tropical goodness that you’ve worked so hard to create.
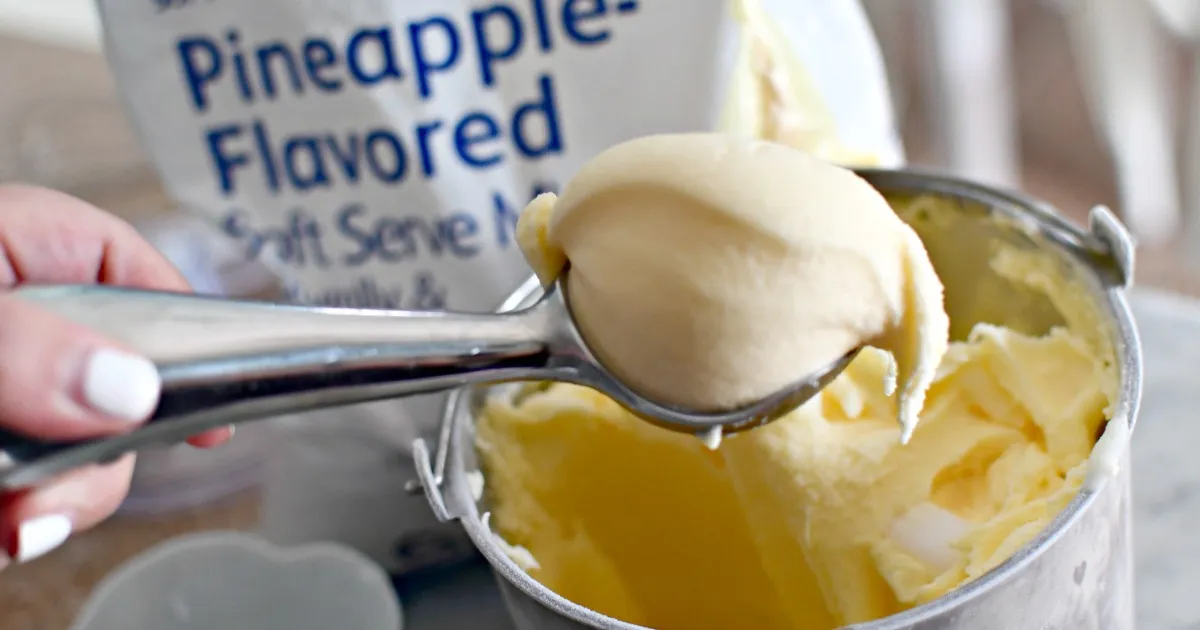
Remove the container of frozen Dole Whip from the freezer and allow it to sit at room temperature for a few minutes. This will make it slightly softer and easier to scoop.
Using an ice cream scoop or a spoon, scoop generous portions of the Dole Whip into bowls or cones. You can also get creative and serve it in a pineapple boat or other fun containers for an extra touch of tropical flair.
To enhance the visual appeal, you can garnish the Dole Whip with some additional pineapple chunks or a sprinkle of toasted coconut flakes. You may even enjoy drizzling some chocolate sauce or caramel syrup over the top for added decadence.
Once your Dole Whip is beautifully plated, it’s time to dig in and savor the flavors. Whether you’re enjoying it alone or serving it to guests, be prepared for smiles and compliments as they taste the tropical delight you’ve created.
The Dole Whip is best enjoyed immediately after scooping, as it will have the perfect soft serve consistency. However, if you have any leftovers, you can always store them in an airtight container in the freezer for future indulgence.
So sit back, relax, and let the creamy pineapple goodness transport you to a tropical paradise. Whether you’re reminiscing about your favorite Disney memories or simply enjoying a taste of summer, savor each spoonful of this homemade Dole Whip.
That concludes our step-by-step guide on how to make Dole Whip in a Cuisinart ice cream maker. We hope you’ve enjoyed the process and are now equipped to create this iconic treat whenever your cravings strike. Now, go forth and enjoy your homemade Dole Whip to the fullest!
Conclusion
Making Dole Whip in a Cuisinart ice cream maker is a fun and rewarding process that allows you to enjoy this tropical treat right in the comfort of your own home. With just a few simple steps, you can create a creamy and refreshing pineapple soft serve that will transport you to a sunny paradise.
Throughout this guide, we’ve walked you through the process of preparing the pineapple, making the Dole Whip mixture, chilling it to perfection, pouring it into the ice cream maker, churning it, freezing it, and finally, serving and savoring this delightful treat. Each step is important in achieving the perfect texture and flavors that make Dole Whip so beloved.
By using a Cuisinart ice cream maker, you can achieve a creamy and velvety soft serve consistency that is reminiscent of the Dole Whip served at Disney theme parks. This dairy-free dessert is a wonderful option for those with dietary restrictions or those simply looking for a refreshing treat during the summer months.
Remember, the beauty of making Dole Whip at home is the ability to customize it to your preferences. Adjust the sweetness level, experiment with different add-ins, or even try using different fruits to create your unique twist on this classic treat. Let your creativity soar and make it your own!
So the next time you’re craving a taste of the tropics, gather your ingredients, fire up your Cuisinart ice cream maker, and treat yourself to a delectable homemade Dole Whip. Whether you’re enjoying it by yourself or sharing it with loved ones, this tropical delight is sure to bring a smile to your face and a refreshing sweetness to your palate.
We hope this guide has inspired you to embark on your Dole Whip-making adventure. Embrace the process, have fun, and get ready to create a little taste of paradise in your own kitchen.
So what are you waiting for? It’s time to make some Dole Whip magic!