Introduction
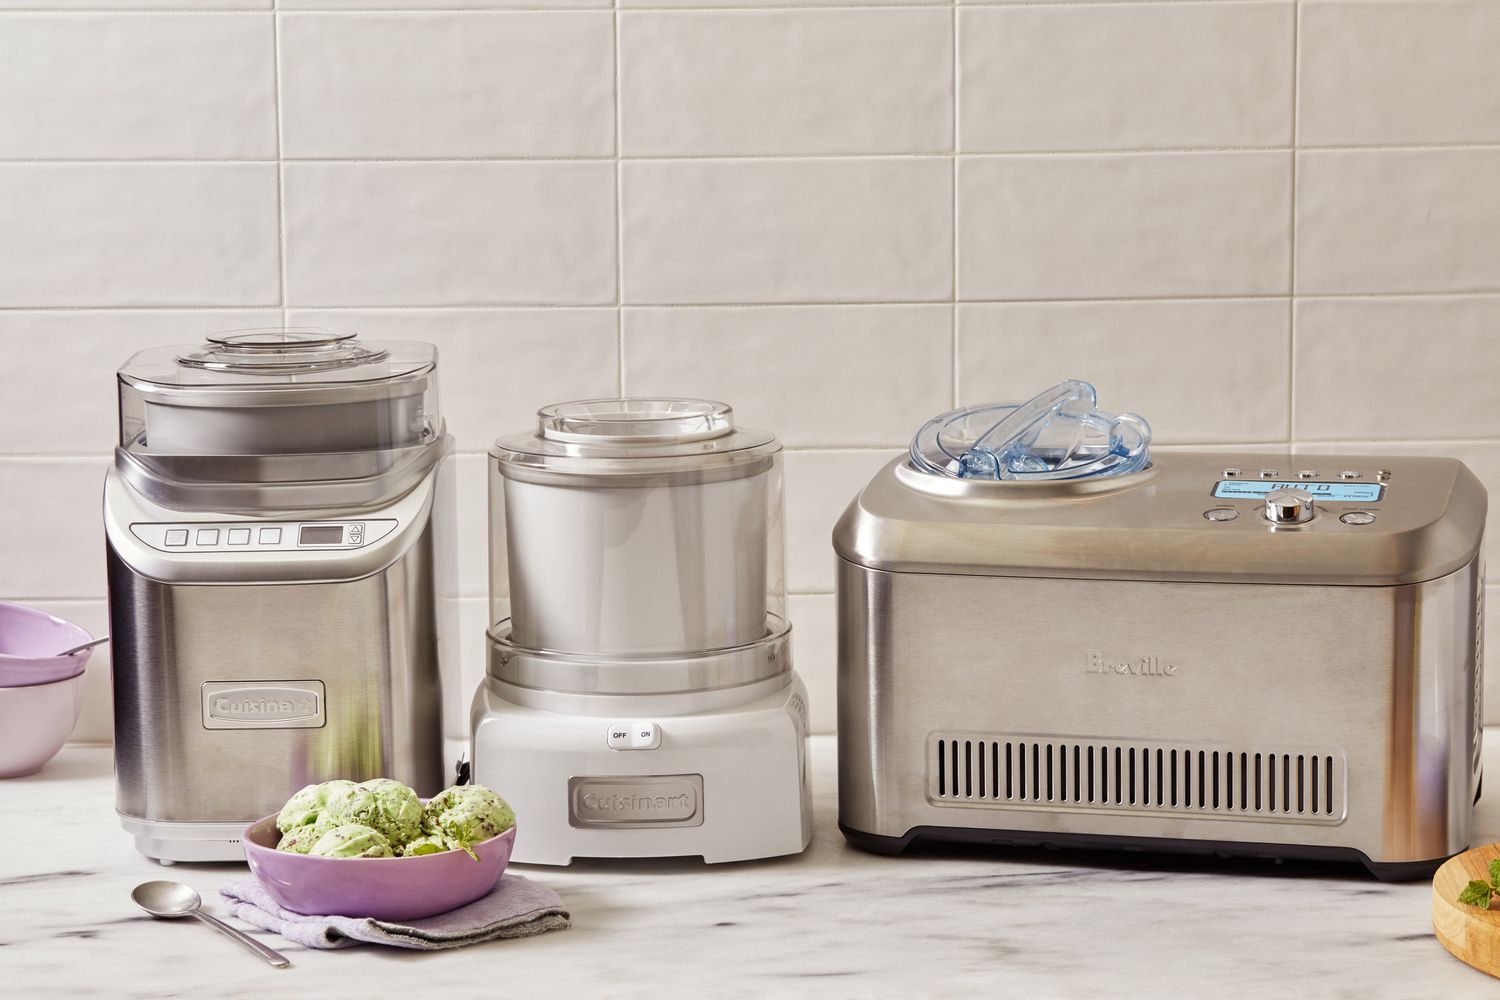
Welcome to the wonderful world of homemade ice cream with the Cuisinart Ice Cream Maker! If you’re a fan of delicious frozen treats, then you’re in for a treat yourself. With the Cuisinart Ice Cream Maker, you can easily whip up your favorite flavors of creamy ice cream, refreshing sorbet, and even indulgent gelato right in the comfort of your own home.
Gone are the days of racing to the store to satisfy your ice cream cravings or settling for mediocre store-bought options. With the Cuisinart Ice Cream Maker, you are the master of your own frozen dessert destiny. Whether you prefer classic flavors like vanilla and chocolate or more adventurous combinations like cookie dough or mint chocolate chip, this versatile appliance has got you covered.
The Cuisinart Ice Cream Maker is designed with simplicity and convenience in mind. No more tedious hand-churning or extreme waiting times. With just a few basic ingredients and a little bit of patience, you can create your own artisan-quality ice cream that will impress even the most discerning taste buds.
In this guide, we will walk you through all the steps to help you get started with your Cuisinart Ice Cream Maker. We’ll cover everything from preparing your ingredients to troubleshoot common issues and even showcase some tips and tricks to elevate your homemade ice cream game. So get ready to dive into the world of frozen dessert magic and treat yourself to the delightful flavors that await you.
Remember, making ice cream is not just about the final product; it’s also about the journey and the joy of creating something delicious with your own hands. So let’s grab our aprons, gather our ingredients, and embark on this tasty adventure together!
Getting Started with Your Cuisinart Ice Cream Maker
Before you dive into making your first batch of homemade ice cream, it’s important to familiarize yourself with your Cuisinart Ice Cream Maker and gather the necessary tools and ingredients. Here’s a step-by-step guide to help you get started:
Step 1: Read the Manual – Familiarize yourself with the instruction manual that comes with your Cuisinart Ice Cream Maker. This will help you understand the specific features and functions of your model and ensure that you use it correctly.
Step 2: Freeze the Freezer Bowl – The freezer bowl is a key component of the Cuisinart Ice Cream Maker. Make sure to place it in the freezer for at least 24 hours before you plan to make ice cream. This will ensure that the bowl is properly chilled and ready for use.
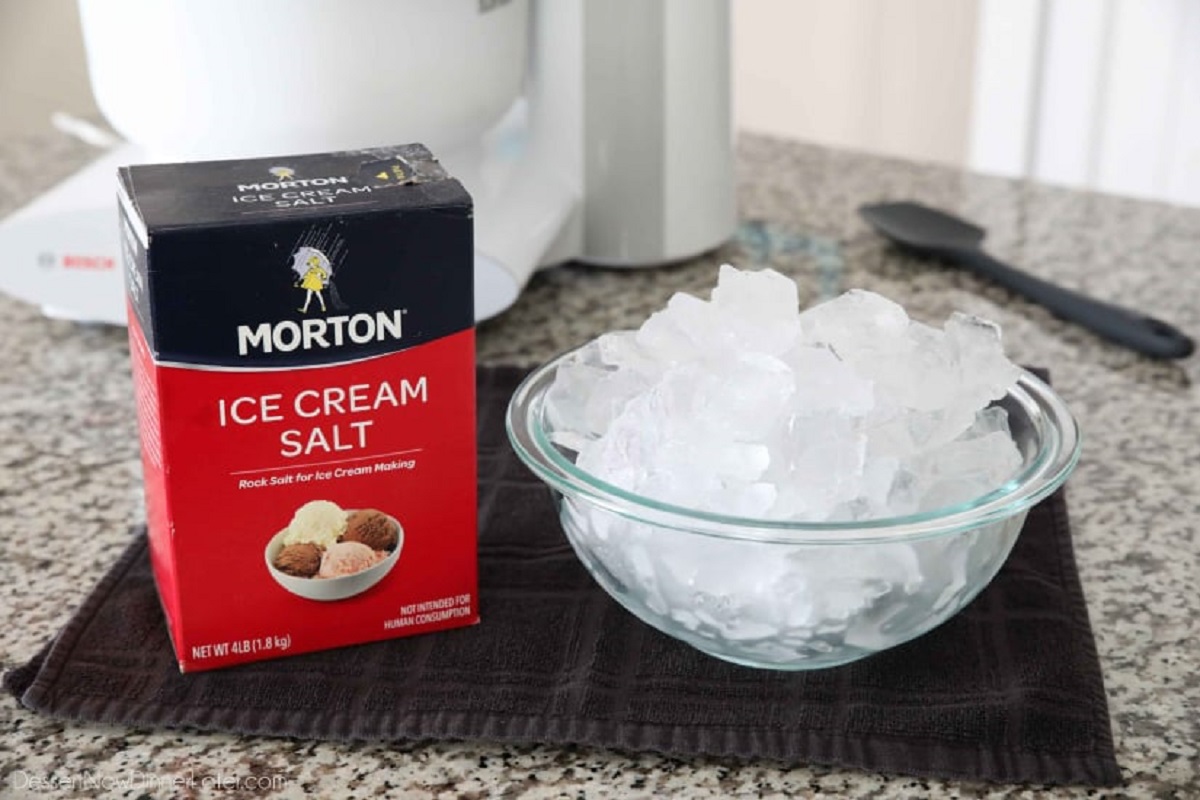
Step 3: Gather Your Ingredients – Ice cream typically requires a few basic ingredients: heavy cream, whole milk, sugar, and vanilla extract. However, feel free to get creative and experiment with different flavors and mix-ins. Make sure all your ingredients are fresh and of high quality for the best results.
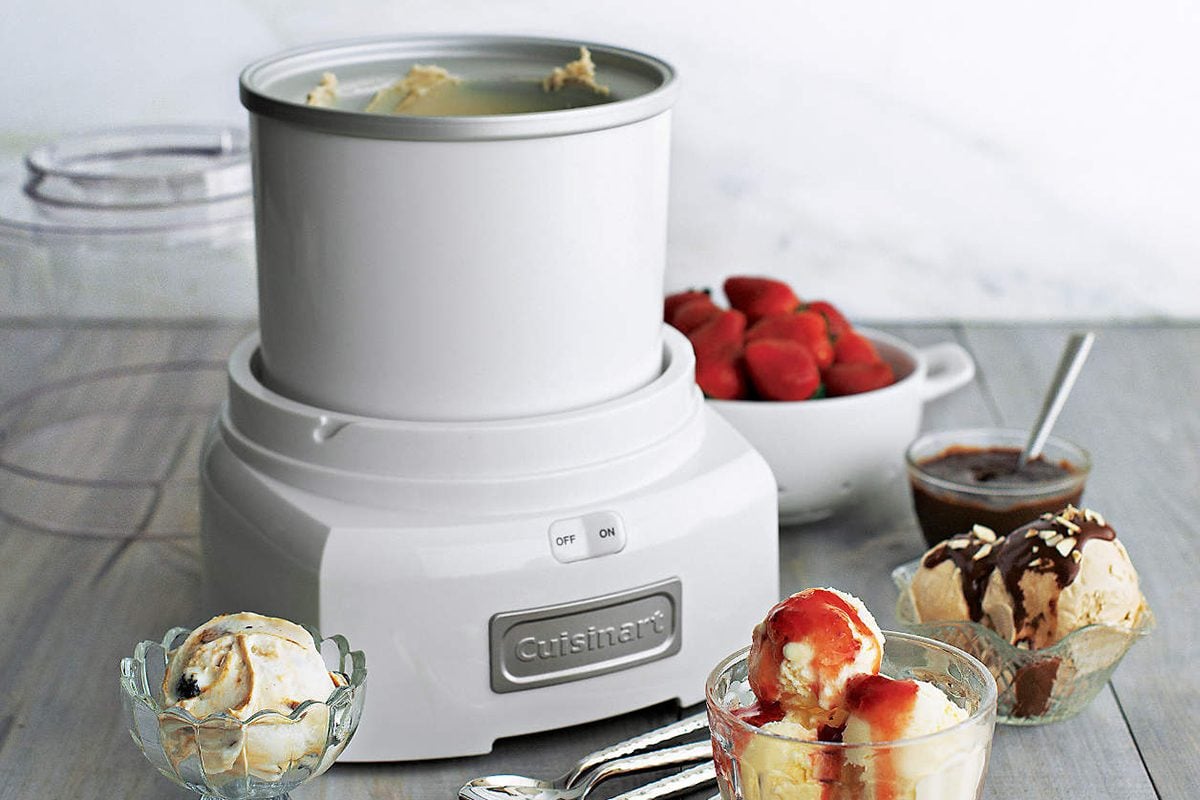
Step 4: Assemble the Ice Cream Maker – Once the freezer bowl is properly frozen, assemble your Cuisinart Ice Cream Maker. Most models have a simple design with a base, freezer bowl, mixing paddle, and lid. Follow the instructions in the manual to ensure everything is put together correctly.
Step 5: Pre-chill the Freezer Bowl – Before adding your ice cream mixture, place the frozen freezer bowl onto the base of the Cuisinart Ice Cream Maker. Turn it on, and let it run for a few minutes to pre-chill the bowl. This will help maintain a consistent temperature throughout the churning process.
Step 6: Add Your Ice Cream Mixture – Once the freezer bowl is pre-chilled, pour your ice cream mixture into the bowl. Be sure not to overfill it, as the mixture will expand as it churns. Leave a little space at the top to allow for expansion and proper churning.
Step 7: Start Churning – Secure the lid onto the Cuisinart Ice Cream Maker and turn it on. The mixing paddle will begin to churn the mixture, which will gradually freeze and thicken. Depending on the recipe and desired consistency, the churning process can take anywhere from 15 to 30 minutes.
Step 8: Monitor the Texture – As the ice cream churns, keep an eye on its texture. It should thicken and become creamy, with a soft-serve consistency. If you prefer a firmer texture, transfer the ice cream to an airtight container and place it in the freezer for a couple of hours to firm up further.
Step 9: Serve and Enjoy – Once the desired texture is achieved, remove the ice cream from the freezer bowl. Scoop it into bowls or cones and savor the delicious flavors of your homemade creation. Add your favorite toppings or drizzle with chocolate sauce for an extra indulgence.
Now that you are familiar with the basic steps of using your Cuisinart Ice Cream Maker, you’re ready to unleash your creativity and experiment with different flavors and mix-ins. Don’t be afraid to try new recipes and adapt them to your taste preferences. The possibilities are endless, and the joy of homemade ice cream awaits!
Preparing Your Ingredients
When it comes to making homemade ice cream with your Cuisinart Ice Cream Maker, the quality of your ingredients can make all the difference in the final result. Here are some essential tips for preparing your ingredients to ensure a successful and delicious batch of ice cream:
1. Choose Fresh and High-Quality Ingredients – Start with the best possible ingredients to achieve the tastiest ice cream. Opt for fresh, organic, and high-quality dairy products such as heavy cream and whole milk. Using fresh ingredients will result in a smoother and creamier texture.
2. Chill Your Ingredients – Before using them, it’s recommended to chill your liquid ingredients, especially dairy products. This will help speed up the freezing process and result in a smoother texture. Place your heavy cream and milk in the refrigerator for a couple of hours before use.
3. Get Creative with Flavorings and Mix-Ins – Ice cream is the perfect canvas for your culinary creativity. Experiment with different flavorings such as pure extracts (vanilla, almond, mint) or cocoa powder. You can also add mix-ins like chopped nuts, chocolate chips, cookie dough, or fruit pieces. Just make sure to pre-chill any mix-ins that may melt or thaw the ice cream too quickly.
4. Sweeten to Taste – Adjust the sweetness of your ice cream base according to your preference. Start with a base recipe, but feel free to add more or less sugar depending on how sweet you like it. Keep in mind that sweetness is slightly muted when the ice cream is frozen, so you may want to make it slightly sweeter than you’d normally prefer.
5. Infuse Flavors – If you want to impart additional flavors to your ice cream, consider infusing your liquid ingredients. For example, you can heat the cream and milk, then steep it with aromatic ingredients like cinnamon sticks, vanilla beans, or coffee grounds. This will add a nuanced and delicious flavor to your ice cream.
6. Mix and Chill in Advance – For the best results, it’s recommended to prepare your ice cream base a day in advance. Mixing your ingredients and allowing them to chill in the refrigerator overnight will enhance the flavors and result in a smoother texture. This step also gives your mix-ins (if any) time to marinate and deepen the overall taste.
By following these tips and taking the time to prepare your ingredients properly, you’ll set yourself up for success when making ice cream with your Cuisinart Ice Cream Maker. Remember, the quality of your ingredients is a crucial factor in creating mouthwatering and luscious frozen treats.
Basic Steps for Making Ice Cream
Making ice cream with your Cuisinart Ice Cream Maker is a straightforward process that involves a few simple steps. Once your ingredients are prepared, follow these basic guidelines to create a creamy and delicious batch of homemade ice cream:
1. Pre-chill the Freezer Bowl: Before starting, ensure that the freezer bowl of your Cuisinart Ice Cream Maker has been properly pre-chilled in the freezer for at least 24 hours. This step is crucial as it helps to maintain a consistent temperature during the churning process.
2. Assemble the Ice Cream Maker: Place the pre-chilled freezer bowl on the base of the ice cream maker. Attach the mixing paddle securely and place the lid on top. Ensure that all components are properly fitted and aligned before moving forward.
3. Add Your Ice Cream Mixture: Pour your prepared ice cream mixture into the freezer bowl. Be mindful not to exceed the maximum fill line, as the mixture will expand as it freezes and churns. Leave a bit of space for expansion to avoid overflow during the churning process.
4. Start the Churning Process: Turn on your Cuisinart Ice Cream Maker and begin the churning process. The mixing paddle will start to rotate, incorporating air into the mixture while simultaneously freezing it. The length of the churning process may vary depending on the specific recipe and desired consistency, typically taking between 15 to 30 minutes.
5. Monitor the Texture: As the ice cream churns, keep an eye on the texture of the mixture. It will gradually thicken and become creamy. The ideal consistency is often likened to soft-serve ice cream. If you prefer a firmer texture, transfer the churned mixture to an airtight container and place it in the freezer for additional hardening.
6. Customize Your Flavor: You can add extra flavorings or mix-ins to the ice cream during or after the churning process. For example, you can mix in chocolate chips, chopped nuts, or cookie dough to create your own unique flavor combinations. Fold them into the partially churned ice cream and continue churning until fully incorporated.
7. Serve and Enjoy: Once the desired texture is achieved, it’s time to indulge in your homemade ice cream! Scoop the freshly churned ice cream into bowls or cones and savor the creamy goodness. Add your favorite toppings, such as sprinkles, caramel sauce, or whipped cream, for an extra touch of delight.
Making ice cream with the Cuisinart Ice Cream Maker is a fun and rewarding experience. Whether you stick to classic flavors or get creative with custom combinations, these basic steps will guide you towards creating a delectable treat that will impress friends and family alike.
Tips and Tricks for Perfect Ice Cream
Creating the perfect batch of ice cream with your Cuisinart Ice Cream Maker is both an art and a science. To take your homemade frozen treats to the next level, here are some tips and tricks to keep in mind:
1. Chill Your Mix-ins: If you’re planning to add mix-ins like chocolate chips, nuts, or fruit to your ice cream, make sure to chill them beforehand. This prevents them from melting or thawing the ice cream too quickly during the churning process.
2. Experiment with Sugar Substitutes: If you’re watching your sugar intake or prefer a healthier alternative, you can experiment with sugar substitutes like honey, agave syrup, or stevia. Keep in mind that sugar substitutes may affect the texture and freezing properties of the ice cream, so adjust the recipe accordingly.
3. Get Creative with Extracts: Enhance the flavor profile of your ice cream by incorporating various extracts. Vanilla extract is a classic option, but don’t be afraid to try other options like almond, mint, or coconut. Just a small amount can make a big difference in the overall taste.
4. Use a Cold Base: Prior to churning, ensure that your ice cream mixture is properly chilled. This not only helps it freeze faster but also contributes to a smoother texture. Place the mixture in the refrigerator for a couple of hours before pouring it into the freezer bowl.
5. Embrace Mix-in Combinations: Do you have multiple mix-ins you want to include? Try layering them in the freezer bowl between additions of ice cream base during the churning process. This technique will distribute the mix-ins more evenly throughout the ice cream.
6. Avoid Overfilling the Freezer Bowl: Take care not to overfill the freezer bowl with the ice cream base, as it expands during the churning process. Overfilling can lead to overflow and hinder proper churning. Leave some space at the top to allow for expansion.
7. Expertly Store Leftover Ice Cream: If you have some leftover ice cream, store it properly in an airtight container. Press a piece of plastic wrap directly onto the surface of the ice cream to prevent ice crystals from forming. Place the container in the coldest part of the freezer to maintain the best texture.
8. Add Alcohol Appropriately: Adding a small amount of alcohol to your ice cream base can help improve the texture and slow down the freezing process. However, be cautious not to add too much as it can prevent the ice cream from freezing properly. Stick to recommended amounts in recipes or consult guidelines for alcohol additions.
9. Experiment with Swirls and Ripples: Get creative and add swirls or ripples of flavor to your ice cream. Layer in fruit puree, chocolate sauce, or caramel between additions of the ice cream base during churning. Use a spoon or spatula to gently swirl the mix-ins for an enticing visual effect.
10. Patience is Key: It’s tempting to want to jump right into enjoying your freshly churned ice cream, but allow it some time to firm up in the freezer. Letting it chill for a few hours or overnight will improve the texture and allow the flavors to meld together for a more satisfying scoop.
By following these tips and tricks, you’ll be on your way to creating ice cream that rivals your favorite ice cream parlor. Don’t be afraid to experiment, have fun, and customize your homemade creations to suit your unique taste preferences.
Creating Custom Flavors
One of the joys of making ice cream with your Cuisinart Ice Cream Maker is the ability to create customized flavors that cater to your taste preferences. With a little creativity and experimentation, you can whip up unique and delicious combinations. Here are some tips for creating custom flavors:
1. Start with a Base Recipe: Begin with a well-tested base recipe that serves as your foundation. Classic flavors like vanilla or chocolate are great starting points. Once you have mastered the base recipe, you can start adding your own twists and variations.
2. Experiment with Flavorings: To create your own flavor profiles, experiment with different flavorings such as extracts, spices, or zest. Consider adding ingredients like mint, espresso powder, cinnamon, or citrus zest to infuse your ice cream with unique tastes and aromas.
3. Incorporate Mix-ins: Mix-ins add texture and extra flavor to your ice cream. Whether it’s chunks of cookie dough, crushed candies, or chopped nuts, be creative with your mix-ins. Make sure to adapt the base recipe to accommodate the additional ingredients.
4. Get Inspiration from Favorites: Draw inspiration from your favorite desserts, snacks, or drinks. Love a certain type of pie? Try incorporating the flavors and elements of that pie into your ice cream. Think outside the box and let your imagination guide you.
5. Balance Sweetness and Flavor Intensity: When creating custom flavors, it’s essential to balance sweetness and flavor intensity. Consider the sweetness level of your mix-ins and adjust the sugar in your base recipe accordingly. Taste and adjust to find the perfect balance.
6. Customization through Toppings: Don’t forget that flavors can be enhanced through toppings. From hot fudge to caramel sauce, whipped cream, and sprinkles, the possibilities are endless. Experiment with different toppings to elevate the flavor and presentation of your ice cream.
7. Take Notes: As you experiment with custom flavors, keep a notebook or digital record of your creations. Jot down the ingredients and measurements used, as well as any modifications or adjustments made. This will allow you to refine your recipes and recreate your favorite flavors.
8. Have Fun with Collaborative Creations: Get your friends or family involved in the flavor creation process. Host an ice cream flavor party where each person contributes a unique flavor idea or mix-in ingredient. Sampling and taste-testing the different flavors can be a fun and memorable experience.
Remember, creating custom flavors is all about unleashing your creativity and exploring new tastes. The Cuisinart Ice Cream Maker allows you to experiment and have fun with various combinations, so don’t be afraid to get adventurous and try something unique. With a little experimentation, you’ll discover infinite possibilities for delectable homemade ice cream flavors.
Troubleshooting Common Issues
While making homemade ice cream with your Cuisinart Ice Cream Maker is generally a smooth process, you may encounter some common issues along the way. Here are a few troubleshooting tips to help you overcome these challenges:
1. Ice Cream Not Freezing: If your ice cream isn’t freezing properly during the churning process, check that the freezer bowl has been properly pre-chilled for the recommended time. Also, ensure that your ice cream mixture is adequately chilled before pouring it into the freezer bowl. If the mixture is too warm, it may not freeze properly.
2. Ice Cream Too Soft: If your ice cream is not firm enough after churning, it may need additional freezing time. Transfer the partially churned ice cream to an airtight container and place it in the freezer for a couple of hours to further firm up before serving.
3. Ice Cream Too Firm: On the other hand, if your ice cream is too firm or icy, it may have been over-churned. Monitor the texture closely during the churning process and stop the machine when the ice cream has reached a soft-serve consistency. Over-churning can lead to a dense and icy final product.
4. Soft Mix-ins Sinking: If you’re adding soft mix-ins like cookie dough or marshmallows to your ice cream, they may sink to the bottom during churning. To prevent this, freeze or chill your mix-ins beforehand. Add them in the later stages of churning or fold them in manually once the ice cream has reached the desired consistency.
5. Ice Cream Has Ice Crystals: Ice crystals can form in homemade ice cream if it’s stored improperly or left in the freezer for an extended period. To prevent this, make sure to store your ice cream in an airtight container to minimize exposure to air. Press plastic wrap directly onto the surface of the ice cream to create a barrier against ice crystals.
6. Flavors Not Pronounced: If your ice cream lacks flavor intensity, consider adjusting the amount of flavorings or mix-ins used. Add a bit more extract, spice, or other flavoring agents to enhance the taste. Taste and adjust the recipe accordingly to achieve the desired flavor profile.
7. Machine Overheating: If your Cuisinart Ice Cream Maker becomes warm or overheats during the churning process, it may affect the freezing capabilities. To prevent this, make sure the room temperature is not too hot, as the machine relies on freezing temperatures to properly churn the ice cream.
8. Poor Clean-Up: After you’ve enjoyed your homemade ice cream, it’s important to clean your Cuisinart Ice Cream Maker thoroughly. Follow the manufacturer’s instructions for disassembling and cleaning the machine. Make sure all parts are properly washed and dried before storing to prevent contamination or unpleasant odors.
Remember, troubleshooting common issues is all part of the learning process. Don’t get discouraged if you encounter a challenge along the way. With practice and experience, you’ll become familiar with the nuances of making ice cream and be able to troubleshoot any issues that arise. Keep experimenting, refining your techniques, and soon you’ll be serving up perfect batches of homemade ice cream every time.
Cleaning and Maintenance of Your Cuisinart Ice Cream Maker
Proper cleaning and maintenance of your Cuisinart Ice Cream Maker are essential to ensure its longevity and optimal performance. Here are some important tips to keep in mind:
1. Unplug and Disassemble: Before cleaning your ice cream maker, always make sure it is unplugged from the power source. Then, disassemble the machine by removing the freezer bowl, mixing paddle, and lid, following the manufacturer’s instructions.
2. Hand Wash Only: The freezer bowl, mixing paddle, and lid should be washed by hand in warm, soapy water. Avoid placing them in the dishwasher, as harsh detergents and high temperatures can damage the components. Gently scrub off any residue or ice cream remnants with a sponge or soft brush.
3. Wipe the Base Unit: After removing all the removable parts, wipe down the base unit with a damp cloth. Be careful not to get any moisture into the motorized area of the machine. Dry the base unit thoroughly before reassembling the components.
4. Cleaning Stubborn Stains: If there are stubborn stains on the freezer bowl or mixing paddle, you can soak them in warm, soapy water to loosen the residue. Use a non-abrasive sponge or cloth to scrub away the stains. Rinse thoroughly and dry before storing.
5. Avoid Abrasive Cleaners: When cleaning your Cuisinart Ice Cream Maker, avoid using abrasive cleaners, harsh chemicals, or scouring pads. These can scratch or damage the surfaces of the machine. Stick to mild dish soap and non-abrasive cleaning tools for safe and effective cleaning.
6. Proper Storage: Once all the components are clean and dry, store them properly. Place the freezer bowl in a clean plastic bag to prevent any odors or freezer burn. Store all parts in a cool, dry place to avoid moisture buildup or damage.
7. Regular Maintenance: To keep your ice cream maker in top condition, it’s a good idea to perform regular maintenance tasks. This includes checking the power cord for any signs of damage, inspecting the freezer bowl for cracks or leaks, and ensuring that the motorized unit is clean and free from debris.
8. Deep Cleaning: Occasionally, it may be necessary to give your Cuisinart Ice Cream Maker a deep clean to remove any buildup or residue. Refer to the instruction manual for specific cleaning instructions or contact the manufacturer for guidance on deep cleaning procedures.
By following these cleaning and maintenance guidelines, you can prolong the lifespan of your Cuisinart Ice Cream Maker and ensure that each batch of ice cream is made in a clean and hygienic environment. Regular care will guarantee that your machine continues to deliver creamy and delicious frozen treats for years to come.
Conclusion
Congratulations! You are now equipped with the knowledge and tips to create mouthwatering homemade ice cream using your Cuisinart Ice Cream Maker. From getting started with the machine to troubleshooting common issues and cleaning it, you have learned the essential steps to master the art of ice cream making.
With the Cuisinart Ice Cream Maker, you have the power to customize flavors, experiment with mix-ins, and delight your taste buds with unique creations. Remember to start with a solid base recipe and let your creativity guide you as you incorporate various flavors, spices, and mix-ins to tailor your ice cream to your personal preferences.
Throughout your ice cream-making journey, keep in mind the importance of using fresh and high-quality ingredients, ensuring proper chilling and freezing of the ice cream base, and following the instructions for assembly and cleaning of the machine.
Don’t be afraid to get creative and try new techniques and flavors. The more you practice and experiment, the better you will become at making delectable ice cream creations. Whether it’s classic vanilla, indulgent chocolate, or a unique flavor of your own invention, homemade ice cream offers a rewarding and satisfying experience for both the maker and the eater.
So, gather your ingredients, pre-chill your freezer bowl, and embark on this delightful frozen dessert adventure. With the Cuisinart Ice Cream Maker as your trusty companion and the knowledge you have gained, you are well on your way to impressing friends and family with your homemade ice cream masterpieces.
Enjoy the process, savor the flavors, and embrace the joy of making ice cream from scratch. Get ready to indulge in scoop after scoop of creamy, homemade goodness. Happy ice cream making!