Introduction
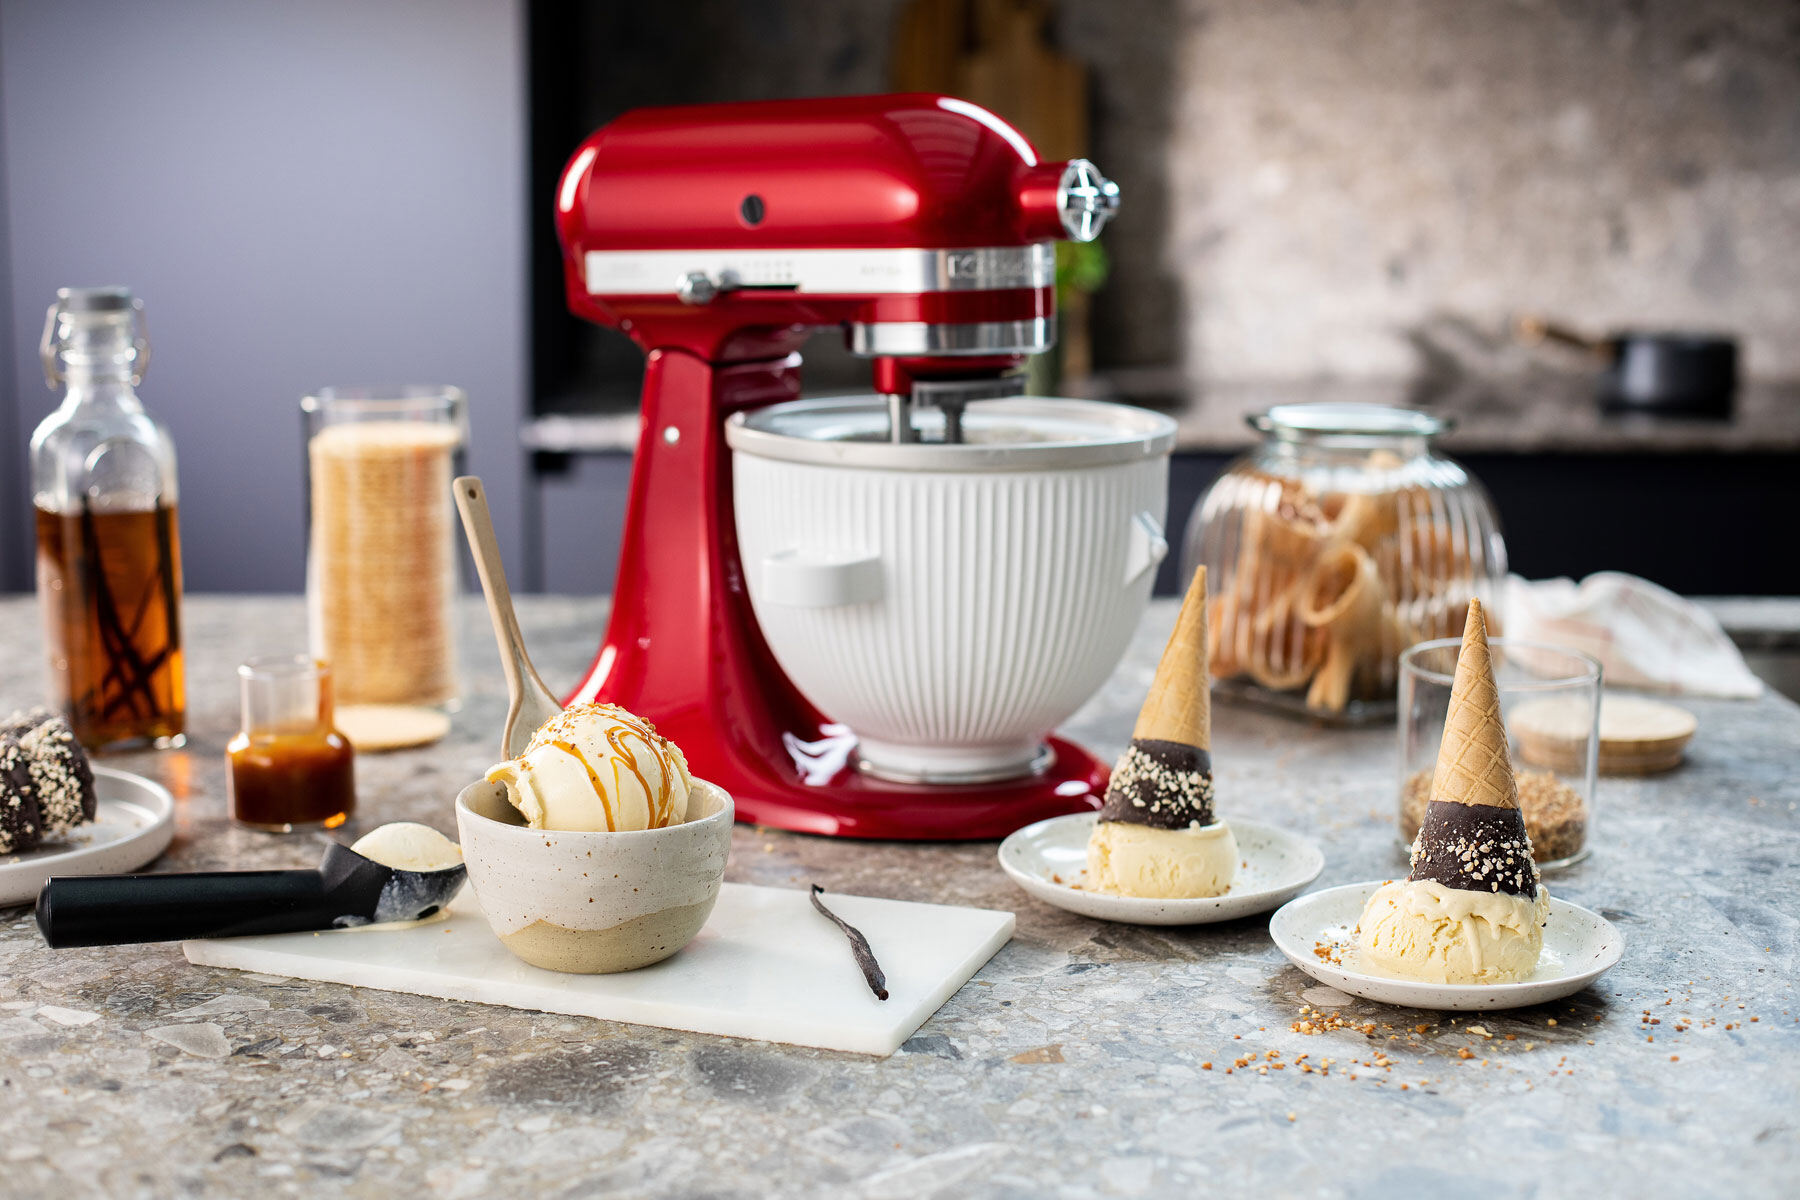
Welcome to this step-by-step guide on how to put together the KitchenAid Ice Cream Maker attachment on a Bowl Lift Stand Mixer. If you’re a fan of homemade ice cream, this attachment is a game-changer, allowing you to create delicious frozen treats right in your own kitchen.
With the KitchenAid Ice Cream Maker attachment, you can churn out a variety of ice cream flavors, from classic vanilla and chocolate to more adventurous creations like mint chocolate chip or cookies and cream. Best of all, it’s easy to use and takes your ice cream-making experience to a whole new level.
Before you get started, make sure you have all the necessary tools and ingredients at hand. This includes your KitchenAid Bowl Lift Stand Mixer, the Ice Cream Maker attachment, your chosen ice cream ingredients, and a sturdy mixing bowl. Once you have everything ready, it’s time to put it all together and start making your own delicious homemade ice cream.
In the following steps, I will guide you through the process of assembling and using the KitchenAid Ice Cream Maker attachment on your Bowl Lift Stand Mixer. Be prepared to unleash your creativity and indulge in the sweet satisfaction of creating ice cream that’s perfect for any occasion.
Step 1: Gather the necessary tools and ingredients
Before you can start making delicious ice cream with your KitchenAid Ice Cream Maker attachment, it’s important to gather all the necessary tools and ingredients. This will ensure a smooth and enjoyable ice cream-making process.
Here’s a list of essential items you’ll need:
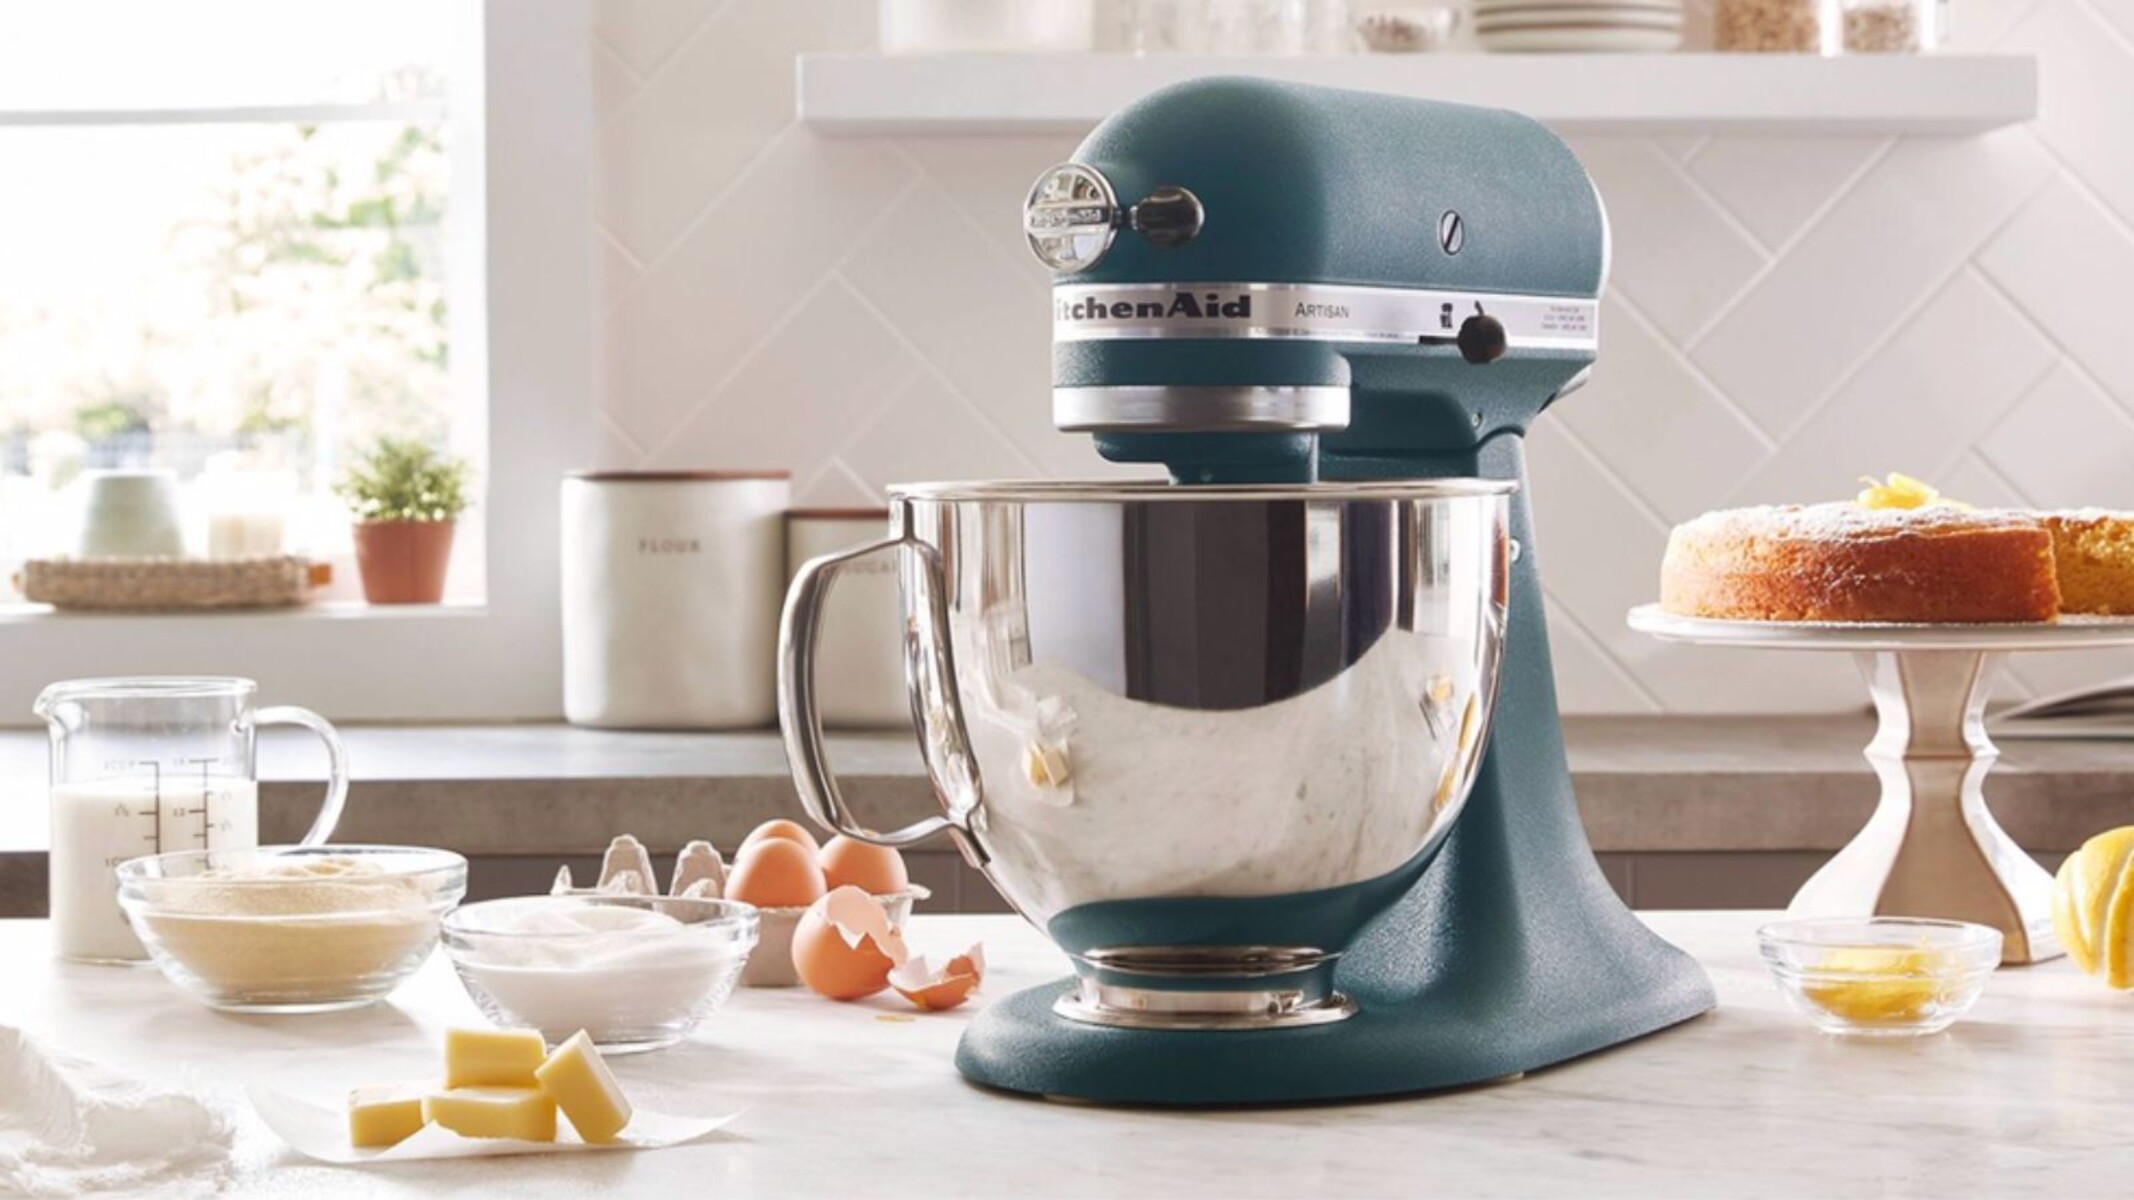
- KitchenAid Bowl Lift Stand Mixer: The Ice Cream Maker attachment is specifically designed to be used with a KitchenAid Bowl Lift Stand Mixer, so make sure you have one on hand.
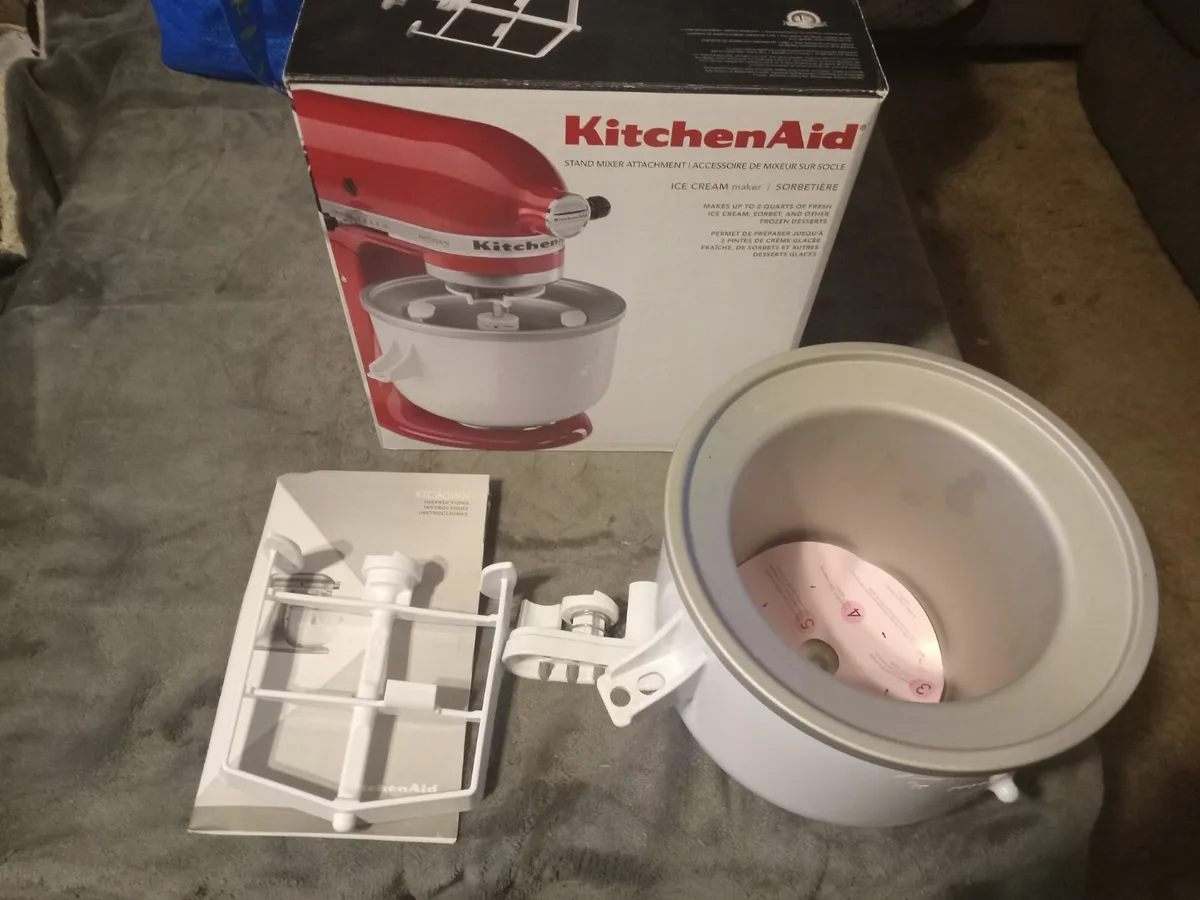
- KitchenAid Ice Cream Maker attachment: This attachment is what will transform your mixer into an ice cream-making machine. Make sure you have it ready to go.
- Ice cream ingredients: Decide on your desired ice cream flavor and gather all the necessary ingredients. This can include milk or cream, sugar, flavorings (such as vanilla extract or cocoa powder), and any mix-ins you may want to add.
- Sturdy mixing bowl: You’ll need a mixing bowl to combine your ice cream ingredients before adding them to the Ice Cream Maker attachment.
- Ice cream recipes: If you’re new to making ice cream, consider having a few recipes handy to guide you through the process. These recipes can provide measurements and instructions to help you achieve the desired consistency and flavor.
- Freezer-safe storage containers: Once your ice cream is done churning, you’ll need containers to store it in the freezer. Make sure these containers are freezer-safe, airtight, and large enough to accommodate your ice cream quantity.
By having all these tools and ingredients prepared in advance, you’ll have a hassle-free ice cream-making experience. So gather everything you need and get ready to create some delicious frozen treats with your KitchenAid Ice Cream Maker attachment!
Step 2: Prepare the KitchenAid Ice Cream Maker attachment
Before you can start churning your ice cream, it’s important to properly prepare the KitchenAid Ice Cream Maker attachment. This will ensure that your ice cream is churned to perfection and ready to be enjoyed.
To prepare the Ice Cream Maker attachment, follow these steps:
- Freeze the bowl: Prior to using the Ice Cream Maker attachment, make sure to freeze the bowl overnight or for at least 15 hours. This ensures that the bowl is thoroughly chilled and ready to effectively freeze your ice cream mixture.
- Assemble the dasher: Locate the dasher, which is the mixing tool that attaches to the Ice Cream Maker attachment. Insert the dasher into the bowl and make sure it fits securely.
- Install the drive assembly: Look for the drive assembly on the Ice Cream Maker attachment. This is the part that connects the attachment to your KitchenAid Bowl Lift Stand Mixer. Align the drive assembly with the hub on the front of the mixer and gently twist it into place until it is firmly attached.
- Connect the attachment to the mixer: Once the drive assembly is securely attached, lift the Ice Cream Maker attachment and carefully align it with the connector on the mixer’s head. Lower the attachment onto the mixer and make sure it fits into place.
- Lock the attachment: To ensure that the Ice Cream Maker attachment is properly locked, turn the attachment counterclockwise until it clicks into place. This ensures that the attachment is securely locked onto the mixer and ready for use.
Preparing the KitchenAid Ice Cream Maker attachment is a straightforward process, but it’s essential to follow these steps to ensure proper functionality and optimal ice cream-making results. Once you’ve completed these preparations, you’re ready to move on to the next step of making homemade ice cream with your Bowl Lift Stand Mixer and Ice Cream Maker attachment!
Step 3: Remove the mixing bowl from your KitchenAid Bowl Lift Stand Mixer
Before attaching the KitchenAid Ice Cream Maker, you’ll need to remove the mixing bowl from your Bowl Lift Stand Mixer. This step is crucial to ensure that the ice cream maker attachment can be properly installed and function effectively.
Follow these steps to remove the mixing bowl:
- Lift the mixer head: Before removing the mixing bowl, make sure that the mixer is turned off and unplugged. Then, lift the mixer head by holding the handle and pushing the release lever located on the right-hand side of the mixer.
- Tilt the mixer head back: Once the head is lifted, tilt it back towards the base of the mixer to expose the attachment hub.
- Release the bowl: On the bottom of the mixer head, there is a release button for the mixing bowl. Press and hold this button to release the bowl from the attachment hub.
- Remove the mixing bowl: After releasing the bowl, lift it straight up and away from the attachment hub. Carefully set it aside in a safe location.
By removing the mixing bowl, you create a clear space on the attachment hub for the Ice Cream Maker to be attached. This step ensures that the Ice Cream Maker attachment can be properly and securely installed, allowing you to churn your ice cream mixture without any obstructions.
Once you have successfully removed the mixing bowl, you are now ready to move on to the next step of attaching the KitchenAid Ice Cream Maker to your KitchenAid Bowl Lift Stand Mixer.
Step 4: Attach the Ice Cream Maker to the mixer
Now that the mixing bowl has been removed from your KitchenAid Bowl Lift Stand Mixer, it’s time to attach the Ice Cream Maker accessory. This step is essential for seamlessly integrating the Ice Cream Maker with your mixer to create delicious homemade ice cream.
Follow these steps to attach the Ice Cream Maker to the mixer:
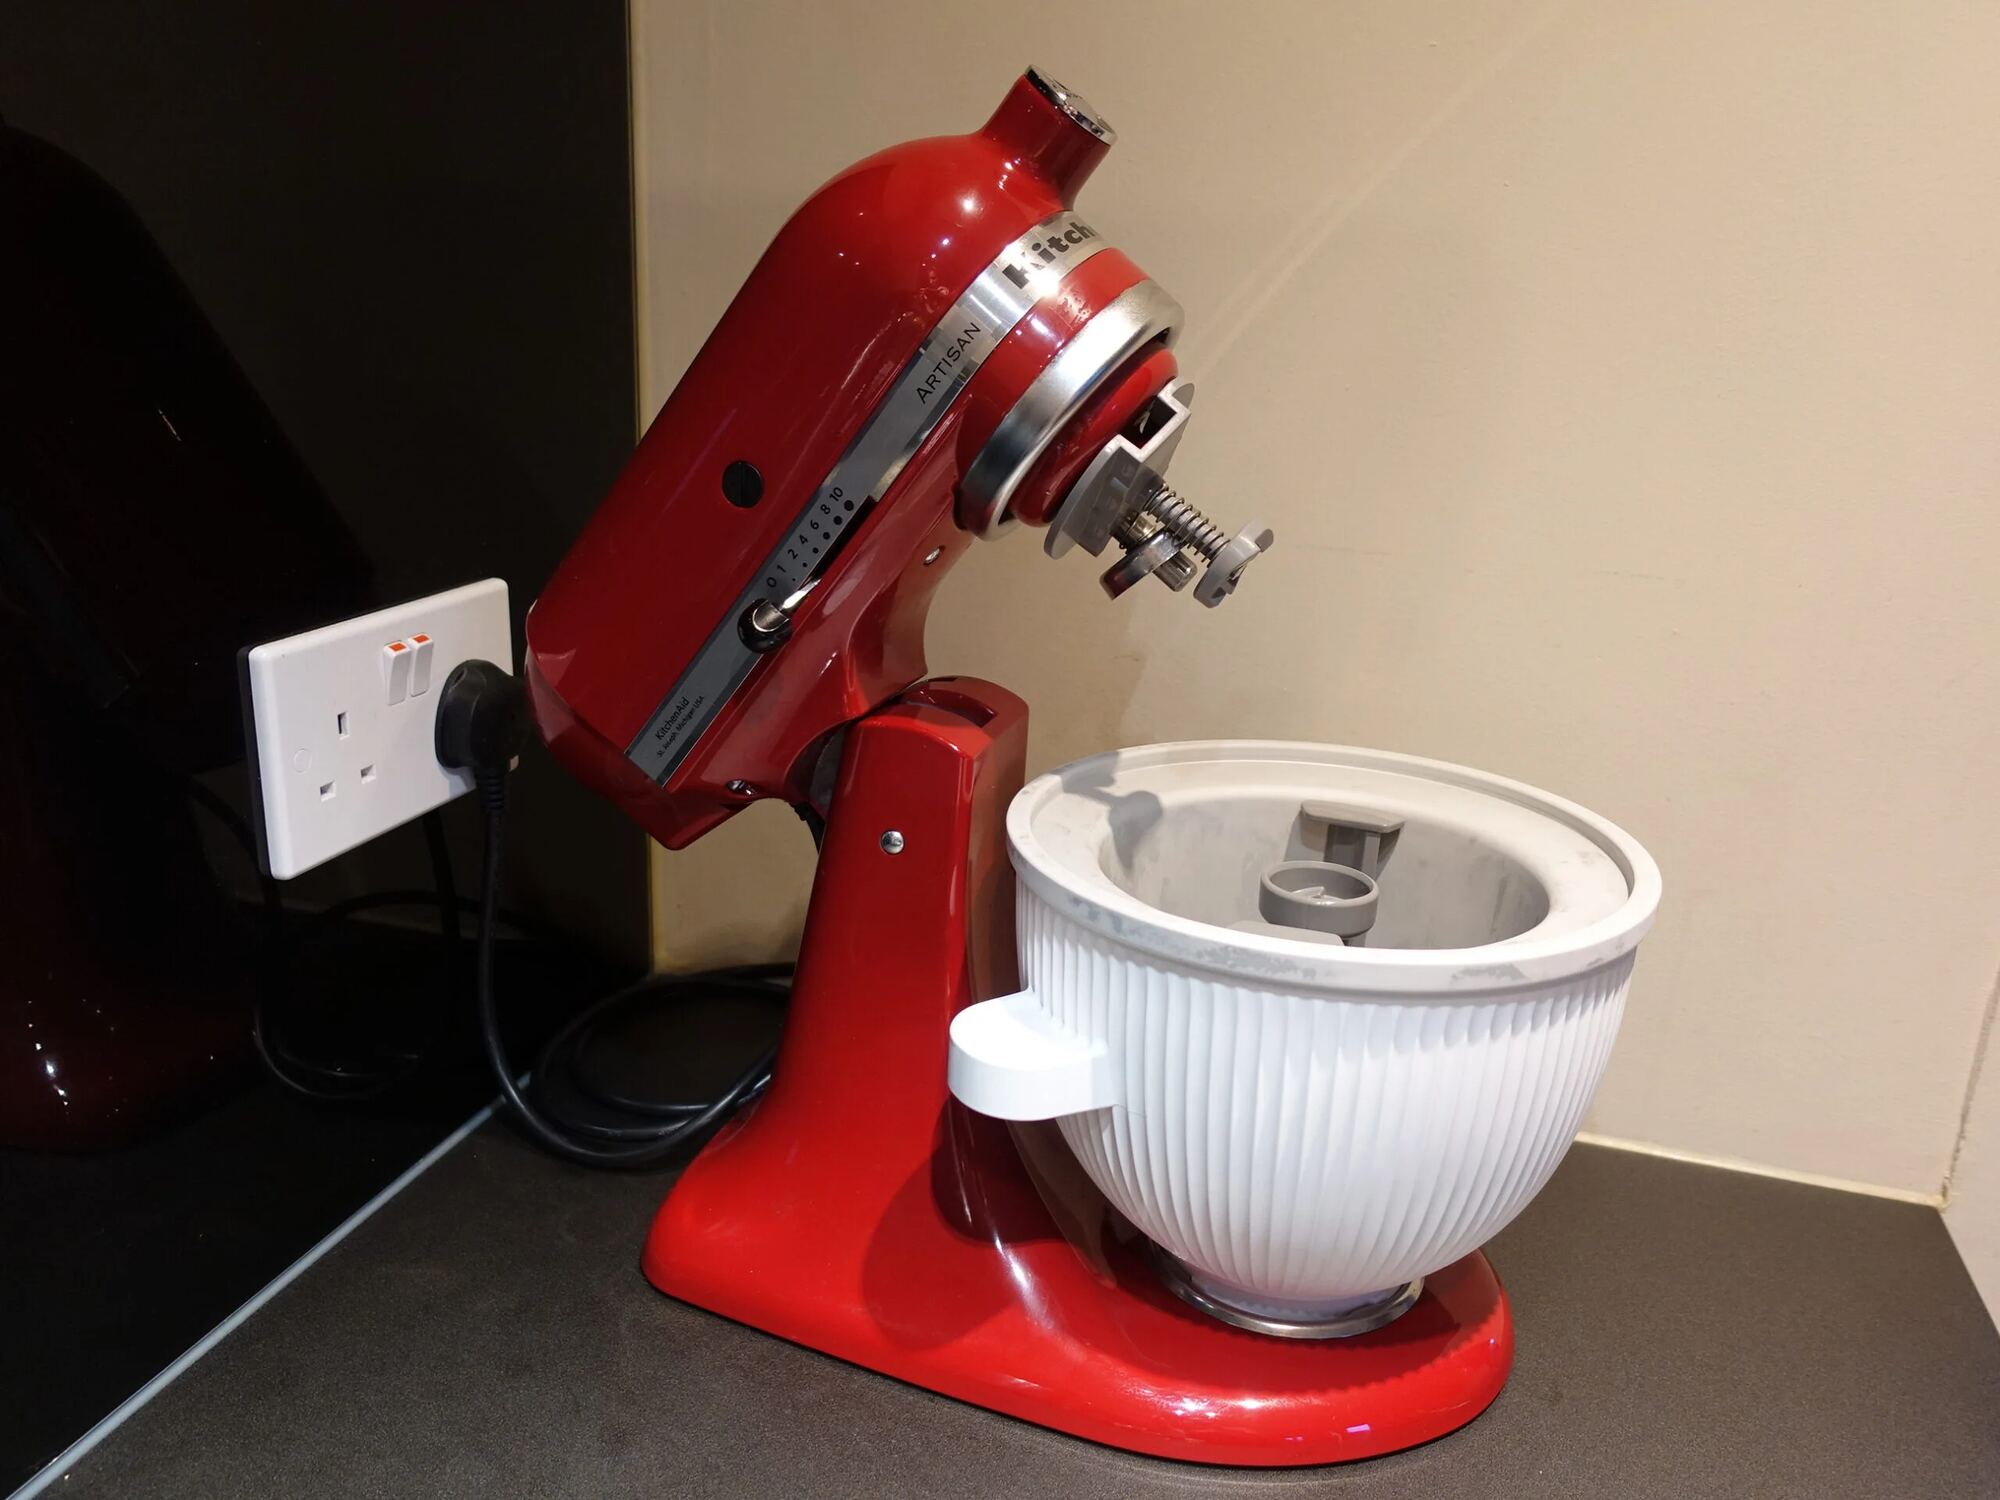
- Position the Ice Cream Maker: Take the Ice Cream Maker attachment and position it on the attachment hub located on the front of your mixer. Make sure the attachment aligns correctly and rests securely on the hub.
- Twist and lock: To secure the Ice Cream Maker in place, turn it clockwise until you hear a clicking sound. This indicates that the attachment is locked onto the mixer and ready for use. Ensure that it is firmly locked to prevent any unplanned detachment during the ice cream-making process.
- Check the attachment: Gently tug or wiggle the Ice Cream Maker to ensure that it is securely attached to the mixer. If it doesn’t budge, you can proceed to the next step.
Attaching the Ice Cream Maker to your KitchenAid Bowl Lift Stand Mixer is a straightforward process. The attachment is specifically designed to fit seamlessly onto the mixer’s attachment hub, ensuring stability and optimal performance while churning your ice cream mixture.
Once the Ice Cream Maker is securely attached to the mixer, you’re ready to move on to the next step of assembling the Ice Cream Maker bowl and preparing your ice cream mixture for churning.
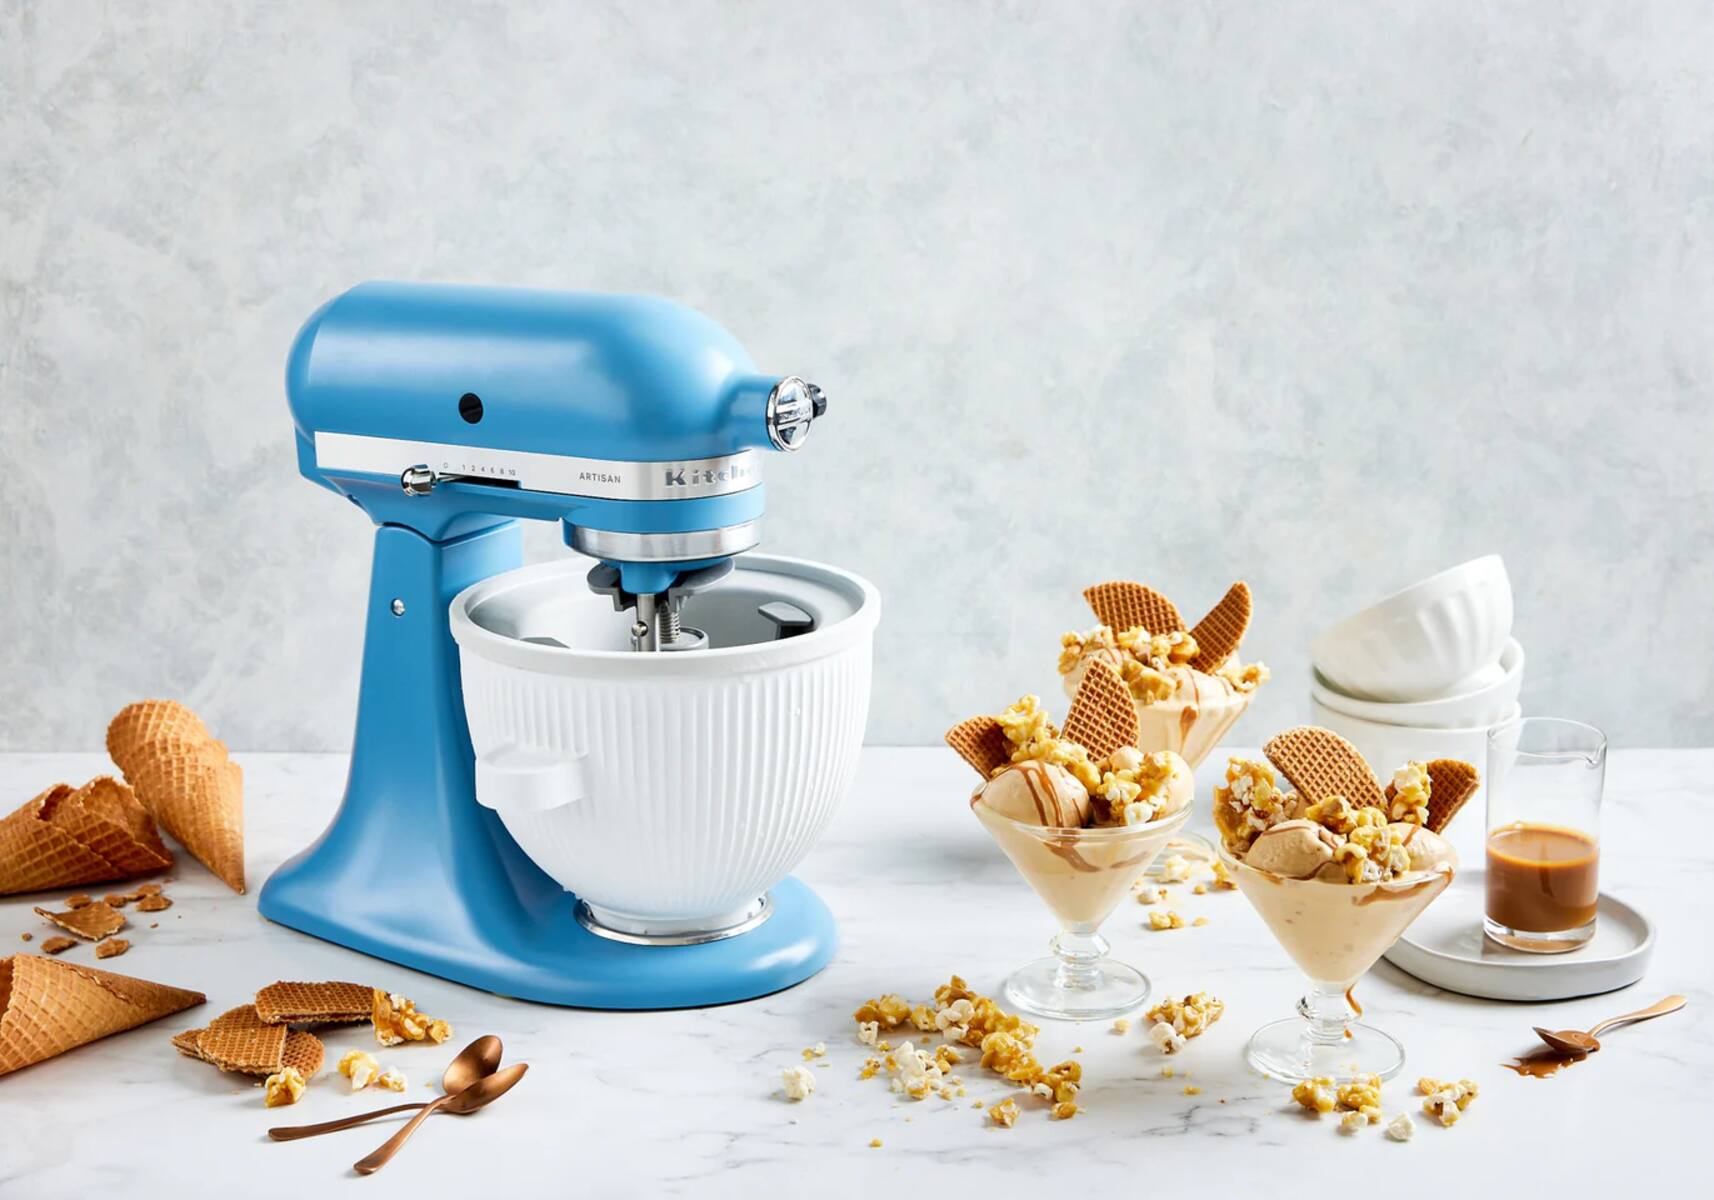
Step 5: Assemble the Ice Cream Maker bowl
With the KitchenAid Ice Cream Maker attachment properly attached to your Bowl Lift Stand Mixer, it’s time to assemble the Ice Cream Maker bowl. This step is crucial for creating the perfect environment to churn your ice cream mixture and achieve a creamy and smooth texture.
Follow these steps to assemble the Ice Cream Maker bowl:
- Take the frozen bowl: Retrieve the frozen bowl that you had prepared in advance. Ensure that it has been properly chilled for at least 15 hours or overnight.
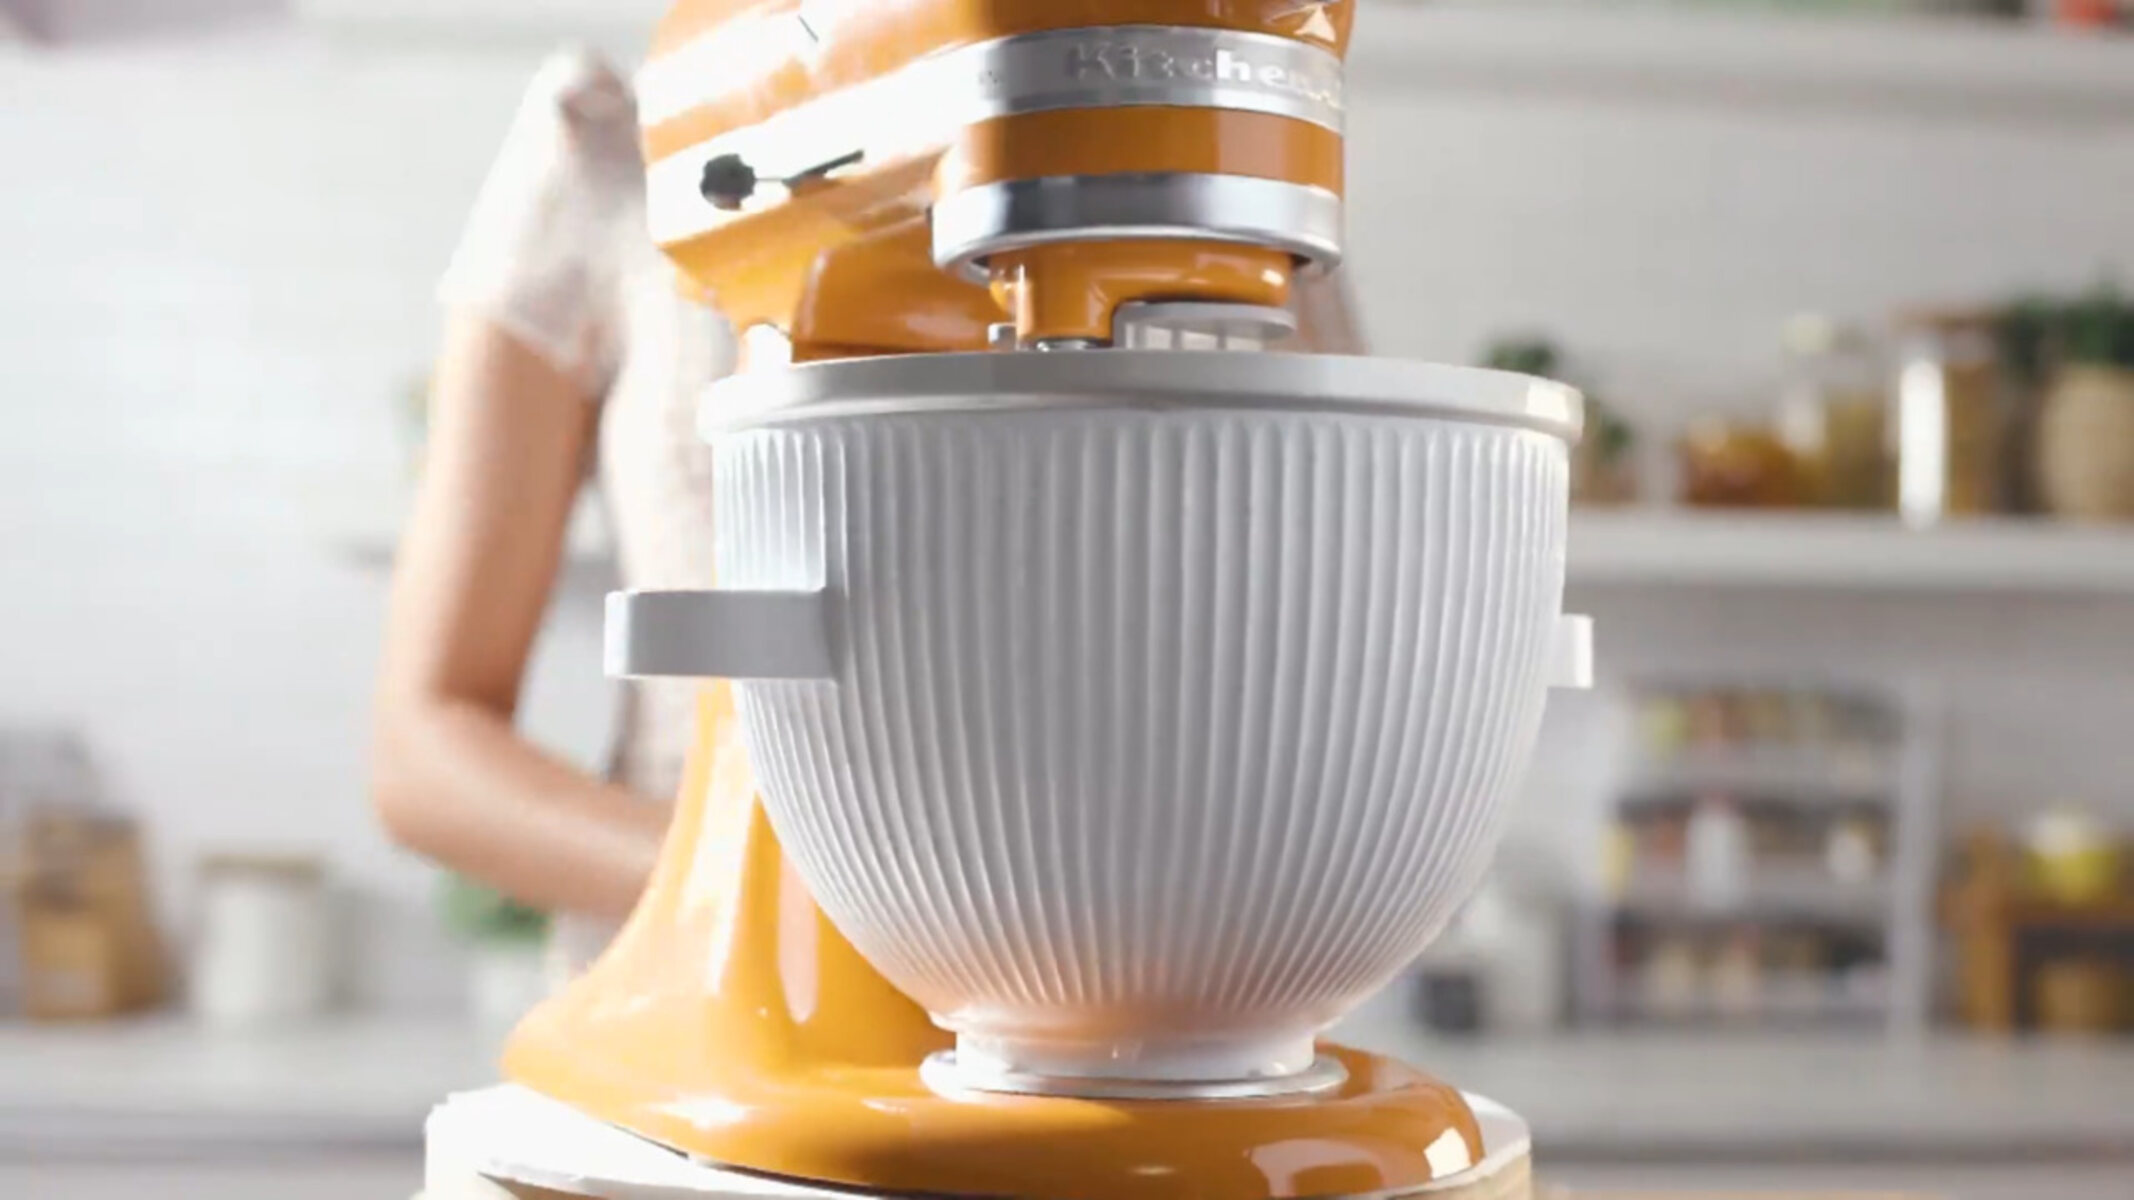
- Place the bowl on the attachment: Carefully place the frozen bowl on the attachment body of the Ice Cream Maker. There should be a snug fit between the bowl and the attachment, ensuring maximum contact to freeze your ice cream mixture consistently.
- Rotate the bowl: Turn the bowl counterclockwise to engage it with the attachment. This rotation locks the bowl in place and ensures that it stays securely connected during the churning process.
- Confirm the bowl is secure: Gently tug on the bowl to confirm that it is firmly attached. If there is no movement or wobbling, you can proceed to the next step with confidence.
Assembling the Ice Cream Maker bowl is an important step in the ice cream-making process as it provides the necessary space for your ice cream mixture to freeze and churn. The properly assembled bowl, in combination with the chilled attachment and mixer, will ensure optimal results when it comes to texture and consistency.
Once the bowl is securely assembled on the Ice Cream Maker attachment, you’re ready to proceed to the next step: adding your ice cream mixture to begin the churning process.
Step 6: Add your ice cream mixture to the bowl
Now that the Ice Cream Maker bowl is properly assembled, it’s time to add your ice cream mixture. This step is where your creativity comes into play as you can customize your ice cream with a variety of flavors and mix-ins.
Follow these steps to add your ice cream mixture to the bowl:
- Prepare your ice cream mixture: Follow your chosen ice cream recipe or create your own by combining the desired ingredients in a separate mixing bowl. This can include milk or cream, sugar, flavorings, and any mix-ins like chocolate chips or fruit.
- Pour the mixture into the Ice Cream Maker bowl: Carefully pour your ice cream mixture into the center of the assembled Ice Cream Maker bowl. Try to avoid overfilling the bowl, leaving some space at the top for expansion during the churning process.
- Smooth the surface: Use a spatula or the back of a spoon to smooth the surface of the ice cream mixture in the bowl. This helps ensure even freezing and consistent texture throughout the churned ice cream.
By adding your ice cream mixture to the assembled bowl, you’re setting the stage for the churning process that will transform your mixture into creamy, delicious ice cream. The Ice Cream Maker attachment will work in tandem with your KitchenAid Stand Mixer to freeze and churn the mixture, creating the perfect consistency and flavor.
Once your ice cream mixture is added to the bowl, you’re ready to move on to the next step: starting the churning process and watching your ice cream come to life.
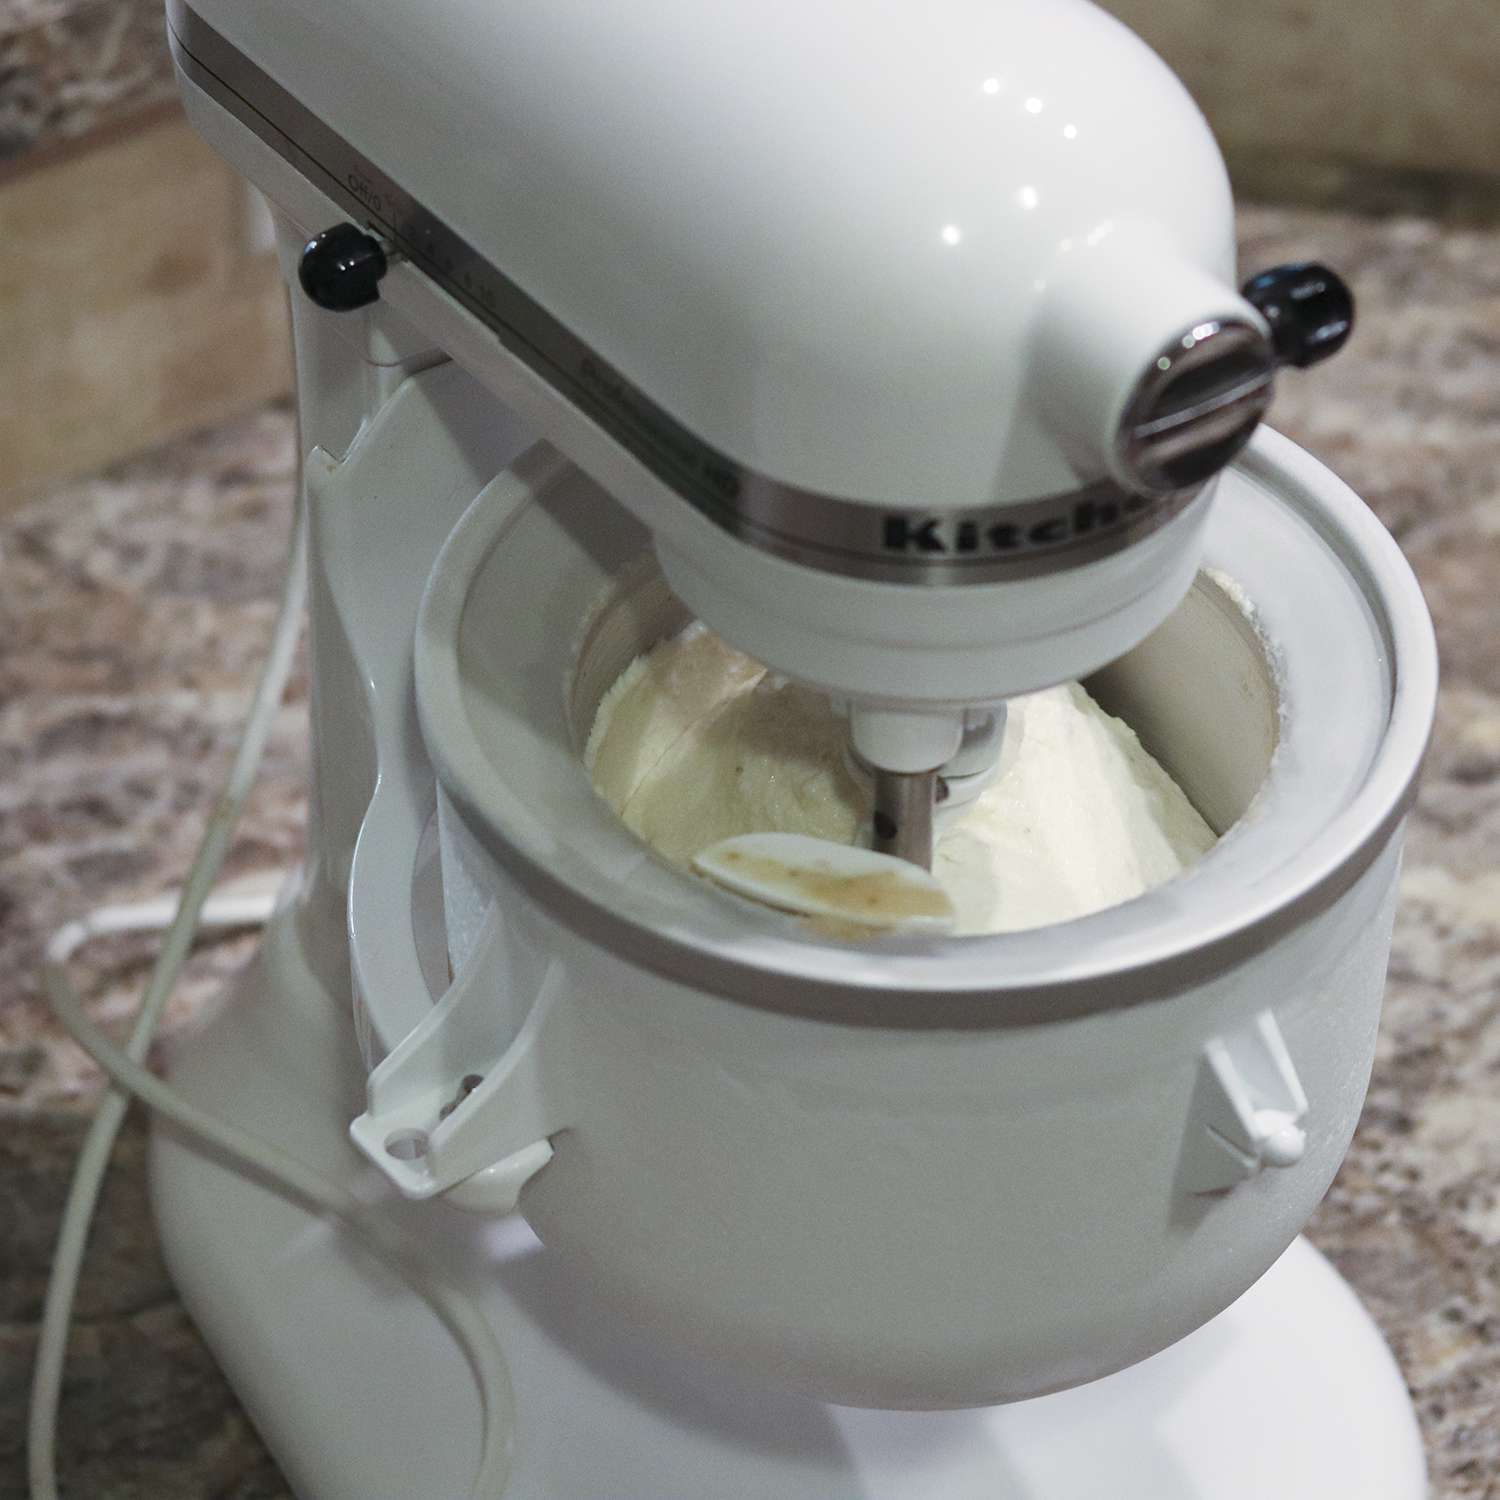
Step 7: Begin churning the ice cream
With your ice cream mixture added to the Ice Cream Maker bowl, it’s time to start the churning process. This step will transform your mixture into creamy, dreamy ice cream by incorporating air and freezing it to the perfect consistency.
Follow these steps to begin churning the ice cream:
- Lower the mixer head: Lower the mixer head with the Ice Cream Maker attachment attached onto the bowl. Ensure that it is securely locked into place.
- Turn on the mixer: Plug in your Bowl Lift Stand Mixer and turn it on to the appropriate speed setting recommended by the manufacturer for ice cream-making. Usually, a medium speed setting works well, but always refer to the instruction manual for your specific model.
- Let it churn: Allow the Ice Cream Maker attachment to churn the ice cream mixture for the recommended time period, typically around 20-30 minutes. The mixture will thicken and freeze as it churns, transforming into delicious ice cream.
During the churning process, the Ice Cream Maker attachment will freeze the mixture while simultaneously incorporating air, resulting in a smooth and creamy texture. It’s important to avoid over-churning, as this can lead to a grainy or icy consistency.
While the ice cream is churning, take a moment to savor the anticipation of your homemade treat coming to life. The churning process is where the magic happens, and soon you’ll be enjoying a delicious bowl of freshly made ice cream.
Once the recommended churning time has elapsed, you can move on to the next step: monitoring the progress of your ice cream to ensure it reaches the desired consistency.
Step 8: Monitor the progress of your ice cream
As your ice cream churns, it’s important to monitor its progress to ensure it reaches the desired consistency. This step allows you to make any necessary adjustments and ensures that your ice cream turns out perfectly every time.
Here are some tips for monitoring the progress of your ice cream:
- Check the texture: Periodically check the texture of the ice cream by pausing the mixer and taking a small spoonful. Look for a smooth and creamy consistency without any ice crystals.
- Adjust the time, if needed: If the ice cream is still too soft, continue churning for a few more minutes. On the other hand, if it’s already firm and smooth, it may be ready to be removed from the Ice Cream Maker.
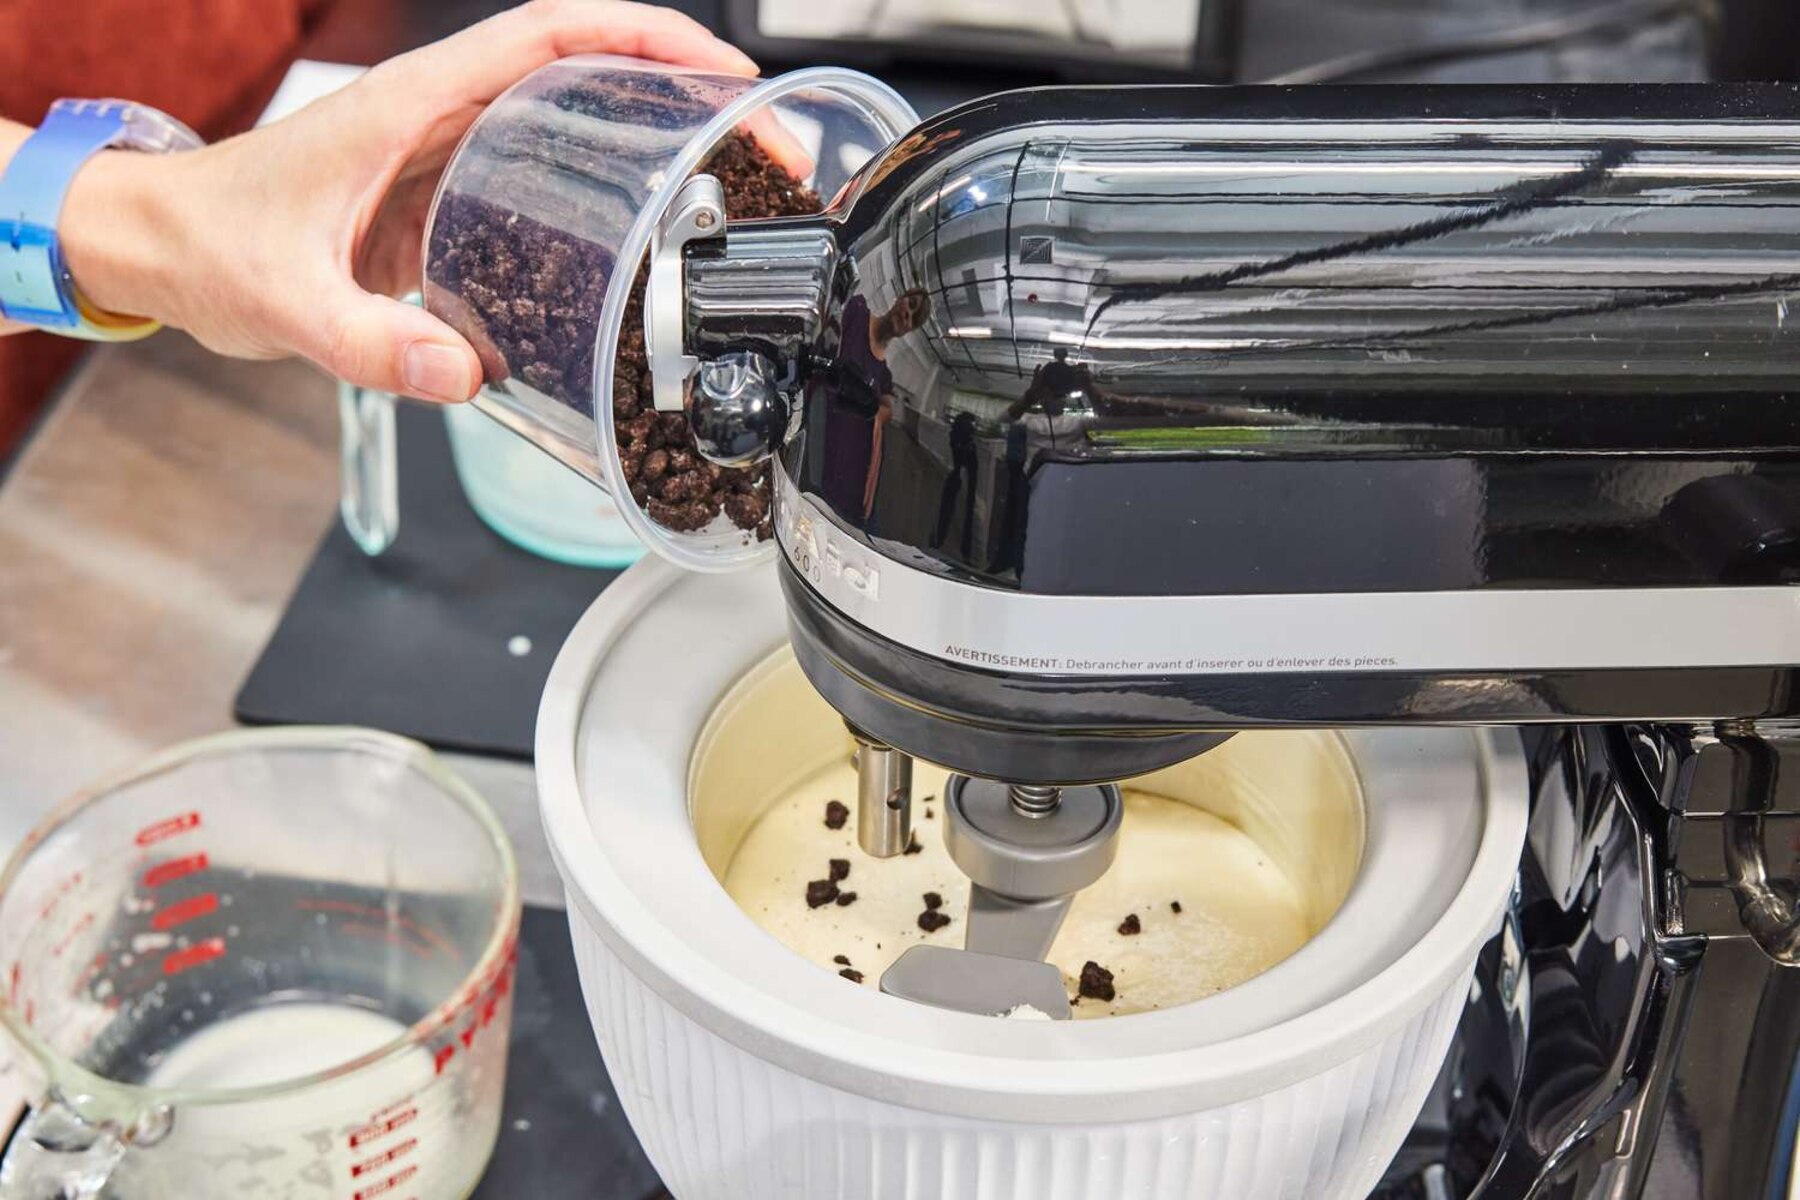
- Add mix-ins, if desired: If you want to incorporate any additional mix-ins like nuts, chocolate chips, or cookie crumbles, this is the time to add them. Pause the mixer and gently fold them into the partially churned ice cream.
- Continue churning, if necessary: If the ice cream needs more time to reach the desired consistency, continue churning until it reaches your preferred thickness.
Remember, the churning time can vary depending on the ingredients used and personal preference. Keep an eye on the texture and adjust the churning time accordingly to achieve the perfect consistency for your ice cream.
By monitoring the progress of your ice cream, you have the opportunity to make any necessary adjustments and personalize your frozen treat. This step ensures that your ice cream has a smooth and creamy texture that is ready to be enjoyed.
Once you’re satisfied with the consistency of your ice cream, it’s time to move on to the next step: removing and storing your delicious homemade creation.
Step 9: Remove and store your ice cream
After achieving the desired consistency and flavor, it’s time to remove your freshly churned ice cream from the Ice Cream Maker and store it for later enjoyment. Properly storing your ice cream will help maintain its texture and flavor until you’re ready to indulge.
Follow these steps to remove and store your ice cream:
- Turn off the mixer: Before removing the Ice Cream Maker attachment, turn off and unplug your Bowl Lift Stand Mixer.
- Unlock and remove the attachment: Turn the attachment counterclockwise to unlock and remove it from the mixer.
- Transfer the ice cream: Carefully scoop the churned ice cream from the Ice Cream Maker bowl into a freezer-safe storage container. Use a spatula to ensure you get all the creamy goodness.
- Smooth and seal the surface: Smooth the surface of the ice cream in the container to create an even layer. This helps prevent ice crystal formation. Then, place an airtight lid on the container to seal it tightly.
- Label and date the container: To easily identify your ice cream and keep track of its freshness, label the container with the flavor and the date it was made.
- Freeze the ice cream: Place the container in the freezer and let the ice cream firm up for a minimum of 4 hours, or until it reaches your desired consistency.
By removing the ice cream from the Ice Cream Maker attachment and transferring it to a storage container, you ensure that it stays fresh and maintains its smooth texture. Storing the ice cream in an airtight container in the freezer also helps prevent it from absorbing other odors in the freezer.
Now that your ice cream is safely stored, you can savor the anticipation of enjoying a scoop or two whenever your sweet tooth calls. Simply take the container out of the freezer, scoop and serve, and relish in the deliciousness of your homemade ice cream.
Conclusion
Congratulations! You have successfully learned how to put together the KitchenAid Ice Cream Maker attachment on a Bowl Lift Stand Mixer and create your own homemade ice cream. By following the step-by-step guide, you are now equipped with the knowledge to churn out delicious frozen treats right in your own kitchen.
From gathering the necessary tools and ingredients to assembling the Ice Cream Maker bowl, and from adding your ice cream mixture to monitoring the progress, you have learned each essential step to ensure the best results. By attentively following these steps, you can create ice cream with the perfect texture, flavor, and consistency.
Remember to let your creativity shine through by experimenting with different flavors and mix-ins. The possibilities are endless, and using the KitchenAid Ice Cream Maker attachment opens up a whole new world of ice cream-making possibilities.
Now, it’s time to enjoy the fruits of your labor. Indulge in a bowl of your homemade ice cream, savoring every creamy and flavorful spoonful. Share the joy with family and friends, impressing them with your culinary skills.
So go ahead, embrace your inner ice cream connoisseur, and continue exploring new flavors and techniques with your KitchenAid Bowl Lift Stand Mixer and Ice Cream Maker attachment. With each batch of homemade ice cream, you’ll create memories and moments of pure delight for yourself and your loved ones.
Happy ice cream making!